Home>Production & Technology>Remix>How To Remix A Song In FL Studio

Remix
How To Remix A Song In FL Studio
Modified: March 5, 2024
Learn how to remix a song in FL Studio with our step-by-step guide. Create unique and catchy remixes using the powerful features of FL Studio software.
(Many of the links in this article redirect to a specific reviewed product. Your purchase of these products through affiliate links helps to generate commission for AudioLover.com, at no extra cost. Learn more)
Table of Contents
- Introduction
- Step 1: Loading the Original Song
- Step 2: Slicing and Arranging the Song Sections
- Step 3: Adding Effects and Filters
- Step 4: Working with Virtual Instruments and Samples
- Step 5: Modifying the Tempo and Key
- Step 6: Creating Unique Transitions and Drops
- Step 7: Mixing and Mastering the Remix
- Conclusion
Introduction
Remixing has become a popular art form in the music industry, allowing artists and producers to put their own unique spin on existing songs. Whether you’re a seasoned producer or just starting out, learning how to remix a song can be a fun and creative process.
In this article, we’ll explore how to remix a song using FL Studio, a powerful digital audio workstation that is widely used by producers around the world. We’ll guide you through the steps to transform a song, adding your own signature style and making it sound entirely different from the original.
Remixing offers endless possibilities for creative expression. It allows you to experiment with different genres, tempos, and arrangements to create a fresh and exciting take on a familiar track. Whether you want to add heavy bass drops to a pop song or transform a rock ballad into a dancefloor anthem, the sky is the limit when it comes to remixing.
Before we dive into the technical aspects of remixing, it’s important to note that remixing is not about simply copying and pasting elements of the original song. It’s about taking the core elements of the original, such as vocals or melodies, and reimagining them in a way that brings a new perspective and energy to the music.
Now, let’s get started on our remixing journey with FL Studio!
Step 1: Loading the Original Song
The first step in remixing a song in FL Studio is to load the original song into the software. This will serve as the foundation for your remix.
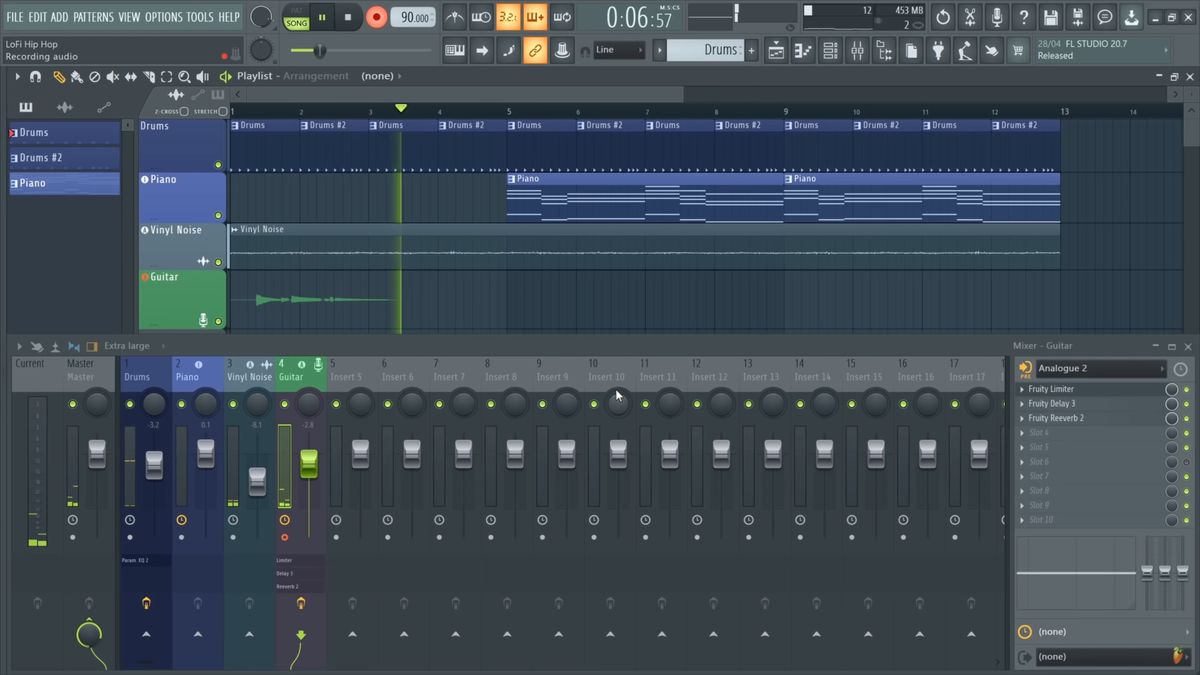
To load the song, open FL Studio and create a new project. Then, navigate to the “File” menu and click on “Import” or “Open.” Select the audio file of the original song that you want to remix from your computer.
Once the song is imported, it will appear in the playlist or sequencer window in FL Studio. You can see the waveform of the song and use this visual representation to work with different sections of the song.
It’s important to note that copyright laws apply to remixing, and you should only remix songs that you have obtained permission to use. If you’re unsure about the legal aspects of remixing a particular song, it’s best to seek legal advice or obtain the necessary licenses to avoid any copyright infringement issues.
Now that you have imported the original song into FL Studio, you’re ready to start the remixing process. The next steps will guide you through rearranging and manipulating the different elements of the song to create your own unique remix.
Step 2: Slicing and Arranging the Song Sections
Once you have loaded the original song into FL Studio, it’s time to start slicing and arranging the different sections of the song. This step involves breaking down the song into smaller parts and reorganizing them to create your own unique arrangement.
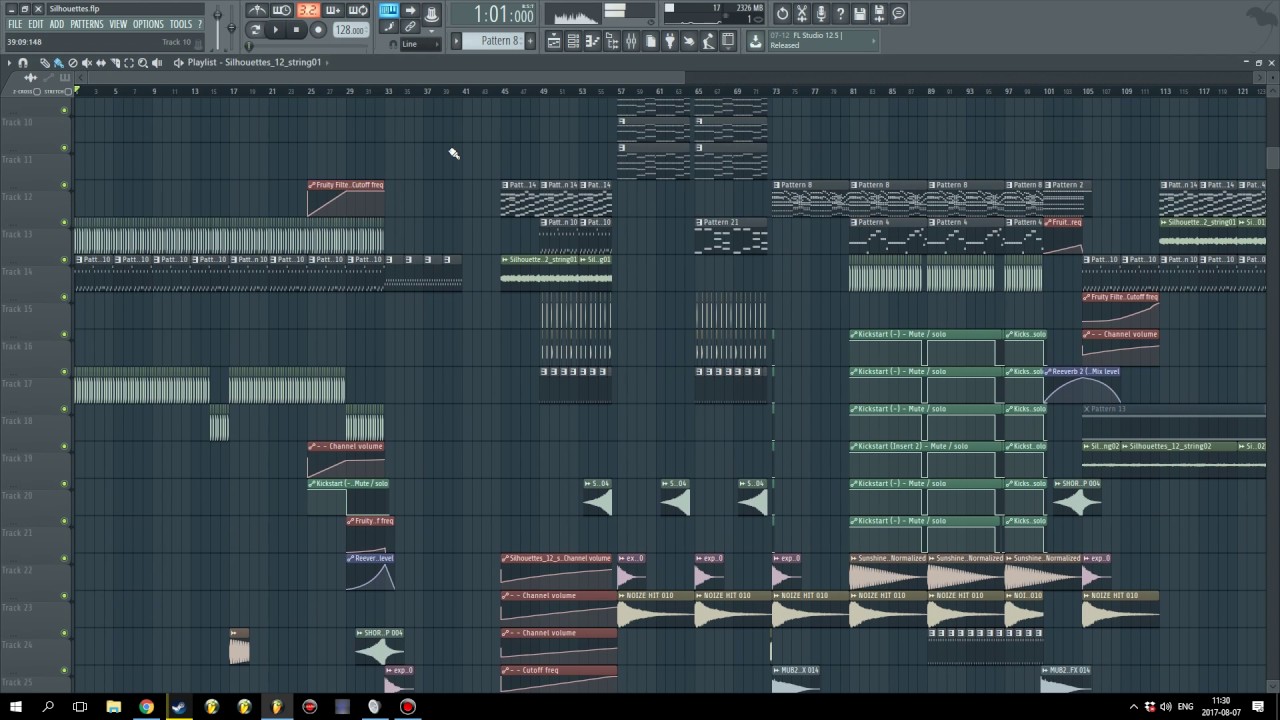
To begin, listen to the original song and identify its various sections, such as the verse, chorus, bridge, and any other distinctive parts. Using the playlist or sequencer window in FL Studio, you can visually see the waveform and easily identify different sections.
Once you have identified the sections, you can use the cutting and arranging tools in FL Studio to chop and rearrange them as you see fit. To cut a section, simply select a portion of the waveform and use the cut tool to separate it from the rest of the song. Then, click and drag the cut section to a new location in the playlist or sequencer window.
Experiment with different arrangements by reordering the sections, repeating certain parts, or even omitting some sections altogether. This is where your creativity comes into play – feel free to get bold and try unique combinations to create a remix that stands out.
Remember, the goal is to create a new and captivating arrangement that maintains the essence of the original song while adding your own personal touch. Don’t be afraid to think outside the box and challenge conventional song structures.
As you slice and arrange the sections, keep in mind the overall flow and progression of the remix. Pay attention to transitions between sections and make any necessary adjustments to ensure a smooth and seamless listening experience.
Once you are satisfied with the arrangement of the song sections, you can move on to the next step of adding effects and filters to further enhance your remix.
Step 3: Adding Effects and Filters
After slicing and arranging the song sections in FL Studio, it’s time to add effects and filters to give your remix a unique sound and flavor. Effects and filters can completely transform the original elements of the song, adding depth, texture, and new sonic characteristics.
In FL Studio, there are a plethora of effects and filters available, including reverb, delay, distortion, EQ, and many more. These tools allow you to manipulate the sound of individual tracks within your remix.
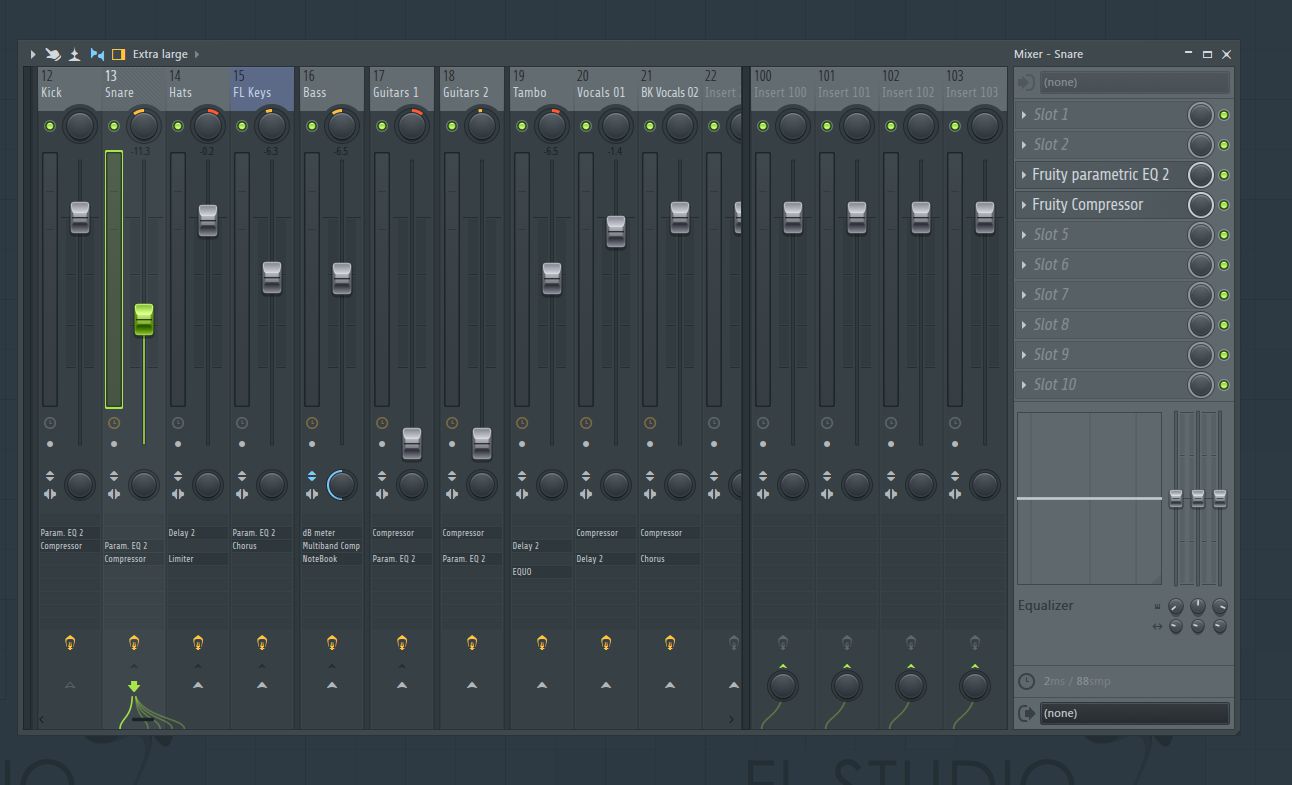
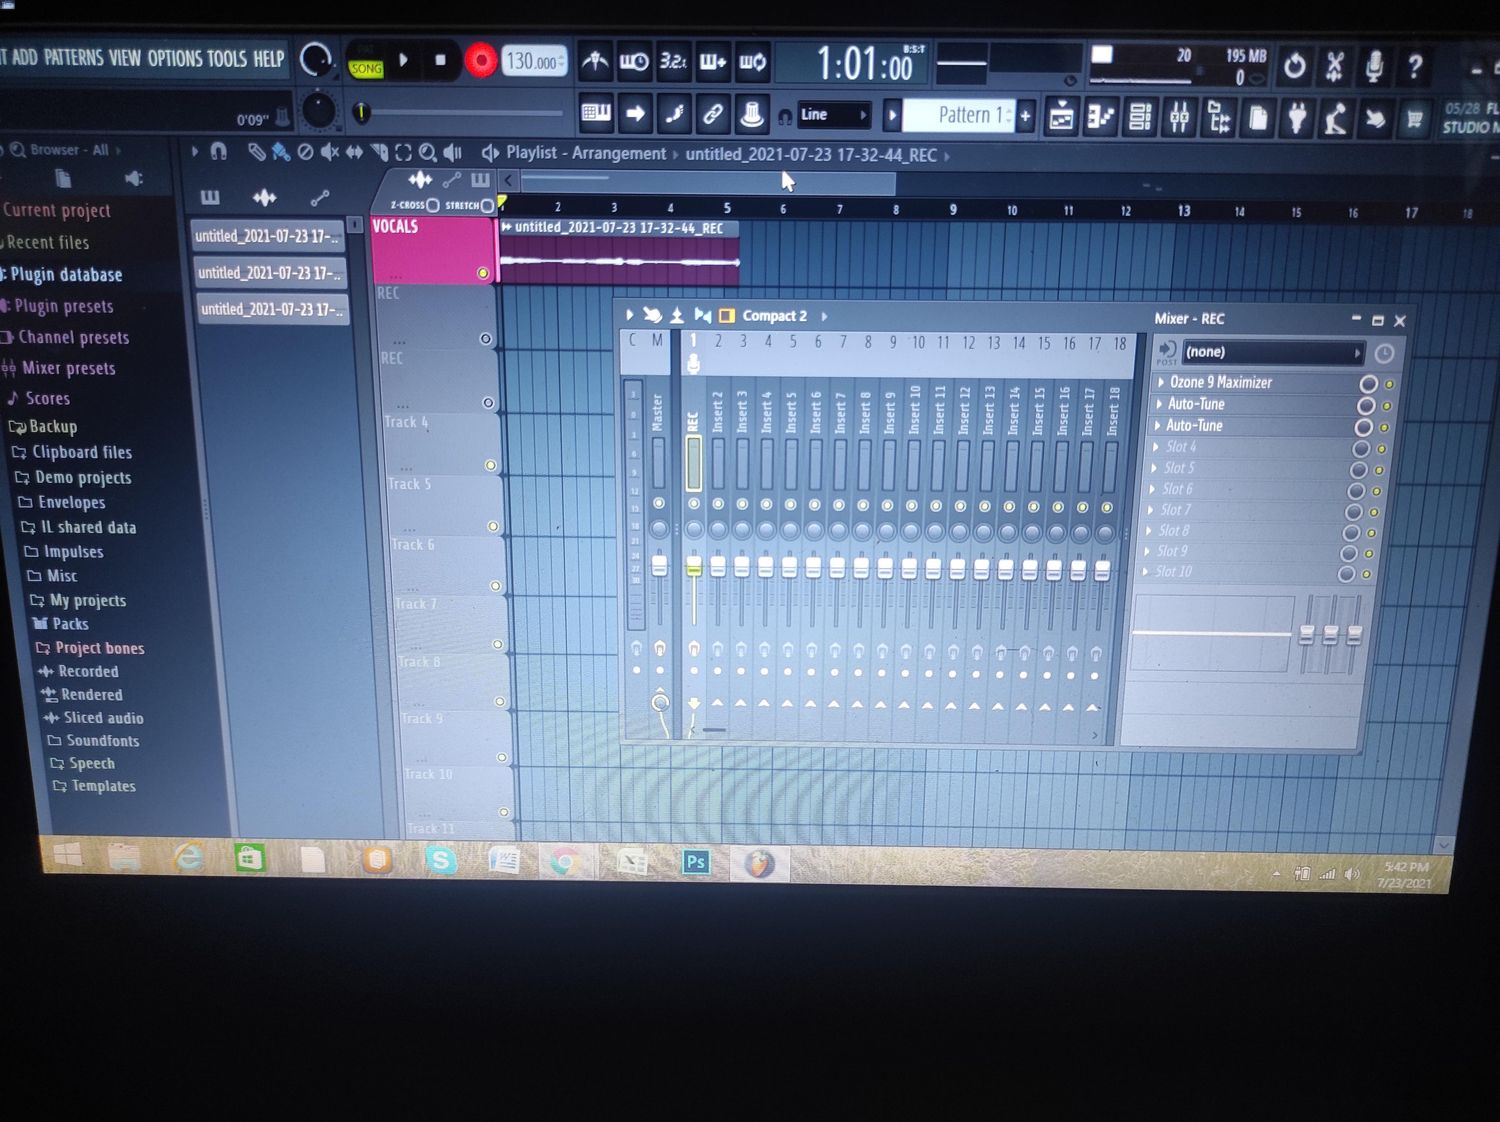
To add effects and filters, start by selecting a track in the playlist or sequencer window. Then, navigate to the mixer window in FL Studio. Each track has its own mixer channel where you can apply effects and filters.
Click on the mixer channel of the track you want to modify, and you will see a list of available effects and filters in the mixer interface. Click on the small “+” icon to add an effect or filter to the channel.
Experiment with different effects and filters to shape the sound of your remix. For example, you can add reverb to vocals to create a sense of space, or apply distortion to a guitar riff to add grit and intensity.
Remember to adjust the parameters of each effect or filter to achieve the desired sound. This might include tweaking the decay time of a reverb, adjusting the amount of distortion, or fine-tuning the EQ settings.
In addition to individual track effects, you can also apply effects and filters to the overall mix. This can be done using the master channel in the mixer window. Adding effects like compression or mastering plugins to the master channel can help polish and refine the overall sound of your remix.
When adding effects and filters, it’s important to strike a balance between enhancing the original elements of the song and staying true to the vision of your remix. Don’t go overboard with effects that may overpower or overshadow the core elements of the remix.
Once you have added and adjusted the effects and filters to your satisfaction, it’s time to move on to the next step of working with virtual instruments and samples to add additional elements to your remix.
Step 4: Working with Virtual Instruments and Samples
In the remixing process, virtual instruments and samples play a crucial role in adding new elements and textures to your remix. FL Studio offers a wide range of virtual instruments and a vast library of samples to choose from.
To start working with virtual instruments, navigate to the channel rack in FL Studio. The channel rack is where you can add and manage different instruments and samples in your remix.
FL Studio provides various virtual instruments, such as synthesizers, pianos, drums, and more. Click on the “+” icon in the channel rack to add a virtual instrument to a new channel.
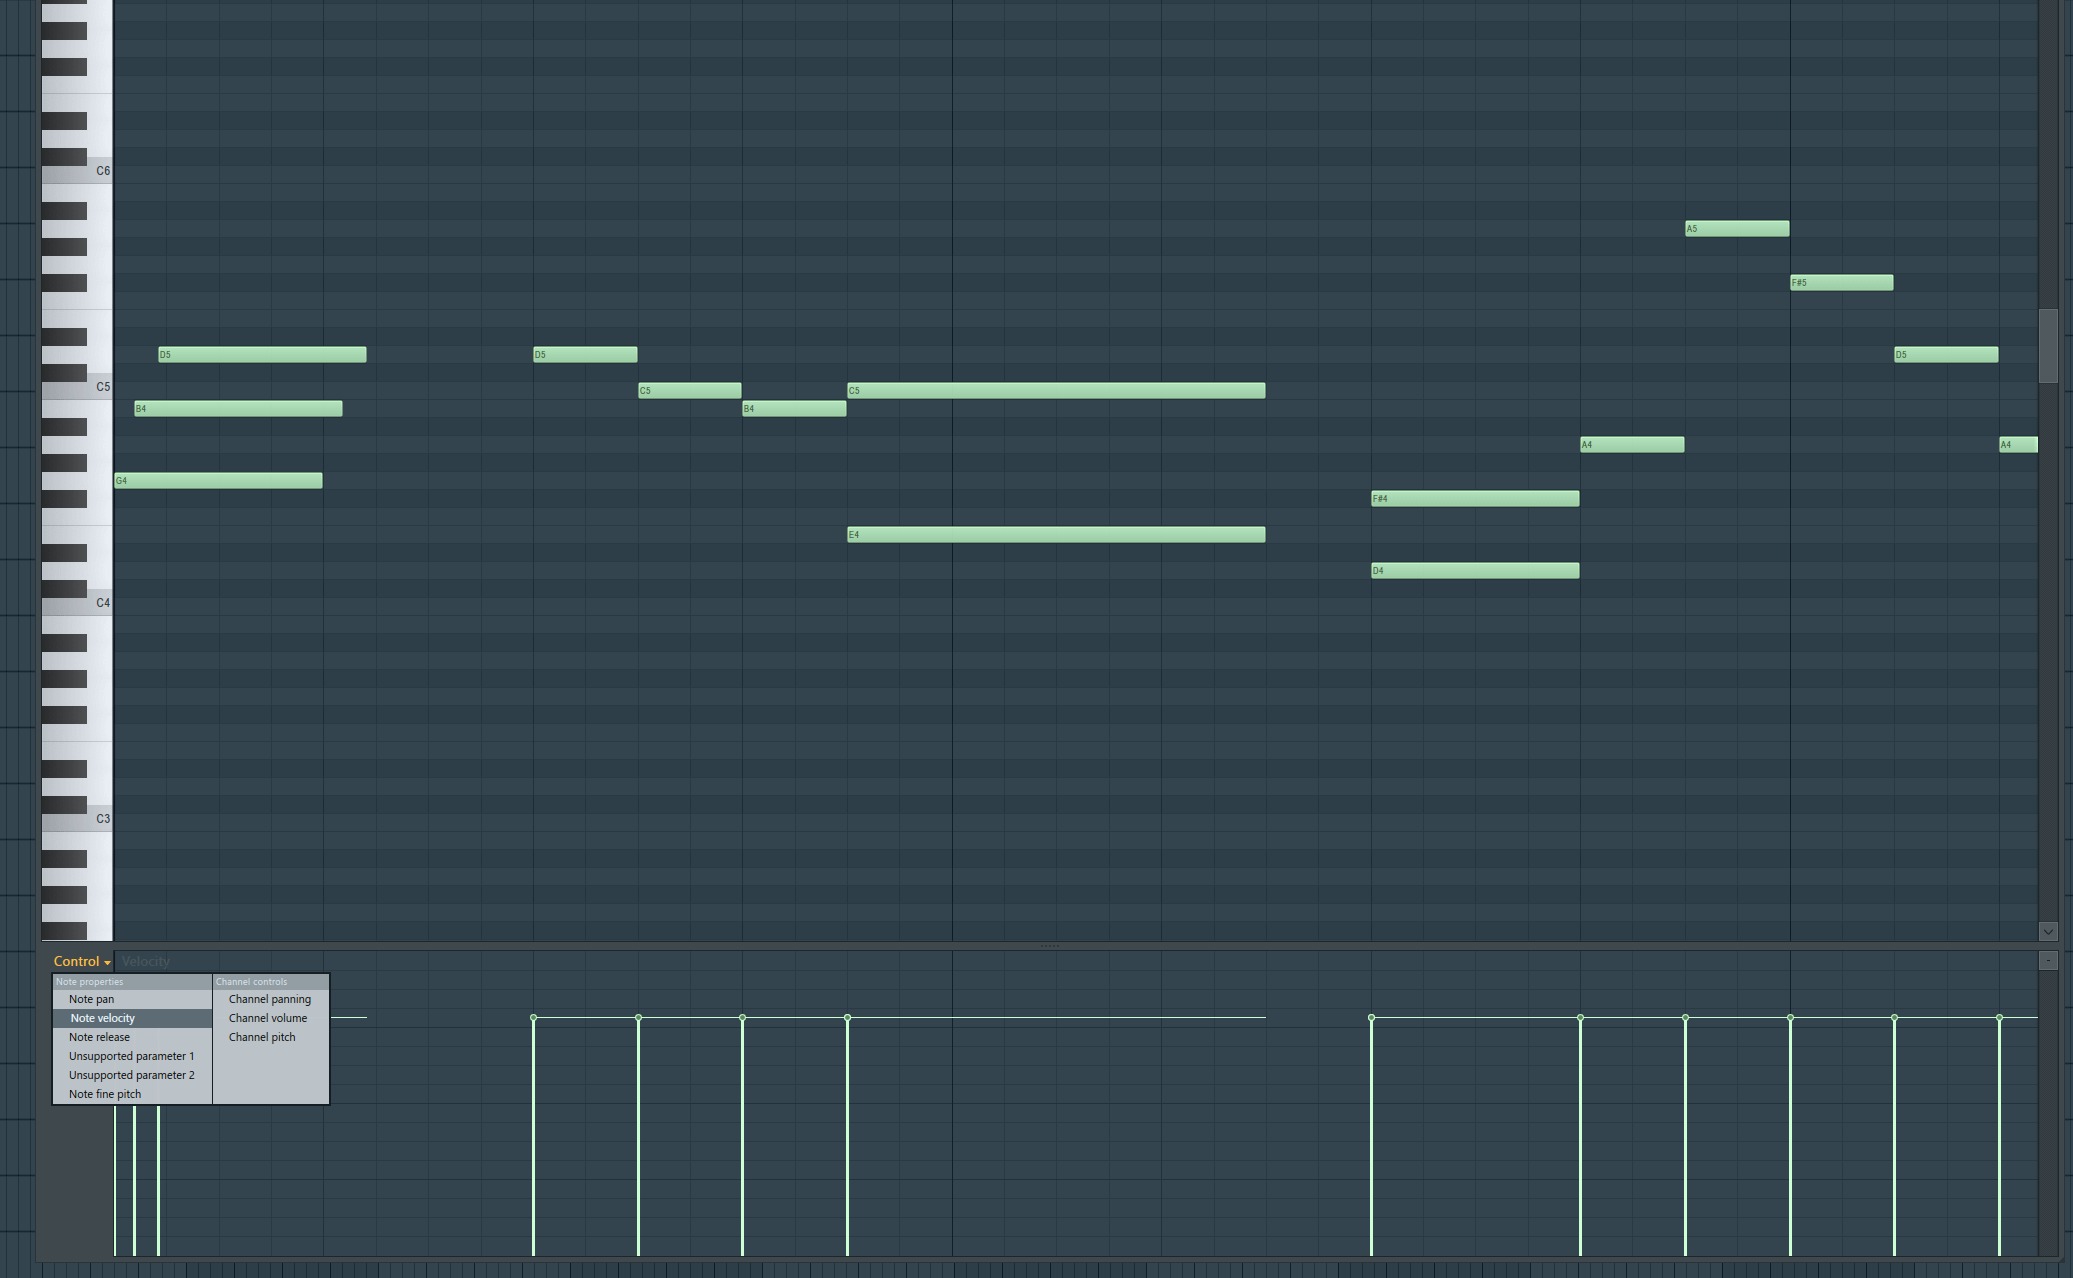
Once you have added a virtual instrument, you can then create MIDI patterns in the piano roll for that particular instrument. The piano roll allows you to sequence melodies, chords, and other musical elements using a piano roll interface.
Experiment with different virtual instruments and create unique melodies, basslines, or other musical parts that complement the original song. This is where you can showcase your creativity and bring your own musical style to the remix.
Aside from virtual instruments, FL Studio also provides a vast library of high-quality samples. Samples are pre-recorded audio clips that you can use to enhance your remix. These can include drum loops, vocal snippets, sound effects, and more.
To use samples, you can drag and drop them into the channel rack or directly onto the playlist or sequencer window. Once added, you can manipulate the samples by adjusting their pitch, tempo, or applying effects and filters.
Be sure to choose samples that complement the original song and blend well with the existing elements of your remix. This will help maintain a cohesive and harmonious sound throughout.
Working with virtual instruments and samples allows you to broaden the sonic palette of your remix and add unique layers and textures. Remember to experiment, stay true to your artistic vision, and have fun in this creative process.
Once you have added virtual instruments and samples, you can move on to the next step of modifying the tempo and key to further personalize your remix.
Step 5: Modifying the Tempo and Key
Modifying the tempo and key of the original song is an essential step in creating a unique and personalized remix. FL Studio provides powerful tools to adjust these elements and give your remix a fresh and different feel.
To modify the tempo of the remix, you can use the Time Stretching feature in FL Studio. This allows you to speed up or slow down the tempo while preserving the pitch of the audio. Simply select the audio clip or pattern in the playlist or sequencer window and adjust the tempo value to your desired speed.
Changing the tempo can completely transform the vibe and energy of the song. Experiment with different tempos to find the one that best suits the style and feel you want to achieve in your remix.
Additionally, modifying the key of the original song can add a unique twist to your remix. FL Studio offers various tools, such as pitch-shifting and transposing, to change the key of an audio clip without affecting the tempo.
To change the key, select the audio clip or pattern and use the pitch-shifting or transposing feature to adjust the pitch up or down in semitones or in key increments. This allows you to create interesting harmonic variations and explore different musical possibilities.
When modifying the tempo and key, it’s important to consider how these changes impact the overall feel and cohesion of the remix. Aim for a balanced and natural-sounding result, ensuring that the tempo and key modifications complement the other elements of the song.
Don’t be afraid to experiment and try different combinations of tempo and key changes. This can lead to unexpected and exciting outcomes, ultimately contributing to the uniqueness of your remix.
Once you have made the necessary modifications to the tempo and key, you can move on to the next step of creating unique transitions and drops to add excitement and dynamics to your remix.
Step 6: Creating Unique Transitions and Drops
One of the key aspects of a captivating remix is the creation of unique transitions and drops. These elements help build anticipation and add excitement to your remix. FL Studio offers several techniques and tools to achieve seamless transitions and impactful drops.
To create smooth transitions between different sections of your remix, you can utilize techniques like fading, filtering, and automation. Fading involves gradually decreasing the volume of one section while increasing the volume of another, creating a seamless blend. Filtering involves applying filters, such as low-pass or high-pass filters, to gradually remove or introduce certain frequencies, giving a sense of movement. Automation allows you to control various parameters over time, such as volume, panning, or effects, to create dynamic transitions.
Drops are powerful sections within a remix where the energy is intensified and released. To create impactful drops, you can experiment with techniques like layering, build-ups, and sound design. Layering involves combining multiple elements, such as drums, synths, and samples, to create a rich and full sound. Build-ups gradually increase the intensity and energy leading up to the drop, often achieved by adding additional layers, effects, and increasing the tempo. Sound design involves manipulating and creating unique sounds using synthesis and effects to create a distinctive and memorable drop.
Remember to pay attention to arrangement and timing to ensure that the transitions and drops flow naturally within the structure of your remix. It’s important to keep the listener engaged by creating a sense of anticipation and delivering satisfying moments of release.
Experiment with different techniques, effects, and combinations to find your own style and sound. Don’t be afraid to think outside the box and push the boundaries of conventional remixing. The goal is to create a remix that surprises and excites the listener.
Once you have crafted unique transitions and drops, you can move on to the next step of mixing and mastering your remix to achieve a polished and professional sound.
Step 7: Mixing and Mastering the Remix
After putting in the creative work of remixing the song, it’s essential to give your remix a professional touch by focusing on the mixing and mastering process. Mixing and mastering play a crucial role in ensuring that your remix sounds balanced, cohesive, and ready for release.
Mixing involves adjusting the levels, panning, and EQ of each individual track within your remix to create a well-balanced and coherent sound. It’s important to ensure that no element overpowers another, and that each instrument and sample sits well in the mix. Use the mixer window in FL Studio to control the volume levels, pan positions, and apply equalization (EQ) to shape the frequency balance of each element in your remix.
During the mixing process, pay attention to the stereo image and spatial placement of elements within the mix. Use panning to position instruments and samples within the stereo field, giving each element its own space and creating a sense of width and depth. This can enhance clarity and separation in your remix.
Once you are satisfied with the mix, it’s time to move on to the mastering stage. Mastering involves making final adjustments to the overall loudness, dynamics, and final polish of your remix. It aims to ensure that your remix sounds consistent and translates well across different playback systems.
Use mastering plugins in FL Studio, such as compressors, limiters, and equalizers, to control the dynamics and finalize the overall sound of your remix. However, be mindful not to overdo the processing, as excessive mastering can affect the dynamics and naturalness of the mix.
Consider using reference tracks during the mastering process. Choose well-mastered songs in a similar genre to compare the overall sound, balance, and loudness of your remix. This can help you achieve a professional and competitive sound.
Lastly, listen to your remixed song on different playback devices, such as headphones, speakers, and car stereo systems, to ensure that it translates well across various mediums. Make any necessary adjustments to ensure optimal sound quality and balance.
Remember, mixing and mastering are skills that require practice and experience. Don’t be afraid to seek feedback from others and continue learning and refining your skills in these areas.
With the mixing and mastering complete, you have successfully transformed the original song into a unique and professionally polished remix. Now, it’s time to share your remix with the world and let your creativity shine.
Conclusion
Remixing a song in FL Studio is a creative and rewarding process that allows you to breathe new life into existing tracks. By following the steps outlined in this article, you can create a unique and personalized remix that showcases your artistic vision and style.
Starting with loading the original song, you learned how to slice and arrange its sections to create a fresh arrangement. Adding effects and filters helped you shape the sound and add your own flavor to the remix.
Working with virtual instruments and samples allowed you to expand the sonic palette and add new elements to your remix. Modifying the tempo and key gave you the flexibility to explore different musical possibilities and create a distinctive sound.
Creating unique transitions and drops added excitement and dynamics to your remix, while mixing and mastering ensured a polished and professional sonic quality. These steps, when followed with creativity and attention to detail, can result in a remix that stands out and captivates listeners.
Throughout the remixing process, always remember to respect copyright laws and obtain the necessary permissions or licenses to remix copyrighted material.
Now that you have a solid understanding of how to remix a song in FL Studio, it’s time to unleash your creativity and start remixing your favorite tracks. With practice, experimentation, and an innovative approach, you can create remixes that leave a lasting impression and establish your unique voice as a music producer.
So, fire up FL Studio, dive into the world of remixing, and let your imagination run wild. The possibilities are endless, and the next hit remix could be just a few clicks away!