Home>Production & Technology>Sound Bar>How To Mount LG Sound Bar

Sound Bar
How To Mount LG Sound Bar
Modified: January 22, 2024
Learn how to mount your LG sound bar with our easy-to-follow guide. Enhance your audio experience at home with this sleek and powerful sound bar.
(Many of the links in this article redirect to a specific reviewed product. Your purchase of these products through affiliate links helps to generate commission for AudioLover.com, at no extra cost. Learn more)
Table of Contents
Introduction
Welcome to our comprehensive guide on how to mount an LG sound bar! If you’re looking to enhance your audio experience and save space in your home theater setup, mounting your sound bar is a great solution. LG sound bars are known for their high-quality sound and sleek design, making them a popular choice among audio enthusiasts.
Mounting a sound bar can not only provide better sound distribution but also create a clean and organized look in your entertainment area. Whether you have a wall-mounted TV or a stand, mounting an LG sound bar is a straightforward process that you can easily accomplish with a few tools and the right method.
In this article, we will walk you through the step-by-step process of mounting an LG sound bar, from unboxing to connecting it to your TV. We will also provide some tips and considerations along the way to ensure a successful installation.
Before we begin, it’s important to note that the specific steps may vary depending on the model of your LG sound bar and the type of mounting hardware included. Always refer to the manufacturer’s instructions for your particular model and follow safety guidelines throughout the installation process.
Now, let’s dive into the exciting world of mounting an LG sound bar and elevate your home entertainment experience to the next level!
Step 1: Unboxing the LG Sound Bar
Before you can begin the mounting process, you’ll need to unbox your LG sound bar and ensure that you have all the necessary components. Here’s how to get started:
- Find a spacious, well-lit area: Choose a clean and well-lit location where you can unbox and assemble the sound bar without any obstructions.
- Gather the necessary tools: You’ll need a screwdriver, mounting brackets (if applicable), and any additional hardware provided by LG.
- Remove the packaging: Carefully remove any plastic wrap or packaging materials from the sound bar and its accessories.
- Inspect the contents: Take a moment to inspect the components and ensure that everything is in good condition. Look for any damages or missing items and contact LG customer support if needed.
- Identify the mounting hardware: If your sound bar comes with mounting brackets, locate them in the packaging. These brackets will be used to secure the sound bar to the wall or TV mount.
- Read the user manual: Familiarize yourself with the user manual provided by LG. It will contain important information about the sound bar’s features, installation instructions, and safety precautions.
Unboxing your LG sound bar is an important first step in the mounting process. By taking the time to inspect the contents and gather the necessary tools, you’ll ensure a smooth installation process and avoid any delays or complications.
Step 2: Preparing the Mounting Area
Once you have unboxed your LG sound bar, the next step is to prepare the mounting area. Whether you plan to mount the sound bar on the wall or attach it to your TV, proper preparation is essential for a secure and stable installation. Here’s what you need to do:
- Choose the mounting location: Consider the best placement for your sound bar. Ideally, it should be positioned near your TV for optimal sound projection. Take into account the size and layout of your room, as well as any aesthetic preferences or restrictions.
- Clean the mounting surface: Use a clean cloth or microfiber cloth to wipe down the surface where you plan to mount the sound bar. Removing any dust, dirt, or debris will ensure better adhesion and help prevent any damage to your sound bar.
- Measure and mark the mounting area: Use a tape measure and a pencil to mark the exact location where the sound bar will be mounted. Check the mounting instructions in the user manual to determine the appropriate measurements and spacing for your specific model.
- Check for studs or anchors: If you’re mounting the sound bar on a wall, it’s important to locate the studs or use wall anchors for added stability. Use a stud finder or a tapping method to identify the presence of studs. Mark the locations of the studs or the placement of the wall anchors.
- Consider cable management: Take into account the cable management options available in your setup. You may need to install cable clips, channels, or conduits to keep the wires organized and hidden. Planning for cable management during the preparation stage will result in a cleaner and more professional-looking installation.
By properly preparing the mounting area, you’ll ensure a secure and aesthetically pleasing installation of your LG sound bar. Take the time to measure, mark, and clean the mounting surface, and consider any additional steps required for cable management. This careful preparation will set the foundation for a successful mounting experience.
Step 3: Choosing the Mounting Method
Now that you have prepared the mounting area, it’s time to choose the appropriate mounting method for your LG sound bar. The method you choose will largely depend on your specific setup and personal preference. Here are some common mounting methods to consider:
- Wall Mounting: This method involves attaching the sound bar directly to the wall using brackets or a mounting kit. It provides a clean and streamlined look but may require drilling holes in the wall for installation. Ensure that you have located the studs or use wall anchors for added stability.
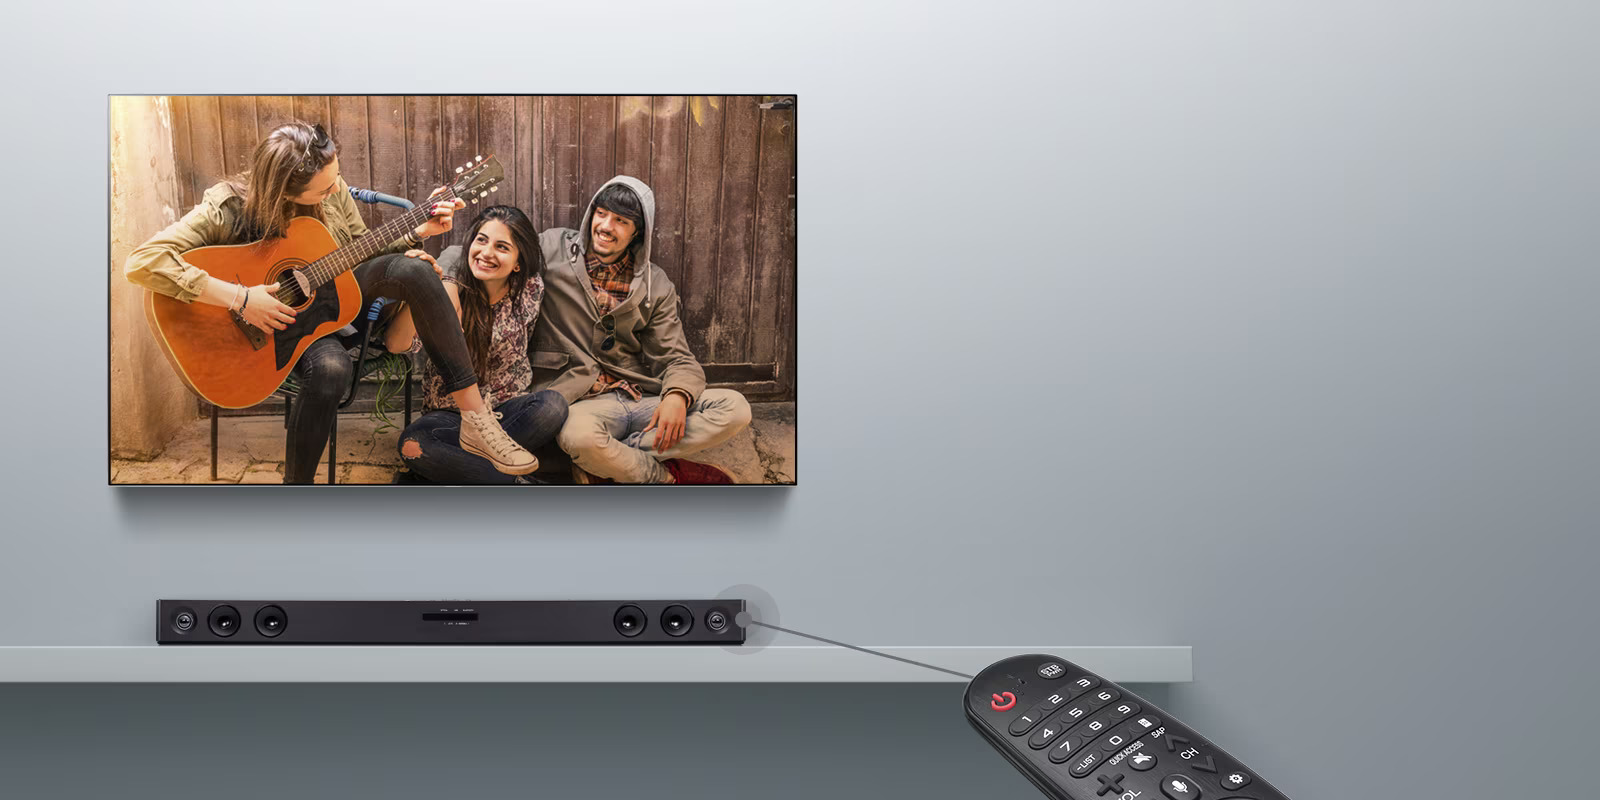
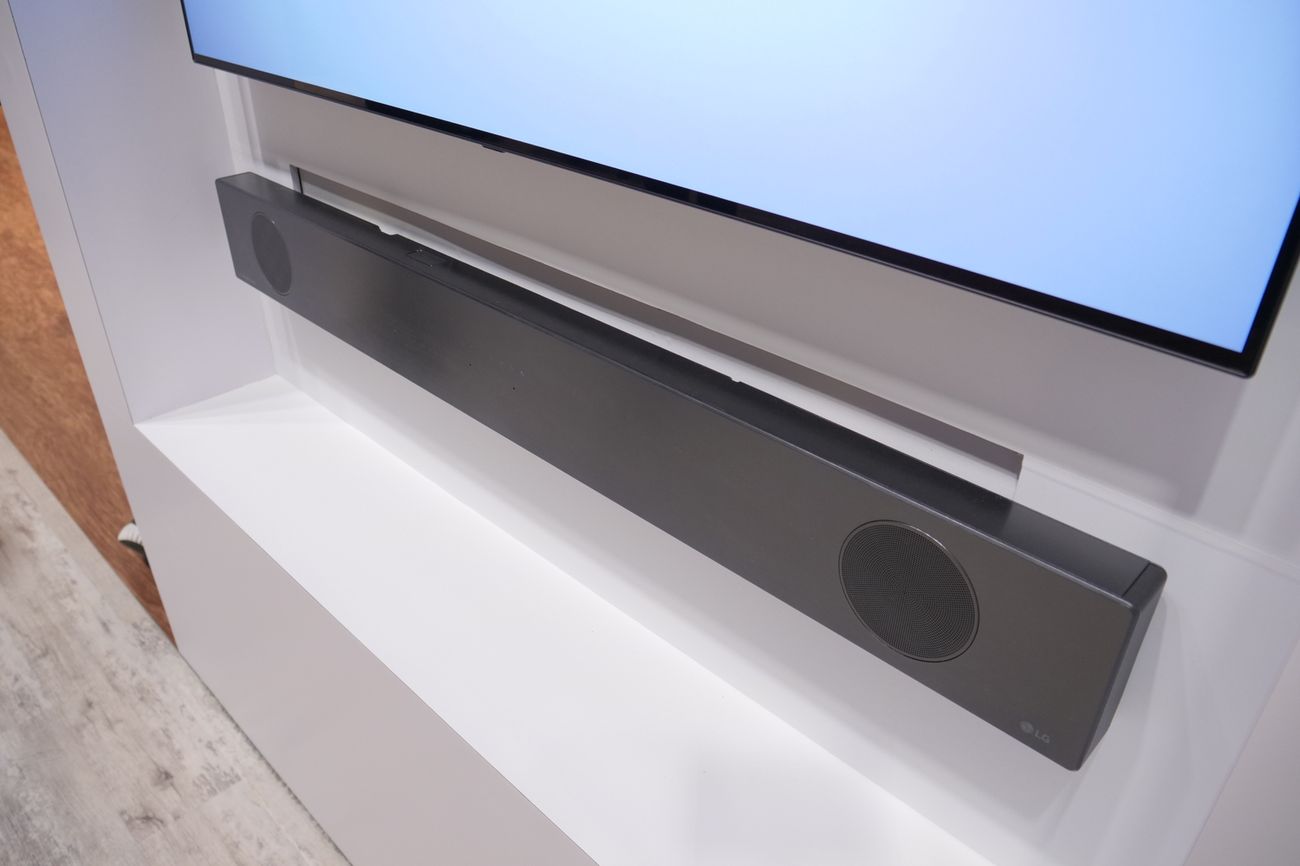
- TV Mounting: If you have a wall-mounted TV, you can choose to mount the sound bar directly below or above it. Some sound bars come with brackets or clips that allow you to attach them to the TV’s mounting holes. Ensure that the weight and dimensions of the sound bar are compatible with your TV.
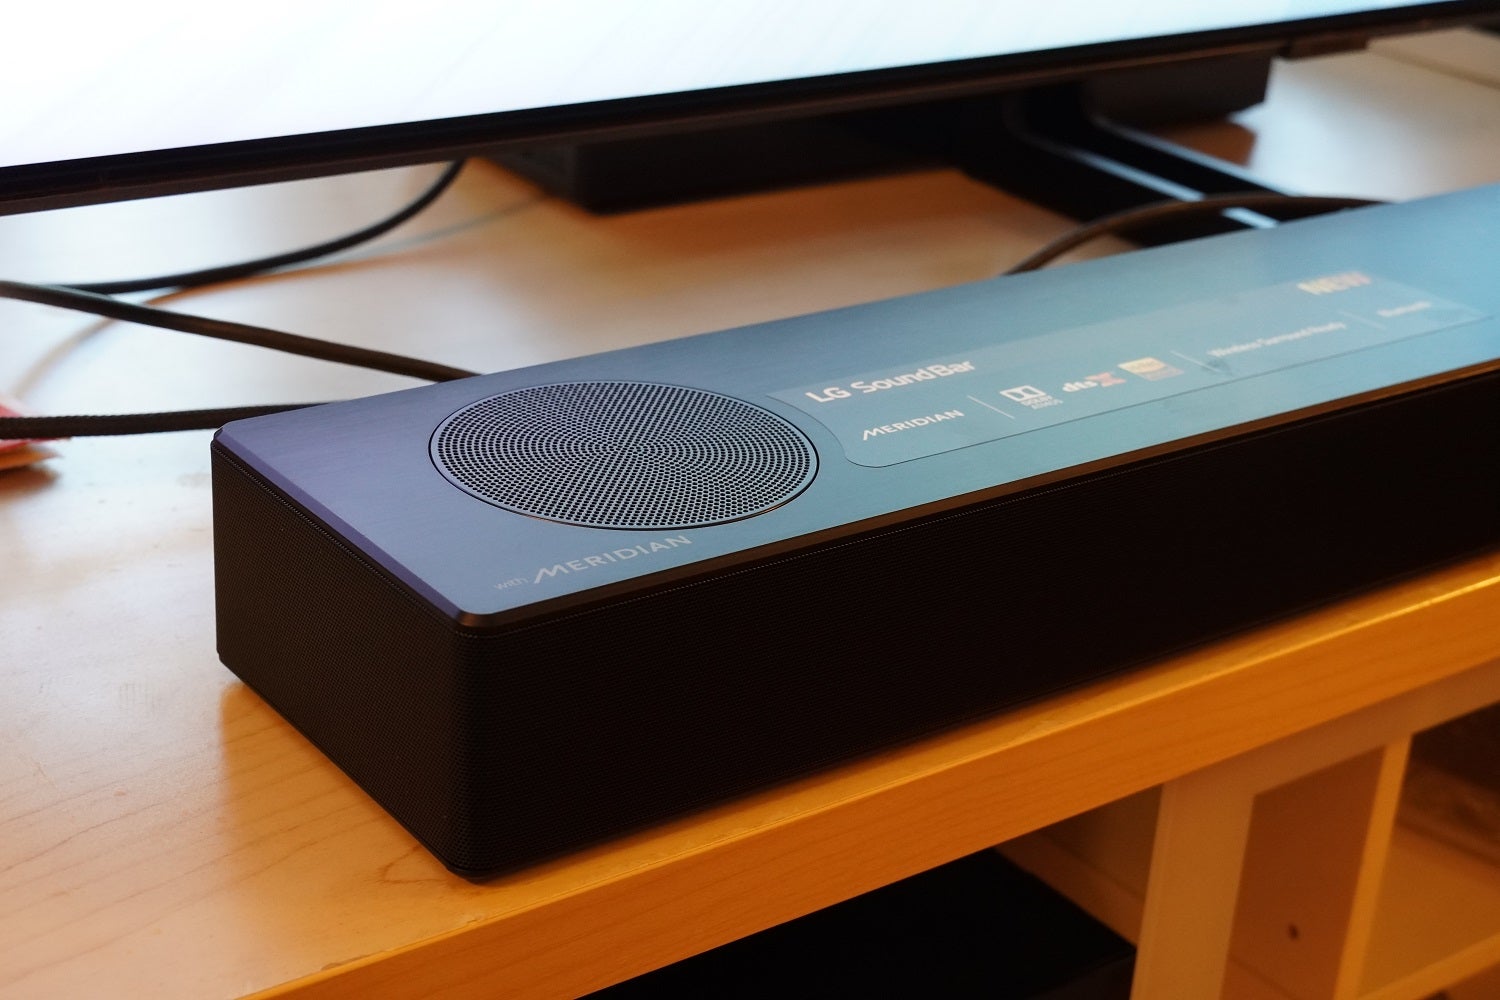
- Tabletop Mounting: If wall or TV mounting is not suitable for your setup, you can opt for tabletop mounting. Simply place the sound bar on a stable and level surface, such as a TV stand or media console. Be sure to consider cable management options to keep the wires tidy.
- Sound Bar Stand: Certain sound bars come with their own dedicated stands. These stands provide a freestanding option, allowing you to place the sound bar on a shelf or tabletop without the need for wall mounting. Ensure that the stand is sturdy and compatible with your sound bar model.
When choosing the mounting method, consider factors such as the layout of your room, the aesthetics you desire, and any restrictions imposed by the available space. Also, keep in mind the compatibility of the mounting method with your LG sound bar model and any additional accessories that may be required.
By carefully selecting the appropriate mounting method, you’ll ensure a secure and visually pleasing installation of your LG sound bar, transforming your entertainment area into a cinematic experience.
Step 4: Mounting the LG Sound Bar
Now that you have chosen the mounting method for your LG sound bar, it’s time to proceed with the actual installation. Follow these steps to mount your sound bar securely:
- Refer to the user manual: Begin by reviewing the mounting instructions specific to your LG sound bar model. The manual will provide step-by-step guidance on how to attach the sound bar using the recommended method.
- Attach the mounting brackets (if applicable): If your sound bar requires mounting brackets, follow the instructions to attach them securely. Ensure that they are properly aligned with the holes on the back of the sound bar.
- Position the sound bar: Carefully position the sound bar near the designated mounting area, whether it’s on the wall, attached to the TV, or placed on a tabletop. Make sure it is aligned with the marked spot from the preparation stage.
- Secure the sound bar: Depending on the mounting method, proceed to secure the sound bar using the appropriate hardware. If mounting on a wall, use screws or bolts to attach the brackets to the wall or wall anchors. If mounting to the TV, utilize the mounting holes and screws provided by LG or the TV manufacturer.
- Ensure stability: After mounting the sound bar, give it a gentle shake or tug to ensure that it is securely fastened. If there is any wobbling or instability, double-check the mounting hardware and make necessary adjustments.
- Check for leveling: If mounting on a wall, use a level to ensure that the sound bar is positioned evenly. Adjust the brackets or mounting hardware as needed for a straight and balanced alignment.
During the mounting process, it’s important to handle the sound bar with care to avoid any damage. Take your time to follow the instructions provided, ensuring that all brackets and hardware are properly attached.
By successfully mounting your LG sound bar, you’ll not only improve the audio experience but also achieve a clean and polished look in your entertainment area.
Step 5: Adjusting and Securing the Sound Bar
After mounting the LG sound bar, it’s important to make some adjustments and ensure that it is securely fastened. This step will help optimize the sound quality and prevent any accidental damage or displacement. Here are the key steps to follow:
- Positioning the sound bar: Take a step back and assess the positioning of the sound bar. Make any necessary adjustments to ensure that it is centered and aligned with the TV or the seating area, depending on your desired audio setup.
- Angle adjustment: Many LG sound bars allow you to adjust the angle of the speakers. This adjustment can help direct the sound towards the desired listening area. Refer to the user manual for information on how to adjust the angle if applicable.
- Cable management: Tidy up the cables connecting the sound bar to the TV or other devices. Use cable clips, cable channels, or cable sleeves to organize and conceal the wires for a clean and professional look.
- Secure any loose connections: Check all the connections between the sound bar, TV, and other devices. Ensure that the cables are securely plugged in and that there are no loose connections that could affect the audio quality.
- Test the sound bar: Turn on the sound bar and play some audio content to test its functionality. Adjust the volume, bass, treble, and other settings to your liking. Pay attention to any distortion or issues with the sound and make adjustments as needed.
- Recheck stability: Give the mounted sound bar a gentle shake or tap to ensure that it remains secure. If there is any movement, double-check the mounting hardware and make necessary adjustments to ensure a stable installation.
By taking the time to adjust and secure the LG sound bar after mounting, you’ll ensure optimal sound performance and prevent any potential issues. This step also allows you to fine-tune the audio settings and confirm that everything is in working order.
Once you have completed these adjustments, you’re ready to enjoy the immersive sound quality that your LG sound bar brings to your home theater setup.
Step 6: Connecting the LG Sound Bar to the TV
Once you have mounted and adjusted the LG sound bar, the next step is to connect it to your TV. This will ensure that all audio from the TV is routed through the sound bar, providing an enhanced and immersive audio experience. Follow these steps to connect the sound bar to your TV:
- Identify the audio output options on your TV: Check your TV for audio output ports. The most common options include HDMI ARC (Audio Return Channel), optical digital audio, and 3.5mm AUX.
- Choose the appropriate audio cable: Based on the available audio output options on your TV, choose the corresponding audio cable that best suits your needs. For HDMI ARC, an HDMI cable will be required. For optical audio output, an optical cable is needed. And for 3.5mm AUX, a 3.5mm audio cable is necessary.
- Connect the cable to the TV: Once you have chosen the appropriate audio cable, connect one end of the cable to the corresponding audio output port on your TV. Ensure a secure and snug connection.
- Connect the cable to the sound bar: Take the other end of the audio cable and connect it to the corresponding audio input port on the LG sound bar. Again, ensure a secure and proper connection.
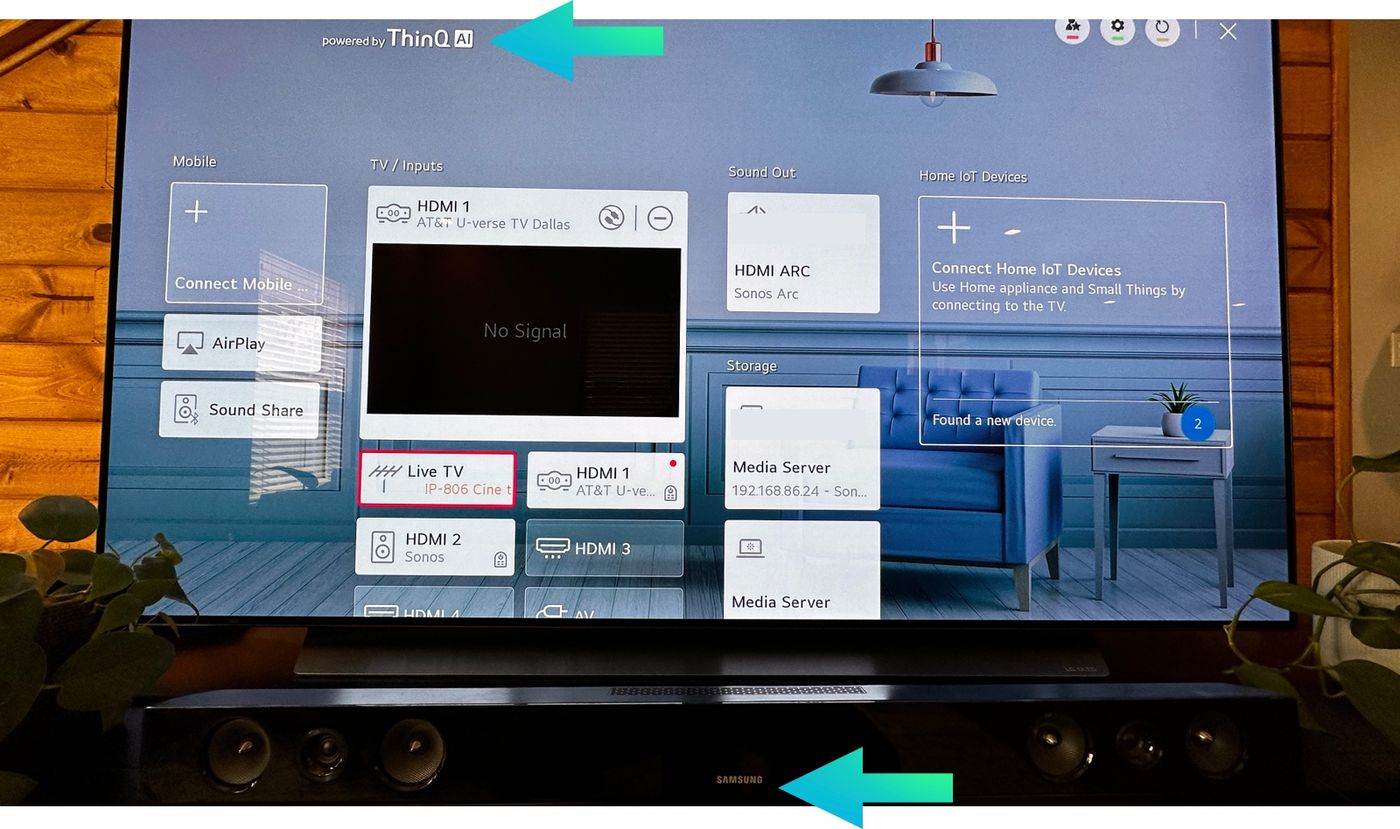
- Configure audio settings on the TV: Access the audio settings on your TV and ensure that the audio output is set to the connected sound bar. This step may vary depending on the TV model, so refer to the TV’s user manual for specific guidance.
- Test the audio: Once the connection is established and the settings are configured, test the audio by playing content on your TV. Adjust the sound bar’s volume and other settings as needed to achieve the desired audio level and quality.
By connecting the LG sound bar to your TV, you’ll ensure that all audio output is channeled through the sound bar, enhancing your overall audio experience. The specific steps may vary depending on the audio output options available on your TV, so be sure to refer to the user manuals of both your TV and sound bar for accurate instructions.
With the sound bar successfully connected to the TV, you’re now ready to fully enjoy the immersive audio experience that your LG sound bar provides.
Step 7: Testing the Sound Bar
After mounting and connecting your LG sound bar to the TV, the final step is to test the sound bar to ensure that it’s performing as expected. This step is crucial to ensure that you’re getting the most out of your audio setup and to address any potential issues. Here’s how to test the sound bar:
- Select a variety of audio sources: Play different types of audio content, such as movies, music, and TV shows, to evaluate the sound bar’s performance across various genres. This will help you gauge the sound quality, clarity, and immersive experience it offers.
- Adjust audio settings: Explore the sound bar’s settings to optimize the sound according to your preferences. Adjust the volume, bass, treble, and any other available sound modes to get the desired audio experience.
- Test the surround sound capabilities: If your LG sound bar supports surround sound, test it with compatible content to ensure that the surround sound effect is functioning correctly. This feature can significantly enhance your home theater experience.
- Check for audio synchronization: Pay close attention to the synchronization of the audio and the video. Ensure that the sound is properly aligned with the actions happening on the screen. If there are any delays or syncing issues, adjust the settings accordingly.
- Listen for any audio abnormalities: During the testing phase, listen for any audio abnormalities such as distortion, buzzing, or crackling sounds. If you notice any issues, troubleshoot by double-checking the connections, adjusting settings, or consulting the user manual.
- Observe the sound coverage: Walk around the room and observe how the sound travels and fills the space. Ensure that the sound is evenly distributed and that there are no dead zones or areas with weak audio coverage.
- Seek professional assistance if needed: If you encounter persistent issues or are unable to optimize the sound bar’s performance on your own, consider contacting LG customer support or consulting with a professional audio technician for further assistance.
Testing your LG sound bar after installation and setup is crucial to ensure that you’re getting the best possible audio experience. By evaluating the sound quality, adjusting settings, and addressing any potential issues, you’ll be able to fully enjoy the immersive sound that your LG sound bar delivers.
Take the time to experiment with different audio sources and settings to find the optimal audio performance that suits your preferences and the characteristics of your entertainment area.
Conclusion
Congratulations, you have successfully learned how to mount an LG sound bar! By following the steps provided in this comprehensive guide, you have transformed your home theater setup into a more immersive and aesthetically pleasing audio experience.
Throughout the process, you have unboxed your LG sound bar, prepared the mounting area, chosen the appropriate mounting method, securely mounted the sound bar, made necessary adjustments, connected it to your TV, and tested its performance.
Mounting your LG sound bar not only enhances the audio quality but also creates a clean and organized look in your entertainment area. Whether you opted for wall mounting, TV mounting, or tabletop installation, the choice of method was tailored to your specific setup and preferences.
Remember to refer to the user manual provided by LG for your specific sound bar model, as instructions and mounting hardware may vary. Additionally, always follow safety guidelines and consider seeking professional assistance if needed.
Now, sit back, relax, and enjoy the immersive sound experience that your LG sound bar provides. Whether you’re watching movies, listening to music, or playing video games, the rich and clear audio will enhance every moment.
Thank you for choosing LG and for taking the time to learn how to mount your sound bar. We hope this guide has been helpful, and we wish you many enjoyable hours of cinematic sound in your home theater setup!


