Home>Production & Technology>Sound Bar>How To Mount Sound Bar On Wall
Sound Bar
How To Mount Sound Bar On Wall
Modified: January 22, 2024
Learn how to mount your sound bar on the wall with our step-by-step guide. Enhance your audio experience with a sleek and space-saving setup.
(Many of the links in this article redirect to a specific reviewed product. Your purchase of these products through affiliate links helps to generate commission for AudioLover.com, at no extra cost. Learn more)
Table of Contents
Introduction
Sound bars have become a popular audio solution for home theatres and living rooms. They provide a sleek and space-saving alternative to traditional surround sound systems, delivering high-quality audio and an immersive entertainment experience. Mounting your sound bar on the wall not only enhances sound projection but also adds a stylish touch to your room decor.
In this article, we will guide you through the step-by-step process of mounting a sound bar on the wall. Whether you want to create a more immersive movie-watching experience or simply save space, wall mounting your sound bar is a convenient and effective solution. We will cover everything you need to know, from choosing the right location to concealing cables.
Before jumping into the installation process, make sure you gather all the necessary tools and materials. This will ensure a smooth and hassle-free experience. Let’s take a look at what you’ll need:
- Wall mount bracket
- Screwdriver or drill with appropriate drill bits
- Level
- Tape measure
- Pencil or marker
- Extension cord (optional)
- Zip ties or cable management kit
Once you have all the tools and materials ready, you can proceed with the mounting process. Remember to read the manufacturer’s instructions that come with your specific sound bar model for any additional guidance. Now, let’s dive into the step-by-step process for mounting your sound bar on the wall.
Tools and Materials Needed
Before you begin the process of mounting your sound bar on the wall, it’s essential to gather all the necessary tools and materials. Having everything on hand will make the installation process much smoother and more efficient. Here’s a list of items you’ll need:
- Wall mount bracket: This is the primary tool you’ll need to securely attach your sound bar to the wall. Ensure that you choose a wall mount bracket that is compatible with your sound bar model and can support its weight. You can find a variety of options online or at your local electronics store.
- Screwdriver or drill: You’ll need a screwdriver or a drill with appropriate drill bits to attach the wall mount bracket to the wall. Make sure you have the necessary tools in order to avoid any delays during the installation process.
- Level: A level is essential for ensuring that your sound bar is mounted straight and level on the wall. This will help provide an optimal audio experience and prevent any visual discrepancies.
- Tape measure: Precise measurements are crucial when it comes to mounting your sound bar. Use a tape measure to determine the ideal height and positioning on the wall for the best audio performance. It’s important to take into account the viewing angle and the distance from the primary seating area.
- Pencil or marker: These are essential for marking the mounting points on the wall. You’ll want to make sure your marks are easily visible and accurately placed so that you can install the wall mount bracket correctly.
- Extension cord (optional): If your sound bar requires an electrical outlet, you may need an extension cord to ensure it can reach the nearest power source. Consider the placement of your sound bar in relation to the nearest power outlet and plan accordingly.
- Zip ties or cable management kit: To give your installation a clean and organized look, consider using zip ties or a cable management kit to securely fasten and conceal the audio and power cables. This will prevent any unsightly cable clutter and potential tripping hazards.
With these tools and materials in hand, you’re now ready to embark on the installation process. Make sure to read the manufacturer’s instructions for your specific sound bar model for any additional tools or materials that may be required. Let’s move on to the next step: choosing the right location on the wall for your sound bar.
Step 1: Choose the Right Location on the Wall
Choosing the right location on the wall for your sound bar is crucial to ensure optimal audio performance and an aesthetically pleasing setup. Here are a few factors to consider when selecting the ideal spot:
- Height: The height at which you mount your sound bar plays a significant role in the audio experience. For the best results, aim to align the center of the sound bar with the ear level of the listener in your primary seating area. This will help create an immersive soundstage and ensure that the audio is evenly distributed.
- Distance from other devices: If you have other audio/video equipment, such as a TV or gaming console, make sure to consider their proximity when choosing the location for your sound bar. Keep a distance to prevent any interference or obstruction.
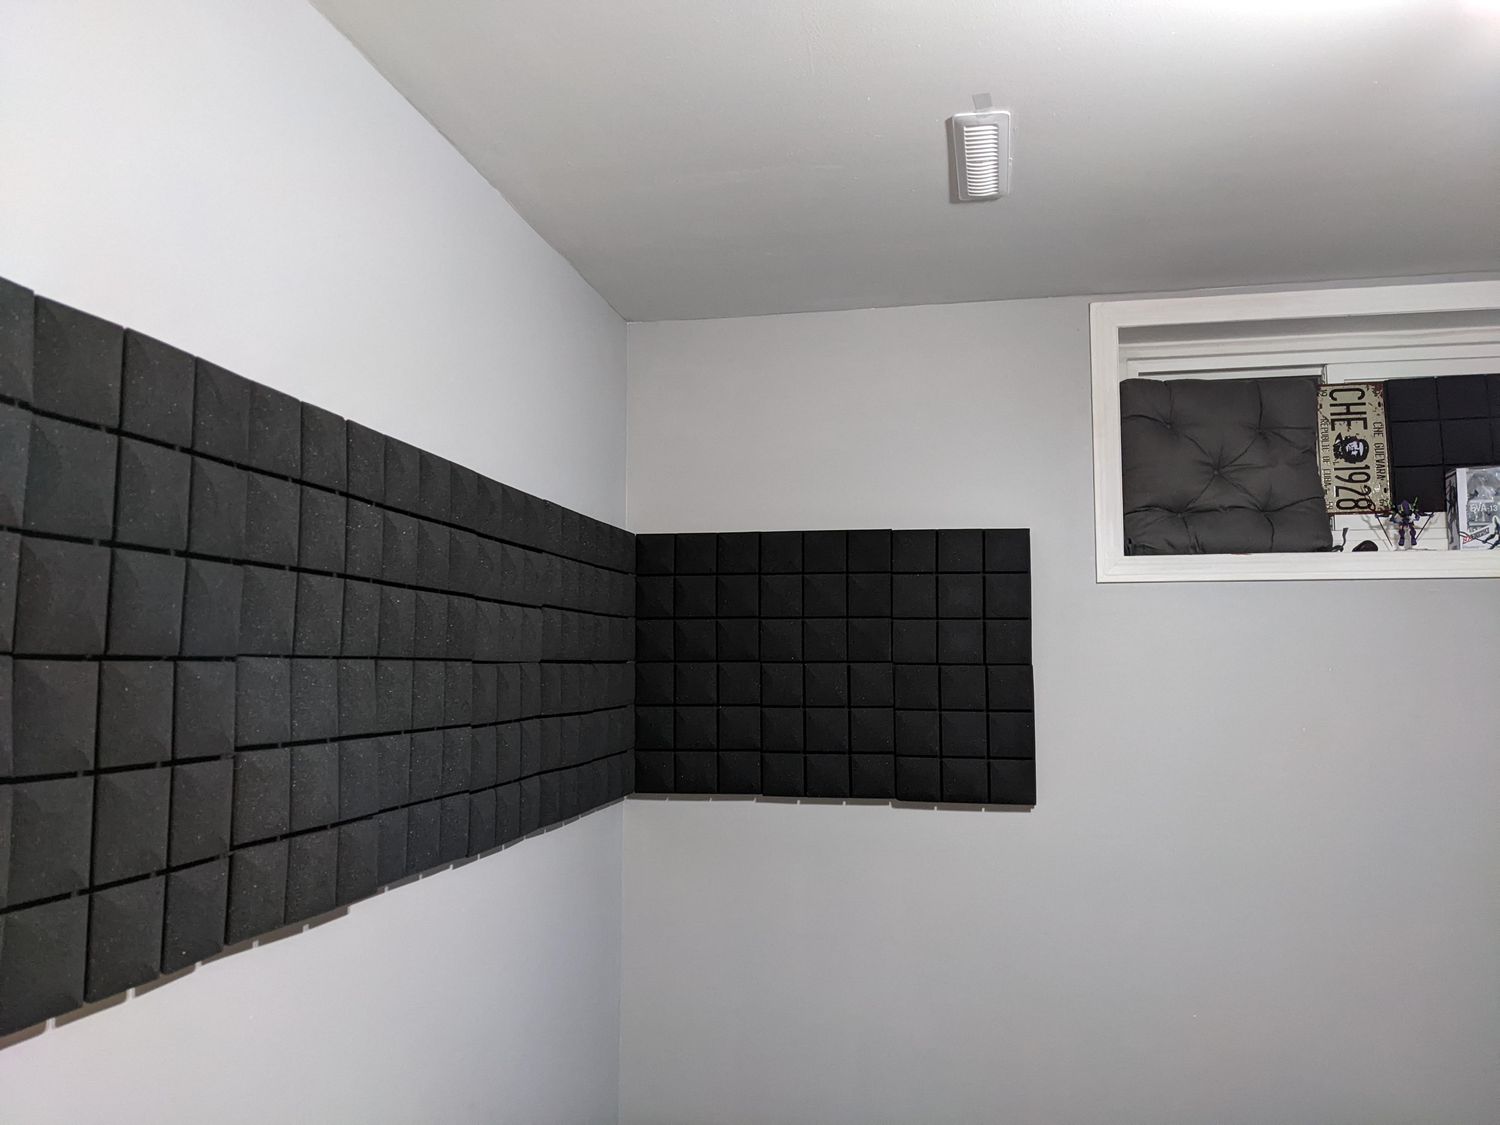
- Room acoustics: Take into account the acoustics of your room. If you have bare walls or lots of hard surfaces, you may want to choose a location that allows for some sound diffusion or use acoustic treatments to minimize any echo or unwanted reflections.
- Viewing angle: Consider the viewing angle from your primary seating area. You’ll want to mount the sound bar at a height and distance that allows for a comfortable and immersive audio experience without obstructing the view of the screen.
Once you have considered these factors, use a tape measure to mark the desired location on the wall. Use a pencil or marker to make the marks easily visible and to ensure accuracy throughout the installation process.
It’s also important to check for any obstacles, such as wall studs, electrical outlets, or light switches, in the chosen location. Avoid mounting the sound bar over wall studs, as this might complicate the installation process. However, if it’s unavoidable, consider using a stud finder to locate the studs and choose a wall mount bracket that can be securely attached to them.
By carefully choosing the right location on the wall, you’ll lay the foundation for a successful and visually appealing sound bar installation. Once you’ve selected the location, it’s time to move on to the next step: measuring and marking the mounting points.
Step 2: Measure and Mark the Mounting Points
After choosing the optimal location for your sound bar on the wall, the next step is to measure and mark the mounting points. This will ensure accurate installation and proper alignment. Here’s how to do it:
- Measure the sound bar: Begin by measuring the width and height of your sound bar. This will help you determine the spacing and position of the mounting points on the wall. You can usually find this information in the user manual or on the manufacturer’s website.
- Measure the wall: Use a measuring tape to measure the width and height of the chosen location on the wall. This will help you determine the exact placement of the sound bar and ensure that it fits within the desired area.
- Mark the mounting points: Using a pencil or marker, mark the mounting points on the wall based on the measurements of the sound bar. Typically, sound bar wall mount brackets have multiple screw holes for flexibility. Ensure that the marks are level and evenly spaced apart to provide stability for the sound bar.
- Double-check the measurements: Before drilling any holes, double-check the measurements and the placement of the marked mounting points. Use a level to ensure that the marks are straight and aligned. This will prevent any issues during the installation process.
An important tip is to use a template or guide that matches the dimensions of your sound bar and mounting bracket. Some manufacturers provide templates that you can print or trace onto the wall for precise placement of the mounting points.
Remember to consider any additional accessories or components that need to be mounted, such as a subwoofer or satellite speakers. Make sure to mark the mounting points for these as well, if applicable.
Once the mounting points are accurately marked, you’re ready to move on to the next step: installing the wall mount bracket. Properly marking the points will ensure a secure and balanced installation for your sound bar.
Step 3: Install the Wall Mount Bracket
Now that you have measured and marked the mounting points on the wall, it’s time to install the wall mount bracket. The bracket serves as the anchor that holds your sound bar securely in place. Follow these steps to install the bracket:
- Gather the necessary tools: Make sure you have all the required tools and materials on hand, including the wall mount bracket, screwdriver or drill, and appropriate screws.
- Align the bracket: Hold the wall mount bracket against the wall, aligning it with the marked mounting points. Make sure it is straight and level by using a spirit level.
- Secure the bracket: Depending on the type of wall mount bracket, you’ll either need to screw it directly into the wall or attach it to wall anchors for added stability. Use a screwdriver or drill with the appropriate drill bit to secure the bracket firmly in place.
- Double-check the alignment: After securing the bracket, double-check that it is aligned correctly. Use the spirit level again to ensure the bracket is straight. Adjust if necessary.
It’s important to follow the manufacturer’s instructions for your specific wall mount bracket, as the installation process may vary. Some brackets may also require additional screws or mounting hardware, so be sure to refer to the included manual for guidance.
Take your time during this step to ensure that the bracket is securely attached to the wall. A properly installed bracket will provide stability and support for your sound bar.
Once the wall mount bracket is securely in place, you’re one step closer to enjoying your mounted sound bar. The next step is to attach the sound bar to the mount bracket, which we will cover in the following section.
Step 4: Attach the Sound Bar to the Mount Bracket
With the wall mount bracket securely installed, it’s time to attach your sound bar to the bracket. This step ensures that your sound bar is properly mounted and can deliver optimal audio performance. Follow these steps to attach the sound bar:
- Preparation: Before attaching the sound bar, make sure to have an assistant or a sturdy surface nearby to support the weight of the sound bar during the installation process.
- Locate the mounting holes: Align the mounting holes on the back of the sound bar with the corresponding holes on the mount bracket. You may need to slide the sound bar onto the bracket or carefully lift and position it over the bracket, depending on the design.
- Secure the sound bar: Once the mounting holes are aligned, use the provided screws or fasteners to secure the sound bar to the mount bracket. Make sure the screws are tightened securely but avoid over-tightening, as this may damage the sound bar.
- Double-check the alignment: After attaching the sound bar, step back and assess its placement. Use a level to check if the sound bar is straight and aligned with the bracket. Make any necessary adjustments to ensure it is perfectly positioned.
It’s important to reference the manufacturer’s instructions for your specific sound bar model, as the attachment process may vary. Some sound bars may require different mounting methods or additional hardware, so be sure to follow the provided guidelines.
Take your time to ensure that the sound bar is securely attached and properly aligned with the mount bracket. This will not only ensure a sturdy installation but also enhance the overall aesthetic of your mounted sound bar.
With the sound bar attached to the mount bracket, you’re almost done! The next step is to conceal the cables for a clean and organized look, which we will cover in the following section.
Step 5: Conceal the Cables
Now that your sound bar is securely mounted on the wall, it’s time to tackle the task of concealing the cables. Concealing the cables will not only enhance the visual aesthetics of your setup but also prevent any tripping hazards and create a clean, clutter-free look. Follow these steps to effectively hide the cables:
- Assess the cable length: Measure the length needed to connect your sound bar to the power outlet and any other devices, such as a TV or media player. Make sure to account for any additional distance required for cable routing.
- Use cable management solutions: There are several cable management solutions available that can help conceal and organize your cables. Consider using adhesive cable clips or cable raceways to secure the cables along the wall or behind furniture.
- Route the cables: Carefully route the cables from the sound bar to the nearest power outlet and other connected devices. Use the cable management solutions to secure the cables, keeping them neat and tidy.
- Use zip ties or Velcro straps: To further organize and manage the cables, use zip ties or Velcro straps to bundle them together. This will prevent any tangles or loose cables and create a more streamlined appearance.
- Consider in-wall cable concealment: If you want a more permanent and seamless cable concealment solution, you may consider in-wall cable concealment kits. These kits allow you to run the cables through the wall, hiding them completely for a professional and clean look. However, this option may require professional installation.
Remember to follow safety guidelines when working with cables and electrical connections. If you are uncertain about the process, it’s always recommended to consult a professional for assistance.
By concealing the cables, you will create a clean and organized installation for your sound bar, enhancing the overall visual appeal of your space. The final step is to test and adjust the sound bar position, which we will cover in the next section.
Step 6: Test and Adjust the Sound Bar Position
After mounting the sound bar, attaching it to the mount bracket, and concealing the cables, it’s time to test and fine-tune the sound bar position. This step ensures that you achieve the best sound quality and the optimal viewing experience. Follow these steps to test and adjust the sound bar position:
- Power on the sound bar: Turn on your sound bar and any connected devices, such as a TV or media player. Make sure all the necessary cables are securely connected.
- Play audio content: Choose a piece of audio or video content that allows you to experience a variety of sound effects and frequencies. This could be a movie, TV show, or music.
- Listen for audio balance and immersion: Pay attention to the audio balance and immersion. Does the sound bar produce clear and balanced sound? Is the sound filling the room and creating an immersive experience?
- Assess the positioning: Sit in your primary seating area and evaluate the positioning of the sound bar. Does it provide an optimal listening experience? Are you satisfied with the sound projection and imaging?
- Make adjustments if necessary: If you notice any issues with the sound quality or positioning, make adjustments as needed. This could involve slight repositioning of the sound bar or tweaking the audio settings on your sound bar or connected devices.
During this process, keep in mind the ideal height, distance, and alignment discussed in the earlier steps. Make adjustments based on your personal preferences and the acoustic characteristics of your room.
Additionally, consider the viewing angle and ensure that the sound bar does not obstruct the view of the screen. If necessary, reposition the sound bar accordingly.
Remember, achieving the perfect sound bar position may require some experimentation. Take the time to fine-tune the placement until you are satisfied with the audio performance and the overall setup.
With the sound bar perfectly positioned and the audio quality optimized, you can now sit back, relax, and enjoy your enhanced home theater experience!
Conclusion
Mounting your sound bar on the wall brings numerous benefits, from enhanced audio projection to a sleek and stylish setup. By following the step-by-step process outlined in this guide, you can successfully mount your sound bar and enjoy an immersive home theater experience.
Starting with choosing the right location on the wall, you ensured optimal height, viewing angle, and distance. Then, by measuring and marking the mounting points, you achieved accurate placement for the wall mount bracket. With the bracket securely installed, you were able to attach the sound bar and create a stable and visually pleasing setup.
Concealing the cables not only gave your installation a clean and organized look but also prevented any tripping hazards. By using cable management solutions and bundling the cables, you achieved a streamlined appearance.
Finally, by testing and adjusting the sound bar position, you fine-tuned the audio performance and ensured an immersive experience. Taking into account factors such as audio balance, sound projection, and viewing angle, you optimized the sound bar’s placement to suit your preferences.
Remember, throughout the installation process, it’s important to refer to the manufacturer’s instructions and use the appropriate tools and materials. Safety precautions should be taken when working with electrical connections and cables. If you are uncertain, it’s always wise to seek professional assistance.
Now that you have successfully mounted your sound bar, sit back, relax, and enjoy a complete home theater experience with immersive audio and visually pleasing aesthetics.
By following this comprehensive guide, you have taken the first step towards transforming your living room into a cinematic paradise.