Home>Production & Technology>Sound Bar>How To Mount Sound Bar To TV
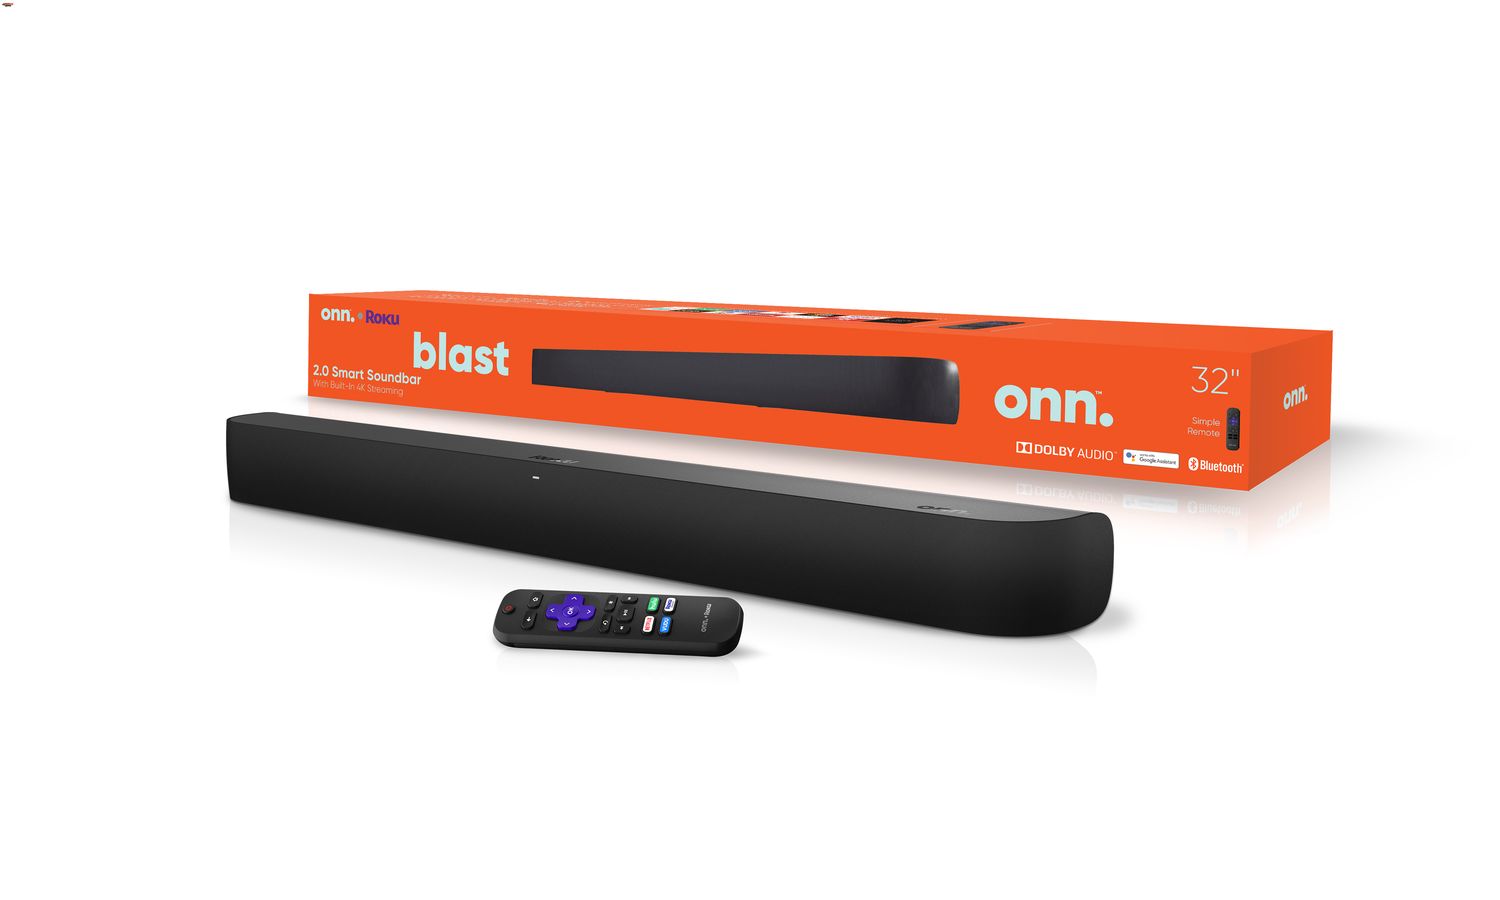
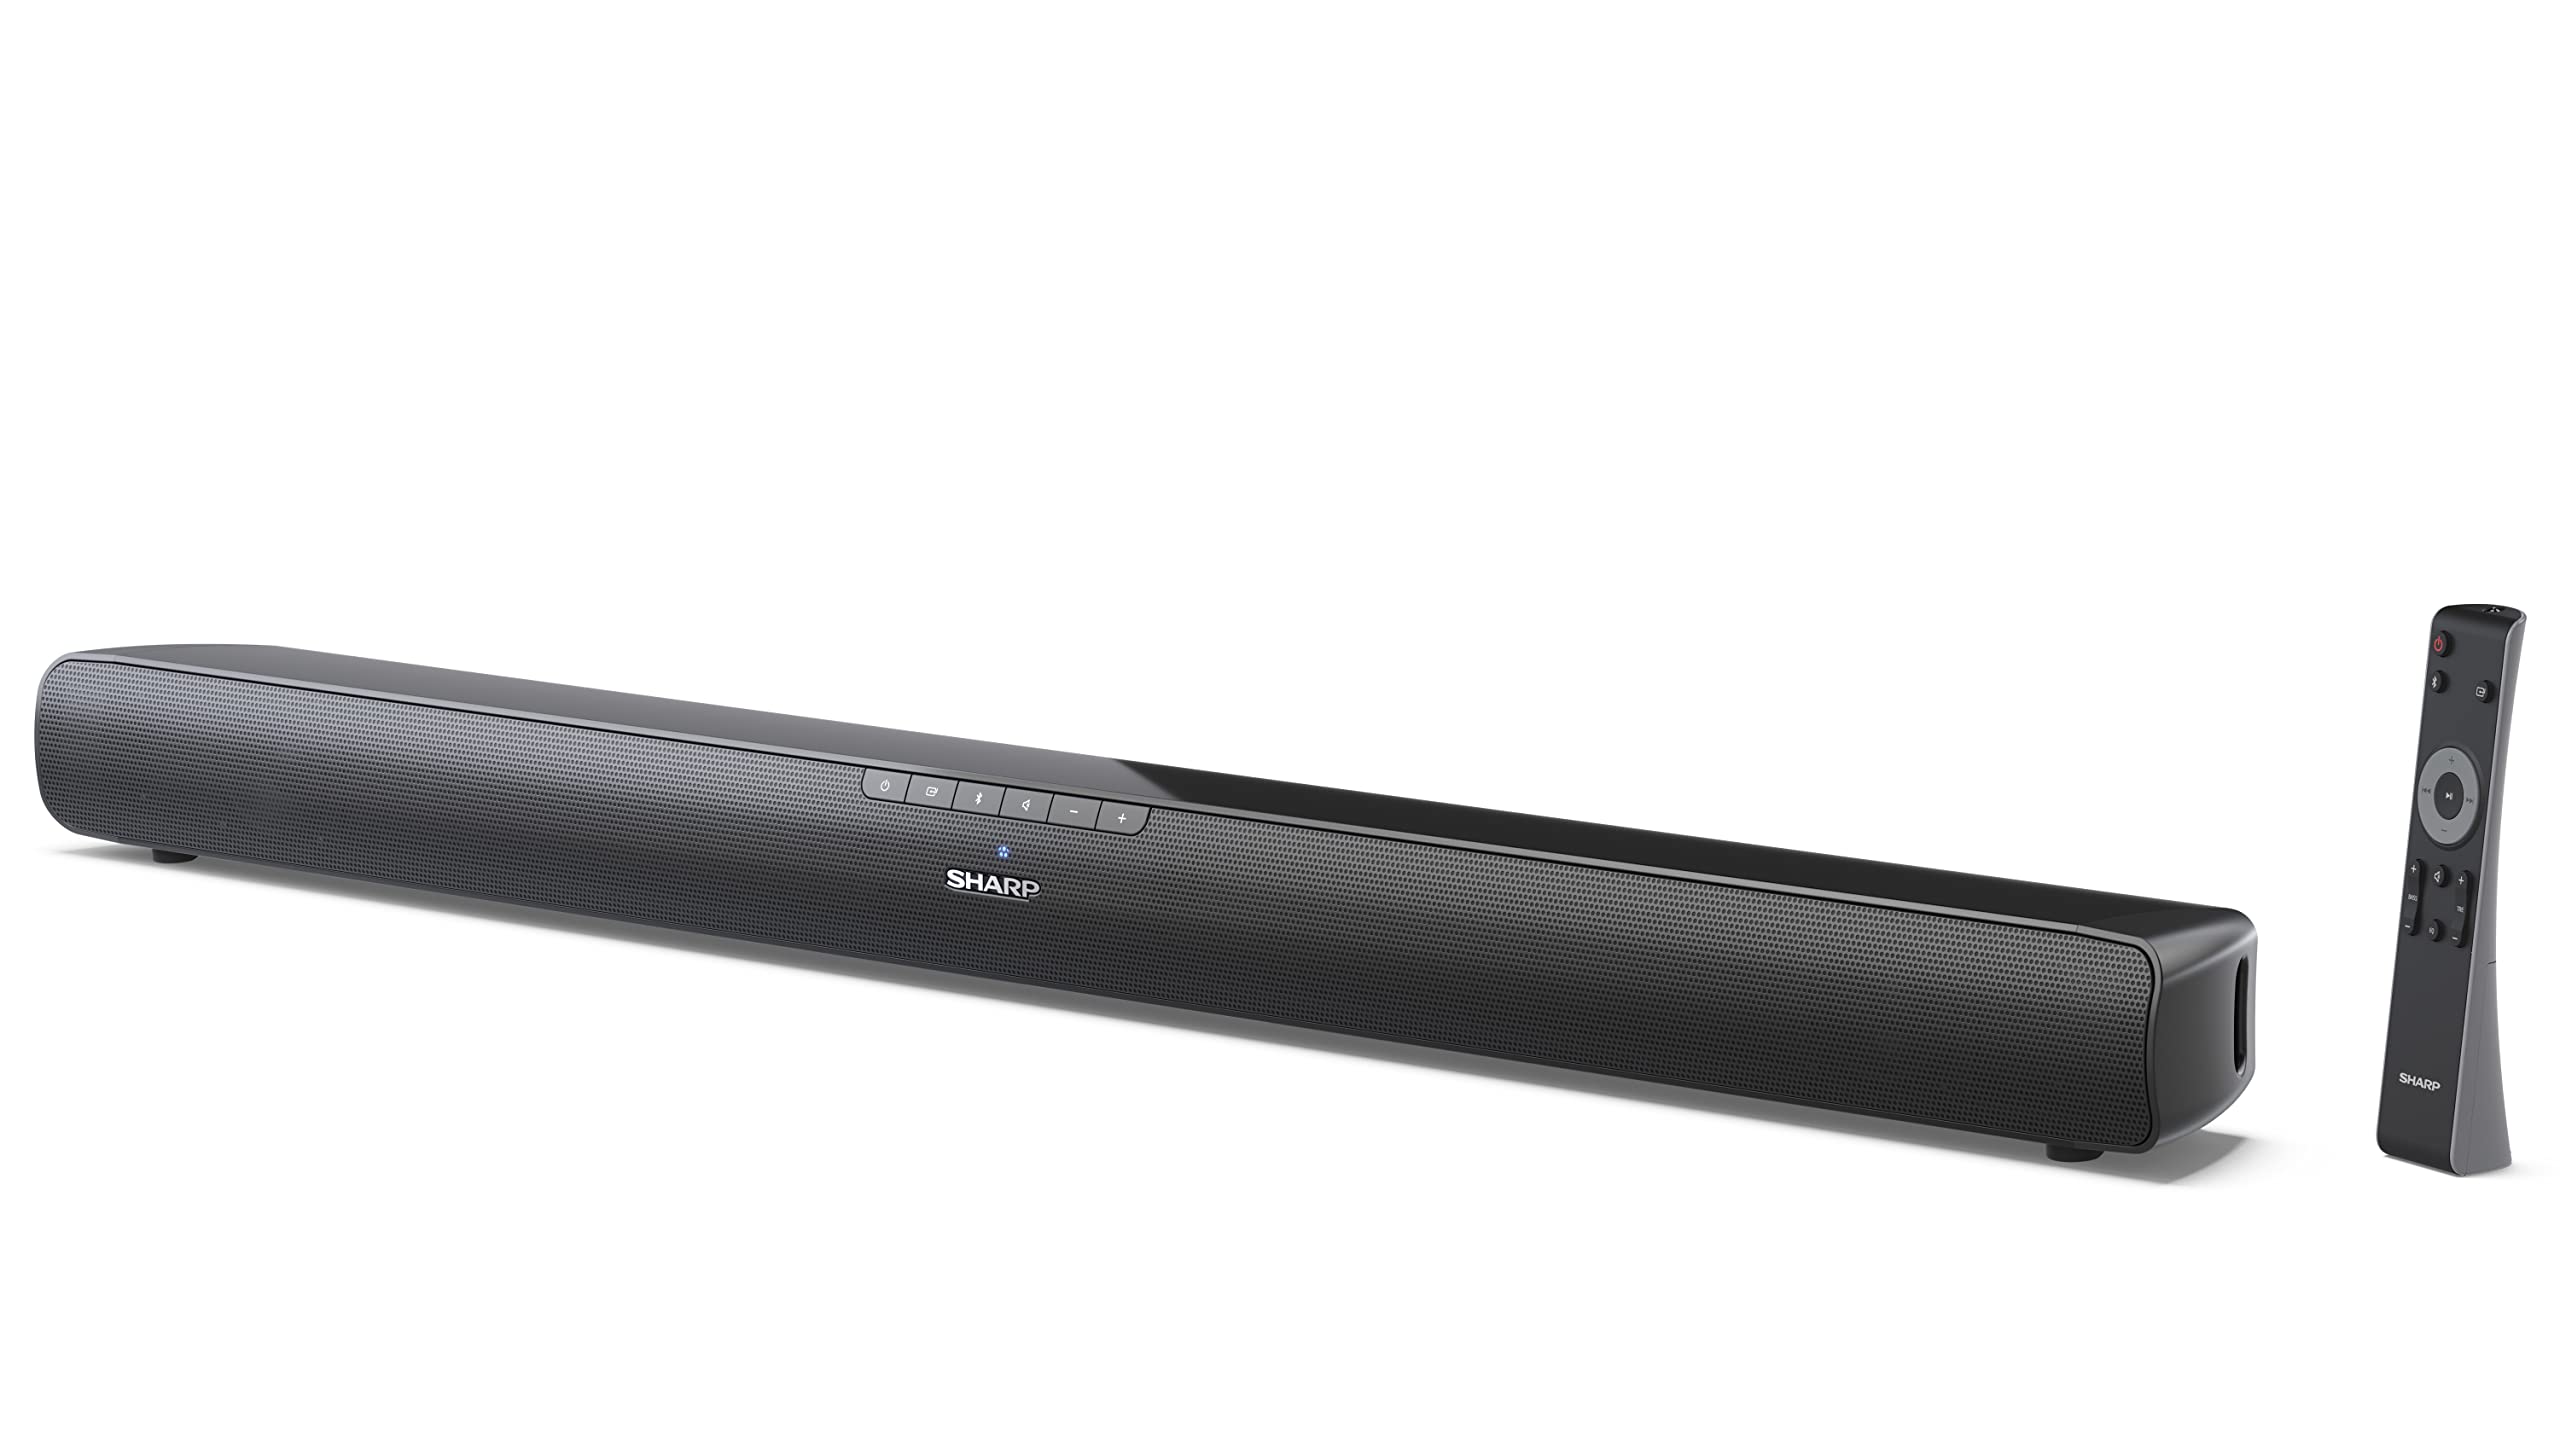
Sound Bar
How To Mount Sound Bar To TV
Modified: January 22, 2024
Learn how to easily mount a sound bar to your TV for an immersive audio experience. Enhance your home entertainment setup with this step-by-step guide.
(Many of the links in this article redirect to a specific reviewed product. Your purchase of these products through affiliate links helps to generate commission for AudioLover.com, at no extra cost. Learn more)
Table of Contents
- Introduction
- Step 1: Gather the necessary tools and materials
- Step 2: Determine the mounting method
- Step 3: Preparing the sound bar and TV
- Step 4: Mounting the sound bar to the TV
- Step 5: Testing and adjusting the sound bar position
- Step 6: Cable management
- Step 7: Final checks and troubleshooting
- Conclusion
Introduction
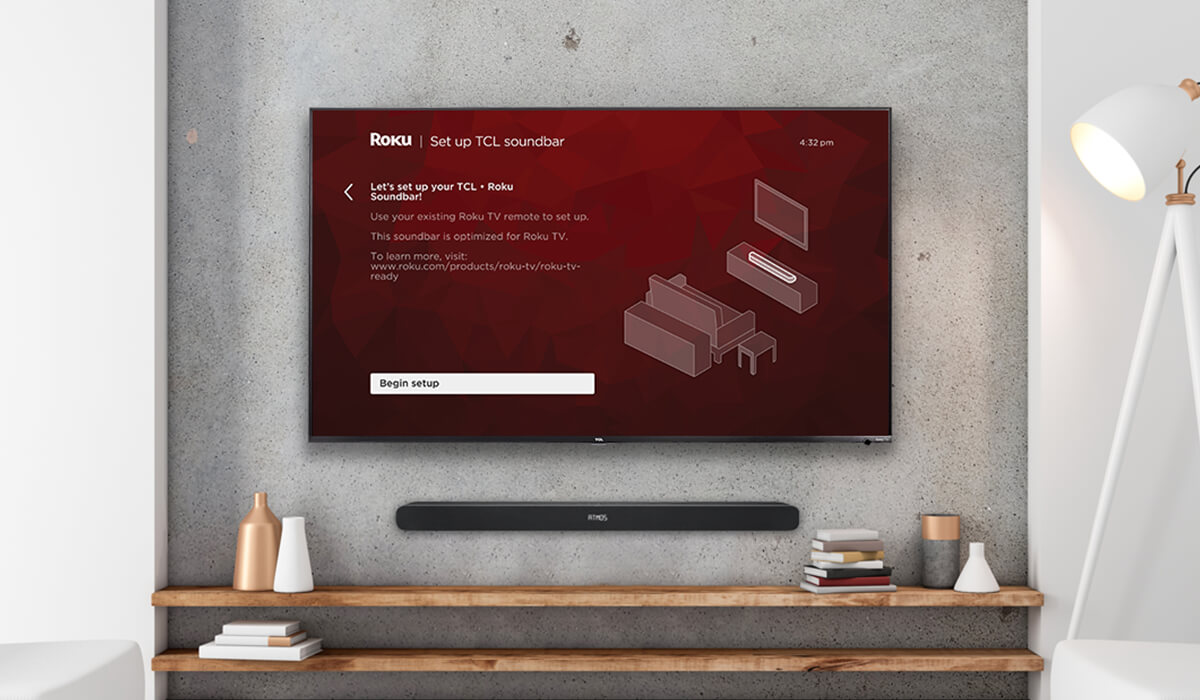
Welcome to our guide on how to mount a sound bar to your TV. Adding a sound bar to your television can greatly enhance your audio experience, bringing clearer dialogue, immersive surround sound, and a more cinematic feel to your favorite movies, shows, and games. Mounting your sound bar directly to your TV helps to create a streamlined and professional look, saving space and eliminating the need for additional furniture or wall mounting.
Whether you’re a tech enthusiast or a casual TV viewer, mounting a sound bar to your TV may seem like a daunting task. However, with the right tools, materials, and step-by-step guidance, you’ll find that it’s a straightforward process that can be completed in no time.
In this comprehensive guide, we will walk you through the entire process of mounting a sound bar to your TV. From gathering the necessary tools and materials to cable management and troubleshooting, we’ve got you covered. You don’t need to be a DIY expert to follow along. With a little patience and some basic tools, you’ll be able to achieve professional-looking results.
Before we dive into the step-by-step instructions, it’s important to note that every TV and sound bar combination may have unique mounting requirements. We highly recommend consulting your TV and sound bar user manuals for specific instructions and guidelines. Additionally, ensure that the mounting method you choose is compatible with both your TV and sound bar.
Now, let’s get started on the journey of mounting your sound bar to your TV. Gather your tools, put on your DIY hat, and let’s enhance your audio experience together!
Step 1: Gather the necessary tools and materials
Before you begin the process of mounting your sound bar to your TV, it’s essential to gather all the necessary tools and materials. Having everything prepared beforehand will help streamline the installation process and ensure that you have everything you need at your fingertips.
Here’s a list of the tools and materials you’ll need:
- Sound bar mounting bracket or kit
- TV mounting bracket (if not already installed)
- Screwdriver or drill with appropriate bits
- Level
- Tape measure
- Pencil or marker
- Stud finder (optional)
- Cable management clips or ties
- HDMI or optical cable (if necessary)
Sound bar mounting brackets or kits are typically available for purchase separately, and they come in different sizes and designs for various sound bar models. Make sure to choose a mounting bracket that is compatible with your specific sound bar.
If you haven’t already installed a TV mounting bracket, you’ll need one that is suitable for your TV’s size and weight. Refer to your TV’s user manual to determine the appropriate bracket specifications.
A screwdriver or drill with the necessary bits will be required for attaching the mounting brackets, while a level will help ensure that the sound bar is straight when mounted. A tape measure and a pencil or marker are essential for measuring and marking the mounting positions.
If you have a stud finder, it can be useful for locating the studs behind your wall for secure mounting. However, this is optional, as you can also use wall anchors for added stability.
Cable management clips or ties will help keep your cables neat and organized, preventing them from hanging or getting tangled. Depending on your setup, you may also need HDMI or optical cables to connect your sound bar to your TV.
Once you have all the necessary tools and materials, you’re ready to move on to the next step of determining the mounting method for your sound bar and TV.
Step 2: Determine the mounting method
Before proceeding with mounting your sound bar to your TV, you’ll need to determine the mounting method that best suits your setup and preferences. There are a few different options to consider:
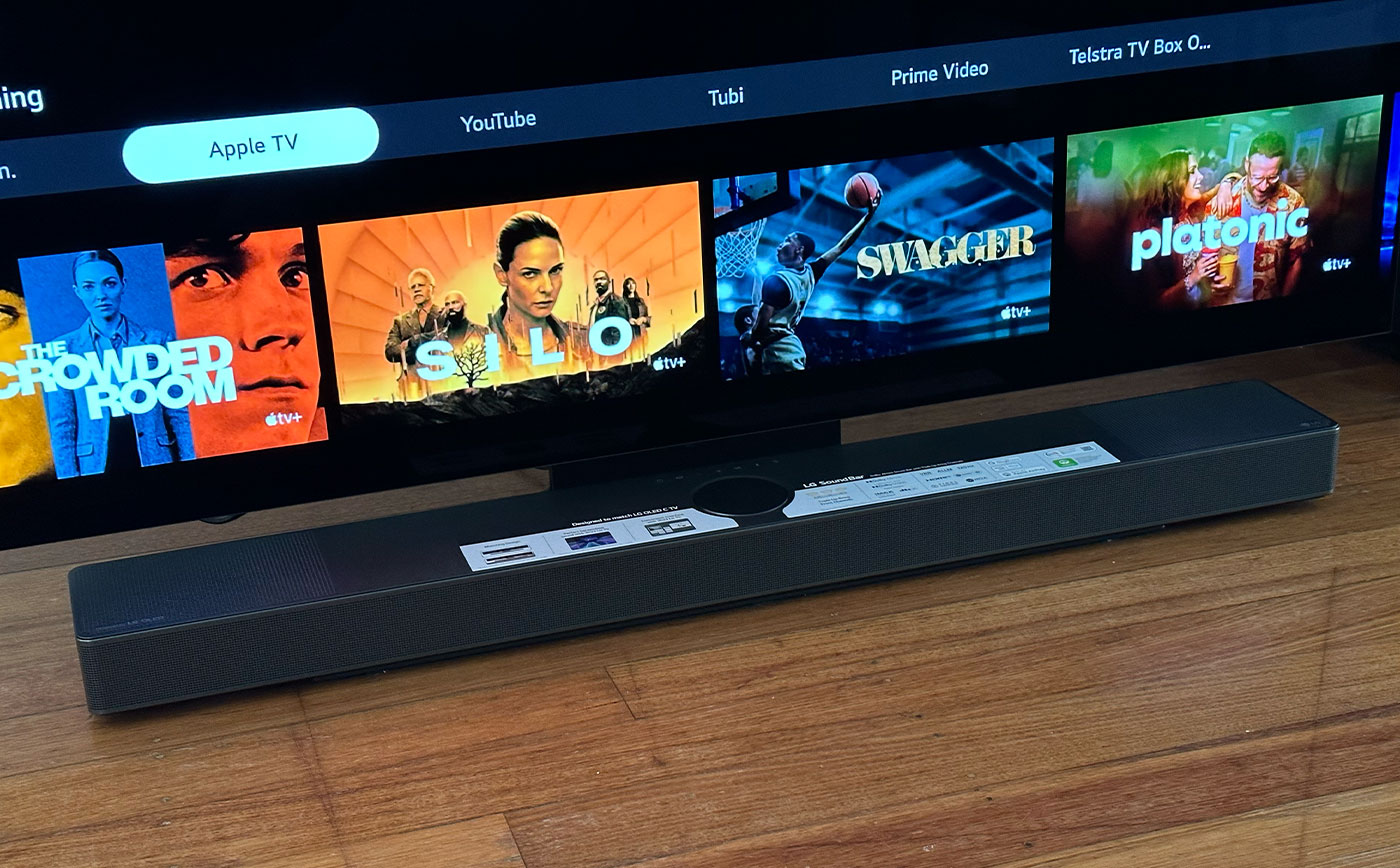
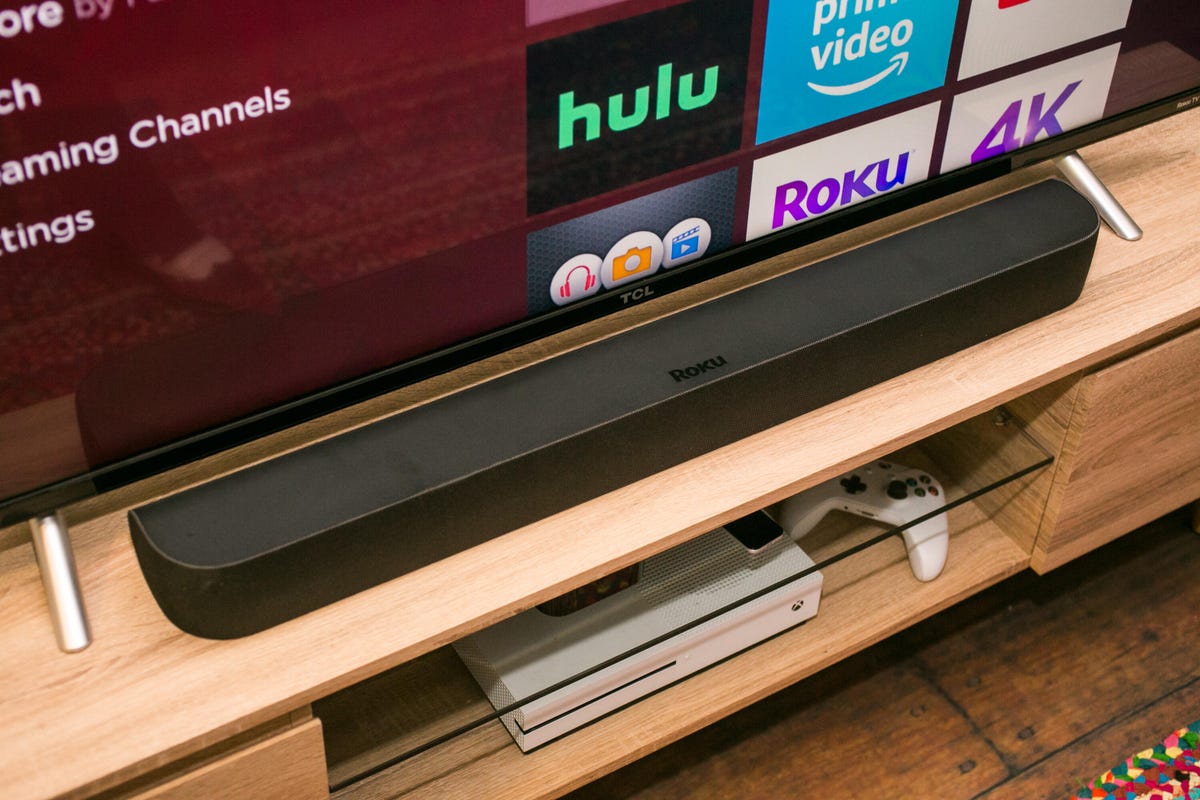
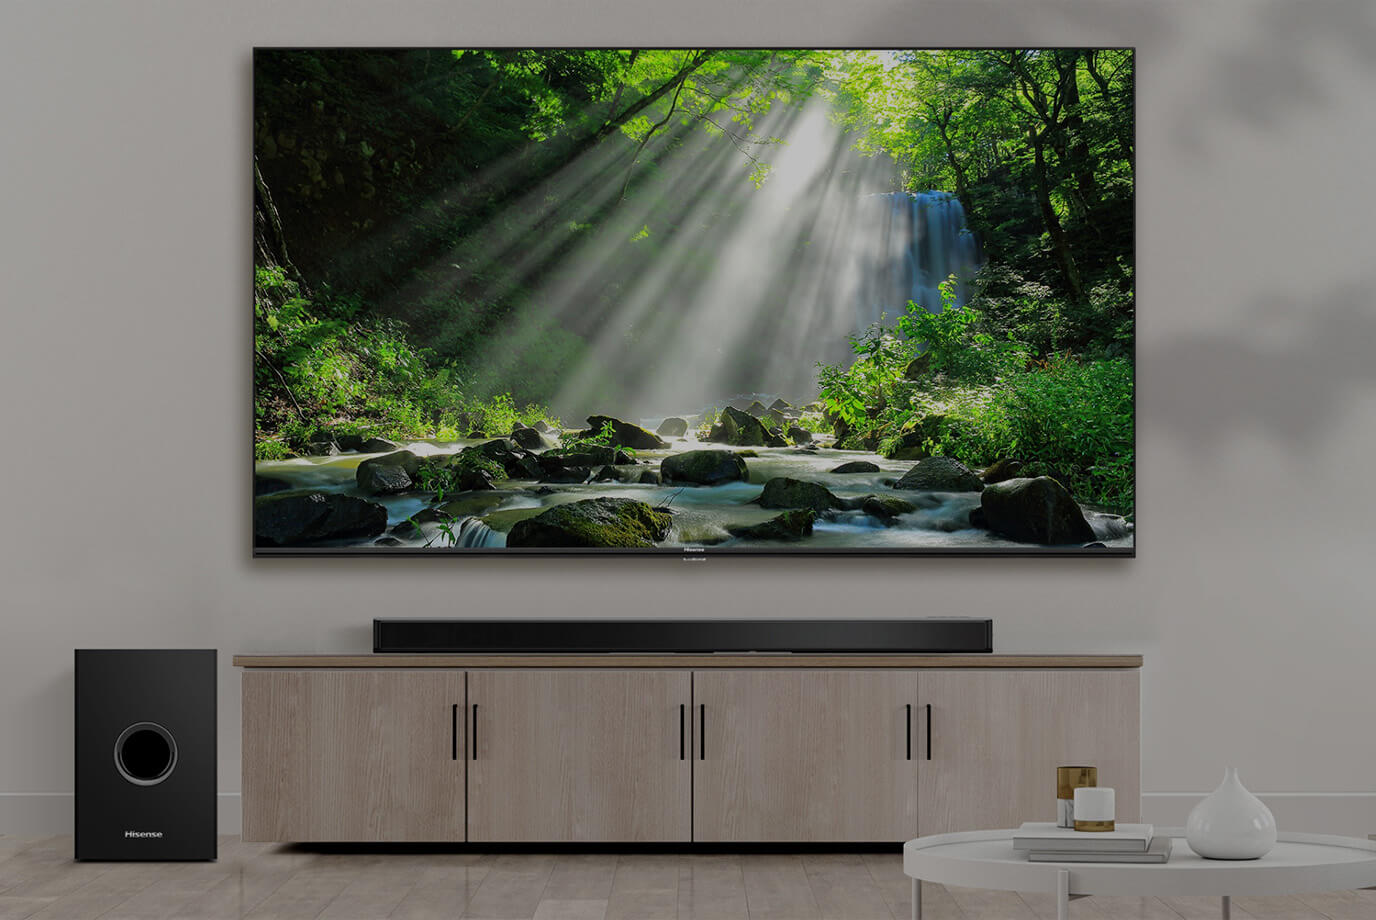
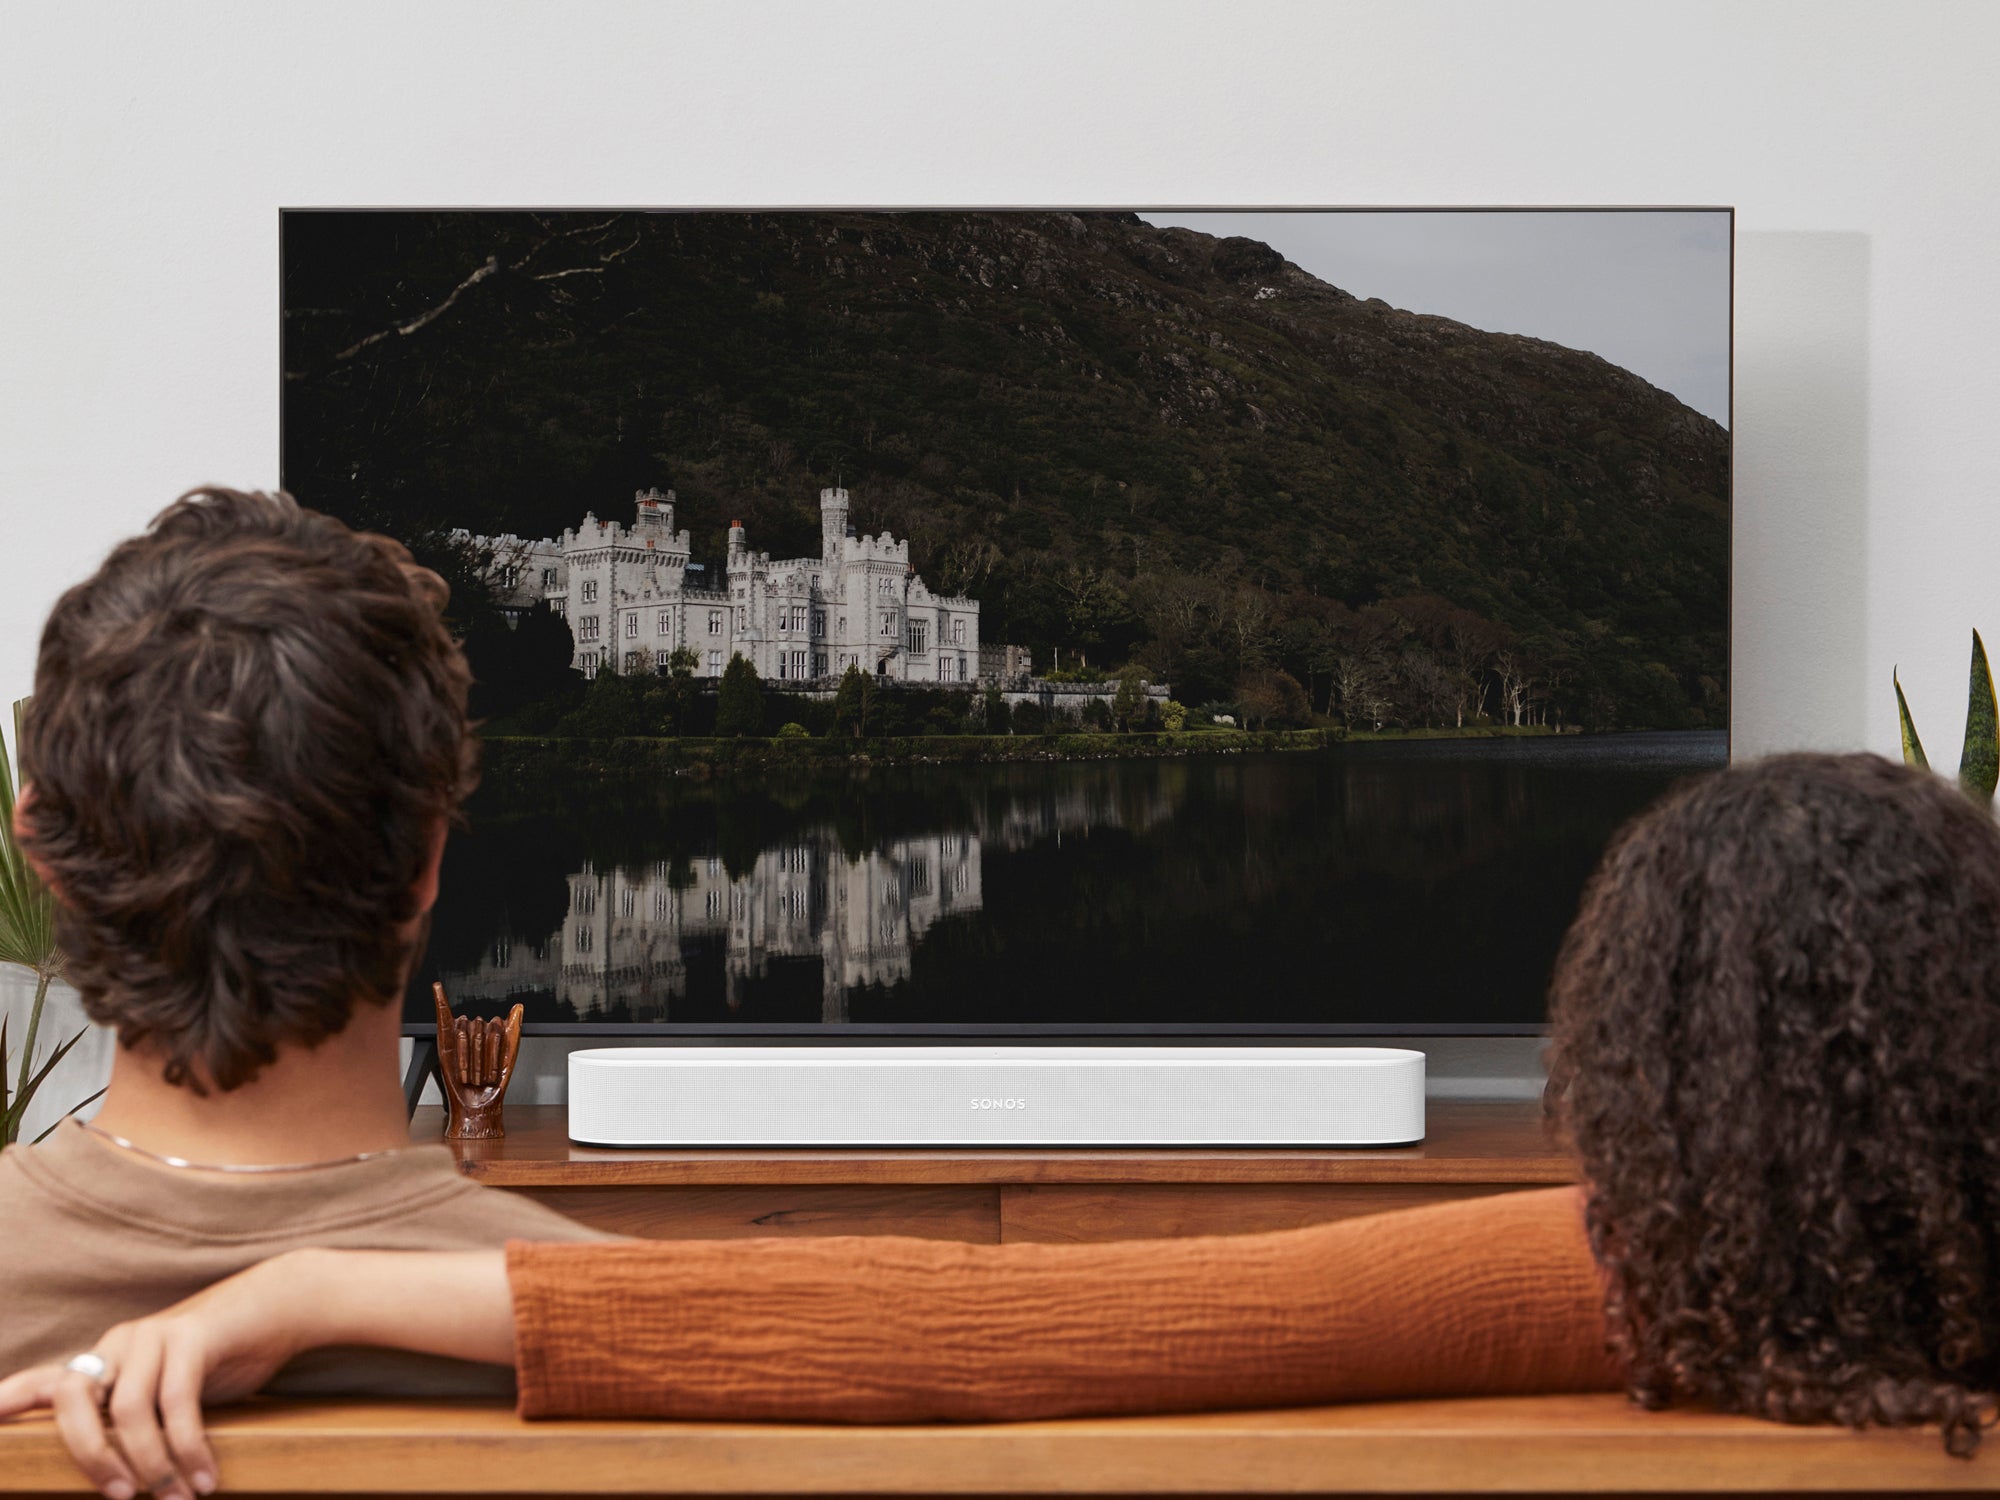
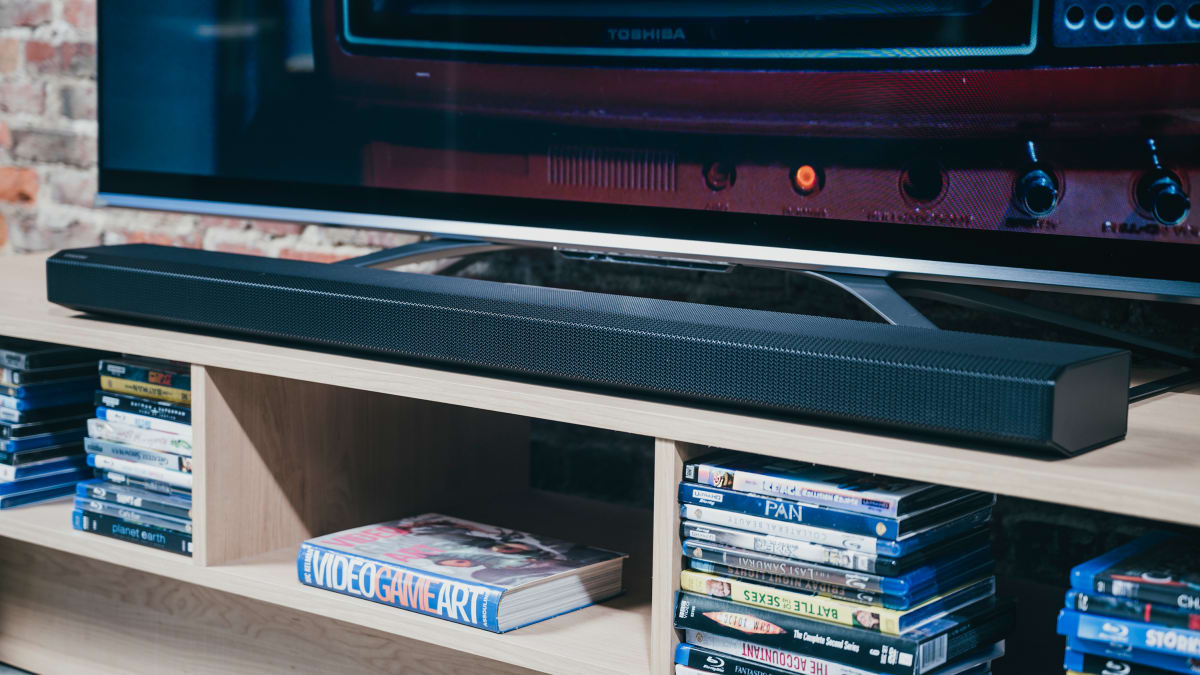
- Top Mounting: This method involves mounting the sound bar above the TV, typically on a wall or a mounting bracket. It provides a clean and streamlined look, especially if you want to keep your TV on a stand or furniture.
- Bottom Mounting: If you have a TV stand or furniture with a top surface, you can opt for bottom mounting. This method involves mounting the sound bar beneath the TV, usually using a sound bar shelf or stand.
- TV-Mount Attachment: Some sound bars come with special attachments designed to mount directly onto the back of certain TV models. This method eliminates the need for separate mounting brackets and provides a more integrated look.
Consider the layout of your room, the available wall space, and your personal aesthetic preferences when deciding on the mounting method. Each option has its advantages and challenges, so choose the one that best fits your needs.
It’s important to note that not all sound bars are compatible with all mounting methods. Check the specifications of your sound bar and consult the user manual to ensure that it supports the chosen mounting method.
Once you’ve determined the mounting method, you can proceed to the next step of preparing the sound bar and TV for mounting.
Step 3: Preparing the sound bar and TV
Now that you have decided on the mounting method, it’s time to prepare both your sound bar and TV for installation. This step will ensure that everything is in place and ready for a seamless mounting process.
Here are the key steps to prepare your sound bar and TV:
1. Measure and mark: Use a tape measure to determine the exact placement of your sound bar on the TV or wall. Take into consideration the size of your sound bar and any clearance requirements. Mark the mounting positions on both the sound bar and the TV using a pencil or marker.
2. Remove any existing mounting brackets: If there are any existing mounting brackets on your TV or sound bar, remove them carefully. They may interfere with the new mounting process or affect the fit.
3. Clean the surfaces: Ensure that the surfaces where you’ll be mounting the sound bar are clean and free of any dust or debris. Use a soft cloth or cleaning solution to wipe away any dirt or fingerprints.
4. Check the compatibility: Verify that the mounting brackets or attachments you have are compatible with both your sound bar and TV. Refer to the user manuals for specific instructions and guidelines.
5. Install any necessary adapters: Some sound bars may require adapters or brackets to ensure a secure fit. If needed, install these adapters according to the provided instructions.
6. Determine cable routing: Decide how you want to route the cables from your sound bar to your TV, considering both aesthetics and functionality. Determine the best path and plan for cable management options.
By following these preparation steps, you’ll ensure a smooth and hassle-free mounting process. Now that your sound bar and TV are ready, let’s move on to the next step of actually mounting the sound bar to the TV.
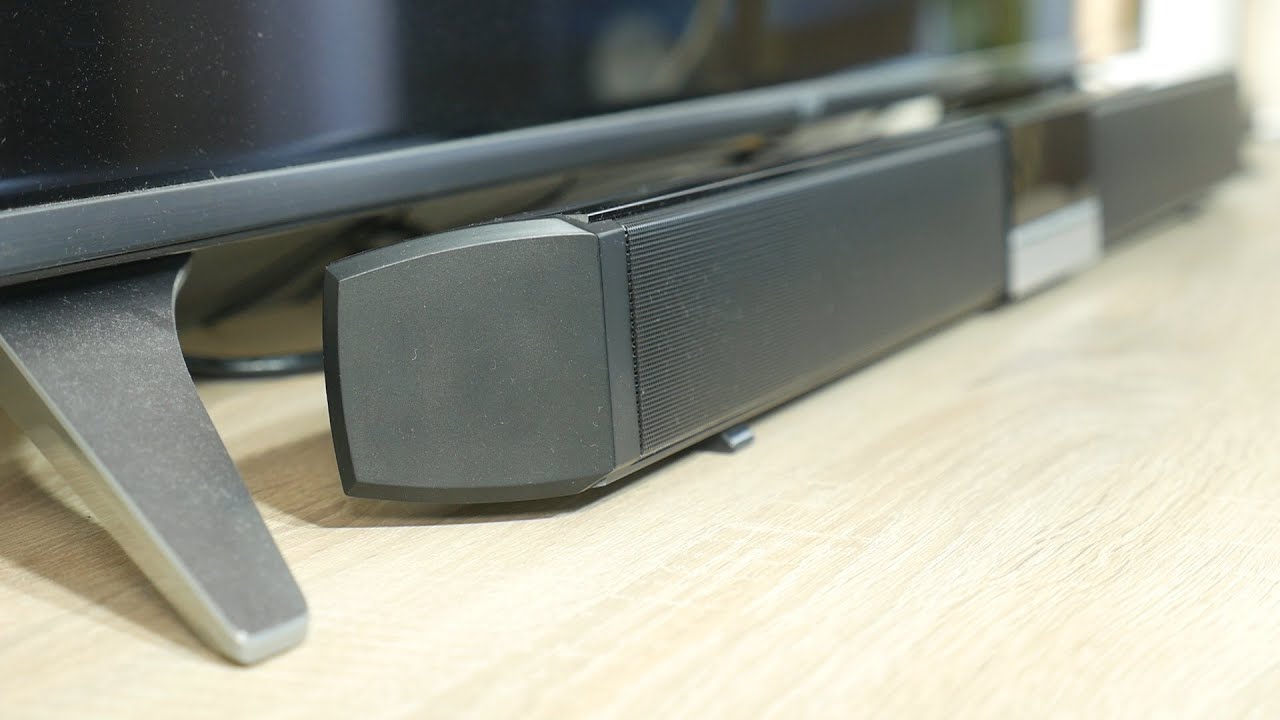
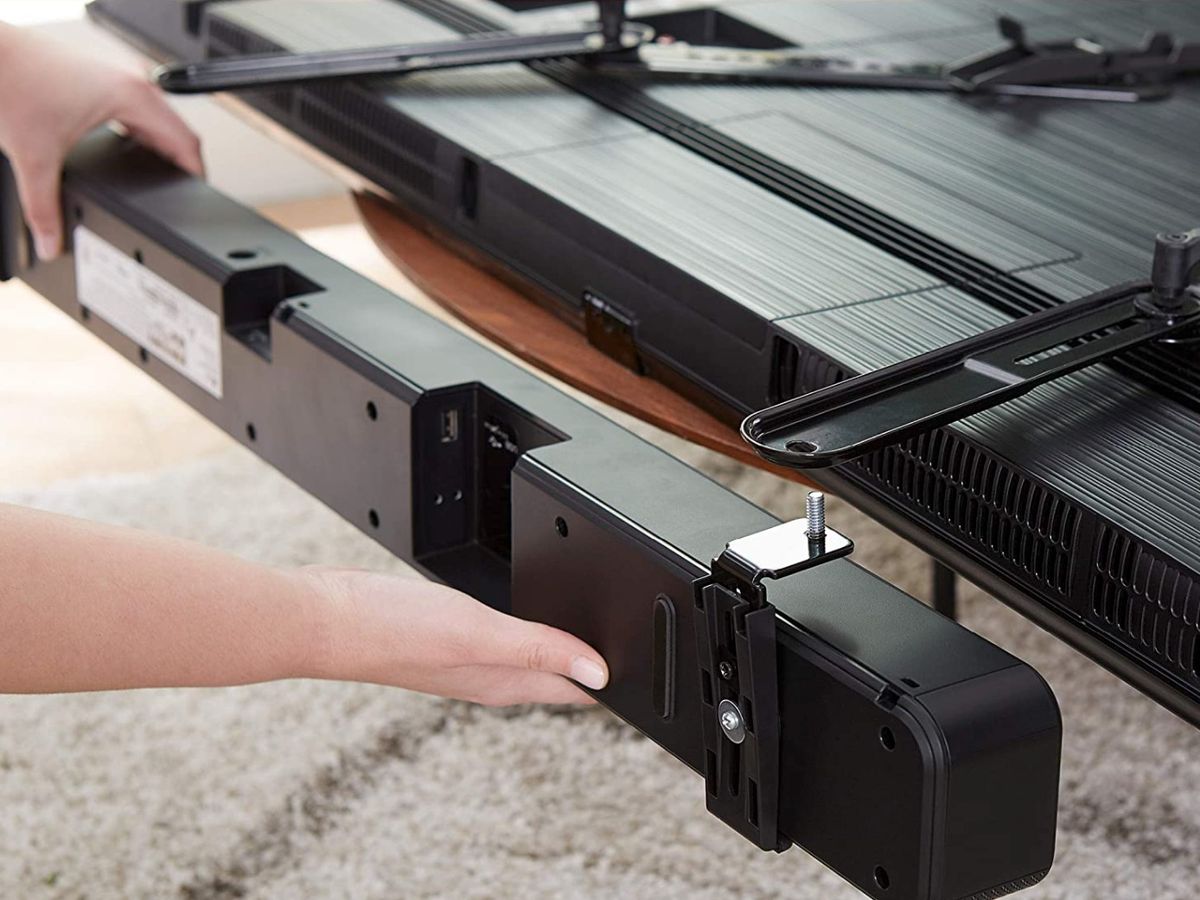
Step 4: Mounting the sound bar to the TV
With your sound bar and TV prepared, it’s time to move onto the actual process of mounting the sound bar to the TV. Follow these step-by-step instructions to ensure a secure and professional installation:
1. Attach the sound bar mounting brackets: Depending on your chosen mounting method, attach the sound bar mounting brackets to the back of the sound bar using the provided screws. Make sure they are firmly in place.
2. Position the TV: Place your TV on a stable surface or mount it on the wall according to the TV mounting instructions. Ensure that the TV is level and securely in place.
3. Align the sound bar: Align the sound bar with the bottom edge of the TV or the desired position based on your chosen mounting method. Use a level to ensure that the sound bar is straight.
4. Mark the mounting positions: Once the sound bar is properly aligned, use a pencil or marker to mark the mounting positions on the TV. Take care to be accurate to achieve a secure fit.
5. Install the sound bar: If using a sound bar mounting bracket, attach it to the marked positions on the TV using the appropriate screws and a screwdriver or drill. Make sure everything is securely tightened.
6. Test the stability: Gently shake or apply slight pressure to the sound bar to ensure that it is securely mounted to the TV. If there is any movement, double-check the installation and make any necessary adjustments.
7. Follow manufacturer instructions: Refer to the sound bar and TV user manuals for any additional instructions specific to your models. Manufacturers may have specific guidelines for mounting their products.
By following these steps carefully, you can confidently mount your sound bar to your TV. Ensuring a secure and stable installation is crucial for optimal audio performance and visual appeal. Now that the sound bar is mounted, let’s move on to the next step of testing and adjusting the sound bar position.
Step 5: Testing and adjusting the sound bar position
After mounting the sound bar to your TV, it’s important to test it and make any necessary adjustments to ensure optimal audio performance and visual aesthetics. Follow these steps to validate the sound bar position:
1. Power on the sound bar: Connect the power cable of your sound bar to a power outlet and turn it on. Make sure it is functioning correctly.
2. Test audio quality: Play some audio content on your TV and listen carefully to assess the sound quality. Check for proper balance, clarity, and overall performance. Make any necessary adjustments to the sound bar settings according to your preferences.
3. Check for visibility: Stand or sit at different viewing positions in your room and ensure that the sound bar does not obstruct your view of the TV screen. Adjust the angle or height of the sound bar if needed to improve visibility.
4. Evaluate cable visibility: Examine the cables connecting your sound bar and TV. Ensure that they are neatly arranged and not hanging or obstructing the overall appearance. Utilize cable management clips or ties to keep the cables organized and hidden from view.
5. Make necessary adjustments: If you are not satisfied with the sound bar position or the overall setup, feel free to make adjustments. You can move it slightly up or down, tilt it, or consider different mounting options to achieve the desired look and audio performance.
6. Retest and fine-tune: After making adjustments, repeat the audio testing process to ensure that the sound quality has not been negatively impacted. Fine-tune the sound bar settings as needed.
Remember, the goal is to have a sound bar position that complements your TV and delivers the best audio experience without compromising your viewing pleasure. Take your time to experiment and find the perfect positioning for your specific setup.
Once you are satisfied with the sound bar position and audio quality, it’s time to move on to the next step of cable management to further enhance the appearance of your setup.
Step 6: Cable management
Now that your sound bar is securely mounted and positioned correctly, it’s time to tackle cable management. Proper cable management not only helps maintain a clean and organized appearance but also ensures that your cables are protected and easily accessible when needed. Follow these steps to effectively manage your cables:
1. Determine cable routing: Before securing your cables, decide on the best routing path from your sound bar to your TV. Consider the location of power outlets, HDMI or optical ports, and any other necessary connections. Plan the route that will minimize cable visibility.
2. Use cable management clips or ties: Secure your cables together using cable management clips or ties. These accessories help bundle the cables neatly and prevent them from dangling or tangling. Place the clips or ties along the routing path to keep the cables in place.
3. Conceal cables behind furniture or walls: If possible, try to conceal the cables behind furniture or within cable raceways. This will create a cleaner look and prevent cables from being visible. Use adhesive-backed cable raceways or wire covers to hide the cables along the wall or baseboard.
4. Use cable sleeves or tubing: Cable sleeves or tubing are an excellent option for managing multiple cables running from the sound bar to the TV. These sleeves contain the cables within a single protective cover, eliminating cable clutter and improving the overall appearance.
5. Label cables: To make future cable management and troubleshooting easier, consider labeling your cables. Use adhesive labels or color-coded tags to identify each cable’s purpose, such as power, HDMI, or optical. This labeling system will save you time and frustration when making adjustments or adding new devices.
6. Test cable functionality: After managing your cables, test the functionality of each connection to ensure that everything is working correctly. Check audio and video signals to verify that the cables are securely connected and transmitting signals without any issues.
By following these cable management steps, you can achieve a neat and clutter-free setup. Remember to periodically check and readjust your cables as needed, especially when adding or removing devices from your TV setup.
With your sound bar mounted, positioned, and its cables properly managed, you’ve successfully completed the major steps in the installation process. However, before considering the job done, there are a few final checks and troubleshooting measures to take. Let’s move on to Step 7.
Step 7: Final checks and troubleshooting
As you near the completion of the sound bar mounting process, it’s crucial to perform some final checks and troubleshooting to ensure that everything is working smoothly. This step will help you identify and address any issues that may have arisen during the installation. Follow these steps for a thorough final check:
1. Audio and video testing: Test the audio and video performance of your sound bar setup by playing different types of content. Listen for any distortions, imbalances, or connectivity issues. Check if the sound bar is producing the desired surround sound effect and if the audio is in sync with the video on your TV.
2. Verify cable connections: Double-check that all cable connections are secure and properly plugged in. Check both ends of each cable and ensure there are no loose connections. Test the functionality of each cable by wiggling or adjusting them slightly to see if any audio or video signals are affected.
3. Check remote control functionality: Ensure that the remote control for your sound bar is working correctly. Test all the buttons and features to verify that they respond as expected. If necessary, refer to the user manual for troubleshooting tips or instructions on programming your remote control.
4. Adjust sound bar settings: Fine-tune the settings on your sound bar to enhance audio performance. Experiment with different sound modes, adjust the bass and treble levels, and explore any additional features offered by your specific sound bar model. Make sure those adjustments align with your personal preferences and audio needs.
5. Troubleshoot common issues: If you are experiencing any problems, consult the troubleshooting section of your sound bar and TV manuals. Look for guidance on common issues such as audio dropouts, syncing problems, or connectivity issues. Follow the recommended steps to resolve the problem or reach out to customer support if necessary.
6. Clean up and organize: Take this opportunity to tidy up your setup area. Remove any unnecessary tools, materials, or debris from the mounting process. Organize your cable management system and ensure that everything looks clean and presentable.
By following these final checks and troubleshooting steps, you can confidently finish the sound bar mounting process. The thorough evaluation of your setup will help identify any potential issues and allow you to make necessary adjustments for a seamless and enjoyable audio experience.
Congratulations! You’ve successfully mounted your sound bar to your TV, completed the cable management, and performed the final checks. Now, sit back, relax, and enjoy the enhanced audio quality and immersive entertainment experience brought to you by your newly installed sound bar.
Note: In case you encounter any specific or complex issues during the installation process, it is recommended to refer to the user manuals or seek professional assistance.
Conclusion
Mounting a sound bar to your TV is a great way to elevate your audio experience and create a sleek, organized setup. With the right tools, materials, and step-by-step guidance, you can achieve professional results without the need for extensive technical knowledge.
In this comprehensive guide, we’ve walked you through the entire process of mounting a sound bar to your TV. From gathering the necessary tools and materials to determining the mounting method, preparing the sound bar and TV, and finally mounting the sound bar and managing the cables, we’ve covered all the essential steps.
By following our instructions, you can achieve a secure and aesthetically pleasing installation. Your sound bar will enhance the audio quality of your favorite movies, shows, and games, providing immersive surround sound and clear dialogue.
Remember to always refer to the user manuals provided with your sound bar and TV for specific instructions and guidelines. Every sound bar and TV combination may have unique mounting requirements, so it’s important to follow the manufacturer’s recommendations.
By taking the time to properly mount your sound bar and manage the cables, you’ll create a clean and organized entertainment setup that not only looks great but also ensures optimal audio performance.
Now that you have completed the installation process, sit back, relax, and enjoy the enhanced audio experience that your newly mounted sound bar provides. Get ready to be fully immersed in your favorite movies, shows, and games with superior sound quality and clarity.