Home>Production & Technology>Sound Bar>How To Set Up Several Devices To My Sound Bar
Sound Bar
How To Set Up Several Devices To My Sound Bar
Modified: January 22, 2024
Learn how to easily connect multiple devices to your sound bar for enhanced audio experience. Set up guide for your sound bar.
(Many of the links in this article redirect to a specific reviewed product. Your purchase of these products through affiliate links helps to generate commission for AudioLover.com, at no extra cost. Learn more)
Table of Contents
Introduction
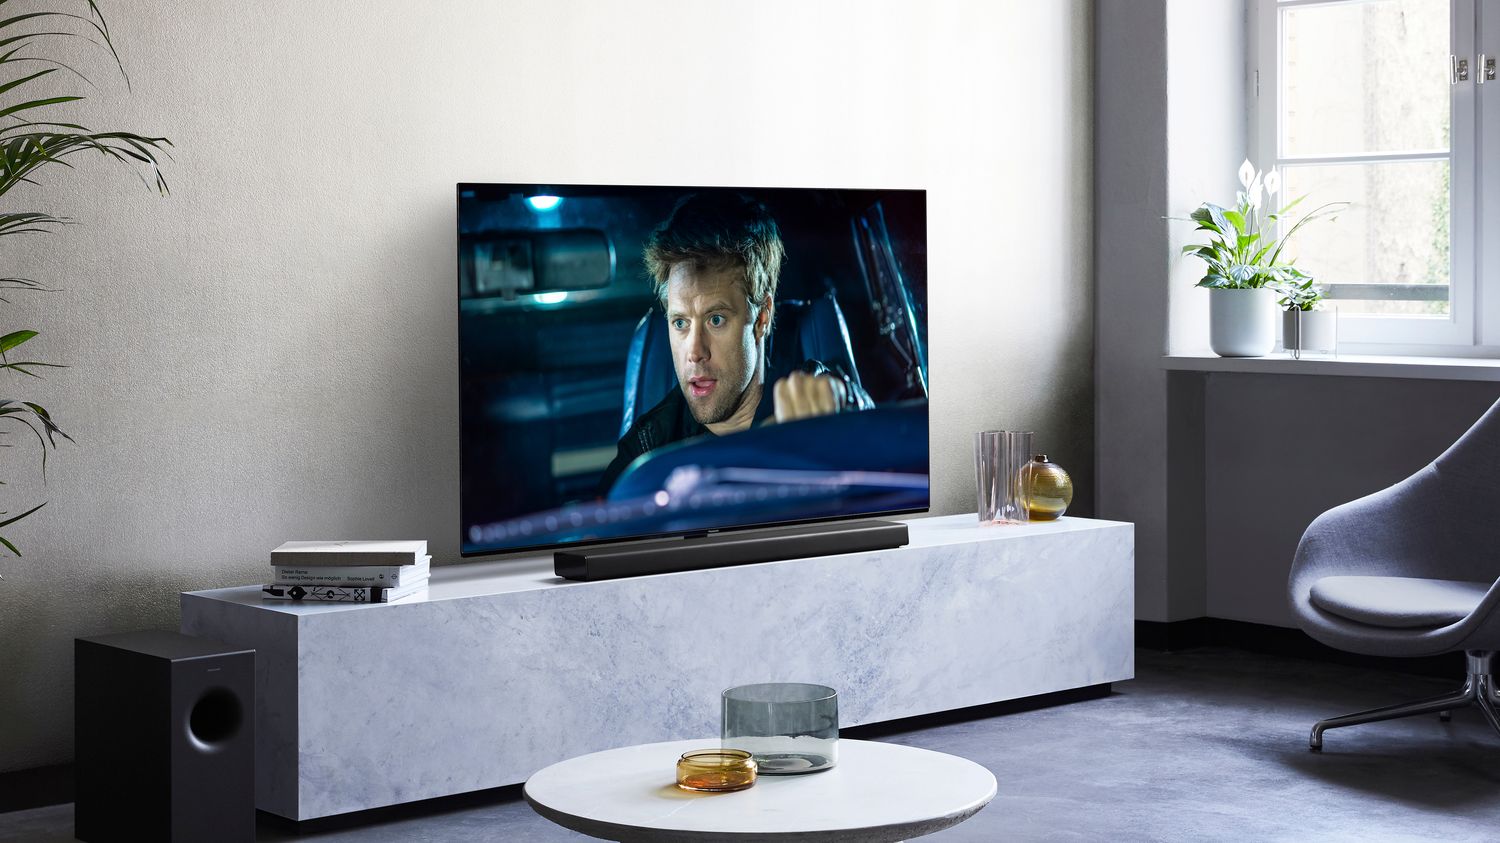
Sound bars are a popular audio solution for enhancing the sound quality of your television, providing a more immersive and enjoyable viewing experience. However, what if you want to connect multiple devices, such as a Blu-ray player, gaming console, and streaming device, to your sound bar? Can you do it? The answer is yes!
In this article, we will guide you through the process of setting up several devices to your sound bar. Whether you’re a home theater enthusiast or a casual viewer, these steps will help you maximize the functionality of your sound bar and enjoy the best audio quality from all your devices.
Before we dive into the step-by-step process, it’s important to note that the specific instructions may vary depending on the make and model of your sound bar. Therefore, we recommend consulting the user manual that came with your sound bar for any specific instructions or troubleshooting guides.
Now, let’s get started on setting up multiple devices to your sound bar!
Step 1: Gather all necessary devices and cables
Before you begin connecting multiple devices to your sound bar, it’s essential to gather all the necessary devices and cables. Here’s a list of items you’ll need:
- Sound bar: Ensure that your sound bar is capable of connecting multiple devices. Look for additional HDMI input ports or other audio input options.
- Devices: Gather all the devices you want to connect to your sound bar, such as a Blu-ray player, gaming console, streaming device, or cable box. Make sure these devices have compatible audio output options, such as HDMI or optical ports.
- Cables: Depending on the audio output options of your devices, you’ll need the appropriate cables to connect them to the sound bar. For example, HDMI cables are commonly used for both audio and video signals, while optical cables are specifically designed for audio signal transfer.
- Power cables: Ensure that you have the necessary power cables and adapters for your sound bar and devices. Some devices may require a separate power source.
- User manuals: Keep the user manuals of your devices handy. They may contain specific instructions or troubleshooting tips for connecting multiple devices.
Once you have gathered all the necessary devices and cables, you’re ready to move on to the next step: connecting the first device to your sound bar.
Step 2: Connect the first device to the sound bar
Now that you have all the necessary devices and cables, it’s time to connect the first device to your sound bar. Follow these steps:
- Identify the audio output port: Locate the audio output port on the first device you want to connect to the sound bar. This is usually labeled as HDMI ARC (Audio Return Channel), optical out, or analog audio out.
- Choose the appropriate cable: Depending on the audio output port of your device and the available input ports on your sound bar, choose the appropriate cable. If your device has an HDMI ARC port and your sound bar has an HDMI ARC input, use an HDMI cable. If your device only has an optical out, use an optical cable.
- Connect the cable to the sound bar: Insert one end of the cable into the corresponding input port on your sound bar.
- Connect the cable to the device: Connect the other end of the cable to the audio output port on your device.
- Power on the device: Turn on the first device and make sure it is set to output audio to the connected sound bar.
- Select the correct input source: On your sound bar, select the input source that corresponds to the connected device. This can usually be done using the remote control or the sound bar’s control panel.
Once you have completed these steps, you should hear the audio from the first device playing through your sound bar. If you encounter any issues, consult the user manual of your device or sound bar for troubleshooting tips.
Now, let’s move on to the next step: setting up the second device to your sound bar.
Step 3: Set up the second device to the sound bar
With the first device successfully connected to your sound bar, it’s time to proceed with setting up the second device. Follow these steps:
- Identify the audio output port: Locate the audio output port on the second device. This can be an HDMI ARC, optical out, or analog audio out, similar to the first device.
- Choose the appropriate cable: Select the cable that matches the audio output port of the second device and the available input ports on the sound bar.
- Connect the cable to the sound bar: Plug one end of the cable into the corresponding input port on the sound bar.
- Connect the cable to the device: Insert the other end of the cable into the audio output port on the second device.
- Power on the device: Turn on the second device and ensure it is set to output audio to the connected sound bar.
- Switch to the correct input source: On the sound bar, switch to the input source that corresponds to the second device. Use the remote control or the sound bar’s control panel to make the selection.
After completing these steps, the audio from the second device should be playing through the sound bar. Make sure to test the audio to ensure everything is functioning correctly.
Keep in mind that some sound bars may have a limited number of input ports. If you have additional devices to connect, follow the next step to learn how to add them to your sound bar setup.
Step 4: Add additional devices to the sound bar
If you have more devices to connect to your sound bar, follow these steps to add them to your setup:
- Identify the audio output port: Locate the audio output port on the additional device you want to connect. This can be an HDMI ARC, optical out, or analog audio out, depending on the device.
- Choose the appropriate cable: Depending on the audio output port of the device and the available input ports on your sound bar, choose the appropriate cable for the connection.
- Connect the cable to the sound bar: Plug one end of the cable into the corresponding input port on the sound bar.
- Connect the cable to the device: Insert the other end of the cable into the audio output port on the additional device.
- Power on the device: Turn on the device and ensure it is set to output audio to the connected sound bar.
- Switch to the correct input source: On the sound bar, switch to the input source that corresponds to the additional device. Use the remote control or the sound bar’s control panel to make the selection.
Repeat these steps for each additional device you want to connect to your sound bar. Keep in mind the limitations of the sound bar’s input ports and make sure to select the appropriate input source for each device.
Additionally, some sound bars may offer more advanced features like Bluetooth connectivity or wireless options. If your devices support these features, you can also connect them wirelessly to your sound bar.
Once you have connected all your devices, test the audio from each one to ensure they are working properly through the sound bar.
With all your devices connected and working seamlessly, you can now enjoy an enhanced audio experience while using multiple devices with your sound bar.
Step 5: Test the sound bar with all connected devices
After connecting multiple devices to your sound bar, it’s crucial to test the setup to ensure everything is working as expected. Follow these steps to test the sound bar with all your connected devices:
- Select different input sources: Use the remote control or the sound bar’s control panel to switch between the input sources that correspond to each connected device. This allows you to test the audio from each device individually.
- Play audio from each device: Once you’ve selected the input source, play audio from the device connected to it. This can be a movie on your Blu-ray player, a game on your gaming console, or streaming content from your streaming device.
- Check audio quality: Pay attention to the sound quality coming from the sound bar. Ensure that the audio is clear, balanced, and synchronized with the visuals on your television. Adjust the sound bar’s settings if needed to optimize the audio experience.
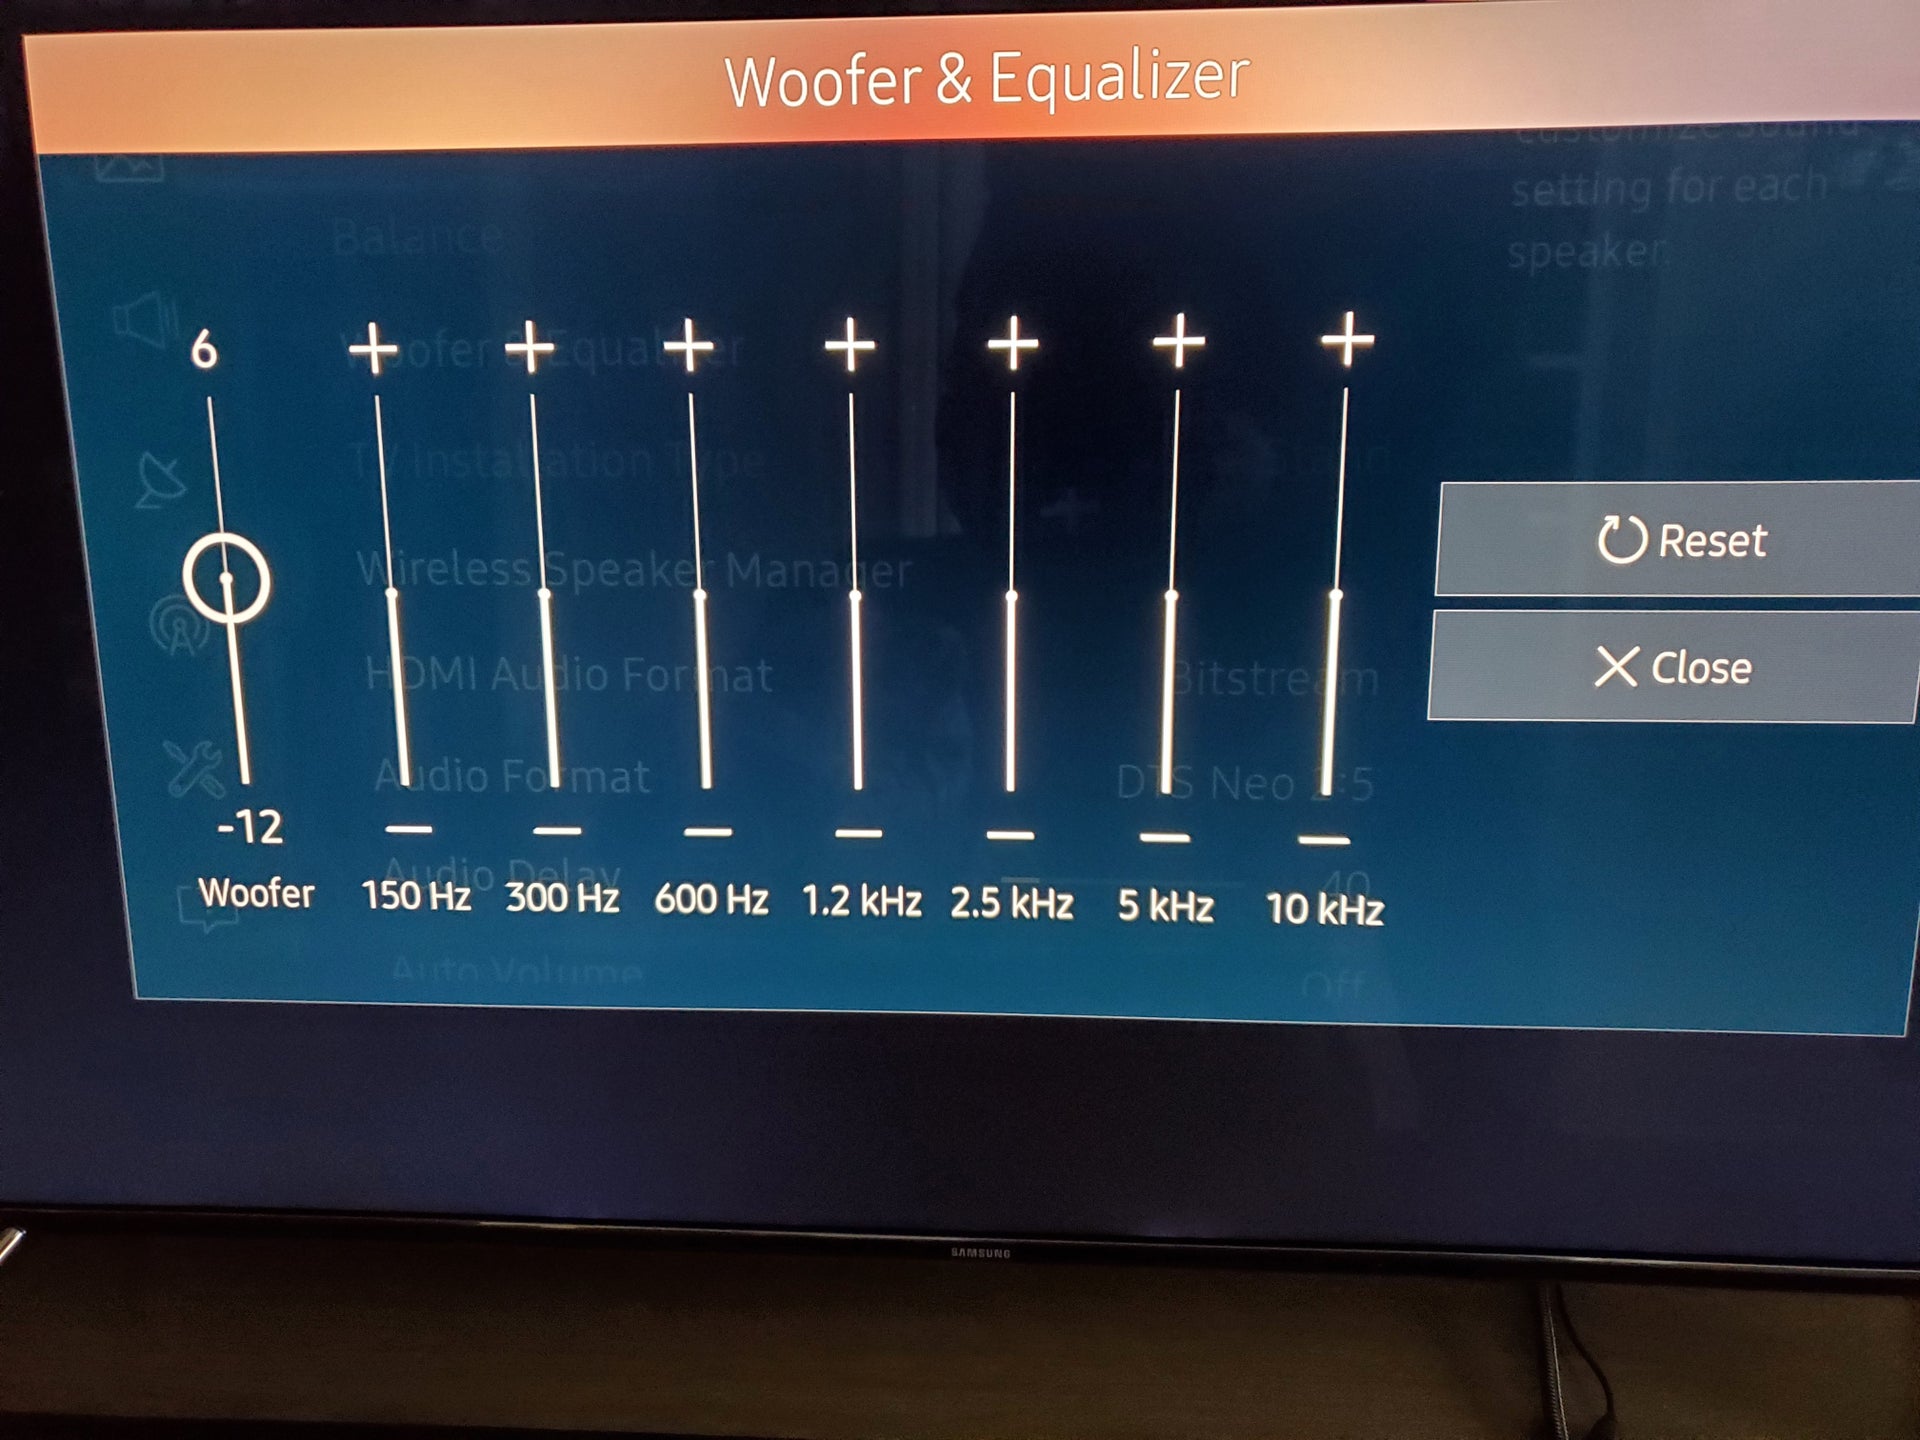
- Test different audio settings: Explore the sound bar’s settings menu to experiment with different audio modes or equalization settings. This can help you tailor the sound output to your preferences and the specific content you’re watching or listening to.
- Ensure proper synchronization: Verify that the audio from the connected devices is in sync with the video on your television. If you notice any lip-sync issues, consult the user manual of your sound bar for instructions on adjusting the audio delay.
By systematically testing each connected device, you can identify any issues or fine-tune the settings to achieve the best audio performance from your sound bar setup.
If you encounter any problems during the testing process, consult the user manuals of your devices and sound bar for troubleshooting tips. You may also consider contacting the manufacturers’ customer support for further assistance.
Once you are satisfied with the sound quality and performance of your connected devices, you can sit back, relax, and enjoy your favorite movies, games, and more with an immersive audio experience delivered by your sound bar.
Conclusion
Setting up multiple devices to your sound bar can significantly enhance your audio experience, allowing you to enjoy high-quality sound from various sources. With the right cables and proper configuration, you can seamlessly connect devices like Blu-ray players, gaming consoles, streaming devices, and more to your sound bar.
We started by emphasizing the importance of gathering all the necessary devices and cables before starting the setup process. This ensures that you have everything you need readily available, making the process smoother.
We then explained how to connect the first device, followed by subsequent devices, to your sound bar, step by step. Properly identifying the audio output ports, choosing the appropriate cables, and selecting the correct input sources on the sound bar are crucial in achieving successful connections.
We also highlighted the significance of testing the sound bar with all connected devices. By selecting different input sources and playing audio from each device, you can verify the sound quality, synchronization, and explore different audio settings to optimize your audio experience.
Remember to consult the user manuals of your devices and sound bar for any specific instructions or troubleshooting tips. Additionally, some sound bars may offer advanced features like Bluetooth connectivity or wireless options, so explore these options if available.
By following these steps, you can take full advantage of your sound bar’s capabilities and enjoy immersive audio from multiple devices. From watching movies to gaming or streaming music, your sound bar setup will elevate your entertainment experience to new heights.
So, gather your devices, connect them to your sound bar, and let the audio enhancement begin!