Home>Production & Technology>Sound Bar>How Do I Hook Up My Panasonic Sound Bar To My TV
Sound Bar
How Do I Hook Up My Panasonic Sound Bar To My TV
Modified: January 22, 2024
Learn how to easily connect your Panasonic Sound Bar to your TV and enjoy enhanced audio quality. Follow our step-by-step guide for a seamless setup.
(Many of the links in this article redirect to a specific reviewed product. Your purchase of these products through affiliate links helps to generate commission for AudioLover.com, at no extra cost. Learn more)
Table of Contents
Introduction
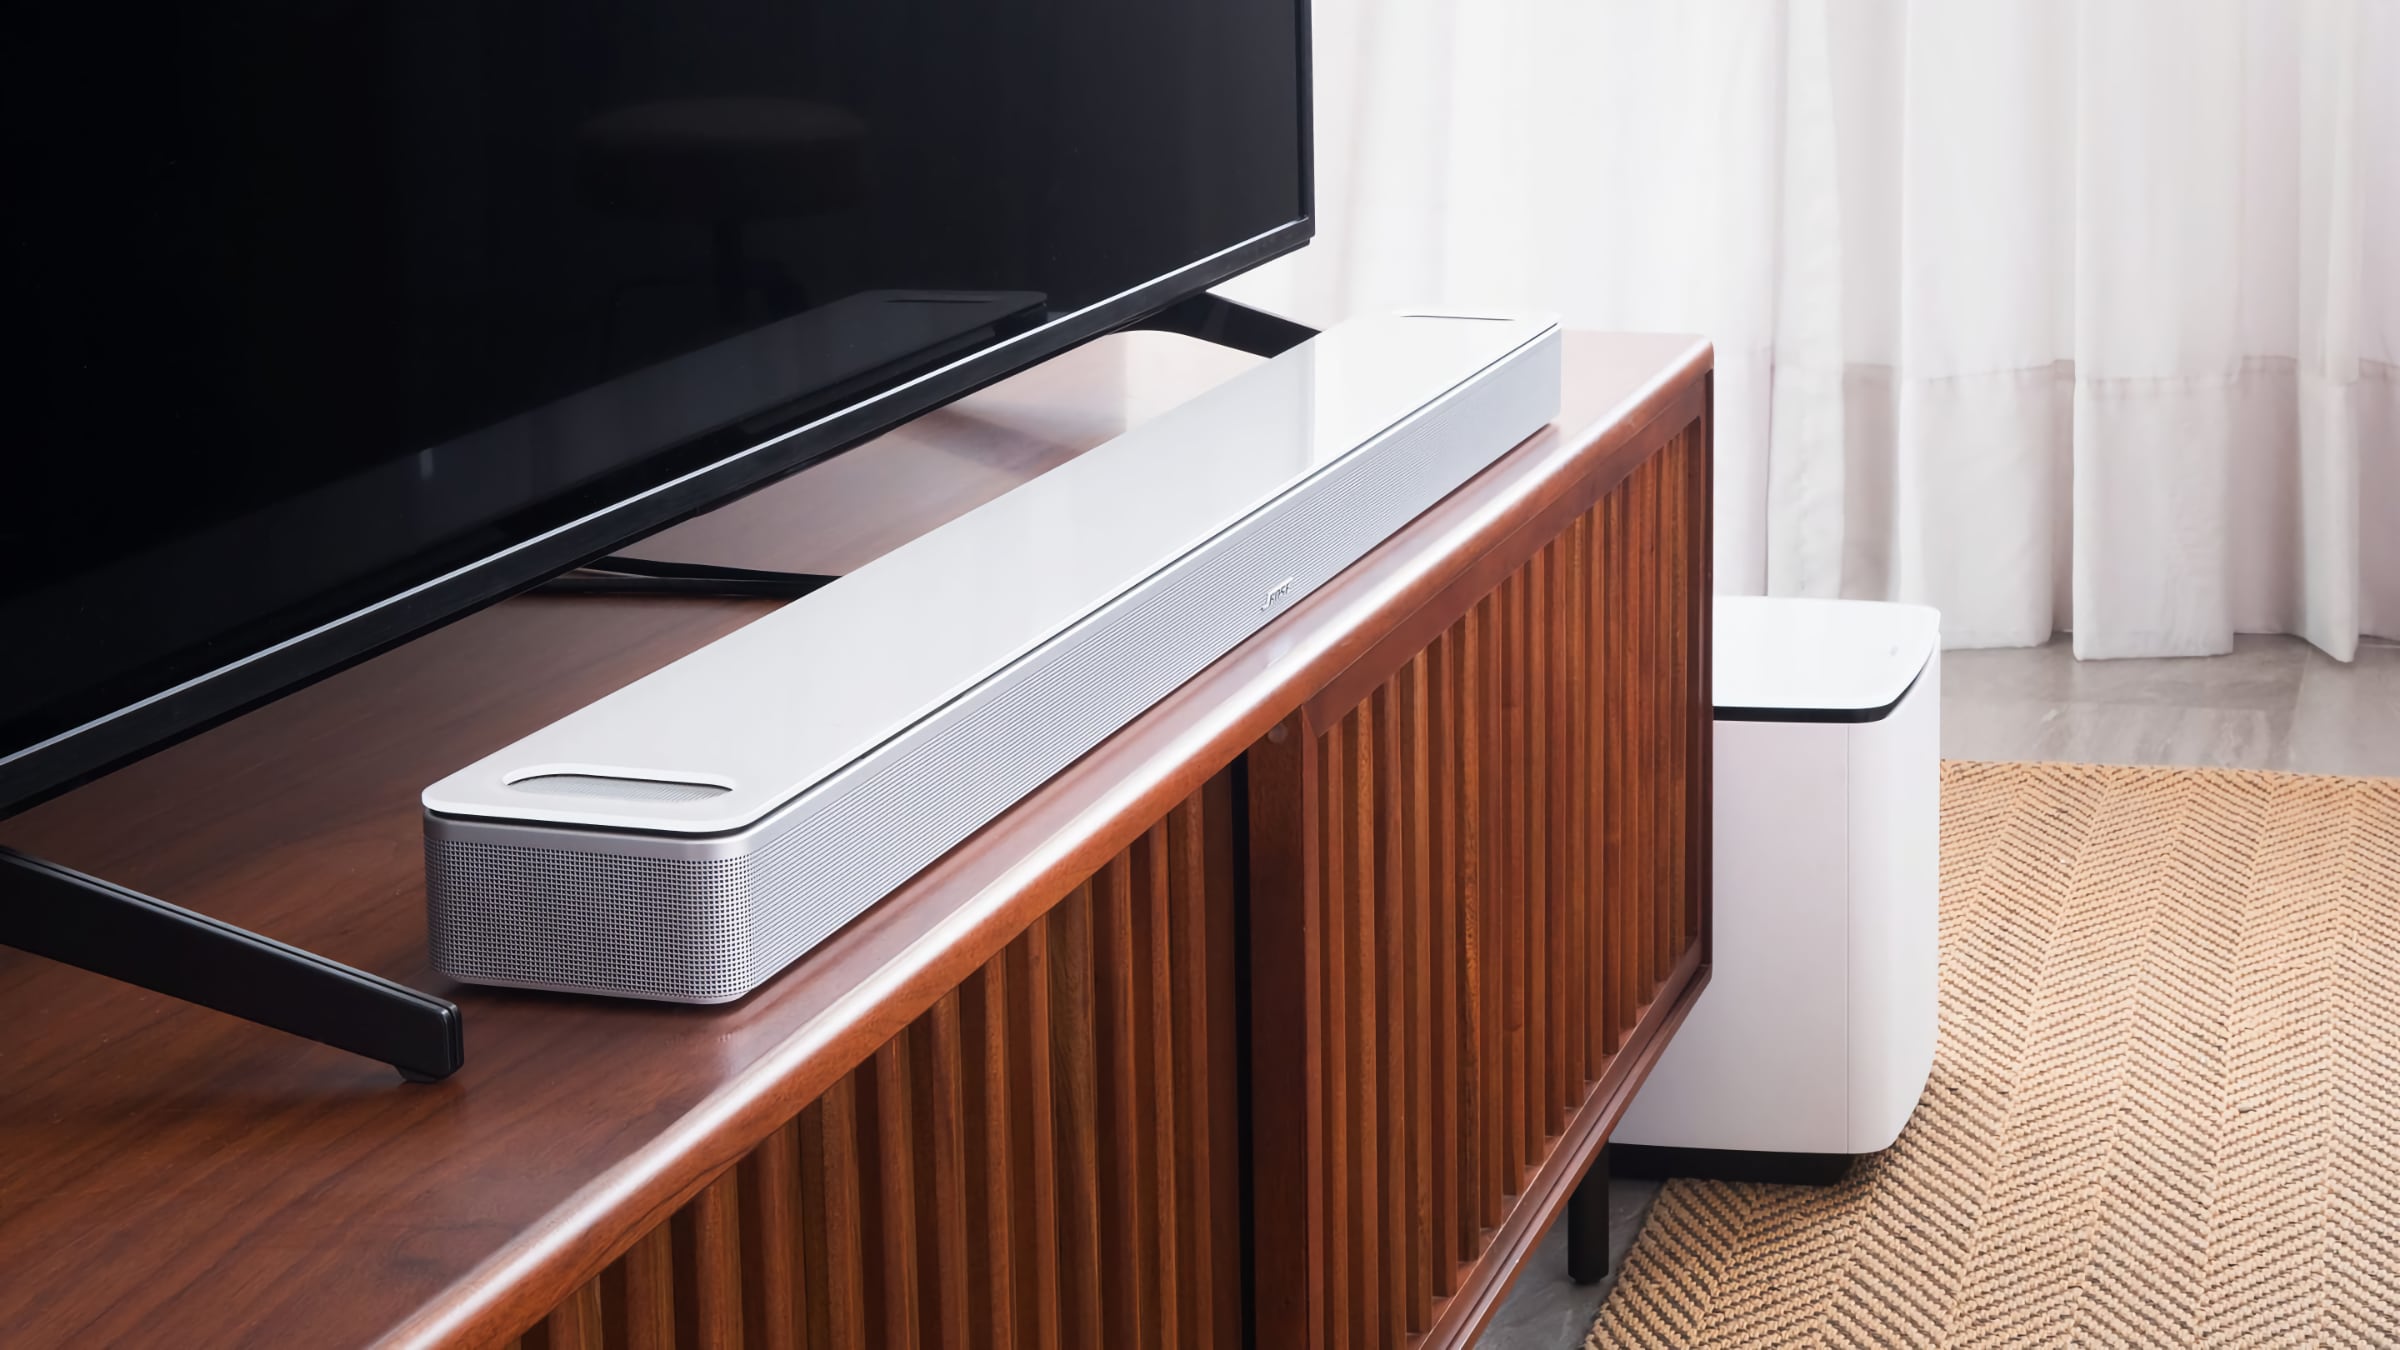
Welcome to the world of immersive audio! Sound bars have become increasingly popular over the years as an excellent addition to any home entertainment setup. These sleek and compact devices are designed to deliver high-quality sound and enhance your overall viewing experience when connected to your TV. Whether you’re a movie enthusiast, a music lover, or just looking to upgrade your TV’s audio capabilities, a sound bar is a great investment.
But how do you hook up your Panasonic sound bar to your TV? In this article, we will guide you through the process of connecting your sound bar to your TV and help you make the most of its features. From checking compatibility to adjusting audio settings, we will cover all the essential steps to ensure a seamless integration between your sound bar and your TV.
Before we dive into the technicalities, it’s important to note that the methods described in this article are specifically tailored for Panasonic sound bars. However, the general principles can be applied to other sound bar brands as well. So, let’s get started and find out how you can unleash the power of your sound bar and transform your TV-watching experience.
Checking Compatibility
Before connecting your Panasonic sound bar to your TV, it’s essential to check for compatibility between the two devices. This step is crucial to ensure that they can communicate effectively and deliver optimal sound performance.
First, check the audio output options on your TV. Most modern TVs offer multiple audio output options, such as HDMI ARC (Audio Return Channel), optical audio, or Bluetooth. Consult your TV’s user manual or check the manufacturer’s website to identify the available audio output ports. It’s worth noting that not all TVs support all types of audio connections, so verifying compatibility is key.
Next, verify the audio input options on your Panasonic sound bar. It should have matching audio input ports that correspond to the available audio output ports on your TV. Common input options include HDMI, optical audio, and analog audio (usually in the form of RCA or 3.5mm auxiliary inputs). Make sure the sound bar has at least one input option that matches the output option on your TV.
Another aspect to consider is the compatibility of audio formats between your TV and sound bar. Ensure that both devices support the same audio formats, such as Dolby Digital or DTS, to avoid any compatibility issues. You can find this information in the respective user manuals or product specifications of your TV and sound bar.
Lastly, verify that both your TV and sound bar are capable of handling the audio output from your desired media sources. For example, if you plan to connect a Blu-ray player or a gaming console to your TV, ensure that the audio output of these devices is supported by both the TV and the sound bar. This will ensure a seamless audio experience without any limitations or audio dropouts.
By checking the compatibility between your TV and Panasonic sound bar, you can be confident that they will work together harmoniously and provide the best audio performance possible.
Connecting the Sound Bar to the TV
Once you have verified the compatibility between your Panasonic sound bar and your TV, it’s time to connect the two devices. There are several connection options available, depending on the audio output and input ports on your TV and sound bar.
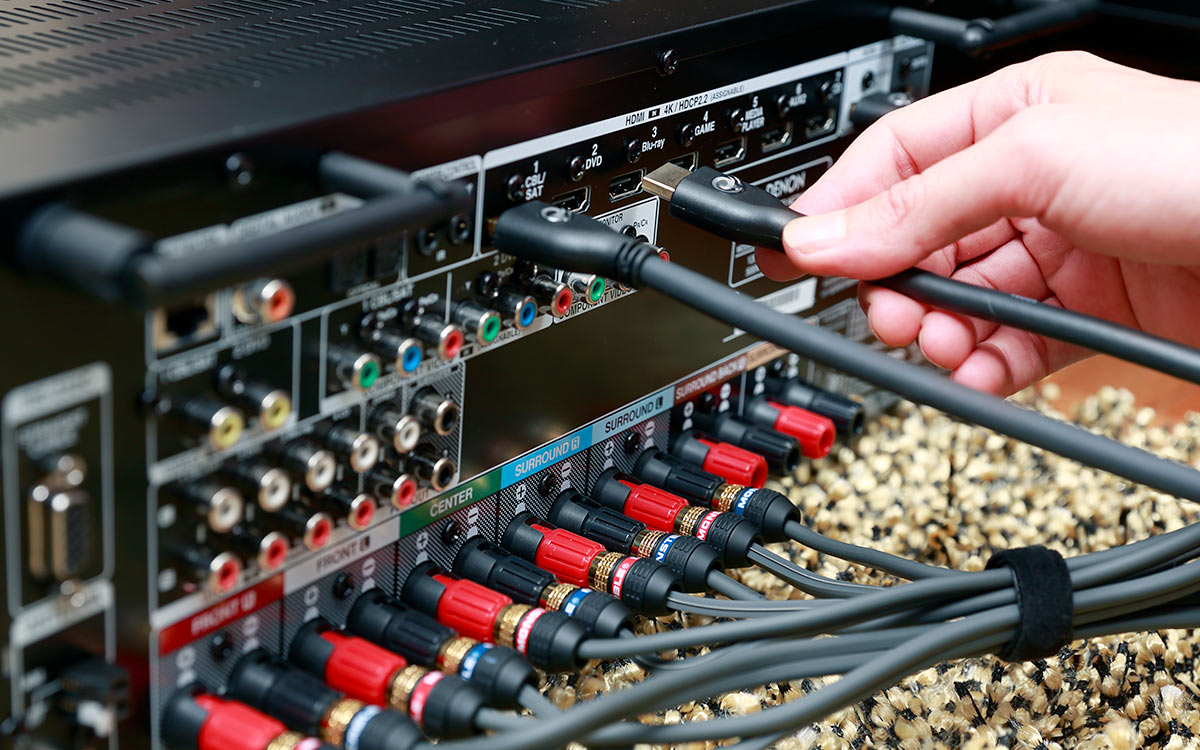
The most popular and recommended method is using the HDMI ARC (Audio Return Channel) functionality. ARC allows for both audio and video signals to be transmitted through a single HDMI cable, simplifying the setup process. To connect using HDMI ARC, follow these steps:
- Locate the HDMI ARC port on both your TV and sound bar. It is usually labeled as “ARC” or “HDMI ARC”.
- Connect one end of the HDMI cable to the HDMI ARC port on your sound bar.
- Connect the other end of the HDMI cable to the HDMI ARC port on your TV.
- Power on your TV and sound bar.
- Access your TV’s settings menu and navigate to the audio settings. Enable the HDMI ARC functionality.
- Once the HDMI ARC is enabled, the audio from your TV will be automatically routed to the sound bar.
If your TV doesn’t have an HDMI ARC port or if you prefer to use a different connection method, you can use the optical audio connection option. Here’s how to connect using an optical cable:
- Locate the optical audio output port on your TV.
- Connect one end of the optical cable to the optical audio output port on your TV.
- Connect the other end of the optical cable to the optical audio input port on your sound bar.
- Power on your TV and sound bar.
- Access your TV’s settings menu and navigate to the audio settings. Select the optical audio output as the audio output source.
- The audio from your TV will now be played through the sound bar via the optical cable connection.
If your TV and sound bar both support Bluetooth connectivity, you can also connect them wirelessly. Simply enable Bluetooth on both devices and follow the pairing instructions outlined in their respective user manuals. Bear in mind that Bluetooth connections may have limitations in terms of audio quality and range, so it’s recommended to use a wired connection if possible.
Once you have successfully connected your Panasonic sound bar to your TV using one of the methods mentioned above, you can enjoy an enhanced audio experience and immerse yourself in your favorite movies, music, and TV shows.
Using HDMI ARC (Audio Return Channel)
HDMI ARC, or Audio Return Channel, is a convenient feature that allows both audio and video signals to be transmitted through a single HDMI cable. This eliminates the need for extra cables and simplifies the connection process between your Panasonic sound bar and TV. Here’s how you can utilize the HDMI ARC functionality:
- Identify the HDMI ARC port on both your TV and sound bar. This port is usually labeled as “ARC” or “HDMI ARC”.
- Using an HDMI cable, connect one end to the HDMI ARC port on your sound bar.
- Connect the other end of the HDMI cable to the HDMI ARC port on your TV.
- Ensure both your TV and sound bar are powered on.
- Access the settings menu on your TV and navigate to the audio settings.
- Look for the option to enable HDMI ARC. This may be listed as “Audio Return Channel” or a similar term.
- Once enabled, the audio from your TV will be automatically routed to your sound bar through the HDMI ARC connection.
Using HDMI ARC provides a seamless audio experience, as it allows your sound bar to receive audio signals from your TV without requiring any additional cables or adjustments. It also enables you to control the volume of the sound bar using your TV’s remote control, further enhancing convenience.
It’s important to note that not all HDMI ports on your TV support ARC. Make sure to connect your sound bar to the designated ARC port on your TV for this feature to work. Additionally, keep in mind that HDMI ARC requires both your TV and sound bar to be compatible with the ARC functionality. Consult the manuals or specifications of your devices to ensure compatibility.
Overall, HDMI ARC simplifies the setup process and enhances the audio connectivity between your Panasonic sound bar and TV. It’s a convenient option for those looking for a streamlined and efficient way to enjoy high-quality audio from their TV viewing experience.
Using Optical Audio Connection
If your TV doesn’t have an HDMI ARC port or if you prefer to use a different connection method, you can utilize the optical audio connection option. This method involves using an optical cable to transmit audio signals from your TV to your Panasonic sound bar. Follow these steps to connect using an optical audio cable:
- Locate the optical audio output port on your TV. It is usually labeled as “Optical”, “TOSLINK”, or “Digital Audio Out”.
- Attach one end of the optical cable to the optical audio output port on your TV.
- Connect the other end of the optical cable to the optical audio input port on your sound bar.
- Make sure both your TV and sound bar are powered on.
- Access the settings menu on your TV and navigate to the audio settings.
- Select the optical audio output as the audio output source. The exact steps may vary based on your TV’s interface.
- The audio from your TV will now be played through your Panasonic sound bar via the optical cable connection.
Using an optical audio connection provides a reliable and high-quality audio transfer between your TV and sound bar. It ensures a digital audio signal is transmitted, resulting in clearer and more immersive sound. However, it’s important to note that optical audio cables only transmit audio signals and not video, so you will need a separate HDMI or other video connection for your TV’s video source.
Before using the optical connection, make sure both your TV and sound bar support this audio input method. Optical audio connections are found on most modern TVs and sound bars, but it’s still a good idea to verify compatibility in the user manuals or specifications of your devices. Additionally, ensure you properly align the connectors on the optical cable and securely plug them into the corresponding ports to avoid any signal loss or interruptions.
The optical audio connection option provides a simple and effective way to enhance your TV’s audio performance by utilizing your Panasonic sound bar. It frees up the need for additional cables and allows for optimal audio transfer, resulting in a more immersive and enjoyable viewing experience.
Using Bluetooth Connection
If your Panasonic sound bar and TV both support Bluetooth connectivity, you can wirelessly connect them to enjoy a cable-free audio experience. Bluetooth allows you to play audio from your TV through the sound bar without the need for any physical connections. Here’s how you can set up a Bluetooth connection between your TV and sound bar:
- Ensure that both your Panasonic sound bar and TV have Bluetooth functionality. Refer to their respective manuals or specifications to verify Bluetooth compatibility.
- Turn on the Bluetooth feature on your TV and your sound bar.
- Access the Bluetooth settings menu on your TV and put it in pairing mode.
- Similarly, put your sound bar into pairing mode. This can typically be done by pressing and holding the Bluetooth button or following the instructions provided in the user manual.
- On your TV, you should see a list of available devices. Select your Panasonic sound bar from the list.
- Once both devices are successfully connected via Bluetooth, the audio from your TV will be wirelessly transmitted to your sound bar.
It’s important to note that Bluetooth connections may have certain limitations. The range between your TV and sound bar can vary, and obstacles such as walls or interference from other devices can affect the signal. It’s recommended to keep the distance between the two devices within a reasonable range and minimize obstructions for the best audio quality.
Additionally, in some cases, there may be a slight latency when using Bluetooth connections, resulting in a delay between the video and audio. This can be particularly noticeable when watching movies or playing games. If you encounter this, you may want to consider using a wired connection, such as HDMI or optical, for a more synchronized audio and video experience.
Using Bluetooth to connect your Panasonic sound bar to your TV offers the convenience of a wireless audio connection, eliminating the need for cables and allowing you to place your sound bar anywhere in the room. It’s a great option for those who value versatility and flexibility in their setup.
Take advantage of the Bluetooth capabilities of your TV and sound bar to enjoy high-quality sound without the hassle of cables. Just pair them together and immerse yourself in your favorite movies, TV shows, and music.
Adjusting Audio Settings and Troubleshooting
Once you have successfully connected your Panasonic sound bar to your TV, you may need to adjust some audio settings to optimize the sound quality and ensure a pleasant listening experience. Additionally, if you encounter any issues or glitches with the audio, troubleshooting steps can help resolve them. Here are some tips for adjusting audio settings and troubleshooting common problems:
1. Sound Modes:
Most sound bars come with different sound modes that enhance specific types of audio, such as movies, music, or dialogue. Explore these modes and select the one that best suits your content and personal preference. You can typically access these settings through the sound bar’s remote control or menu.
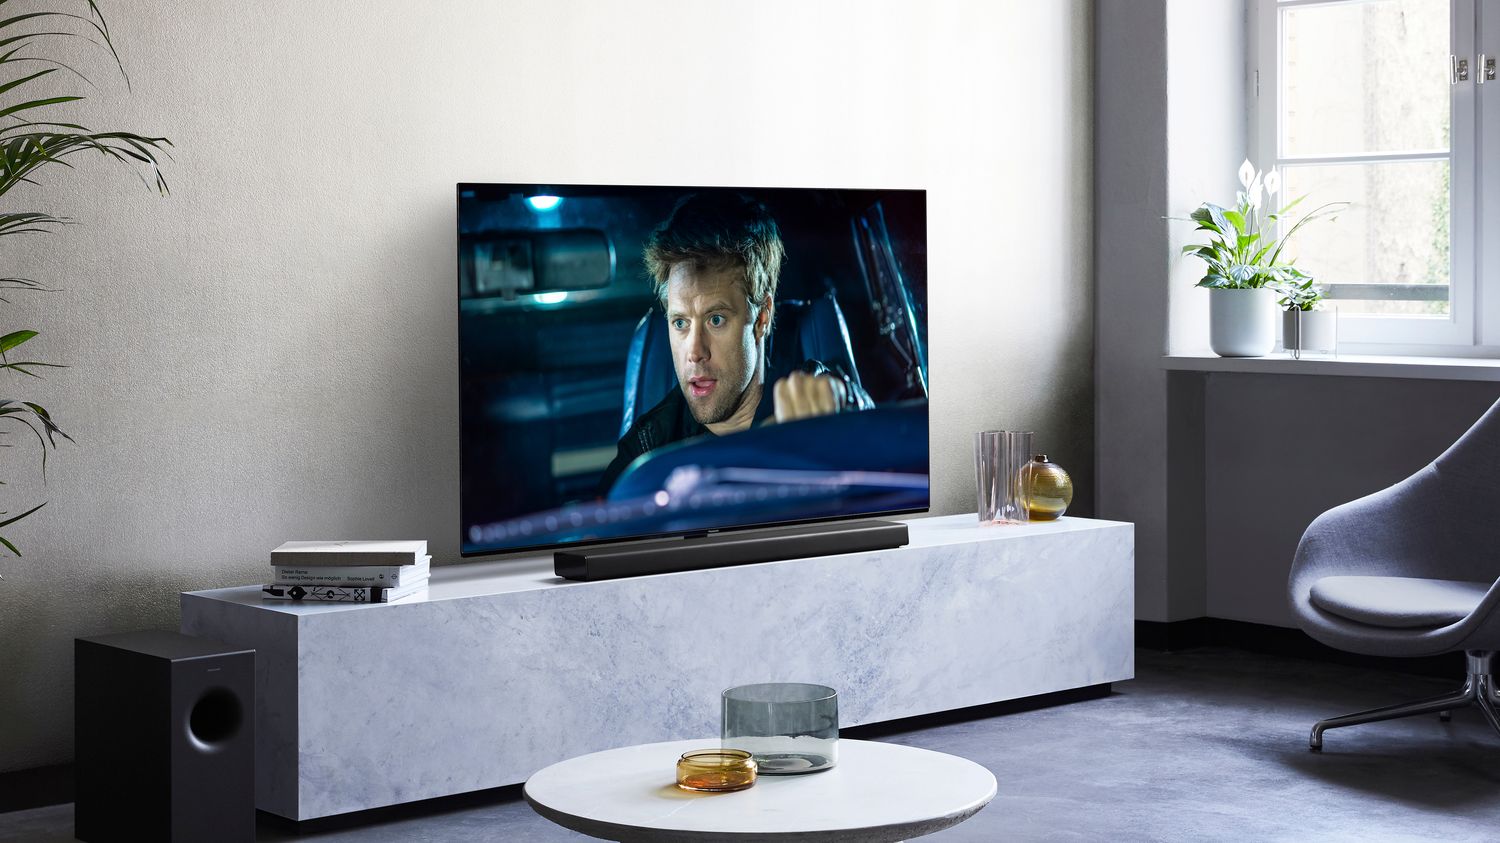
2. Subwoofer Level:
If your Panasonic sound bar comes with a separate subwoofer, check the settings to adjust the level of bass output. This allows you to customize the sound balance according to your liking and the audio content you’re enjoying.
3. Equalizer Settings:
Some sound bars offer equalizer settings that enable you to fine-tune specific audio frequencies. Experiment with these settings to adjust the sound signature and cater it to your personal preferences.
4. Resetting the Sound Bar:
If you encounter any issues with your sound bar’s performance or connectivity, try performing a factory reset. This will restore the sound bar to its default settings and may resolve any glitches or compatibility issues. Refer to the user manual for instructions on how to perform a reset.
5. Updating Firmware:
Check if there are any firmware updates available for your sound bar. Manufacturers often release firmware updates to improve performance, add new features, or fix bugs. Follow the instructions provided by the manufacturer to update the firmware of your sound bar.
6. Troubleshooting Audio Issues:
If you experience audio dropouts, intermittent sound, or other audio-related issues, try the following steps:
- Ensure that all cables are securely connected to their respective ports.
- Verify that the audio output settings on your TV are correctly configured to the sound bar.
- Check if there are any obstructions or wireless interferences near the sound bar or TV that may affect the Bluetooth or Wi-Fi signals.
- Power cycle both your TV and sound bar by turning them off, unplugging them from the power source, waiting for a few minutes, and then plugging them back in and powering them on.
- If using HDMI ARC, try using a different HDMI cable.
- If using optical audio, ensure that the optical cable is properly seated in both the TV and sound bar.
If the issue persists after trying these troubleshooting steps, it’s recommended to consult the user manual or contact the manufacturer’s customer support for further assistance.
By adjusting the audio settings and troubleshooting common problems, you can ensure a smooth and enjoyable audio experience with your Panasonic sound bar and TV.
Conclusion
Congratulations! You have successfully learned how to hook up your Panasonic sound bar to your TV and maximize its audio capabilities. By following the steps outlined in this article, you can enjoy a more immersive and engaging viewing experience with enhanced sound quality.
We started by checking the compatibility between your sound bar and TV, ensuring that the audio output and input options align. Then, we explored different connection methods such as HDMI ARC, optical audio, and Bluetooth, providing detailed instructions for each.
HDMI ARC offers a streamlined setup process and simplifies the audio connection with just one cable. The optical audio connection provides a reliable and high-quality audio transfer without video transmission, while Bluetooth connection allows for a wireless audio experience.
Additionally, we discussed adjusting audio settings to customize sound modes, subwoofer levels, and equalizer settings to suit your preferences. We also covered troubleshooting steps to address common audio issues and ensure optimal performance.
Remember to consult the user manuals or contact the manufacturer if you encounter any challenges or have specific questions about your particular Panasonic sound bar model.
Now that you have successfully connected your Panasonic sound bar to your TV and optimized the audio settings, sit back, relax, and enjoy a truly immersive sound experience. Get ready to be captivated by the rich and detailed audio that will elevate your movie nights, music listening sessions, and gaming adventures to the next level.
So go ahead, gather your friends and family, and indulge in an audio journey that will make you feel like you’re right in the midst of the action. Happy watching and listening!