Home>Production & Technology>Sound Bar>How To Set Up Verizon Sound Bar
Sound Bar
How To Set Up Verizon Sound Bar
Published: December 25, 2023
Learn how to easily set up your Verizon sound bar for the best audio experience. Enhance your home theater system with our step-by-step guide.
(Many of the links in this article redirect to a specific reviewed product. Your purchase of these products through affiliate links helps to generate commission for AudioLover.com, at no extra cost. Learn more)
Table of Contents
Introduction
Welcome to the world of immersive audio experience with the Verizon Sound Bar. Whether you’re a movie enthusiast or a music lover, having a high-quality sound system can greatly enhance your entertainment experience. The Verizon Sound Bar offers excellent sound quality, remarkable features, and seamless connectivity options for an immersive audio experience.
In this article, we will guide you through the process of setting up your Verizon Sound Bar. From unboxing the sound bar to adjusting the settings, we will provide step-by-step instructions to ensure a smooth and hassle-free setup. So, let’s dive in and get started with unlocking the full potential of your Verizon Sound Bar.
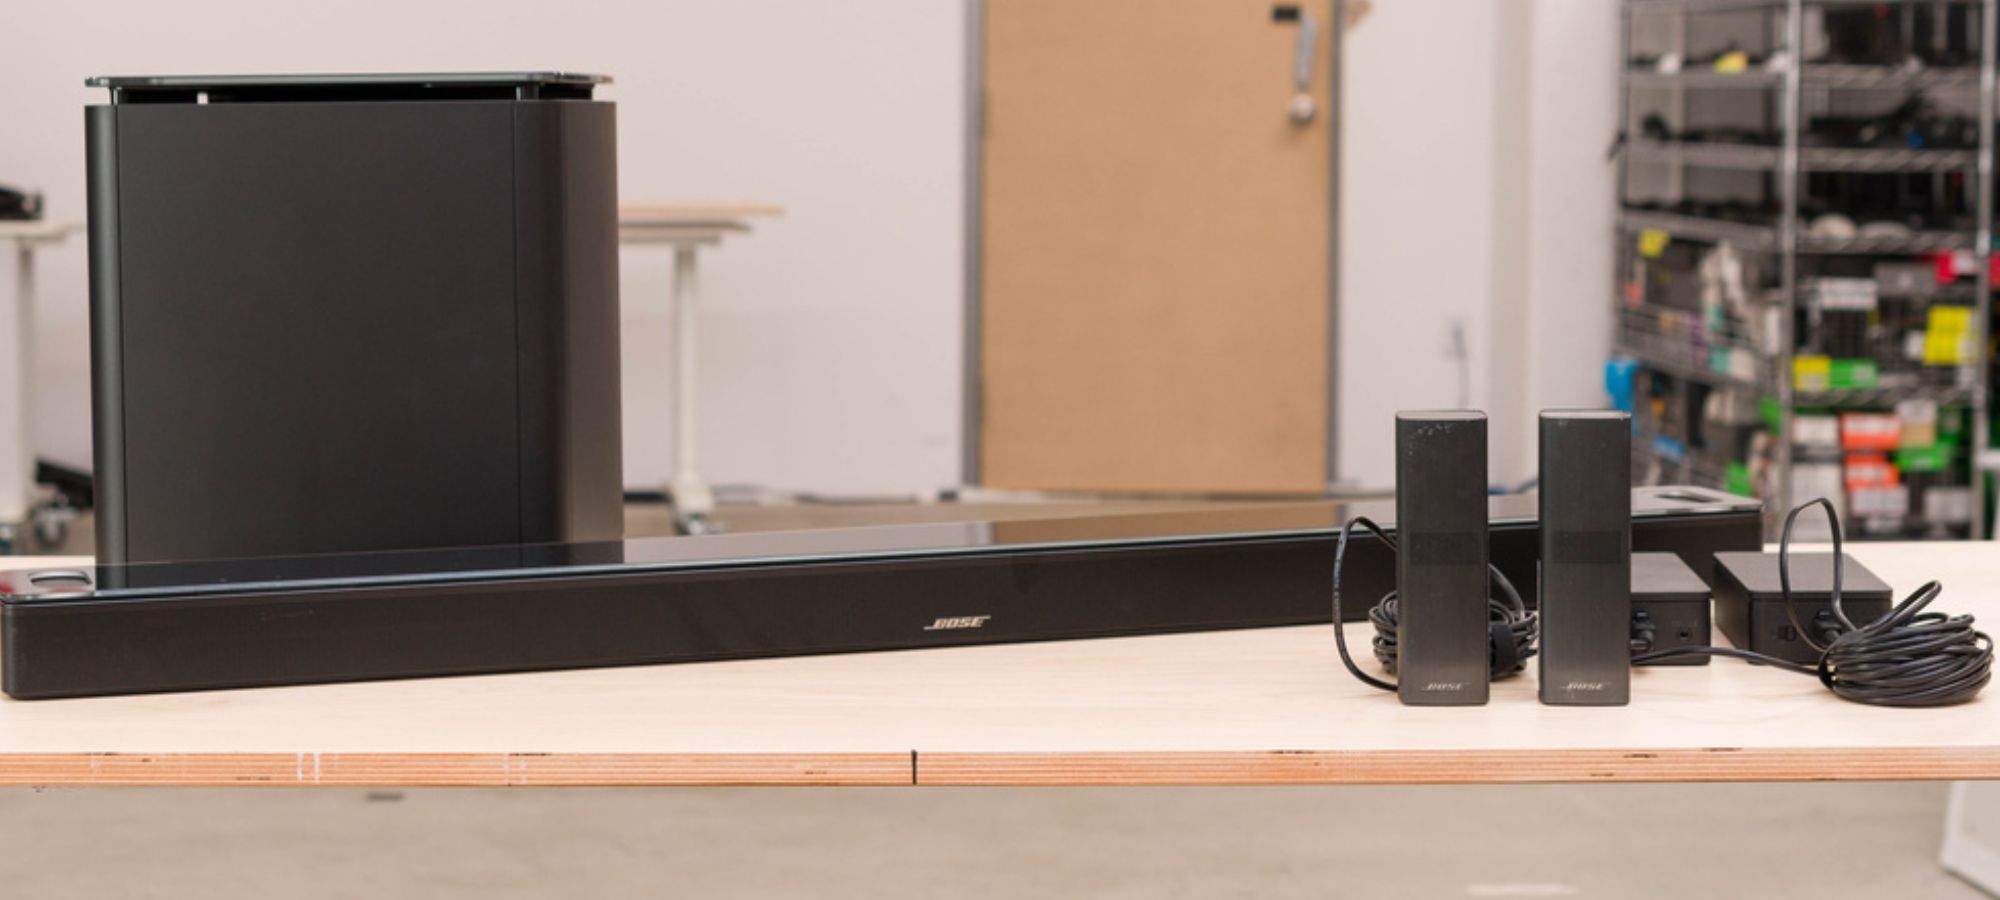
Before we begin, make sure you have all the necessary components for setup. This includes the Verizon Sound Bar, power cable, HDMI cable (if applicable), and the remote control. Once you have everything ready, let’s proceed to the first step: unboxing the sound bar.
Step 1: Unboxing the Verizon Sound Bar
Unboxing the Verizon Sound Bar is an exciting moment as you unwrap your new audio companion. Properly unboxing and handling the sound bar ensures that it remains in excellent condition and ready for setup. Follow these steps to safely unbox your Verizon Sound Bar:
- Find a clean, well-lit area to unbox your sound bar. Make sure you have enough space to comfortably handle the packaging.
- Carefully remove the packaging materials. The sound bar may be secured with foam inserts or protective coverings. Remove these with gentle pulling or cutting as required.
- Once the packaging is removed, take a moment to inspect the sound bar for any visible damage. If you notice any dents, scratches, or other issues, contact Verizon customer support for further assistance.
- Locate the power cable and any other included accessories such as an HDMI cable or remote control. Ensure that all necessary components are present and in good condition.
- Place the sound bar in its desired location near your TV or entertainment setup. Take note of the sound bar’s dimensions and ensure it fits appropriately within your space.
- Connect the power cable to the sound bar and plug it into a power outlet. Avoid using extension cords or power strips if possible, and make sure the power source is reliable.
- Once the power cable is connected, power on the sound bar. Look for a power button or switch either on the sound bar itself or on the included remote control.
By following these steps, you have successfully unboxed your Verizon Sound Bar and prepared it for the setup process. The next step is to connect the sound bar to your TV for an enhanced audio experience. Let’s move on to Step 2: Connecting the Sound Bar to the TV.
Step 2: Connecting the Sound Bar to the TV
Now that you have successfully unboxed your Verizon Sound Bar, it’s time to connect it to your TV. The connection process may vary depending on the model of your TV and sound bar, but here are the general steps to follow:
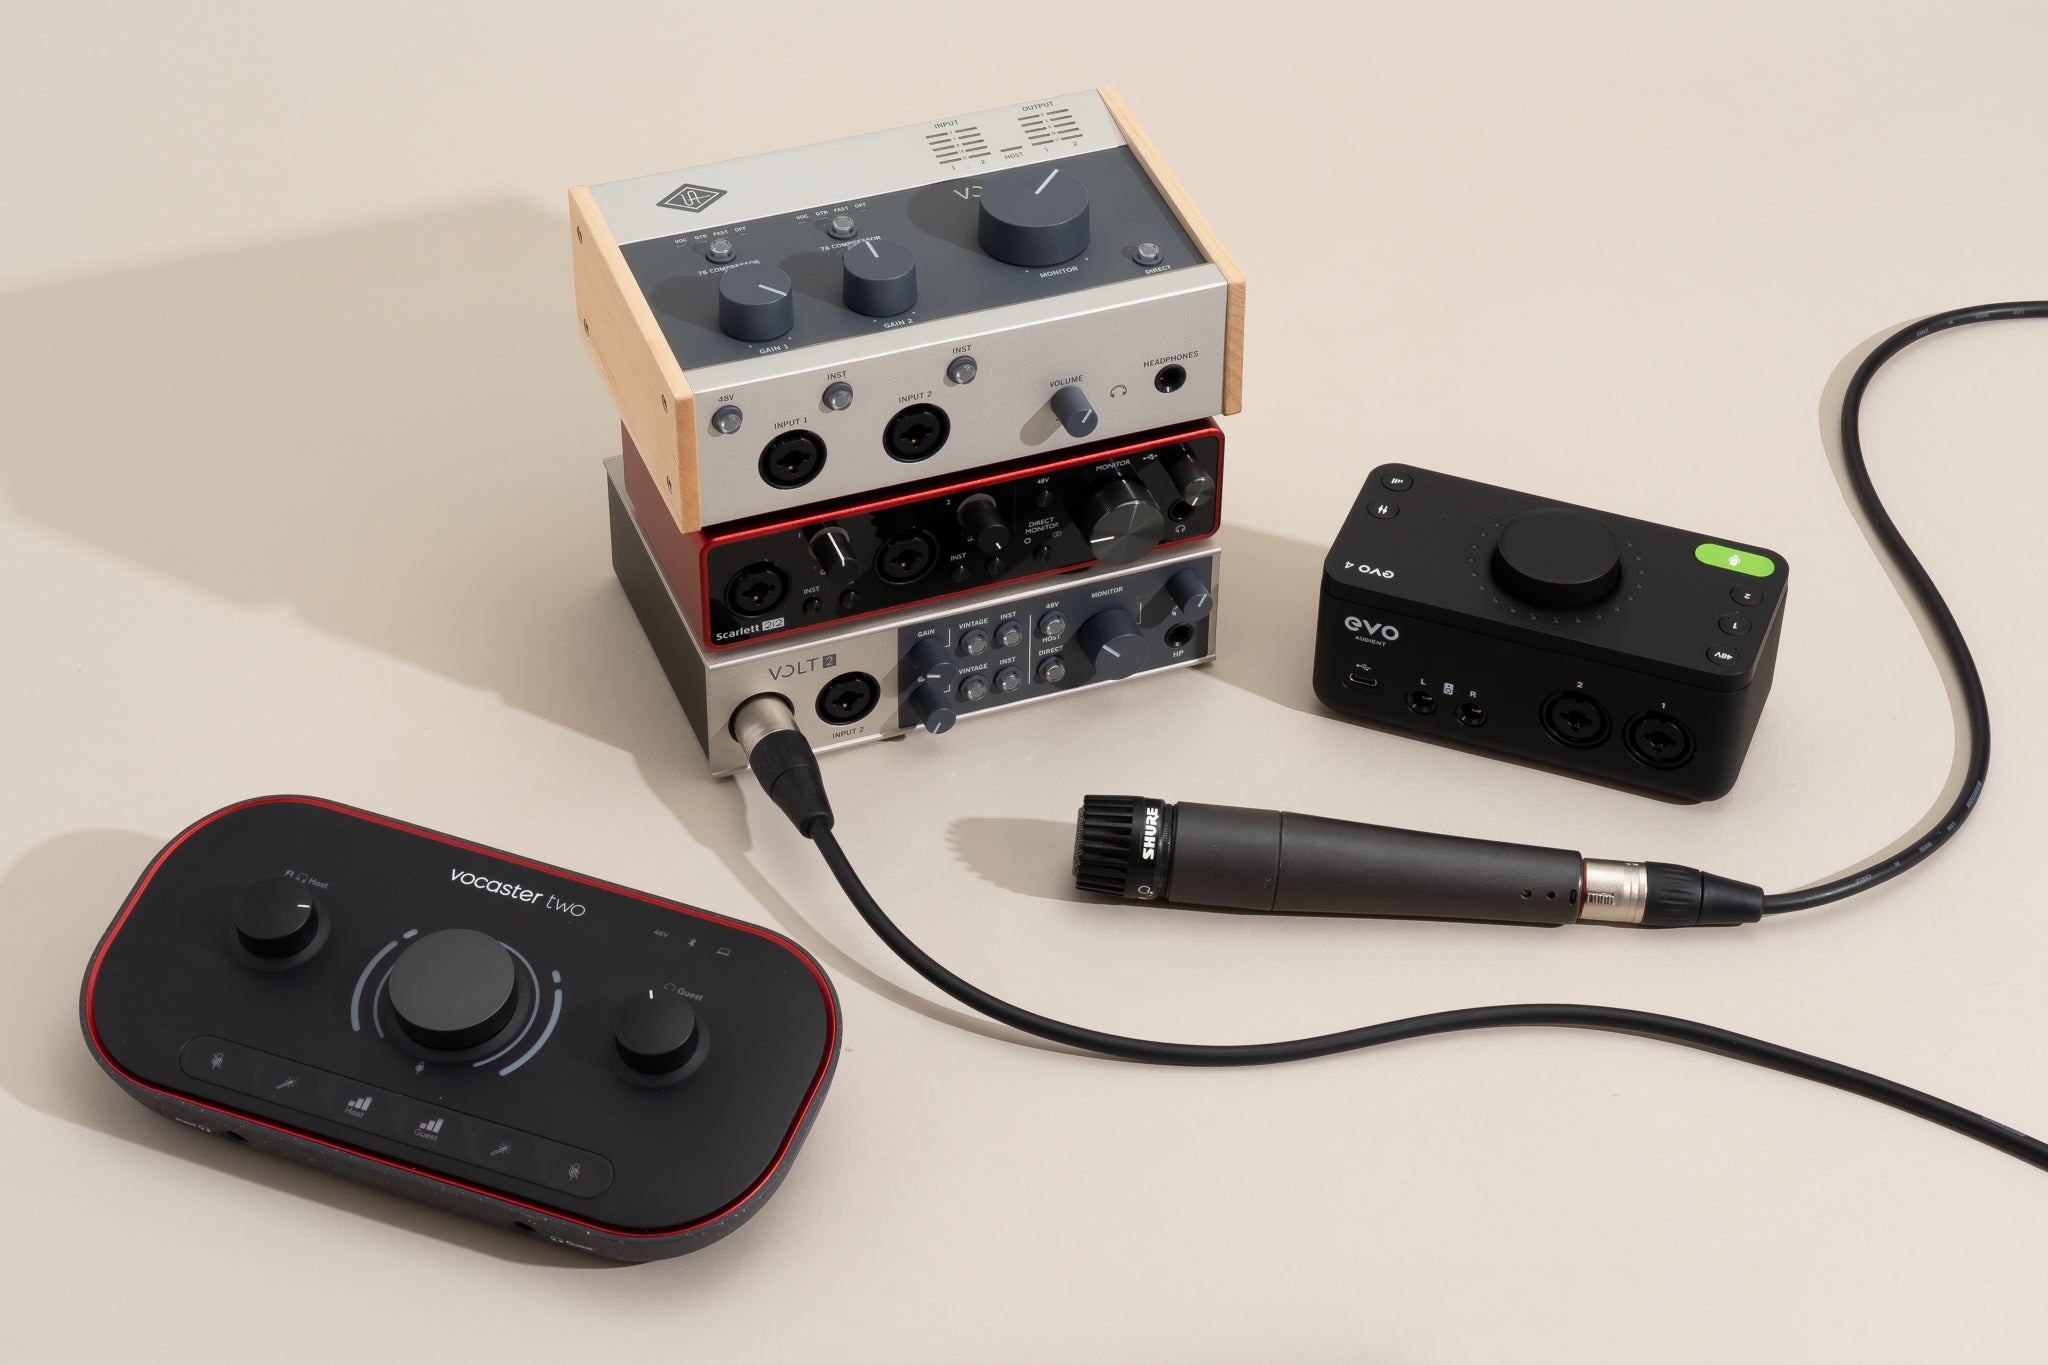
- Identify the available audio output options on your TV. These can include HDMI ARC (Audio Return Channel), optical audio output, or analog audio output.
- If your TV supports HDMI ARC, this is the preferred method for connecting your sound bar. Use an HDMI cable to connect the HDMI ARC port on your TV to the HDMI ARC port on your sound bar. Be sure to check the respective user manuals for the correct ports, as they may vary.
- If your TV does not have HDMI ARC, you can use the optical audio output. Connect one end of the optical cable to the optical audio output on your TV and the other end to the corresponding optical input on your sound bar.
- If your TV only has analog audio output, you can use a 3.5mm aux cable or RCA cables to connect the audio output on your TV to the aux or RCA input on your sound bar, respectively. Note that this method may not provide the highest audio quality, so try to use HDMI ARC or optical if possible.
- Once the physical connections are complete, navigate to the audio settings on your TV and select the appropriate audio output option. This may involve accessing the TV’s settings menu and locating the audio settings section.
- Make sure to set the audio output to “External Speakers” or “Audio System” to ensure that the sound is routed to your sound bar. You may also need to adjust the volume settings to optimize the audio output.
- Now, test the audio by playing something on your TV. If everything is connected properly, you should hear the sound coming from the sound bar, providing a richer and more immersive audio experience.
Remember to consult the user manuals of your TV and sound bar for any specific instructions or troubleshooting tips related to the connection process. Once your sound bar is successfully connected to your TV, you can proceed to the next step: powering on the sound bar.
Step 3: Powering On the Sound Bar
Now that your Verizon Sound Bar is connected to your TV, it’s time to power it on and get ready to experience enhanced audio. Follow these steps to power on your sound bar:
- Locate the power button on the sound bar or the included remote control.
- If the power button is on the sound bar itself, press it to turn the sound bar on. You may see a power indicator light up, indicating that the sound bar is powered on and ready to use.
- If the power button is on the remote control, ensure that the sound bar is properly connected to a power outlet, and then press the power button on the remote control to turn on the sound bar.
- Once the sound bar is powered on, check the display panel (if applicable) for any relevant information or settings. Some sound bars may have a small LED screen that displays the audio source, volume level, or other details.
- Adjust the volume on the sound bar to a comfortable level. You can use the volume buttons on the remote control or the dedicated volume controls on the sound bar itself.
- By now, your Verizon Sound Bar should be powered on and ready to provide an immersive audio experience. Try playing some music or watching a movie to test the audio output and ensure everything is working properly.
If you experience any issues with powering on your sound bar, double-check the power connections to ensure everything is securely connected. If the problem persists, consult the user manual or contact Verizon customer support for further assistance.
Now that your sound bar is powered on, it’s time to move on to the next step: setting up the remote control to conveniently control your audio experience. Let’s proceed to Step 4: Setting up the Remote Control.
Step 4: Setting up the Remote Control
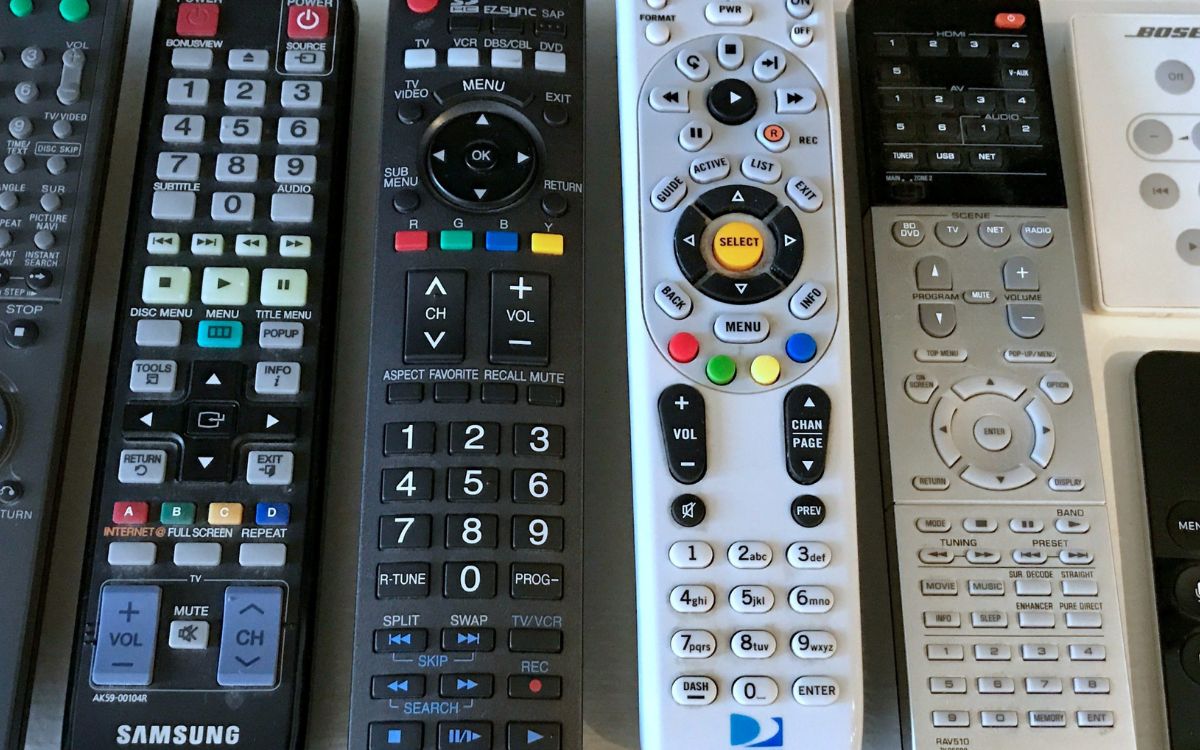
Your Verizon Sound Bar comes with a convenient remote control that allows you to easily control various settings and functions. Setting up the remote control ensures that it is properly synced with your sound bar and ready for seamless operation. Follow these steps to set up the remote control:
- Ensure that the remote control is equipped with fresh batteries. Remove the battery cover and insert the batteries according to the polarity markings.
- Point the remote control towards the sound bar and ensure there are no obstructions between them.
- On the sound bar or the remote control, locate the sync or pairing button. Press and hold this button for a few seconds until you see an on-screen notification or LED indicator that indicates the remote control is being paired.
- Once the pairing process is complete, test the remote control by adjusting the volume, changing the audio source, or accessing other features. Ensure that the remote control is responding correctly to your commands.
- If you encounter any issues with the remote control, such as unresponsiveness or incorrect operation, try replacing the batteries with new ones and repeat the pairing process. If the problem persists, consult the user manual or contact Verizon customer support for further assistance.
With your remote control successfully set up, you can now conveniently manage the settings and functions of your Verizon Sound Bar. This includes adjusting the volume, selecting audio modes, tweaking equalizer settings, and more.
Now that your remote control is ready to use, it’s time to move on to the next step: adjusting the sound bar settings to optimize your audio experience. Let’s proceed to Step 5: Adjusting Sound Bar Settings.
Step 5: Adjusting Sound Bar Settings
Now that your Verizon Sound Bar is set up and the remote control is synced, it’s time to fine-tune the sound bar settings to optimize your audio experience. Adjusting the sound bar settings allows you to customize the sound output according to your preferences. Follow these steps to adjust the settings:
- Access the sound bar’s settings menu. This can typically be done using the remote control by pressing the dedicated settings button or navigating through an on-screen menu.
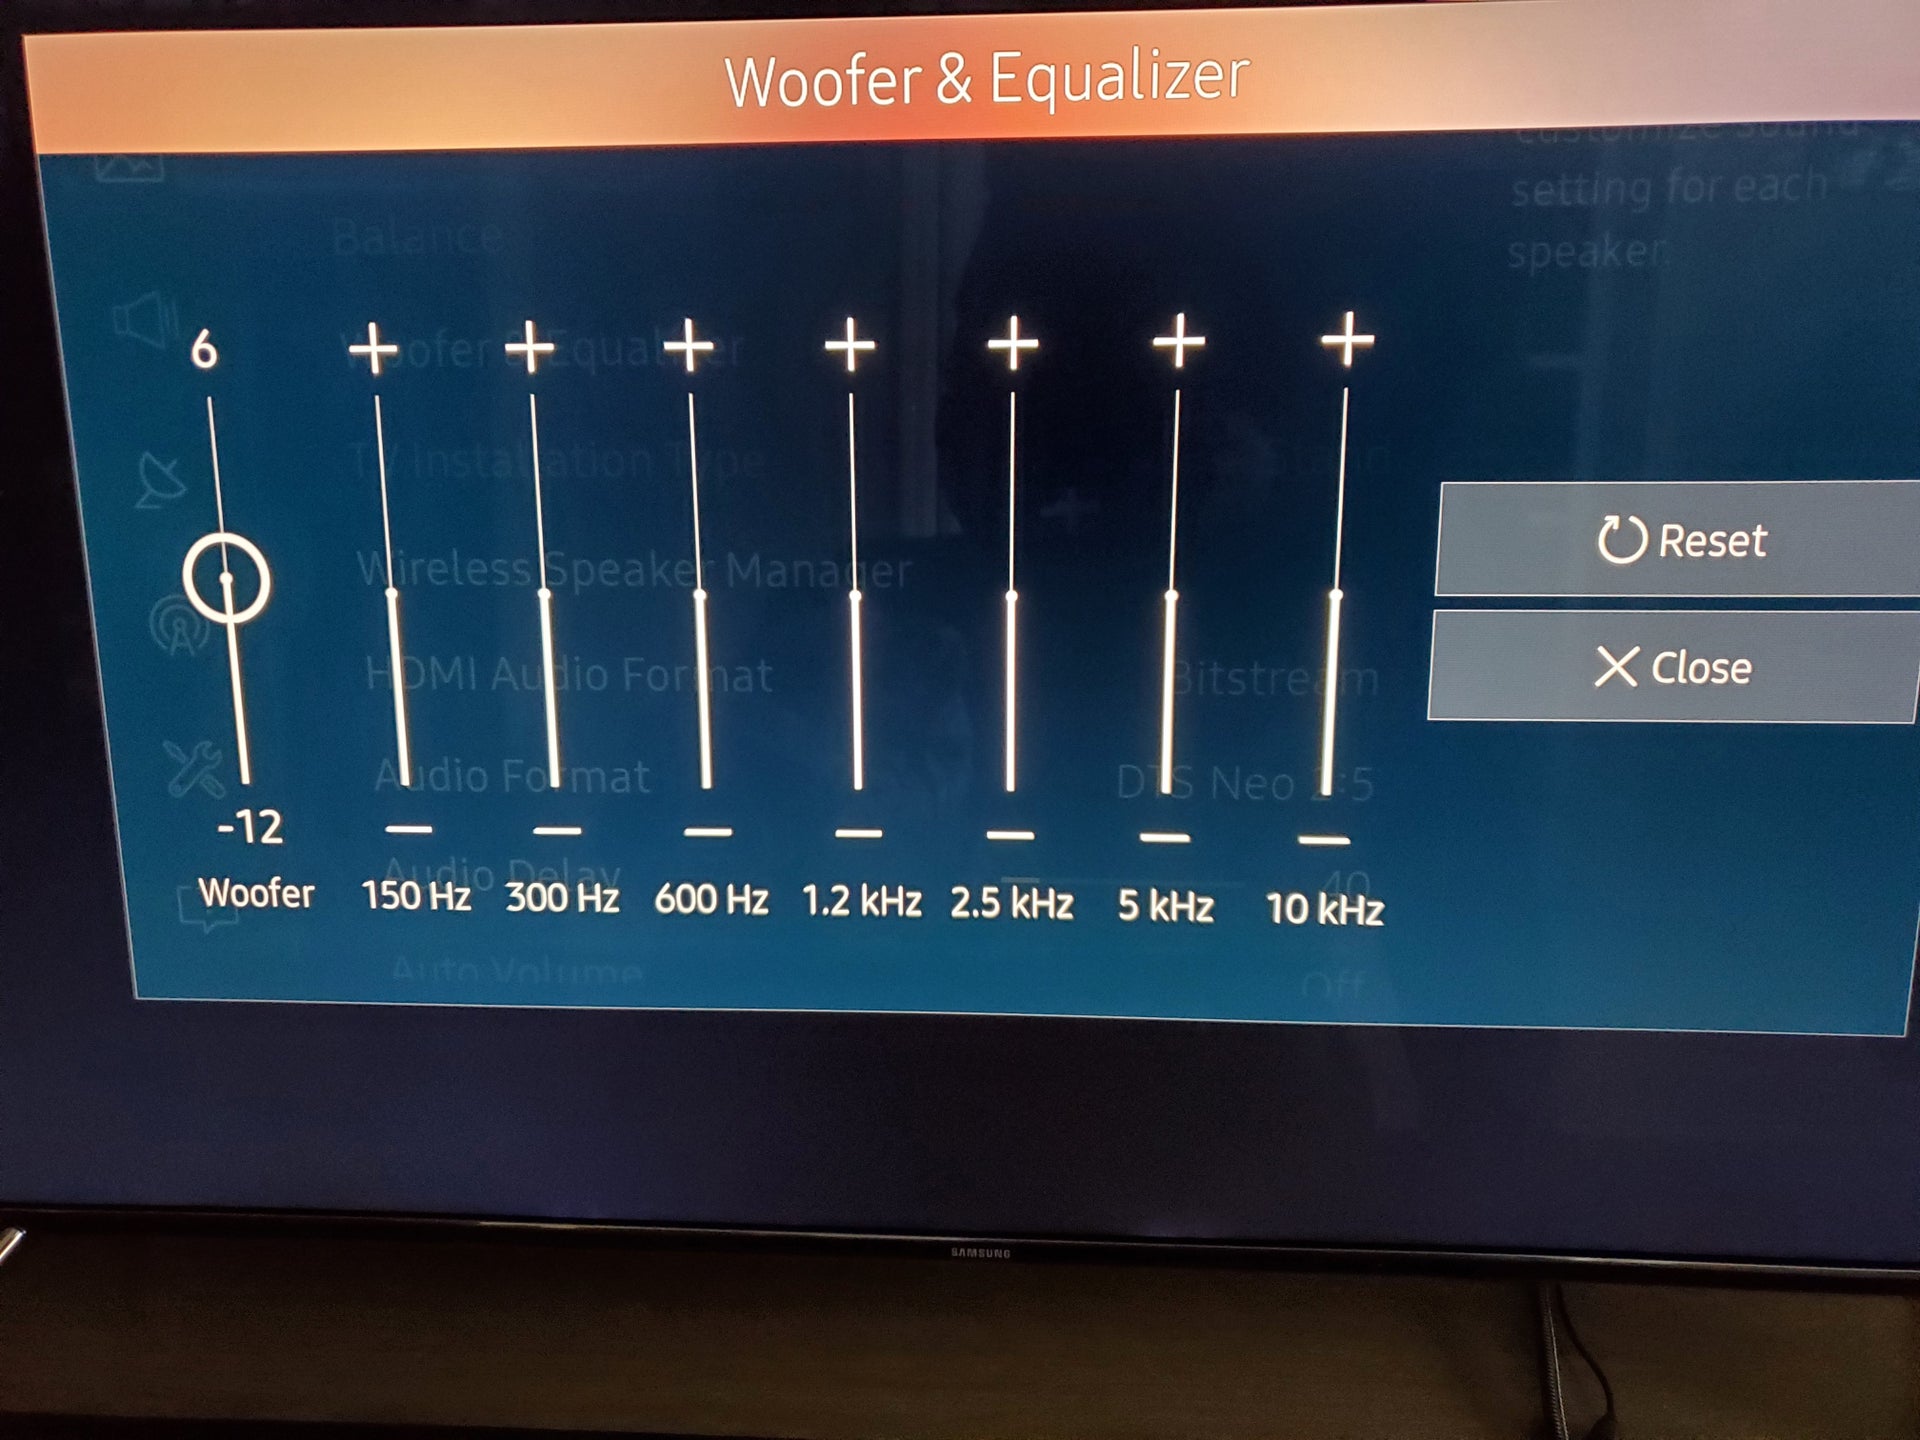
- Explore the available settings options. Depending on the model of your sound bar, you may have access to a range of settings such as audio modes, equalizer presets, dialogue enhancement, bass/treble control, and more.
- Experiment with different audio modes to find the one that best suits your listening preference. These modes can include options like “Movie,” “Music,” “Sports,” “Game,” or “Night Mode.” Try each mode and adjust accordingly.
- If your sound bar has an equalizer, use it to tweak the audio frequencies to your liking. Boost the bass for a more pronounced low-end, or adjust the treble for sharper highs. Play around with the settings until you achieve the desired sound.
- Some sound bars offer dialogue enhancement features to emphasize speech. If you find that dialogues are not clear enough, enable this feature to enhance vocal clarity.
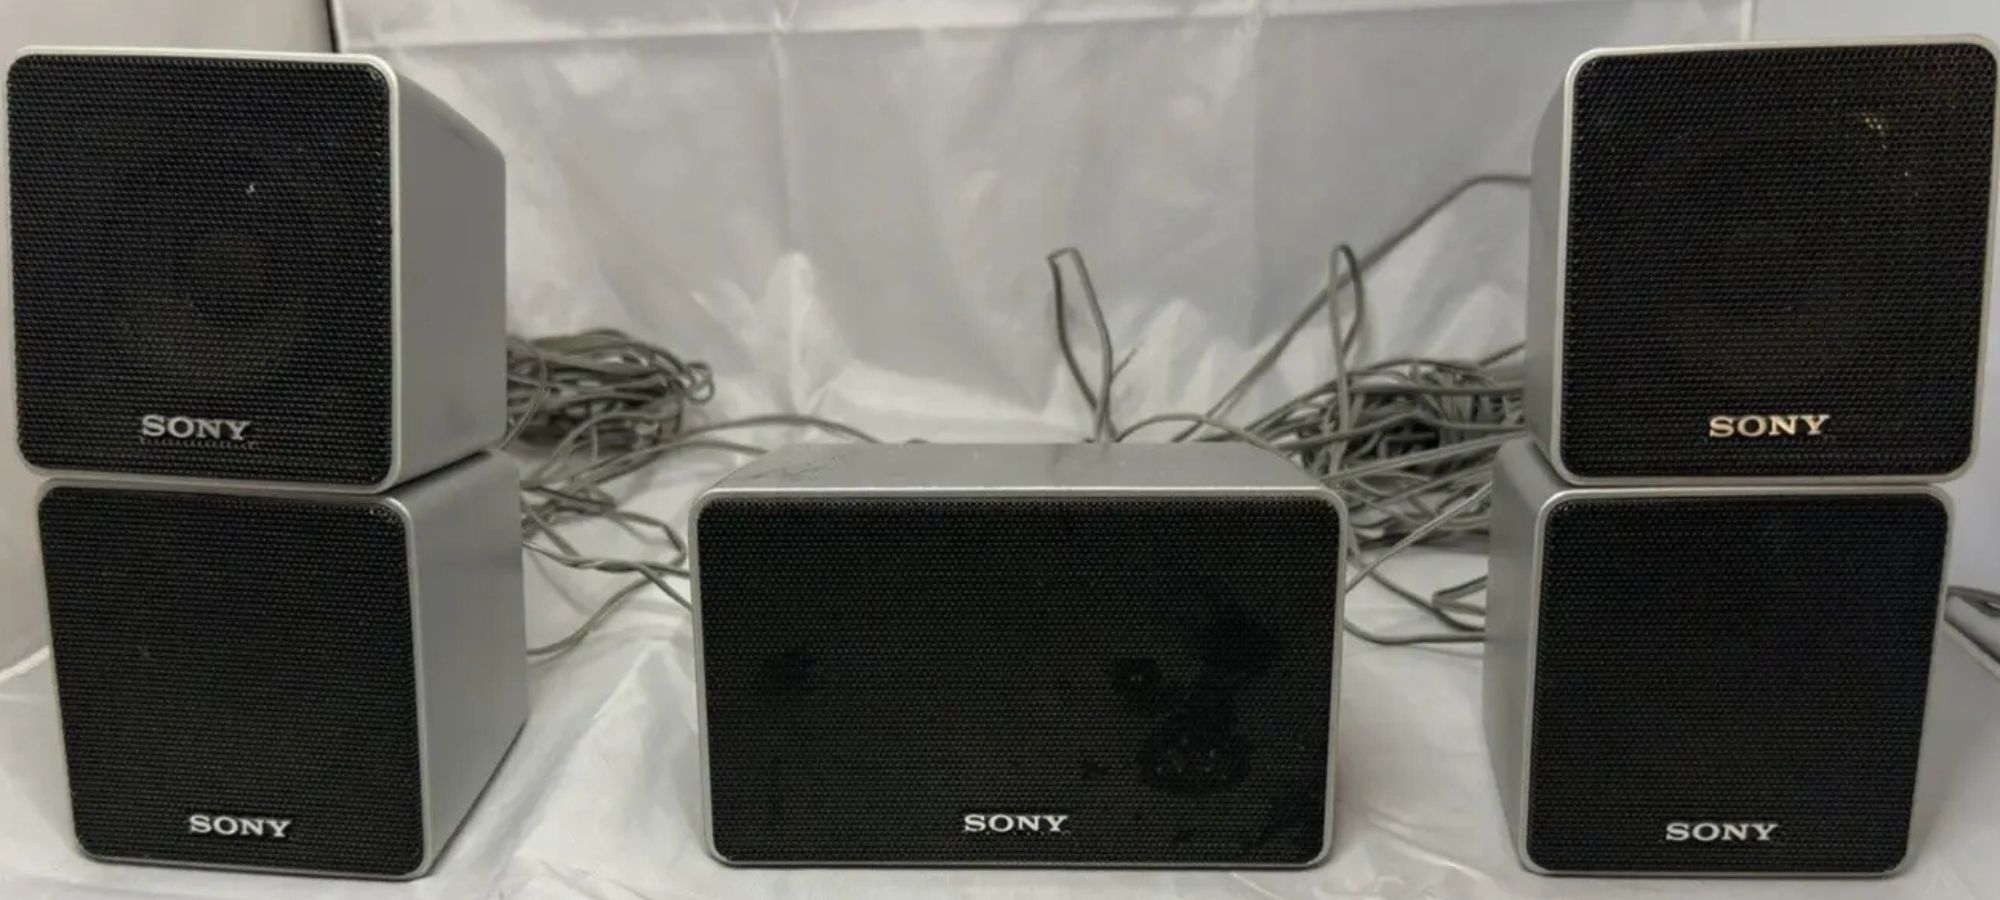
- If your sound bar has a built-in subwoofer or the option to connect an external subwoofer, adjust the bass settings to achieve the desired level of low-frequency response.
- Consider the placement of your sound bar and ensure it is positioned optimally for the best sound quality. Experiment with different placements to find the sweet spot where the sound is balanced and immersive.
- Remember to periodically update your sound bar’s firmware, if applicable, to ensure you have the latest features and improvements. Check the manufacturer’s website or the sound bar’s user manual for instructions on how to update the firmware.
By adjusting the sound bar settings, you can tailor the audio output to your liking and create a personalized listening experience. Play around with the settings until you find the perfect balance for your preferences and content genres.
Now that you have optimized your sound bar settings, let’s move on to the next step: troubleshooting tips for common sound bar issues. Proceed to Step 6: Troubleshooting Tips.
Step 6: Troubleshooting Tips
While setting up and using your Verizon Sound Bar, you may encounter some common issues or challenges. Don’t worry – we’ve got you covered with a few troubleshooting tips to help you overcome these obstacles. Here are some common sound bar issues and their possible solutions:
- No sound: If you’re not getting any audio from your sound bar, double-check the audio connections. Ensure that the cables are securely plugged into the correct ports on both the sound bar and TV. Additionally, check the audio settings on your TV to make sure the output is directed to the sound bar.
- Poor sound quality: If the audio quality is not up to your expectations, try adjusting the sound bar’s equalizer settings. Play around with the bass, treble, and other sound enhancement features to find the right balance. Additionally, consider the sound bar’s placement – it should be positioned properly and not obstructed by any objects.
- Remote control issues: If your remote control is unresponsive or not functioning correctly, check the battery level and replace them if necessary. Ensure that there are no obstructions between the remote control and the sound bar. If the problem persists, try re-pairing the remote control with the sound bar following the steps outlined in Step 4.
- Bluetooth connectivity problems: If you’re having trouble connecting your sound bar to a Bluetooth device, make sure that the Bluetooth function is enabled on both the sound bar and the device you’re trying to connect. Also, ensure that you’re within the effective Bluetooth range and there are no other devices causing interference.
- Audio sync issues: If you notice a delay or mismatch between the audio and video while watching content, adjust the audio sync settings on your sound bar. Most sound bars have an audio delay or lip-sync feature that allows you to manually synchronize the audio with the video playback.
- Unexpected shutdowns: If your sound bar shuts off unexpectedly, double-check the power connections. Ensure that the power cable is securely plugged into both the sound bar and the power outlet. If the issue persists, it may indicate an internal problem, and you should contact Verizon customer support for further assistance.
If you encounter any other issues or difficulties that are not covered here, consult the user manual of your Verizon Sound Bar for specific troubleshooting guidance. You can also reach out to Verizon customer support for further assistance.
With these troubleshooting tips, you should be able to overcome common issues that may arise while using your Verizon Sound Bar. Now you can enjoy a seamless and immersive audio experience with your favorite movies, music, and games.
Congratulations! You’ve successfully set up and optimized your Verizon Sound Bar. With proper installation, connection, and adjustment, you can now fully enjoy the enhanced audio experience it provides. Sit back, relax, and immerse yourself in the rich sound quality that the Verizon Sound Bar delivers.
Thank you for choosing Verizon Sound Bar. We hope you enjoy countless hours of premium audio entertainment!
Conclusion
Congratulations! You have successfully set up your Verizon Sound Bar and optimized its settings for a superior audio experience. By following the step-by-step instructions in this guide, you have unlocked the full potential of your sound bar and can now enjoy immersive sound quality with your favorite movies, music, and TV shows.
The unboxing process ensured that your sound bar was safely and properly unpacked, while the connection to your TV established a seamless audio connection. Powering on the sound bar and setting up the remote control allowed for convenient control of the device. Adjusting the sound bar settings personalized your audio experience, and troubleshooting tips helped overcome common issues that may arise.
Remember, to fully enjoy your sound bar, experiment with different audio modes, equalizer settings, and placement to achieve the optimal sound quality for your preferences. Whether you are a movie lover, music enthusiast, or avid gamer, your Verizon Sound Bar is designed to deliver immersive and high-quality audio that enhances your entertainment experience.
If you encounter any further difficulties or have specific inquiries, don’t hesitate to consult the user manual or reach out to Verizon customer support for assistance. They are well-equipped to address any questions or concerns you may have.
Now, sit back, relax, and immerse yourself in the rich and vibrant sound that your Verizon Sound Bar provides. Enjoy the enhanced audio experience as you indulge in your favorite media. Thank you for choosing Verizon Sound Bar, and we hope it brings you countless hours of entertainment and satisfaction!