Home>Production & Technology>Audiophile>How To Build An Audiophile Speaker
Audiophile
How To Build An Audiophile Speaker
Published: November 3, 2023
Learn how to build your own high-quality audiophile speaker from scratch. Step-by-step instructions and expert tips to help you achieve amazing sound.
(Many of the links in this article redirect to a specific reviewed product. Your purchase of these products through affiliate links helps to generate commission for AudioLover.com, at no extra cost. Learn more)
Table of Contents
Introduction
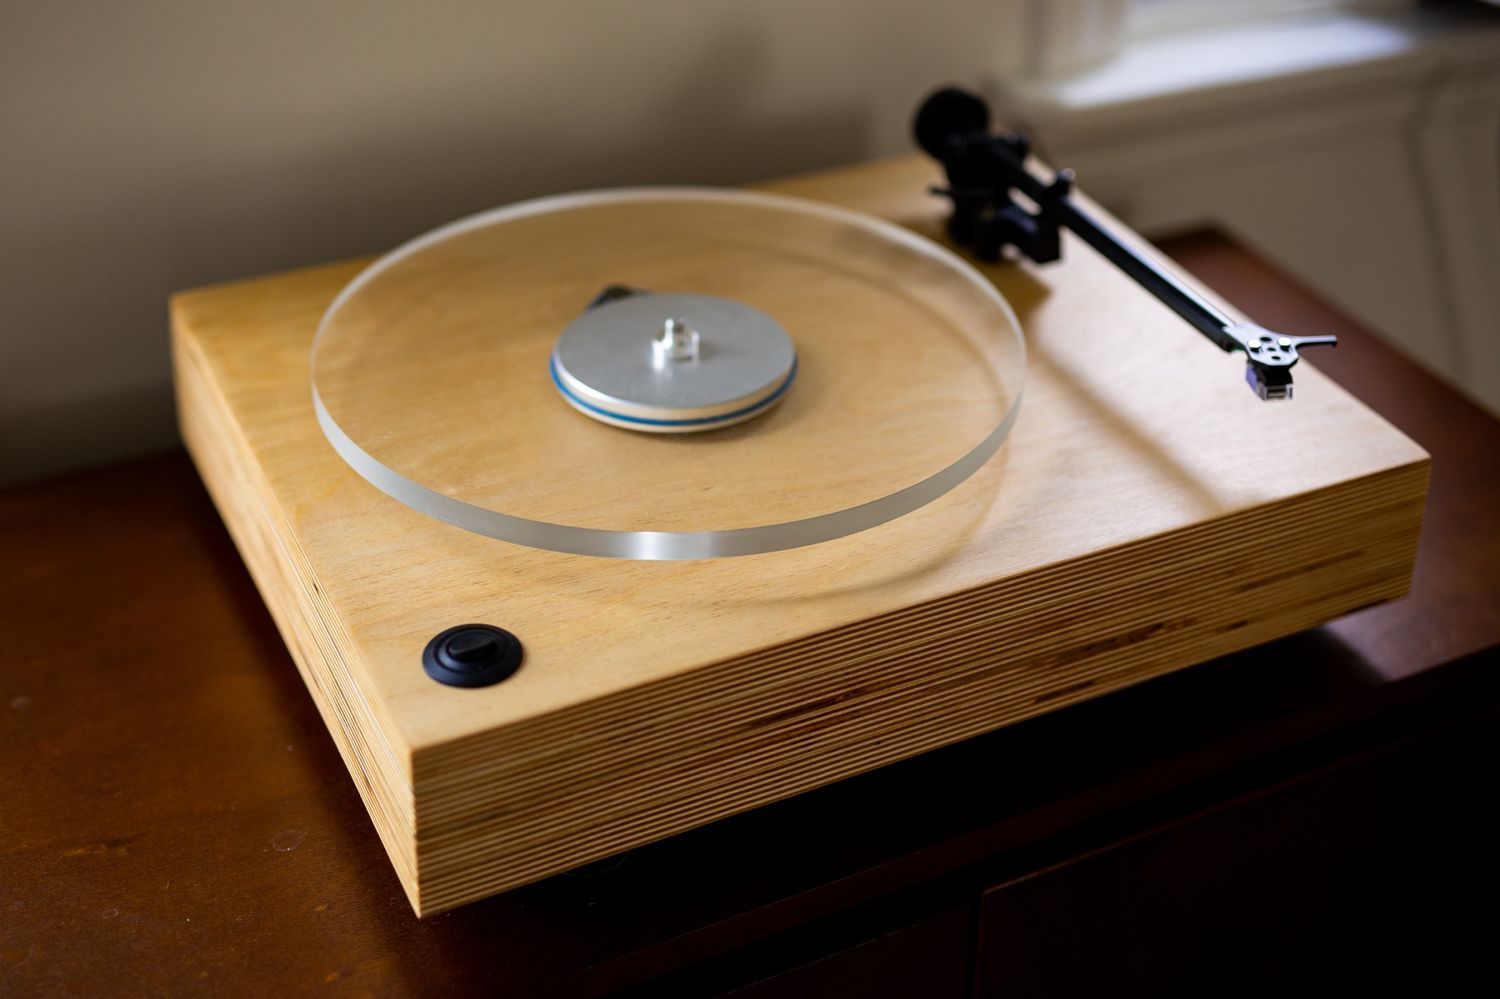
Welcome to the world of audiophiles, where the pursuit of exceptional sound quality takes center stage. Audiophiles are passionate about experiencing music in its purest form, and one of the key components in achieving this is a high-quality speaker. While there are plenty of great commercial speakers available on the market, building your own audiophile speaker can be a rewarding and fulfilling project.
Building your own speaker allows you to have complete control over the components, design, and ultimately, the sound that you will experience. It is a journey that combines technical knowledge, creativity, and attention to detail. In this article, we will guide you through the process of building your own audiophile speaker, from choosing the right components to fine-tuning the sound.
Before we dive into the details, it’s important to note that building an audiophile speaker requires some technical knowledge and experience with electronics. However, with the right guidance and resources, anyone with a passion for audio can take on this project.
So, if you’re ready to embark on a journey to create your own high-fidelity speaker system, let’s get started!
Step 1: Choosing the Right Speaker Components
The first step in building an audiophile speaker is selecting the right components. The quality of the components you choose will directly impact the sound quality of your speaker. Here are the key components to consider:
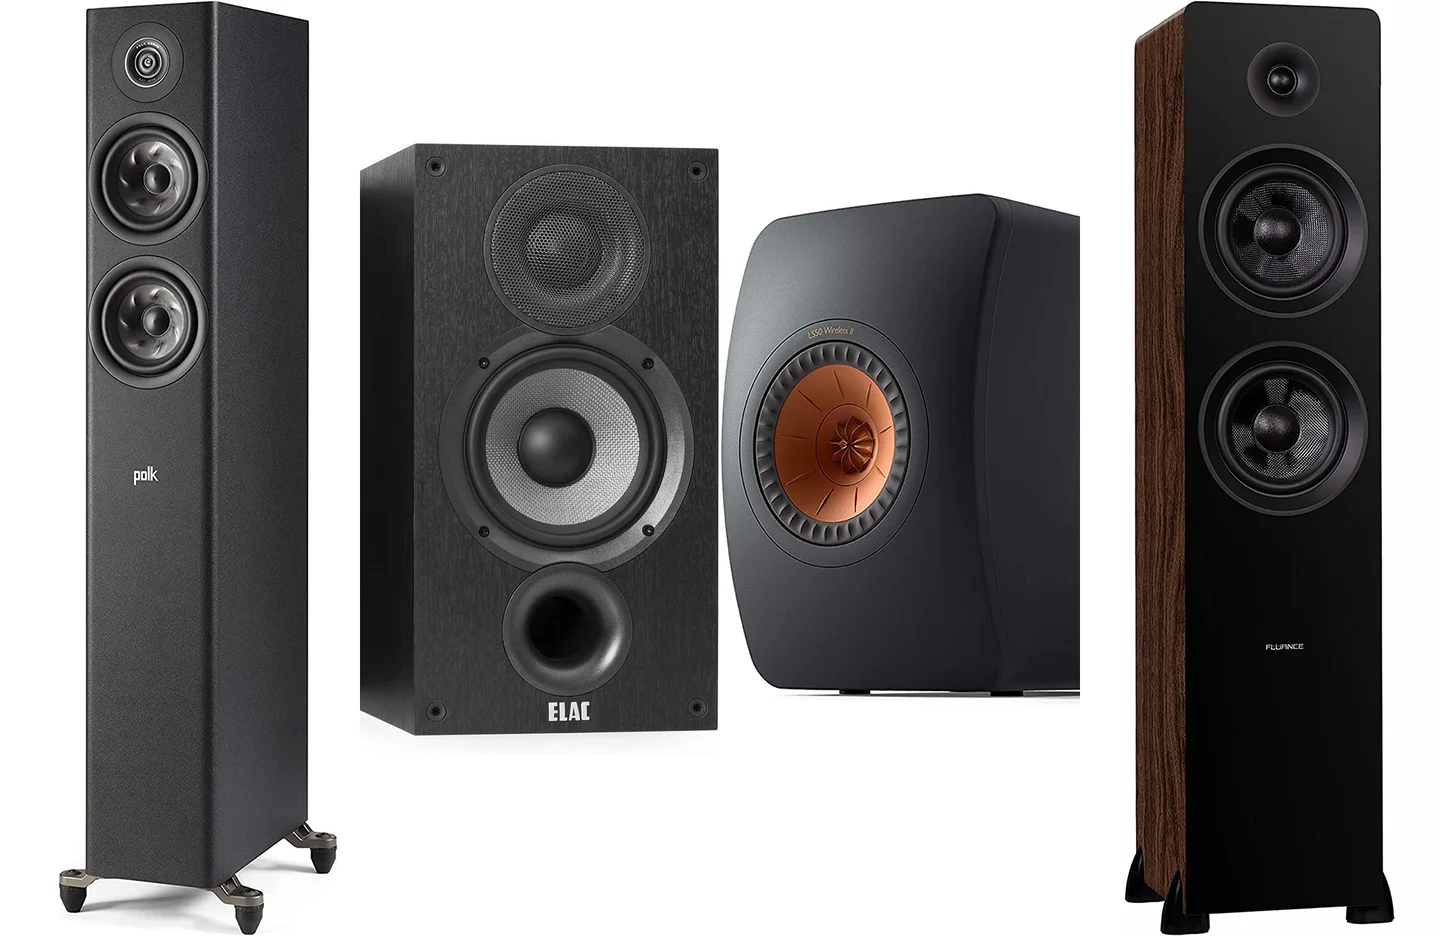
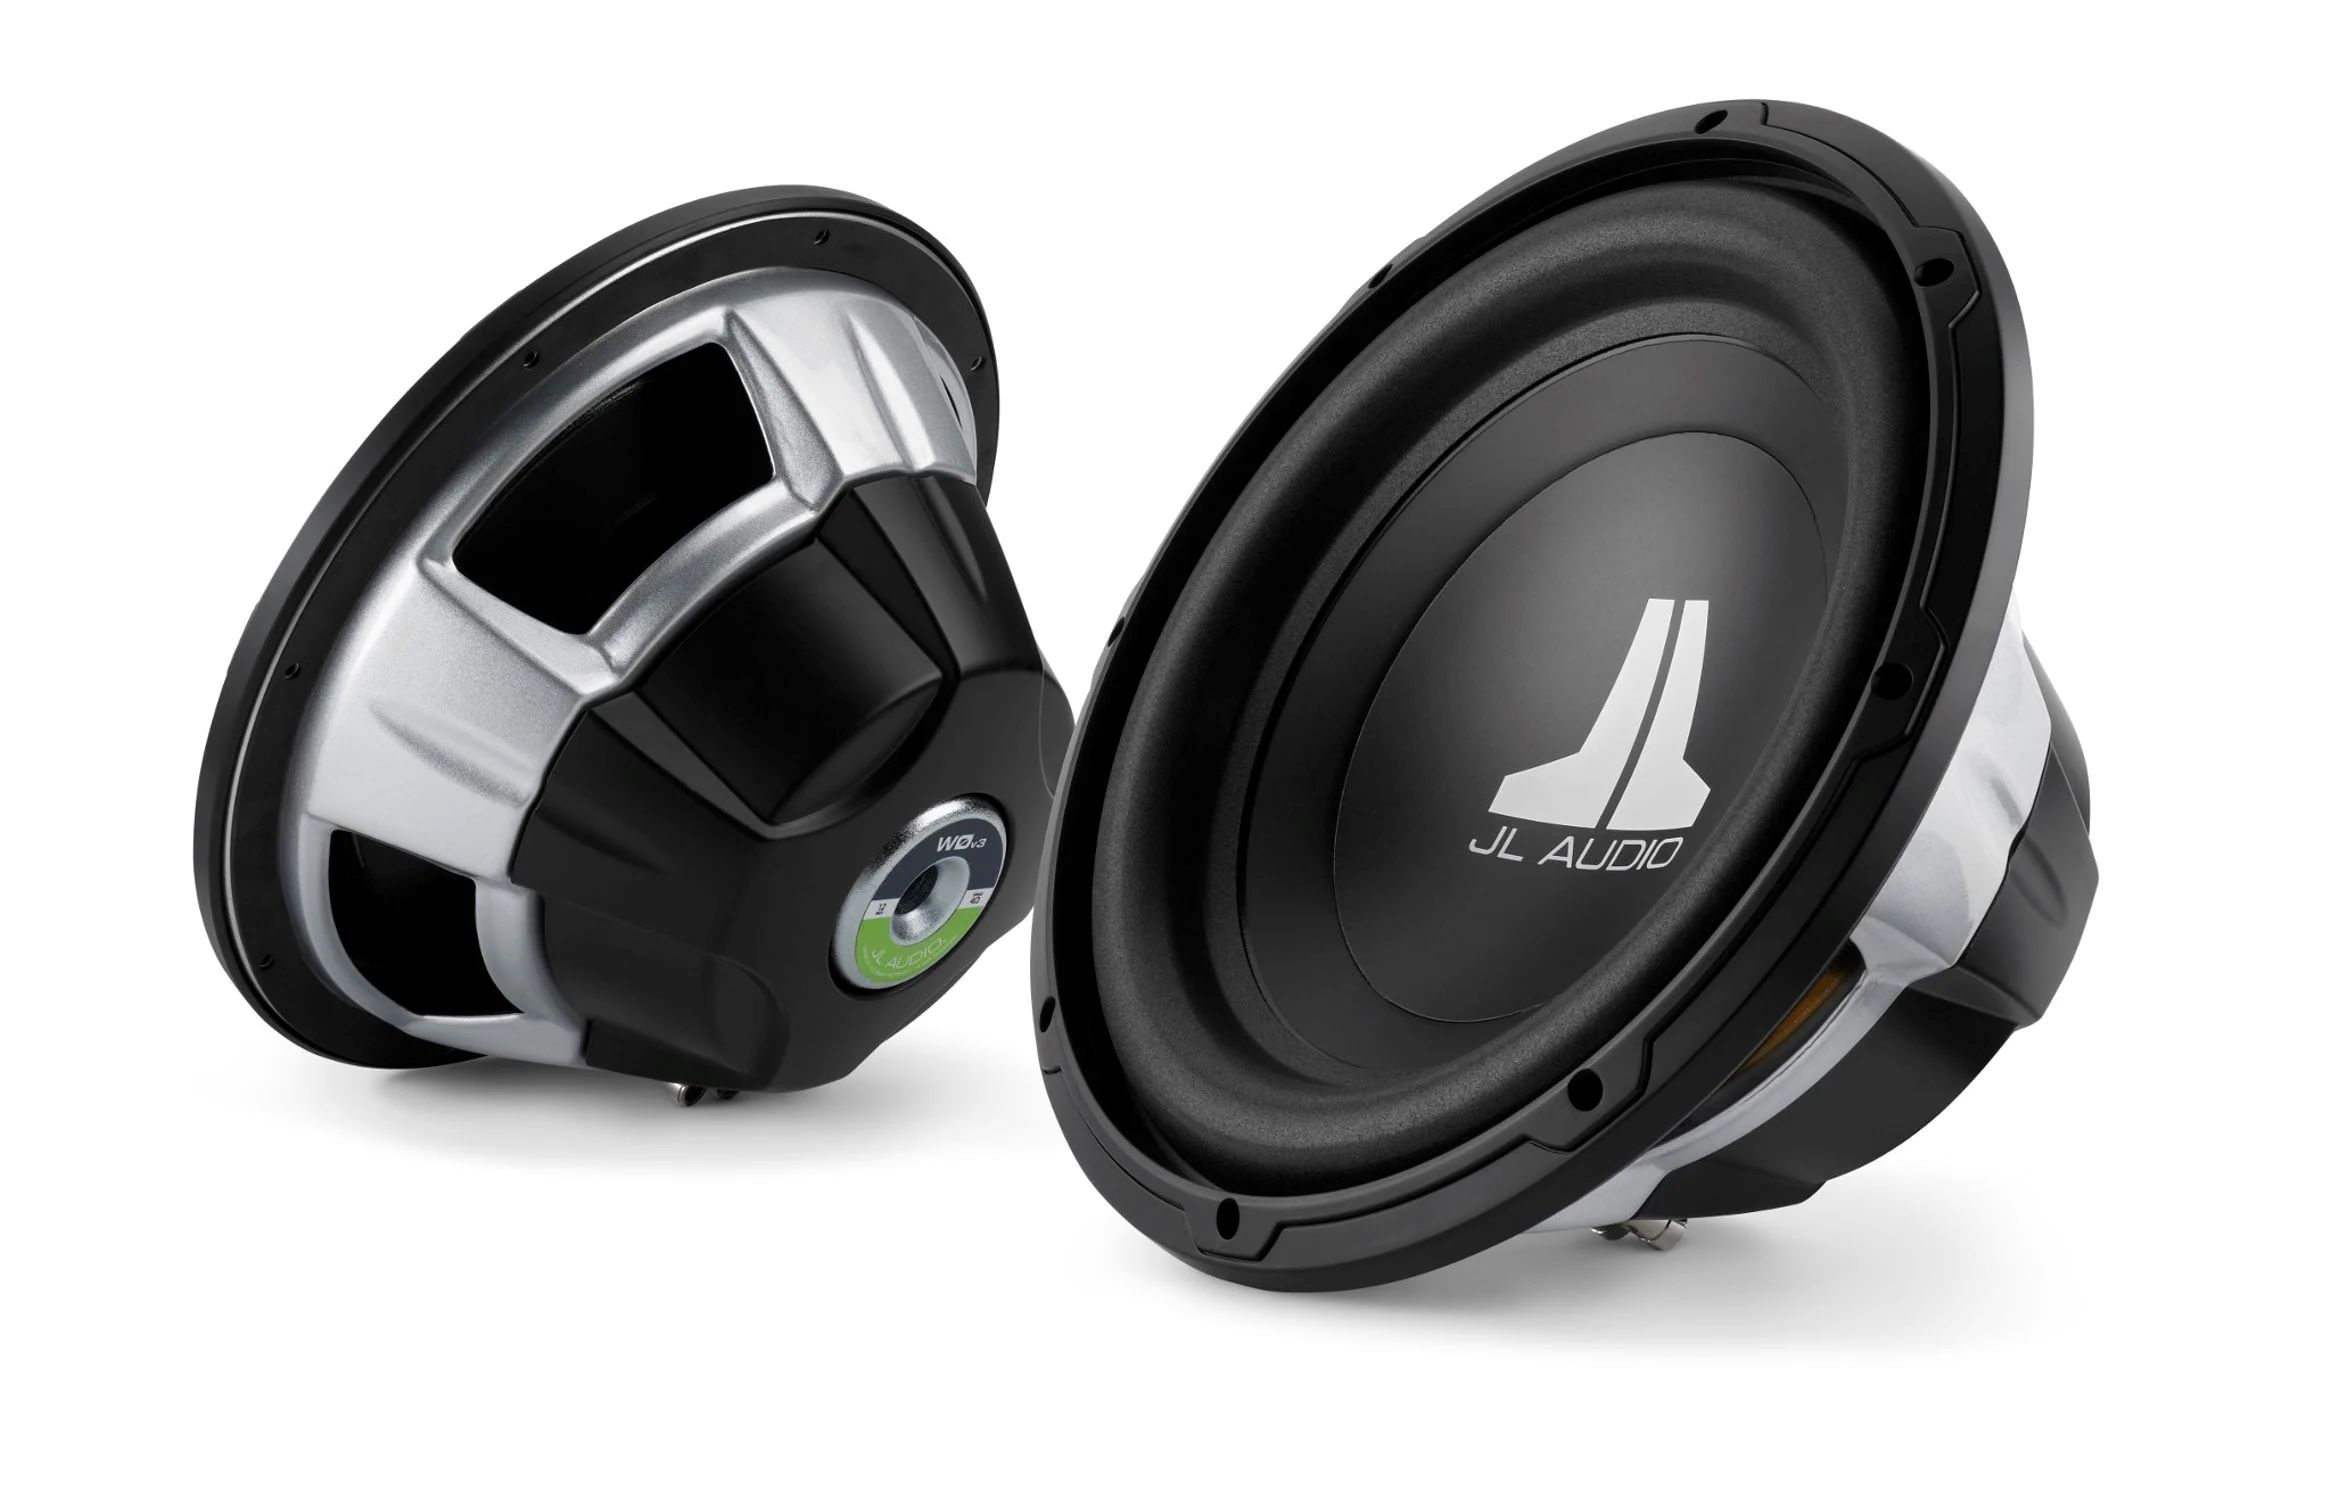
- Speaker Drivers: The speaker drivers, also known as loudspeakers or transducers, are responsible for converting electrical signals into sound waves. There are different types of drivers, including woofers, tweeters, and mid-range drivers. Each driver specializes in producing a specific range of frequencies. It’s crucial to select drivers that are well-matched and capable of delivering accurate and detailed sound reproduction.
- Enclosures: The enclosure plays a vital role in shaping the overall sound of your speaker. It helps prevent sound waves from interfering with each other and optimizes the efficiency of the drivers. Common enclosure designs include sealed, ported, and transmission line. The choice of enclosure design depends on factors like the desired frequency response and the available space for your speaker.
- Crossover Network: The crossover network is responsible for dividing the audio signal into different frequency bands and sending them to the appropriate drivers. This ensures that each driver only reproduces the frequencies it is designed to handle. A well-designed crossover network is essential for achieving a balanced and coherent sound across the entire audio spectrum.
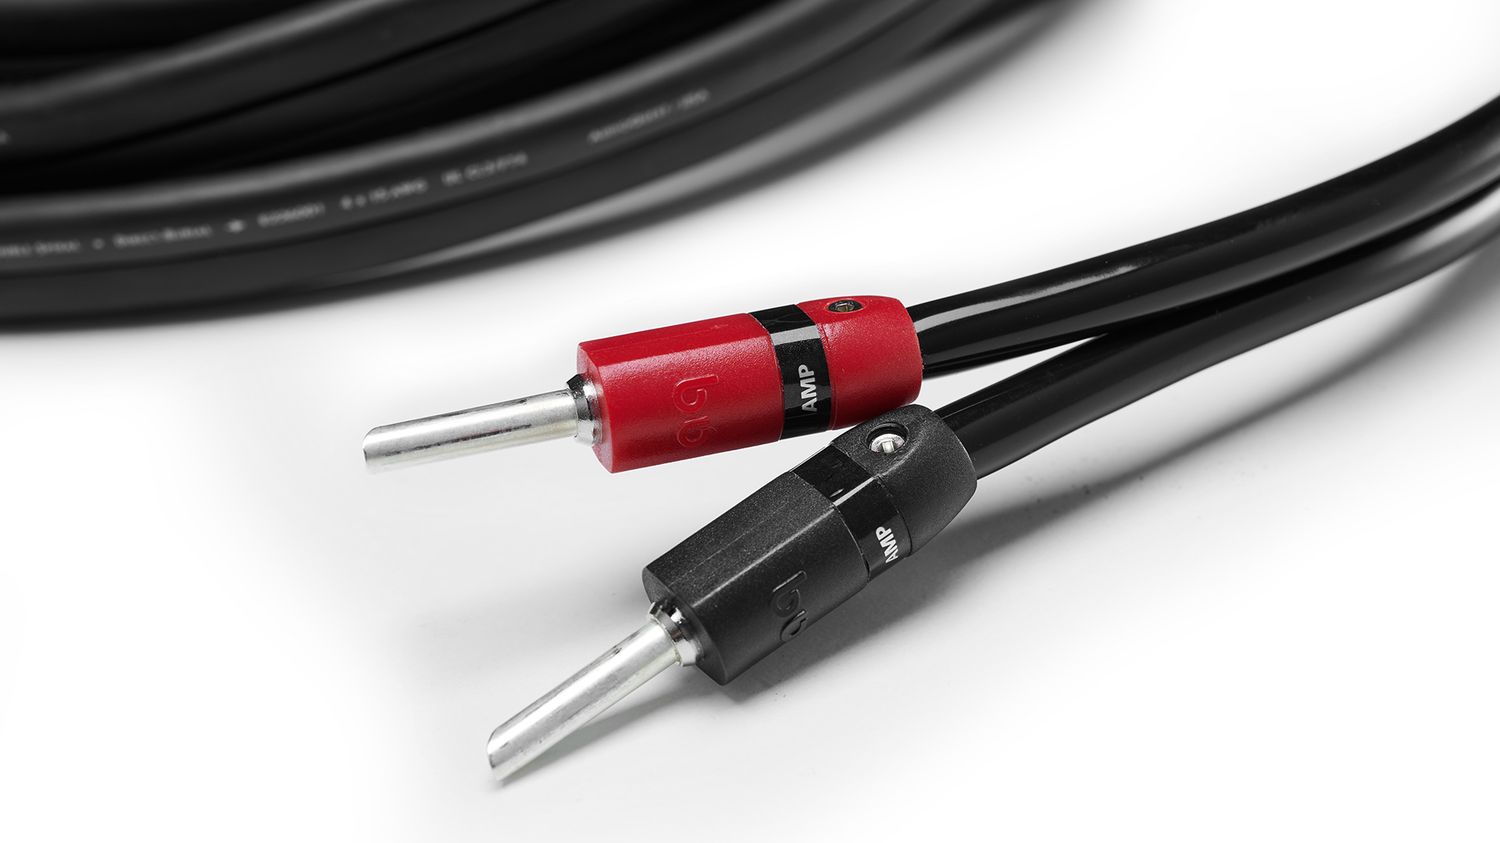
- Connectors and Wiring: Choosing high-quality connectors and wiring is crucial for maintaining the integrity of the audio signal. Poor connectors and wiring can introduce noise and signal degradation, compromising the sound quality. Opt for connectors that provide a solid and reliable connection, and use high-quality speaker wire for minimal signal loss.
- Damping Materials: Damping materials are used inside the speaker cabinet to reduce unwanted resonances and vibrations. These materials, such as foam, fiberglass, or specialized damping sheets, help improve the overall clarity and accuracy of the sound produced by your speaker.
When selecting speaker components, it’s important to consider your budget, the desired sound characteristics, and the available space for your speaker. Research different brands and models, read reviews, and seek advice from fellow audiophiles to make informed choices.
With the right components in hand, you’re ready to move on to the next step: designing the speaker cabinet.
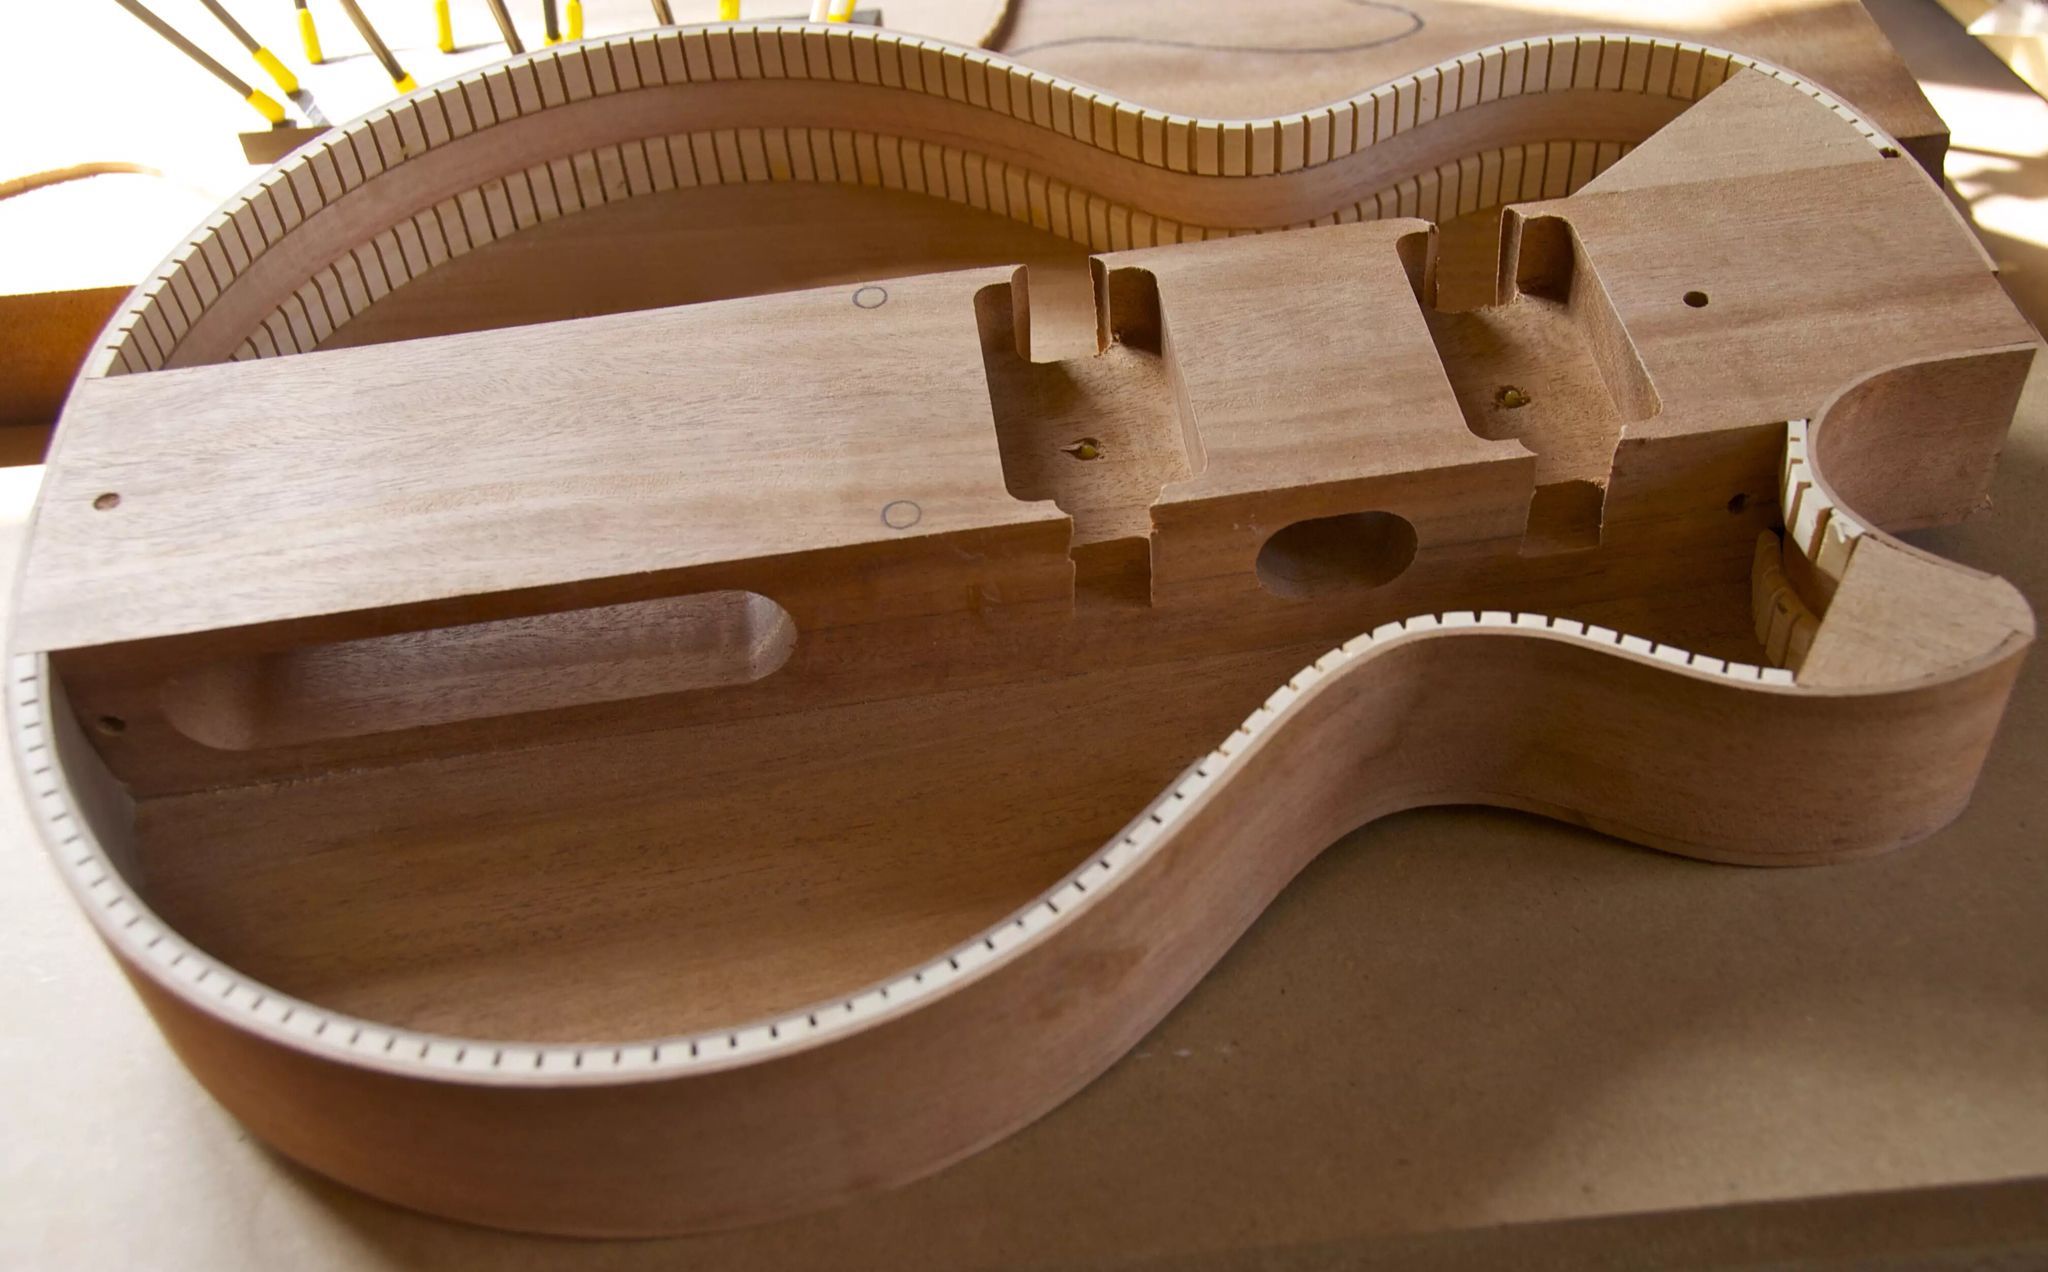
Step 2: Planning the Speaker Cabinet Design
Once you have chosen the right components for your audiophile speaker, the next step is to plan the design of the speaker cabinet. The cabinet not only houses the speaker components but also plays a crucial role in determining the speaker’s overall performance and sound quality. Here are some key factors to consider when planning the speaker cabinet design:
- Cabinet Material: The choice of cabinet material can have a significant impact on the sound produced by your speaker. Common materials include MDF (medium-density fiberboard), plywood, and solid wood. Each material has its own unique characteristics in terms of density, resonance, and damping properties. It’s important to select a material that strikes a balance between rigidity and dampening to minimize unwanted resonances.
- Cabinet Size and Shape: The size and shape of the cabinet will determine the speaker’s frequency response and overall efficiency. The internal volume of the cabinet should be carefully calculated to achieve optimal resonance characteristics and prevent distortion. Additionally, the shape of the cabinet can also affect the dispersion of sound, so consider factors like room placement and listening position when deciding on the cabinet shape.
- Internal Bracing: Adding internal bracing to the cabinet can help reinforce its structure and reduce vibrations and resonance. Bracing can be achieved using braces, blocks, or strategically placed panels. Proper bracing improves the overall rigidity of the cabinet, resulting in cleaner and more accurate sound reproduction.
- Ports and Ventilation: If you’re designing a ported or bass-reflex enclosure, you’ll need to determine the size, length, and placement of the ports. Ports allow the free flow of air in and out of the enclosure, enhancing low-frequency response. Additionally, adequate ventilation for the speaker components is essential to prevent overheating and ensure optimum performance.
- Aesthetics: While the primary focus is on sound quality, the design aesthetics of the speaker cabinet should not be overlooked. Consider factors like finishes, colors, and overall visual appeal to ensure that the speaker blends well with your room decor.
When planning the speaker cabinet design, it’s beneficial to use specialized software or consult with experienced speaker builders to simulate and optimize the cabinet’s performance. This can help in fine-tuning parameters such as internal volume, bracing placement, and port dimensions.
With a well-designed speaker cabinet, you’re ready to move on to the next step: selecting the speaker crossover components.
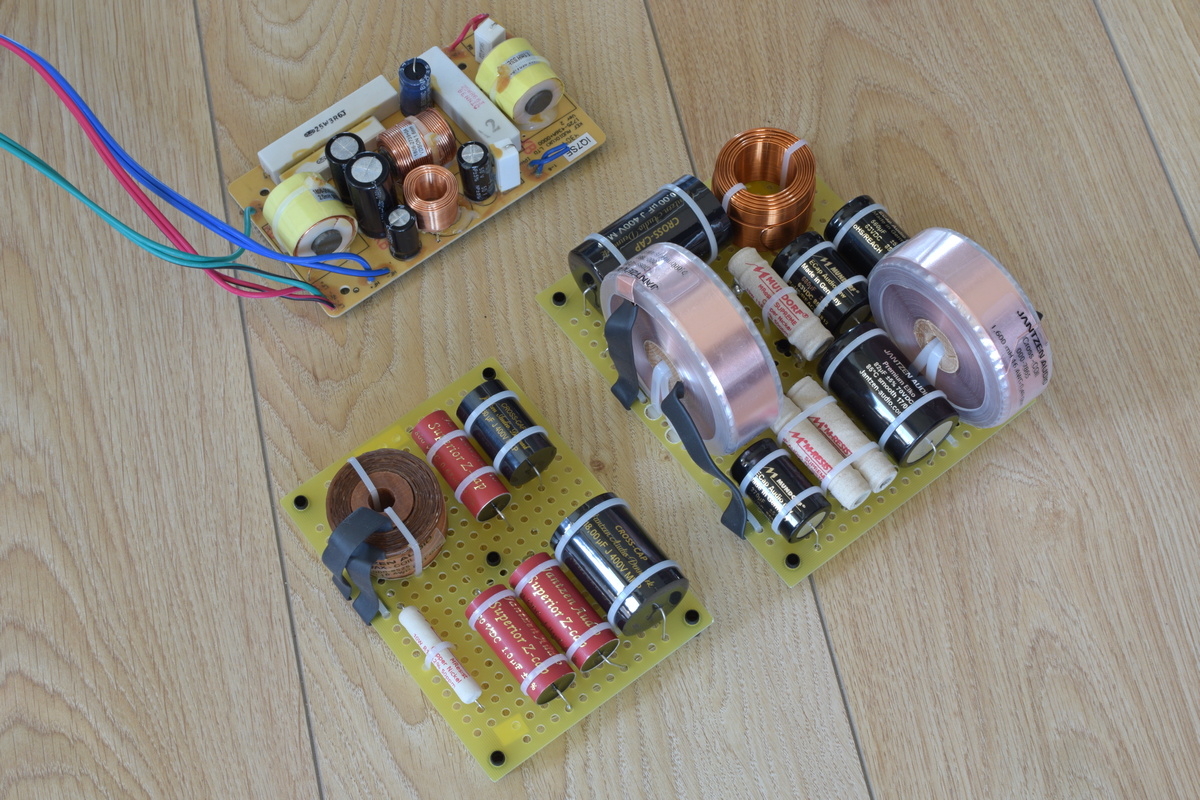
Step 3: Selecting the Speaker Crossover Components
Once you have finalized the design of the speaker cabinet, it’s time to focus on selecting the speaker crossover components. The crossover network is an essential part of any multi-driver speaker system and is responsible for dividing the audio signal into different frequency bands and directing them to the corresponding drivers. Here’s what you need to consider when selecting crossover components:
- Crossover Type: There are different types of crossovers, including passive and active crossovers. Passive crossovers are the most common choice for speaker builders as they are easier to implement and require no additional power source. Active crossovers, on the other hand, require separate amplification for each driver and offer more flexibility in terms of adjusting crossover points and slopes.
- Crossover Points: The crossover points determine the frequencies at which the audio signal is divided between the drivers. The ideal crossover points depend on the characteristics of the drivers you have selected. It’s important to choose crossover points that ensure seamless integration between the drivers and maintain a balanced frequency response across the audio spectrum.
- Component Quality: The quality of the crossover components, such as capacitors, inductors, and resistors, can significantly impact the sound quality of your speaker. Opt for high-quality components that are durable and have low tolerances. This will ensure accurate signal processing and minimize distortion and signal loss.
- Crossover Slopes: Crossover slopes determine how quickly the signal is attenuated outside the desired frequency range. Common crossover slopes include 12dB/octave, 24dB/octave, and 48dB/octave. The choice of slope depends on the driver characteristics and the desired sound signature. Steeper slopes provide better driver isolation and reduce interference between frequency bands.
- Phase Alignment: Achieving proper phase alignment between the drivers is crucial for accurate sound reproduction. This ensures that sound waves from different drivers reach the listener at the same time, without any phase cancellations or distortions. Pay attention to the phase response of the drivers and design the crossover network accordingly.
When selecting crossover components, it’s advisable to consult the specifications and recommendations provided by the driver manufacturers. Additionally, there are various online resources and software tools available that can assist you in designing and optimizing your crossover network.
With the right crossover components chosen, you’re ready to move on to the next step: wiring and assembling the speaker components.
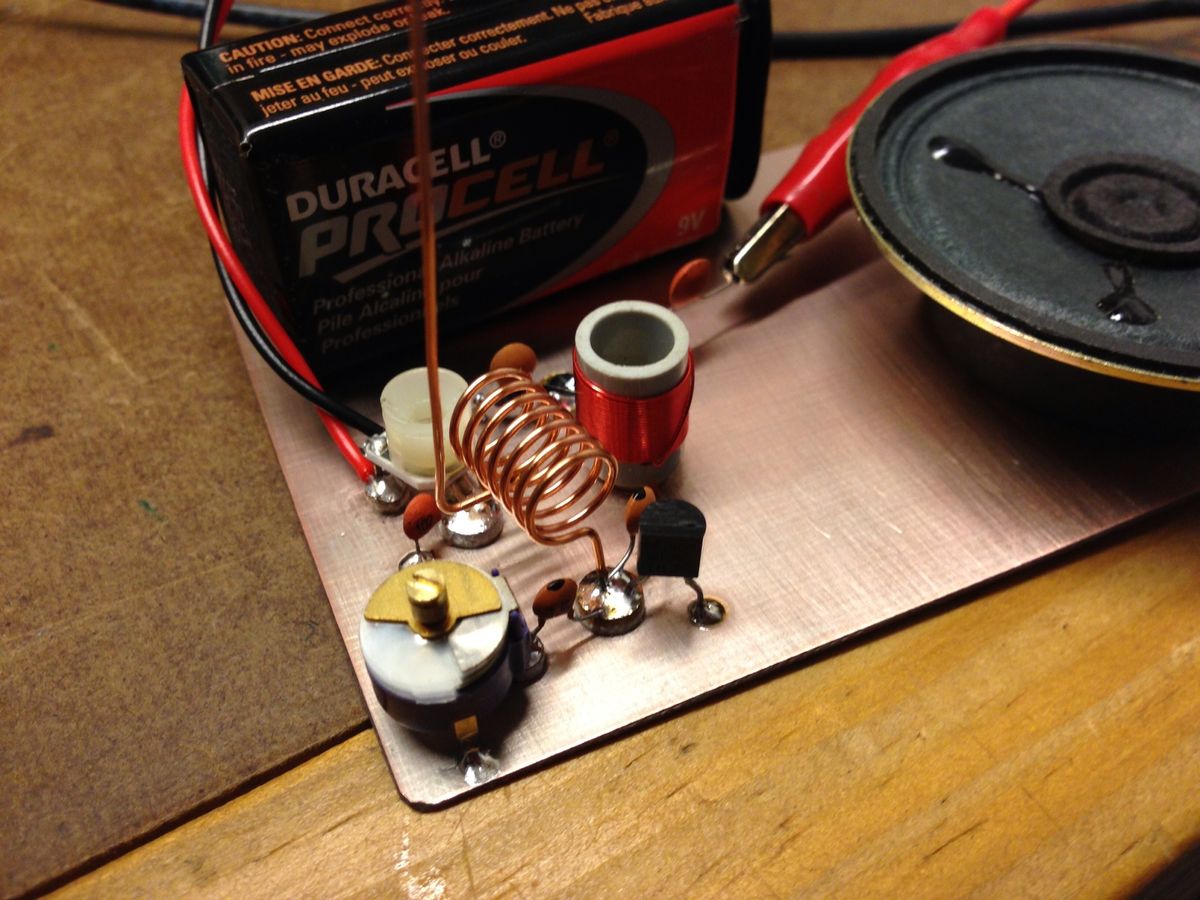
Step 4: Wiring and Assembling the Speaker Components
Now that you have selected the speaker components and crossover, it’s time to wire and assemble the different parts of your audiophile speaker. Proper wiring and assembly are crucial to ensure optimal performance and connectivity. Here’s a step-by-step guide to help you in this process:
- Prepare the Components: Before starting the wiring process, ensure that all the components are ready and properly placed inside the speaker cabinet. Secure them in their designated positions and make sure they are firmly attached.
- Wiring the Drivers: Begin by connecting the speaker drivers to the crossover network. Follow the recommended wiring configurations provided by the crossover manufacturer or refer to the driver’s documentation for the correct wiring. Use high-quality speaker wire and ensure a secure connection between the drivers and the crossover.
- Connecting the Crossover: Once the drivers are wired, connect the crossover to the audio source or amplifier. Again, refer to the crossover’s documentation for the proper input and output connections. Make sure to use appropriate connectors and ensure a solid and reliable connection.
- Wire Routing and Organization: Proper wire routing and organization are essential for maintaining a tidy and efficient speaker setup. Neatly route the wires inside the cabinet, avoiding any potential obstructions or interference with the drivers or cabinet walls. Use cable ties or clips to secure the wires and prevent any unintentional pulling or disconnecting.
- Cabinet Sealing: To minimize any air leaks and unwanted vibrations, ensure that the cabinet is properly sealed. Use gaskets, caulking, or sealing tape to seal any gaps or joints in the cabinet. This will contribute to better sound isolation and overall speaker performance.
- Testing and Troubleshooting: Once all the components are wired and assembled, it’s time to test the speaker. Connect it to an audio source or amplifier and play a variety of music tracks to evaluate its performance. Pay attention to any distortion, imbalance, or irregularities in sound. If there are any issues, double-check the wiring connections and crossover settings to ensure everything is properly configured.
It’s always a good idea to double-check your wiring and seek assistance from experienced audiophile builders if you’re unsure about any aspect of the wiring and assembly process. Take your time and be patient during this stage to ensure a well-built and properly assembled audiophile speaker.
With the speaker components wired, assembled, and tested, you’re ready for the final step: fine-tuning and testing the sound of your audiophile speaker.
Step 5: Fine-tuning and Testing the Audiophile Speaker
After wiring and assembling the speaker components, it’s time to fine-tune and test your audiophile speaker to achieve the best possible sound quality. Fine-tuning involves adjusting various parameters to optimize the speaker’s performance and ensure accurate sound reproduction. Here’s what you need to consider:
- Placement and Room Acoustics: The placement of your speaker and the characteristics of your listening room can significantly impact the sound quality. Experiment with speaker positioning, considering factors such as distance from walls, room reflections, and listener position. Room treatments, such as acoustic panels or bass traps, can also help in optimizing the room acoustics and minimizing unwanted reflections.
- Equalization: Use an equalizer or room correction software to fine-tune the speaker’s frequency response. This allows you to adjust the levels of different frequencies to achieve a more balanced and accurate sound. Take into account your room acoustics and personal preferences when making equalization adjustments.
- Listening Tests: Conduct listening tests with a variety of music tracks to evaluate the sound quality of your speaker. Pay attention to details such as clarity, imaging, tonal balance, and soundstage. Make note of any areas that may require further adjustments or improvements.
- Burn-in Period: Give your speaker a burn-in period, especially if it’s equipped with new drivers or components. During this time, play music at moderate volumes to allow the components to settle and reach their optimal performance. Burn-in can help improve overall tonal balance and reduce any initial stiffness in the speaker’s sound.
- Continuous Iteration: Fine-tuning is an iterative process. Make incremental adjustments to your speaker and re-evaluate the sound through repeated listening tests. Fine-tuning may involve adjusting crossover component values, experimenting with different damping materials, or making minor modifications to the cabinet design. Keep refining the speaker until you are satisfied with its sound quality.
It’s important to be patient and meticulous during the fine-tuning process. Take the time to listen critically, trust your ears, and make small adjustments as needed. Don’t hesitate to seek advice from experienced audiophiles or audio professionals if you encounter any challenges or have specific questions about fine-tuning your speaker.
Remember, the goal is to achieve a sound signature that brings out the best in your music and satisfies your personal preferences as an audiophile.
With the fine-tuning process completed, your audiophile speaker is ready to deliver exceptional sound quality that matches your passion for music.
Conclusion
Building your own audiophile speaker is a rewarding journey that allows you to create a speaker system tailored to your specific preferences and requirements. Through careful selection of components, thoughtful design of the speaker cabinet, meticulous wiring and assembly, and precise fine-tuning, you can achieve a high-quality sound reproduction that truly satisfies your audiophile soul.
By choosing the right speaker components, such as drivers, enclosures, crossovers, and wiring, you lay the foundation for exceptional sound quality. The design of the speaker cabinet, including material choice, size, and internal bracing, further enhances the speaker’s performance and ensures accurate sound reproduction. Selecting and configuring the crossover components plays a crucial role in achieving a seamless integration of different frequencies and optimizing driver performance.
Wiring and assembling the speaker components require attention to detail and ensuring solid connections that minimize signal loss. Fine-tuning the speaker through placement, equalization, listening tests, and continuous iteration allows you to optimize its performance and refine the sound to your liking.
Remember that building an audiophile speaker requires some technical know-how and patience. Don’t be afraid to seek help from experienced builders, use specialized software for simulations, and rely on the advice and recommendations provided by component manufacturers.
Once your audiophile speaker is complete and fine-tuned, sit back, relax, and immerse yourself in the captivating sounds that it delivers. Let the nuances, details, and emotions in your music come to life. Enjoy the satisfaction of knowing that you have created a speaker that meets your highest audio standards.
So, unleash your creativity, dive into the world of speaker building, and embark on a journey to craft the perfect audiophile speaker that will elevate your listening experience to new heights.