Home>Production & Technology>Stereo>How To Get A Stuck CD Out Of A Car Stereo

Stereo
How To Get A Stuck CD Out Of A Car Stereo
Published: November 24, 2023
Learn how to safely remove a stuck CD from your car stereo. Follow our step-by-step guide to troubleshoot and fix stereo issues.
(Many of the links in this article redirect to a specific reviewed product. Your purchase of these products through affiliate links helps to generate commission for AudioLover.com, at no extra cost. Learn more)
Table of Contents
Introduction
Having a stuck CD in your car stereo can be a frustrating experience, especially if you’re on a road trip or trying to enjoy your favorite music. However, with a little know-how and some basic tools, you can safely and easily remove the stuck CD and get your car stereo back in working order.
Before we dive into the step-by-step process of removing a stuck CD, it’s important to note that not all car stereos are created equal. Different car models and stereo systems may have varying mechanisms for loading and ejecting CDs. Therefore, it’s essential to consult your car’s owner manual for specific instructions tailored to your vehicle.
In this guide, we will provide you with general instructions that are applicable to most car stereo systems. These tips and techniques will help you avoid further damage to your stereo and ensure a smooth removal process.
Now, let’s get started with the first step: identifying the problem.
Step 1: Identify the problem
The first step in removing a stuck CD from your car stereo is to determine the nature of the problem. There can be several reasons why a CD gets stuck, including mechanical issues, electrical problems, or even a faulty CD itself. By understanding the underlying cause, you can take appropriate actions to fix the issue.
Start by examining the display screen or indicator lights on your car stereo. Look for any error messages or warning signs related to the stuck CD. These messages can provide valuable clues about the problem and guide your troubleshooting efforts.
If you don’t see any error messages, try pressing the eject button on your car stereo. Observe the CD slot and listen for any unusual sounds. Does the CD tray partially open or make a grinding noise? These signs can indicate a mechanical obstruction or misalignment.
Alternatively, if the CD tray doesn’t respond at all when you press the eject button, it could be an electrical issue. Check the connections and ensure that your stereo system is receiving power from the car’s battery. In some cases, a dead battery or loose wiring can prevent the CD tray from functioning properly.
Lastly, consider the condition of the CD itself. Inspect the surface for any visible damage, scratches, or warping. A damaged CD may not be able to eject smoothly and could potentially cause further complications inside the stereo system.
By carefully assessing the problem, you can gather valuable information that will help you proceed with the next steps of removing the stuck CD from your car stereo.
Step 2: Gather necessary tools
Before attempting to remove the stuck CD from your car stereo, it’s important to gather the necessary tools to ensure a smooth and safe process. While the specific tools required may vary depending on your car model and stereo system, here are some common items that will come in handy:
- A plastic card or credit card: This will be used to help pry the CD out of the stereo.
- A pair of tweezers: Used to carefully grip and extract the CD.
- A flashlight: This will help you see inside the CD slot and locate any obstructions.
- Cleaning supplies: If the CD is dirty or sticky, you may need some cleaning solution and a soft cloth to remove any residue.
Make sure to have these tools within easy reach before attempting the CD removal process. Having them readily available will save you time and ensure that you have everything you need to safely handle the situation.
Additionally, it’s a good idea to make sure your hands are clean and free from any oils or residue that could transfer onto the CD or damage the delicate components inside the stereo. Clean, dry hands will provide better grip and minimize the risk of further complications.
Once you have gathered the necessary tools and ensured that your hands are clean, you are ready to move on to the next step: turning off the car stereo.
Step 3: Turn off the car stereo
Before attempting to remove the stuck CD from your car stereo, it’s crucial to turn off the stereo to prevent any potential damage or injury. By powering down the system, you’ll ensure that the CD tray is not engaged and reduce the risk of interference or accidental button presses.
Start by locating the power button on your car stereo. It is typically labeled with a power symbol or a recognizable icon. Press and hold the power button until you see the display screen turn off or the indicator lights go dark.
In some cases, simply turning off the ignition or removing the car key may automatically power down the stereo system. However, it’s recommended to manually turn off the stereo to have full control over the power state.
Once the car stereo is turned off, it’s a good idea to wait a few minutes to allow any residual power to dissipate. This can help prevent any electrical surges or potential damage to the internal components when you start manipulating the CD tray.
Remember, safety is paramount during this process. Always follow the manufacturer’s instructions and exercise caution while handling the stereo system.
With the car stereo powered off and any remaining power discharged, you are now ready to proceed to the next step: locating the CD slot.
Step 4: Locate the CD slot
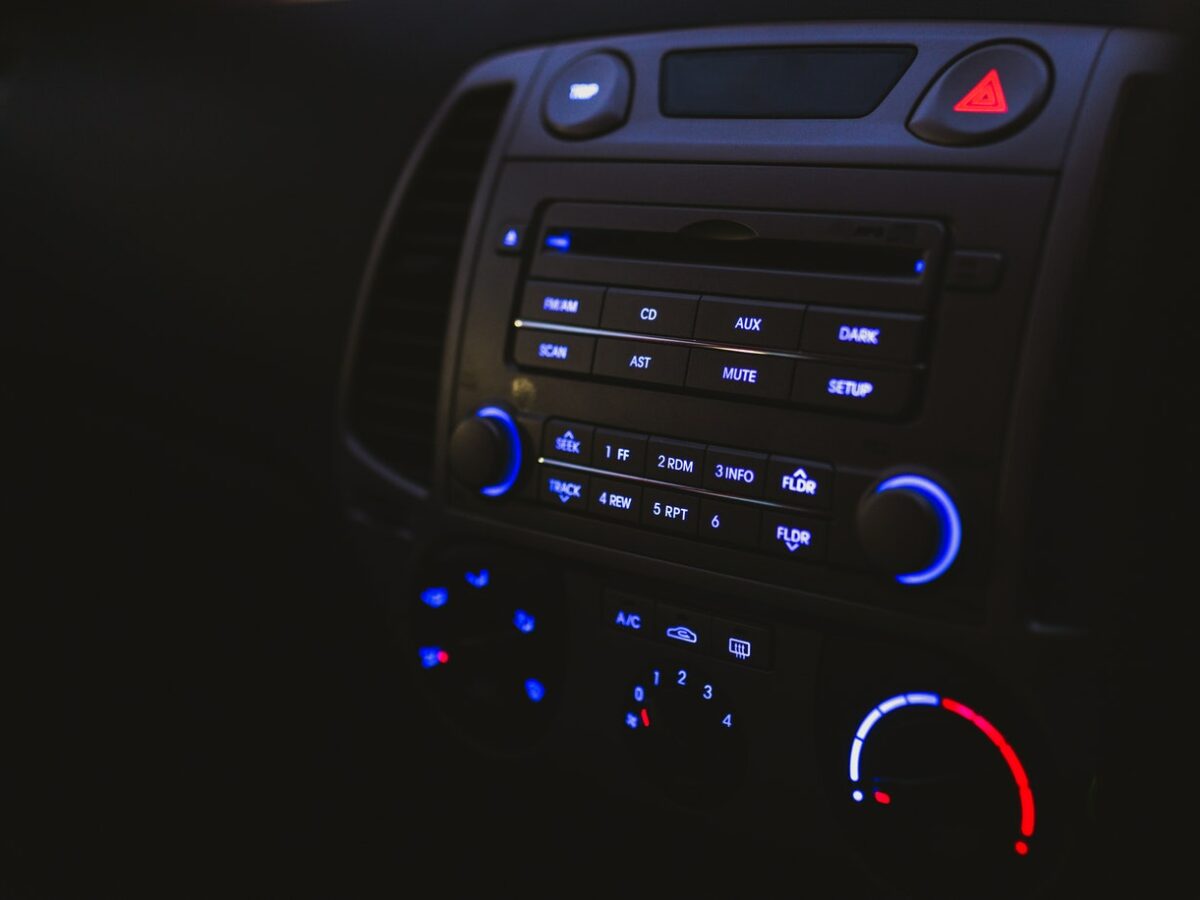
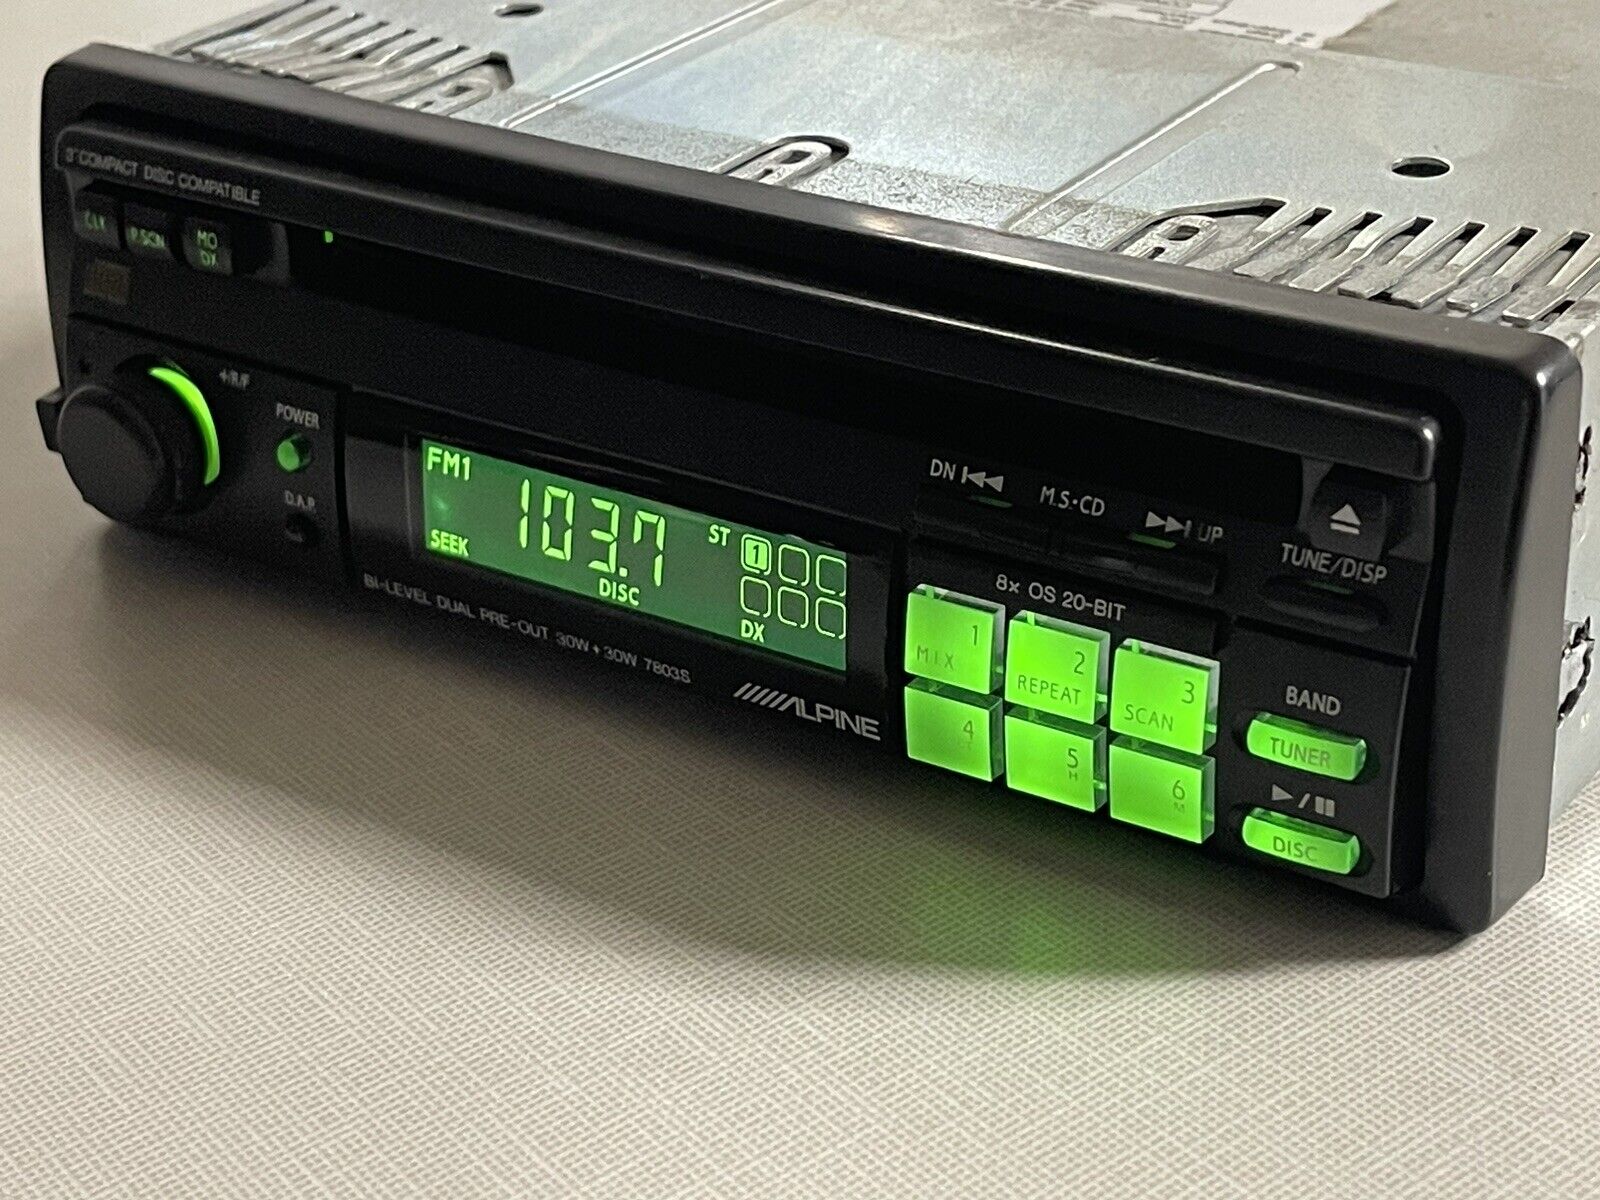
Now that you’ve turned off the car stereo, it’s time to locate the CD slot where the stuck CD is housed. The CD slot is typically located on the front panel of the car stereo, although the exact placement may vary depending on your car model and stereo system.
First, visually inspect the car stereo’s front panel and look for any markings or indicators that suggest the CD slot’s location. Common symbols include a small icon resembling a CD or the word “CD” itself. The CD slot is often accompanied by buttons labeled “Load” or “Eject” nearby.
If you’re still unable to locate the CD slot, consult the owner’s manual for your car or the stereo system. The manual will provide detailed instructions and diagrams that clearly identify the CD slot’s position. It’s important to refer to the specific instructions for your car model to avoid any potential damage or confusion.
Once you’ve located the CD slot, you can visually inspect it for any visible obstructions or debris. Use a flashlight to shine into the slot and check if there are foreign objects, loose CDs, or any other items that may be impeding the proper functioning of the CD tray.
If you notice any blockages or obstructions, resist the urge to forcefully remove them. Instead, proceed to the next step, where we will explore gentle methods of ejecting the stuck CD from the car stereo.
With the CD slot identified and any visible obstructions examined, you’re ready to move on to the next step to attempt removing the CD using the eject button.
Step 5: Try the eject button
One of the easiest and most common methods to remove a stuck CD from a car stereo is by using the eject button. Most car stereos are equipped with this feature, which allows you to electronically eject the CD from the slot.
Locate the eject button on your car stereo. It is usually labeled with an icon or the word “Eject.” Press the eject button firmly but not forcefully, and observe the CD tray for any signs of movement.
If the CD tray begins to move and tries to eject the stuck CD, gently assist it by pulling on the edge of the CD with your fingertips. Be careful not to apply excessive force or tug on the CD aggressively, as this can result in further damage or breakage.
If the CD tray doesn’t respond to the eject button and remains stuck, try holding down the eject button for a few seconds. Sometimes, a longer press can trigger a different behavior and prompt the CD tray to release the stuck CD.
If the eject button fails to release the CD, do not panic. There are still alternative methods that you can try in the following steps. Remember to stay calm and patient, as rushing or applying excessive force can cause irreversible damage to your car stereo.
With the eject button attempted, you can now proceed to step 6: using a plastic card to gently pry the CD out of the stereo.
Step 6: Use a plastic card
If the eject button fails to release the stuck CD from your car stereo, another method you can try is using a plastic card to gently pry it out. This technique is particularly useful when the CD tray is partially open or if the CD is lodged at an angle.
Start by selecting a sturdy and flexible plastic card that’s thin enough to fit into the narrow gap between the CD slot and the CD itself. An expired credit card or a plastic gift card can work well for this purpose.
Insert the plastic card into the gap and carefully guide it along the edge of the stuck CD. Use gentle, sweeping motions to try and dislodge the CD from any potential obstructions or misalignments. Be cautious not to force the card too deeply into the slot, as this can further damage the CD or the internal components of the stereo system.
If you’re able to slide the plastic card far enough, you can try to hook the edge of the CD and gently pull it towards you. Remember to maintain a steady grip and apply even pressure to avoid bending or breaking the CD.
Continue maneuvering the plastic card around the perimeter of the CD, trying to loosen it from any adhesive or friction that may be holding it in place. Be patient and take your time, as this method requires finesse and a gentle touch.
If the plastic card method is successful, carefully remove the CD from the slot and examine it for any damage or warping. Clean the CD if necessary before attempting to play it again or inserting a different CD into the stereo.
If the plastic card method doesn’t work, don’t worry. There are still additional techniques you can try to free the stuck CD from your car stereo, which will be discussed in the subsequent steps.
With the plastic card method attempted, you can now proceed to step 7: utilizing a pair of tweezers to extract the CD.
Step 7: Utilize a pair of tweezers
If the previous methods have not been successful in removing the stuck CD from your car stereo, you can try using a pair of tweezers to carefully extract it. This method is particularly helpful when the CD is not fully inserted or is partially sticking out of the slot.
First, ensure that you have a pair of clean and precise tweezers that are suitable for delicate tasks. Avoid using tweezers with sharp edges or serrated tips, as they can potentially scratch the CD or cause damage to the stereo system.
With the car stereo turned off, gently insert the tips of the tweezers into the CD slot, aiming to grasp the edge of the stuck CD. The key is to maintain a firm but gentle grip to avoid exerting too much pressure that may break the CD.
Once you have a secure hold of the CD, slowly and carefully pull it out of the slot. Be patient and make sure to maintain a steady grip throughout the extraction process. If you encounter any resistance, stop and reassess your approach to prevent any further damage.
After successfully removing the CD from the slot, examine it for any visible damage. Clean the CD if necessary and check for any signs of warping or scratches that may affect its playability.
It’s worth noting that the tweezers method may not work if the CD is deeply lodged or if there are other significant obstructions preventing its extraction. In such cases, it’s recommended to proceed to the next step, which involves power cycling the car stereo.
With the tweezers method attempted, you can now move on to step 8: power cycling the car stereo to potentially dislodge the stuck CD.
Step 8: Power cycle the car stereo
If previous methods have not been successful in removing the stuck CD from your car stereo, power cycling the stereo system may help dislodge the CD and restore proper functionality. Power cycling involves completely shutting off the stereo and then turning it back on, which can sometimes reset the internal mechanism and solve minor glitches.
Start by turning off the car’s ignition and removing the car keys. Ensure that the stereo is completely powered down before proceeding.
Next, locate the fuse box in your car. Refer to the owner’s manual or consult an online resource if you’re unsure where the fuse box is located. Open the fuse box cover and locate the fuse that corresponds to the car stereo or the CD player.
Using a pair of needle-nose pliers or fuse pullers, carefully remove the appropriate fuse, effectively cutting off power to the stereo system. Leave the fuse disconnected for about a minute to allow any residual power to drain.
After the waiting period is over, reinsert the fuse back into its original slot. Ensure that it’s securely in place.
Turn on the car ignition and power up the stereo system to see if the CD ejects automatically or if the eject button function has been restored.
If the CD tray now responds and ejects the stuck CD, carefully remove it from the slot. Examine the CD for any visible damage or debris and clean it if necessary.
If power cycling the car stereo does not resolve the issue, it’s advisable to seek professional help from a qualified car stereo technician or an automotive repair service.
With power cycling attempted, you can proceed to step 9: exploring the option of seeking professional help to remove the stuck CD from your car stereo.
Step 9: Seek professional help
If all previous methods have failed to remove the stuck CD from your car stereo, it may be time to seek professional help. A qualified car stereo technician or an automotive repair service has the expertise and tools necessary to safely and effectively resolve the issue.
Professional technicians have the knowledge and experience to assess the problem with your car stereo and determine the best course of action. They can perform advanced diagnostics, disassemble the stereo system if needed, and utilize specialized tools to extract the stuck CD without causing any further damage.
While seeking professional help may come with an associated cost, it’s a worthwhile investment to ensure the proper functioning of your car stereo and avoid any potential complications that could arise from improper handling.
If you decide to take your car to a professional technician, be sure to provide them with all the information you have gathered, such as the steps you have already attempted, any error messages displayed, and observations about the behavior of the CD tray. This will assist them in diagnosing the problem more effectively.
Remember, trying to forcefully remove the stuck CD or using improper tools and techniques can lead to permanent damage to your car stereo. It’s best to leave the task in the hands of professionals who have the necessary knowledge and expertise.
By seeking professional help, you can have peace of mind knowing that trained technicians will take care of the issue and ensure the safe removal of the stuck CD from your car stereo.
With step 9 complete, you have explored all the available options to remove the stuck CD from your car stereo. It’s time to conclude and summarize the steps taken in the next section.
Conclusion
Dealing with a stuck CD in your car stereo can be a frustrating situation, but with the right approach and some basic tools, you can successfully remove the CD and restore the functionality of your stereo system.
In this comprehensive guide, we have provided step-by-step instructions on how to remove a stuck CD from a car stereo. We began by identifying the problem and gathering the necessary tools. We then covered important steps such as turning off the car stereo, locating the CD slot, trying the eject button, using a plastic card or credit card, utilizing a pair of tweezers, power cycling the car stereo, and seeking professional help if needed.
Throughout the process, it’s crucial to exercise patience and caution to avoid further damage to the CD or the car stereo itself. Following the steps outlined in this guide will help you safely navigate the removal process and minimize the risk of complications.
However, it’s important to note that car stereo systems can vary, and these instructions are intended as general guidelines. Always consult your car’s owner manual for specific instructions tailored to your vehicle and stereo system.
If all else fails, it’s advisable to seek professional help from a car stereo technician or an automotive repair service. These experts have the knowledge and tools to handle more complex situations and ensure a successful resolution.
By following the steps outlined in this guide and seeking professional assistance when needed, you can effectively remove a stuck CD from your car stereo and get back to enjoying your favorite music on the road.

