Home>Production & Technology>Stereo>How To Retrieve CD From Car Stereo
Stereo
How To Retrieve CD From Car Stereo
Published: November 25, 2023
Learn how to retrieve your CD from your car stereo with our step-by-step guide. Get your stereo working again quickly and easily.
(Many of the links in this article redirect to a specific reviewed product. Your purchase of these products through affiliate links helps to generate commission for AudioLover.com, at no extra cost. Learn more)
Table of Contents
Introduction
Having a CD stuck in your car stereo can be frustrating and inconvenient, especially if it’s your favorite album or an important CD with important information. However, there’s no need to panic. With the right tools and a little know-how, you can retrieve the CD from your car stereo and get back to enjoying your music or accessing your data.
In this article, we will guide you through the step-by-step process of retrieving a CD from your car stereo. Whether you have a single-disc player or a multi-disc changer, these instructions will help you safely and efficiently remove the stuck CD.
It’s important to note that car stereo systems can vary in design and manufacturer, so the specific steps may differ slightly depending on your car make and model. However, the general process outlined here should apply to most car stereos.
Before we get started, make sure you have the necessary tools handy. You’ll need a set of car stereo removal tools or a similar substitute, such as thin, sturdy metal strips or a flat-head screwdriver. It’s also a good idea to have a soft cloth or microfiber towel to protect the dashboard and car stereo from any accidental scratches.
Now that we’ve covered the basics, let’s move on to the first step: gathering the necessary tools.
Step 1: Gathering the necessary tools
Before you begin the process of retrieving a stuck CD from your car stereo, it’s essential to gather the necessary tools. Here’s what you’ll need:
- Car stereo removal tools: These tools are specifically designed to safely remove car stereos without causing any damage. They usually consist of two U-shaped or L-shaped metal pieces that fit into the slots on the sides of the stereo. If you don’t have car stereo removal tools, you can use thin, sturdy metal strips or a flat-head screwdriver as an alternative.
- Soft cloth or microfiber towel: This will help protect your dashboard and car stereo from scratches or any accidental damage while removing the CD.
Once you have these tools ready, you’re prepared to move on to the next step: preparing the car stereo.
Note: Before proceeding with any steps, make sure to turn off your car’s engine and disconnect the battery to avoid any electrical mishaps.
Step 2: Preparing the car stereo
Before attempting to retrieve the stuck CD, it’s important to prepare the car stereo to ensure a smooth and successful removal process. Follow these steps to properly prepare the car stereo:
- Locate the specific slot or compartment where the CD is stuck. This may vary depending on your car stereo model. Look for a small opening or slot where the CD is inserted.
- Turn off the car’s engine and remove the car key from the ignition.
- If you have a removable faceplate on your car stereo, remove it according to the manufacturer’s instructions. This step will provide better access to the internal components of the stereo.
- Using a soft cloth or microfiber towel, gently clean the surface of the car stereo, specifically around the CD slot. This will help ensure a better grip on the CD and minimize any potential debris interfering with the removal process.
- Inspect the car stereo for any visible damage or loose parts. If you notice any loose screws or broken components, it’s advisable to seek professional assistance to avoid further damage.
By properly preparing the car stereo, you’re setting the stage for a successful CD retrieval. The next step will guide you through the actual process of removing the car stereo.
Step 3: Removing the car stereo
Once you have prepared the car stereo, it’s time to remove it from the dashboard. Follow these steps to safely remove the car stereo:
- Using the car stereo removal tools or alternative thin, sturdy metal strips, insert them into the slots on the sides of the car stereo.
- Apply gentle and even pressure on both sides of the stereo to release the locking mechanisms that secure it in place. Be careful not to use excessive force or twist the tools, as this may cause damage to the stereo or dashboard.
- Once you feel the tools slide into the slots and engage with the locking mechanisms, carefully pull the stereo outward. You may need to wiggle it slightly to loosen it from the dashboard.
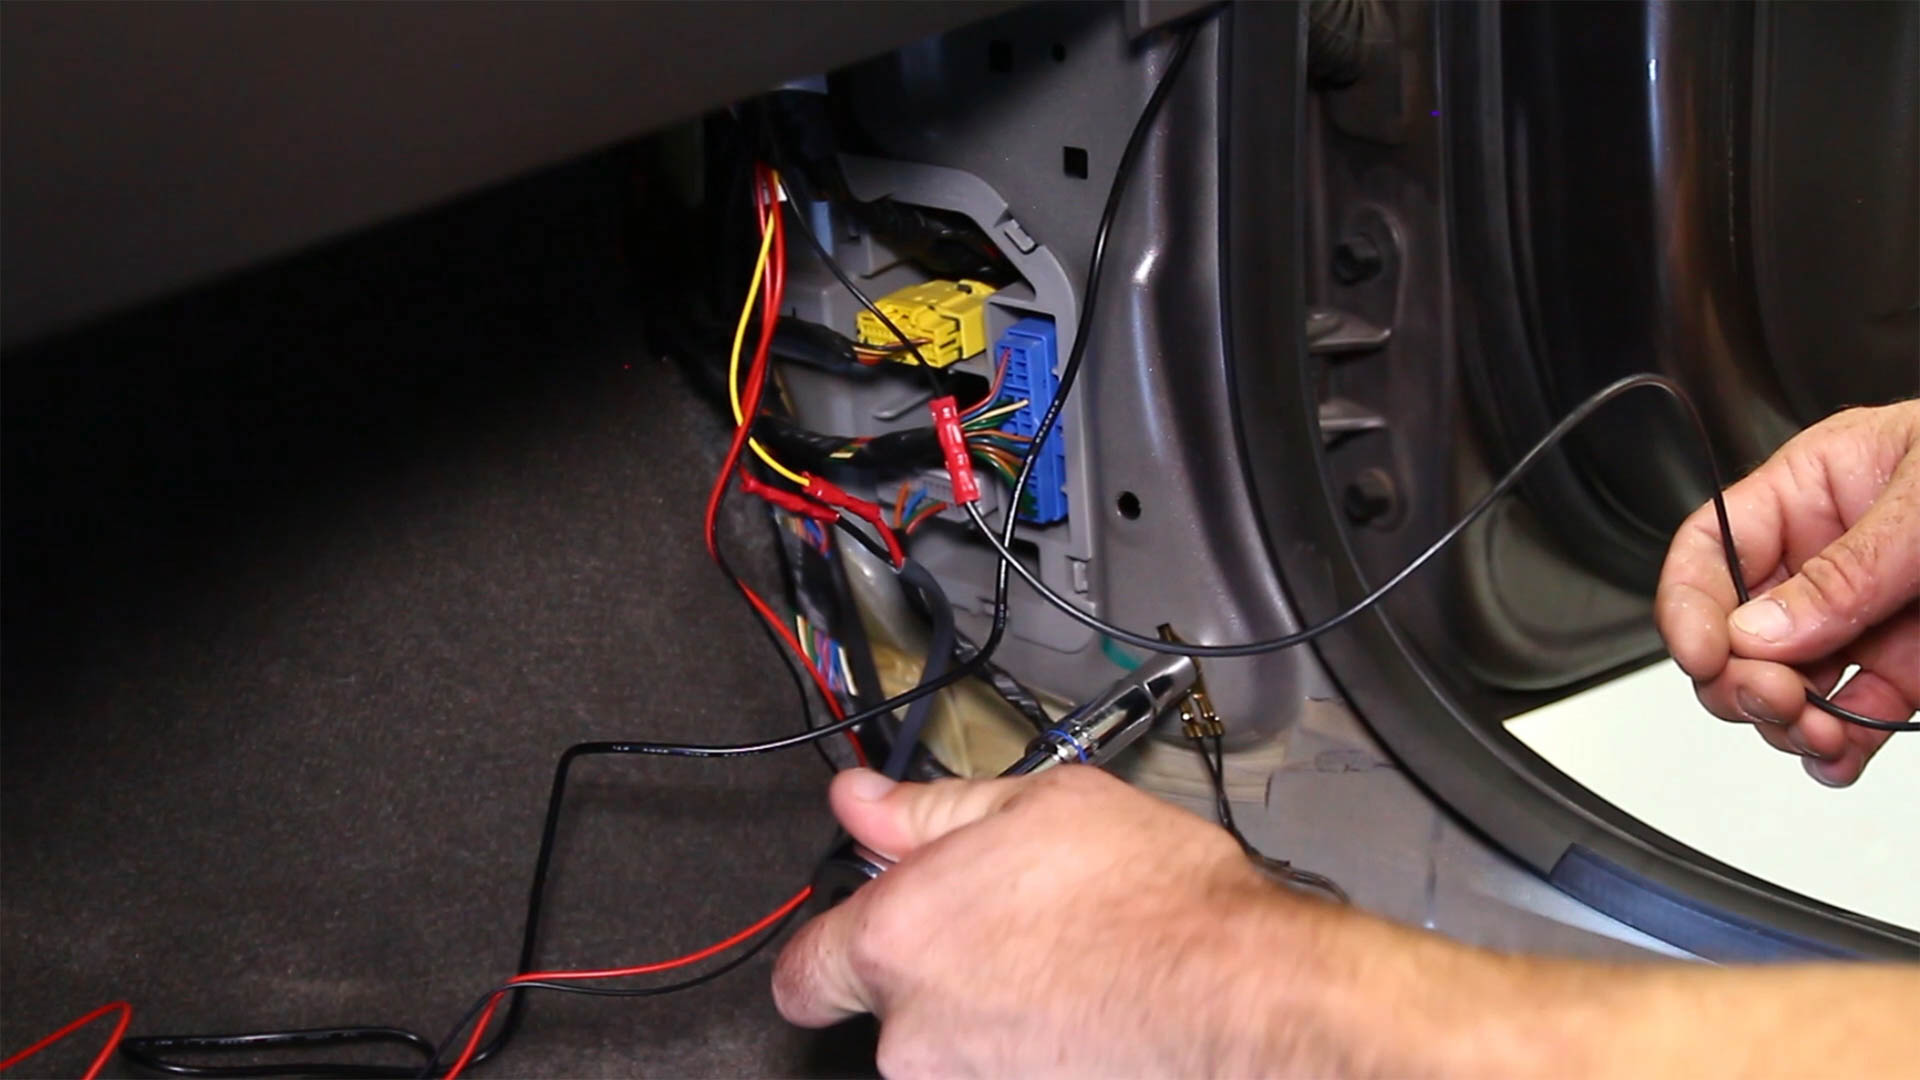
- Continue pulling the stereo slowly until it is fully removed from the dashboard. Take note of any connected wires or cables that are still attached to the back of the stereo.
- If there are any wires or cables connected to the back of the stereo, detach them by gently pulling the connectors free. It’s important to handle the wires with care to prevent any damage.
- Set the removed car stereo in a safe and clean area, away from any potential hazards or debris.
With the car stereo successfully removed, you can now proceed to the next step, which is retrieving the stuck CD.
Step 4: Retrieving the CD
Now that the car stereo has been removed, you can focus on safely retrieving the stuck CD. Follow these steps to successfully retrieve the CD:
- Take a close look at the CD slot and try to identify the position of the stuck CD. Look for any visible edges or corners that you can grip onto.
- Using your fingers or a pair of tweezers, carefully grip the edge of the CD and gently pull it outward. Be cautious not to apply excessive force or bend the CD, as this may cause further damage.
- If the CD is firmly stuck and cannot be easily pulled out, try gently wiggling it back and forth while applying a slight pulling force. This may help loosen the CD and allow for easier removal.
- Continue to slowly and painstakingly remove the CD, making sure to maintain a steady grip and avoid any sudden movements.
- Once the CD is free from the slot, inspect it for any visible damage or scratches. If the CD appears to be in good condition, place it in a protective case or sleeve to prevent any further damage.
- With the CD successfully removed, it’s important to take a moment to clean the CD slot. Use a can of compressed air or a soft, lint-free cloth to remove any accumulated dust or debris.
After retrieving the stuck CD and cleaning the CD slot, you’re ready to move on to the next step: reinstalling the car stereo.
Step 5: Reinstalling the car stereo
With the stuck CD successfully retrieved, it’s time to reinstall the car stereo back into the dashboard. Follow these steps to safely and securely reinstall the car stereo:
- Inspect the back of the car stereo and locate the wire harness and antenna connections.
- Carefully reconnect the wire harness and antenna connections to their respective slots on the back of the stereo. Ensure that they are securely plugged in without any loose connections.
- Hold the car stereo at the correct angle and align it with the opening in the dashboard.
- Gently push the car stereo back into the dashboard until it is snugly fit and flush with the surrounding panel.
- Ensure that the car stereo is securely locked in place by listening for a clicking sound or testing if it feels firmly in position.
It’s important to ensure that the car stereo is properly installed to avoid any rattling or movement while driving, which can lead to further issues.
Now that the car stereo has been reinstalled, it’s time for the final step: testing the car stereo to ensure everything is functioning properly.
Step 6: Testing the car stereo
After reinstalling the car stereo, it’s crucial to test it to ensure that everything is functioning as expected. Here are the steps to properly test the car stereo:
- Turn on the car’s ignition and power up the car stereo.
- Insert a different CD or select a different audio source to ensure that the stereo is able to play and switch between different media.
- Check the volume controls to ensure that the audio is clear and at the desired level.
- Verify that all the buttons and features of the car stereo are working properly, including the display, equalizer settings, and any additional features unique to your stereo model.
- If you encounter any issues during the testing process, double-check the wire connections and ensure that everything is securely and properly plugged in.
- If there are persistent issues or the stereo is not functioning correctly, it may be necessary to seek professional assistance or consult with a car stereo technician.
By thoroughly testing the car stereo, you can be confident that it is in good working condition and ready to provide you with an enjoyable listening experience.
Congratulations! You have successfully retrieved the stuck CD from your car stereo, reinstalled the stereo, and tested its functionality. Remember to keep the interior of your car clean and avoid inserting damaged or scratched CDs to prevent any future complications.
It’s always a good idea to regularly maintain your car stereo and take preventative measures to avoid CD jams in the future, such as keeping the stereo clean and using high-quality CDs. Enjoy your music and safe travels!
Conclusion
Retrieving a stuck CD from your car stereo can initially seem like a daunting task, but with the right knowledge and tools, it can be done safely and effectively. By following the step-by-step process outlined in this article, you can retrieve the CD and get back to enjoying your favorite tunes or accessing important data.
Remember to gather the necessary tools, prepare the car stereo, and remove it carefully from the dashboard. Take your time to retrieve the CD, ensuring that you grip it firmly and avoid any further damage. Once the CD is out, clean the CD slot to prevent future issues.
Reinstalling the car stereo is the next step, ensuring that all connections are securely plugged in. Finally, test the car stereo to verify that it functions properly and enjoy your music with peace of mind.
If you encounter any difficulties or are unsure about any of the steps, it’s always recommended to seek professional assistance or consult with a car stereo technician. They can provide expert guidance and ensure that your car stereo is handled with care.
With a little patience and the right approach, you can successfully retrieve a stuck CD from your car stereo and get back on the road with your favorite tunes. Safe travels!