Home>Production & Technology>Stereo>How To Hook Up A Car Stereo
Stereo
How To Hook Up A Car Stereo
Published: November 25, 2023
Learn how to hook up a car stereo and get the best sound quality in your car. Get step-by-step instructions and tips for installing a stereo system.
(Many of the links in this article redirect to a specific reviewed product. Your purchase of these products through affiliate links helps to generate commission for AudioLover.com, at no extra cost. Learn more)
Table of Contents
- Introduction
- Step 1: Gather the necessary tools and materials
- Step 2: Disconnect the old car stereo
- Step 3: Prepare the wiring harness
- Step 4: Connect the wiring harness to the car stereo
- Step 5: Mount the car stereo into the dash
- Step 6: Connect the car stereo to the car’s electrical system
- Step 7: Test the car stereo
- Step 8: Secure all the connections
- Conclusion
Introduction
Are you tired of listening to the same old radio stations during your daily commute? Want to upgrade your car’s audio system to enjoy your favorite music with crystal-clear sound? Installing a car stereo is just what you need! With a few tools and some basic knowledge, you can easily hook up a car stereo and transform your driving experience.
Whether you’re a DIY enthusiast or looking to save some money, this comprehensive guide will walk you through the step-by-step process of connecting a car stereo. From gathering the necessary tools to testing the final setup, we’ve got you covered.
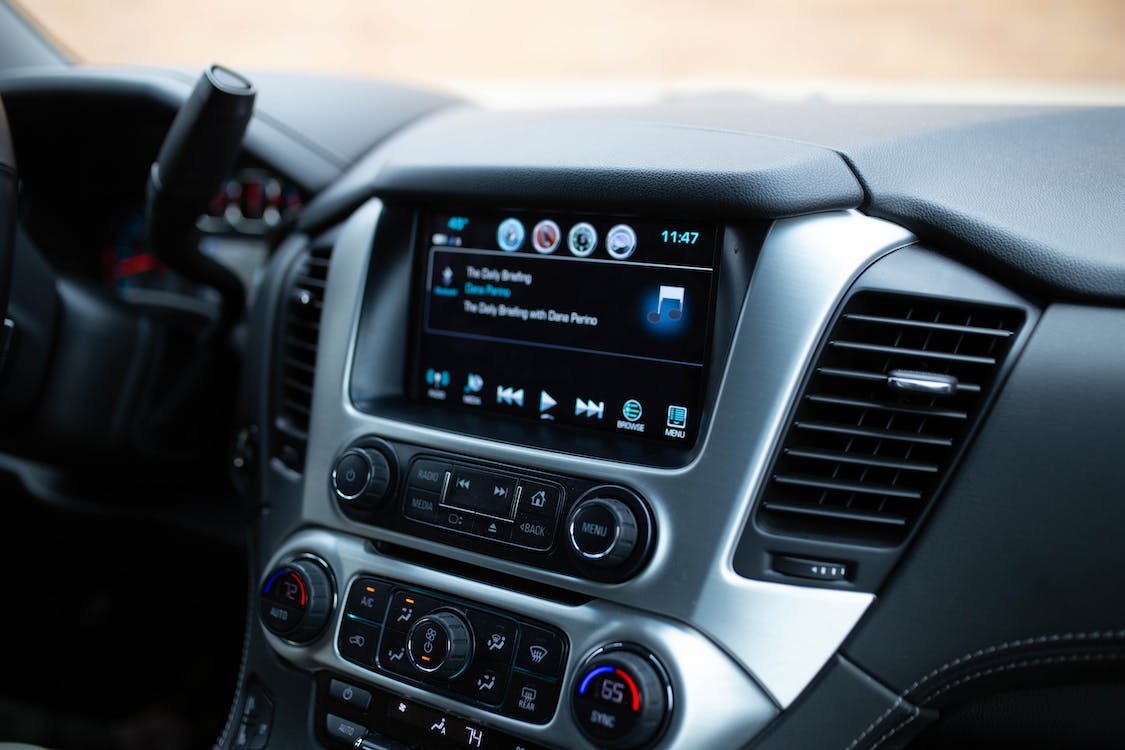
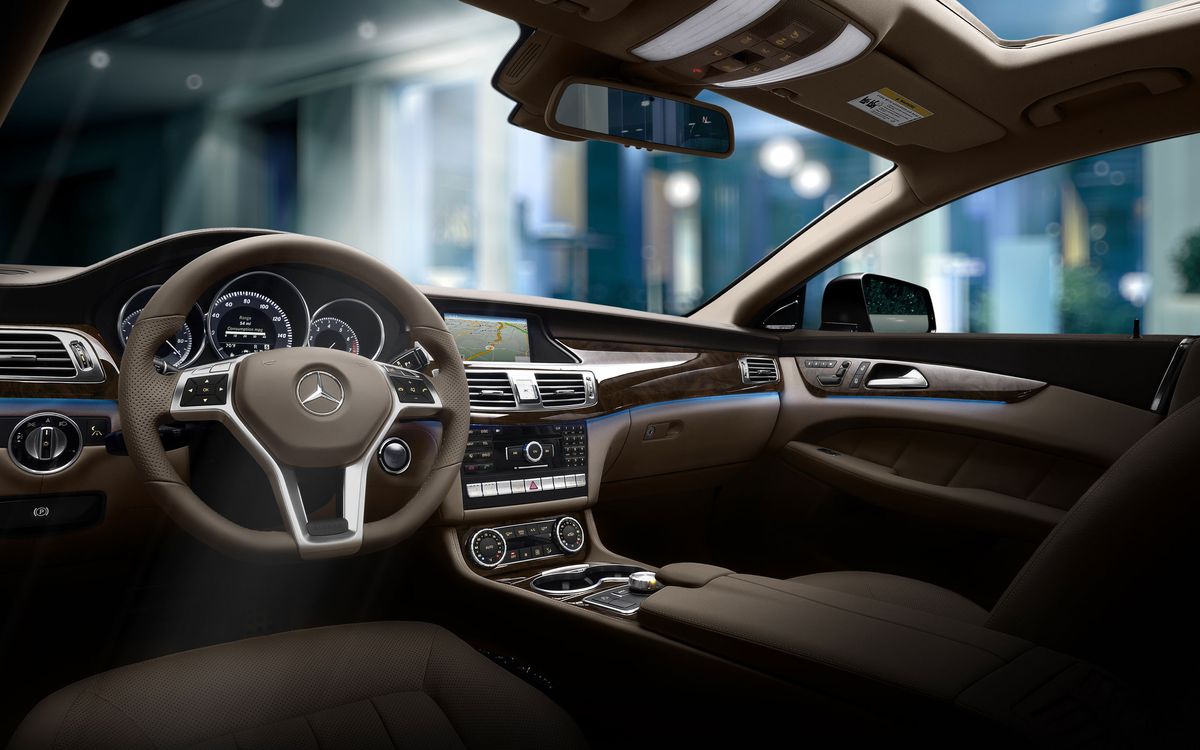
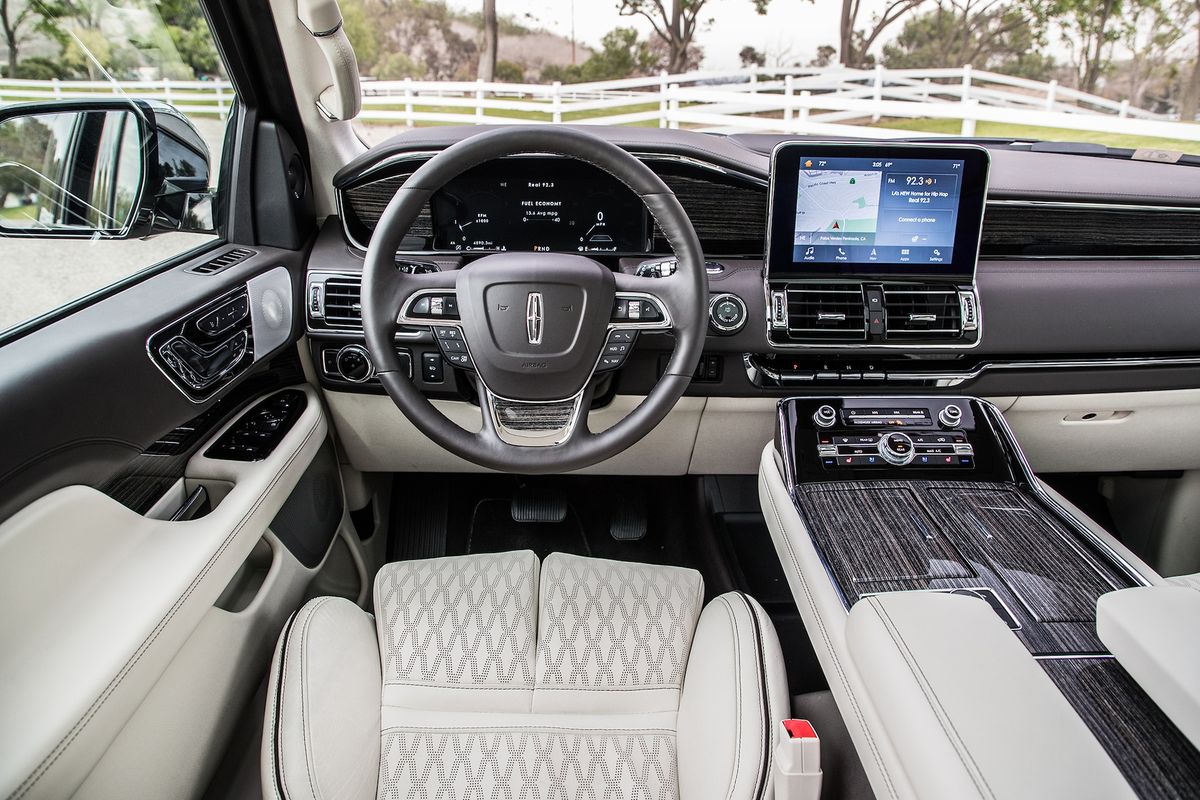
But before we jump into the technical details, let’s talk about why upgrading your car stereo is a worthwhile investment. A high-quality car stereo not only improves the audio quality but also offers advanced features like Bluetooth connectivity, USB ports, and even compatibility with smartphone apps.
Imagine cruising down the highway, streaming your favorite playlist wirelessly from your phone or effortlessly making hands-free phone calls. With a modern car stereo, you can enjoy all these conveniences while enhancing the overall driving experience.
Before you start, it’s essential to make sure you have the right tools and materials on hand. This will ensure a smooth and successful installation process. The following section will outline all the items you need to gather before you begin.
Step 1: Gather the necessary tools and materials
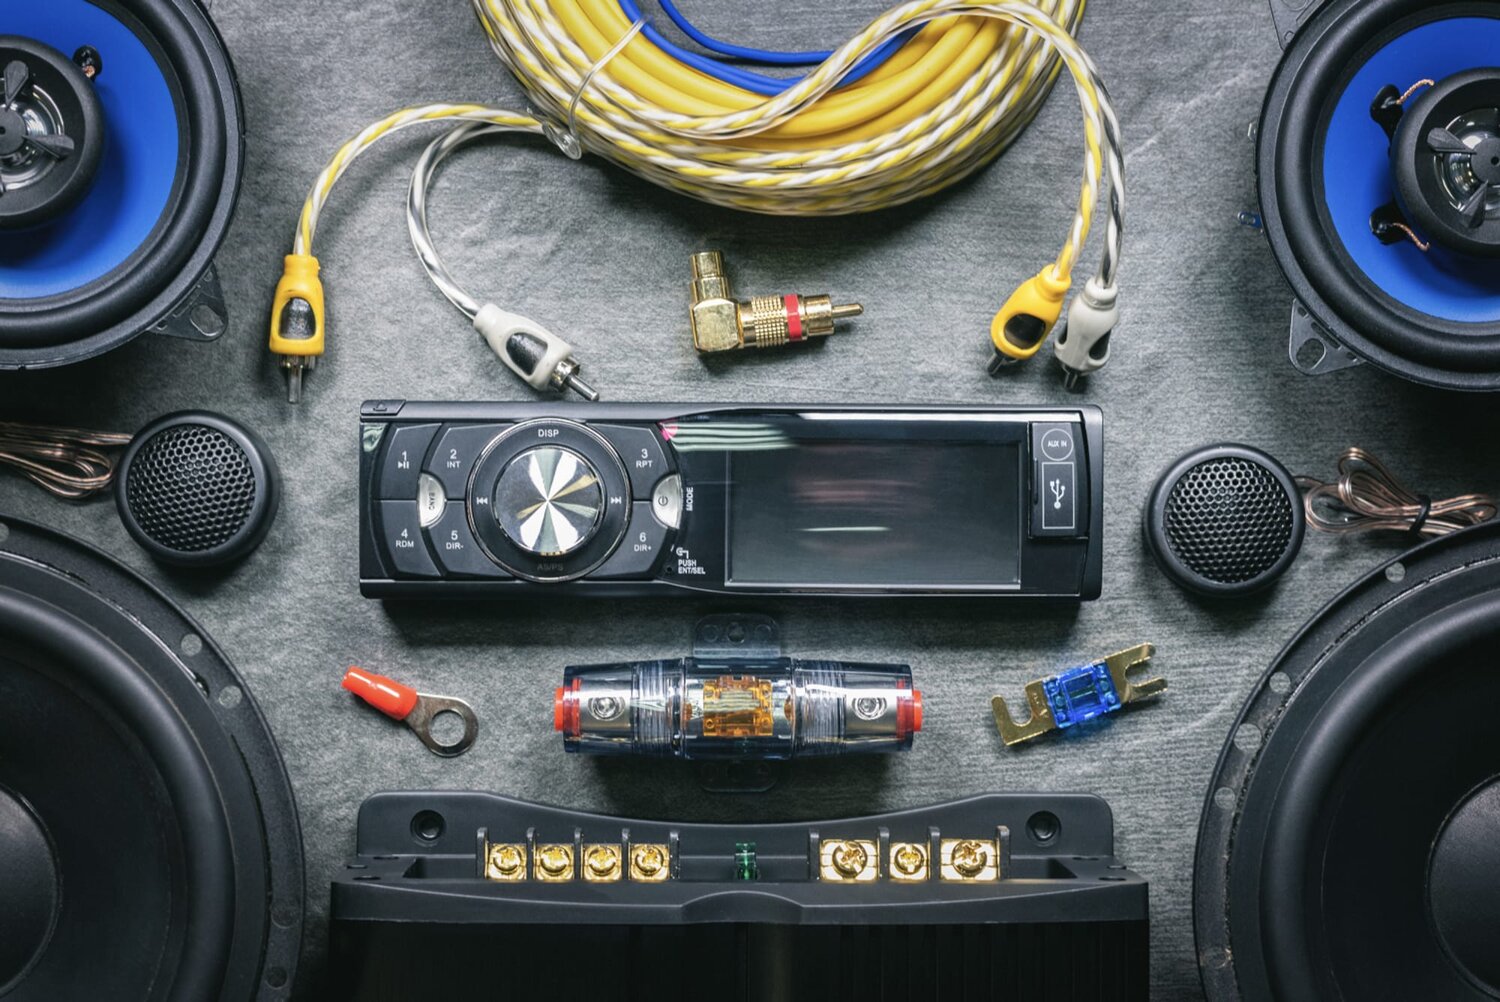
Before you start installing your new car stereo, it’s crucial to gather all the necessary tools and materials. Having everything prepared beforehand will save you time and ensure a seamless installation process. Here’s a list of items you’ll need:
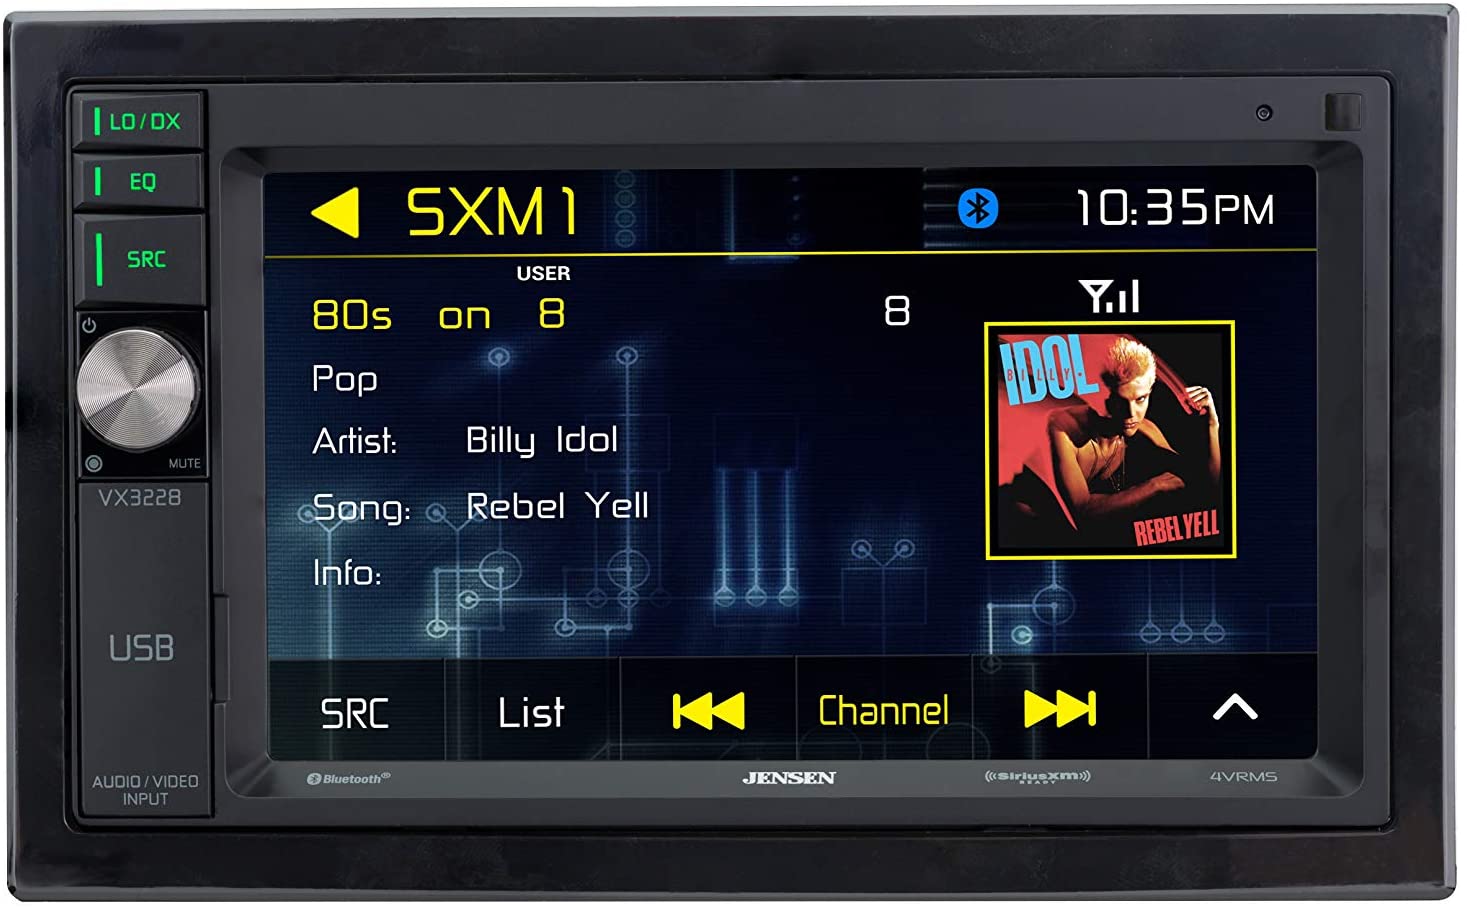
- Car stereo wiring harness: This adapter will make it easier to connect your new car stereo to the existing wiring in your vehicle.
- Dash kit: A dash kit is required to properly mount the new car stereo into the dash. It ensures a secure and professional-looking installation.
- Screwdrivers: You’ll need a set of screwdrivers, including both Phillips and flathead, to remove any screws or panels holding your old car stereo in place.
- Wire cutters and strippers: These tools will come in handy for trimming and preparing the wires for proper connections.
- Electrical tape: Use electrical tape to secure and insulate the connections you make between the car stereo and the wiring harness.
- Wire connectors: These will be used to join together the wires from the car stereo and the wiring harness.
- Trim removal tools: These specialized tools will help you safely remove any trim or panels without damaging them.
Make sure to check the installation manual for your specific car stereo to see if any additional tools or materials are recommended. It’s always better to be prepared and have everything you need before starting the installation.
Once you have all the necessary tools and materials on hand, you’re ready to move on to the next step: disconnecting the old car stereo. Stay tuned for step 2, where we’ll guide you through safely removing the existing stereo from your vehicle.
Step 2: Disconnect the old car stereo
Now that you have gathered all the necessary tools and materials, it’s time to start the installation process by disconnecting the old car stereo. Follow these steps to do it safely:
- Start by disconnecting the negative terminal of your car’s battery. This will prevent any electrical mishaps during the process.
- Using the appropriate screwdrivers, carefully remove any screws or panels that are holding the old car stereo in place. Be gentle to avoid damaging any surrounding parts.
- Once the screws are removed, gently pull the stereo unit out from the dash. Some stereo units may have clips or tabs that need to be released before it can be fully taken out.
- Next, locate the wiring harness at the back of the stereo unit. It usually consists of a group of wires connected to a plastic connector.
- To disconnect the wiring harness, press the release tab or lever and firmly pull the connector away from the stereo unit. Take your time and be careful not to damage any of the wires.
- If there are any other connectors, such as antenna or auxiliary input cables, disconnect them as well.
Once you’ve successfully disconnected all the wires and cables, you can set aside the old car stereo. Take this opportunity to inspect the wiring and connectors for any signs of wear or damage. If you notice any issues, it’s a good idea to address them before installing the new car stereo.
With the old car stereo safely removed, you’re now ready to move on to the next step: preparing the wiring harness. Stay tuned for step 3, where we’ll guide you through this important process.
Step 3: Prepare the wiring harness
With the old car stereo disconnected, it’s time to prepare the wiring harness. The wiring harness acts as an intermediary between your vehicle’s electrical system and the new car stereo, ensuring compatibility and a secure connection. Follow these steps to prepare the wiring harness:
- Start by identifying the wires in the wiring harness. Most wiring harnesses will have color-coded wires to indicate their function.
- Refer to the installation manual or the wiring diagram provided with your new car stereo to match the wires from the harness with the corresponding wires in your vehicle.
- Use wire cutters and strippers to carefully trim the ends of the wires from the harness, exposing a small section of bare wire.
- To ensure a proper connection, twist the exposed wire strands together and use wire connectors to join them securely. Match the colors of the wires and connectors to ensure a correct and secure connection.
- After connecting the wires, use electrical tape to wrap each connection tightly. This provides insulation and helps prevent any accidental short circuits.
- Repeat this process for each wire in the wiring harness, ensuring that all connections are secure and insulated.
Preparing the wiring harness is a crucial step that ensures the proper functioning of your new car stereo. Take your time and double-check all the connections to avoid any future problems. Once you have finished preparing the wiring harness, you’re ready to move on to the next step: connecting the wiring harness to the car stereo. Stay tuned for step 4, where we’ll guide you through this process.
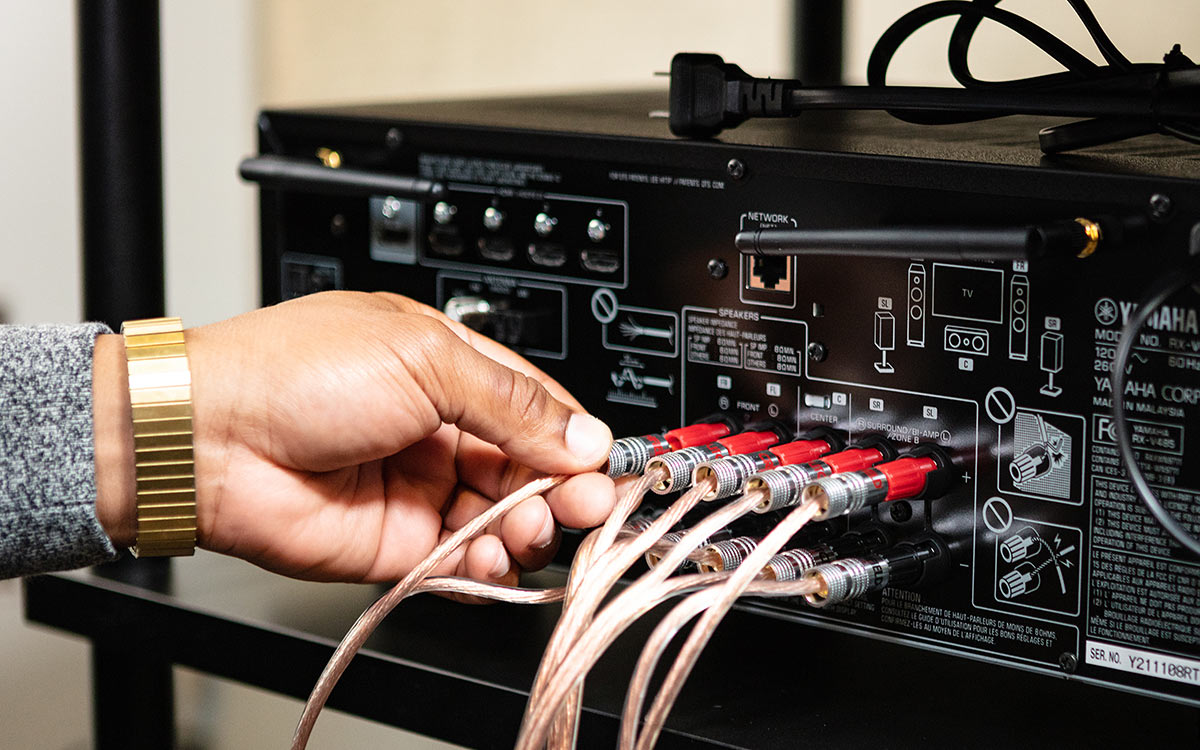
Step 4: Connect the wiring harness to the car stereo
Now that you have prepared the wiring harness, it’s time to connect it to the new car stereo. This step ensures that the car stereo is properly powered and that all audio connections are established. Follow these steps to connect the wiring harness to the car stereo:
- Locate the wiring harness port on the back of your new car stereo. It is usually a rectangular connector with multiple pins.
- Align the wiring harness connector with the port on the stereo and carefully push it in until it clicks into place.
- Double-check the connection to ensure that it is secure and properly seated.
- If your car stereo has any additional connectors, such as an antenna or auxiliary input, connect them as well.
Once you have connected the wiring harness to the car stereo, it’s time to proceed to the next step: mounting the car stereo into the dash. Stay tuned for step 5, where we’ll guide you through this process and give your car stereo a professional and secure installation.
Step 5: Mount the car stereo into the dash
With the wiring harness connected to the car stereo, it’s time to securely mount the stereo into the dash of your vehicle. Proper mounting ensures stability and a professional-looking installation. Follow these steps to mount the car stereo into the dash:
- Take the dash kit that you prepared earlier and align it with the opening in the dash where the old car stereo was removed.
- Secure the dash kit into place using the provided screws or clips. Make sure it fits snugly and does not move around.
- Slide the car stereo into the dash kit until it is fully inserted. Ensure that it aligns properly and is level with the dash.
- Use the screws provided with the dash kit to secure the car stereo to the dash kit. Be cautious not to overtighten the screws to avoid damaging the stereo or the dash.
Once the car stereo is securely mounted into the dash, check for any gaps or misalignments. If necessary, make any adjustments to ensure a seamless and professional installation.
Now that the car stereo is mounted, it’s time to move on to the next step: connecting the car stereo to the car’s electrical system. Stay tuned for step 6, where we’ll guide you through this process to ensure that your new car stereo is powered and ready to use.
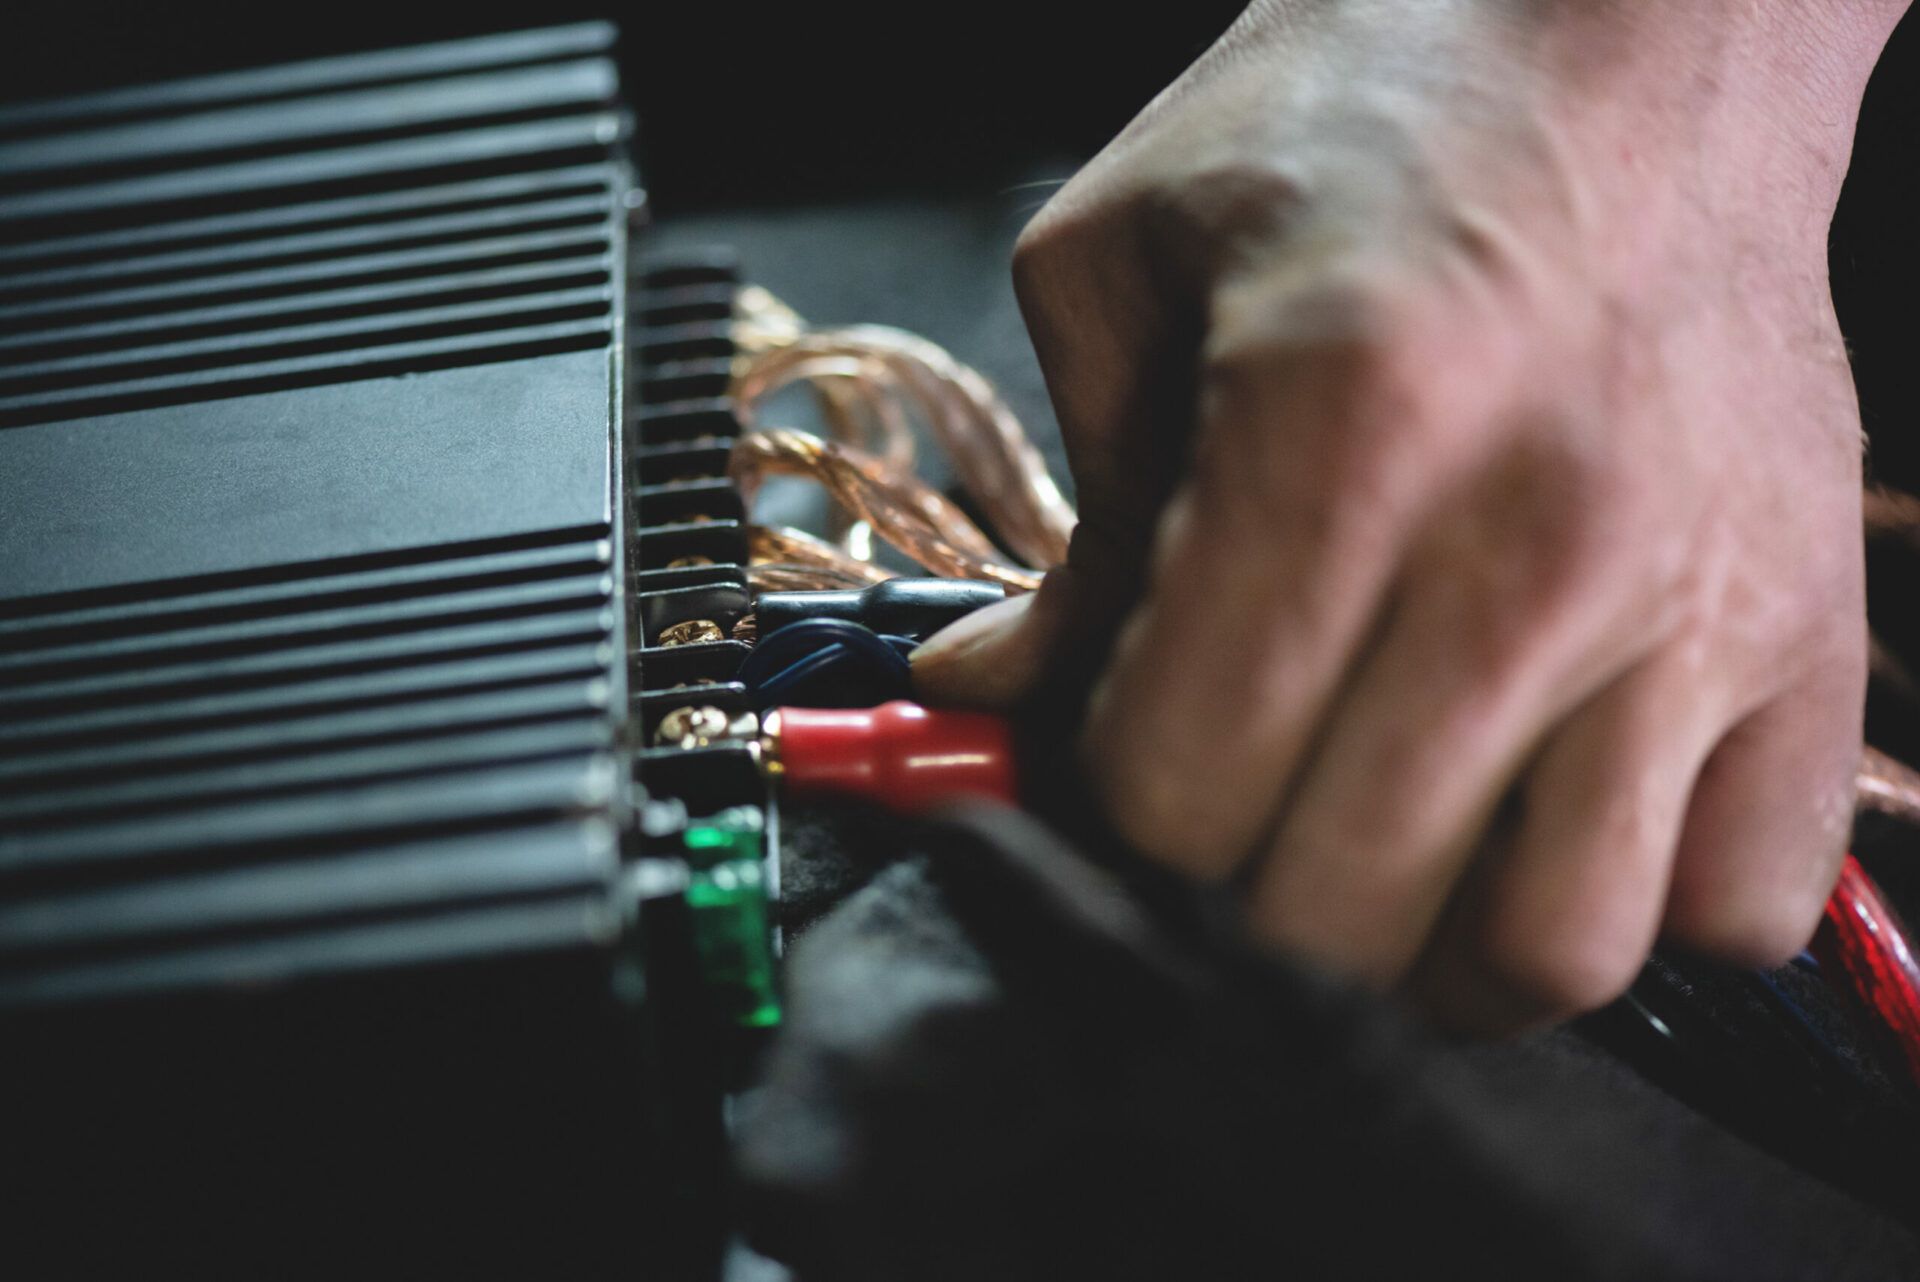
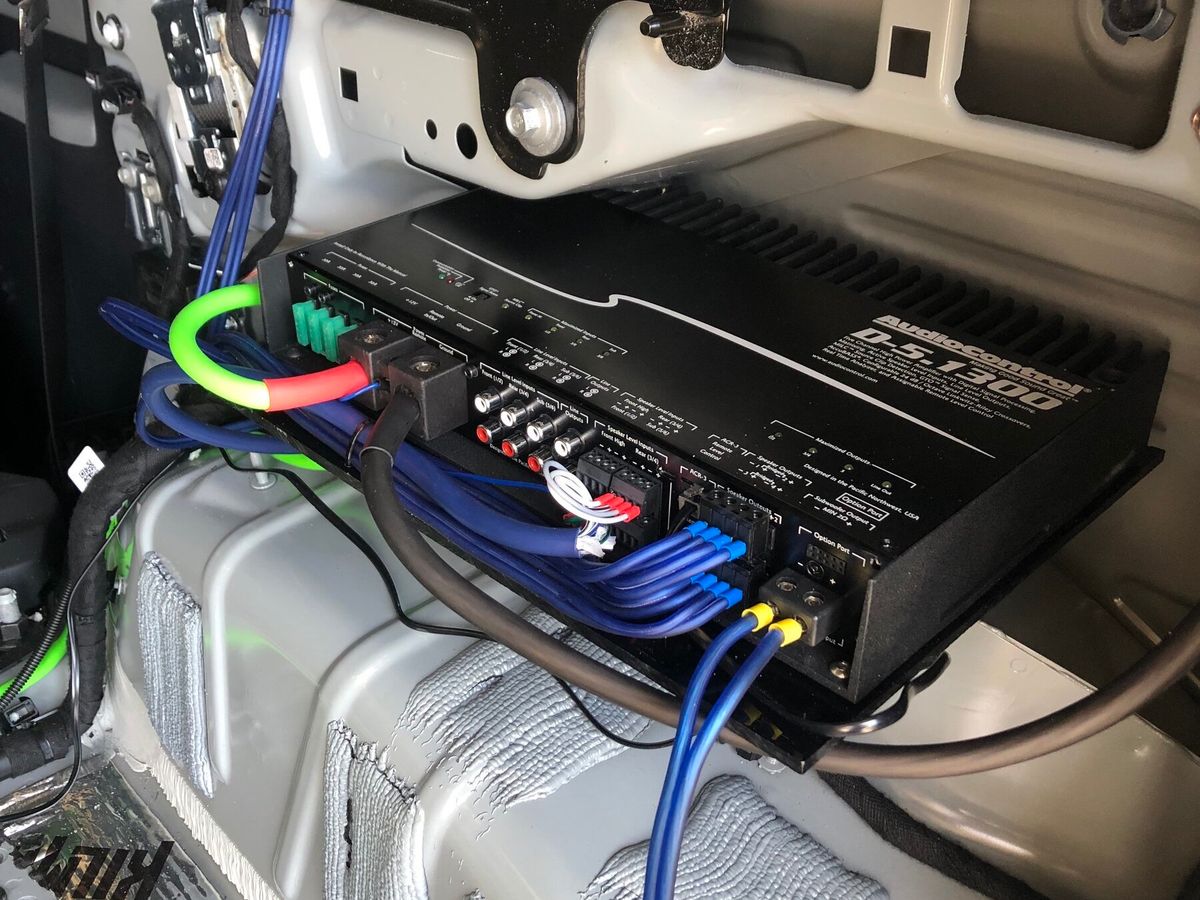
Step 6: Connect the car stereo to the car’s electrical system
With the car stereo securely mounted into the dash, it’s time to connect it to the car’s electrical system. This step ensures that the car stereo receives power and enables all its functions to work properly. Follow these steps to connect the car stereo to the car’s electrical system:
- Locate the wiring harness in your vehicle that was disconnected from the old car stereo.
- Connect the wiring harness from the vehicle to the wiring harness of the car stereo. Match the colors and connections, ensuring that they align correctly.
- Once the connections are secure, plug in the wiring harness connector into the respective port in your vehicle’s electrical system. You should hear it click into place.
- Double-check all the connections and make sure they are tight and properly seated.
After connecting the car stereo to the car’s electrical system, it’s time to move on to the next step: testing the car stereo. Stay tuned for step 7, where we’ll guide you through this process and ensure that your new car stereo is functioning correctly.
Step 7: Test the car stereo
With the car stereo connected to the car’s electrical system, it’s time to test and ensure that everything is working correctly. Testing the car stereo will allow you to verify the connections and make any necessary adjustments before finalizing the installation. Follow these steps to test the car stereo:
- Reconnect the negative terminal of your car’s battery, which was previously disconnected as a safety measure.
- Turn on the car’s ignition and power up the car stereo. Check if the display lights up and if you can access the different functions and modes.
- Test the audio output of the car stereo by playing music from different sources such as a CD, radio, or an external device connected through the auxiliary or USB input.
- Adjust the volume and make sure that the audio is clear and balanced through all the speakers in your vehicle.
- If any issues are detected, double-check the wiring connections and ensure that they are secure and correctly matched.
- Pay attention to any specific instructions or features mentioned in the car stereo’s manual, such as setting the clock or configuring audio settings.
By thoroughly testing the car stereo, you can ensure that it is working properly and delivering the desired audio experience. If everything seems to be functioning correctly, you can proceed to the final step: securing all the connections for a long-lasting installation.
Step 8: Secure all the connections
After successfully testing the car stereo and ensuring that it is functioning properly, it’s important to secure all the connections to guarantee a long-lasting and reliable installation. This step is crucial to prevent any loose or disconnected wires that could lead to audio interruptions or other issues. Follow these steps to secure all the connections:
- Inspect all the wiring connections, both at the back of the car stereo and in the vehicle’s electrical system. Ensure that they are tightly connected and properly seated.
- Use zip ties or wire clips to organize and secure the wiring harness and any loose wires. This will help prevent them from getting tangled or interfering with other components.
- Verify that all the clips, tabs, or screws holding the car stereo and dash kit in place are tight and secure. This will prevent any vibrations or movement that could affect the performance of the car stereo.
- Check the antenna connection to ensure it is securely fastened. A loose or weak antenna connection can result in poor radio reception.
- Inspect the overall installation for any signs of interference or rubbing against other components. Make any necessary adjustments to prevent potential damage or audio quality issues.
By taking the time to secure all the connections and ensure the stability of the installation, you can enjoy uninterrupted audio performance and peace of mind knowing that your car stereo is properly installed.
With the connections secured, you have successfully completed the installation process of your new car stereo! Enjoy your upgraded audio experience and hit the road with your favorite tunes playing in high-quality sound.
Conclusion
Congratulations! You have successfully learned how to hook up a car stereo. By following the step-by-step process outlined in this guide, you have transformed your driving experience with a new and upgraded audio system.
From gathering the necessary tools and materials to securely mounting the car stereo into the dash, connecting the wiring harness, and testing the system, you have taken the necessary steps to ensure a seamless and professional installation.
With your new car stereo in place, you can now enjoy all its features and benefits, from enhanced audio quality to advanced functionalities like Bluetooth connectivity and smartphone integration. Whether you’re listening to your favorite music, making hands-free calls, or streaming podcasts, your new car stereo will greatly enhance your driving experience.
Remember to always refer to the installation manual and follow the manufacturer’s instructions for your specific car stereo model. Each car stereo may have slight differences in the installation process, so it’s important to ensure that you have the most accurate information.
If at any point you encounter difficulties or are unsure about any aspect of the installation, it’s always a good idea to seek professional assistance or consult a car audio expert.
Now, get ready to hit the road and enjoy the amazing sound quality and features of your new car stereo. Happy driving!