Home>Production & Technology>Stereo>How To Remove A Car Stereo

Stereo
How To Remove A Car Stereo
Published: November 25, 2023
Learn how to remove a car stereo in a few simple steps. Upgrade your car's audio system by safely removing the stereo and installing a new one.
(Many of the links in this article redirect to a specific reviewed product. Your purchase of these products through affiliate links helps to generate commission for AudioLover.com, at no extra cost. Learn more)
Table of Contents
Introduction
Upgrading or replacing the car stereo can greatly enhance your driving experience, allowing you to enjoy your favorite music or podcasts with crystal clear sound quality. However, before you can install a new car stereo, you’ll need to remove the old one. While the task may seem daunting at first, with the right tools and a little know-how, it can be a straightforward process.
In this article, we’ll guide you through the step-by-step process of removing a car stereo. Whether you’re looking to replace a faulty unit or simply upgrade to a more advanced system, these instructions will help you safely remove the existing stereo so you can proceed with your desired changes.
Please note that the specific steps may vary depending on the make and model of your car. It’s always a good idea to consult the owner’s manual or seek professional assistance if you’re uncertain about any part of the process.
Before we dive into the nitty-gritty, let’s quickly go over the tools you’ll need to successfully remove a car stereo.
Step 1: Gather Necessary Tools
Before you can begin removing the car stereo, it’s essential to gather the necessary tools. Having the right tools on hand will make the process much smoother and help prevent any potential damage to your vehicle. Here are the tools you’ll need:
- Trim removal tools: These specialized tools are designed to safely remove trim panels without causing any scratches or damage. They come in various shapes and sizes, but most commonly resemble pry bars or flathead screwdrivers with curved ends. Investing in a set of trim removal tools will make removing the trim panel much easier and reduce the risk of accidental damage.
- Screwdrivers: Depending on your car’s make and model, you may need either flathead or Phillips-head screwdrivers to remove screws or bolts holding the stereo in place. It’s a good idea to have both types of screwdrivers on hand, as different parts of the stereo system may require different screwdriver types.
- Socket wrench set: In some cases, you may encounter screws or bolts that require a socket wrench to remove. Having a socket wrench set with various sizes will ensure you have the right tool for the job.
- Wire harness adapter: If you plan on installing a new car stereo, you’ll need a wire harness adapter to connect the new stereo to your car’s wiring system. This adapter will make the installation process much simpler, as it eliminates the need for manually splicing wires together.
- Electrical tape or wire connectors: These items are useful for securing and insulating any wire connections you may need to disconnect during the stereo removal process. It’s important to ensure all electrical connections are properly insulated to avoid any potential hazards.
- Flashlight: Depending on your car’s interior layout, some areas may be poorly lit, making it difficult to see and access certain components. Having a flashlight on hand will help you navigate these tight spaces more efficiently.
Make sure to gather all the necessary tools before you start the removal process. This will save you time and frustration, allowing you to complete the task smoothly.
Step 2: Disconnect the Car Battery
Before you begin working on the car stereo, it’s crucial to disconnect the car battery to ensure your safety and prevent any accidental damage. Here’s how you can disconnect the car battery:
- Make sure the car is parked in a safe and well-ventilated area.
- Locate the car battery. In most vehicles, the battery is located under the hood.
- Identify the battery terminals. The positive terminal is usually marked with a (+) sign or the letters “POS” and is typically red. The negative terminal is marked with a (-) sign or the letters “NEG” and is usually black.
- Put on a pair of insulated gloves to protect your hands from any potential electrical shocks.
- Using an appropriate-sized wrench or a battery terminal puller, loosen the nut on the negative terminal first (the black one).
- Once the nut is loose, carefully remove the negative terminal connector from the battery post. Be sure to keep it away from the battery post to avoid accidental contact.
- Repeat the process for the positive terminal (the red one) in the same manner.
- Once both terminals are disconnected, secure them by tucking them away from the battery posts. This will prevent any accidental reconnection while you’re working.
It’s important to note that disconnecting the car battery will reset certain settings in your car, such as the clock and radio presets. Keep this in mind and make a note of any important settings or presets that you’ll need to reconfigure later.
Now that the car battery is disconnected, you can proceed to the next step of removing the car stereo.
Step 3: Remove the Trim Panel
With the car battery safely disconnected, it’s time to remove the trim panel that surrounds the car stereo. The trim panel is typically made of plastic and covers the area around the stereo, including the dashboard. Here’s how you can remove the trim panel:
- Examine the trim panel to locate any screws or bolts that secure it in place. These can be found on the sides, bottom, or top of the panel.
- Using a screwdriver or a socket wrench, remove the screws or bolts that you identified in the previous step.
- Once the screws or bolts are removed, gently pull the trim panel away from the dashboard. It may be held in place by clips, so you may need to apply some pressure or use a trim removal tool to release the clips.
- Work your way around the trim panel, carefully pulling it away from the dashboard. Take your time to avoid breaking any clips or causing damage to the panel.
- Once the trim panel is free from the dashboard, set it aside in a safe place.
Some vehicles may have additional components attached to the trim panel, such as buttons, controls, or air vents. Take note of any such components and gently disconnect them from the trim panel before fully removing it.
Removing the trim panel will give you access to the car stereo unit itself, as well as other components that may need to be removed or disconnected in the following steps.
Now that the trim panel is removed, you’re one step closer to removing the car stereo. Let’s move on to the next step.
Step 4: Unbolt the Car Stereo
With the trim panel out of the way, it’s time to remove the bolts or screws that secure the car stereo in place. These bolts or screws may vary depending on the make and model of your car, so it’s important to refer to the car’s manual or a specific guide for your vehicle, if available. Here’s a general overview of how to unbolt the car stereo:
- Locate the bolts or screws that hold the car stereo in place. These are typically found on the sides or top of the stereo unit.
- Using the appropriate screwdriver or socket wrench, carefully remove the bolts or screws. Make sure to keep track of the bolts or screws as you’ll need them later when installing a new car stereo.
- Some car stereos may also have a strap or bracket securing them in place. If your stereo has one, remove it as well.
- Once all the bolts, screws, and brackets are removed, the car stereo should now be free from its mounting position.
It’s important to handle the stereo unit with care and avoid pulling or tugging on any wires connected to it. This will prevent any damage to the connectors and wiring.
Removing the bolts or screws will allow you to disconnect the wiring harness and fully remove the car stereo in the next step. Stay tuned!
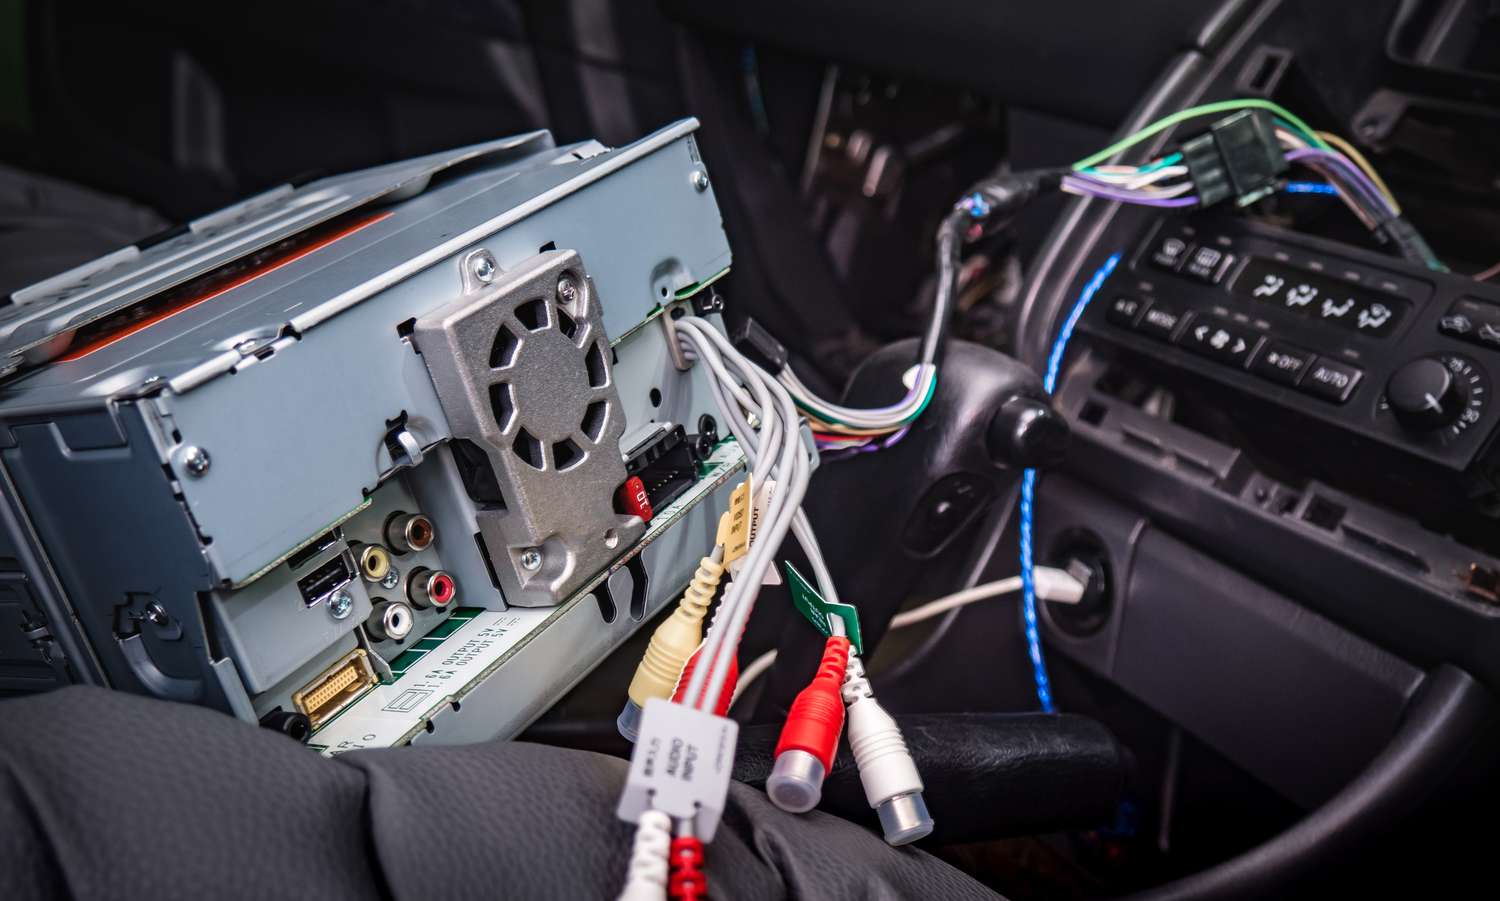
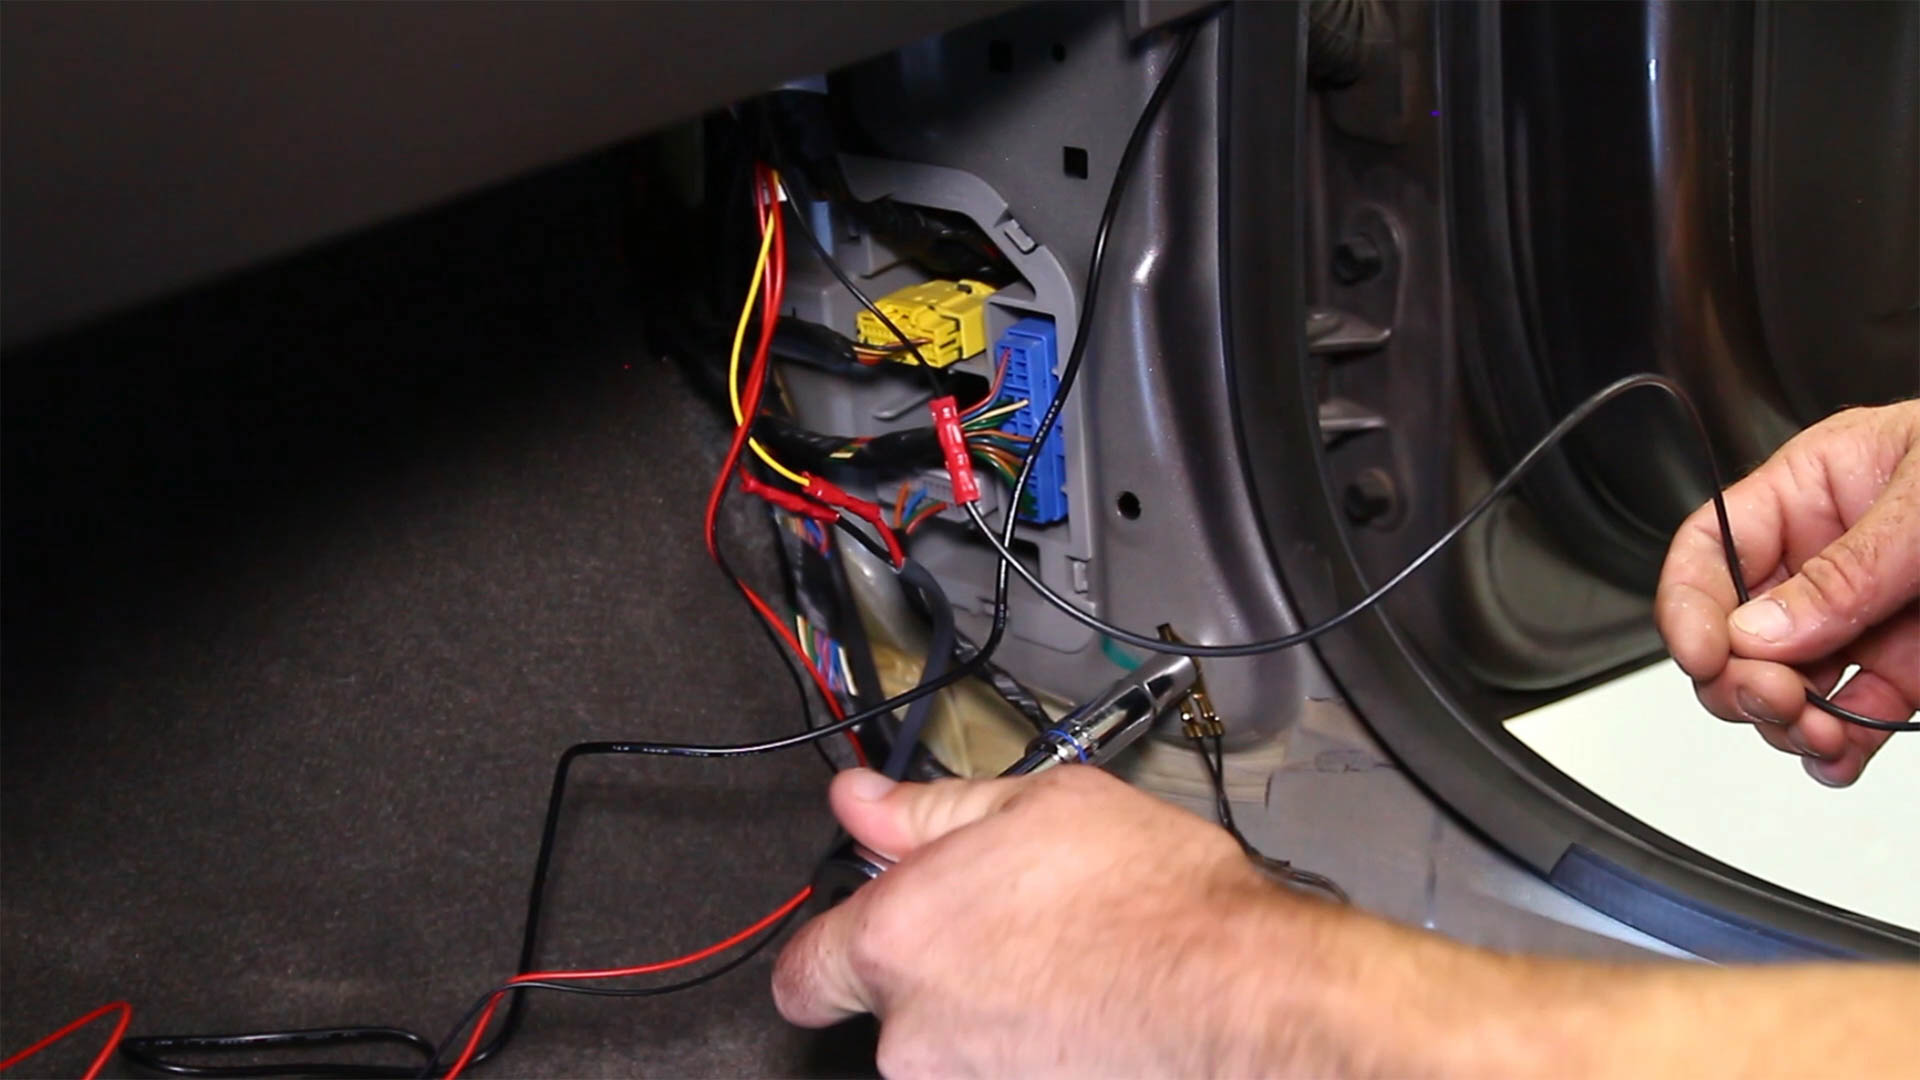
Step 5: Disconnect the Wiring Harness
With the car stereo now unbolted, it’s time to disconnect the wiring harness. The wiring harness is a bundle of wires that connects the car stereo to the vehicle’s electrical system. Here’s how you can disconnect the wiring harness:
- Locate the wiring harness connected to the back of the car stereo. It’s usually a bundle of multiple wires with a plastic connector.
- Gently push down on the plastic tab or lever located on the connector to release the lock.
- Once the lock is released, carefully pull the connector out of the back of the car stereo.
- Some wiring harnesses may have additional connectors, such as antenna connectors or auxiliary inputs. Disconnect these connectors as well, if applicable.
- Be cautious not to pull on the wires themselves as it may damage the connectors or the wires.
It’s important to note that some car models may have additional connections or systems integrated into the car stereo, such as Bluetooth or steering wheel controls. If your car has any additional connections, consult the owner’s manual or a specific guide for your vehicle to ensure you disconnect them properly.
Once the wiring harness is disconnected, you’re almost ready to remove the car stereo unit completely. Just one more step to go!
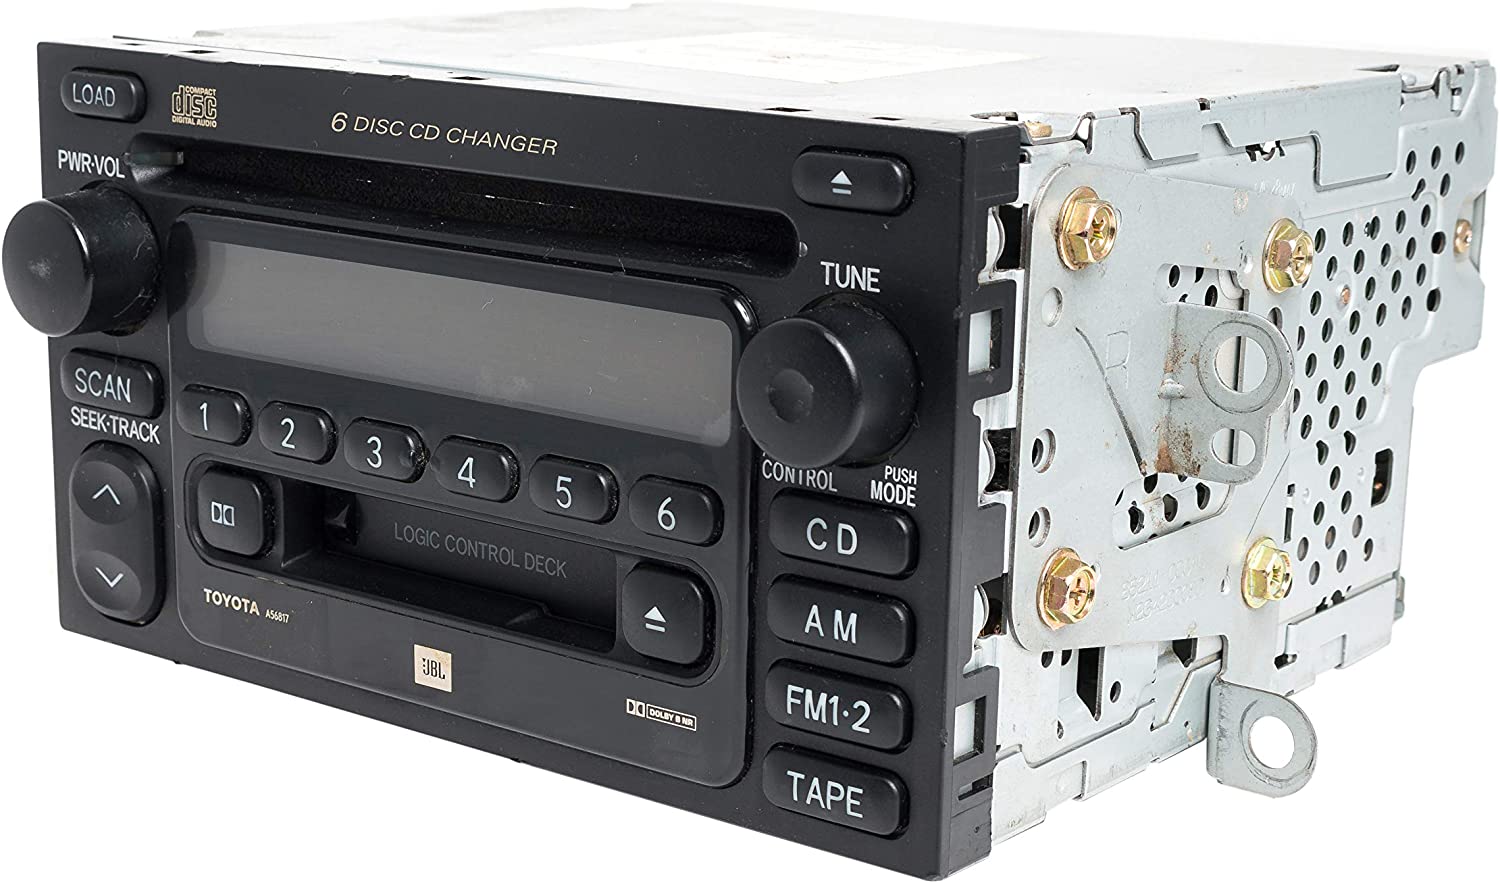
Step 6: Remove the Car Stereo Unit
Now that the wiring harness is disconnected, it’s time to remove the car stereo unit from its mounting position. Here’s how you can remove the car stereo unit:
- Gently pull the car stereo unit towards you, being careful not to tug on any remaining wires or connectors.
- If the stereo feels tight or stuck, make sure that all bolts, screws, and brackets securing the unit have been removed.
- Rock the stereo unit back and forth slightly to loosen it from its mounting position.
- Once the stereo is free, carefully remove it from the mounting area.
Some vehicles may have additional clips or tabs that hold the stereo unit in place. If you encounter any resistance while removing the unit, double-check for any hidden clips or tabs and release them if necessary.
As you remove the car stereo unit, take note of its size, shape, and specific connections. This information will be helpful when selecting a new car stereo, should you choose to install one.
With the car stereo unit now removed, you can proceed with any further steps, such as installing a new stereo or addressing any repairs or maintenance needed.
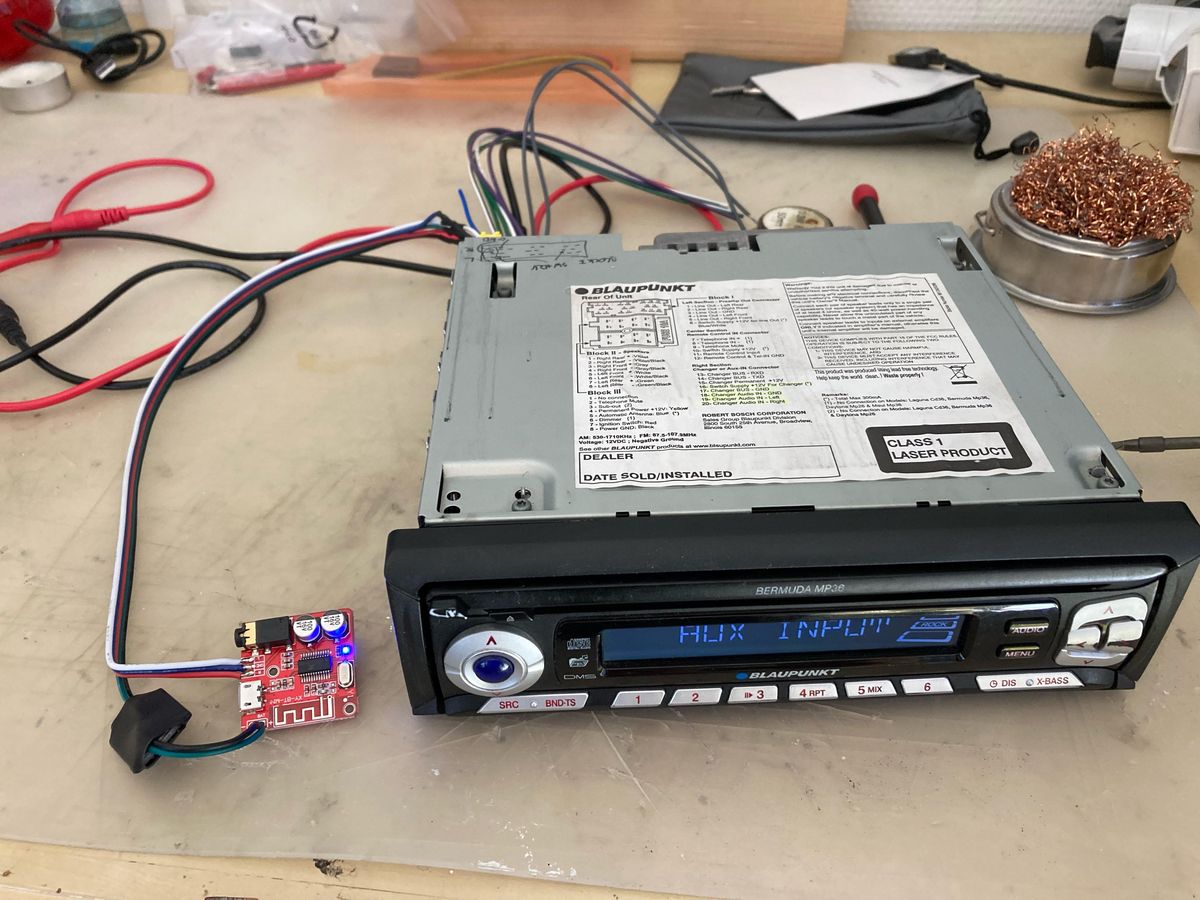
Step 7: Install a New Car Stereo (Optional)
If you’re looking to upgrade or replace your car stereo, this step will guide you through the process of installing a new one. Keep in mind that this step is optional, and you can skip it if you don’t plan on installing a new stereo. Here’s how you can install a new car stereo:
- Before you begin, ensure that you have the appropriate wiring harness adapter and any necessary mounting brackets or kits for your specific car model.
- Connect the wiring harness adapter to the car’s electrical system. Carefully match each wire color with its corresponding connection using wire connectors or electrical tape.
- Attach the mounting brackets or kit to the new car stereo unit according to the manufacturer’s instructions, if necessary.
- Slide the new stereo unit into the mounting area, ensuring that it is secure and properly aligned.
- If applicable, attach any additional connectors such as antenna connectors or auxiliary inputs to the new stereo.
- Double-check all connections and wires to ensure they are properly secured and insulated.
- Reconnect the car battery by first connecting the positive terminal (red) and then the negative terminal (black). Tighten the terminal nuts securely.
- Turn on the car and test the new stereo to ensure it is functioning correctly. Adjust any settings or presets as needed.
It’s important to carefully follow the manufacturer’s instructions when installing a new car stereo. If you’re unsure about any step or encounter any difficulties, it’s best to consult a professional or refer to specific guides for your car model.
Remember, installing a new car stereo can greatly enhance your driving experience, allowing you to enjoy a wide range of features and improved audio quality.
Congratulations! You’ve successfully learned how to remove a car stereo and, if desired, how to install a new one.
Conclusion
Removing a car stereo may seem like a daunting task, but with the right tools and a little guidance, it can be a manageable and rewarding process. Whether you’re looking to replace a faulty unit, upgrade to a more advanced system, or address any repairs or maintenance, knowing how to remove a car stereo is a valuable skill.
In this article, we walked through the step-by-step process of removing a car stereo. From gathering the necessary tools to disconnecting the wiring harness, each step was outlined to ensure a successful removal. We also discussed the optional step of installing a new car stereo, providing guidance on how to make the installation process smoother.
It’s important to note that the specific steps and requirements may vary depending on the make and model of your car. Always consult the owner’s manual or seek professional assistance if you have any uncertainties or concerns.
By following the instructions outlined in this article, you can safely and confidently remove a car stereo and, if desired, install a new one. Whether you’re looking for enhanced sound quality, added features, or a fresh look for your car’s interior, the ability to remove and install a car stereo gives you the freedom to customize your driving experience according to your preferences.
Remember to exercise caution, be patient, and take your time during the removal process. Properly disconnecting the car battery, removing the trim panel, unbolt the car stereo, disconnecting the wiring harness, and finally removing the stereo unit are all crucial steps in ensuring a seamless removal process.
Now that you have the knowledge and confidence to remove a car stereo, you can embark on your car audio journey with ease. Enjoy the process and the enhanced driving experience that awaits you!