Home>Production & Technology>Stereo>How To Wire A Car Stereo
Stereo
How To Wire A Car Stereo
Modified: January 22, 2024
Learn how to wire a car stereo with ease. Get step-by-step instructions and expert tips to install and connect your stereo for an ultimate audio experience.
(Many of the links in this article redirect to a specific reviewed product. Your purchase of these products through affiliate links helps to generate commission for AudioLover.com, at no extra cost. Learn more)
Table of Contents
- Introduction
- Tools and Materials Required
- Step 1: Gather Information
- Step 2: Disconnect the Battery
- Step 3: Remove the Old Stereo
- Step 4: Identify the Wiring Harness
- Step 5: Match the Wires
- Step 6: Connect the Wiring Harness
- Step 7: Attach the Stereo Unit
- Step 8: Test the Stereo
- Step 9: Finalize the Installation
- Conclusion
Introduction
Welcome to this comprehensive guide on how to wire a car stereo. Whether you’re upgrading or replacing your existing stereo, knowing how to properly wire it is crucial for optimal performance and functionality. Installing a new car stereo can enhance your driving experience by providing better sound quality and access to modern features like Bluetooth connectivity and USB ports.
While the thought of tackling the wiring process might seem daunting, fear not! This step-by-step guide will walk you through the process from start to finish. We’ll cover everything you need to know, from gathering the necessary tools and materials to connecting the wiring harness and testing the stereo. So, grab your tool kit and let’s dive in!
Before we begin, it’s important to note that the specific steps may vary slightly depending on your car make and model. It’s always a good idea to consult your car’s manual or seek professional advice if you’re uncertain about any of the steps outlined here.
Now, let’s get started on this exciting DIY car stereo project!
Tools and Materials Required
Before you begin the process of wiring your car stereo, it’s essential to gather all the necessary tools and materials. Here’s a list of what you’ll need:
- Wire cutters
- Wire strippers
- Electrical tape
- Screwdrivers (flathead and Phillips)
- Trim removal tools
- Pliers
- Socket wrench set
- Wiring harness adapter
- Digital multimeter (optional, but recommended for checking electrical connections)
- New car stereo unit
The wire cutters and strippers are necessary for cutting and stripping the wires, while electrical tape is used to secure and insulate the connections. Screwdrivers will be needed to remove screws and fasteners that hold the stereo in place or secure the trim panels.
Trim removal tools come in handy when removing the dash panels or trim that conceal the stereo. The pliers can be useful for bending or crimping the wires, if necessary. A socket wrench set is needed for disconnecting the battery terminals and removing brackets or screws that hold the stereo unit.
A wiring harness adapter is crucial for connecting the new car stereo to the existing wiring in your vehicle. It eliminates the need to cut and splice wires, making the installation process much simpler and more efficient. The digital multimeter can be used to test the electrical connections and ensure proper voltage.
Lastly, you’ll need the new car stereo unit itself. Make sure to choose a stereo that is compatible with your car’s make and model and has the features you desire, such as CD player, Bluetooth, USB, or auxiliary inputs.
With all the required tools and materials on hand, you’re now ready to proceed with the wiring process. Let’s move on to the next step!
Step 1: Gather Information
Before diving into the wiring process, it’s crucial to gather the necessary information about your car’s stereo system. This information will help you determine the specific wiring requirements and ensure compatibility with the new stereo unit. Here’s what you need to do:
- Consult your car’s manual: Start by referring to your car’s manual for any specific instructions or information regarding the stereo system. This will provide valuable insights into the wiring configuration and any potential complications that may arise.
- Research your car’s make and model: Look for online resources, forums, or communities dedicated to car enthusiasts. These sources can provide valuable information about the stereo wiring setup for your specific car make and model.
- Identify wire color codes: Car stereos typically use standardized wire color coding. Understanding these codes will help you match and connect the wires correctly. Refer to your car’s manual or online resources to familiarize yourself with the wire color codes used in your specific car model.
- Take note of any factory amplifiers: Some cars come with factory-installed amplifiers, which can complicate the wiring process. It’s crucial to identify whether your car has a factory amplifier and learn about any additional steps or precautions required during the installation.
- Check the mounting dimensions: Measure the mounting dimensions of your current stereo unit to ensure that the new stereo unit you are considering purchasing will fit properly into your car’s dash. This step will save you the frustration of buying a unit that doesn’t fit.
Gathering all this valuable information will provide you with a solid foundation for the wiring process. It will help you understand your car’s specific wiring configuration, any potential challenges you may encounter, and ensure a successful installation of your new car stereo unit.
Once you have gathered all the necessary information, you’re ready to move on to the next step: disconnecting the battery. This step is vital for your safety and the protection of your car’s electrical system.
Step 2: Disconnect the Battery
Before you begin working on the car stereo wiring, it’s crucial to disconnect the battery to ensure your safety and prevent any electrical mishaps. Follow these steps to properly disconnect the battery:
- Locate the battery: Most car batteries are located in the engine compartment. Open the hood and identify the battery.
- Ensure the engine is off: Make sure the car engine is completely turned off and remove the keys from the ignition. This step is necessary to prevent any accidental starts or electrical surges.
- Identify the battery terminals: The battery has two terminals, one positive (+) and one negative (-). They are usually marked with red for the positive terminal and black for the negative terminal.
- Disconnect the negative terminal: Using a socket wrench or pliers, loosen the nut or bolt that secures the negative terminal. Once loose, carefully remove the negative cable from the battery and ensure it doesn’t come into contact with any metal surfaces.
- Disconnect the positive terminal: Repeat the same process for the positive terminal, loosening the nut or bolt and removing the positive cable from the battery.
- Secure the disconnected cables: To prevent accidental reconnection, it’s important to secure the disconnected battery cables away from the battery terminals. You can use tape or cable ties to keep them in place.
By following these steps, you have successfully disconnected the battery, ensuring a safe working environment for the rest of the wiring process. Remember to handle the battery and cables with care, as batteries can contain corrosive materials and produce electrical currents.
With the battery disconnected, you can now proceed to the next step, which involves removing the old stereo from your car’s dashboard. This step will make way for the installation of the new car stereo unit.
Step 3: Remove the Old Stereo
Now that the battery is safely disconnected, it’s time to remove the old stereo from your car’s dashboard. Follow these steps to remove the old stereo:
- Locate the mounting brackets or screws: The old stereo unit is typically secured in place with mounting brackets or screws. Look for these fasteners on the sides or underneath the stereo.
- Use the appropriate tools: Depending on the type of fasteners used, use a screwdriver or socket wrench to remove the mounting brackets or screws. Keep all the fasteners in a safe place for later use.
- Slide the stereo out: Once the fasteners are removed, gently pull the stereo out of the dashboard. Be careful not to force it or damage any surrounding components.
- Disconnect the wiring harness and antenna: Behind the stereo, you’ll find the wiring harness and antenna cable connected to the back of the unit. Carefully unplug these connections by pressing the release tabs, if present, and gently pulling them apart. Take note of how the wiring harness is connected, as you’ll need to replicate this with the new stereo.
- Remove any additional brackets or trim panels: In some cases, there may be additional brackets or trim panels that need to be removed to fully detach the stereo. Refer to your car’s manual or online resources for any specific instructions related to your car’s make and model.
With the old stereo removed, take a moment to clean the dashboard area and remove any dust or debris. This will ensure a clean and secure installation for the new stereo unit.
Congratulations! You have successfully removed the old stereo from your car’s dashboard. It’s now time to move on to the next step, where you’ll identify the wiring harness and prepare them for the installation of the new stereo unit.
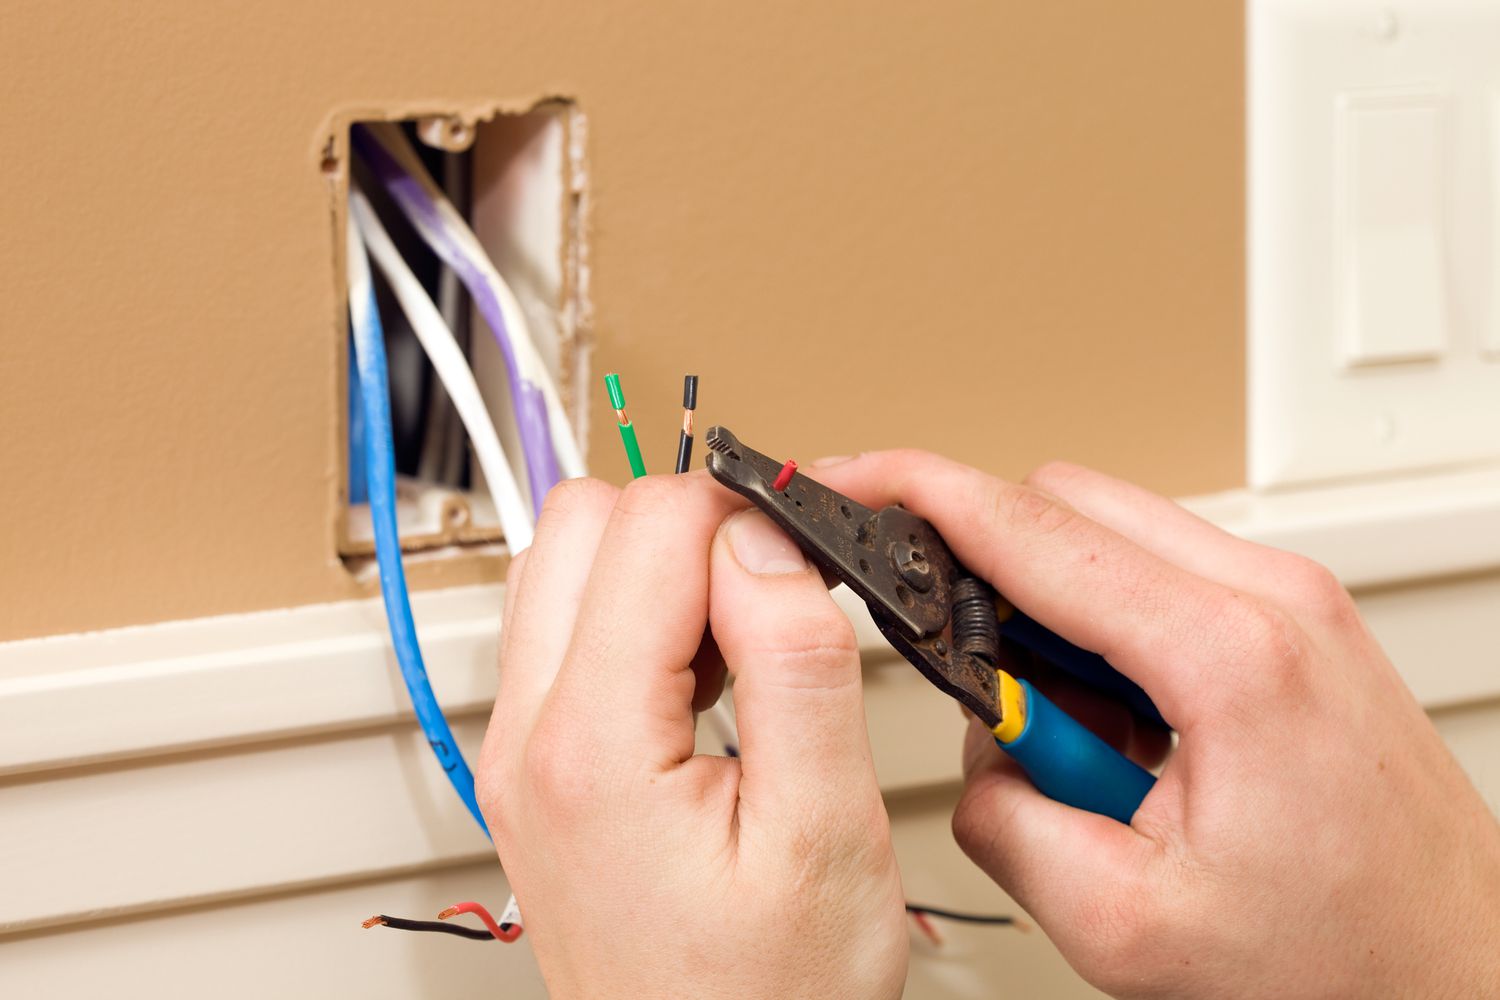
Step 4: Identify the Wiring Harness
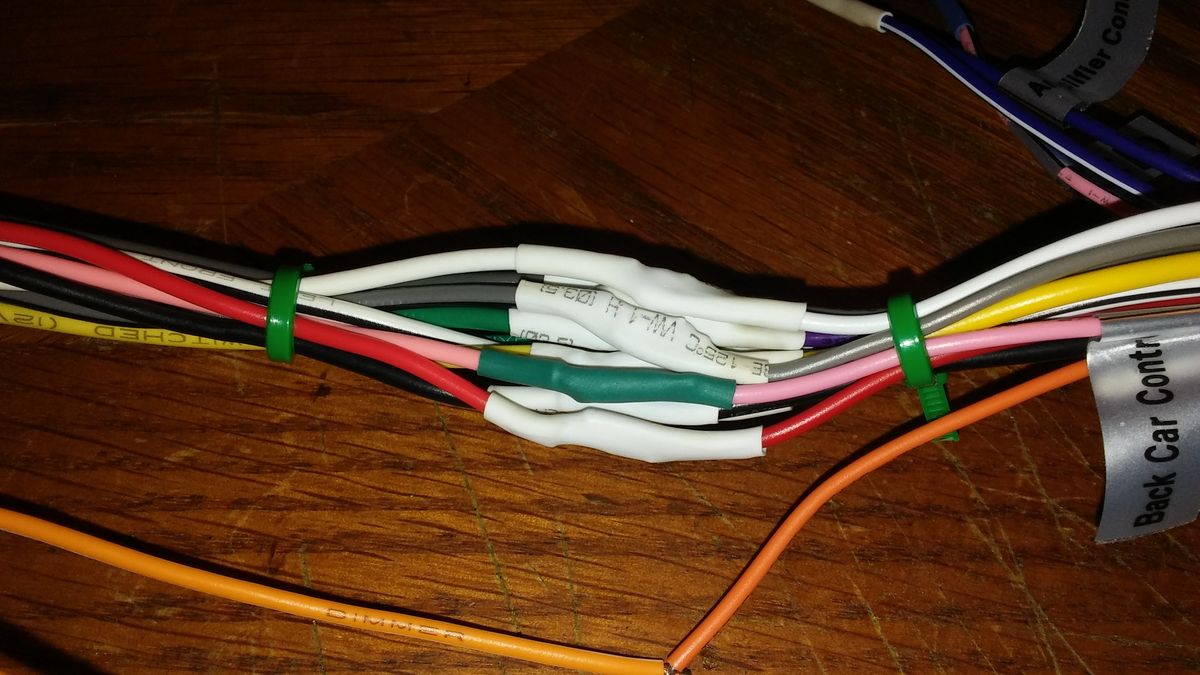
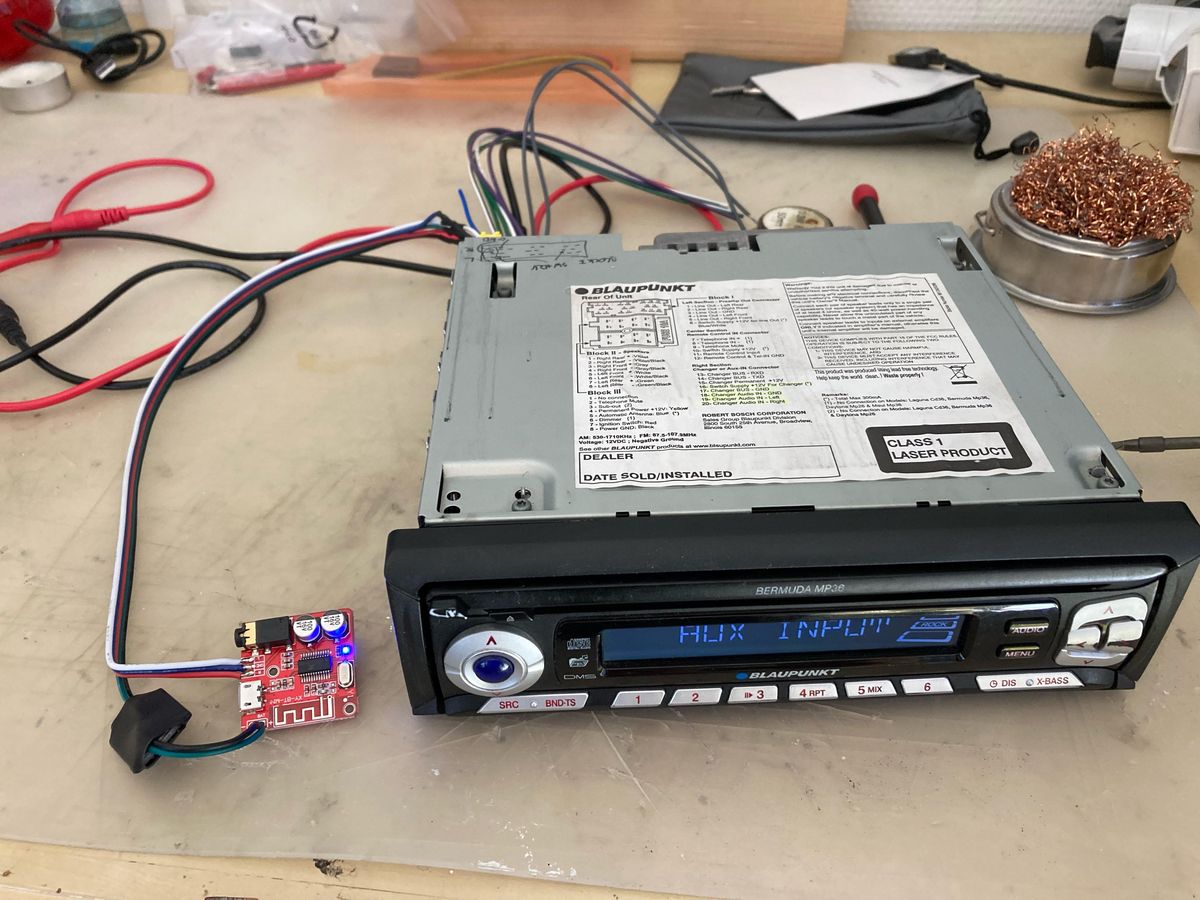
With the old stereo removed, it’s time to identify the wiring harness, which connects the car’s electrical system to the stereo unit. The wiring harness consists of multiple wires with specific functions, and it’s important to properly identify them to ensure a successful installation of the new stereo. Here’s what you need to do:
- Locate the wiring harness: The wiring harness is a bundle of wires connected to the back of the stereo. It may have a rectangular or square shape with multiple connectors.
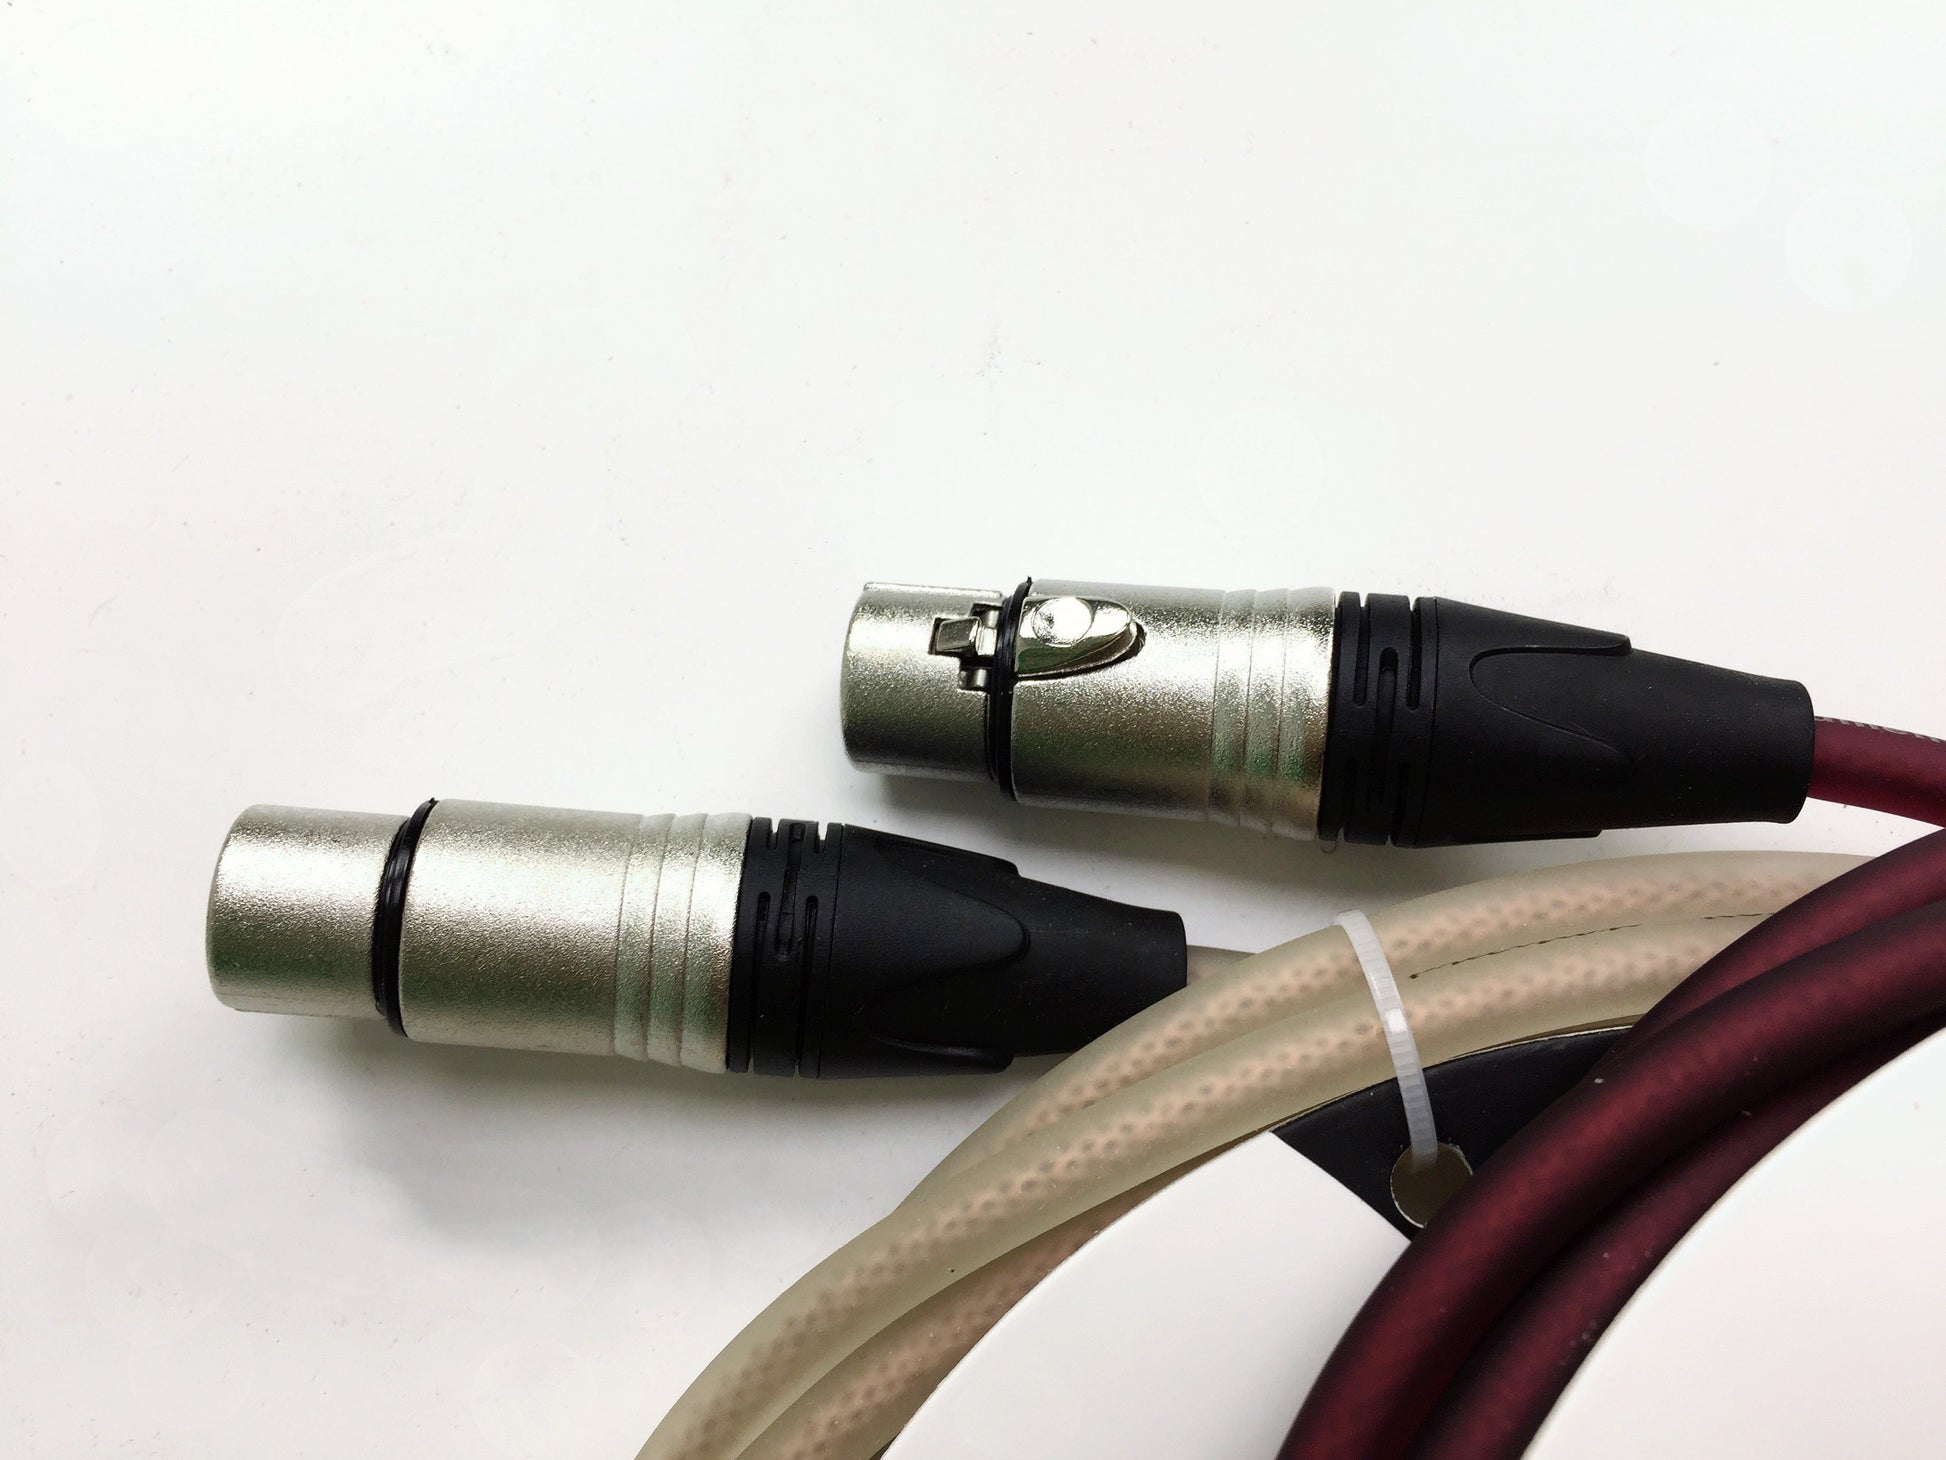
- Identify the main power wires: Look for the main power wires, which usually consist of a red wire (positive) and a black wire (ground or negative). These wires provide power to the stereo unit.
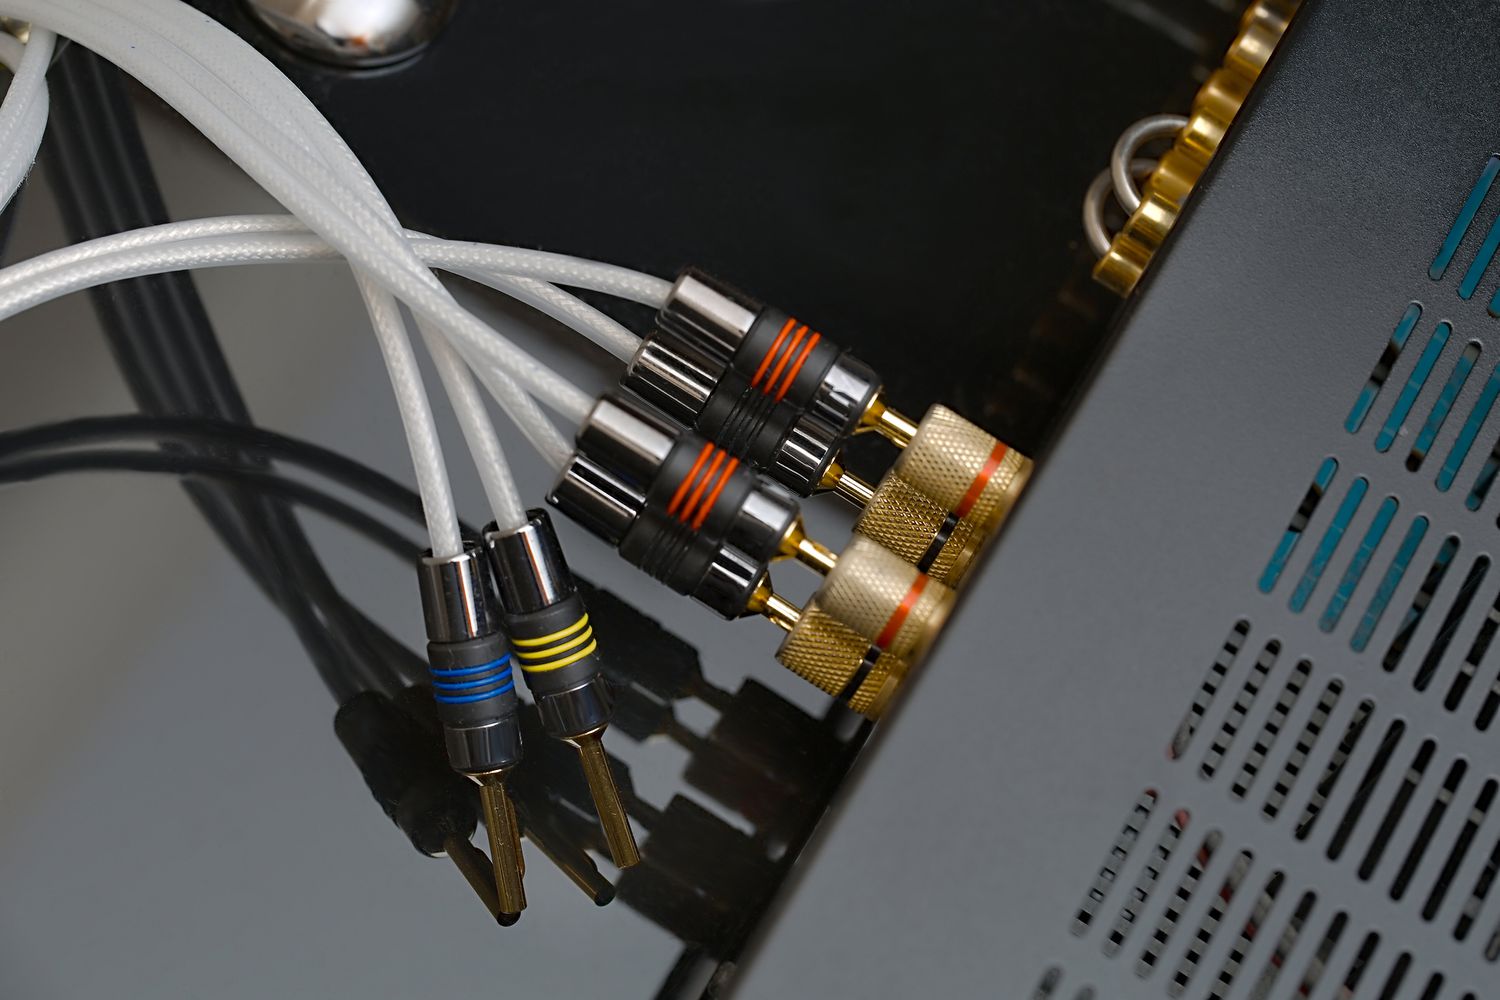
- Identify the speaker wires: The speaker wires are usually color-coded and come in pairs. Each pair of wires corresponds to a specific speaker in your car. Generally, the wires will be labeled with a positive (+) and negative (-) marking or color-coded with matching colors for easy identification.
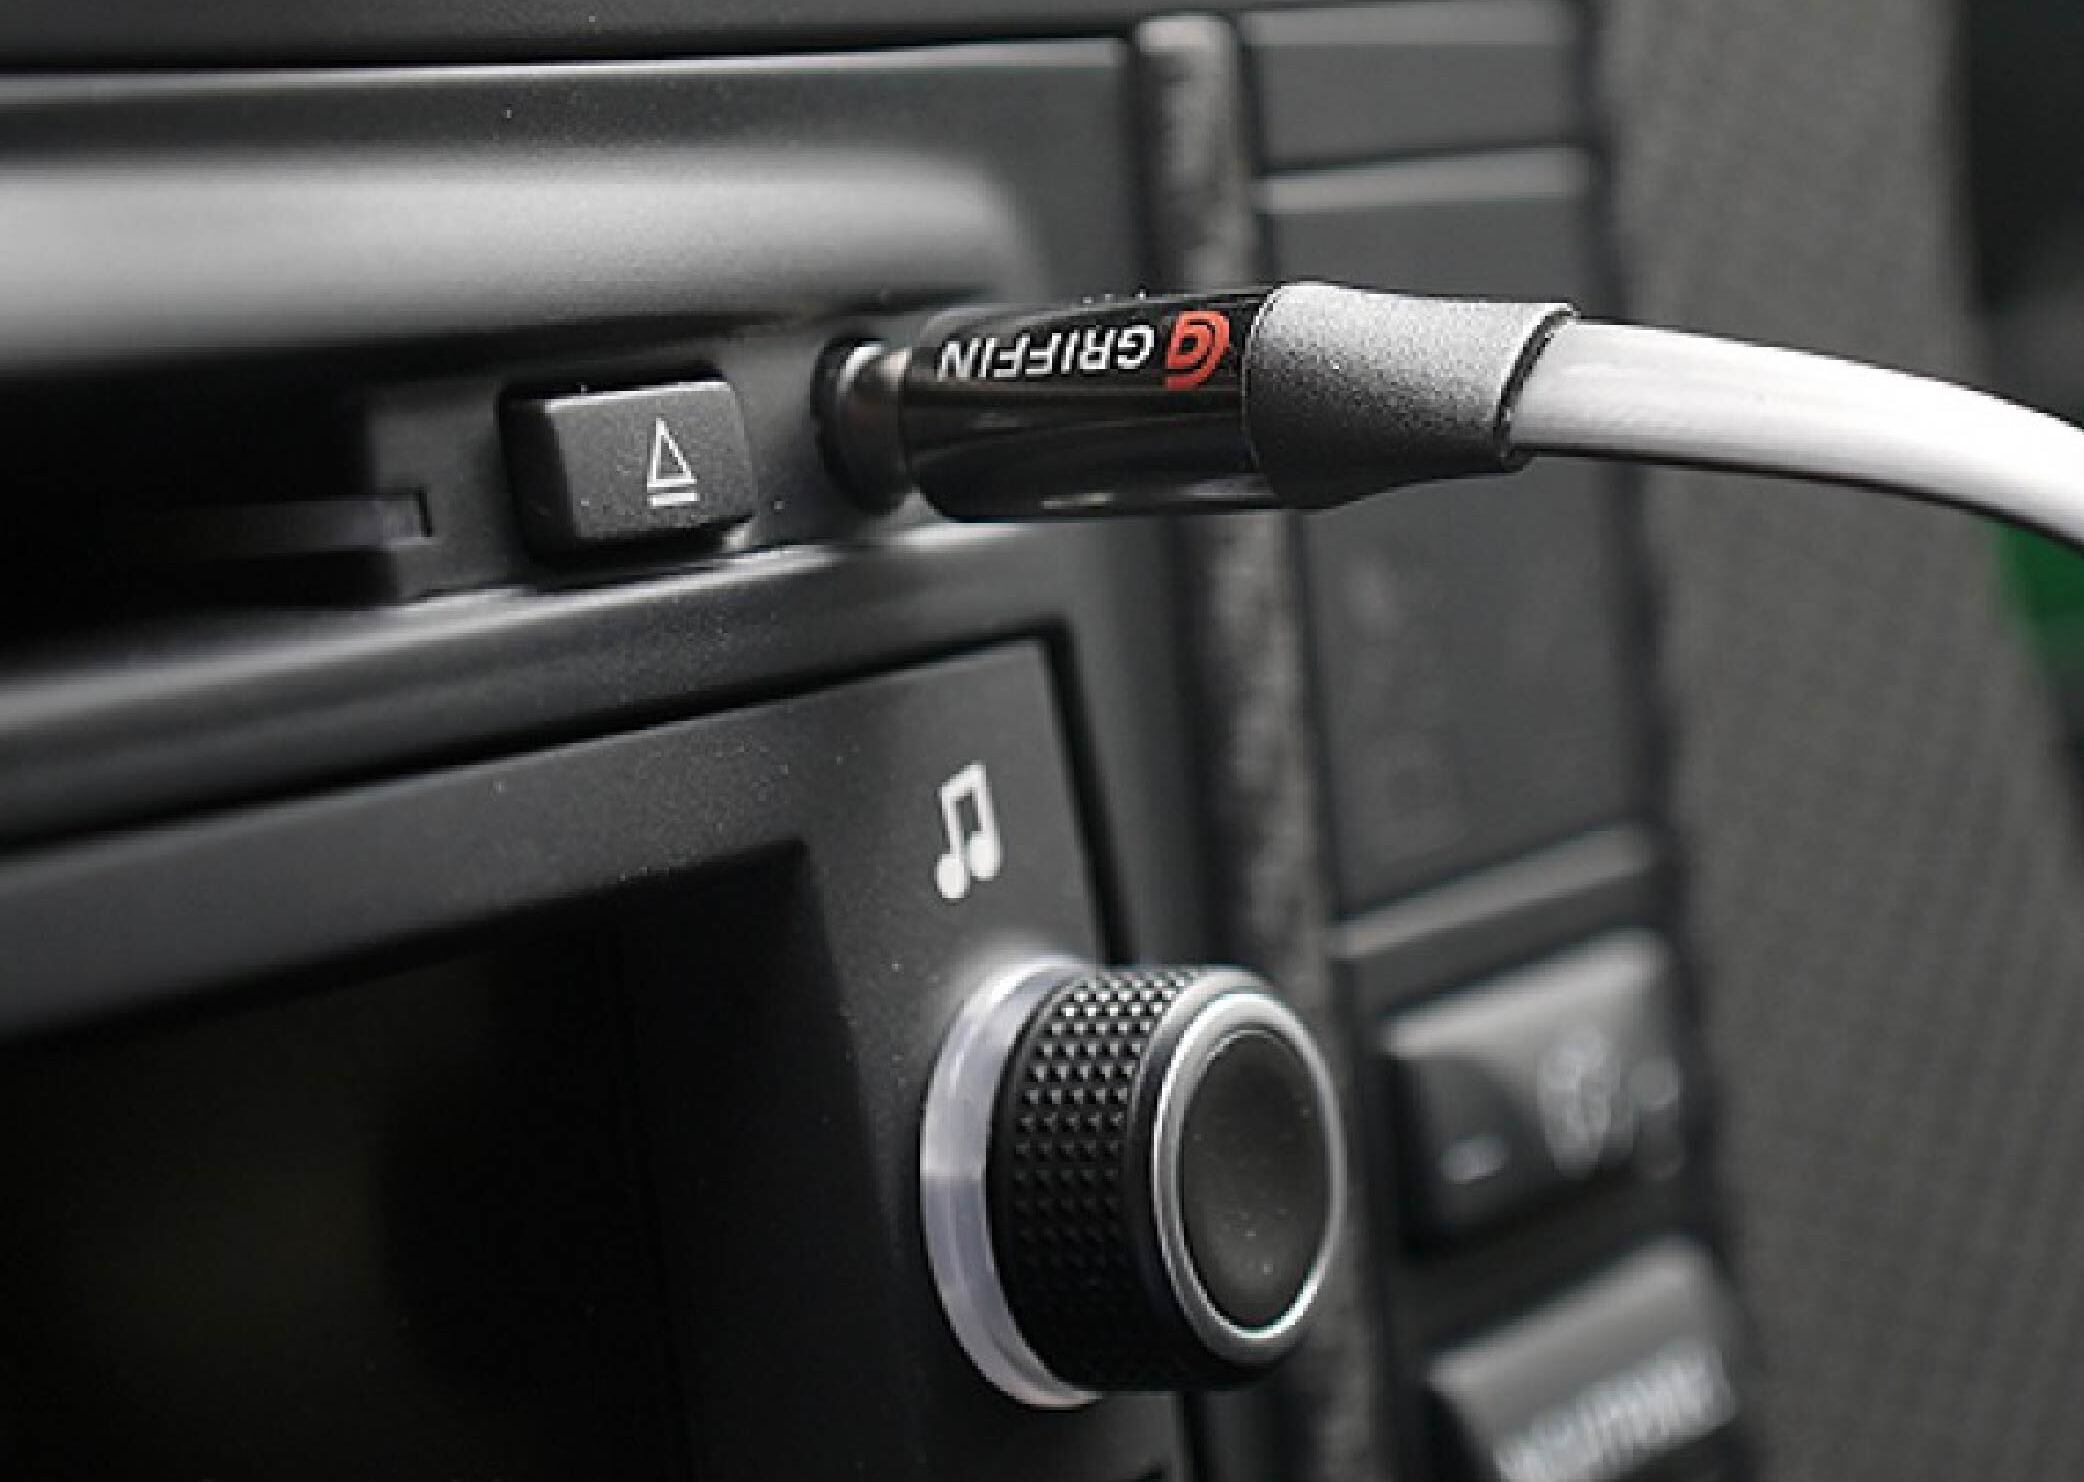
- Identify the accessory wire: The accessory wire is responsible for delivering power when the car’s ignition is turned on. It is typically color-coded with a yellow or orange color.
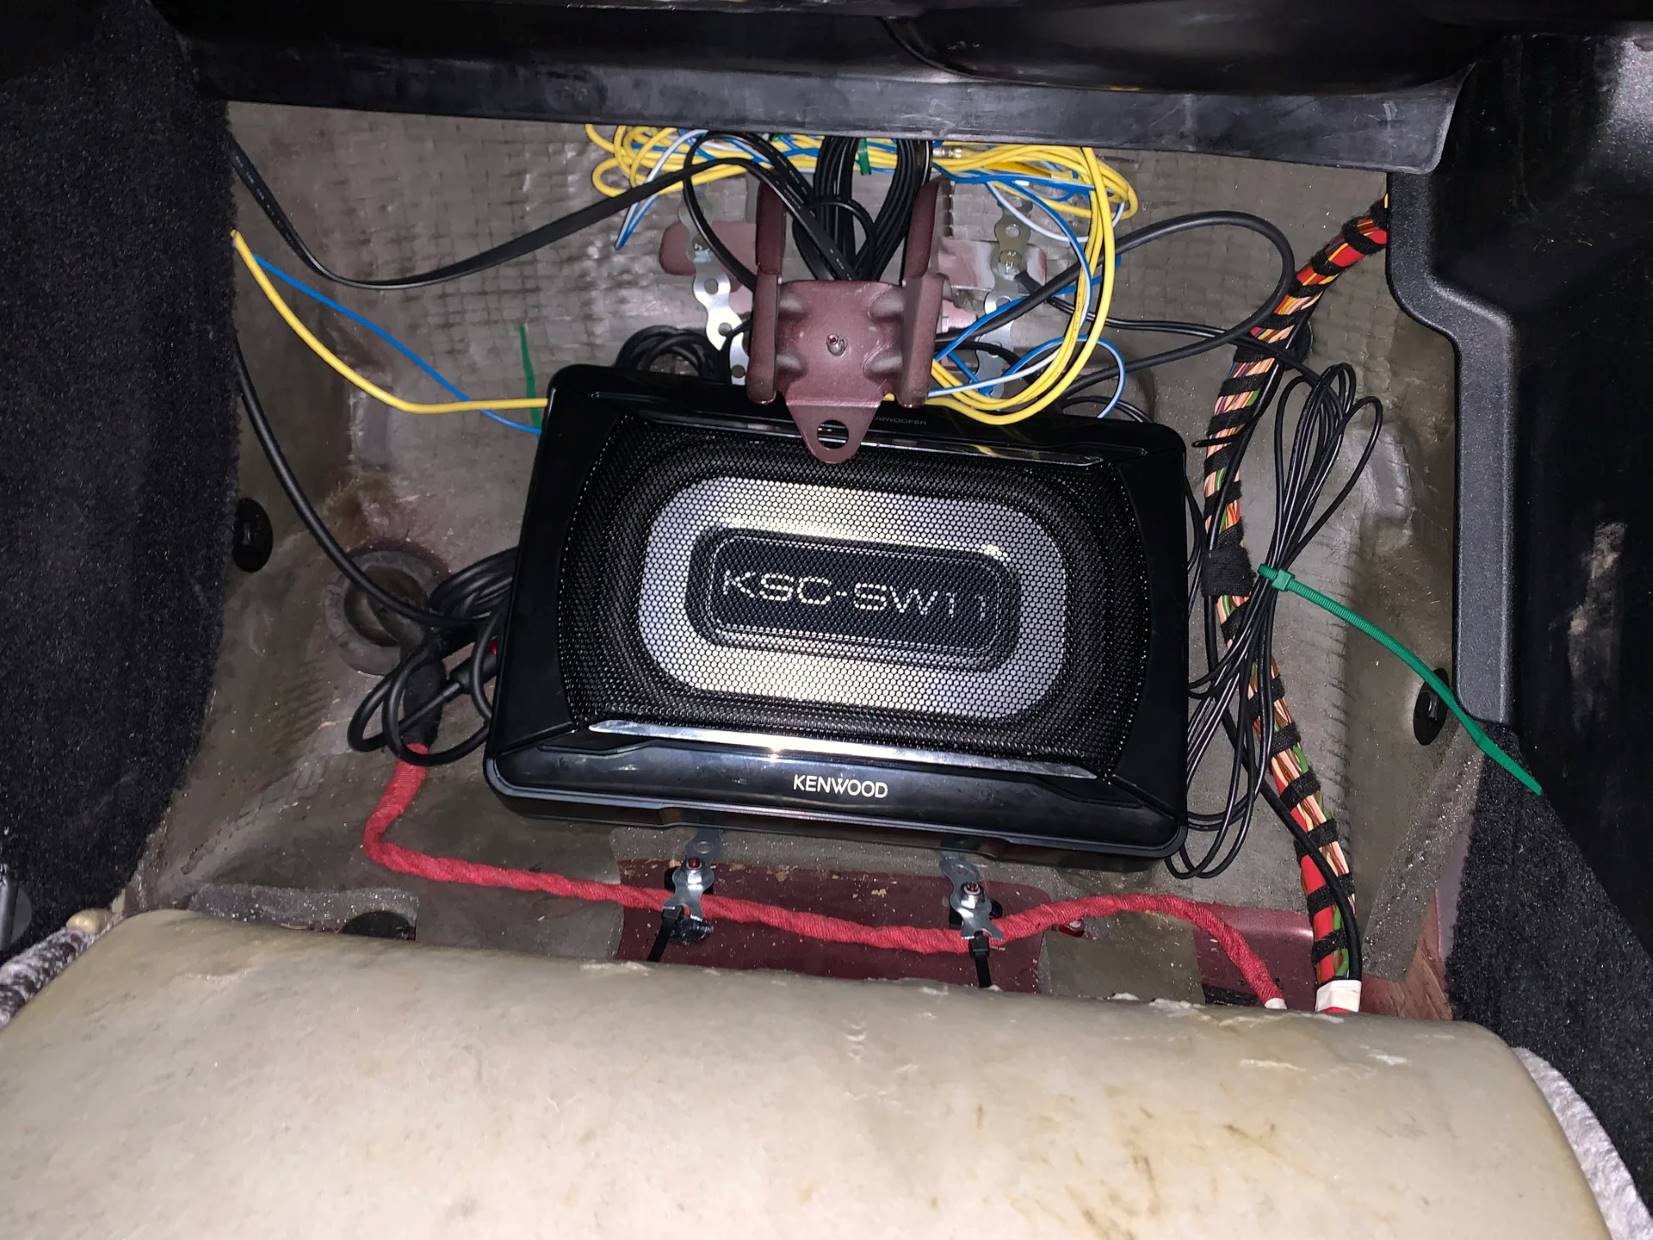
- Identify other wires: Apart from the main power, speaker, and accessory wires, there may be other wires in the harness. These wires may include connections for additional features like antennas, amplifiers, or steering wheel controls. Refer to your car’s manual or consult online resources to identify any additional wires specific to your car model.
By identifying the different wires in the wiring harness, you’ll have a clear understanding of how they will connect to the new stereo unit. This knowledge will ensure a seamless and efficient installation process. Take note of the wire colors or labels to match them with the corresponding wires on the new stereo unit.
Once you have identified the wiring harness, you’re ready to move on to the next step: matching the wires from the new stereo to the wiring harness of your car.
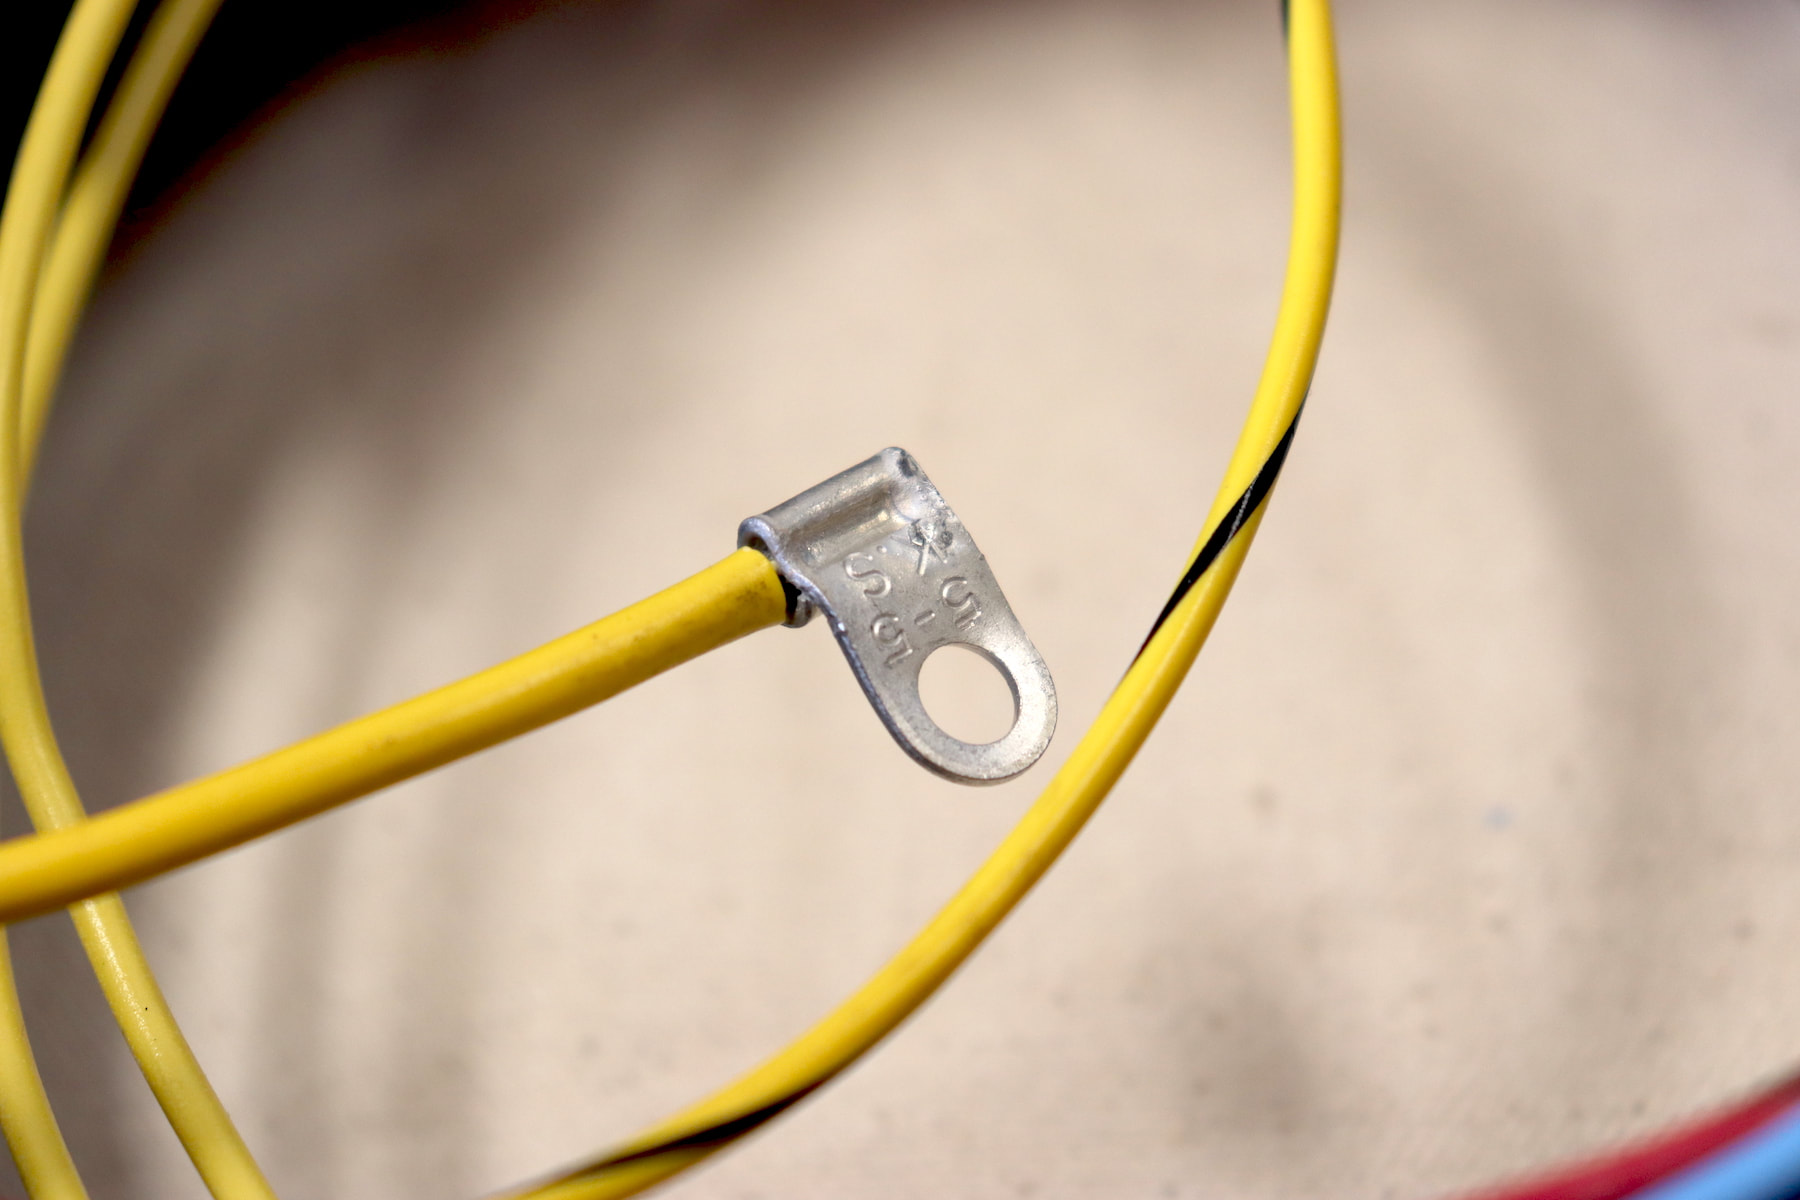
Step 5: Match the Wires
Matching the wires from the new stereo to the wiring harness of your car is a crucial step in ensuring a successful installation. This step involves connecting the wires from the new stereo unit to their corresponding wires in the car’s wiring harness. Here’s how you can match the wires:
- Refer to the wiring diagrams: Most car stereos and wiring harness adapters come with wiring diagrams that provide information on the wire color codes and their functions. Consult these resources to determine which wires need to be connected.
- Compare wire colors: Compare the wire colors in the new stereo’s harness with the wire colors in the car’s wiring harness. Look for wires with the same or similar colors to identify the corresponding connections.
- Use wire connectors or crimp caps: Once you have identified the matching wires, use wire connectors or crimp caps to join them together. Strip the ends of the wires to expose the bare metal, insert them into the connectors or crimp caps, and secure them tightly to ensure a solid connection.
- Double-check the connections: After making the connections, double-check to ensure that each wire is securely connected and there are no loose or exposed wires. It’s crucial to have reliable connections for optimal performance and safety.
It’s important to note that some wires may not have a direct match in the new stereo’s harness. In such cases, refer to the wiring diagrams or consult the stereo manufacturer’s instructions to determine the appropriate connections or functions of those wires.
Take your time when matching the wires to ensure accuracy. Mistakes in connecting the wrong wires can lead to malfunctioning of the stereo unit or even damage to your car’s electrical system. If you’re unsure about any specific connections, consult your car’s manual or seek professional assistance.
With the wires properly matched and connected, you’re ready to move on to the next step: connecting the wiring harness to the new stereo unit
Step 6: Connect the Wiring Harness
Now that you have matched the wires, it’s time to connect the wiring harness to the new car stereo unit. Follow these steps to ensure a secure and proper connection:
- Prepare the wiring harness: If necessary, strip the ends of the wires in the car’s wiring harness to expose a small section of bare metal. This will allow for a better electrical connection.
- Prepare the new stereo unit: Refer to the instructions provided with the new stereo unit to identify the wiring harness connections. Some units may have a plug-and-play connector, while others may have individual wire connections.
- Connect the wiring harness: Match the wires from the car’s wiring harness to their corresponding connections on the new stereo unit. Slide the exposed ends of the wires into the appropriate connectors or solder them together, depending on the type of connection required.
- Secure the connections: Once the wires are connected, use electrical tape or heat shrink tubing to secure and insulate the connections. This will prevent any short circuits or loose connections from occurring.
- Double-check the connections: After securing the connections, double-check each wire to ensure it is properly connected and insulated. Make sure there are no loose wires or exposed metal that could cause an electrical issue.
It’s important to follow the wiring instructions provided by the stereo manufacturer to ensure a proper connection. If you’re unsure about any specific connections, consult the instruction manual or seek professional assistance.
Once the wiring harness is securely connected to the new stereo unit, you can proceed to the next step: attaching the stereo unit back into the dashboard of your car.
Step 7: Attach the Stereo Unit
With the wiring harness securely connected, it’s time to attach the new car stereo unit back into the dashboard of your car. Follow these steps to ensure a proper fit and secure installation:
- Slide the stereo unit into the dashboard: Carefully slide the new stereo unit into the opening in the dashboard. Be mindful of any wires or connectors that may be hanging out from the back of the stereo.
- Align the mounting brackets or screw holes: Align the mounting brackets or screw holes on the stereo unit with the corresponding brackets or holes in the dashboard. Make sure the unit is centered and level.
- Secure the stereo unit in place: Use the mounting brackets or screws that were previously removed to secure the stereo unit in place. Tighten the screws or fasteners just enough to hold the unit firmly without over-tightening.
- Reconnect the antenna and wiring harness: Reconnect the antenna cable and the wiring harness to the back of the stereo unit. Ensure that the connections are secure and properly seated.
- Test the functionality: Before fully securing the stereo unit, take a moment to test its functionality. Turn on the car’s ignition and check if the stereo powers on, the speakers work, and other features are functioning correctly.
- Make adjustments if necessary: If there are any issues with the functionality or fit of the stereo unit, double-check the wiring connections and ensure that everything is properly aligned. Make any necessary adjustments before fully securing the unit.
Once you are satisfied with the fit and functionality of the stereo unit, proceed to the next step: testing the stereo to ensure everything is working as expected.
Note: Be sure to follow the specific instructions provided by the stereo manufacturer for attaching and securing the unit. The steps outlined here are general guidelines, so refer to the instruction manual for any model-specific details or variations.
Step 8: Test the Stereo
After attaching the stereo unit, it’s crucial to test its functionality to ensure that everything is working correctly. Follow these steps to test the stereo:
- Turn on the car’s ignition: Start the car’s engine and turn on the ignition. This will provide power to the stereo unit.
- Adjust the volume and settings: Test the volume control, as well as other settings like bass, treble, balance, and fade. Make sure all the controls are responsive and adjust the settings to your preference.
- Play audio sources: Test different audio sources, such as the radio, CD player, USB input, or auxiliary input. Ensure that the stereo can play audio from these sources and the sound quality is clear and balanced.
- Test the speakers: Check each speaker individually to ensure that all the speakers are working properly. Adjust the balance and fade settings to isolate each speaker and confirm they are functioning correctly.
- Test additional features: If your new stereo unit has additional features like Bluetooth connectivity, navigation, or touchscreen controls, test these features to ensure they are working as expected.
During the testing process, listen for any abnormal sounds, distortion, or issues with connectivity. If you encounter any problems, double-check the wiring connections to ensure they are properly secured and connected. It’s also a good idea to consult the stereo’s instruction manual or contact the manufacturer for troubleshooting guidance if needed.
By thoroughly testing the stereo, you can identify and address any issues early on, ensuring that you’ll be able to enjoy your new car stereo with optimal performance and functionality.
Once you have confirmed that the stereo is working correctly, move on to the final step: finalizing the installation and tidying up the wiring.
Step 9: Finalize the Installation
Once you have tested the stereo and ensured that it is functioning properly, it’s time to finalize the installation and tidy up the wiring. Follow these steps to complete the installation:
- Tidy up the wiring: Organize and secure the wiring harness behind the stereo unit. Use wire ties or electrical tape to bundle the wires together neatly. This helps prevent any loose wires from interfering with the operation of the stereo or causing potential hazards.
- Reinstall any trim panels: If you had to remove any trim panels or brackets during the installation process, make sure to put them back in place. Align them properly and secure them using the appropriate fasteners.
- Double-check all connections: Take a final look at all the wiring connections to ensure they are properly seated and secure. Confirm that none of the wires are loose or exposed, which could lead to electrical issues.
- Reconnect the battery: With the stereo installation complete, reconnect the battery. Start with the positive terminal and then connect the negative terminal. Ensure that the connections are tight.
- Test the stereo again: Once the battery is reconnected, turn on the car’s ignition and test the stereo one more time to ensure it still works properly after finalizing the installation.
- Enjoy your new stereo: Congratulations! You have successfully installed and finalized your new car stereo. Now, sit back, relax, and enjoy the enhanced audio experience and features that your new stereo unit provides.
Remember, if you encounter any issues or have any concerns during the finalization process, consult the stereo’s instruction manual or contact the manufacturer for assistance. It’s better to address any problems early on to ensure the longevity and proper functioning of your new stereo unit.
With the installation complete and everything in place, you can now enjoy your favorite music and audio while on the road, enhancing your overall driving experience.
Thank you for following this comprehensive guide on how to wire a car stereo. We hope this step-by-step process has been helpful and that you are enjoying your newly installed stereo unit.
Conclusion
Congratulations! You have successfully completed the installation of your new car stereo. By following the steps outlined in this guide, you have acquired the knowledge and skills necessary to wire a car stereo with confidence. You have learned how to gather information, disconnect the battery, remove the old stereo, identify the wiring harness, match the wires, connect the wiring harness, attach the stereo unit, test its functionality, and finalize the installation.
A properly installed car stereo not only enhances your audio experience but also opens up a world of possibilities with modern features and connectivity options. Whether you’re enjoying your favorite music, utilizing Bluetooth for hands-free calls, or connecting your devices through USB or auxiliary inputs, your new stereo will provide countless hours of entertainment and convenience.
Remember, always consult your car’s manual and follow the instructions provided by the stereo manufacturer for specific details and variations. If you have any doubts or encounter any challenges during the installation, it’s recommended to seek professional assistance or consult relevant resources to ensure a safe and successful installation.
Thank you for choosing this guide as your go-to resource for wiring a car stereo. We hope that this comprehensive step-by-step process has been informative and helpful in achieving your desired outcome. Now, sit back, relax, and enjoy the high-quality audio experience that your newly installed car stereo provides!