Home>Production & Technology>Stereo>How To Reset Sony Car Stereo
Stereo
How To Reset Sony Car Stereo
Modified: January 22, 2024
Learn how to reset your Sony car stereo and resolve any issues with its settings. Get step-by-step instructions to ensure optimal performance of your stereo system.
(Many of the links in this article redirect to a specific reviewed product. Your purchase of these products through affiliate links helps to generate commission for AudioLover.com, at no extra cost. Learn more)
Table of Contents
- Introduction
- Step 1: Gather the necessary tools and information
- Step 2: Disconnect the car battery
- Step 3: Locate the reset button or pinhole on the stereo unit
- Step 4: Press and hold the reset button or insert a pin into the pinhole
- Step 5: Reconnect the car battery
- Step 6: Test and verify the reset was successful
- Conclusion
Introduction
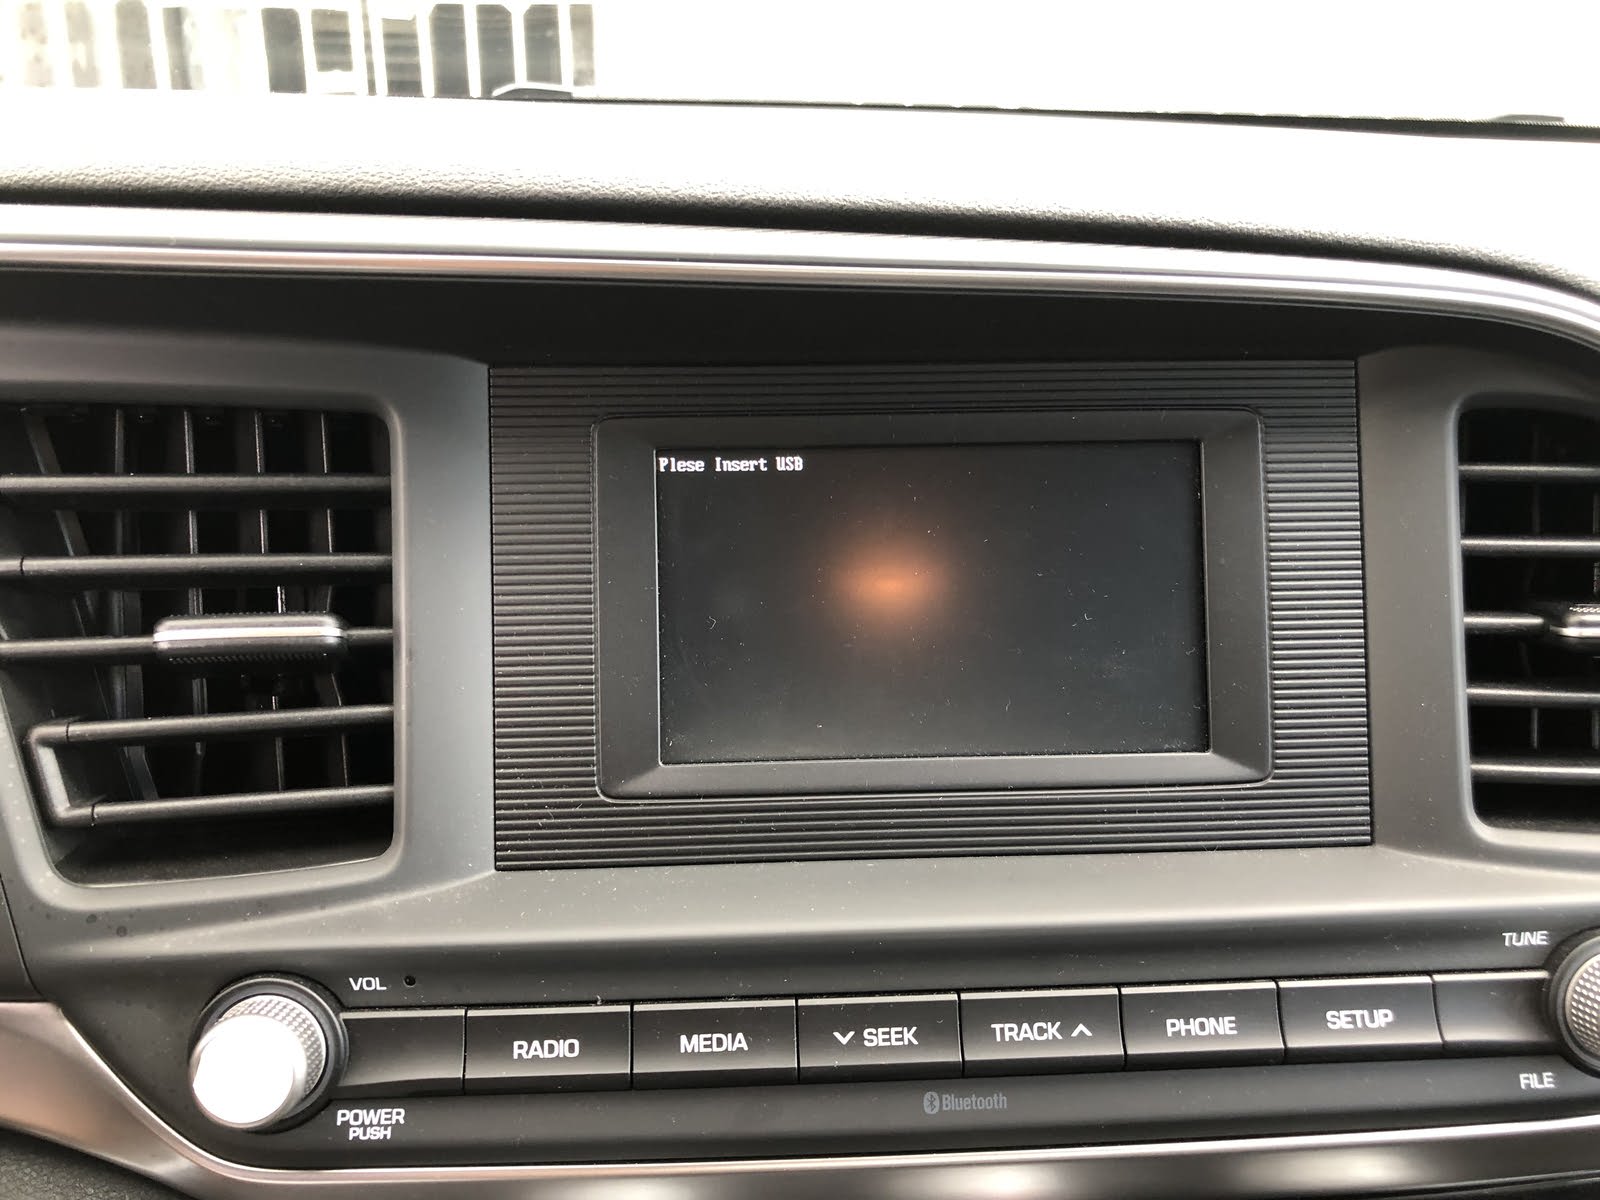
Welcome to our guide on how to reset a Sony car stereo! Has your Sony car stereo been acting up lately, with issues like sound distortion, unresponsive buttons, or random glitches? A simple reset could be the solution to these problems. Resetting your car stereo can help restore it to its default settings, resolving any software or firmware issues that may be causing the malfunctions.
Sony car stereos are known for their high-quality sound output and advanced features, but even the best technology can experience occasional hiccups. Luckily, resetting a Sony car stereo is a relatively straightforward process that can be done by anyone, even those with limited technical knowledge.
In this article, we will walk you through the step-by-step process of resetting your Sony car stereo. We will provide detailed instructions on how to disconnect the car battery, locate the reset button or pinhole on the stereo unit, and perform the reset. Additionally, we will provide tips on how to verify that the reset was successful.
Before we begin, it’s important to note that resetting your car stereo will erase any customized settings and reset them to the default factory settings. This means that you may need to set up your preferred audio settings, radio presets, and other personalized settings again after the reset. However, it’s a small price to pay for getting your Sony car stereo back in top-notch working condition.
Now, let’s dive into the step-by-step process of resetting your Sony car stereo!
Step 1: Gather the necessary tools and information
Before you can start the process of resetting your Sony car stereo, it’s important to gather the necessary tools and information. Here’s what you’ll need:
- A small flathead screwdriver or a pin: This will be used to access the reset button or pinhole on the car stereo.
- The user manual: If you have the user manual for your Sony car stereo, it can provide valuable information about the location of the reset button or pinhole, as well as any specific instructions for your model. If you don’t have the manual, don’t worry – we’ll guide you through the process.
It’s also helpful to note down any custom settings or presets you have for your car stereo. This will make it easier to reconfigure them later if they are reset during the process.
Once you have gathered these tools and information, you’re ready to move on to the next step – disconnecting the car battery.
Step 2: Disconnect the car battery
Before you can reset your Sony car stereo, it’s important to disconnect the car battery to ensure your safety and prevent any potential damage to the stereo or other electrical components.
Here’s how to do it:
- Turn off your car and remove the keys from the ignition.
- Open the hood of your car and locate the car battery. It is usually located in the engine compartment.
- Identify the negative terminal of the battery. It is usually marked with a minus (-) sign or a black cover.
- Using a wrench or a socket, loosen the clamp or bolt that secures the negative terminal. Once loosened, carefully remove the negative cable from the battery, ensuring it doesn’t come into contact with any metal surfaces.
- Securely isolate the disconnected negative cable away from the battery to prevent unintentional contact.
By disconnecting the car battery, you eliminate the electrical power supply to the car stereo, allowing it to reset and clear any temporary settings or glitches. It’s important to wait for a few minutes after disconnecting the battery to ensure any residual power is completely drained from the system.
Now that the car battery is disconnected, you’re ready to proceed to the next step – locating the reset button or pinhole on the car stereo.
Step 3: Locate the reset button or pinhole on the stereo unit
Now that you’ve disconnected the car battery, it’s time to locate the reset button or pinhole on your Sony car stereo. The location of the reset button can vary depending on the model and design of your stereo, so it’s important to refer to the user manual if you have it. If not, don’t worry – we’ll guide you through the process.
Here are the general steps to help you find the reset button or pinhole:
- Inspect the front panel of your Sony car stereo carefully. Look for any small, labeled buttons or a pinhole that can potentially house the reset button.
- If you don’t find any visible buttons, check the sides or back of the stereo unit. In some models, the reset button may be located on these parts. Take your time and examine the stereo from various angles.
- If you still can’t locate the reset button visually, consult the user manual or search online for the specific model of your Sony car stereo. The manual or online resources will provide you with the exact location of the reset button or pinhole for your stereo model.
Once you have found the reset button or pinhole, you’re ready to move on to the next step – pressing and holding the reset button or inserting a pin into the pinhole.
It’s worth noting that some newer Sony car stereo models may not have a physical reset button but instead offer a software reset option in the stereo’s settings menu. If this is the case for your stereo, follow the instructions in the user manual or online resources to access the software reset option.
Step 4: Press and hold the reset button or insert a pin into the pinhole
Now that you have located the reset button or pinhole on your Sony car stereo, it’s time to perform the reset. The exact method may vary depending on the model of your stereo, so let’s explore the two common approaches.
If your car stereo has a physical reset button, follow these steps:
- Ensure that the car battery is still disconnected.
- Using a small flathead screwdriver or a pin, press and hold the reset button for a few seconds. You may need to use some gentle pressure to activate the reset function.
- Release the reset button once you feel a click or notice the stereo display turning off momentarily.
If your car stereo has a pinhole for the reset button, follow these steps:
- Ensure that the car battery is still disconnected.
- Take a pin or a similar small pointed object and insert it into the pinhole. Apply gentle pressure to activate the reset function.
- Hold the pin in place for a few seconds, then remove it from the pinhole.
After performing either method, you may need to wait for a few seconds for the reset to take effect. During this time, the stereo may display a blank screen or show “Initializing” or a similar message.
Once you have pressed and held the reset button or inserted a pin into the pinhole, you’re ready to move on to the next step – reconnecting the car battery.
Step 5: Reconnect the car battery
After performing the reset on your Sony car stereo, it’s time to reconnect the car battery to restore the power supply. Follow these steps to ensure a safe and proper reconnection:
- Double-check that the car stereo reset process has been completed by confirming that the reset button has been released or the pin has been removed from the pinhole.
- Position the disconnected negative cable back onto the negative terminal of the car battery.
- Using a wrench or a socket, tighten the clamp or bolt to secure the negative cable to the battery terminal. Ensure that it is tight enough to prevent any loose connections.
- Once the cable is securely attached, take a moment to inspect the surrounding area for any obstructions or loose components that could interfere with the car battery or stereo.
- Close the hood of your car.
With the car battery reconnected, the Sony car stereo will now receive the power it needs to start up. The stereo may display a startup screen or your car’s logo as it initializes.
It’s important to note that during the startup process, it may take a few moments for the stereo to fully boot up. Additionally, if any personalized settings or presets were reset, you’ll need to reconfigure them to your preferences.
Now that the car battery is reconnected, you can proceed to the final step – testing and verifying that the reset was successful.
Step 6: Test and verify the reset was successful
After resetting your Sony car stereo and reconnecting the car battery, it’s essential to test and verify that the reset was successful. Follow these steps to ensure that your stereo is functioning properly:
- Turn on your car.
- Observe the startup sequence of your Sony car stereo. It should display the manufacturer logo or a welcome message and then proceed to the main menu or home screen.
- Check if any previous issues or malfunctions you were experiencing with the stereo have been resolved. Test the various features and functions of your stereo, including the radio, CD player, auxiliary input, and any connected devices.
- Verify that the audio quality is clear and without any distortion or abnormal sounds.
- Review and reconfigure any personalized settings or presets that were reset during the process. Set the audio preferences, radio station presets, and any other customizations according to your preferences.
If your Sony car stereo is functioning properly, without any glitches or issues, it indicates that the reset was successful. Congratulations! Your stereo is now back to its default factory settings and ready to provide you with a great audio experience while driving.
However, if you continue to experience problems even after the reset, it may be worth seeking professional assistance. You can reach out to a certified technician or consult the Sony support team for further troubleshooting and guidance.
Remember, regularly updating your car stereo’s firmware and following the manufacturer’s guidelines can help prevent software-related issues in the future.
With the reset process complete and successful, you can now enjoy your Sony car stereo with confidence, knowing that it’s functioning optimally once again.
Conclusion
Resetting a Sony car stereo can be a simple yet effective solution to resolve issues like sound distortion, unresponsive buttons, or random glitches. By following the step-by-step guide outlined in this article, you can easily reset your Sony car stereo in no time.
Throughout this guide, we discussed the importance of gathering the necessary tools and information before starting the reset process. We also walked you through the steps of disconnecting the car battery, locating the reset button or pinhole on the stereo unit, pressing and holding the reset button or inserting a pin into the pinhole, reconnecting the car battery, and finally, testing and verifying the reset was successful.
Remember that resetting your Sony car stereo restores it to its default factory settings, so it’s normal to need to reconfigure any personalized settings or presets afterward. Take the time to fine-tune the audio settings, set your favorite radio stations, and customize the stereo to your liking.
If you continue to experience issues with your Sony car stereo even after the reset, it may be beneficial to seek professional assistance or contact Sony’s support team for further guidance. They can provide additional troubleshooting steps or recommend repair options.
By regularly updating your car stereo’s firmware and following the manufacturer’s guidelines, you can help prevent future issues and ensure a long-lasting and enjoyable audio experience in your vehicle.
We hope this guide has been helpful in assisting you with resetting your Sony car stereo. Now go ahead and enjoy your favorite tunes with a fully-functioning stereo system!