Home>Production & Technology>Surround Sound>How To Set Up A Sony Surround Sound System
Surround Sound
How To Set Up A Sony Surround Sound System
Modified: February 18, 2024
Learn how to easily set up a Sony surround sound system and enhance your audio experience. Step-by-step guide for achieving immersive surround sound.
(Many of the links in this article redirect to a specific reviewed product. Your purchase of these products through affiliate links helps to generate commission for AudioLover.com, at no extra cost. Learn more)
Table of Contents
Introduction
Welcome to the world of immersive audio with Sony Surround Sound systems. With their advanced technology and superior audio quality, Sony Surround Sound systems provide a truly cinematic experience in the comfort of your own home. Whether you enjoy watching movies, playing video games, or listening to music, a Sony Surround Sound system can elevate your entertainment to a whole new level.
In this comprehensive guide, we will walk you through the process of setting up your Sony Surround Sound system. From unboxing the components to configuring the audio settings, we’ll cover everything you need to know to get started. By the end of this guide, you’ll be able to enjoy the rich and immersive audio experience that Sony Surround Sound systems are renowned for.
Before we get started, it’s important to note that the specific steps and instructions may vary depending on the model of your Sony Surround Sound system. It’s always a good idea to refer to the user manual that came with your system for detailed instructions.
Now that we’ve covered the basics, let’s dive in and start setting up your Sony Surround Sound system!
Step 1: Unboxing the Sony Surround Sound System
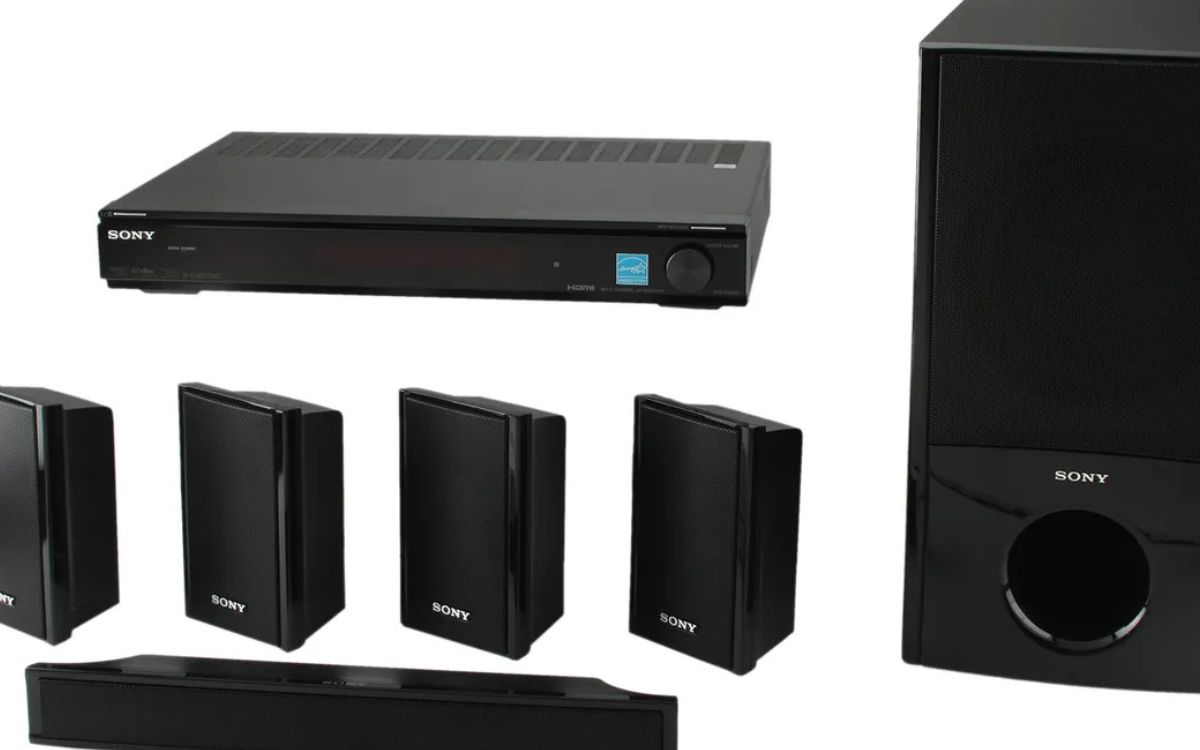
The first step in setting up your Sony Surround Sound system is unboxing the components. When you open the box, you’ll find several items that are essential for the setup process.
1. Receiver: The receiver is the central hub of your Surround Sound system. It receives the audio signals from your sources (such as your TV, Blu-ray player, or game console) and distributes them to the speakers.
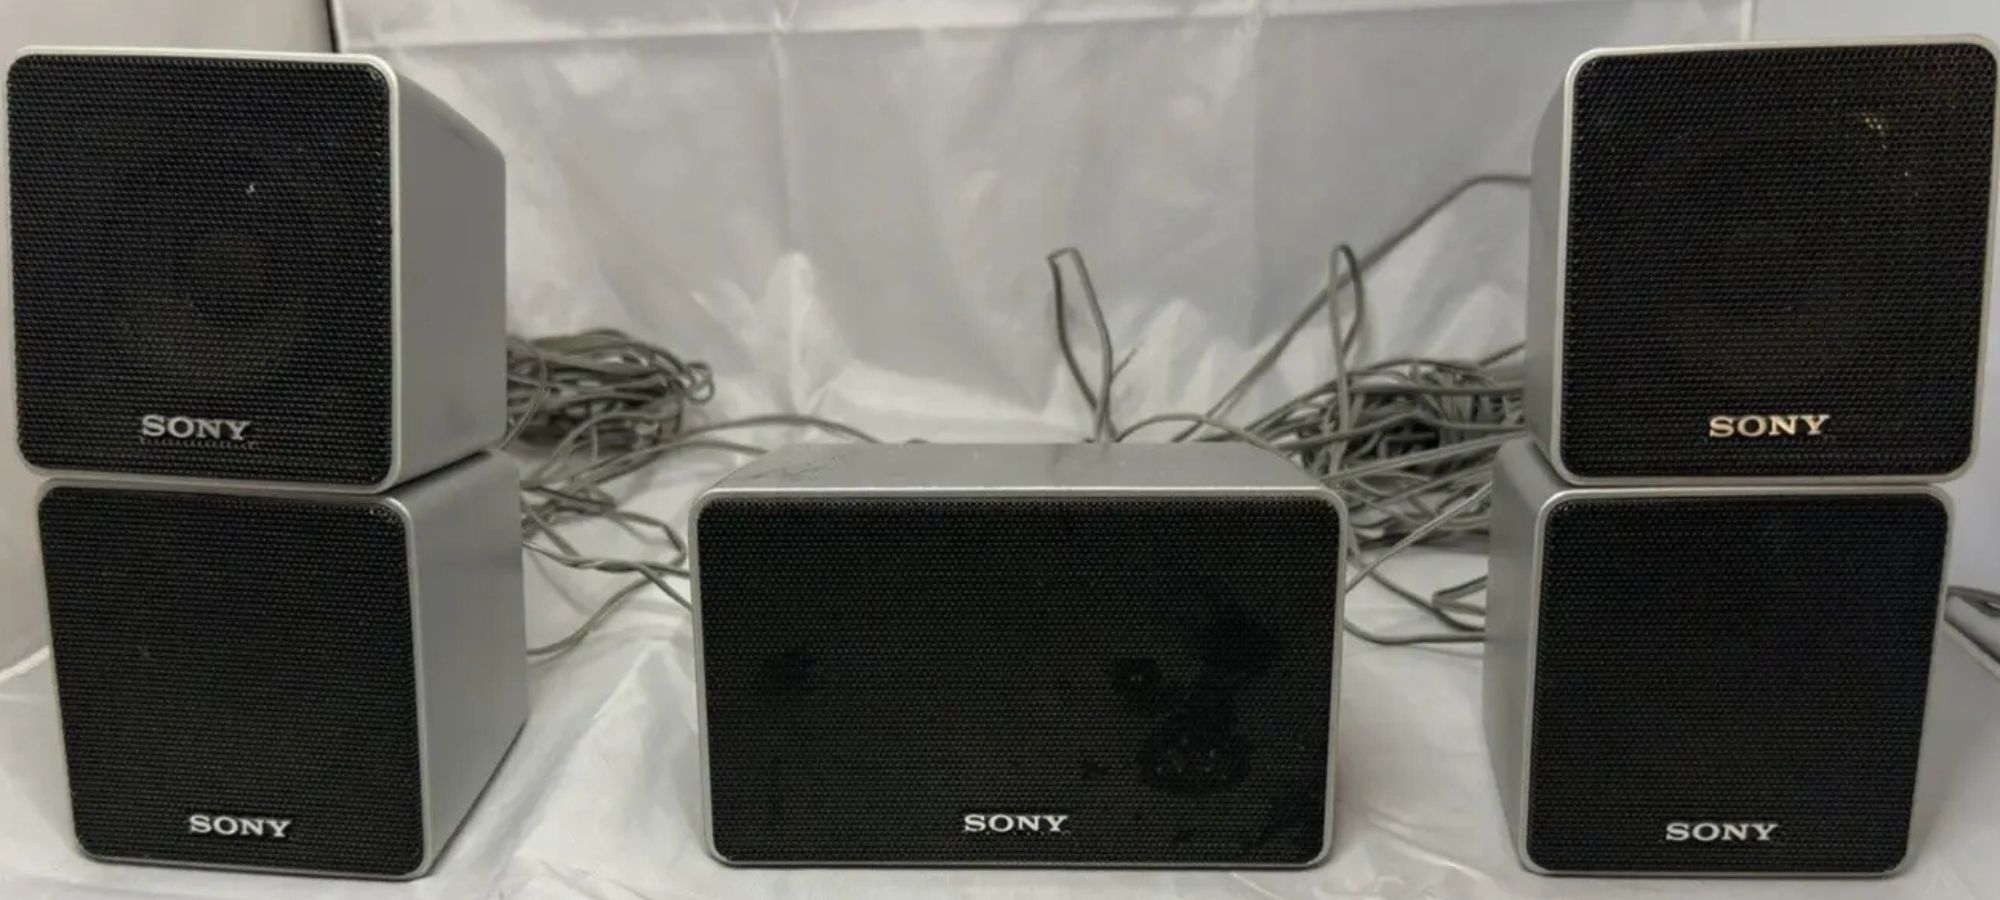
2. Speakers: Depending on the specific model of your Sony Surround Sound system, you’ll have a certain number of speakers included in the package. This may include front speakers, surround speakers, a center channel speaker, and a subwoofer.
3. Speaker Wires: Sony provides speaker wires to connect the speakers to the receiver. These wires are color coded and labeled to ensure correct connections.
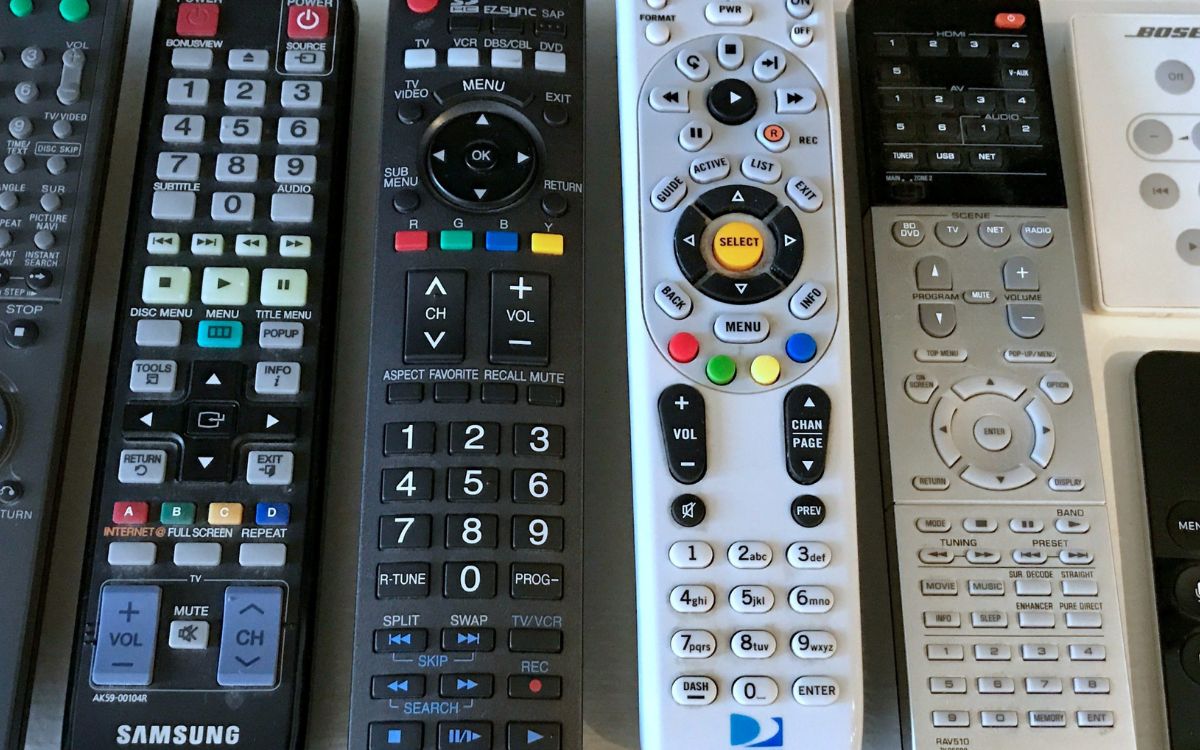
4. Remote Control: The remote control allows you to control various functions of the Surround Sound system, such as adjusting the volume and selecting different audio modes.
5. Batteries: Make sure to check if the remote control requires batteries and if they are included in the package. If not, make sure to have the required batteries on hand.
6. User Manual: Don’t forget to locate the user manual or setup guide that comes with your Sony Surround Sound system. This guide will provide detailed instructions specific to your model.
Once you have unboxed all the components, it’s a good idea to inspect them for any visible damage. If you notice any damage or missing parts, contact Sony customer support for assistance.
With the components unboxed and inspected, you’re now ready to move on to the next step: connecting the speakers.
Step 2: Connecting the Speakers
Now that you have unboxed the Sony Surround Sound system, it’s time to connect the speakers. Properly connecting the speakers is crucial for creating an immersive audio experience. Follow these steps to ensure a seamless setup:
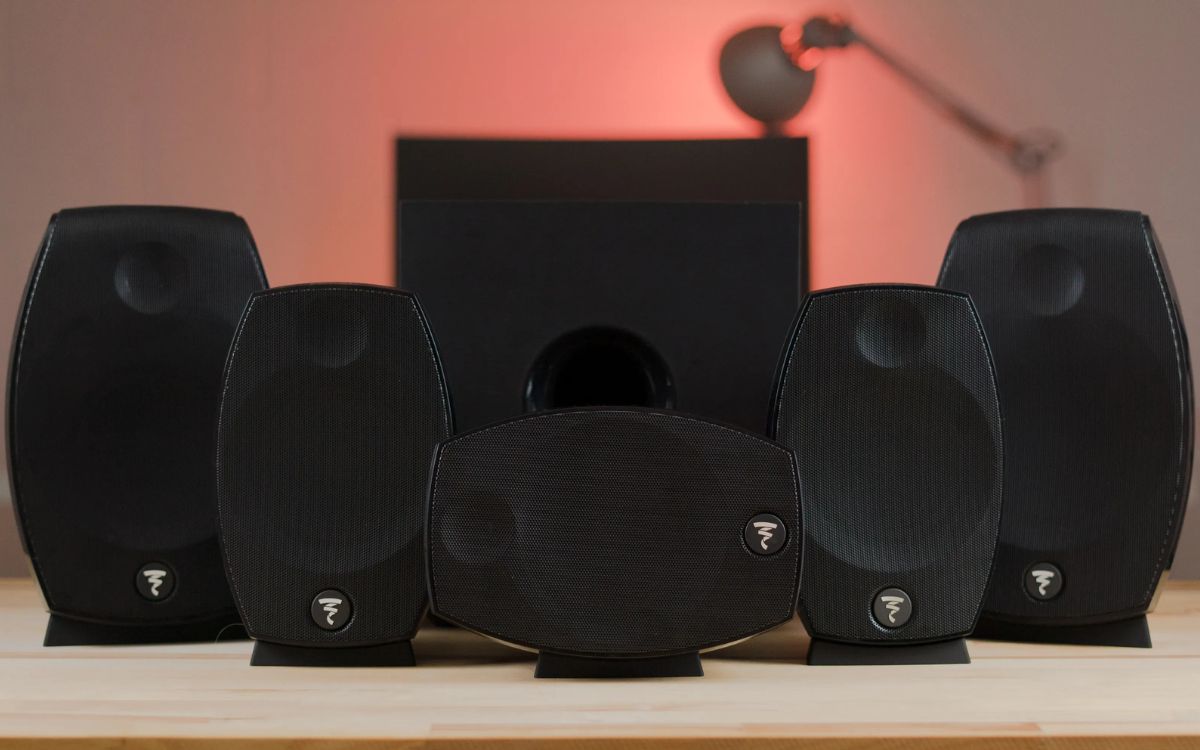
1. Determine Speaker Placement: Before you start connecting the speakers, consider the layout of your room and where you want to position each speaker. The front speakers should be placed on either side of your TV or screen, facing the audience. The surround speakers should be positioned behind the seating area, slightly above ear level. The center channel speaker should be placed either above or below your TV, facing the audience.
2. Connect the Front Speakers: Take the speaker wires provided with your Sony Surround Sound system and connect them to the rear of the receiver. Ensure that you match the color-coded connectors from the speakers to the corresponding terminals on the receiver (usually labeled “Front Left” and “Front Right”). Repeat this process for both front speakers.
3. Connect the Surround Speakers: Connect the speaker wires to the corresponding terminals on the receiver for the surround speakers. These terminals are typically labeled “Surround Left” and “Surround Right.” Make sure to place the speakers in the desired locations behind the seating area.
4. Connect the Center Channel Speaker: The center channel speaker is responsible for dialogue and should be positioned above or below your TV. Connect the speaker wires to the appropriate terminals on the receiver and ensure a secure connection.
5. Connect the Subwoofer: The subwoofer is responsible for producing deep bass sounds. Connect it to the receiver using either a coaxial cable or an RCA cable, depending on the model. Make sure to place the subwoofer in a central location in the room for optimal bass response.
6. Secure the Connections: Once all the speakers are connected, double-check that all the wires are securely attached. Loose connections can result in poor audio quality or a complete loss of sound.
Note: Depending on your specific Sony Surround Sound system model, there may be additional speakers or speaker configurations. Always refer to the user manual for detailed instructions.
With all the speakers properly connected, you’re one step closer to enjoying immersive surround sound. In the next step, we will guide you through setting up the receiver.
Step 3: Setting Up the Receiver
Once you have connected the speakers, it’s time to set up the receiver of your Sony Surround Sound system. The receiver acts as the control center for your audio setup, allowing you to switch between different audio sources and adjust the settings. Follow these steps to set up the receiver:
1. Power Connection: Locate the power cable provided with the receiver and plug it into a power outlet. Ensure that the receiver is turned off before plugging it in.
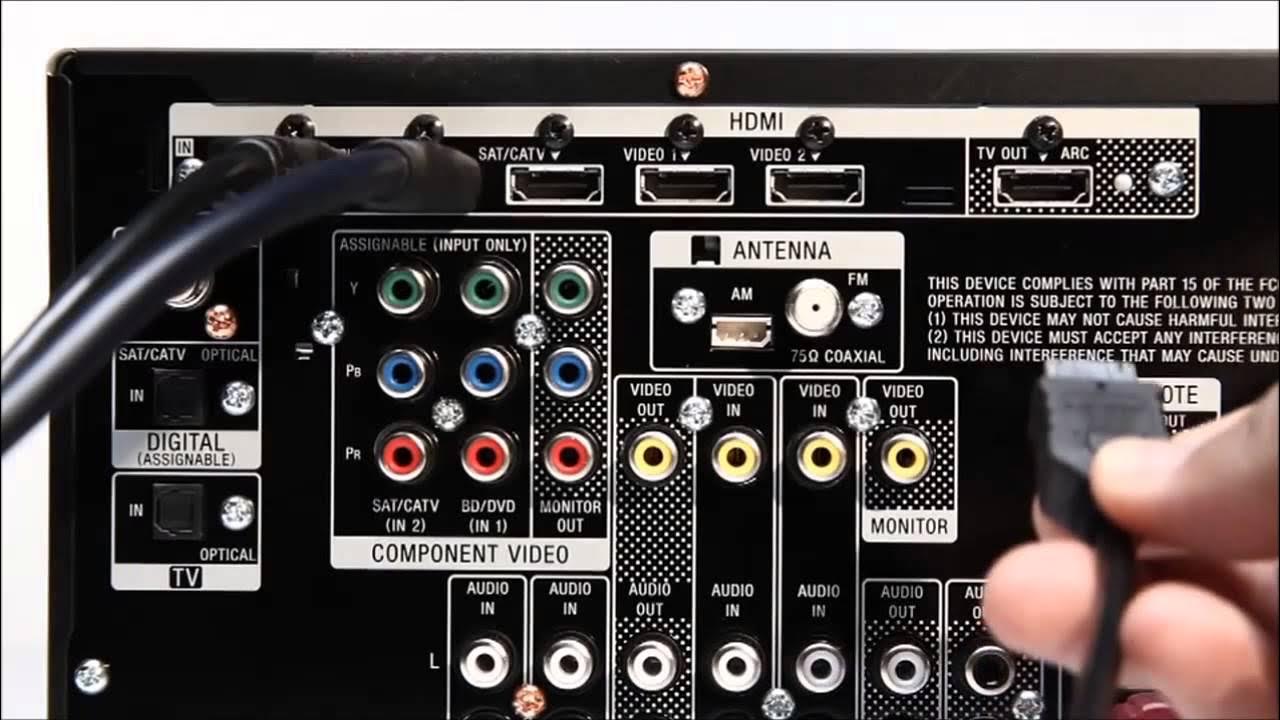
2. HDMI Connection: If you are connecting your audio sources (such as a TV or Blu-ray player) to the receiver via HDMI, use HDMI cables to connect the devices. Plug one end of an HDMI cable into the HDMI output port of your source device and the other end into the HDMI input port on the receiver. Make sure to connect each source to the corresponding HDMI input on the receiver (e.g., HDMI 1, HDMI 2, etc.).
3. Digital Optical or Coaxial Connection: If your audio source only supports digital optical or coaxial connections, locate the corresponding input ports on the receiver and connect the devices using the appropriate cables. Again, ensure that each source is connected to the corresponding input on the receiver.
4. Optional Component Connections: If you have additional components, such as a gaming console or media player, that you want to connect to the receiver, use the appropriate cables to make the connections. This could include HDMI, component, or composite cables, depending on the available ports on both the receiver and the component.
5. Speaker Configuration Settings: Once all the connections are made, turn on the receiver and access the settings menu. Navigate to the speaker configuration section and specify the speaker types and configurations you have set up. This ensures that the receiver sends the appropriate audio signals to each speaker.
6. Test the Speakers: Most Sony Surround Sound systems come with a built-in speaker test function. Access the audio settings menu and initiate the speaker test. This will allow you to confirm that each speaker is properly connected and functioning correctly. Adjust the speaker levels as needed to achieve a balanced audio experience.
7. Additional Receiver Settings: Explore the receiver’s settings menu to customize the audio experience according to your preferences. This may include adjusting equalizer settings, selecting audio modes, or enabling any additional features offered by your specific receiver model.
With the receiver set up and the speakers properly configured, you’re now ready to move on to the next step: configuring the audio settings.
Step 4: Configuring the Audio Settings
Configuring the audio settings of your Sony Surround Sound system is essential to optimize the sound quality and tailor it to your preferences. Follow these steps to fine-tune the audio settings:
1. Audio Format: Access the audio settings menu on your receiver and select the appropriate audio format based on your audio sources. Common formats include Dolby Digital, DTS, and PCM. Consult the user manual or check the specifications of your audio sources to determine the recommended format.
2. Speaker Distance and Level: In the audio settings menu, adjust the speaker distance and level settings to ensure accurate sound reproduction. Measure the distance from each speaker to your listening position and enter the values in the appropriate fields. Use the receiver’s built-in test tones to balance the speaker levels, ensuring that the sound is consistent across all channels.
3. Audio Modes: Sony Surround Sound systems often offer various audio modes to enhance different types of content. Experiment with different modes, such as Movie, Music, or Game, to find the one that best suits your preferences. These modes can optimize the audio output for specific genres and provide a more immersive experience.
4. Subwoofer Settings: Adjust the settings for the subwoofer to achieve the desired bass response. You can control parameters such as the subwoofer level, crossover frequency, and phase. Experiment with these settings to find the right balance that complements the overall sound quality of your system.
5. Room Acoustics: If your surround sound system has room correction capabilities, utilize this feature to compensate for your room’s acoustics. The receiver will analyze and adjust the audio output based on your room’s characteristics, resulting in improved sound quality and accuracy.
6. Additional Audio Enhancements: Some Sony Surround Sound systems offer additional audio enhancement features. These can include virtual surround sound, dialogue boost, or dynamic range compression. Explore these options in the audio settings menu to customize your audio experience further.
Remember, audio settings preferences can vary from person to person, so don’t be afraid to adjust and experiment until you find the perfect settings that suit your taste and the characteristics of your room.
Once you’ve configured the audio settings, it’s time to move on to the final step: testing your Sony Surround Sound system to ensure it’s working correctly.
Step 5: Testing the Surround Sound System
After setting up and configuring your Sony Surround Sound system, it’s crucial to perform a thorough test to ensure that everything is working correctly. Follow these steps to test your Surround Sound system:
1. Audio Source Test: Start by playing different types of audio sources, such as movies, music, or video games. Pay close attention to the audio coming from each speaker. Make sure that sound is distributed correctly, with dialogues coming from the center speaker, and surround effects from the appropriate surround speakers. Adjust the volume levels as needed to achieve a well-balanced audio experience.
2. Channel Identification Test: Play a test tone or audio clip that specifically identifies each channel of your Surround Sound system. This will help you confirm that each speaker is connected and functioning correctly. Listen for sound coming from the appropriate channels and ensure that there are no issues, such as distortion or imbalance.
3. Surround Sound Effects Test: Play a movie or video game with immersive surround sound effects. Pay attention to the surround speakers and their ability to create a realistic and enveloping audio environment. Look for directional audio cues and effects that move smoothly across the surround speakers, creating a truly immersive experience.
4. Subwoofer Test: To test the performance of the subwoofer, play content that has deep bass sounds. The subwoofer should deliver powerful and impactful bass without overpowering or distorting the rest of the audio. Ensure that the subwoofer is properly balanced with the other speakers for a seamless audio experience.
5. Room Acoustics Test: Take note of any room-related audio issues, such as echoes or excessive reverberations. If you notice such issues, consider making adjustments to the room’s acoustic treatment or utilizing the receiver’s room correction capabilities if available.
By thoroughly testing your Surround Sound system, you can identify any potential issues and make necessary adjustments to ensure optimal audio performance. Refer to the user manual for troubleshooting tips or contact Sony customer support for any additional assistance.
Congratulations! You have successfully set up, configured, and tested your Sony Surround Sound system. Now sit back, relax, and enjoy the immersive audio experience that your system provides.
Conclusion
Setting up a Sony Surround Sound system can transform your home entertainment experience, bringing cinematic audio quality to your living room. Throughout this guide, we’ve walked you through the process of unboxing the components, connecting the speakers, setting up the receiver, configuring the audio settings, and testing the system. By following these steps, you can ensure that your Sony Surround Sound system is properly installed and optimized for the best audio performance.
Remember, every Surround Sound system model may have specific instructions and features, so always refer to the user manual for your particular model for detailed guidance. Additionally, don’t be afraid to experiment with different audio settings and modes to find the perfect sound that suits your preferences and the content you’re enjoying.
With the setup complete, you’re ready to immerse yourself in a world of incredible sound. Whether you’re watching movies, playing video games, or listening to music, the Sony Surround Sound system will elevate your entertainment to a whole new level. Experience the thrill of being in the middle of the action, with sound coming from all directions, and deep bass that you can feel.
Sit back, grab your favorite snacks, and get ready to be transported into a world of audio excellence. Enjoy the immersive surround sound experience that only a Sony Surround Sound system can provide. Now, it’s time to turn up the volume and let the captivating sound envelop you!