Home>Production & Technology>Surround Sound>How To Tell Which Side Is Positive And Negative On A Surround Sound System

Surround Sound
How To Tell Which Side Is Positive And Negative On A Surround Sound System
Modified: January 22, 2024
Learn how to identify the positive and negative sides of your surround sound system. Enhance your audio experience with proper speaker wire connections.
(Many of the links in this article redirect to a specific reviewed product. Your purchase of these products through affiliate links helps to generate commission for AudioLover.com, at no extra cost. Learn more)
Table of Contents
Introduction
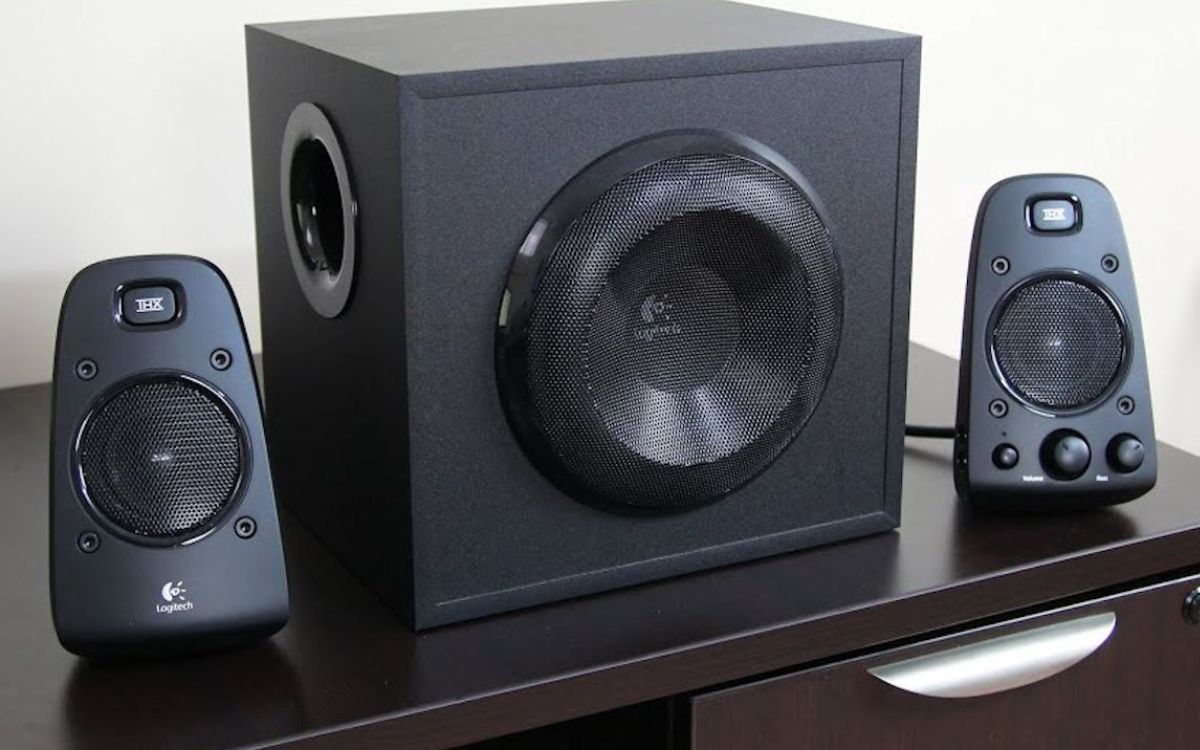
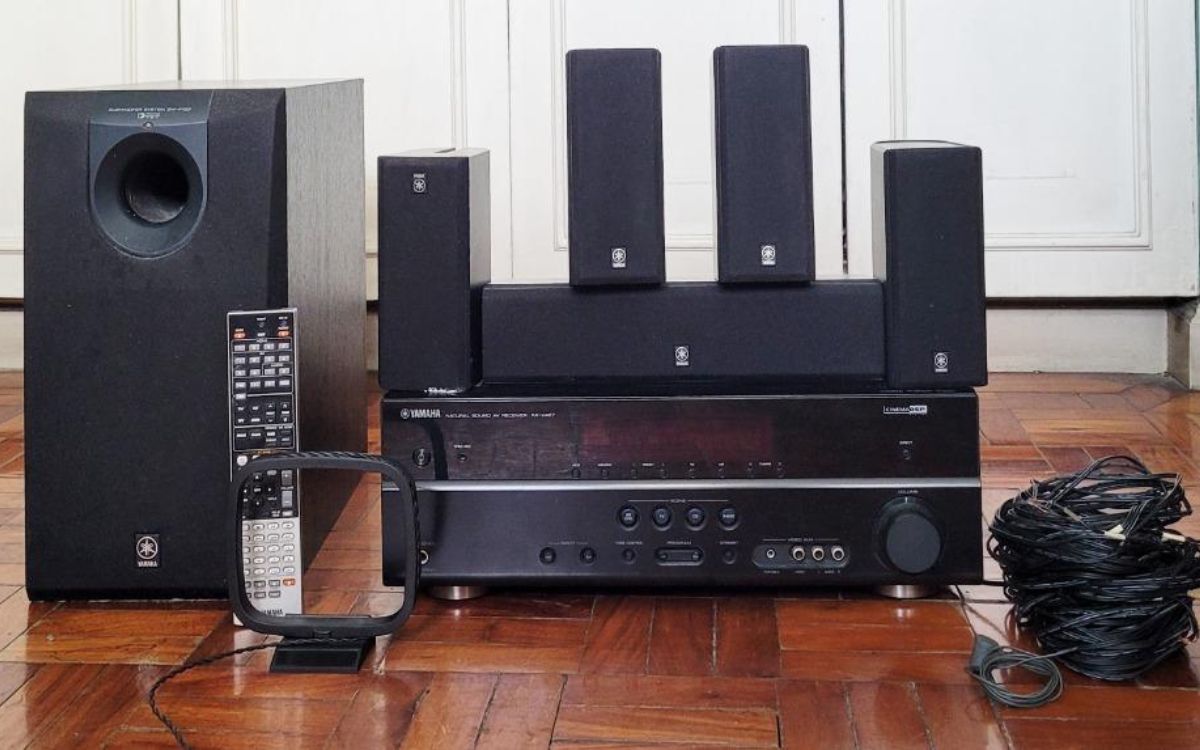
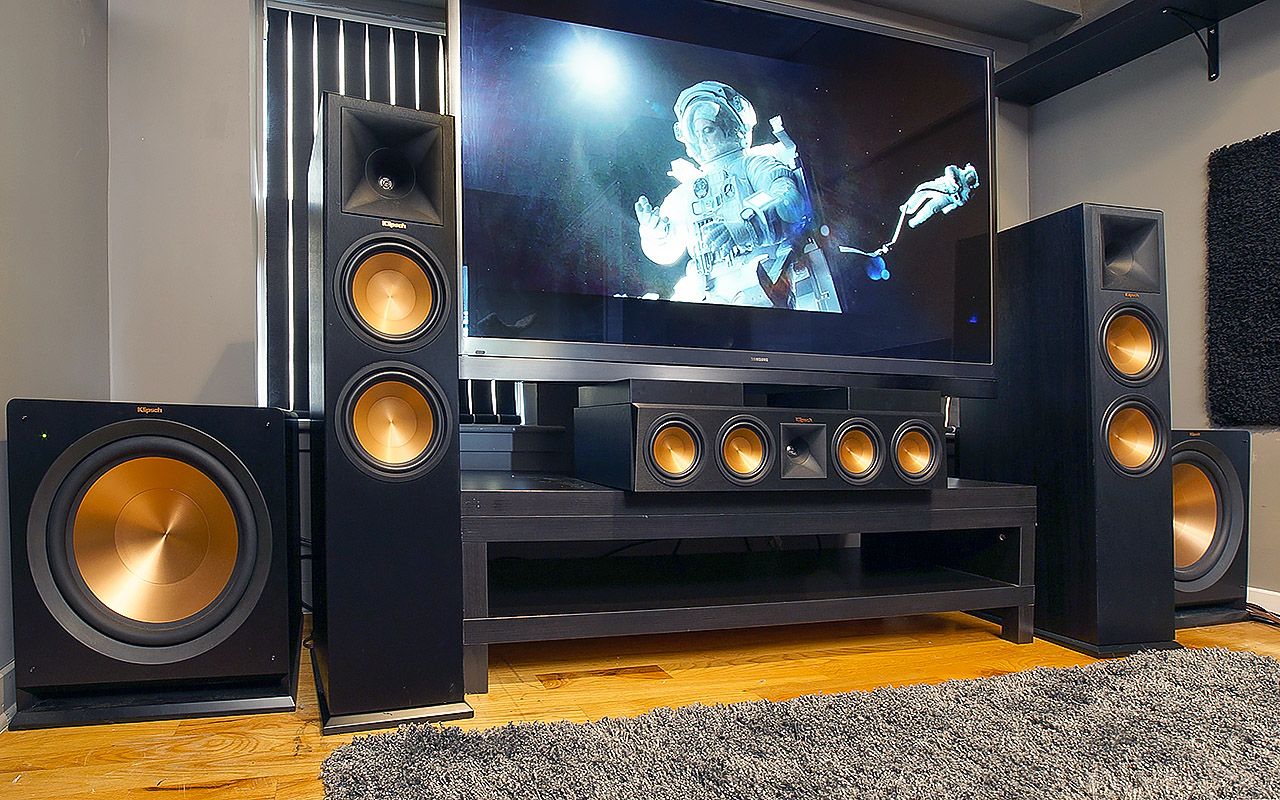
Surround sound systems have revolutionized the way we experience audio in our homes. Whether you’re watching a movie, playing video games, or listening to music, a well-configured surround sound system can provide an immersive and high-quality audio experience that enhances your entertainment enjoyment.
However, setting up a surround sound system can be a daunting task, especially when it comes to connecting the speakers correctly. One of the key elements in ensuring optimal sound reproduction is understanding how to identify the positive and negative terminals on your speaker wires. By correctly connecting the positive and negative terminals, you can ensure that the speakers are in phase and that the audio signals are properly transmitted.
In this article, we will explore different methods to help you determine which side is positive and negative on a surround sound system. Whether you are a newbie in the audio world or a seasoned audiophile, these methods will come in handy when connecting your speakers.
So let’s dive in and discover how to easily tell which side is positive and negative on your surround sound system!
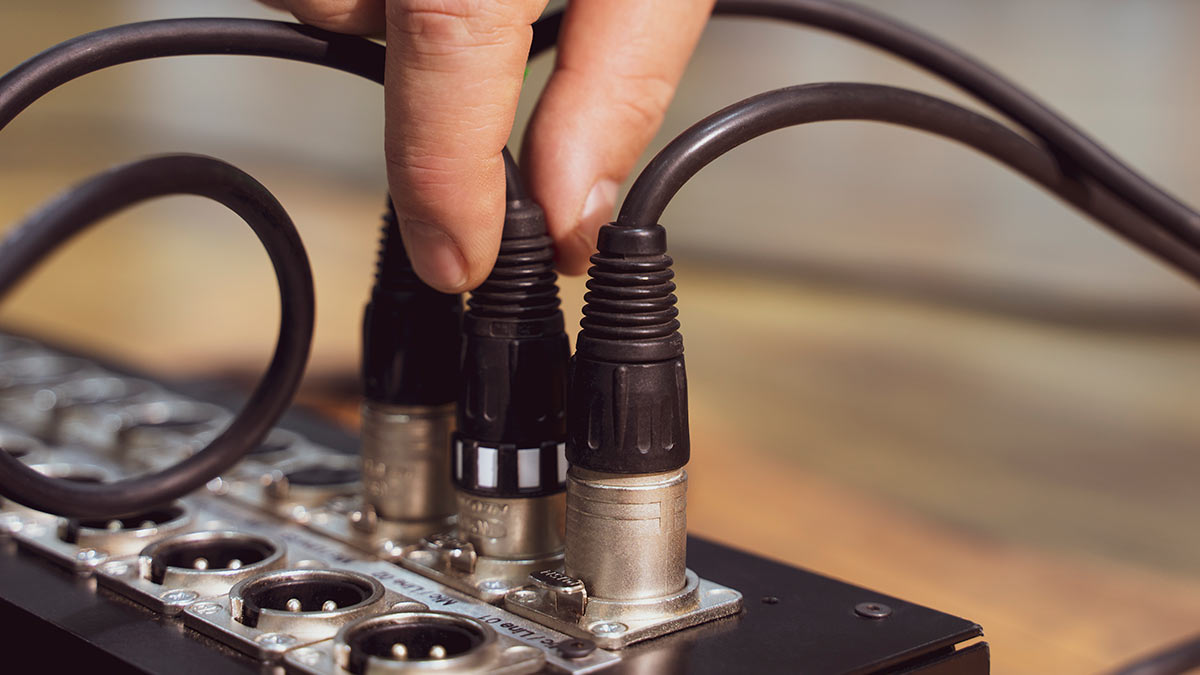
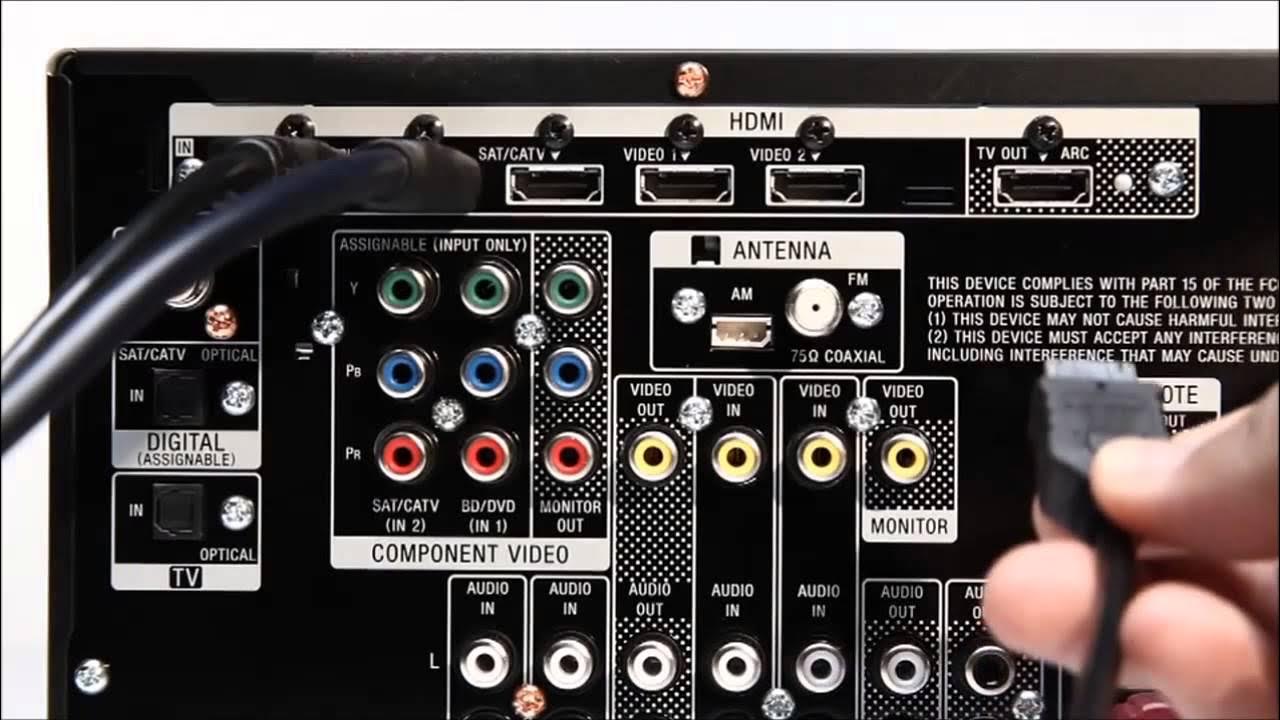
Understanding Speaker Wire
Before we delve into identifying the positive and negative connections on a surround sound system, let’s take a moment to understand the basics of speaker wire. Speaker wire is the essential link between your audio source and the speakers themselves, carrying the electrical signals that produce sound. It consists of two conductive wires encased in a protective insulation.
The two conductive wires within the speaker wire are color-coded, with one wire designated as positive and the other as negative. The positive wire carries the audio signal, while the negative wire completes the circuit. It is crucial to connect the positive and negative terminals correctly to achieve accurate sound reproduction and avoid any phase cancellation issues.
Speaker wire is available in various gauges, with the gauge number indicating the wire’s thickness. Thicker gauges, such as 14 or 16 gauge, are commonly used for longer wire runs or speakers that require higher power. Thinner gauges, like 18 or 20 gauge, are suitable for shorter distances or lower-power speakers.
When selecting speaker wire, it’s important to choose a wire gauge that matches the power requirements and distance of your setup. Using inadequate wire gauge can result in signal degradation and compromised audio quality.
Now that we have a basic understanding of speaker wire, let’s explore how to identify the positive and negative connections on your surround sound system.
Identifying Positive and Negative Connections
Properly identifying the positive and negative connections on your surround sound system is crucial for accurate sound reproduction. Fortunately, there are several methods you can use to easily determine which side is positive and negative on your speaker wires. Let’s explore these methods:
- Polarity Markings: Some speaker wires come with polarity markings. These markings can be in the form of a plus sign (+) or a red stripe along one side of the wire. The side with the marking is typically the positive terminal, while the opposite side is the negative terminal. If your speaker wires have these polarity markings, it’s a straightforward way to identify the correct connections.
- Wire Color: Speaker wires are often color-coded to distinguish between positive and negative. The most common color scheme is red for the positive wire and black for the negative wire. However, this color scheme may vary depending on the manufacturer. Always refer to the documentation or labeling provided with your speaker wires to determine the correct wire colors for positive and negative connections.
- Physical Design of Connectors: Another method to identify positive and negative connections is by examining the physical design of the connectors. Most speaker wires feature connectors with different shapes or sizes for the positive and negative terminals. For example, one connector may be larger or have a wider spade, while the other is smaller or has a narrower spade. Matching the connectors’ shapes and sizes to the corresponding terminals on your speakers can help you determine the correct polarity.
- Multimeter Testing: If you have a multimeter, you can use it to test for polarity. Set the multimeter to the resistance or continuity mode and touch the positive probe to one wire and the negative probe to the other. The multimeter will indicate continuity or a low resistance reading if the probes are touching the correct positive and negative terminals. If there is no continuity or a high resistance reading, you may have the wires reversed.
By utilizing these methods, you can confidently identify the positive and negative connections on your surround sound system. Remember to double-check the documentation or labeling provided with your speaker wires for any specific instructions or color schemes. Ensuring proper polarity will optimize your audio experience and allow you to fully enjoy the immersive sound of your surround sound system.
Method 1: Polarity Markings
One of the easiest ways to identify the positive and negative connections on your speaker wires is through polarity markings. Some speaker wires come with visible markings that indicate the polarity of the wire. These markings can take the form of a plus sign (+) or a colored stripe along one side of the wire.
To determine which side is positive and negative, simply look for the polarity markings on your speaker wire. The side with the marking is typically the positive terminal, while the side without the marking is the negative terminal.
If your speaker wires have these polarity markings, connecting your speakers correctly becomes a straightforward process. Align the positive wire with the positive terminal on your speaker or receiver, and do the same for the negative wire with the negative terminal.
Polarity markings offer a quick and reliable solution for identifying positive and negative connections, especially for those who are new to setting up surround sound systems. However, it’s important to keep in mind that not all speaker wires may have these markings. In such cases, you can rely on other methods, such as wire color or the physical design of connectors, which will be discussed in the following sections.
Always refer to the documentation or labeling provided with your speaker wires to determine if they have polarity markings and how they are indicated. Following the correct polarity is essential to ensure proper sound reproduction and prevent any phase cancellation issues.
Now that we have covered the first method of identifying positive and negative connections through polarity markings, let’s explore another method – wire color.
Method 2: Wire Color
Wire color coding is another common method used to identify the positive and negative connections on speaker wires. While there is no universal standard for wire color, there is a commonly used convention that can help you determine which side is positive and negative.
In this convention, the positive wire is typically color-coded as red, while the negative wire is color-coded as black. This color scheme makes it easier to differentiate between the two wires and ensures consistency across audio systems.
When connecting your surround sound speakers, look for the red wire and match it with the positive terminal on your speaker or audio receiver. Similarly, locate the black wire and match it with the negative terminal. This way, you can ensure that the positive and negative connections are properly aligned.
Keep in mind that not all speaker wires adhere to this color scheme. Some manufacturers may use different colors or markings to indicate the positive and negative wires. Therefore, it’s essential to refer to the documentation or labeling provided with your speaker wires for accurate identification.
Additionally, if you are using custom or self-installed speaker wires without color coding, it’s a good practice to label the wires yourself. You can use color-coded tape or labels to differentiate between positive and negative, ensuring easy and correct connections in the future.
Using wire color is a straightforward and effective way to identify positive and negative connections on your surround sound system. However, it’s always important to double-check the documentation or labeling provided with your specific speaker wires for any color coding variations.
Now that we have covered the second method of identifying positive and negative connections through wire color, let’s explore the next method – the physical design of connectors.
Method 3: Physical Design of Connectors
Another reliable method to identify positive and negative connections on your surround sound system is by examining the physical design of the connectors on your speaker wires. Most speaker wires feature connectors with different shapes, sizes, or configurations for the positive and negative terminals, making it easier to determine their polarity.
One common design is the use of banana plugs, which are cylindrical connectors with a pin or prong at the center. The positive terminal is usually wider than the negative terminal on the speaker or audio receiver, allowing the corresponding positive wire with a wider connector to fit securely. The narrower connector, on the other hand, is designed to fit into the negative terminal.
Another design variation is the use of spade connectors. Spade connectors have a flat, U-shaped design, with the positive connector often wider or having a wider gap between the arms compared to the negative connector.
By visually inspecting the connectors on your speaker wires, you can match their shape, size, or configuration to the corresponding positive and negative terminals on your speakers or audio components. Aligning the connectors correctly ensures that the positive and negative wires are connected in the right polarity, facilitating optimal sound reproduction without any phase cancellation.
It is important to note that not all speaker wires may have different physical designs between the positive and negative connectors. In such cases, it is advisable to use other methods like wire color or polarity markings to determine the correct connections.
Using the physical design of connectors is a practical and reliable method for identifying positive and negative connections on your surround sound system. By paying attention to the shape, size, or configuration of the connectors, you can ensure proper alignment and enjoy optimal audio performance.
Now that we have covered the third method of identifying positive and negative connections through the physical design of connectors, let’s explore the final method – multimeter testing.
Method 4: Multimeter Testing
If you have a multimeter, you can use it to test for polarity and determine the positive and negative connections on your surround sound system. Multimeters are versatile tools that can measure various electrical properties, including continuity and resistance.
To use a multimeter for polarity testing, follow these steps:
- Set the multimeter to the resistance or continuity mode. Refer to the user manual of your multimeter for specific instructions on how to select the appropriate mode.
- Ensure that your surround sound system is turned off to avoid any electrical interference.
- Touch the positive probe of the multimeter to one speaker wire and the negative probe to the other wire. It doesn’t matter which probe touches which wire initially.
- Observe the multimeter reading. If the multimeter indicates continuity (or a low resistance reading), it means that the probes are touching the correct positive and negative terminals.
- If the multimeter doesn’t show continuity (or displays a high resistance reading), it suggests that the probes are touching the wires in reverse polarity. In this case, reverse the probes by touching the positive probe to the other wire and the negative probe to the remaining wire.
- Once you have achieved continuity or a low resistance reading, you have successfully determined the positive and negative connections. Remember which wire is connected to the positive probe to maintain the correct polarity.
Using a multimeter for polarity testing provides an accurate and definitive method to identify positive and negative connections. It eliminates any guesswork and ensures precise alignment of the wires for optimal sound reproduction.
Remember to exercise caution when using a multimeter and follow the safety precautions outlined in its user manual. If you’re unfamiliar with using a multimeter, it’s advisable to seek assistance from someone with experience or consult a professional.
Now that we have explored the fourth and final method of identifying positive and negative connections through multimeter testing, let’s summarize what we’ve learned and wrap up our discussion.
Conclusion
Setting up a surround sound system can be an exciting endeavor, but it’s important to ensure that the positive and negative connections on your speaker wires are properly identified and aligned. This ensures accurate sound reproduction and prevents any phase cancellation issues.
In this article, we explored four methods to help you determine which side is positive and negative on your surround sound system:
- Using Polarity Markings: Some speaker wires come with visible markings, such as a plus sign (+) or a colored stripe, to indicate the positive and negative terminals.
- Following Wire Color: Many speaker wires adhere to the convention of utilizing red for the positive wire and black for the negative wire.
- Examining Physical Design: The physical design of connectors, such as banana plugs or spade connectors, can provide clues to distinguish between positive and negative connections.
- Employing Multimeter Testing: If you have a multimeter, you can use it to measure continuity or resistance, helping to identify the correct polarity.
Remember, not all speaker wires may have polarity markings or adhere to the standard wire color coding. In such cases, relying on the physical design of connectors or using a multimeter can provide a reliable solution.
By correctly identifying and connecting the positive and negative terminals, you can ensure that your surround sound system operates optimally, delivering an immersive and high-quality audio experience for your movies, music, and games.
Always refer to the documentation or labeling provided with your speaker wires for specific instructions and color coding variations. If you are unsure about any step, it’s advisable to consult a professional or seek assistance from someone experienced in audio installations.
Now that you have the knowledge and methods to identify the positive and negative connections on your surround sound system, go ahead and set up your speakers with confidence, and enjoy the immersive audio experience they bring to your home entertainment setup!