Home>Production & Technology>Surround Sound>How To Set Up A 7.2 Surround Sound System
Surround Sound
How To Set Up A 7.2 Surround Sound System
Modified: February 18, 2024
Learn how to set up a 7.2 surround sound system for an immersive audio experience. Enhance your entertainment with surround sound technology.
(Many of the links in this article redirect to a specific reviewed product. Your purchase of these products through affiliate links helps to generate commission for AudioLover.com, at no extra cost. Learn more)
Table of Contents
- Introduction
- Step 1: Gather the necessary equipment
- Step 2: Determine the layout and speaker placement
- Step 3: Connect the AV receiver
- Step 4: Connect the front speakers
- Step 5: Connect the center channel speaker
- Step 6: Connect the surround speakers
- Step 7: Connect the subwoofers
- Step 8: Verify the connections and settings
- Step 9: Calibrate the system
- Conclusion
Introduction
If you’re a movie enthusiast, a gamer, or simply a lover of immersive audio experiences, then setting up a surround sound system in your home is a must. No longer limited to movie theaters and gaming arcades, surround sound technology allows you to recreate a truly cinematic experience right in the comfort of your own living room.
Surround sound systems have evolved significantly over the years, from basic stereo setups to complex multi-channel configurations that envelop you in a 360-degree audio environment. One of the most popular setups is the 7.2 surround sound system, which is characterized by seven main speakers and two subwoofers.
While setting up a 7.2 surround sound system may seem daunting at first, fear not! In this article, we’ll guide you through the process step by step, ensuring that you’ll be enjoying immersive audio in no time. So, let’s dive in!
Before we get started, it’s important to note that every home theater setup is unique, and the instructions provided here are meant to serve as a general guide. You may need to adapt them to suit your specific equipment and room layout.
Step 1: Gather the necessary equipment
Before you embark on setting up your 7.2 surround sound system, it’s essential to gather all the necessary equipment. Here’s a list of what you’ll need:
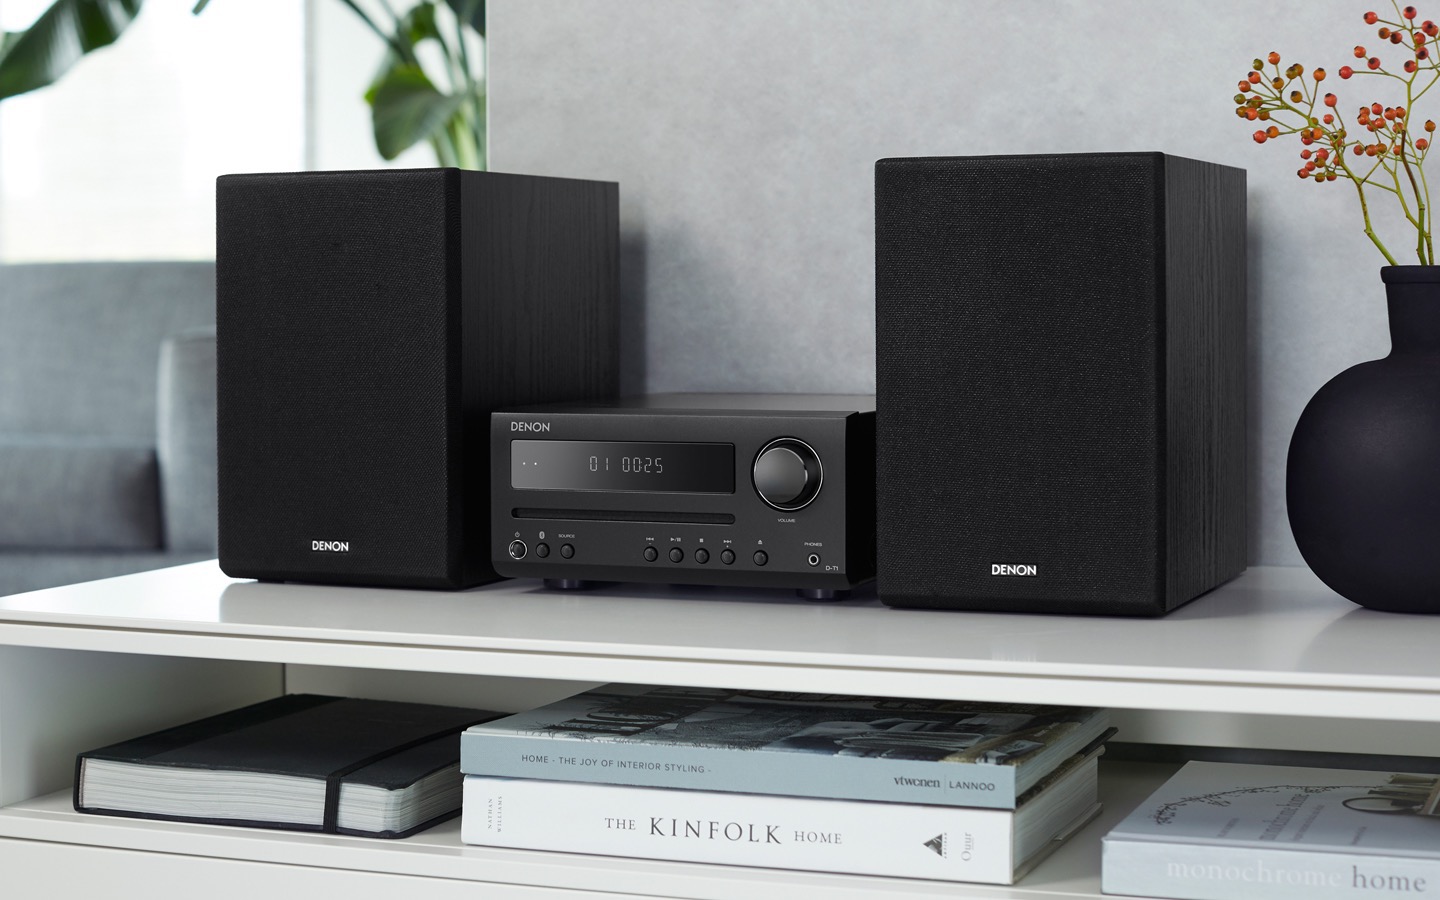
- AV Receiver: This is the heart of your surround sound system. Make sure to choose a receiver that supports 7.2 audio channels. Look for features like HDMI inputs and outputs, as well as support for the latest audio formats like Dolby Atmos and DTS:X.
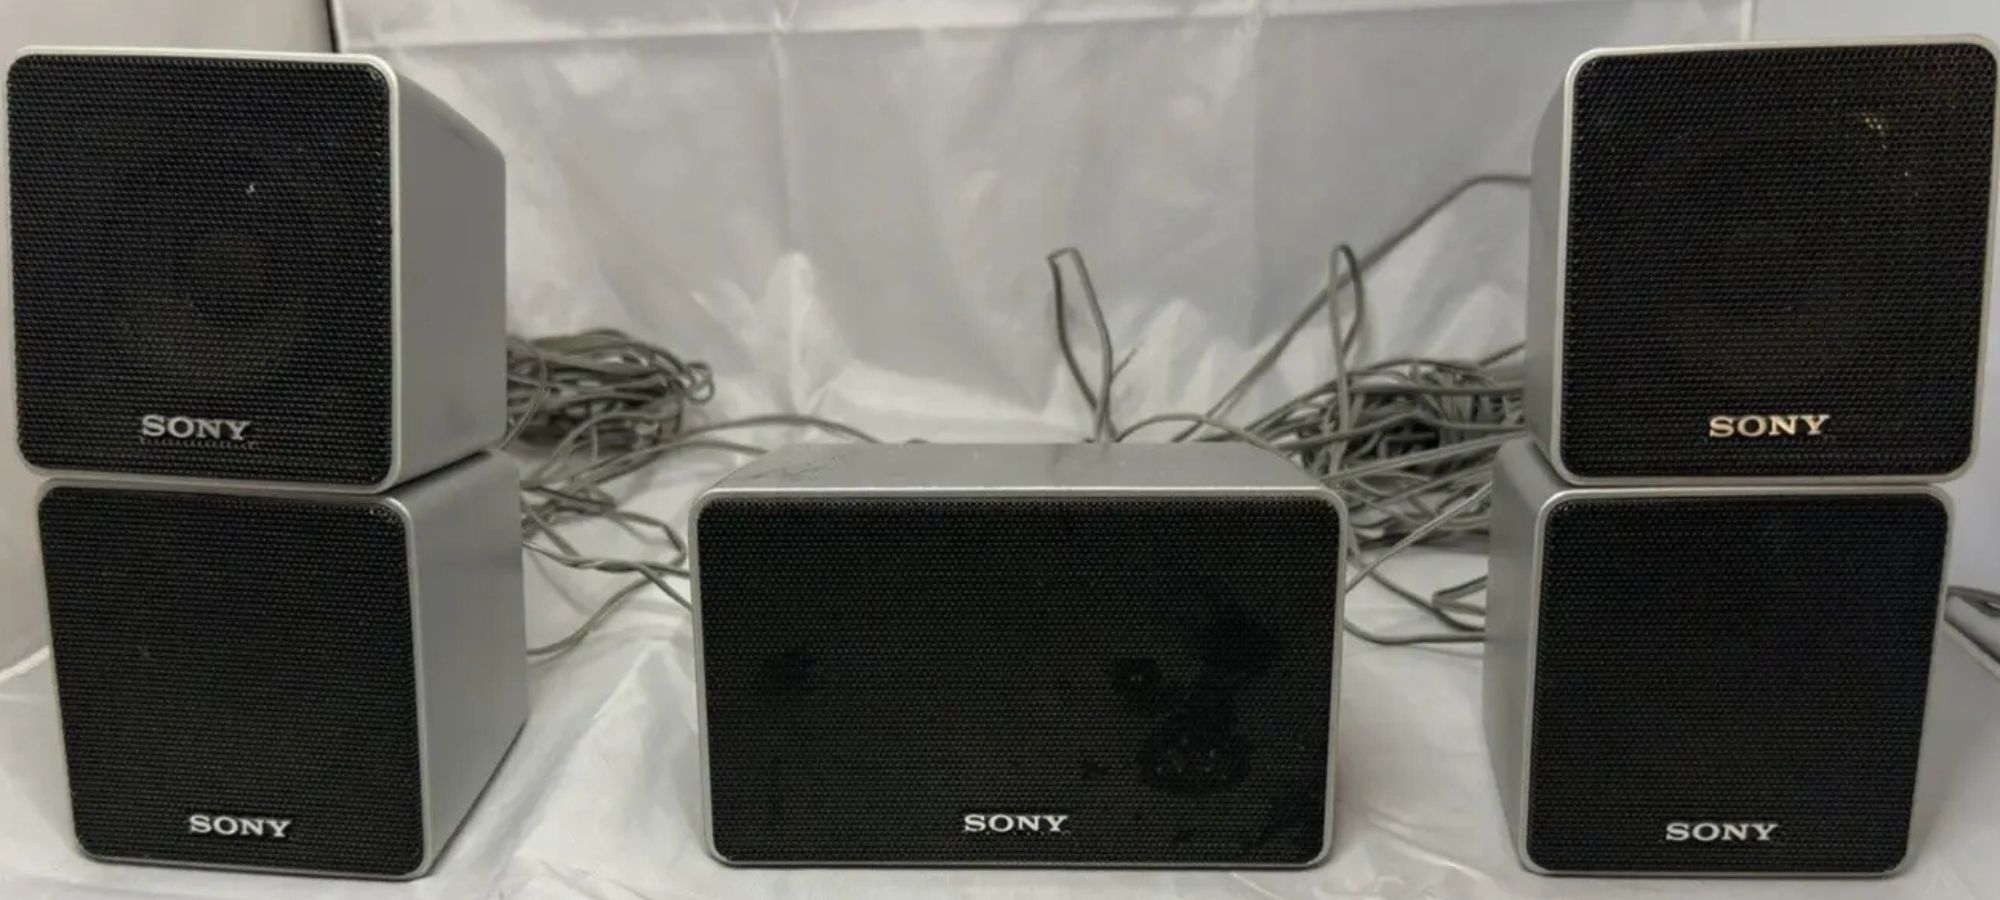
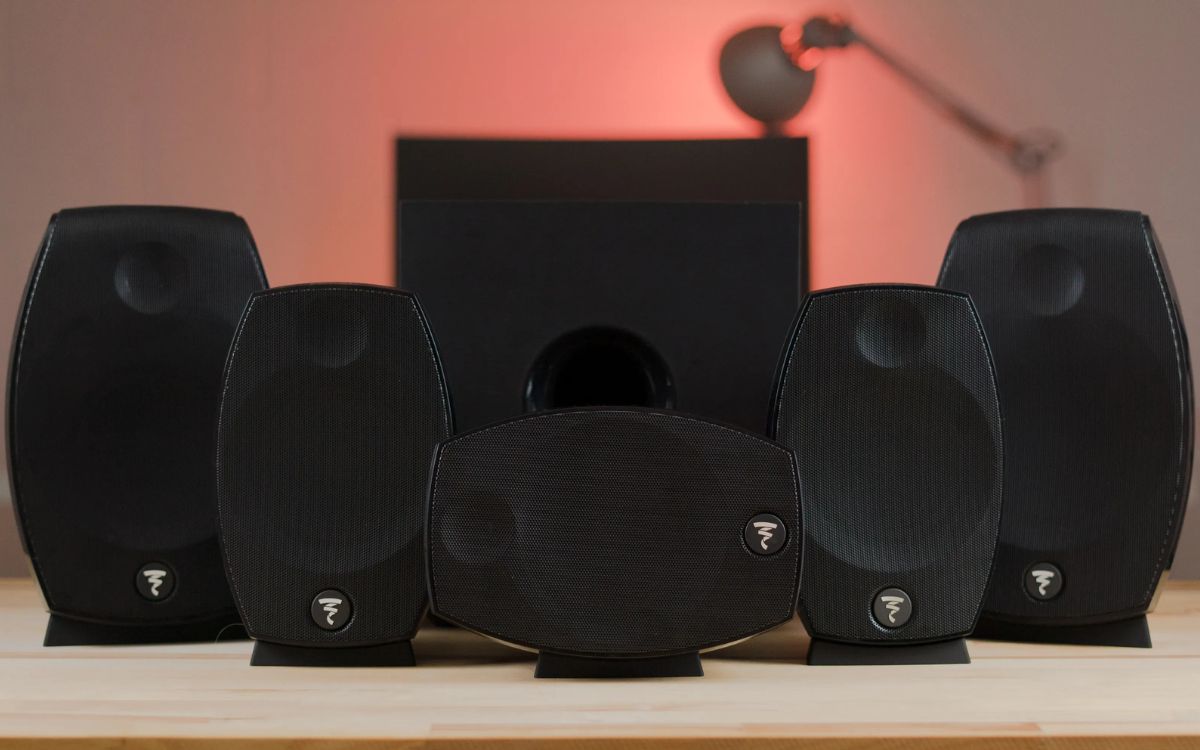
- Speakers: A 7.2 surround sound system consists of seven main speakers: two front speakers, one center channel speaker, two surround speakers, and two subwoofers. Opt for high-quality speakers that fit your budget and room size.
- Subwoofers: The subwoofers are responsible for producing deep, low-frequency bass sounds. Two subwoofers will provide a more balanced and immersive audio experience. Choose subwoofers that match your main speakers in terms of brand and specifications.
- Speaker Wire: You’ll need speaker wire to connect all of your speakers to the AV receiver. Make sure to choose high-quality wire that is compatible with your speakers’ impedance and length requirements.
- HDMI Cables: HDMI cables are necessary for connecting your AV receiver to your TV or projector. Make sure to choose high-speed HDMI cables that support 4K and HDR content.
- Optional: Speaker Stands or Mounts: Depending on your room layout and speaker placement, you may need speaker stands or mounts to position your speakers at the optimal listening height.
Once you’ve gathered all the necessary equipment, you’ll be well-prepared to move on to the next step: determining the layout and speaker placement.
Step 2: Determine the layout and speaker placement
Now that you have all the necessary equipment, it’s time to determine the layout and speaker placement for your 7.2 surround sound system. The placement of your speakers plays a crucial role in delivering an optimal audio experience. Here are a few key considerations:
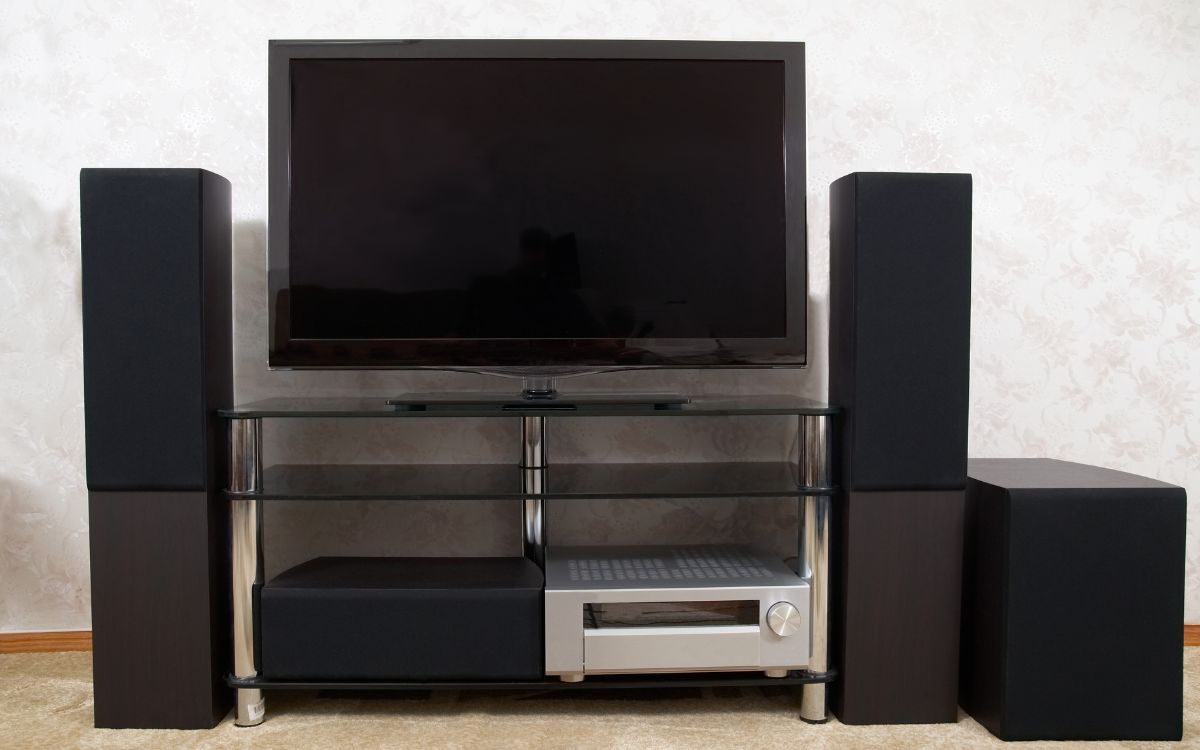
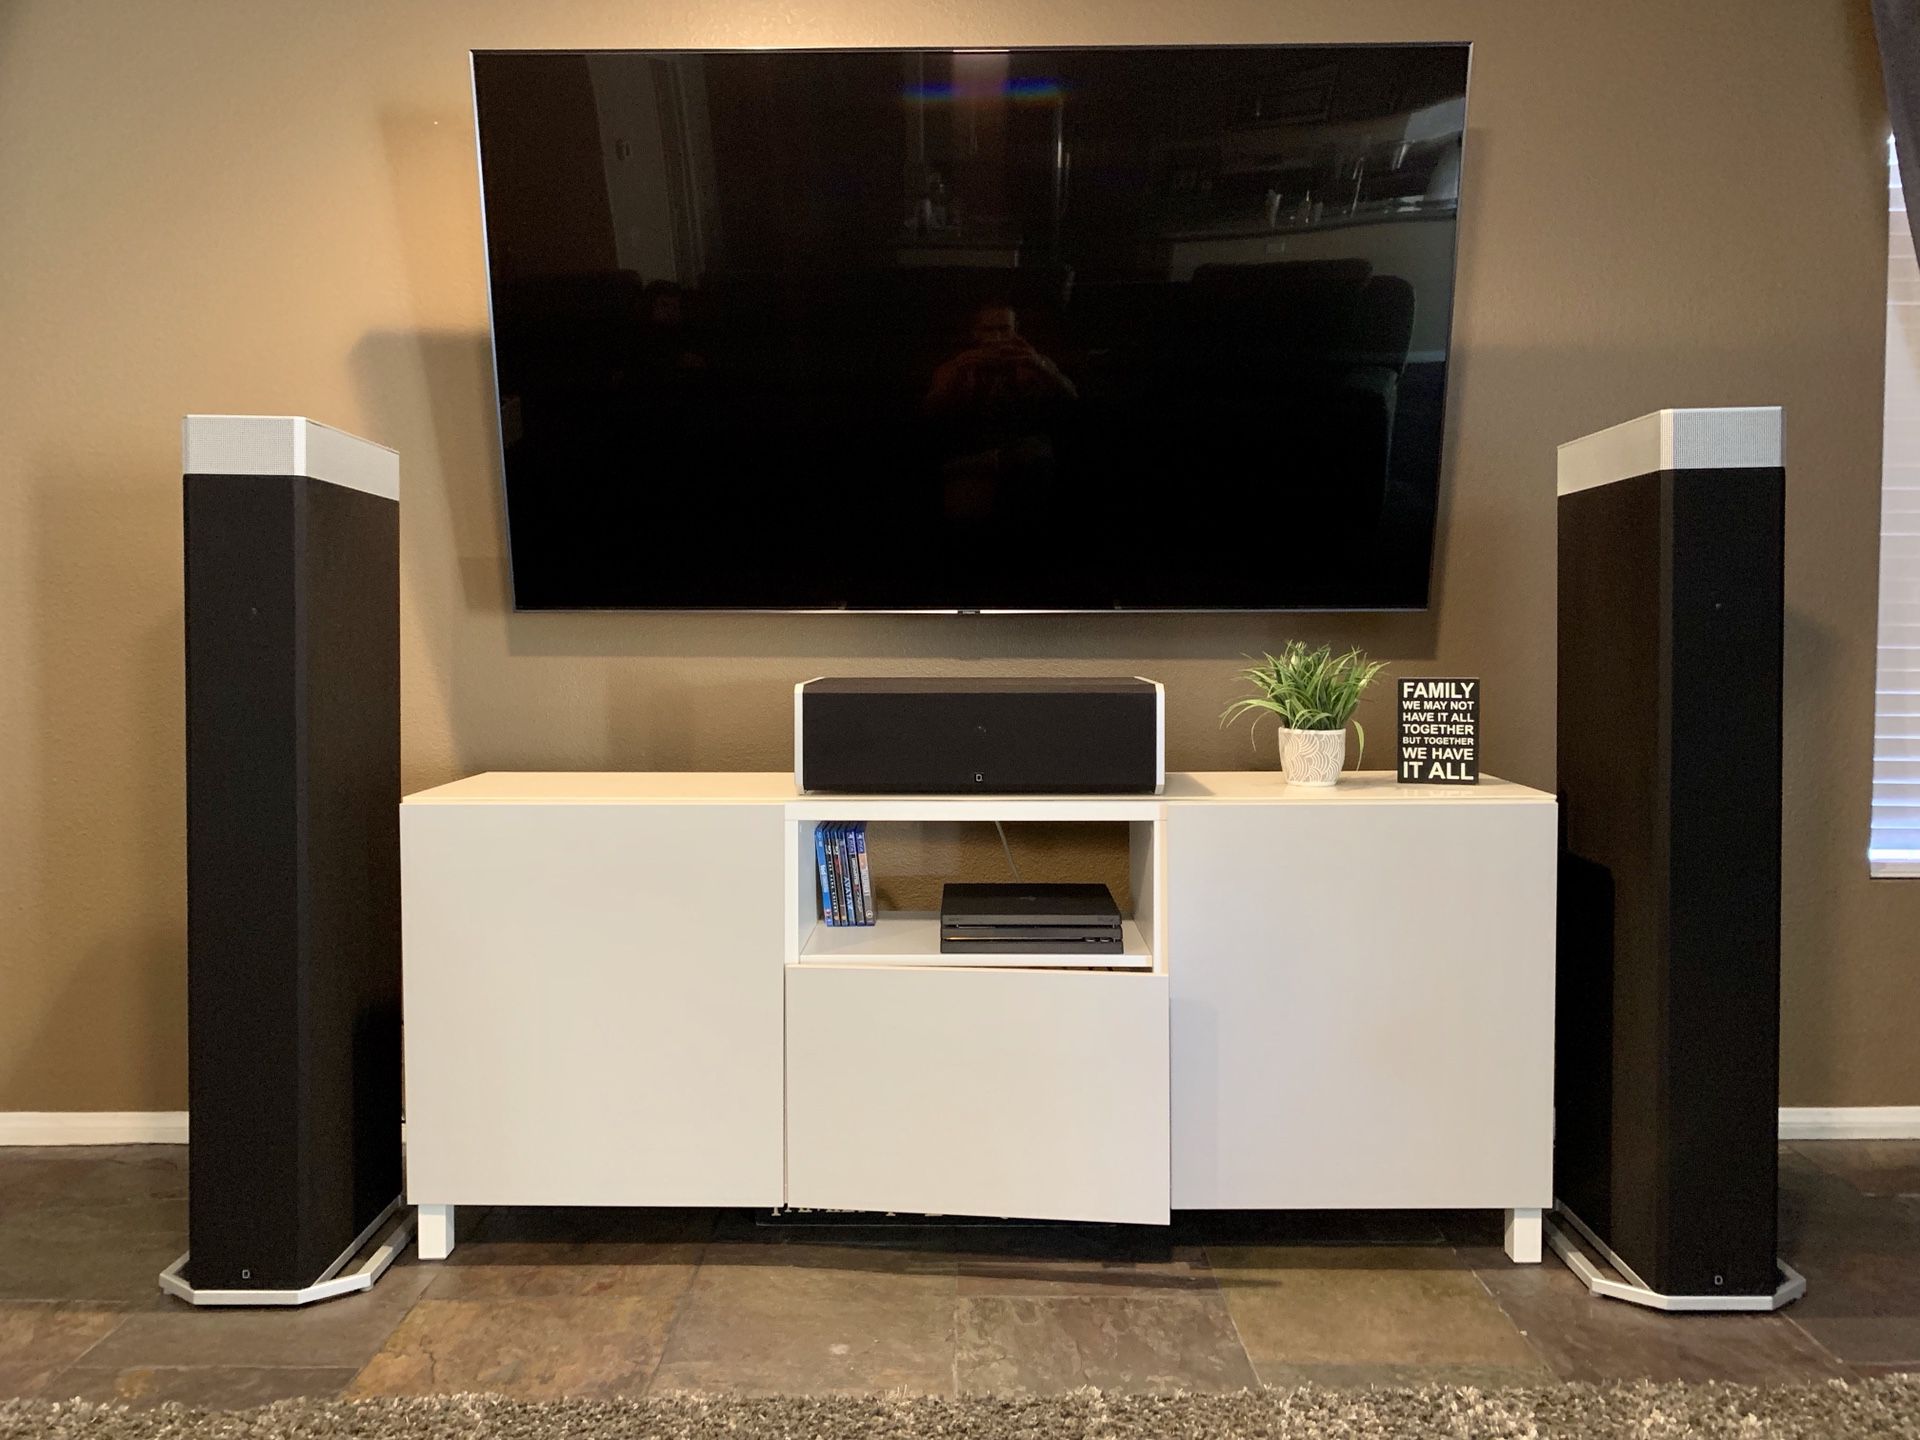
- Front Speakers: Start by positioning your two front speakers. These are the main speakers responsible for delivering the majority of the audio content. Ideally, they should be placed at ear level when you are seated in your primary listening position.
- Center Channel Speaker: The center channel speaker should be placed directly above or below your TV or projector screen. It should be aligned with the front speakers to ensure a cohesive soundstage, especially for dialogue-heavy content.
- Surround Speakers: The two surround speakers should be placed to the sides or slightly behind your listening area. They create the illusion of sound coming from behind or around you, enhancing the surround sound effect.
- Subwoofers: The two subwoofers can be placed anywhere in the room where they provide the best bass response. Experiment with different locations to find the optimal position for deep, impactful bass.
When placing your speakers, try to keep them at equal distances from your primary listening position. This helps to create a balanced sound image. If possible, avoid obstructing objects or furniture that may impede the sound waves.
It’s important to note that room acoustics can greatly impact audio quality. Consider using acoustic treatments, such as curtains, acoustic panels, or foam diffusers, to minimize unwanted reflections and echoes. This can help to achieve a more accurate and immersive soundstage.
Once you’ve determined the layout and speaker placement, it’s time to move on to the next step: connecting the AV receiver.
Step 3: Connect the AV receiver
Now that you have determined the layout and speaker placement, it’s time to connect the AV receiver, which is the heart of your 7.2 surround sound system. Follow these steps to ensure a proper connection:
- Placement: Choose a well-ventilated area near your TV or projector screen to place your AV receiver. Make sure it has enough space around it for proper airflow.
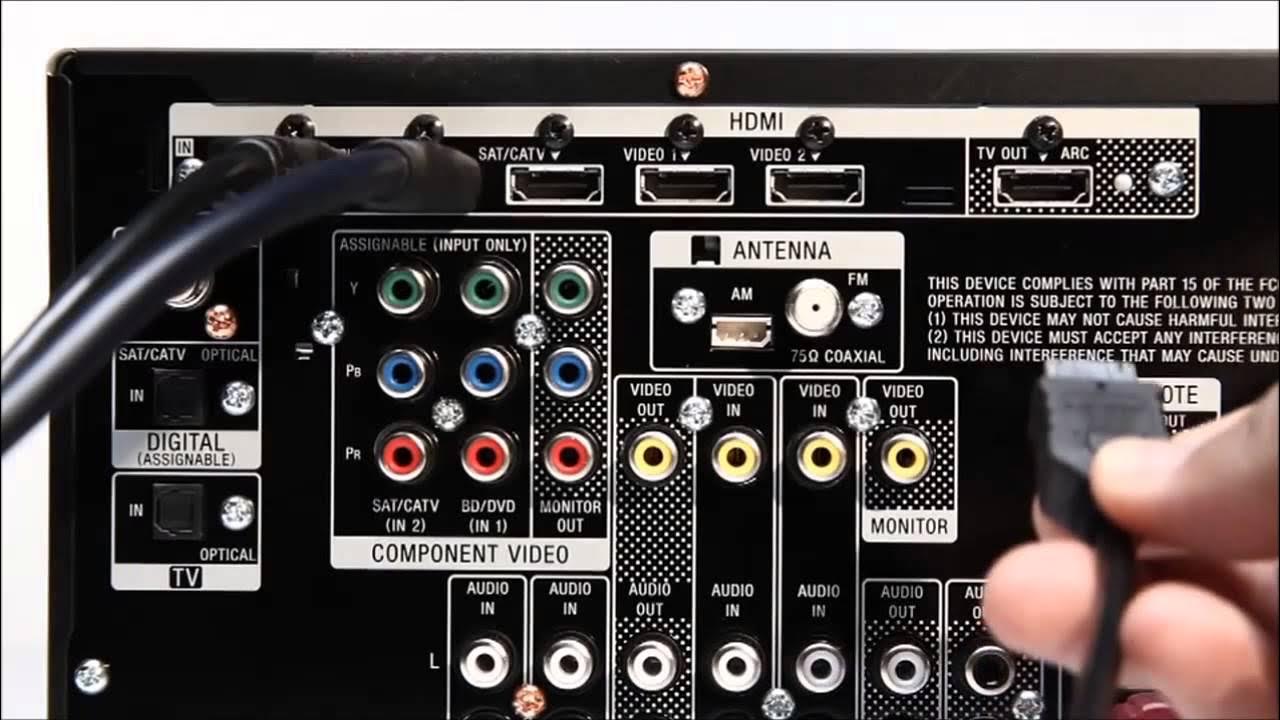
- HDMI Connection: Connect one end of an HDMI cable to the HDMI Out port on the AV receiver and the other end to an HDMI input on your TV or projector. This will allow video signals to pass through the receiver to your display device.
- Speaker Wire Connection: Using the appropriate speaker wire, connect the front, center, and surround speakers to the corresponding speaker terminals on the back of the AV receiver. Ensure that the positive (+) and negative (-) terminals are correctly matched.
- Subwoofer Connection: Connect the subwoofers to the subwoofer output terminals on the AV receiver. If your subwoofers have a line-level input, use a subwoofer cable to make the connection. If they have speaker level inputs, you can use speaker wire.
- Power Connection: Plug the AV receiver into a power outlet using the provided power cord.
It’s important to refer to the instruction manual that came with your AV receiver for specific details about the connections and setup process. Different models may have slightly different configurations.
Once you have successfully connected the AV receiver, it’s time to move on to the next step: connecting the front speakers.
Step 4: Connect the front speakers
Now that the AV receiver is properly connected, it’s time to connect the front speakers, which are the main speakers in your 7.2 surround sound system. Follow these steps to ensure a proper connection:
- Identify Speaker Wire: Take your speaker wire and identify which end is positive (+) and which end is negative (-). This is usually indicated by color-coding or markings on the wire itself.
- Match Connections: Locate the speaker terminals on the back of the AV receiver labeled for the front speakers, usually denoted as “FL” (front left) and “FR” (front right). Match the positive (+) and negative (-) terminals on the speaker wire with the corresponding terminals on the receiver.
- Strip Wire: If your speaker wire is not pre-stripped, use wire strippers or scissors to remove a small portion of the insulation from the ends of the wire, exposing the copper strands.
- Insert Wire: Insert the exposed ends of the speaker wire into the corresponding terminals on the AV receiver for the front left and front right speakers. Ensure a tight and secure connection.
- Secure Connections: Some receivers have screw terminals that you can tighten to secure the wire connection. If your receiver has this feature, make sure to tighten the terminals appropriately.
Repeat these steps for both the front left and front right speakers. Once both speakers are connected, ensure that the wire connections are secure and there are no loose strands of wire that could cause a short circuit.
Congratulations! You have successfully connected the front speakers. Now it’s time to move on to the next step: connecting the center channel speaker.
Step 5: Connect the center channel speaker
The next step in setting up your 7.2 surround sound system is connecting the center channel speaker. This speaker plays a crucial role in reproducing dialogue and enhancing the overall soundstage. Follow these steps to ensure a proper connection:
- Identify Speaker Wire: Take your speaker wire and identify which end is positive (+) and which end is negative (-). This is usually indicated by color-coding or markings on the wire itself.
- Match Connections: Locate the speaker terminals on the back of the AV receiver designated for the center channel speaker, often labeled as “C” or “Center.” Match the positive (+) and negative (-) terminals on the speaker wire with the corresponding terminals on the receiver.
- Strip Wire: If your speaker wire is not pre-stripped, use wire strippers or scissors to remove a small portion of the insulation from the ends of the wire, exposing the copper strands.
- Insert Wire: Insert the exposed ends of the speaker wire into the corresponding terminals on the AV receiver for the center channel speaker. Ensure a tight and secure connection.
- Secure Connections: Some receivers have screw terminals that you can tighten to secure the wire connection. If your receiver has this feature, make sure to tighten the terminals appropriately.
Once the center channel speaker is connected, make sure it is centered above or below your TV or projector screen. Ensure that it is positioned at the same height as your front left and front right speakers for an optimal soundstage.
It’s important to note that the center channel speaker is responsible for delivering clear and intelligible dialogue. Ensure that it is aligned correctly to achieve balanced and accurate sound reproduction.
With the front and center speakers connected, you’re one step closer to enjoying a complete surround sound experience. The next step is connecting the surround speakers.
Step 6: Connect the surround speakers
Now that the front and center speakers are connected, it’s time to connect the surround speakers, which play a crucial role in creating a truly immersive surround sound experience. Follow these steps to ensure a proper connection:
- Identify Speaker Wire: Take your speaker wire and identify which end is positive (+) and which end is negative (-). This is usually indicated by color-coding or markings on the wire itself.
- Match Connections: Locate the speaker terminals on the back of the AV receiver designated for the surround speakers, often labeled as “SL” (surround left) and “SR” (surround right). Match the positive (+) and negative (-) terminals on the speaker wire with the corresponding terminals on the receiver.
- Strip Wire: If your speaker wire is not pre-stripped, use wire strippers or scissors to remove a small portion of the insulation from the ends of the wire, exposing the copper strands.
- Insert Wire: Insert the exposed ends of the speaker wire into the corresponding terminals on the AV receiver for the surround left and surround right speakers. Ensure a tight and secure connection.
- Secure Connections: Some receivers have screw terminals that you can tighten to secure the wire connection. If your receiver has this feature, make sure to tighten the terminals appropriately.
The surround speakers should be positioned to the sides or slightly behind your listening area. Ideally, they should create an angle of around 90 to 110 degrees with your primary listening position. This positioning enhances the surround sound effect by enveloping you in the audio experience.
Ensure that the surround speakers are at an equal distance from your primary listening position and that they are elevated to ear level to optimize sound reproduction. Experiment with different placements to find the position that provides the best surround sound experience for your room.
With the surround speakers now connected, you’re almost there! The next step is connecting the subwoofers to complete your 7.2 surround sound system.
Step 7: Connect the subwoofers
As you near the completion of setting up your 7.2 surround sound system, it’s time to connect the subwoofers. These low-frequency powerhouses add depth and impact to your audio experience. Follow these steps to ensure a proper connection:
- Identify Subwoofer Connection: Determine the type of connection your subwoofer supports. Most subwoofers offer two types of connections: line-level inputs or speaker level inputs.
- Line-Level Input: If your subwoofer has line-level inputs, connect one end of an RCA cable to the subwoofer output on the AV receiver and the other end to the line-level input on the subwoofer.
- Speaker Level Input: If your subwoofer has speaker level inputs, you can use the speaker wire to connect it. Take the positive (+) and negative (-) terminals for the subwoofer and connect them to the corresponding terminals on the AV receiver.
- Placement: Position the subwoofers in different areas of your room to achieve better bass distribution. Experiment with placement options to find the spot that provides the most balanced and impactful bass response.
- Power Connection: Plug the subwoofers into a power outlet and turn them on.
During setup, it’s recommended to set the subwoofer volume to about halfway and adjust it later during the calibration process to achieve the desired bass level.
Once the subwoofers are connected and powered on, you’re just one step away from enjoying the full immersive experience of your 7.2 surround sound system. The final step is to verify the connections and settings.
Step 8: Verify the connections and settings
After connecting all the speakers and subwoofers in your 7.2 surround sound system, it’s crucial to verify the connections and settings to ensure optimal performance. Follow these steps to verify and fine-tune your setup:
- Check Connections: Double-check all the connections from your AV receiver to each speaker and subwoofer. Ensure that the wires are securely plugged in and that there are no loose connections.
- Verify Polarity: Confirm that the positive (+) and negative (-) wires are correctly connected to the corresponding terminals on the speakers and subwoofers. Reversing the polarity can affect the sound quality and imaging.
- AV Receiver Setup: Access the settings menu on your AV receiver and ensure that it is configured correctly for a 7.2 surround sound setup. This includes setting the appropriate speaker size, levels, and crossover frequencies.
- Speaker Distance and Level Calibration: Many AV receivers offer an auto-calibration feature that can optimize the sound performance automatically. Follow the instructions in your receiver’s manual to run the calibration process and ensure proper speaker distance and sound level adjustments.
- Test Audio Sources: Play various audio sources, such as movies, music, or games, to test the surround sound experience. Make sure that audio is properly distributed across all the speakers and that the subwoofers provide impactful bass without overpowering the other speakers.
- Adjustments and Fine-tuning: Listen to the audio and make any necessary adjustments using the receiver’s settings. This can include tweaking the volume levels of individual speakers, adjusting the subwoofer output, or fine-tuning the EQ settings to your preference.
It’s important to note that each AV receiver has different features and settings, so refer to your specific model’s manual for detailed instructions on verifying and adjusting the connections and settings.
Once you have verified the connections and settings, you’re ready to enjoy the immersive audio experience of your 7.2 surround sound system. However, there’s still one more step to ensure optimal performance: calibration.
Step 9: Calibrate the system
Calibrating your 7.2 surround sound system is essential for achieving the best possible audio performance. Calibration ensures that the speakers are balanced, properly positioned, and optimized for your room’s acoustics. Follow these steps to calibrate your system:
- Auto Calibration: Most AV receivers offer an auto calibration feature. Activate this feature by following the instructions in your receiver’s manual. The auto calibration uses a built-in microphone to analyze the audio signals and adjust the speaker levels, distances, and EQ settings automatically.
- Manual Adjustments: If your AV receiver does not have an auto calibration option or if you prefer to manually fine-tune the settings, you can make manual adjustments. Start by adjusting the speaker levels to ensure they are balanced. Use test tones or audio calibration discs to set the appropriate volume levels for each speaker.
- Speaker Distance: Measure the distance between each speaker and your primary listening position. Enter these distances into the AV receiver’s settings. This allows for accurate sound reproduction and synchronization.
- Bass Management: Adjust the crossover frequency setting for each speaker. This determines the point at which low-frequency sounds are redirected from the main speakers to the subwoofers. Set the crossover frequency to ensure a seamless transition between the speakers and subwoofers.
- Room Correction: Some AV receivers offer room correction systems that analyze the room’s acoustics and make real-time adjustments. Follow the manufacturer’s instructions to perform the room correction process and adapt the audio output to your specific room.
Remember that calibrating your system may involve multiple iterations of adjustments and listening tests. Take your time to fine-tune the settings and achieve the desired audio performance.
Once the system is calibrated, sit back, relax, and enjoy the immersive audio experience of your 7.2 surround sound system. You can now fully immerse yourself in movies, games, and music with a dynamic and enveloping soundstage!
However, it’s important to note that room acoustics and personal preference play a significant role in the audio experience. So, don’t hesitate to experiment with different settings and placement options to achieve the best possible sound quality for your listening environment.
Conclusion
Setting up a 7.2 surround sound system in your home can truly elevate your audio experience to new heights. By following the step-by-step guide provided in this article, you can enjoy a cinematic and immersive soundstage right in the comfort of your own living room.
From gathering the necessary equipment to calibrating the system, each step is crucial in ensuring optimal audio performance. By selecting quality speakers, positioning them correctly, and fine-tuning the settings, you can create a captivating audio environment that enhances your favorite movies, games, and music.
Remember to take into consideration the unique characteristics of your room. Factors like room size, shape, and acoustics can influence the sound quality. Adjustments to speaker placement, calibration settings, and the use of acoustic treatments can greatly enhance your listening experience.
Whether you’re a film buff, a dedicated gamer, or an audiophile, a well-configured 7.2 surround sound system can transport you into a world of immersive sound. The enveloping audio and precise imaging will breathe life into your entertainment, making you feel like you’re part of the action.
So, go ahead and embark on the journey of creating your 7.2 surround sound system. With careful setup and calibration, you’ll be able to experience the full potential of high-quality audio reproduction and enjoy a truly captivating home theater experience.
Now, sit back, relax, and let your 7.2 surround sound system transport you to a whole new level of immersive audio enjoyment!