Home>Production & Technology>Surround Sound>How To Set Up Home Theater System With Surround Sound
Surround Sound
How To Set Up Home Theater System With Surround Sound
Modified: January 22, 2024
Learn how to set up a home theater system with surround sound and create an immersive audio experience in your living room. Discover the key steps and equipment needed for optimal sound quality.
(Many of the links in this article redirect to a specific reviewed product. Your purchase of these products through affiliate links helps to generate commission for AudioLover.com, at no extra cost. Learn more)
Table of Contents
- Introduction
- Choosing the Right Surround Sound System
- Finding the Ideal Location for Your Home Theater
- Setting Up the Audio Receiver
- Connecting Speakers to Your Audio Receiver
- Calibrating the Surround Sound System
- Configuring the Audio Settings
- Connecting Other Devices to Your Home Theater System
- Troubleshooting Common Issues
- Enjoying Your Surround Sound Home Theater System
- Conclusion
Introduction
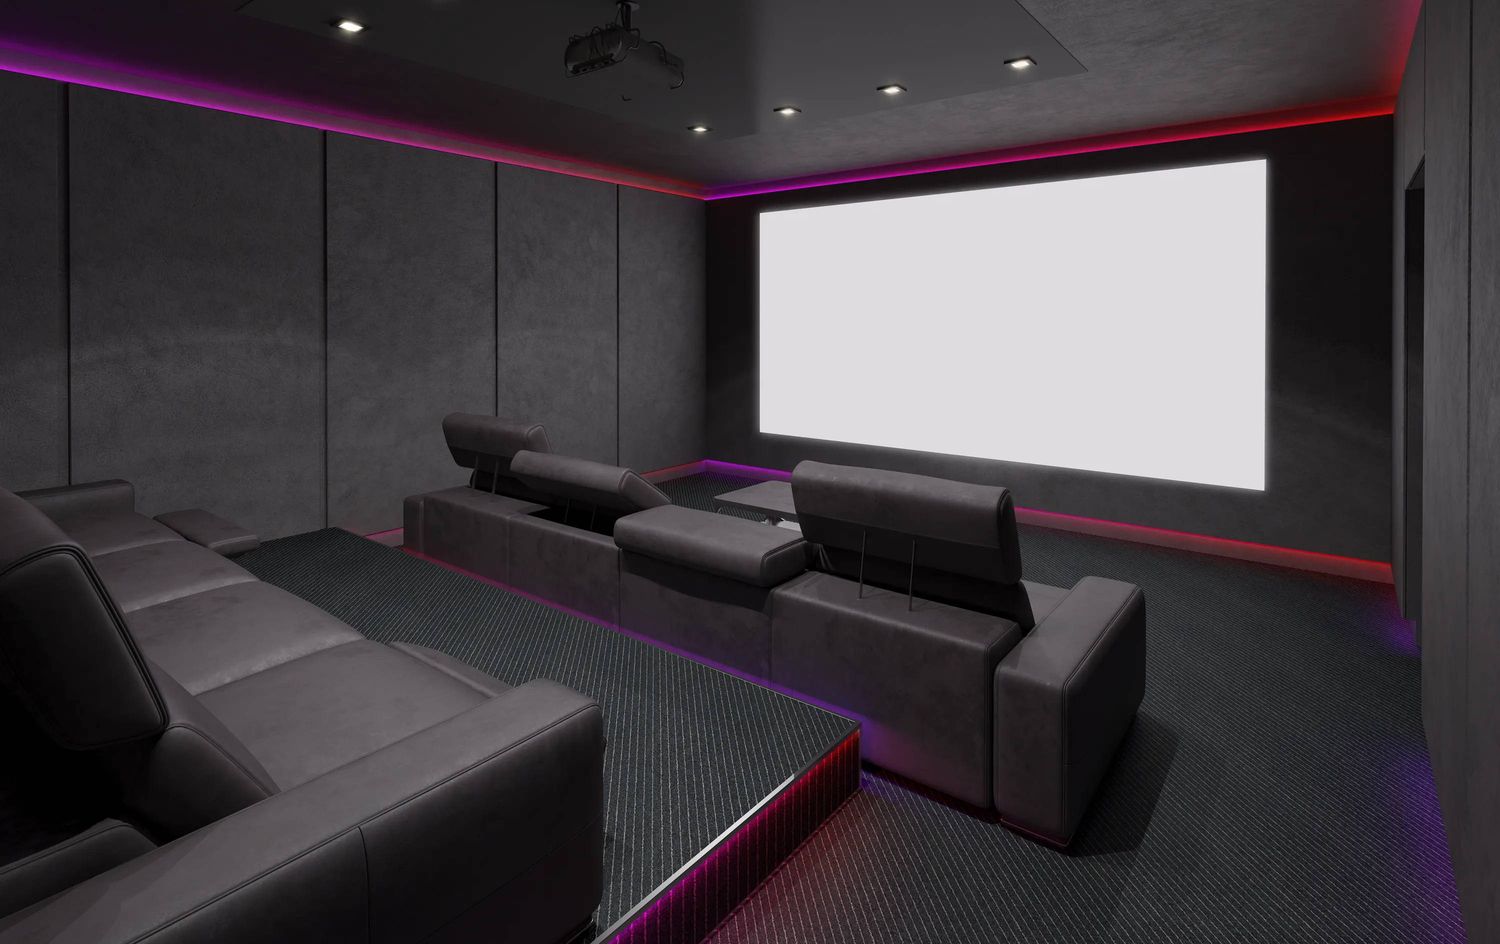
Welcome to the world of surround sound, where immersive audio transforms your living room into a cinematic experience. Whether you’re a movie enthusiast, a gaming aficionado, or simply someone who appreciates high-quality audio, setting up a home theater system with surround sound can elevate your entertainment to new heights.
In this comprehensive guide, we will walk you through the process of choosing the right surround sound system, finding the ideal location for your home theater, setting up the audio receiver, connecting speakers, calibrating the system, configuring the audio settings, connecting other devices, troubleshooting common issues, and ultimately, enjoying your surround sound home theater system.
With advancements in technology, surround sound systems have become more accessible and affordable. Gone are the days when you needed a dedicated room or a vast amount of space to enjoy immersive audio. Nowadays, compact and wireless systems allow you to create a surround sound experience in even smaller rooms.
Before delving into the technicalities, it’s important to understand what surround sound actually means. Surround sound refers to a multi-channel audio system that reproduces audio from different directions, immersing you in a three-dimensional sound environment. This adds depth, realism, and a sense of being right in the middle of the action.
Whether it’s the sound of bullets whizzing past your ears in an intense action movie or the subtle ambiance of a rainforest in a nature documentary, a well-setup surround sound system can bring the audio to life and enhance your overall viewing or gaming experience.
If you’re ready to embark on this audio adventure, let’s dive into the world of surround sound and transform your home theater into a haven of immersive entertainment.
Choosing the Right Surround Sound System
When it comes to choosing a surround sound system, there are several factors to consider to ensure you find the right one for your needs and preferences. Here are some key points to keep in mind:
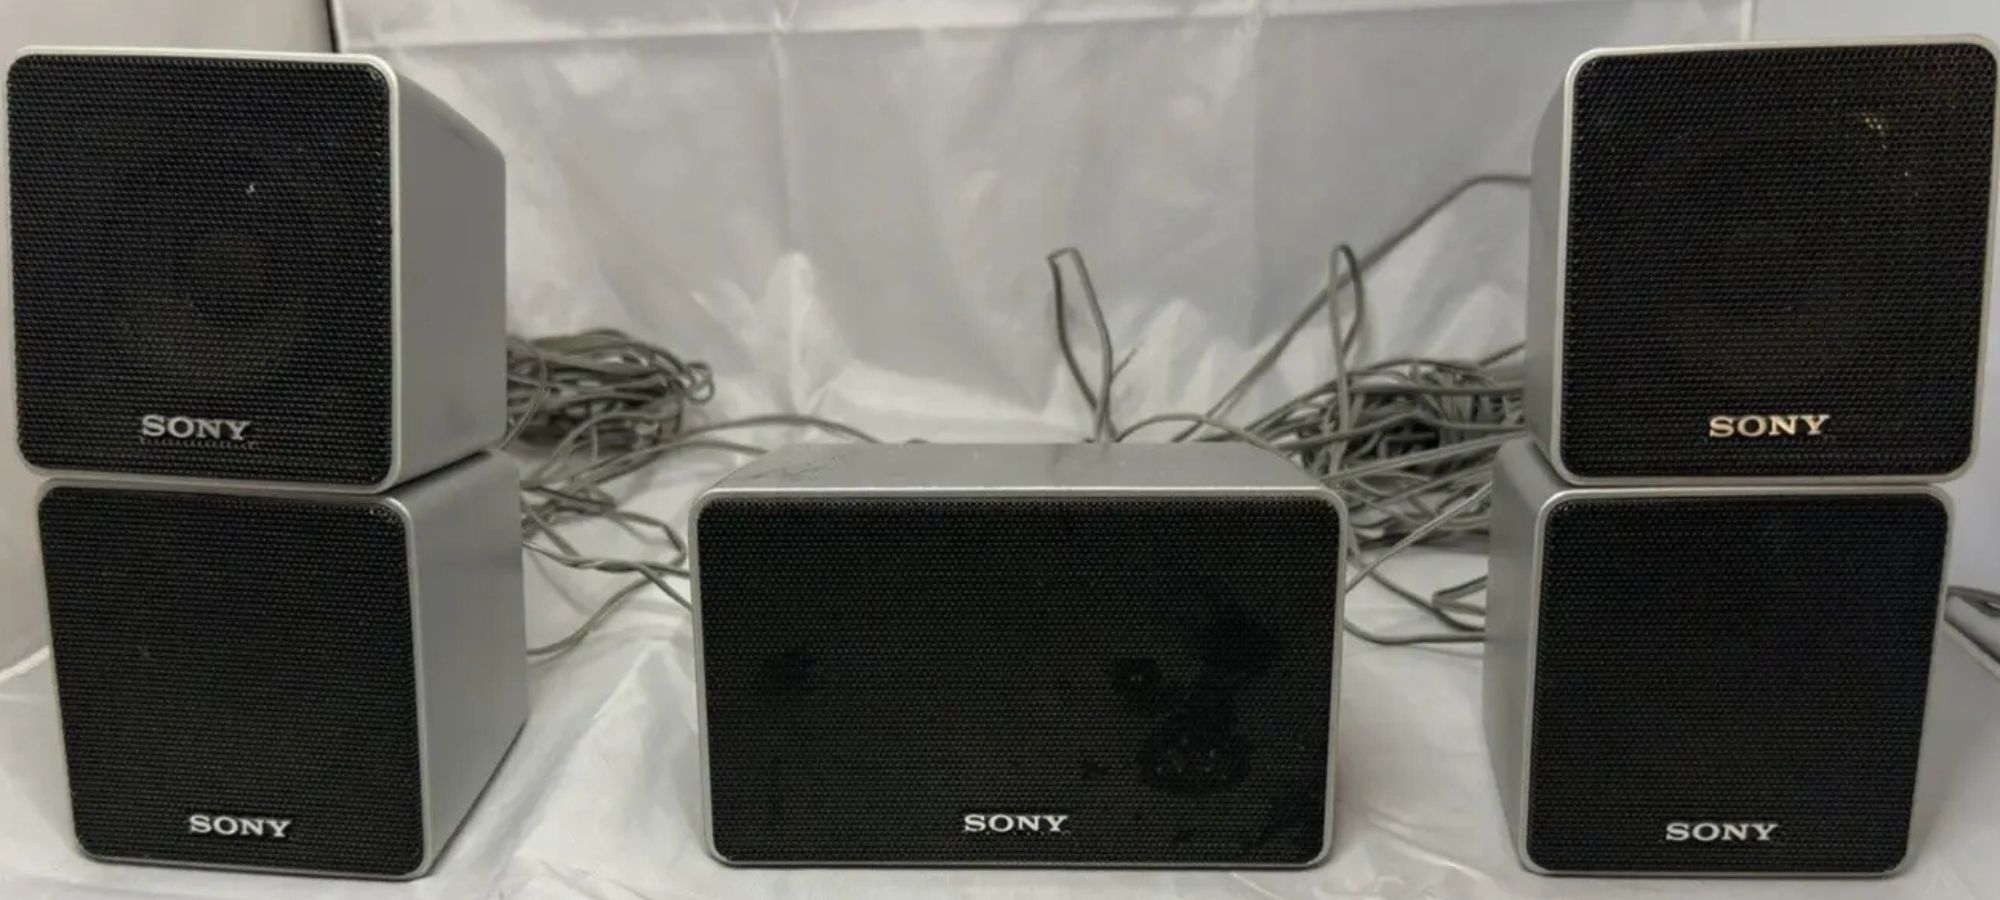
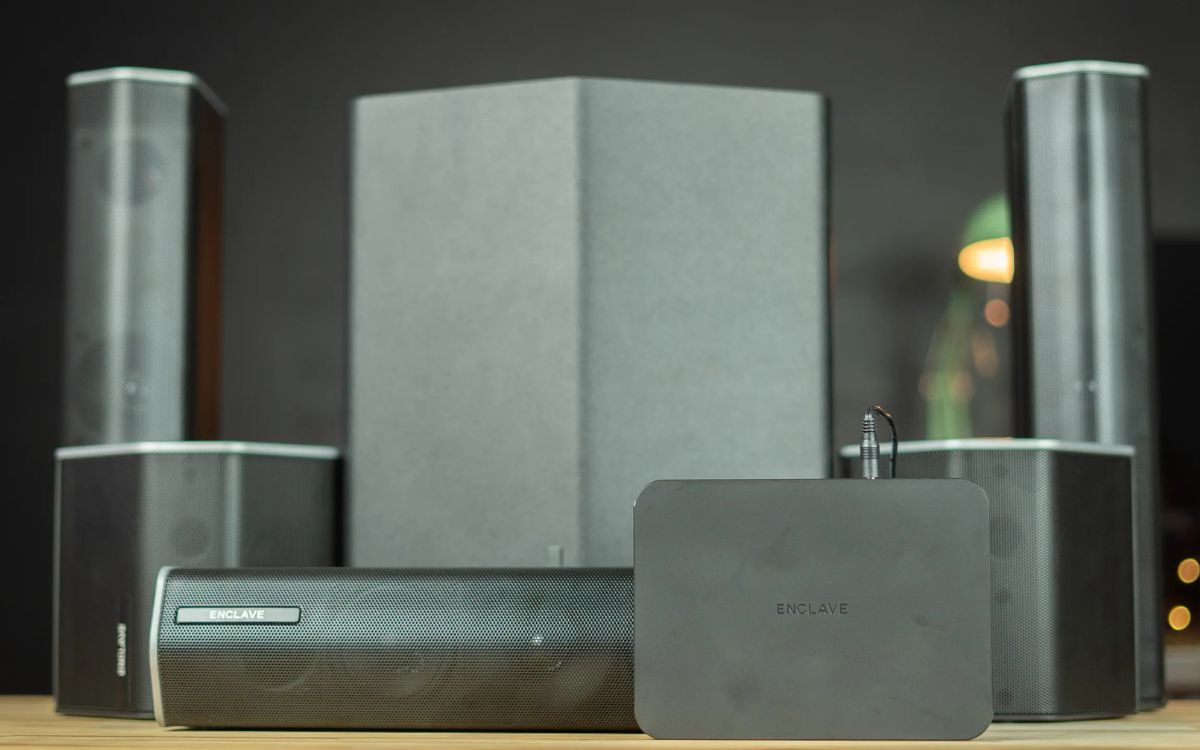
- Speaker Configuration: Determine the desired speaker configuration for your setup. Common configurations include 5.1, 7.1, or even 9.1 systems. The number before the decimal refers to the main speakers, while the number after the decimal represents the subwoofer. Consider the size of your room and your audio preferences when deciding on the speaker configuration.
- Audio Formats: Check if the surround sound system supports the audio formats you intend to use. Common formats include Dolby Digital, DTS, and Dolby Atmos. Ensure that the system is compatible with the audio formats of your favorite movies, shows, and games.
- Wireless or Wired: Decide whether you prefer a wireless or wired setup. Wireless systems offer convenience and flexibility in speaker placement, while wired systems generally deliver more reliable and consistent audio quality.
- Budget: Set a budget for your surround sound system. There are options available at various price points, so it’s important to find a system that fits your budget without compromising on quality. Remember to consider the long-term investment and the value you’ll derive from the system.
- Research and Reviews: Before making a purchase, research different surround sound systems and read reviews from experts and fellow users. This will give you insights into the performance, durability, and overall user experience of the system.
It’s also worth noting that some surround sound systems come as bundled packages, including an audio receiver and speakers, while others allow you to customize and build your system from individual components. Consider your preferences and level of technical expertise when deciding which option is best for you.
Remember, the goal is to find a surround sound system that suits your needs, enhances your entertainment experience, and integrates seamlessly into your home theater setup. By considering the factors mentioned above and conducting thorough research, you can ensure that you choose the right surround sound system that will bring your audio to life and immerse you in the world of cinematic sound.
Finding the Ideal Location for Your Home Theater
Once you’ve selected the perfect surround sound system, the next step is to find the ideal location for your home theater. The placement of your speakers and seating arrangement can greatly impact the audio experience. Here are some tips to help you find the right spot:
- Room Size and Shape: Consider the size and shape of your room. Ideally, a dedicated room with minimal obstructions and reflective surfaces is ideal for a home theater. However, if you don’t have a dedicated space, choose a room where you can optimize the sound by minimizing echoes and reflections.
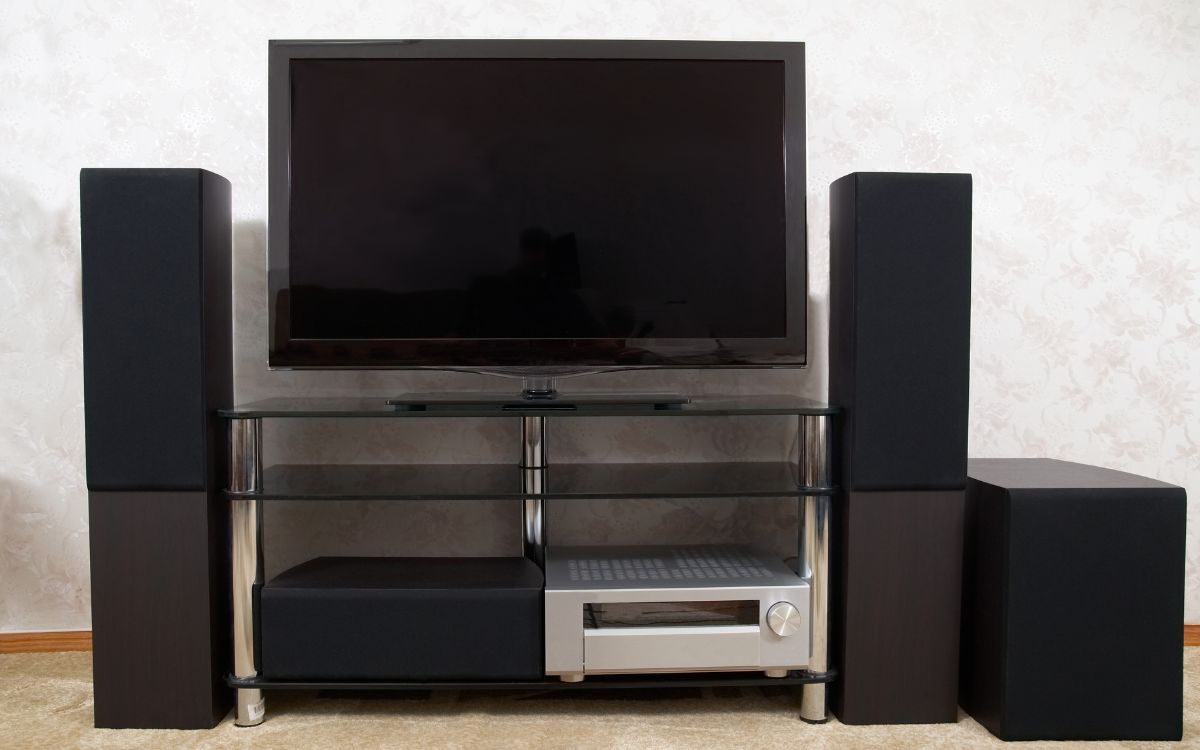
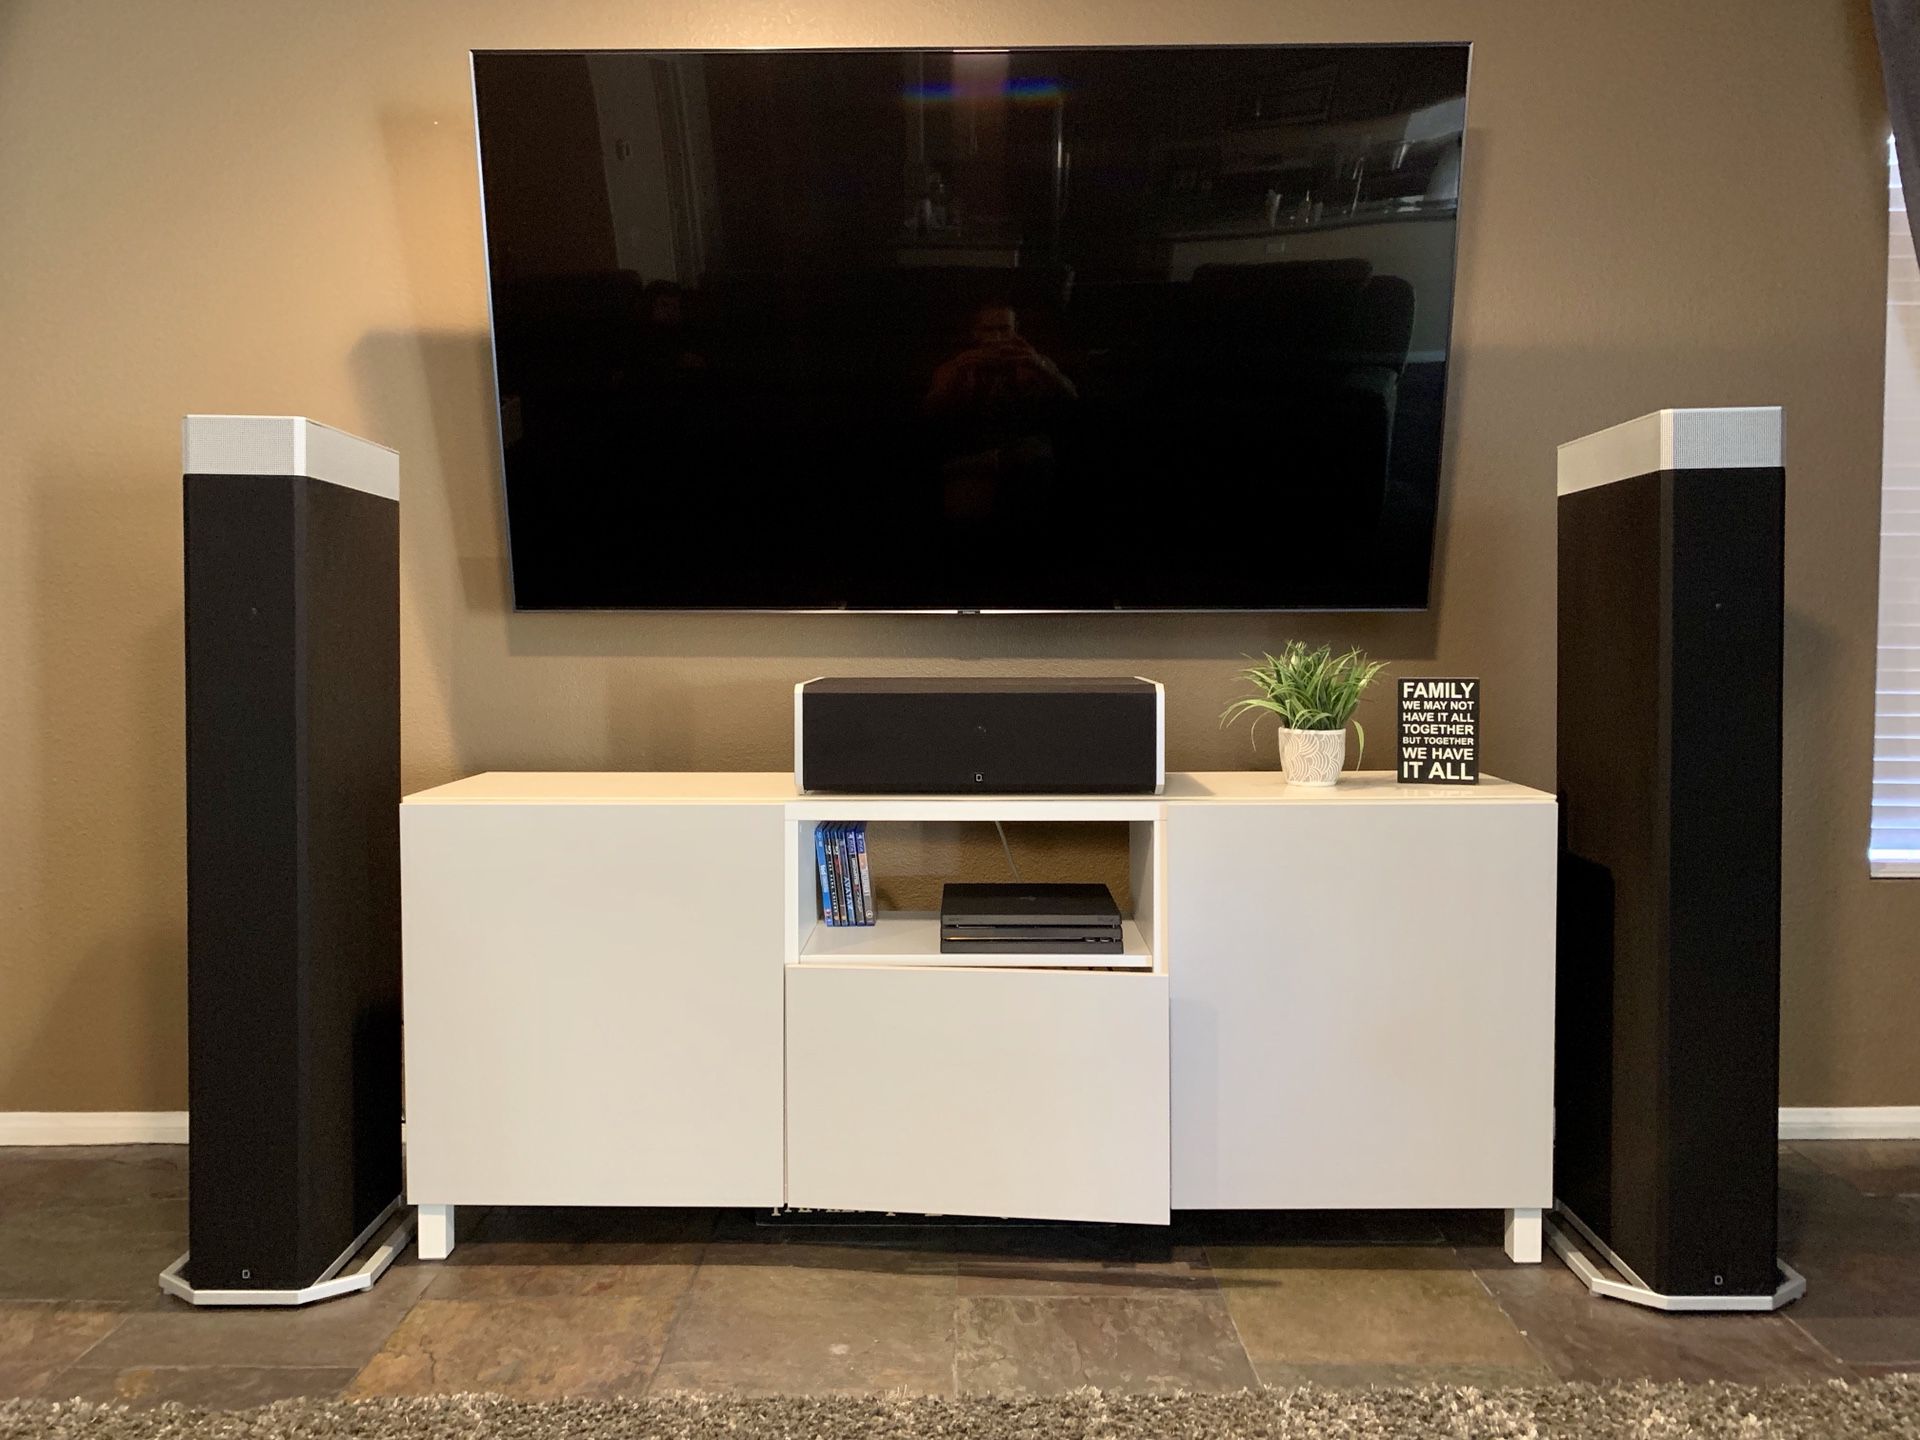
- Optimal Speaker Placement: Proper speaker placement is crucial for achieving optimal surround sound. Place the front speakers at ear level, forming an equilateral triangle with your seating position. The center speaker should be aligned with the TV or screen, while the surround speakers should be positioned slightly above ear level and behind the seating area.
- Subwoofer Placement: Experiment with subwoofer placement to find the sweet spot for deep, impactful bass. Avoid placing the subwoofer directly against walls or in corners, as this can result in boomy and uneven bass response. Instead, try placing it a few feet away from walls or use room correction features to achieve a balanced low-frequency response.
- Seating Position: Your seating position should be centered between the front speakers for an immersive audio experience. Avoid sitting too close or too far from the speakers, as it can affect the balance and imaging of the sound. Experiment with different seating positions to find the ideal spot where you can enjoy the surround sound effects.
- Avoiding Reflections: Minimize reflective surfaces in your room to prevent sound reflections that can distort the audio quality. Consider adding acoustic panels or curtains to absorb excessive reverberation and improve the clarity of the sound. Additionally, placing rugs or carpets on hard floors can help reduce reflections and echoes.
Keep in mind that room acoustics can have a significant impact on the audio experience. If you’re serious about optimizing the sound in your home theater, you might consider consulting an acoustics professional or investing in acoustic treatment to further improve the room’s sound quality.
By carefully considering the size, shape, speaker placement, seating position, and room acoustics, you can find the ideal location for your home theater system. This will ensure that you get the most out of your surround sound setup and enjoy an immersive audio experience that rivals a movie theater.
Setting Up the Audio Receiver
The audio receiver is the heart of your surround sound system, responsible for processing and amplifying the audio signals from your sources and distributing them to the speakers. Setting up your audio receiver correctly is crucial for achieving optimal audio performance. Here’s how to do it:
- Choose the Right Location: Find a suitable location for your audio receiver. Ideally, it should be placed in a well-ventilated area with enough space around it to prevent overheating. Make sure the receiver is easily accessible for connecting cables and adjusting settings.
- Unbox and Inspect: Carefully unbox the audio receiver and inspect it for any visible damage. Check that all the necessary accessories, such as a remote control, antennas, and calibration microphones, are included.
- Connect the Power: Plug the power cord into a power outlet and switch on the receiver. Take note of the indicator lights or display on the receiver to ensure it powers on correctly.
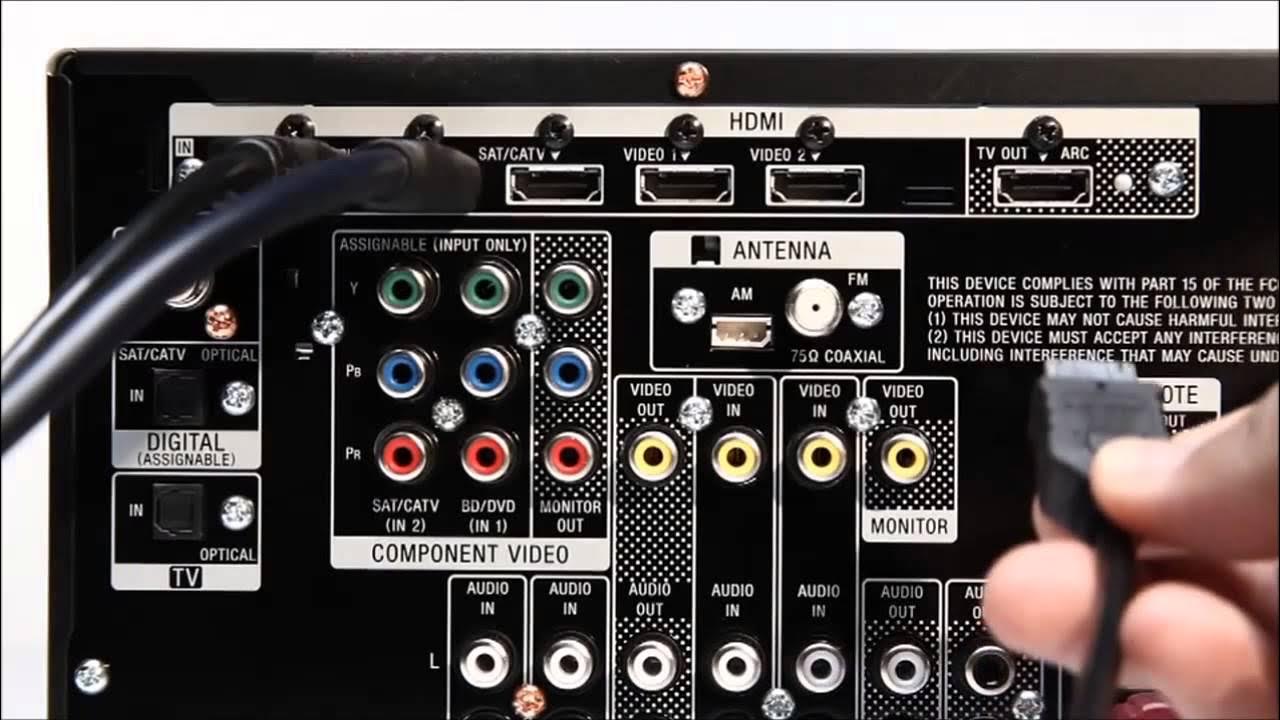
- Connect the Sources: Identify the audio sources you’ll be using, such as a Blu-ray player, gaming console, or streaming device. Connect the HDMI, optical, or coaxial cables from the sources to the corresponding input ports on the back of the receiver. Ensure the connections are secure and tight.
- Connect the TV: If you plan to route audio through your TV, connect an HDMI cable from the HDMI output port on the receiver to the HDMI input on your TV. This will allow you to control the receiver’s audio settings through the TV’s menu.
- Connect the Speakers: Locate the speaker outputs on the back of the receiver and connect the corresponding speaker wires. Ensure that each wire is connected to the correct channel (e.g., front left, front right, center, surround left, surround right). Use the appropriate connectors, such as binding posts or spring clips, to secure the speaker wire connections.
- Set Up the Subwoofer: If you have a subwoofer, connect it to the dedicated subwoofer output on the receiver using an RCA cable. Adjust the crossover and volume settings on the receiver to achieve a balanced bass response.
- Run Audyssey or Auto Calibration: Many audio receivers come with room calibration features, such as Audyssey or auto calibration. Follow the instructions provided by the manufacturer to run these calibration processes. They optimize the audio settings based on your specific room acoustics, speaker placement, and listening position.
- Configure the Receiver Settings: Access the receiver’s menu and configure the audio settings according to your preferences. This includes adjusting the speaker levels, setting up the surround sound mode, and exploring other audio enhancement features offered by the receiver.
- Test the Setup: Play audio from your sources and perform a thorough test to ensure that all speakers are functioning correctly and sound is being distributed appropriately. Make any necessary adjustments to the speaker levels or settings based on your listening preferences.
Setting up the audio receiver may seem daunting at first, but by following these steps, you can ensure that your receiver is properly connected and configured to deliver the best possible audio experience. Once the audio receiver is set up, you can move on to connecting your speakers and fine-tuning your surround sound system.
Connecting Speakers to Your Audio Receiver
Now that your audio receiver is set up, it’s time to connect your speakers. Properly connecting the speakers to your audio receiver ensures that you can enjoy precise and immersive surround sound. Here’s how to do it:
- Identify Speaker Outputs: Locate the speaker outputs on the back of your audio receiver. These are typically color-coded or labeled to indicate the specific speaker channels (e.g., front, center, surround).
- Match Speaker Polarities: Check the polarity of your speakers. Most speakers have terminals labeled as positive (+) and negative (-). Ensure that you match the positive terminal of each speaker with the corresponding positive output on the receiver.
- Prepare Speaker Wires: Measure and cut the appropriate length of speaker wire for each speaker. Strip a small portion of insulation from the ends of the wire, revealing bare copper strands.
- Connect Speaker Wires: Insert the bare ends of the speaker wires into the corresponding speaker output terminals of your audio receiver. The positive wire should go into the positive terminal and the negative wire into the negative terminal. Depending on your receiver, you may need to use connectors like banana plugs, spade connectors, or simply twist the bare ends and insert them into the terminals.
- Connect Speakers: Moving to the speakers, identify the terminals on the back of each speaker. Again, match the positive and negative terminals with the corresponding wires. Connect the positive wire to the positive terminal and the negative wire to the negative terminal. Ensure a secure connection.
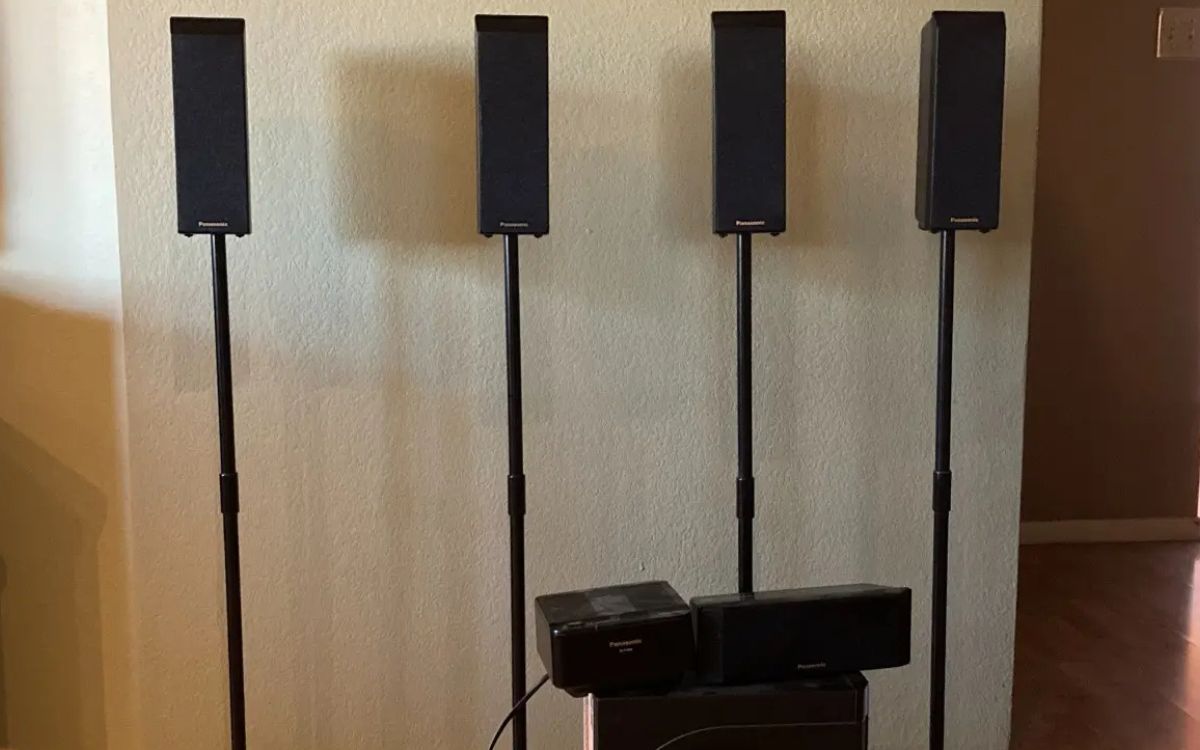
- Repeat for Other Speakers: Repeat the above steps for each speaker in your surround sound system. Pay attention to the correct placement of the speakers, such as front left, front right, center, surround left, and surround right. Make sure all connections are tight and secure.
- Test the Speakers: After connecting all the speakers, it’s important to test them to ensure they are working correctly. Play some audio or use the receiver’s test tone function to verify that sound is coming from each speaker. Adjust the speaker levels if needed to balance the audio across all channels.
- Make Cable Management: Once the speakers are connected and tested, tidy up the speaker wires to keep them organized and reduce the risk of tripping hazards. Use cable clips, ties, or cable management solutions to secure and route the wires neatly along walls or baseboards.
Remember, the quality of the speaker cables can also affect the audio performance. If possible, use thicker gauge wires, as they can help minimize signal loss and ensure better sound reproduction.
By correctly connecting your speakers to the audio receiver, you can enjoy a seamless and immersive surround sound experience. Take your time to double-check all connections and perform a thorough audio test to ensure that all speakers are working and positioned correctly. With the speakers in place, it’s time to move on to calibrating your surround sound system.
Calibrating the Surround Sound System
Calibrating your surround sound system is an essential step to ensure that audio is optimized for your specific room and speaker setup. Proper calibration helps achieve accurate sound reproduction and creates a balanced and immersive audio experience. Here’s how to calibrate your surround sound system:
- Use Room Calibration Tools: Many audio receivers come equipped with room calibration tools, such as Audyssey or auto calibration. These tools utilize built-in microphones to analyze the room’s acoustics and adjust various audio settings accordingly. Follow the manufacturer’s instructions to activate and run these calibration processes.
- Choose the Listening Position: Sit in the primary listening position where you typically watch movies or listen to music. This position should be centrally located and at a comfortable distance from the speakers.
- Run the Room Calibration Process: Follow the on-screen prompts or instructions provided by the receiver to run the room calibration process. This typically involves generating test tones and measuring the speaker distances, levels, and room acoustics. Allow the calibration process to complete without interruptions.
- Verify Speaker Levels: After the room calibration, verify the speaker levels. Use the receiver’s menu or settings to adjust individual speaker levels if needed. This ensures that audio is balanced and that all speakers are playing at the desired volume levels.
- Experiment with Surround Sound Modes: Most audio receivers offer various surround sound modes, such as Dolby Surround, DTS Neural:X, or THX Cinema. Experiment with these modes to find the one that best suits your preferences and the content you are watching or listening to.
- Fine-Tune the Subwoofer: If your system has a subwoofer, you may need to fine-tune its settings. Adjust the subwoofer level and crossover point to blend seamlessly with the main speakers and achieve a well-balanced bass response. Refer to the receiver’s manual for specific instructions on subwoofer settings.
- Personalize the EQ Settings: Some receivers allow you to customize the EQ (equalizer) settings. Fine-tune the EQ to match your personal preferences, emphasizing certain frequencies or compensating for room acoustics. Use the receiver’s manual or consult the manufacturer’s website for guidance on adjusting the EQ.
- Re-Test and Make Adjustments: After calibrating and adjusting the initial settings, re-test your system by playing various audio sources and content. Pay attention to the audio balance, imaging, and surround effects. Make further adjustments as needed to achieve your desired audio experience.
Calibrating your surround sound system may require some patience and trial-and-error, but it is worth the effort. The goal is to achieve a well-balanced and immersive audio experience that enhances your enjoyment of movies, music, and games. Take the time to explore the various calibration options and settings available on your audio receiver to optimize the performance of your surround sound system.
With your system properly calibrated, you’re now ready to fine-tune the audio settings to suit your preferences and explore the full capabilities of your surround sound home theater setup.
Configuring the Audio Settings
Configuring the audio settings on your surround sound system is a crucial step in maximizing your audio experience. By fine-tuning the settings to match your preferences and the content you’re listening to, you can further enhance the immersive nature of your home theater. Here’s how to configure the audio settings:
- Access the Audio Settings: Using the remote control or the on-screen menu of your audio receiver, navigate to the audio settings section.
- Select the Surround Sound Mode: Choose the appropriate surround sound mode based on the content you’re watching or listening to. Options may include Dolby Digital, DTS, or specific modes like Movie, Music, or Game. Experiment with different modes and select the one that provides the desired audio experience.
- Adjust the Speaker Levels: Fine-tune the volume levels of each speaker to achieve a balanced sound stage. Use the receiver’s audio settings menu to increase or decrease the output level of individual speakers. This step ensures that the sound is evenly distributed and that no speaker overpowers or gets lost in the audio mix.
- Explore Surround Sound Enhancements: Many receivers offer additional audio enhancements to further enrich the sound experience. Explore options like virtual surround sound, dialogue enhancement, or dynamic range compression to customize the audio to your preferences. However, be mindful not to overdo these enhancements, as they may interfere with the original audio intent.
- Activate Dynamic EQ: If your receiver has a dynamic EQ feature, consider enabling it. Dynamic EQ adjusts the frequency response based on the content, ensuring that low-volume scenes still retain impact and clarity. This feature can be particularly beneficial when watching movies at lower volumes.
- Enable Room Correction: If your receiver supports room correction, such as Audyssey or similar technologies, activate it. Room correction helps compensate for the acoustic characteristics of your room, reducing the impact of room reflections and enhancing overall audio quality. Follow the instructions provided by the manufacturer to run the room correction procedure.
- Adjust Bass and Treble: Some receivers allow you to adjust the bass and treble levels manually. If you prefer more pronounced bass or increased treble response, fine-tune these settings to your liking. Be cautious not to excessively boost these frequencies, as it may result in distorted or unbalanced sound.
- Consider Audio Delay: If you notice any audio-visual sync issues, check if your receiver has an audio delay or lip sync feature. This setting allows you to delay the audio to match the video playback, ensuring that the sound is perfectly synchronized with the on-screen action.
- Save and Test: After configuring the audio settings, save the changes and test the system with different content. Play movies, music, and games to verify that the audio is well-balanced, immersive, and enhances the overall entertainment experience.
Remember that audio settings are subjective and can vary based on personal preferences and room acoustics. It is recommended to take the time to listen and experiment with different settings to find the combination that delivers the best audio experience for you.
By configuring the audio settings on your surround sound system, you can tailor the audio to match your preferences and make the most out of your home theater setup. Enjoy the immersive audio journey as you dive into your favorite movies, games, and music with enhanced sound quality.
Connecting Other Devices to Your Home Theater System
While setting up your surround sound system, it’s important to consider how to connect other devices to your home theater. Whether it’s a Blu-ray player, gaming console, streaming device, or even a turntable, seamlessly integrating these devices with your surround sound setup allows for a versatile and immersive entertainment experience. Here’s how to connect other devices to your home theater system:
- Identify the Audio Outputs: Check the available audio outputs on each device you want to connect to your home theater system. Common audio outputs include HDMI, optical (TOSLINK), coaxial, and analog (RCA).
- Choose the Connection Method: Select the appropriate connection method based on the available audio outputs. HDMI offers the best audio and video quality and is the preferred choice for most modern devices. Optical and coaxial connections are suitable for devices that do not have HDMI output. Analog connections are typically used for older devices or turntables.
- Connect with HDMI: If your device and home theater system have HDMI ports, use an HDMI cable to connect them. Simply plug one end of the HDMI cable into the HDMI output port of the device and the other end into an available HDMI input port on your audio receiver or directly into the HDMI input on your TV.
- Connect with Optical or Coaxial Cable: For devices with optical or coaxial audio outputs, use the corresponding cable to connect. Plug one end of the optical or coaxial cable into the corresponding output port on the device and the other end into the corresponding input port on your audio receiver.
- Connect with Analog RCA Cable: If you have a device with analog RCA outputs, use RCA cables to connect. Connect the red and white RCA plugs from the device’s audio outputs to the corresponding RCA input ports on the audio receiver. Ensure that the connections are color-coded correctly.
- Configure the Audio Source: Access the audio settings on your audio receiver and select the appropriate audio source corresponding to the connected device. This ensures that the audio is routed correctly and plays through the surround sound speakers.
- Test the Connection: Play audio or video content on the connected device and test if the audio is being played through the surround sound system. Adjust the volume levels and settings as needed to achieve the desired audio experience.
- Connect Streaming Devices: If you have streaming devices, such as a smart TV, streaming stick, or media player, ensure that they are connected to the internet. Follow the manufacturer’s instructions to connect to your home Wi-Fi network and access streaming services directly from your home theater system.
- Consider Universal Remote Control: To simplify the control of multiple devices, consider using a universal remote control that can operate all your connected devices. This allows you to control the audio settings, volume, and other functions conveniently from a single remote.
By connecting other devices to your home theater system, you expand the versatility and entertainment options available to you. Whether it’s watching movies, playing games, or streaming your favorite shows, seamless integration with your surround sound setup enhances the overall audiovisual experience.
Keep in mind that specific devices may have additional requirements or settings, so consult the device manuals or manufacturer’s websites for detailed instructions on connecting and configuring them with your home theater system.
With everything properly connected, you’re now ready to immerse yourself in the world of entertainment and enjoy the rich audio experience provided by your surround sound system.
Troubleshooting Common Issues
While setting up and using your surround sound system, you may encounter some common issues that can affect your audio experience. Here are some troubleshooting tips to help you resolve these issues:
- No Sound: If you’re not getting any sound from your speakers, check the following:
- Ensure that the audio receiver is powered on and connected to a power source.
- Check that the speakers are properly connected to the receiver and that the speaker wires are securely attached.
- Verify that the audio source device, such as a DVD player or gaming console, is sending audio to the receiver and that the correct input is selected on the receiver.
- Make sure the volume levels on the receiver and the connected devices are turned up and not muted.
- Inconsistent Surround Sound: If you’re experiencing inconsistent surround sound effects, consider these troubleshooting steps:
- Check the speaker wire connections to ensure that they are secure and properly connected.
- Verify that the audio receiver settings are configured correctly for a surround sound setup.
- Make sure that the audio source content you’re playing is encoded in surround sound and that your receiver is set to the appropriate surround sound mode.
- Consider adjusting individual speaker levels to balance the sound and ensure proper distribution of audio across the surround sound channels.
- Audio Lag or Delay: If you notice audio lag or delay, which can result in the sound being out of sync with the video, try these troubleshooting tips:
- Check if the audio delay or lip sync feature is enabled on your audio receiver. Adjust the settings to synchronize the audio with the video playback.
- Verify that all connected devices, such as the TV and media source, are set to the same audio delay setting, if applicable.
- Consider consulting your receiver’s manual for any advanced audio delay adjustment options.
- Audio Distortion or Static: If you’re experiencing audio distortion or static, take these steps to resolve the issue:
- Check that the speaker wires are not frayed or damaged. Replace any faulty cables to ensure a clean and uninterrupted signal.
- Ensure that the speaker wire connections are secure and tight at both the receiver and speaker ends.
- Inspect the speakers themselves for any visible damage or issues with the drivers. Replace any faulty speakers as needed.
- Consider adjusting the volume levels to prevent any audio clipping or distortion caused by excessive volume.
- No Subwoofer Output: If you’re not getting any sound from your subwoofer, try these troubleshooting steps:
- Check that the subwoofer is powered on and connected to the audio receiver using the appropriate cables.
- Ensure that the subwoofer volume and crossover settings are appropriately adjusted on both the subwoofer itself and the audio receiver.
- Confirm that the audio source being played has low-frequency content that should be sent to the subwoofer.
- Inspect the subwoofer cable for any physical damage or loose connections. Replace the cable if necessary.
If these troubleshooting tips do not resolve your issue, consult the user manual for your specific audio receiver and speakers. Additionally, consider reaching out to the manufacturer’s customer support for further assistance specific to your setup.
Remember to be patient and methodical when troubleshooting. By systematically identifying and addressing the issue, you can enjoy smooth and immersive audio from your surround sound system.
Enjoying Your Surround Sound Home Theater System
Congratulations! With your surround sound home theater system set up and optimized, it’s time to sit back, relax, and immerse yourself in the captivating world of audio and video. Here are some tips to fully enjoy your surround sound experience:
- Watch Movies and TV Shows: Experience the thrill of watching movies and TV shows like never before. Enjoy the powerful sound effects, dialogue clarity, and immersive surround sound that brings the on-screen action to life. Get lost in the world of your favorite characters and feel the impact of every explosion, whisper, and musical score.
- Play Video Games: Enhance your gaming adventures with surround sound. Whether you’re embarking on an epic quest, engaging in intense multiplayer battles, or exploring virtual worlds, the immersive audio will heighten your gaming experience. Pinpoint enemy movements, feel the rumble of explosions, and become fully immersed in the game’s audio landscape.
- Listen to Music: Rediscover your favorite songs in a whole new way. Whether it’s your favorite album, a live concert recording, or streaming music, enjoy the richness and clarity of each instrument and the subtle nuances of the vocals. The surround sound system will envelop you in a multi-dimensional audio experience, making you feel as if you’re in the front row of a live performance.
- Host Movie Nights and Gatherings: Share the joy of your surround sound home theater system with family and friends. Host movie nights, watch parties, or sports events, and let everyone experience the immersive audio together. It’s a great way to enjoy quality time and create lasting memories with loved ones.
- Optimize Content Streaming: Take advantage of streaming services that offer high-quality audio and video, such as Blu-ray discs, 4K Ultra HD streaming, or lossless audio formats. Explore movies, TV shows, and music that are specifically mastered for exceptional sound reproduction. This will truly showcase the capabilities of your surround sound system.
- Expand Your Sound Library: Explore genres and content that exemplify the capabilities of surround sound. Seek out movies with dynamic soundtracks, documentaries with immersive nature sounds, or video games known for their innovative use of audio. Expand your sound library and indulge in content that showcases the full potential of your surround sound system.
- Discover Audio Enhancements: Experiment with the audio settings and enhancements on your receiver. Customize the sound staging, adjust equalizer settings, or try different surround sound modes to match your preferences and optimize the audio for each type of content. Continually explore and fine-tune the settings to enhance your overall audio experience.
- Keep Your System Update: Regularly update firmware and software on your audio receiver, speakers, and connected devices to ensure compatibility, reliability, and access to new features or improvements. Check the manufacturer’s website or utilize automatic updates to stay up-to-date.
- Share Your Experience: Engage with other audio enthusiasts and home theater aficionados. Share your setup, discuss favorite movies or albums, recommend audio content, or seek advice on optimizing your surround sound experience. Join online forums or communities dedicated to the world of audio and immerse yourself in the discussions.
Remember, the key to fully enjoying your surround sound home theater system is to immerse yourself in the audio experience. Experiment, explore, and relax as you indulge in the dynamic and captivating world of surround sound. Let the immersive audio transport you to new dimensions and elevate your home entertainment to unparalleled heights.
Conclusion
Congratulations on successfully setting up your surround sound home theater system! You’ve embarked on a journey that will elevate your entertainment experience to new heights. By carefully choosing the right surround sound system, finding the ideal location, setting up your audio receiver, connecting speakers, calibrating the system, configuring the audio settings, and connecting other devices, you have created a truly immersive audio environment in your home.
With your surround sound system in place, you can now enjoy movies, TV shows, gaming sessions, and music in a whole new way. Whether you’re transported to the middle of a thrilling action sequence, immersed in the symphony of a live concert, or engaged in the virtual world of your favorite games, the surround sound system will envelop you with its immersive audio effects and enhance your overall entertainment experience.
Remember to periodically check and troubleshoot any common issues that may arise to ensure that your surround sound system continues to deliver optimal performance. Stay up-to-date with firmware updates and make adjustments to the audio settings as new content and preferences emerge.
Now, sit back, relax, and immerse yourself in the rich and captivating audio world of your surround sound home theater system. Explore new movies, games, and music that take full advantage of your setup and invite others to share in the excitement. As you indulge in the power of surround sound, you’ll discover a whole new level of audio immersion and entertainment enjoyment.
Enjoy every moment of your surround sound system and let it transport you to new levels of audio bliss!