Home>Production & Technology>Surround Sound>How To Build A Surround Sound System
Surround Sound
How To Build A Surround Sound System
Modified: February 17, 2024
Learn how to build a surround sound system and elevate your audio experience. Transform your home theater with our step-by-step guide and expert advice!
(Many of the links in this article redirect to a specific reviewed product. Your purchase of these products through affiliate links helps to generate commission for AudioLover.com, at no extra cost. Learn more)
Table of Contents
Introduction
In today’s fast-paced world, where entertainment plays a vital role in our lives, having a surround sound system can transform your home audio experience. Whether you’re an avid movie buff, a music lover, or a gaming enthusiast, a surround sound system creates a true immersive environment that enhances the richness and depth of sound.
But with so many options available in the market, choosing the right surround sound system can be overwhelming. This comprehensive guide aims to simplify the process by providing you with valuable insights into building a surround sound system that suits your needs and preferences.
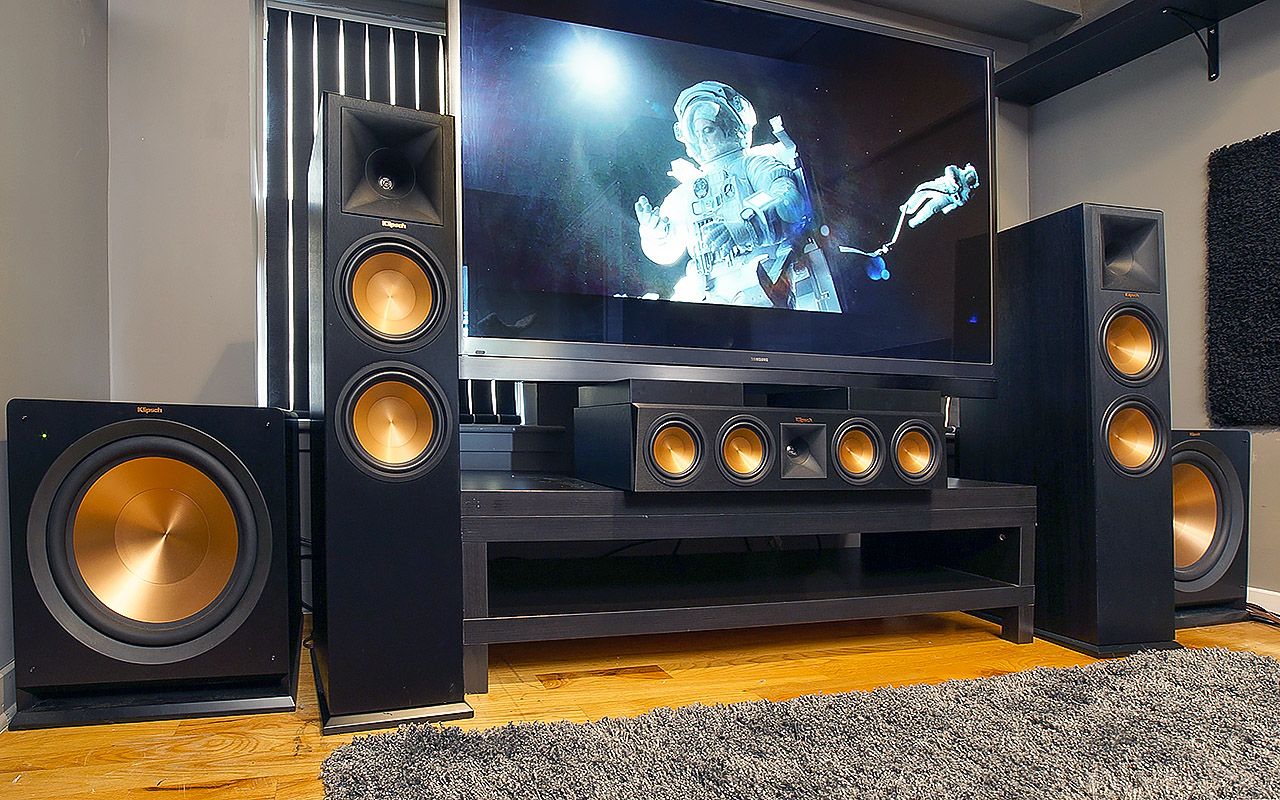
Before diving into the specifics, it’s essential to understand what a surround sound system is and how it works. Surround sound refers to a technology that recreates a three-dimensional audio environment by using multiple speakers placed strategically around the room. This configuration allows for a more realistic and enveloping sound experience, making you feel as if you are right in the middle of the action.
Nowadays, most surround sound systems use a 5.1 or 7.1 channel configuration. The numbers represent the number of speakers and subwoofers in the system. The “5” in 5.1 refers to the front left, center, front right, rear left, and rear right speakers. The “1” indicates the subwoofer, which handles the low-frequency sounds for a more powerful and balanced audio output. The same concept applies to a 7.1 system, but with the addition of two extra side speakers for more precise audio positioning.
Building a surround sound system involves choosing the right speakers, selecting an amplifier, determining speaker placement, making the necessary connections, adjusting sound settings, troubleshooting any issues that may arise, and performing routine maintenance. Each step is crucial in achieving the best possible sound quality and overall user experience.
Throughout this guide, we’ll provide expert advice and practical tips to help you navigate the process with confidence. By the end, you’ll have a clear understanding of how to build your own surround sound system and enjoy exceptional audio quality in the comfort of your own home.
Choosing the Right Speakers
When it comes to building a surround sound system, selecting the right speakers is crucial for achieving optimal audio performance. There are various factors to consider when choosing speakers, including sound quality, speaker types, and budget. Let’s dive into each aspect:
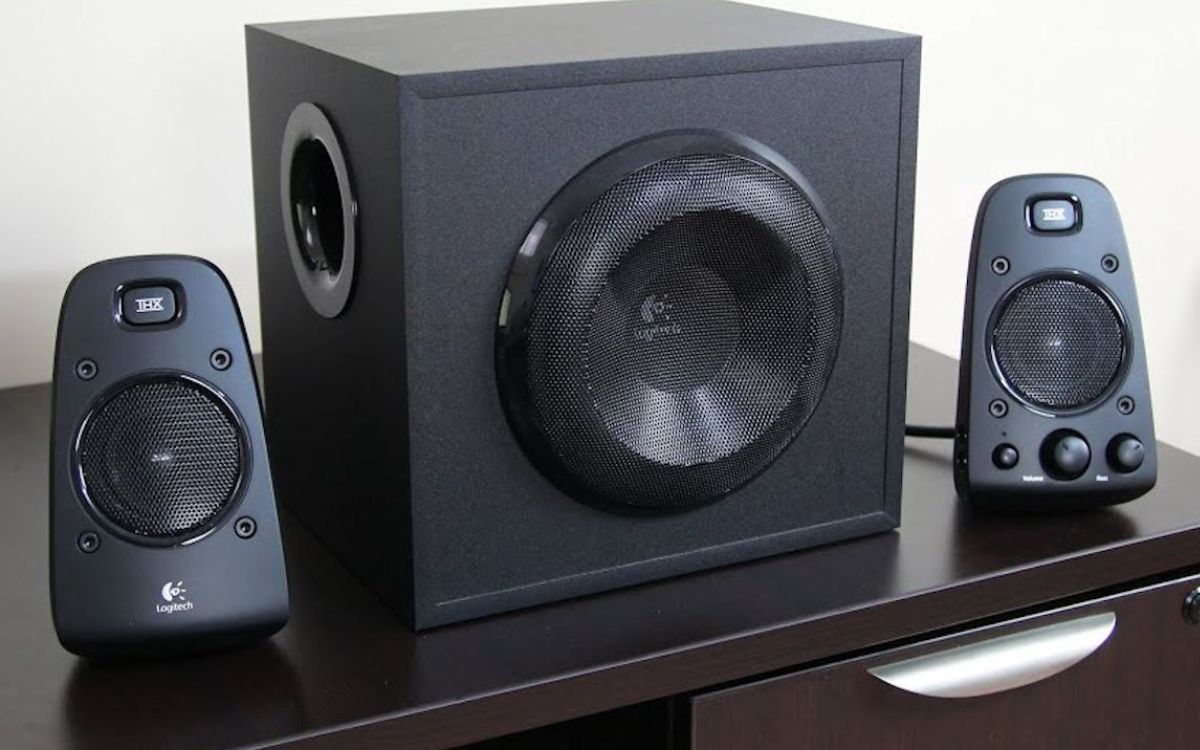
1. Sound Quality: The primary goal of a surround sound system is to deliver immersive and high-quality audio. It’s essential to choose speakers that can reproduce sound accurately and with clarity across a wide frequency range. Look for speakers with a balanced frequency response, which means they can handle both low and high frequencies without distortion or muddiness.
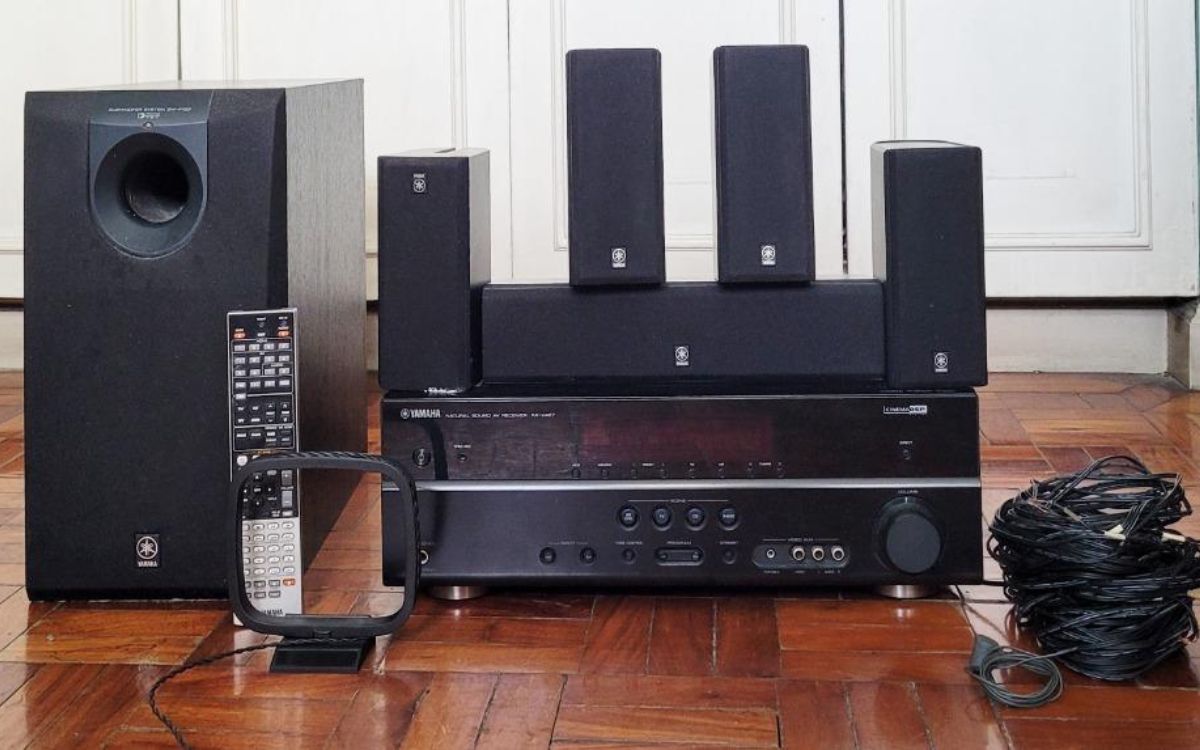
2. Speaker Types: Surround sound systems typically consist of different speaker types, including front speakers (left, center, and right), rear speakers (left and right), and a subwoofer. Front speakers are responsible for delivering dialogue and most of the sound effects, while rear speakers create a sense of depth and spaciousness. The subwoofer handles the low-frequency sounds, adding depth and impact to explosions, music, and other bass-heavy elements. Consider the size and type of speakers that will fit best in your space and complement each other in terms of sound reproduction.
3. Budget: Like any other investment, establishing a budget for your surround sound system is essential. Determine how much you are willing to spend on speakers while considering the quality you desire. Remember, higher-quality speakers often come with a higher price tag, but they can significantly enhance your overall audio experience. It’s important to strike a balance between your budget and the level of sound quality you’re aiming for.
Additionally, consider the aesthetics of the speakers. Will they blend seamlessly with your home decor, or would you prefer them to stand out as a design statement? There are speakers available in various sizes, shapes, and finishes, so you can find ones that match your personal style and preferences.
Before making a purchase, it’s always a good idea to listen to the speakers in person, if possible. Visit a local audio store or attend audio expos where you can experience the sound quality firsthand. This allows you to assess the speakers’ performance and determine if they meet your expectations.
Remember, the speakers you choose significantly impact the overall audio quality of your surround sound system. Make sure to do thorough research, read reviews, and seek expert advice to make an informed decision.
Selecting the Amplifier
An amplifier is a crucial component of a surround sound system as it powers and controls the audio output of the speakers. When selecting an amplifier, there are several factors to consider to ensure compatibility and optimal performance:
1. Power Output: The power output of an amplifier is measured in watts per channel (WPC) and determines how loud the audio can be. It’s important to choose an amplifier that provides enough power to drive your speakers without distortion. Refer to the speaker’s recommended power range and match it with the amplifier’s power output accordingly. Having more power than you need can offer headroom for dynamic peaks and prevent clipping or distortion during loud passages.
2. Channel Configuration: The channel configuration of your amplifier should match the setup of your surround sound system. A 5.1 system requires a 5-channel amplifier, while a 7.1 system requires a 7-channel amplifier. Additionally, consider if you plan to expand your system in the future. Some amplifiers offer the option to add additional channels later, allowing for future expansion.
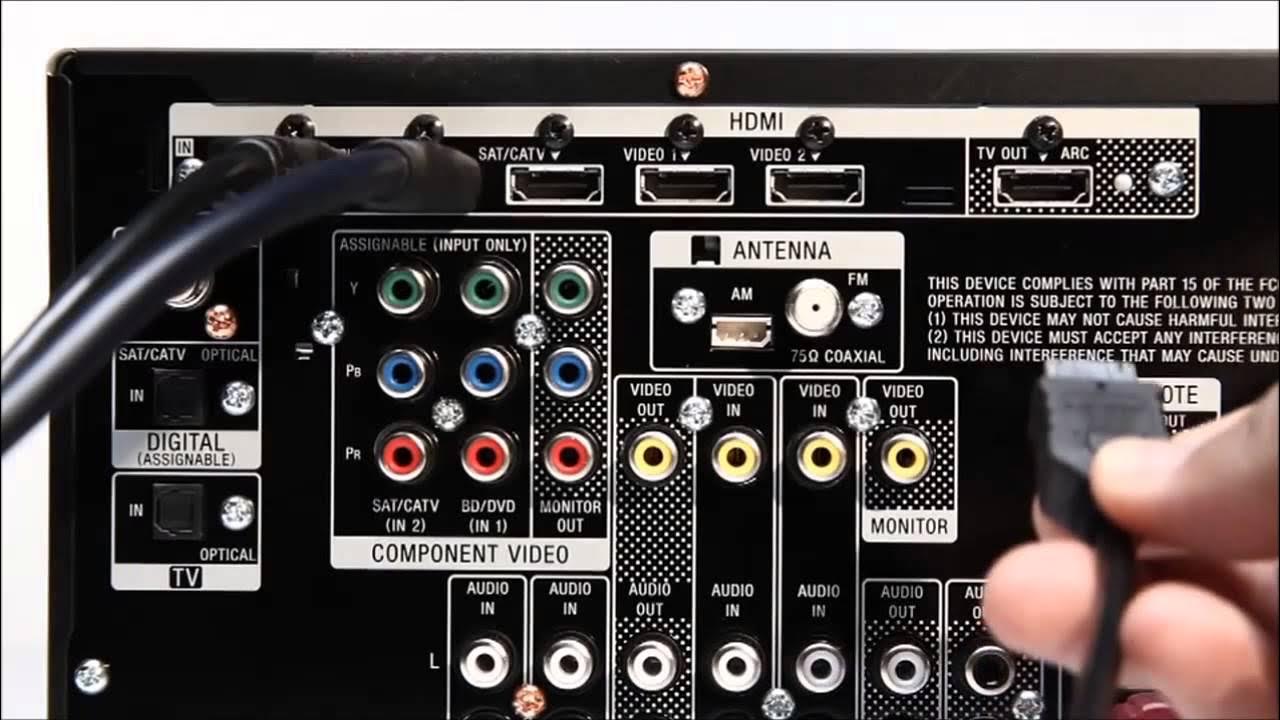
3. Connectivity Options: Ensure that the amplifier provides the necessary connectivity options for your devices. Most amplifiers have HDMI or optical inputs, allowing you to connect audio sources such as Blu-ray players, streaming devices, and gaming consoles. Make sure the amplifier has enough inputs for all your devices. Additionally, consider if the amplifier supports the latest audio formats, such as Dolby Atmos or DTS:X, for a more immersive audio experience.
4. Amplifier Class: Amplifiers come in different classes, such as Class A, Class AB, and Class D. Class A amplifiers deliver the highest audio quality but are less efficient and generate more heat. Class AB amplifiers offer a balance between audio quality and efficiency. Class D amplifiers are highly efficient and generate less heat, making them suitable for compact installations. Consider your priorities in terms of audio quality, efficiency, and heat management when choosing an amplifier class.
5. Room Size: The size of your room plays a role in choosing the right amplifier. Larger rooms may require more power to fill the space with sound adequately. Consider the amplifier’s power output and the speaker’s sensitivity to ensure sufficient coverage and volume for your room size.
When selecting an amplifier, it’s also important to keep in mind your budget and personal preferences. Read reviews, compare prices, and consult with audio experts to find the best amplifier that meets your needs.
By considering these factors and selecting an amplifier that complements your speakers and room size, you can create a cohesive surround sound system with excellent audio performance.
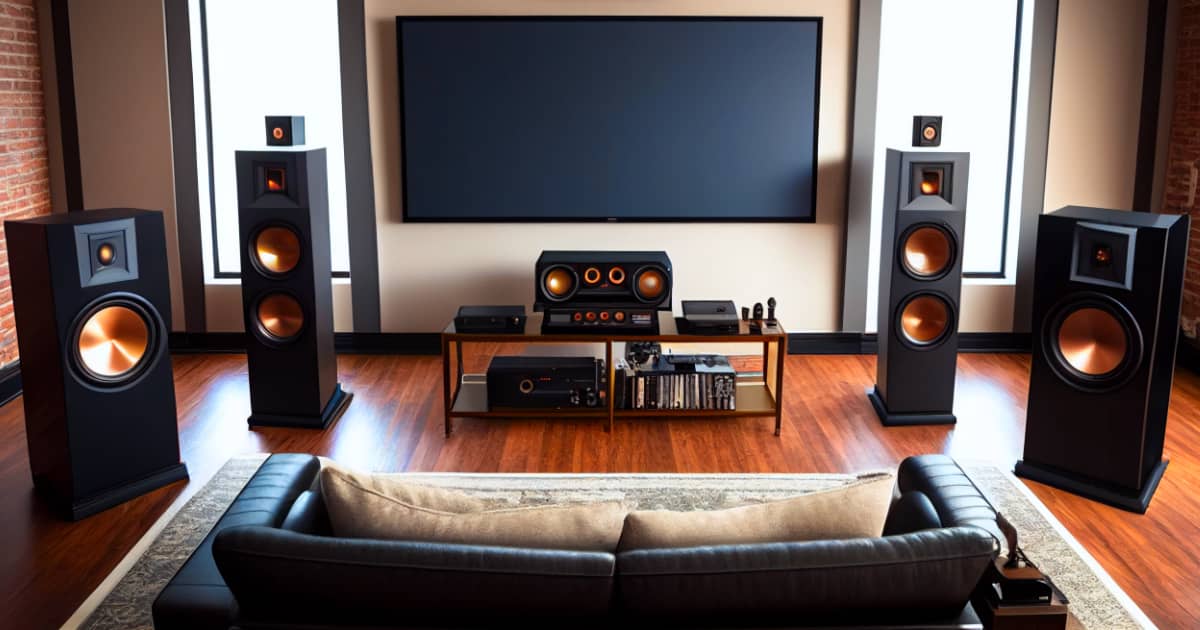
Determining the Placement of Speakers
The placement of speakers in a surround sound system is crucial for achieving an immersive audio experience. Proper speaker placement ensures that sound is distributed evenly throughout the room, creating a realistic and three-dimensional sonic environment. Here are some essential considerations when determining the placement of speakers:
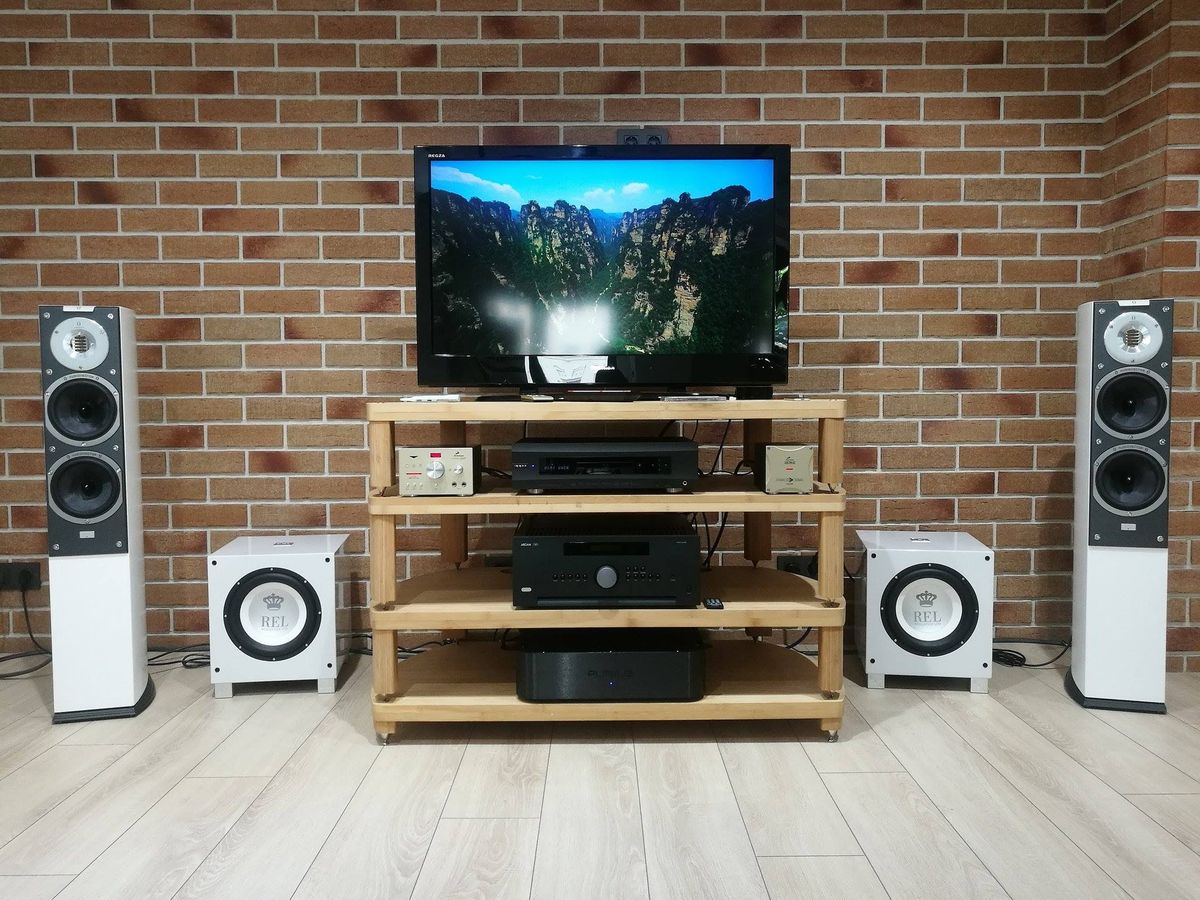
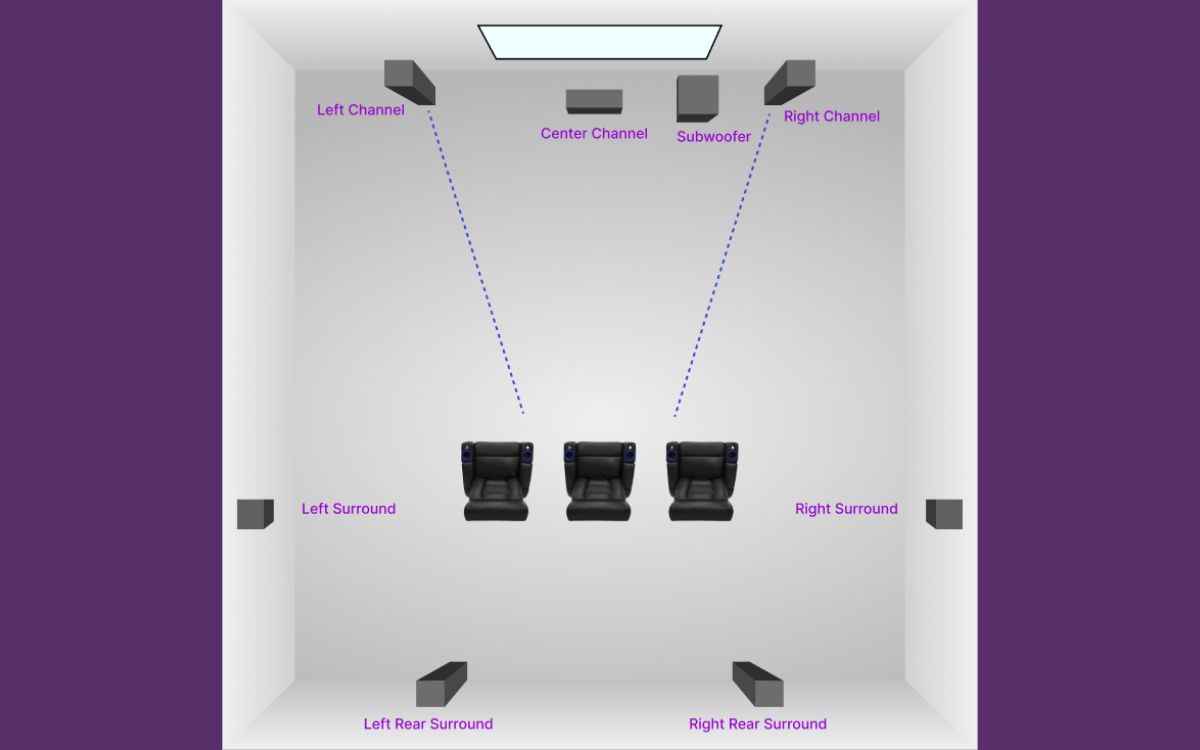
1. Front Speakers: The front speakers (left, center, and right) play a critical role in delivering dialogue, music, and most of the sound effects. The center speaker should be placed either above or below the display, directly facing the listening area. The left and right speakers should be positioned at ear level on either side of the display, preferably at equal distances from the center speaker. Ensure that all front speakers are aimed towards the listening area for optimal sound projection.
2. Rear Speakers: The rear speakers (left and right) are responsible for creating a sense of depth and spaciousness. Ideally, they should be placed behind the listening area, slightly above ear level. The speakers should be positioned at equal distances from the listening area and angled towards the center of the room. If mounting the speakers on the wall, consider using brackets for proper angling and stability.
3. Subwoofer: The subwoofer is responsible for reproducing low-frequency sounds, adding impact to explosions, music, and bass-heavy elements. The placement of the subwoofer can significantly affect its performance. Experiment with different positions in the room to determine the optimal placement for balanced bass response. Common locations include corners, along walls, or near the front speakers. Keep in mind that certain rooms may require additional bass management techniques, such as adding bass traps or adjusting the subwoofer’s settings for optimal results.
4. Room Acoustics: The layout and acoustics of your room can also influence speaker placement. Large, open spaces with hard surfaces may result in sound reflections and echoes. Consider adding acoustic treatment to control these reflections and improve sound quality. Absorption panels, diffusion panels, and bass traps can help create a more balanced and controlled listening environment. Additionally, be mindful of any obstructions in the room, such as furniture or drapes, which can affect sound dispersion and imaging.
5. Listening Area: Place the speakers and the listening area in a way that creates an equilateral triangle. This means that the distance between the left and right speakers should be roughly equal to the distance from each speaker to the listening position. This positioning helps create a balanced soundstage and accurate sound imaging.
It’s important to note that the specific layout and room dimensions may affect the exact speaker placement. Experimentation and fine-tuning may be necessary to achieve the best possible sound. Consider consulting with an audio professional or following manufacturer recommendations for your particular speakers.
By strategically placing your speakers and considering room acoustics, you can maximize the performance of your surround sound system and enjoy a truly immersive audio experience.
Connection and Setup
Once you have chosen the speakers and amplifier for your surround sound system and determined their ideal placement, it’s time to connect and set up the components. Proper connection and setup are essential to ensure that all the equipment works together seamlessly. Here are the steps to follow:
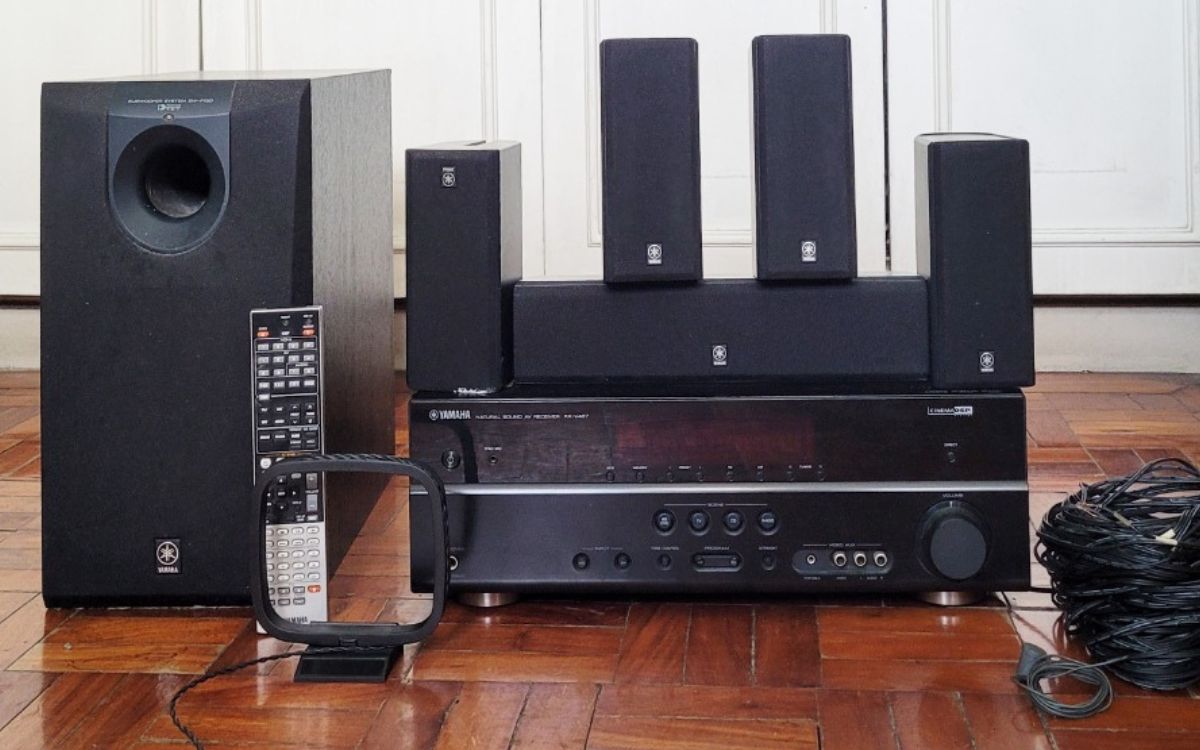
1. Speaker Connection: Start by connecting the front, rear, and center speakers to the appropriate speaker terminals on the amplifier. Most speakers use color-coded speaker wire, with red indicating the positive terminal and black indicating the negative terminal. Make sure to connect each speaker to the corresponding channel on the amplifier. For added convenience, you can use banana plugs or spade connectors to securely attach the speaker wire to the terminals.
2. Subwoofer Connection: Connect the subwoofer to the subwoofer output or preamp output of the amplifier. Some subwoofers connect using a single RCA or dedicated subwoofer cable, while others may use speaker wire connections. Follow the manufacturer’s instructions for proper connection.
3. Audio Source Connection: Connect your audio sources, such as a Blu-ray player or gaming console, to the appropriate inputs on the amplifier. HDMI cables are commonly used for high-quality audio and video transmission. Optical or coaxial cables can also be used for digital audio connection. For analog audio, use RCA cables. Ensure that you have enough inputs for all your audio sources and that they are properly labeled in the amplifier’s menu or control panel.
4. Calibration and Settings: Most modern amplifiers come with built-in calibration and setup features. These features use a microphone and test tones to analyze your room’s acoustics and speaker configuration. Follow the on-screen instructions or refer to the amplifier’s manual to perform the calibration process. This ensures that the audio is optimized for your specific room and speaker setup.
5. Test and Adjust: After the initial setup, play some audio content and carefully listen to the sound produced by each speaker. Verify that the sound is balanced, with dialogue and effects coming from the correct channels. Adjust the speaker levels and balance using the amplifier’s settings if necessary. This ensures that the soundstage is aligned and provides a seamless and immersive audio experience.
6. Remote Control Programming: If your amplifier comes with a remote control, program it to control all the connected devices. This eliminates the hassle of juggling multiple remotes and allows for convenient operation of your entire surround sound system.
Always refer to the user manuals of your specific equipment for detailed instructions on connection and setup. It’s important to familiarize yourself with the features and functionalities of your amplifier and speakers to ensure the best performance and user experience.
By following these steps and paying attention to detail, you can successfully connect and set up your surround sound system for an immersive and captivating audio experience.
Adjusting the Sound Settings
After setting up your surround sound system, it’s essential to fine-tune the sound settings to achieve the best audio performance. Adjusting the sound settings allows you to optimize the sound reproduction and customize the audio output according to your preferences. Here are some key settings to consider:
1. Speaker Levels and Balance: Use the amplifier’s settings or calibration feature to adjust the individual volume levels of each speaker. This ensures that all speakers are balanced and that sound effects and dialogue are coming from the correct channels. Make incremental adjustments until you achieve a balanced and immersive soundstage.
2. Tone Controls: Many amplifiers have tone control settings that allow you to adjust the bass, treble, and sometimes midrange frequencies. Use these settings to fine-tune the overall tonal balance of the sound. Experiment with the settings to find the optimal balance that suits your audio preferences and room acoustics.
3. Surround Sound Modes: Amplifiers often offer different surround sound modes, such as Dolby Digital, DTS, or stereo. These modes apply specific processing algorithms to enhance the audio experience. Experiment with different modes to determine which one best suits the content you’re consuming. Movies, music, and games may require different surround sound modes for optimal immersion and audio quality.
4. Dialogue Enhancement: Some amplifiers have dialogue enhancement settings that specifically boost the clarity and volume of dialogue. This can be useful when watching movies or TV shows with soft-spoken actors or complex audio mixing. Adjust this setting to enhance the dialogue without sacrificing the overall audio balance.
5. Dynamic Range Compression: Dynamic range compression settings help control the difference between the loudest and softest sounds in an audio track. This feature can be useful when watching movies at night or in environments where you need to keep the volume lower. It reduces the volume spikes and can improve dialogue intelligibility at lower listening levels.
6. Room Correction: Some advanced amplifiers offer room correction functionalities, such as Audyssey or room equalization. These systems measure the room’s acoustics and make adjustments to compensate for any irregularities or resonances. Follow the instructions provided by the manufacturer to run the room correction and ensure more accurate and balanced sound reproduction.
Remember, adjusting the sound settings is a personal preference and may depend on the content you are consuming and your room acoustics. Take the time to experiment with different settings and audio sources to find the combination that provides the most immersive and enjoyable experience for your specific setup.
Lastly, don’t be afraid to revisit and readjust the sound settings periodically as you become more familiar with your system and as your listening preferences evolve. Fine-tuning the sound settings ensures that you continue to get the best audio quality from your surround sound system.
Troubleshooting and Maintenance
While setting up and enjoying your surround sound system, you may encounter occasional issues or the need for regular maintenance. Understanding common troubleshooting techniques and performing routine maintenance can help ensure the optimal performance and longevity of your system. Here are some tips:
1. Audio Issues: If you experience audio problems, such as no sound, distorted sound, or weak bass, start by checking all connections. Ensure that all cables are securely connected and that the speaker wires are properly connected to the corresponding terminals. If the issue persists, check the amplifier’s settings, including any tone controls or surround sound modes. Additionally, verify that the audio source is correctly configured and compatible with your system. If the problem persists, consult the user manual or contact the manufacturer for further troubleshooting steps.
2. Speaker Placement: If the sound doesn’t seem balanced or immersive, considering reevaluating the placement of your speakers. Minor adjustments in positioning can have a significant impact on sound quality. Experiment with different speaker angles and distances to fine-tune the overall soundstage and imaging.
3. Dust and Dirt: Regularly clean your speakers and amplifier to prevent the buildup of dust and dirt. Use a soft, lint-free cloth to gently wipe the surfaces. Avoid using abrasive materials or harsh chemicals that could damage the equipment. Dust accumulation on speakers can affect sound quality, so it’s important to keep them clean for optimal performance.
4. Ventilation: Ensure that your amplifier and other components have proper ventilation to prevent overheating. Avoid placing them in enclosed cabinets or stacking them closely together. Allow for sufficient airflow around the equipment to dissipate any heat generated during operation. Overheating can lead to system malfunctions or reduced lifespan, so proper ventilation is crucial.
5. Firmware Updates: Keep your amplifier and other audio equipment up to date by checking for firmware updates from the manufacturer. Firmware updates can provide bug fixes, performance improvements, and compatibility enhancements. Follow the instructions provided by the manufacturer to update the firmware and ensure that your system operates at its best.
6. Cables and Connectors: Regularly inspect and check the condition of your cables and connectors. Look for any signs of wear or damage, such as frayed cables or loose connectors. Replace any damaged cables or connectors to maintain proper signal transmission and prevent intermittent issues or audio quality degradation.
If you encounter persistent issues or problems that you are unable to resolve, consider seeking professional assistance. Audio technicians or the manufacturer’s customer support can provide expert guidance and solutions to ensure that your surround sound system is functioning optimally.
By staying proactive with troubleshooting and performing routine maintenance tasks, you can enjoy consistent and high-quality performance from your surround sound system for years to come.
Conclusion
Building a surround sound system allows you to bring the immersive experience of the movie theater or concert hall right into your living room. By carefully selecting the right speakers, amplifier, and optimizing the placement, you can create a captivating audio environment that enhances your entertainment enjoyment.
Throughout this guide, we have covered the essential steps for building a surround sound system, including choosing the right speakers that provide accurate sound reproduction, selecting an amplifier that matches your configuration and power requirements, determining the optimal placement of speakers for an immersive experience, connecting and setting up the components, adjusting the sound settings to your preference, troubleshooting common issues, and performing routine maintenance to ensure long-lasting performance.
Remember, building a surround sound system is a personal journey that requires thoughtful consideration of your specific needs, budget, and room acoustics. Take the time to research, listen to different speakers, and seek expert advice when necessary. Don’t be afraid to experiment and fine-tune your system to achieve the best audio performance.
With the right equipment, proper setup, and a little bit of patience, you can create a home audio experience that transports you into the heart of your favorite movies, music, and games. So, embark on this exciting adventure, build your surround sound system, and immerse yourself in a world of rich, high-quality sound.