Home>Devices & Equipment>Car Audio>How To Wire Car Audio
Car Audio
How To Wire Car Audio
Published: February 6, 2024
Learn how to properly wire car audio systems with our step-by-step guide. Enhance your driving experience with our expert tips and techniques.
(Many of the links in this article redirect to a specific reviewed product. Your purchase of these products through affiliate links helps to generate commission for AudioLover.com, at no extra cost. Learn more)
Table of Contents
- Introduction
- Step 1: Gather the necessary tools and materials
- Step 2: Disconnect the battery
- Step 3: Remove the old audio system
- Step 4: Prepare the wiring harness
- Step 5: Connect the wiring harness to the new audio system
- Step 6: Connect the wiring harness to the car’s electrical system
- Step 7: Test the audio system
- Step 8: Secure the wiring and reassemble the car
- Conclusion
Introduction
Welcome to the world of car audio! If you’re a music lover or an audio enthusiast, upgrading your car’s audio system can greatly enhance your driving experience. Whether you want to improve the overall sound quality, add more powerful speakers, or install a new head unit with advanced features, having a solid knowledge of how to wire car audio is essential.
Wiring car audio might seem like a daunting task, but fear not! With the right tools, materials, and a step-by-step approach, you can successfully wire your car audio system. In this article, we will guide you through the process of wiring car audio, ensuring that you have an amazing sound system that complements your driving adventures.
Before we dive into the technical details, it’s important to note that working with car audio involves handling electrical components and potentially modifying your vehicle’s wiring. If you’re unsure or uncomfortable with these tasks, it’s always a good idea to consult a professional car audio installer. Their expertise can save you time, prevent any damage to your vehicle, and ensure optimal audio performance.
Now, let’s get started and learn how to wire car audio like a pro! We’ll cover everything from gathering the necessary tools to testing and securing your wiring. By the end of this article, you’ll have the confidence and knowledge to take on your car audio project.
Step 1: Gather the necessary tools and materials
Before you begin wiring your car audio system, it’s important to gather all the necessary tools and materials. Having everything you need at hand will make the installation process smoother and more efficient. Here’s a list of essential tools and materials you’ll need:
- Wire cutters and strippers: These tools are necessary for cutting and stripping the wires to the appropriate length.
- Multimeter: A multimeter is used to measure voltage, resistance, and continuity. It will come in handy for troubleshooting any electrical issues.
- Soldering iron and solder: If you plan on making connections by soldering, you’ll need a soldering iron and solder to create secure and reliable connections.
- Crimping tool and connectors: Crimping tools and connectors are used to make connections without soldering. They provide a quick and efficient way to secure wires.
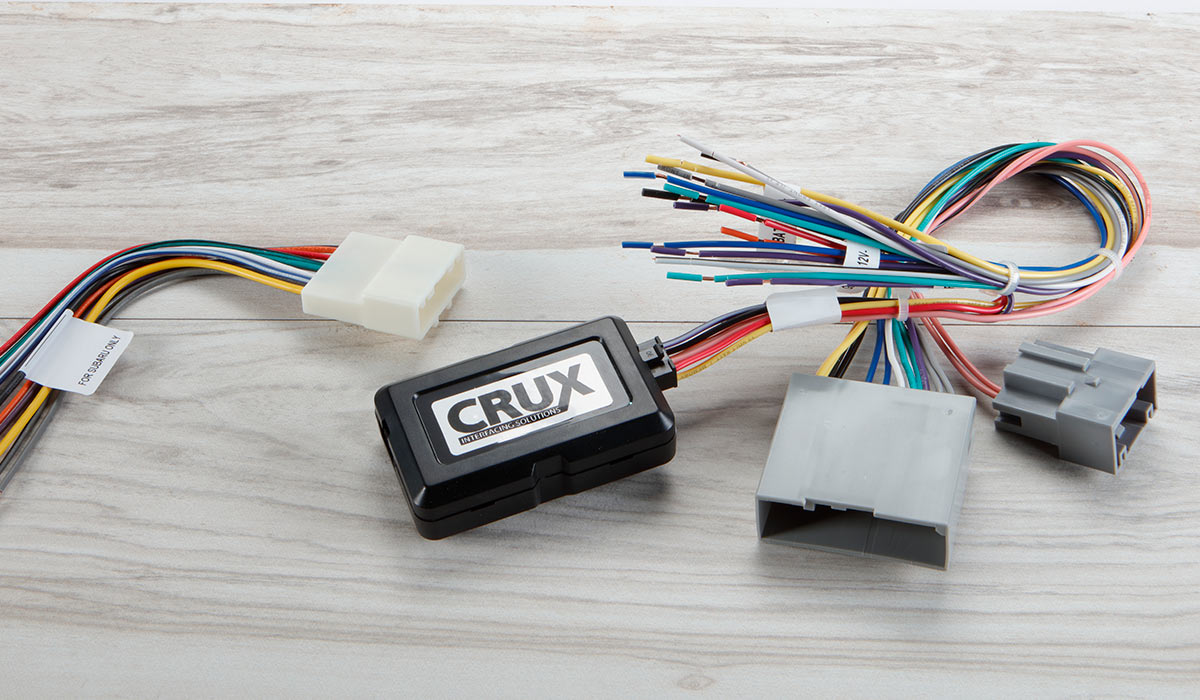
- Wire harness adapter: This adapter allows you to connect the aftermarket head unit to your car’s wiring without having to cut and splice the wires.
- Electrical tape or heat shrink tubing: These materials are used to insulate and protect the connections from any potential short circuits.
- Mounting brackets and screws: Depending on the type of head unit you’re installing, you may need mounting brackets and screws to securely install it in your car’s dashboard.
In addition to these tools and materials, it’s important to have the owner’s manual or wiring diagrams for both your car and the new audio system. These documents will provide valuable information about the wiring colors and connections specific to your vehicle and audio system.
By gathering all these tools and materials in advance, you’ll be well-prepared for the wiring process and ensure a successful installation. Let’s move on to the next step and prepare for the wiring journey!
Step 2: Disconnect the battery
Before you start working on your car’s audio system, it’s crucial to disconnect the battery to prevent any electrical mishaps or damage. Disconnecting the battery will ensure your safety and protect the sensitive components of your vehicle.
To disconnect the battery, follow these steps:
- Locate the vehicle’s battery: The battery is typically located in the engine bay or trunk. Refer to your car’s owner’s manual for the precise location.
- Familiarize yourself with the battery terminals: The battery has two terminals: positive (+) and negative (-). They are usually marked with the corresponding symbols or colors (red for positive and black for negative).
- Put on safety gloves and goggles: Before touching the terminals, it’s important to protect yourself by wearing safety gloves and goggles.
- Disconnect the negative terminal: Use a wrench or socket to loosen the nut on the negative terminal. Once it’s loose, carefully lift the terminal away from the battery and secure it to prevent accidental contact.
- Disconnect the positive terminal: Repeat the same process for the positive terminal, ensuring it is also securely disconnected and isolated.
By disconnecting the battery, you eliminate the risk of electrical shock and protect your car’s electrical system from potential damage. It’s crucial to remember that the battery should remain disconnected throughout the entire wiring process.
Always exercise caution when working with the battery and follow the manufacturer’s guidelines. Additionally, take note of any specific instructions provided in your car’s owner’s manual, as certain vehicles may have additional steps or precautions for disconnecting the battery.
With the battery safely disconnected, you can proceed to the next step of removing your old audio system.
Step 3: Remove the old audio system
Now that the battery is disconnected, it’s time to remove the old audio system from your car. Whether you’re replacing an outdated head unit or upgrading speakers, removing the old components is a necessary step in the wiring process.
Follow these steps to remove the old audio system:
- Remove any trim or panels: Depending on your vehicle, you may need to remove trim pieces or panels to access the audio system. Use a panel removal tool or a flathead screwdriver to carefully pry them away without causing any damage.
- Unscrew the head unit: If you’re replacing the head unit, locate the screws holding it in place. Use the appropriate screwdriver to remove the screws and gently pull the head unit out of the mounting bracket.
- Disconnect the wiring harness: Behind the head unit, you’ll find a wiring harness connected to the back of the unit. Carefully disconnect the wiring harness by pressing the release tabs or gently pulling the connectors apart.
- Remove the speakers: If you’re replacing the speakers, locate the screws or clips securing them in place. Unscrew the screws or gently press the clips to release the speakers. Disconnect the wiring harness connected to each speaker.
As you remove each component, take note of the location and order of the wires connected to them. This will help you during the installation of the new audio system.
Once you’ve removed the old audio system components, you can proceed to the next step of preparing the wiring harness for the new system. Keep the removed components in a safe place in case you ever need to reinstall them or if you plan to sell the car with the original audio system.
With the old system out of the way, you’re now ready to move on to the next step of preparing the wiring harness for the new audio system.
Step 4: Prepare the wiring harness
Now that you have removed the old audio system, it’s time to prepare the wiring harness for the new audio system. A wiring harness acts as a bridge between your car’s electrical system and the new audio components. It allows for a clean and secure connection, ensuring that the new system functions properly.
Follow these steps to prepare the wiring harness:
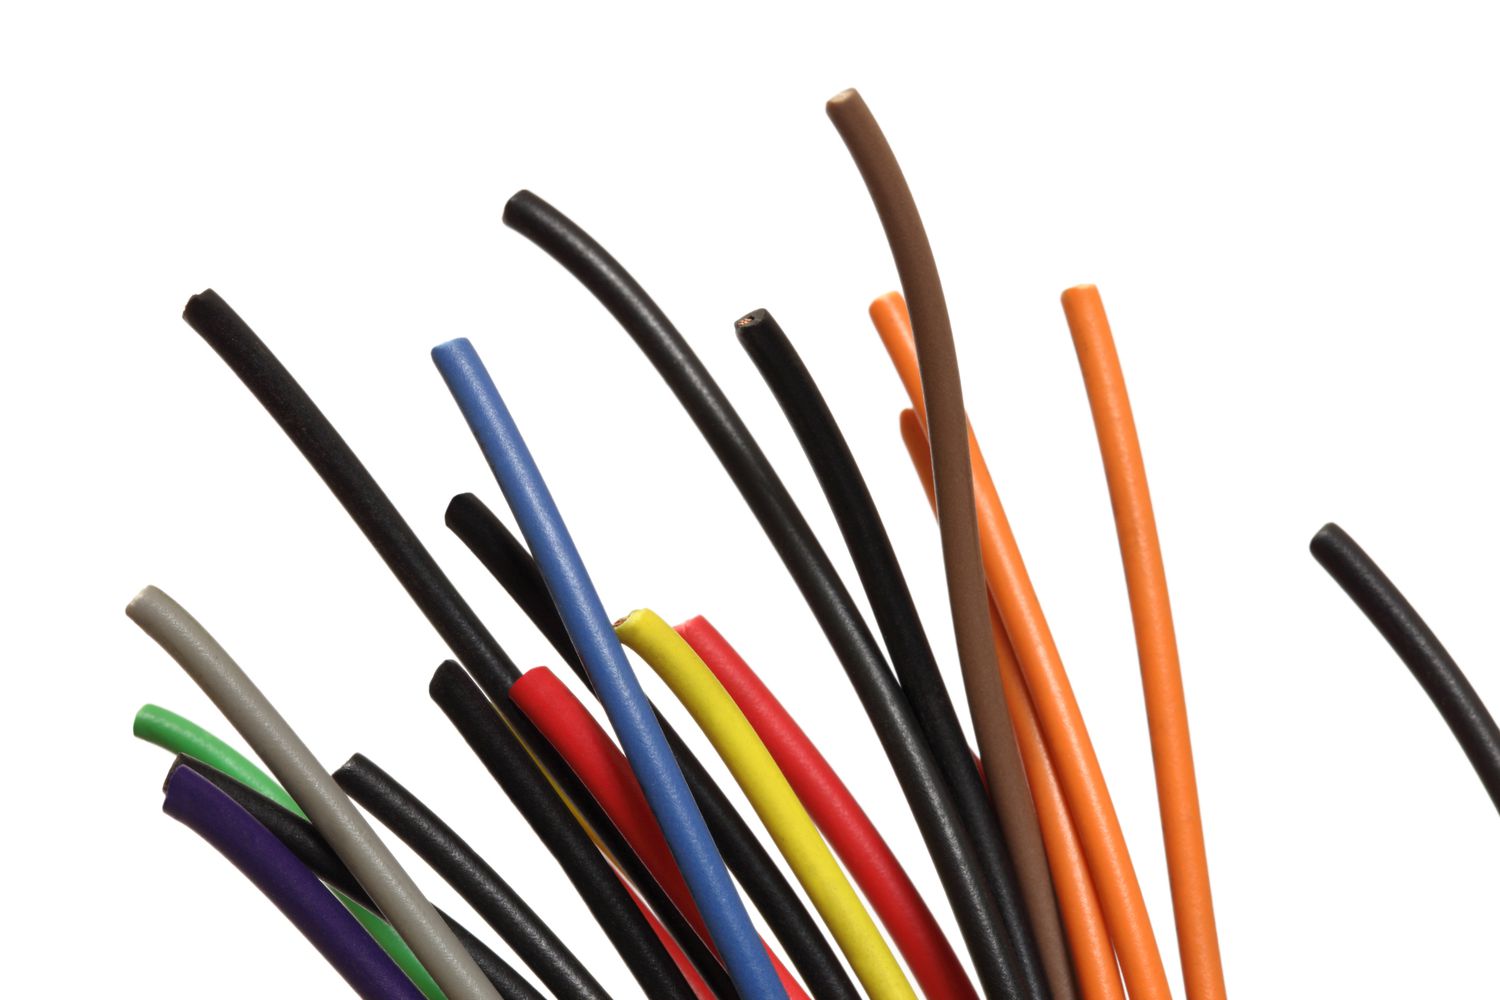
- Identify the wire colors: Consult the wiring diagram provided with your new audio system or the owner’s manual to identify the function and color-coding of each wire in the harness. Common wire colors include red for power, black for ground, blue for remote turn-on, and a variety of colors for speaker connections.
- Strip and tin the wires: Using wire strippers, carefully strip about 3/8 inch (around 9 mm) of insulation from the end of each wire in the harness. Once stripped, apply a small amount of solder to the exposed copper using a soldering iron. This process, known as tinning, helps ensure a solid and secure connection.
- Label the wires: To avoid confusion during the installation, label each wire in the harness according to its function or color. You can use small labels or different-colored electrical tape to make identification easier.
- Bundle and secure the wires: Once all the wires are stripped, tinned, and labeled, gather them together and use zip ties or electrical tape to bundle them neatly. This will prevent them from tangling or getting in the way during the installation.
Preparing the wiring harness in advance saves time and simplifies the installation process. It ensures that you have clear and organized connections when wiring the new audio system.
With the wiring harness ready, you’re now prepared to move on to the next step of connecting the wiring harness to the new audio system. This will bring you one step closer to enjoying your upgraded car audio experience!
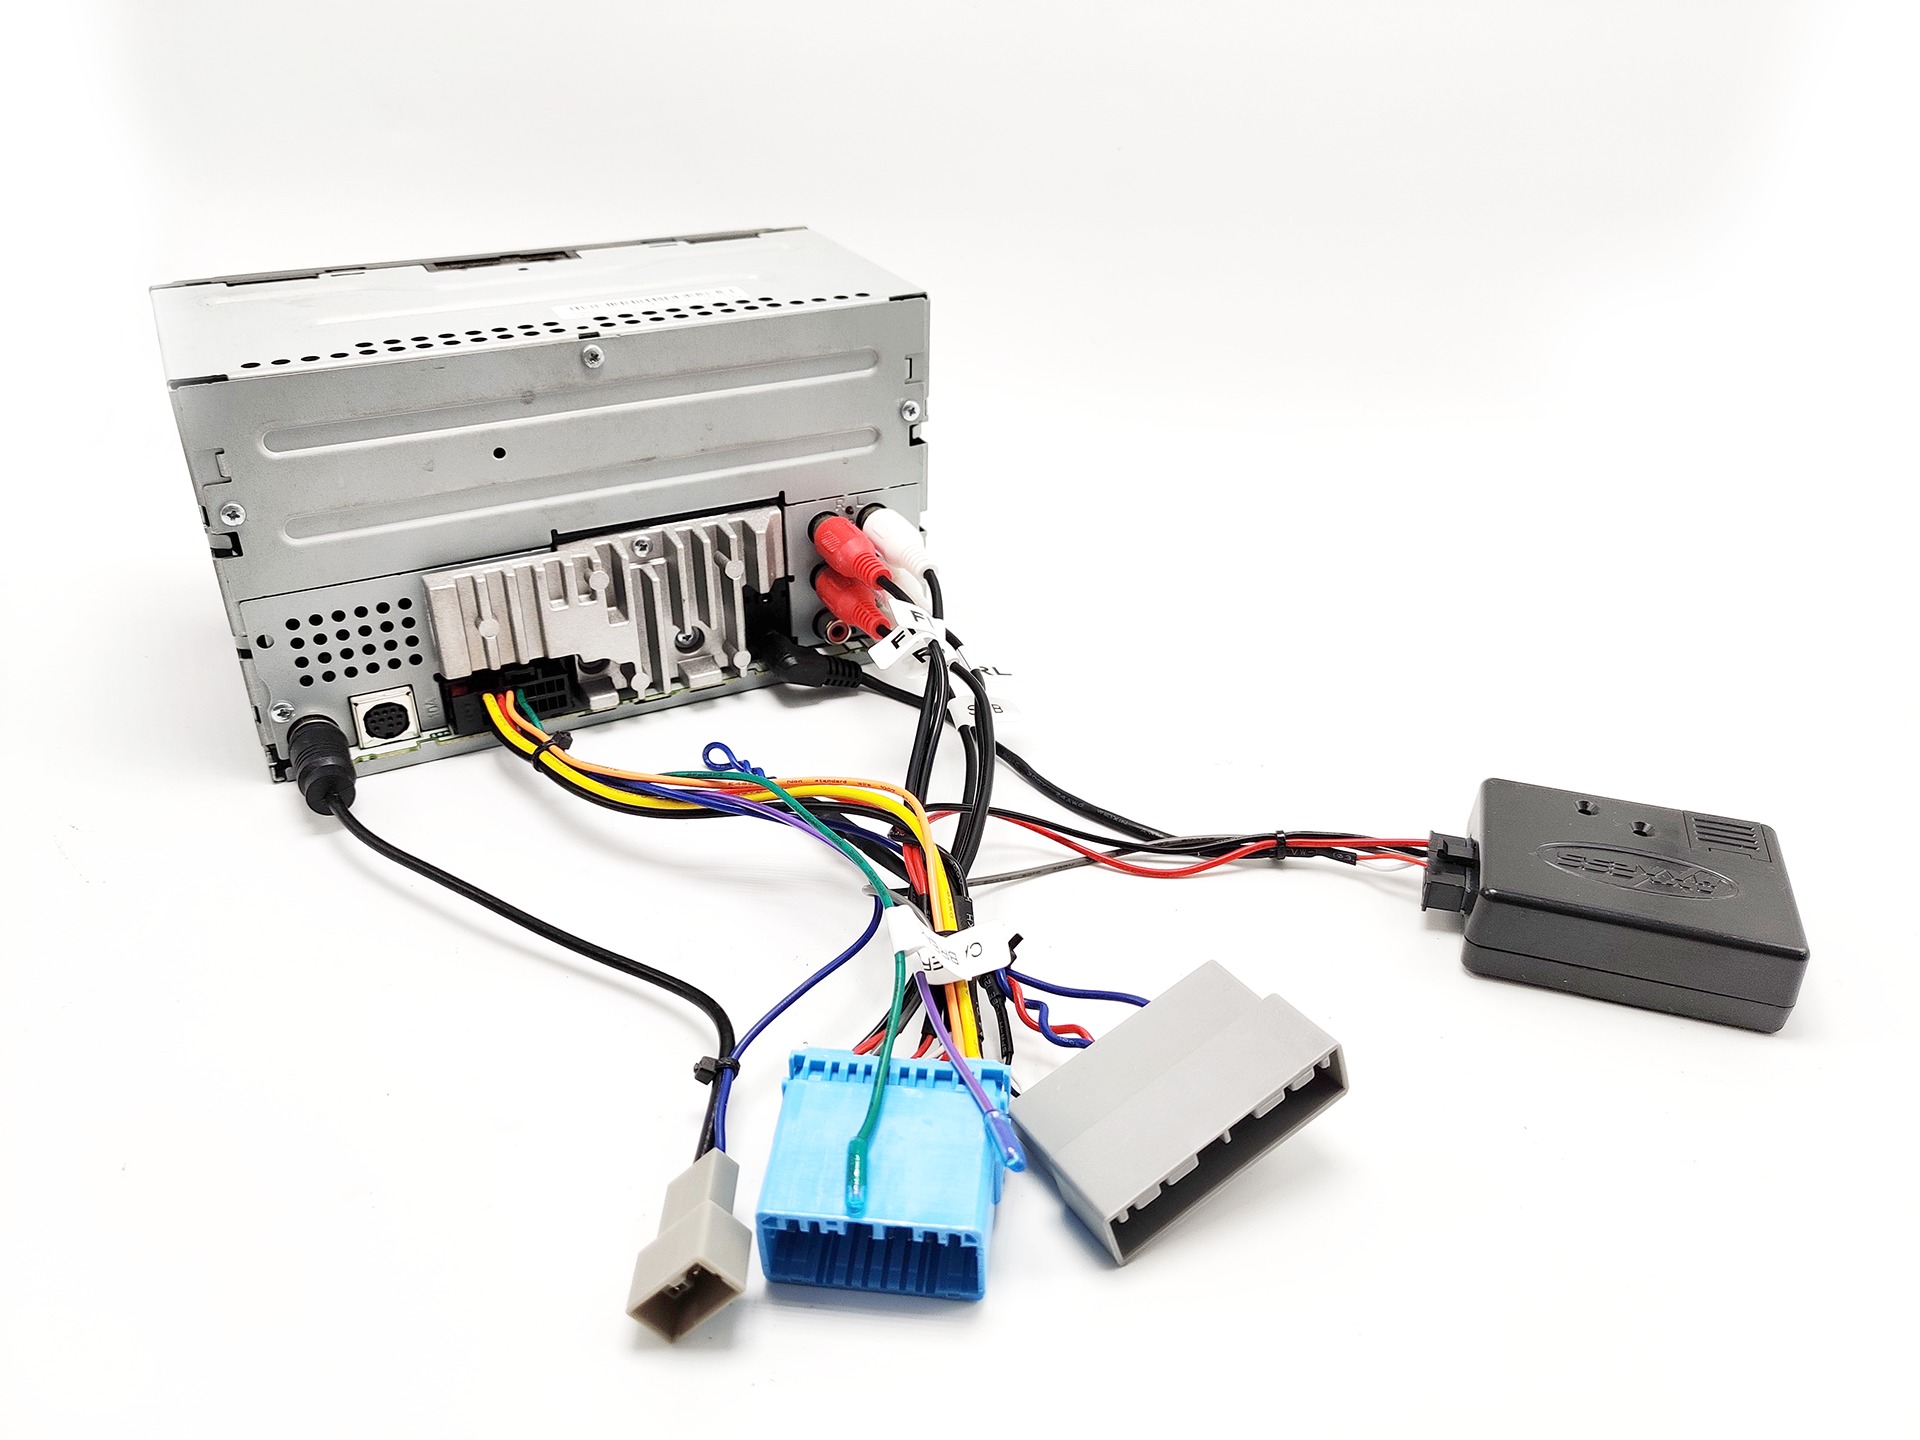
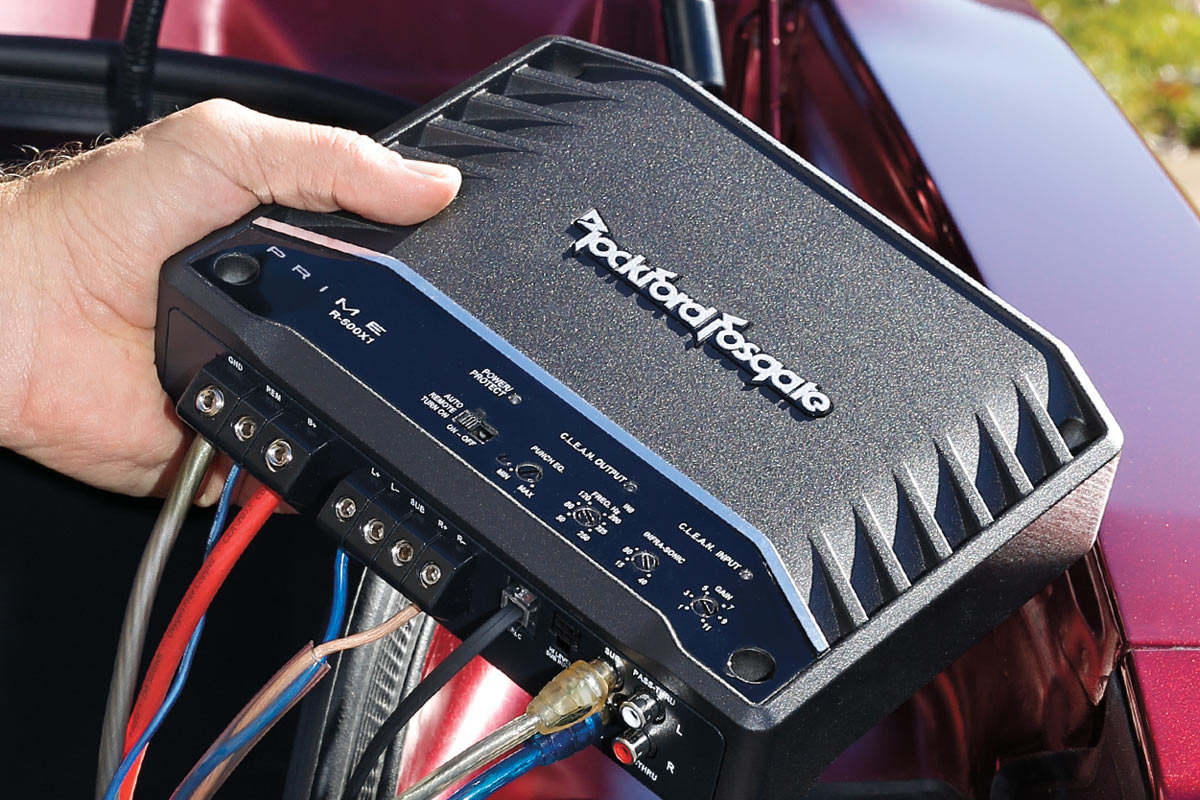
Step 5: Connect the wiring harness to the new audio system
With the wiring harness prepared, it’s time to connect it to the new audio system. This step ensures that the power, ground, speaker, and other necessary connections are properly established for the new components to function.
Follow these steps to connect the wiring harness to the new audio system:
- Refer to the owner’s manual: Consult the owner’s manual or wiring diagram provided with your new audio system to locate the corresponding connection points for each wire in the wiring harness.
- Match the wire colors: Match the wire colors in the wiring harness with the corresponding connections on the back of the audio system. This ensures that the correct functions are properly connected.
- Making connections: Depending on the audio system, there are different ways to make the connections. Common methods include soldering, crimping, or using aftermarket harness adapters. Follow the recommended method for your specific audio system and make sure each connection is secure and reliable.
- Connect the wiring harness to the audio system: Once all the connections are made, carefully plug the wiring harness into the corresponding ports on the back of the audio system. Ensure that each connection is firm and secure.
It’s important to double-check all the connections to ensure accuracy and prevent any potential issues. Take your time and refer to the wiring diagram or owner’s manual as needed. Properly connecting the wiring harness to the new audio system ensures that all the components will work together seamlessly.
With the wiring harness successfully connected to the audio system, you’re now ready to move on to the next step of connecting the wiring harness to your car’s electrical system. This is a crucial step that brings everything together and allows for the full functionality of the new audio system.
Step 6: Connect the wiring harness to the car’s electrical system
Now that the wiring harness is connected to the new audio system, it’s time to establish the necessary connections between the wiring harness and your car’s electrical system. This step ensures that the audio system receives power, ground, and other vital signals for proper operation.
Follow these steps to connect the wiring harness to your car’s electrical system:
- Locate the car’s wiring harness: Depending on your vehicle, the wiring harness may be located behind the vehicle’s dashboard or in the center console. Consult your car’s wiring diagram or owner’s manual for the precise location.
- Match wire colors and functions: Compare the wire colors and functions of the wiring harness with the corresponding wires in the car’s wiring harness. Ensure that the power, ground, speaker wires, and other necessary connections align properly.
- Making connections: There are several methods to make connections between the wiring harness and the car’s electrical system. Common methods include soldering, crimping, or using aftermarket harness adapters. Choose the method that best suits your skill level and preference.
- Make secure and reliable connections: Whether you’re soldering, crimping, or using harness adapters, make sure the connections are secure and reliable. Inspect each connection to ensure there are no loose wires or exposed conductors.
During this step, it’s crucial to exercise caution and follow proper wiring practices. Double-check each connection to minimize the chances of a short circuit or electrical malfunction.
Once the wiring harness is properly connected to your car’s electrical system, you can move on to the next step of testing the audio system. This will ensure that everything is functioning as expected and make any necessary adjustments before completing the installation.
Step 7: Test the audio system
After connecting the wiring harness to both the new audio system and the car’s electrical system, it’s time to test the audio system. Testing is essential to ensure that all the connections are accurate, the components are functioning properly, and the sound quality meets your expectations.
Follow these steps to test the audio system:
- Reconnect the car battery: Before testing, reconnect the car battery by connecting the positive terminal first, followed by the negative terminal. Double-check that the terminals are securely attached.
- Power on the audio system: Turn on the car’s ignition and power on the audio system. Pay attention to any error messages or warning lights that may indicate a problem with the installation.
- Test each audio component: Go through each audio component, such as the radio, CD player, speakers, and any additional devices attached to the system. Ensure that they are functioning correctly and producing the desired sound.
- Check for sound quality and balance: Listen to music and adjust the audio settings to your preference. Check for any imbalances in sound from different speakers and make necessary adjustments to achieve optimal audio quality.
- Test other features: If your new audio system has additional features like Bluetooth connectivity, navigation, or hands-free calling, test each of these features to ensure they are working as expected.
During the testing phase, it’s crucial to pay attention to any issues, abnormal sounds, or unexpected behavior. If you encounter any problems, refer to the troubleshooting section in the owner’s manual or consult a professional for assistance.
By thoroughly testing the audio system, you can ensure that everything is working correctly before proceeding to the final step of securing the wiring and reassembling the car.
Step 8: Secure the wiring and reassemble the car
Once you have successfully tested the audio system and are satisfied with its performance, it’s time to secure the wiring and reassemble your car. This step ensures that the wiring is organized, protected, and out of sight, providing a clean and professional-looking installation.
Follow these steps to secure the wiring and reassemble your car:
- Organize and bundle the wiring: Use zip ties, wire looms, or electrical tape to bundle and secure the wiring together. This helps prevent wires from coming loose or getting tangled, improving overall reliability and long-term durability.
Securing the wiring and reassembling the car not only improves the aesthetics of the installation but also protects the wiring from potential damage and interference. Take your time with this step to ensure that everything is neatly organized and securely fastened.
With the wiring secured and the car reassembled, you have successfully completed the process of wiring your car audio system. Enjoy the enhanced sound quality and features of your new audio system as you embark on your future drives!
Conclusion
Congratulations! You have successfully learned how to wire a car audio system. By following the step-by-step process outlined in this guide, you have gained the knowledge and skills to upgrade your car’s audio system and enjoy an enhanced driving experience.
From gathering the necessary tools and materials to disconnecting the battery, removing the old audio system, preparing the wiring harness, connecting it to the new audio system, and linking it to the car’s electrical system, you have navigated each step with confidence.
Testing the audio system ensured that all connections were accurate and that the components were functioning correctly. By securing the wiring and reassembling the car, you have created a clean and professional-looking installation. Now, you can enjoy the immersive sound quality and features of your new audio system on your future journeys.
Remember, safety is of the utmost importance when working on your car’s electrical system. If you ever feel unsure or uncomfortable with any part of the process, it is best to consult a professional car audio installer. They can provide expert guidance and assistance to ensure a seamless and successful installation.
Lastly, as technology continues to advance, car audio systems are constantly evolving. Stay updated with the latest trends and advancements in car audio technology to further enhance your audio experience. And most importantly, enjoy the music and drive safely!