Home>Production & Technology>Stereo>How To Tune Car Stereo
Stereo
How To Tune Car Stereo
Modified: February 18, 2024
Learn how to tune your car stereo for the best sound quality and performance. Enhance your driving experience with our stereo tuning tips and techniques.
(Many of the links in this article redirect to a specific reviewed product. Your purchase of these products through affiliate links helps to generate commission for AudioLover.com, at no extra cost. Learn more)
Table of Contents
- Introduction
- Step 1: Gathering the necessary tools and materials
- Step 2: Preparing the car stereo for tuning
- Step 3: Adjusting the bass settings
- Step 4: Fine-tuning the treble settings
- Step 5: Balancing the left and right speakers
- Step 6: Setting the fade and balance controls
- Step 7: Adjusting the equalizer settings
- Step 8: Configuring the crossover settings
- Step 9: Testing and fine-tuning the overall sound quality
- Conclusion
Introduction
Welcome to the world of car audio! Whether you’re a music enthusiast or simply looking to upgrade your driving experience, tuning your car stereo can make a significant difference in the quality of sound you hear on the road. A well-tuned car stereo system can transform your daily commutes into immersive audio journeys.
Tuning a car stereo involves adjusting various settings to optimize the sound output according to your preferences. From fine-tuning the bass and treble levels to setting the balance and fade controls, there are several key steps to follow for achieving the best sound quality. In this article, we will guide you through the process, helping you unlock the full potential of your car stereo.
But before we dive into the technicalities, it’s important to ensure you have the necessary tools and materials on hand. You will need a few basic tools such as a screwdriver, wire cutters, and electrical tape. Additionally, make sure you have access to your car stereo’s user manual, as it will provide specific instructions and guidelines for your particular model.
Now, let’s get started with step one: gathering the necessary tools and materials.
Step 1: Gathering the necessary tools and materials
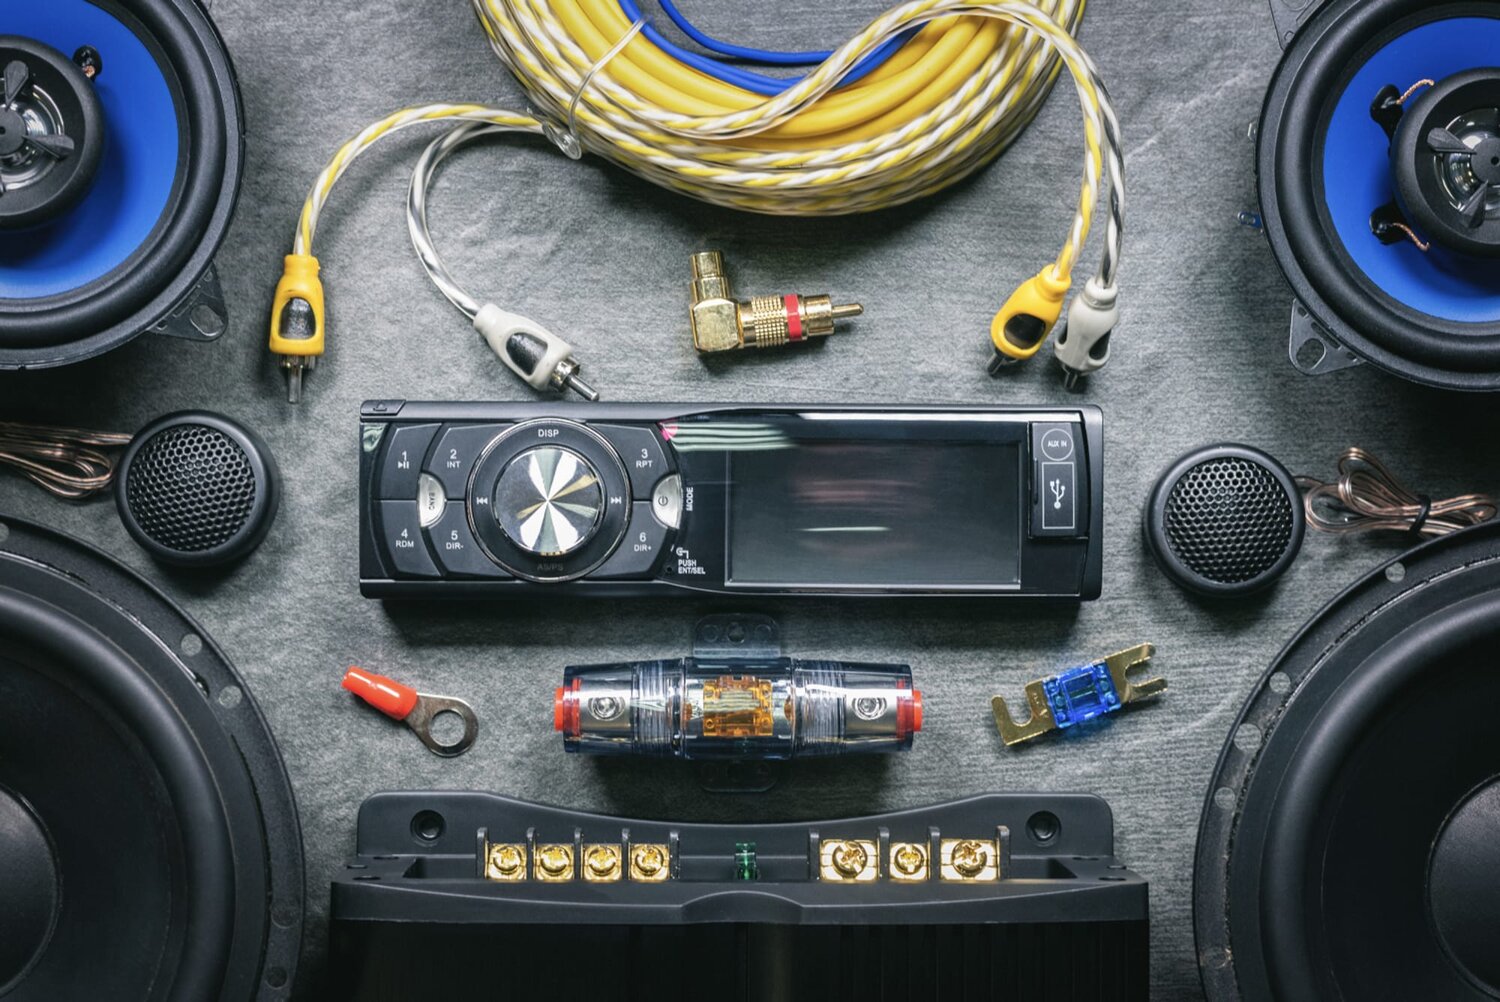
Before you begin tuning your car stereo, it’s important to gather the essential tools and materials to ensure a smooth and hassle-free process. Here’s a list of items you will need:
- Screwdriver: Depending on your car stereo’s design, you may need a Phillips or flathead screwdriver to open the unit and access the controls.
- Wire cutters: These will come in handy if you need to trim or modify any of the wiring during the tuning process.
- Electrical tape: To secure any loose wires and prevent them from causing distractions or disturbances.
- User manual: This is an important resource that provides detailed instructions and specifications for your car stereo. Make sure you have it readily available before starting.
Once you have gathered these tools, find a comfortable and well-lit workspace where you can safely work on your car stereo. Ensuring the proper tools and environment will set the stage for a successful tuning experience.
With your tools in hand, it’s also a good idea to have some extra time and patience. Tuning your car stereo can be a time-consuming process, especially if it’s your first time. Take your time and don’t rush the process. The effort you put in will be worth it when you’re rewarded with exceptional sound quality.
Now that you have gathered the necessary tools and materials, you are ready to move on to step two: preparing the car stereo for tuning.
Step 2: Preparing the car stereo for tuning
Before you start adjusting the settings on your car stereo, it’s important to ensure that it is properly prepared for tuning. Here’s what you need to do:
- Power off your car stereo: Before making any adjustments, turn off your car stereo to prevent any potential damage or interference during the tuning process. This will also ensure your safety while working on the system.
- Refer to the user manual: Take a moment to review the user manual that came with your car stereo. Every model is different, so it’s essential to familiarize yourself with the specific instructions and settings for your unit.
- Familiarize yourself with the controls: Get to know the various controls and buttons on your car stereo. This will help you navigate through the settings and make precise adjustments during the tuning process.
- Clean the unit: Use a soft cloth or a microfiber cloth to gently clean the surface of your car stereo. Dust and debris can affect the performance and appearance of your system, so ensuring its cleanliness is important.
- Check the wiring: Inspect the wiring connections to ensure they are secure and in good condition. Loose or damaged wiring can result in poor sound quality or electrical issues.
By following these steps, you will ensure that your car stereo is ready for tuning and will provide optimal performance. Taking the time to properly prepare your system will help you achieve the best sound quality possible.
Once you have prepared your car stereo, you can move on to the next steps, where we will discuss adjusting the bass and treble settings to fine-tune the sound output. So let’s dive into step three: adjusting the bass settings.
Step 3: Adjusting the bass settings
One of the critical elements of a well-tuned car stereo is achieving the right balance of bass. The bass frequencies add depth and richness to the audio, enhancing your overall listening experience. Here’s how you can adjust the bass settings:
- Locate the bass control: Your car stereo may have a dedicated bass control knob or an option in the equalizer settings to adjust the bass frequencies. Refer to the user manual to find the specific controls for your system.
- Start with a neutral setting: Set the bass control to the middle or neutral position to establish a baseline. This will allow you to make gradual adjustments based on your preferences.
- Listen to a familiar track: Play a song that you are familiar with and that has a well-balanced mix of bass. This will serve as a reference point for making adjustments and fine-tuning the bass settings.
- Make small adjustments: Increase or decrease the bass control gradually, listening to the changes in the sound output. Pay attention to the impact on the overall balance of the audio and ensure that the bass does not overpower the other frequencies.
- Consider the environment: Keep in mind the acoustics of your car and the typical driving conditions. A higher bass setting may be suitable for a closed space, while a lower setting might be more appropriate for an open environment.
During the process, trust your ears and make adjustments that sound pleasing to you. Everyone’s preferences will differ, so it’s important to find a balance that suits your own taste. Experiment with different levels until you achieve the desired bass response.
Once you have adjusted the bass settings to your liking, move on to step four, where we will explore how to fine-tune the treble settings to further enhance the sound quality.
Step 4: Fine-tuning the treble settings
Just as adjusting the bass is crucial, fine-tuning the treble settings is equally important for achieving optimal sound quality in your car stereo. The treble frequencies add clarity, detail, and sparkle to the audio. Here’s how you can fine-tune the treble settings:
- Locate the treble control: Your car stereo may have a dedicated treble control knob or an option in the equalizer settings to adjust the treble frequencies. Consult the user manual to find the specific controls for your system.
- Start with a neutral setting: Set the treble control to the middle or neutral position as a starting point. This will provide a baseline from which you can make incremental adjustments.
- Listen to a diverse range of music: Play various genres of music to evaluate the impact of the treble settings. Different genres may have different emphasis on treble frequencies, so it’s important to consider a wide range of tracks.
- Make small adjustments: Gradually increase or decrease the treble control and pay attention to how it affects the clarity and brightness of the audio. Avoid setting the treble too high as it may result in harsh or sibilant sounds.
- Balance with the bass: As you adjust the treble, be mindful of its interaction with the bass frequencies. Aim for a balanced sound where the treble and bass complement each other without overpowering one another.
Similar to adjusting the bass, there is no one-size-fits-all approach to setting the treble. Adjust the settings according to your personal preferences and the type of music you typically listen to while driving. Trust your ears and make adjustments that result in a pleasing and well-rounded sound.
With the bass and treble settings now fine-tuned, we can move on to step five, where we will discuss balancing the left and right speakers for an immersive audio experience.
Step 5: Balancing the left and right speakers
Ensuring that the sound is evenly distributed between the left and right speakers is essential for creating an immersive and balanced audio experience in your car. Here’s how you can balance the left and right speakers:
- Use a balance control or fade control: Most car stereos have balance and fade control options that allow you to adjust the sound distribution between the left and right speakers. Refer to your car stereo’s user manual to locate and understand these controls.
- Set the balance to the neutral position: Start by setting the balance control to the middle or neutral position. This will ensure an equal distribution of sound between the left and right speakers.
- Listen for any imbalances: Play a track with a mix of sound elements and listen carefully for any imbalances in the audio. If you notice that the sound is biased towards one side, adjust the balance control accordingly to bring it back to the center.
- Consider your seating position: Take into account your seating position in the car when adjusting the balance. It should sound balanced and centered regardless of where you are sitting.
It’s important to note that achieving perfect left-right balance may vary depending on the acoustics of your car and the position of the speakers. Trust your ears and make adjustments that create a pleasing balance to your listening experience.
Now that you have balanced the left and right speakers, let’s move on to step six, where we will explore setting the fade and balance controls to fine-tune the sound output according to your preferred listening position.
Step 6: Setting the fade and balance controls
The fade and balance controls in your car stereo give you the ability to adjust the sound output according to your preferred listening position. By setting these controls correctly, you can ensure an optimal audio experience in your car. Here’s how to set the fade and balance controls:
- Locate the fade and balance controls: Refer to your car stereo’s user manual to find the specific location and functionality of these controls in your system.
- Understand the fade control: The fade control adjusts the sound distribution between the front and rear speakers in your car. It allows you to choose whether the sound is more prominent in the front, back, or evenly distributed between both.
- Experiment with different fade settings: Start by setting the fade control to the neutral position. Then, adjust it to the front, back, and various in-between positions to find the setting that suits your preferred listening position.
- Set the balance control: The balance control adjusts the sound distribution between the left and right speakers. It allows you to find the sweet spot where the sound is balanced and centered.
- Listen for optimal sound: As you adjust the fade and balance controls, listen for the optimal sound output. Consider your preferred listening position and ensure that the sound is clear, balanced, and immersive.
It’s important to note that the optimal fade and balance settings may vary depending on your car’s interior design and speaker placement. Take your time to experiment with different settings until you find the configuration that suits your listening preferences.
With the fade and balance controls set, we will now move on to step seven, where we will explore adjusting the equalizer settings to further fine-tune the sound according to your preferences.
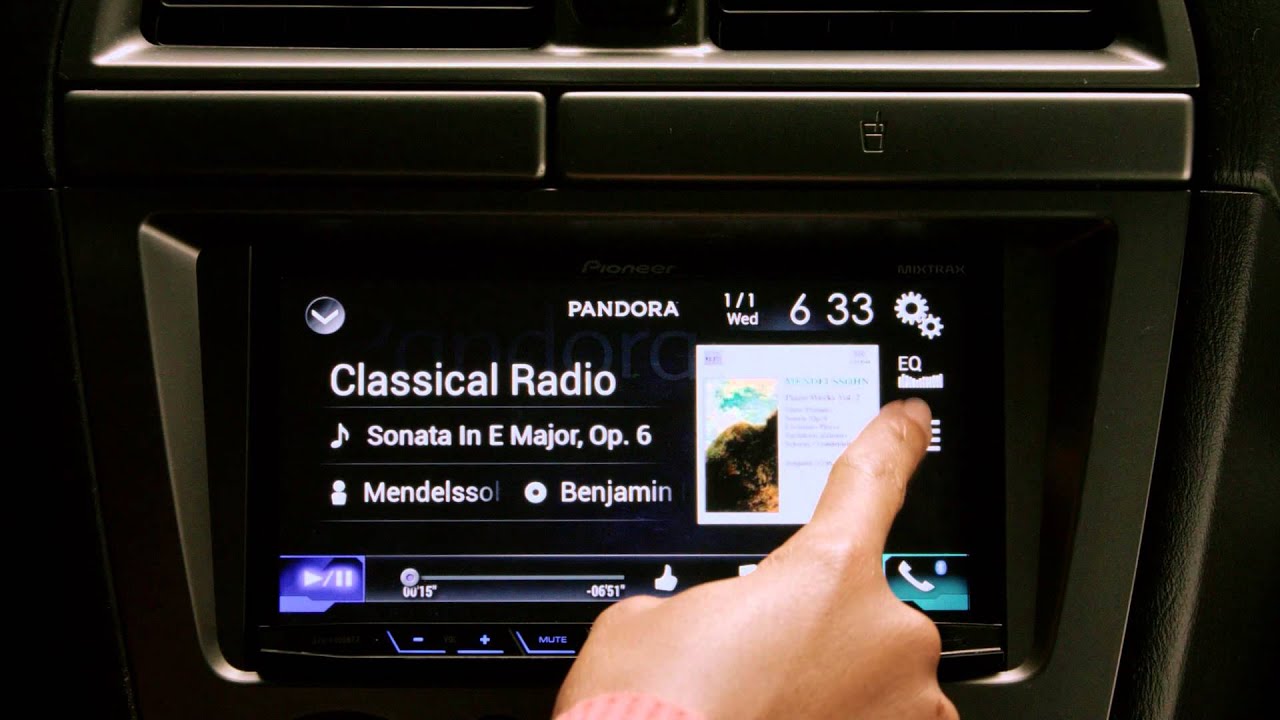
Step 7: Adjusting the equalizer settings
The equalizer settings in your car stereo allow you to fine-tune the audio frequencies, giving you control over the specific tones and characteristics of the sound. Here’s how you can adjust the equalizer settings:
- Locate the equalizer controls: Refer to your car stereo’s user manual to find the specific location and functionality of the equalizer controls in your system. Some car stereos may have a built-in equalizer, while others may have preset EQ modes or customizable settings.
- Understand the frequency bands: The equalizer typically consists of different frequency bands such as bass, midrange, and treble. Each band represents a specific range of frequencies that can be adjusted individually.
- Listen to a variety of music: Play different genres of music and pay attention to the specific frequencies that you want to enhance or attenuate. For example, if you listen to a lot of bass-heavy music, you may want to boost the lower frequency bands.
- Make incremental adjustments: Start by setting the equalizer controls to a neutral or flat position. Then, make small adjustments to the different frequency bands based on your preferred sound signature.
- Listen for balanced sound: Aim for a balanced sound where no specific frequency band overpowers the others. Experiment with different settings until you achieve a pleasing and well-rounded sound.
Keep in mind that the optimal equalizer settings may vary depending on your personal preferences and the type of music you listen to. Trust your ears and make adjustments that enhance your listening experience and suit your specific tastes.
With the equalizer settings adjusted, we will move on to step eight, where we will discuss configuring the crossover settings for your car stereo.
Step 8: Configuring the crossover settings
The crossover settings in your car stereo allow you to define the frequency range that each speaker in your system will handle. This ensures that the right frequencies are sent to the appropriate speakers, resulting in a more balanced and accurate sound reproduction. Here’s how you can configure the crossover settings:
- Locate the crossover controls: Consult your car stereo’s user manual to find the specific location and functionality of the crossover controls. Some car stereos may have dedicated crossover settings, while others may have options within the equalizer or sound settings.
- Understand the crossover frequency: The crossover frequency determines the point at which the audio signal is split between the speakers. Lower frequencies are typically handled by the subwoofer or larger speakers, while higher frequencies are directed to the tweeters or smaller speakers.
- Consider the speaker sizes and capabilities: Take into account the size and capabilities of your car speakers. Larger speakers are generally better suited for low-frequency reproduction, while smaller speakers excel at handling high frequencies. Adjust the crossover settings accordingly to optimize their performance.
- Experiment with different crossover points: Start with a crossover point in the middle range and listen to the sound output. Gradually adjust the crossover frequency higher or lower, noting the impact it has on the overall sound quality. Aim for a smooth transition between speakers without any noticeable gaps or overlaps in frequency response.
- Fine-tune based on personal preference: Each car stereo system and listener’s preferences will differ. Trust your ears and make adjustments to the crossover settings that result in a balanced and accurate sound according to your personal taste.
Configuring the crossover settings correctly is crucial for achieving optimal sound reproduction and maximizing the performance of your car stereo. Take your time to experiment with different settings and frequencies until you find the configuration that works best for your specific audio setup and preferences.
With the crossover settings configured, we will now move on to step nine, where we will discuss testing and fine-tuning the overall sound quality.
Step 9: Testing and fine-tuning the overall sound quality
After adjusting all the individual settings and controls of your car stereo, it’s time to test and fine-tune the overall sound quality. This step will ensure that all the adjustments you’ve made work harmoniously together to deliver an immersive audio experience. Here’s how you can test and fine-tune the sound:
- Choose a variety of music: Select different genres and styles of music that you enjoy listening to. Include tracks with varying dynamics, instrumentation, vocals, and bass-heavy elements, if applicable.
- Listen critically: Pay close attention to the sound output as you play different tracks. Evaluate the overall sound quality, including the balance between the frequencies, clarity of vocals and instruments, and presence of any distortion or unwanted noise.
- Make further adjustments if needed: If you notice any areas that need improvement, revisit the relevant settings such as bass, treble, balance, fade, equalizer, or crossover. Fine-tune these settings incrementally, keeping in mind your desired sound signature and personal preferences.
- Consider the acoustics of your vehicle: Remember that the interior of your car can affect the sound quality. Experiment with different equalizer settings and crossover frequencies to compensate for any acoustic challenges or resonances within the car cabin.
- Trust your ears: Ultimately, your ears are the best judge of sound quality. Trust your instincts and make adjustments that deliver a satisfying and enjoyable audio experience.
Testing and fine-tuning the sound quality may require some patience and experimentation. It’s a continuous process, as your preferences may evolve over time or vary depending on the type of music you’re listening to. Regularly reassess and adjust the settings as needed to ensure you’re always getting the best possible sound.
By following these steps and taking the time to test and fine-tune the sound, you can unlock the true potential of your car stereo and enjoy a rich, immersive audio experience during your drives.
With step nine complete, we have successfully covered the process of tuning your car stereo. Remember to refer back to your car stereo’s user manual whenever needed and enjoy the enhanced sound quality in your vehicle!
Conclusion
Tuning your car stereo can significantly enhance your driving experience, allowing you to enjoy high-quality audio while on the road. Through the steps outlined in this guide, you have learned how to fine-tune various aspects of your car stereo to achieve optimal sound quality.
Starting from gathering the necessary tools and materials, you have prepared your car stereo for tuning. By adjusting the bass and treble settings, you have gained control over the low and high frequencies, creating a well-balanced sound. Balancing the left and right speakers ensures an immersive audio experience, while setting the fade and balance controls allows you to customize the sound distribution based on your listening position. Fine-tuning the equalizer settings enables you to shape the audio frequencies to your preferences, and configuring the crossover settings directs the right frequencies to the appropriate speakers.
Lastly, you have tested and fine-tuned the overall sound quality, constantly adjusting the settings to achieve the desired audio experience. By trusting your ears and making incremental adjustments, you have refined the sound output to suit your personal taste and the acoustics of your car.
Remember, tuning a car stereo is a continuous process. As your preferences evolve and as you encounter different driving conditions, you may find it necessary to revisit the settings and make further adjustments. This will ensure that you always get the best sound quality possible.
Now armed with the knowledge and steps outlined in this guide, you are ready to embark on your journey to unlock the true potential of your car stereo. Enjoy the immersive and high-quality sound that will transform every drive into a music-filled adventure!