Home>Devices & Equipment>Car Audio>How To Custom Car Audio
Car Audio
How To Custom Car Audio
Modified: February 18, 2024
Learn how to customize your car audio system with our detailed guide. Find tips and tricks for installing and upgrading car audio components.
(Many of the links in this article redirect to a specific reviewed product. Your purchase of these products through affiliate links helps to generate commission for AudioLover.com, at no extra cost. Learn more)
Table of Contents
- Introduction
- Understanding Car Audio Systems
- Choosing the Right Components
- Installing the Head Unit
- Wiring the Speakers
- Building Custom Speaker Enclosures
- Amplifiers and Subwoofers
- Tuning and Adjusting the Audio System
- Enhancing Sound Quality with Sound Deadening Materials
- Troubleshooting Common Issues
- Conclusion
Introduction
Welcome to the world of customized car audio systems! If you’re a car enthusiast, you know that a stock audio system often leaves much to be desired. Upgrading your car audio can drastically enhance your driving experience, allowing you to enjoy your favorite music with superior sound quality.
In this comprehensive guide, we’ll dive deep into the world of car audio systems, providing you with the knowledge and expertise to create a custom setup that fits your preferences.
Whether you’re a casual listener or an audiophile looking for the ultimate audio experience, understanding the components and installation process is crucial. We’ll cover everything from choosing the right components to installing them properly, allowing you to achieve remarkable sound quality that will impress even the most discerning ears.
With the rapid advancements in audio technology, it can be overwhelming to navigate the vast array of options available in the market. However, by understanding the fundamental elements of car audio systems and following the proper installation procedures, you can ensure a seamless and impressive audio setup.
Throughout this guide, we’ll discuss each step of the process, providing you with expert tips and insights along the way. From selecting the right head unit and wiring the speakers to building custom enclosures and tweaking the sound settings, we’ve got you covered.
Whether you’re a complete novice or have some experience with car audio installations, this guide will serve as a valuable resource to help you create the car audio system of your dreams. So, buckle up and get ready to embark on this exciting journey of tailored sound experiences!
Understanding Car Audio Systems
Before diving into the world of custom car audio, it’s essential to have a solid understanding of the basic components that make up a car audio system. These components work together to produce the sound you hear in your vehicle. Let’s take a closer look at each one:
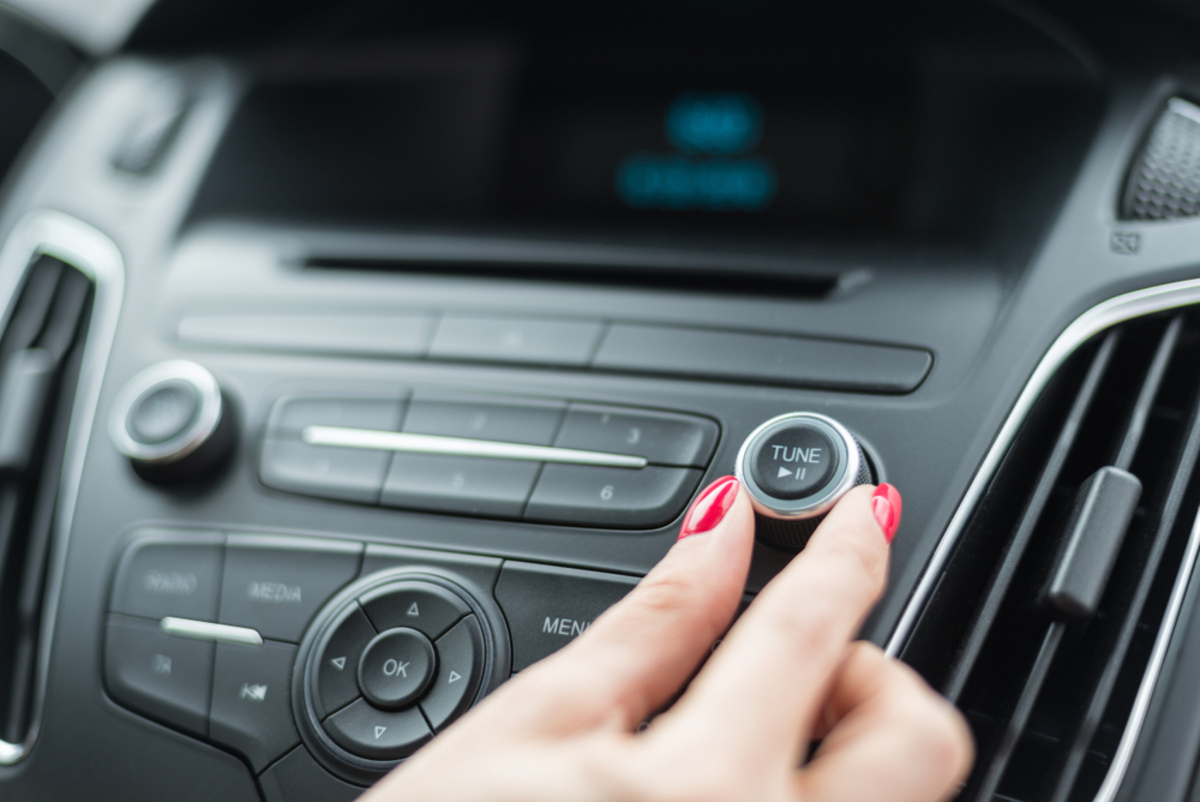
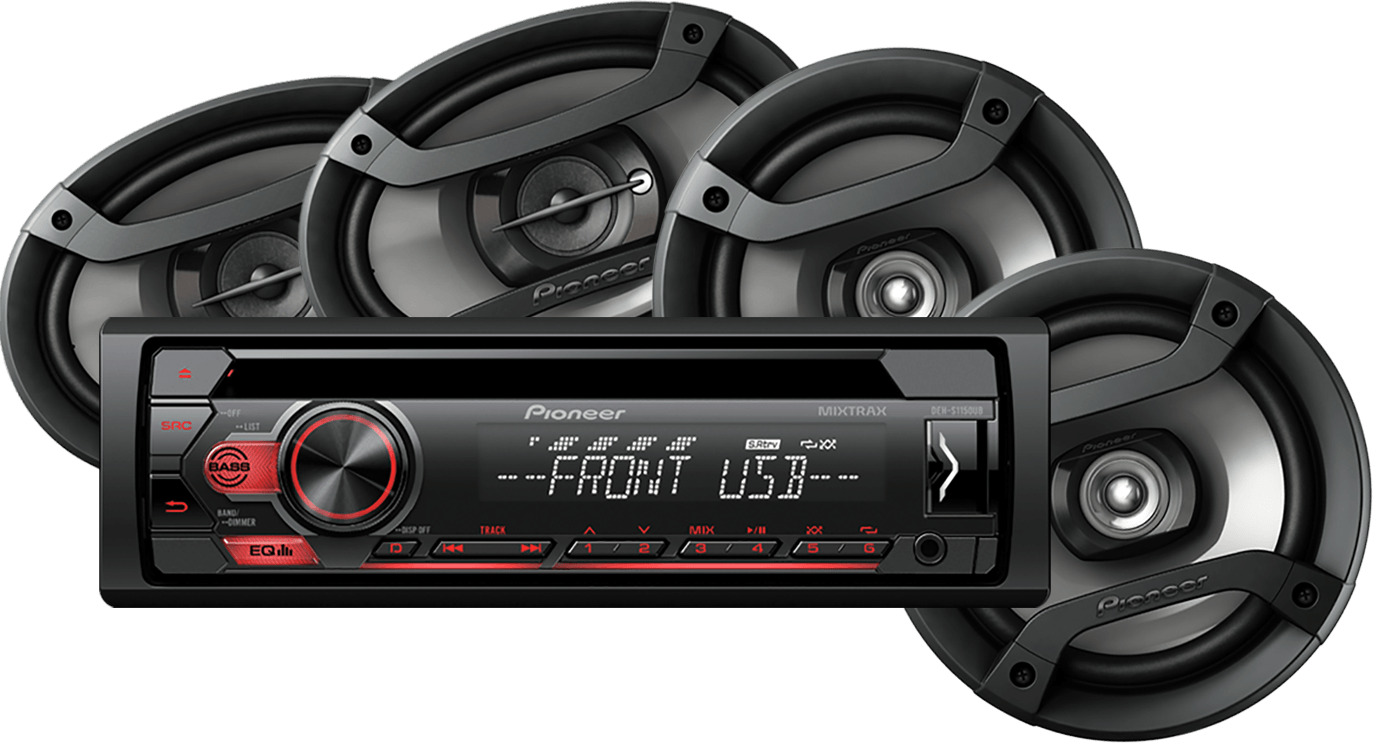
- Head Unit: The head unit, also known as the receiver or stereo, is the control center of the audio system. It allows you to play music from various sources, such as FM/AM radio, CDs, USB drives, or Bluetooth-enabled devices. The head unit also provides equalization controls, volume adjustments, and other features to customize your listening experience.
- Amplifiers: Amplifiers are responsible for boosting the audio signal from the head unit and delivering it to the speakers. They ensure that the sound is powerful and clear, even at high volume levels. Amplifiers come in various configurations, such as mono, 2-channel, or multi-channel, allowing you to power different sets of speakers or subwoofers.
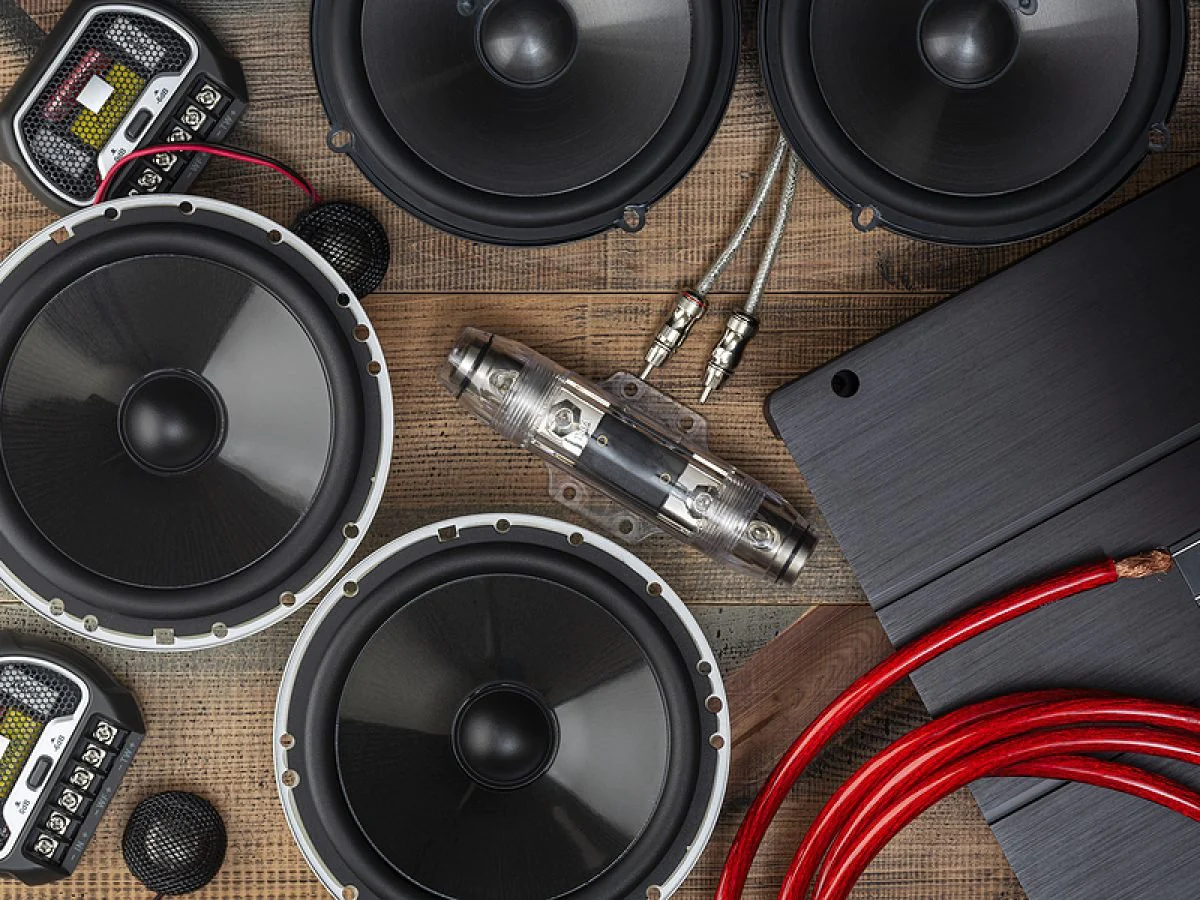
- Speakers: Speakers are the heart of your car audio system. They transform electrical signals into sound waves that you can hear. There are different types of speakers, including coaxial speakers, component speakers, and subwoofers. Coaxial speakers are the most common and combine the tweeter (for high-frequency sounds) and the woofer (for mid-range and bass sounds) into one unit. Component speakers separate these drivers, resulting in improved sound quality and staging. Subwoofers are dedicated speakers that produce low-frequency bass sounds, adding depth and impact to your music.
- Wiring and Cables: Proper wiring and cables are crucial for a clean and efficient car audio system. High-quality cables ensure that the audio signal flows without interference, resulting in optimal sound quality. Additionally, wiring is needed to connect the head unit, amplifiers, and speakers together.
- Sound Deadening Materials: Sound deadening materials, such as acoustic foam and vibration dampeners, help reduce external noise and vibrations. They improve sound quality by minimizing unwanted resonances and echoes, resulting in a cleaner and more immersive audio experience.
Understanding these core components will lay the foundation for the rest of your car audio journey. In the next sections, we’ll delve deeper into each component, discussing their features, options, and considerations for customization. So let’s continue on our quest for the perfect car audio system!
Choosing the Right Components
When it comes to creating a custom car audio system, selecting the right components is essential to achieving the sound quality and performance you desire. Here are some factors to consider when choosing the components for your setup:
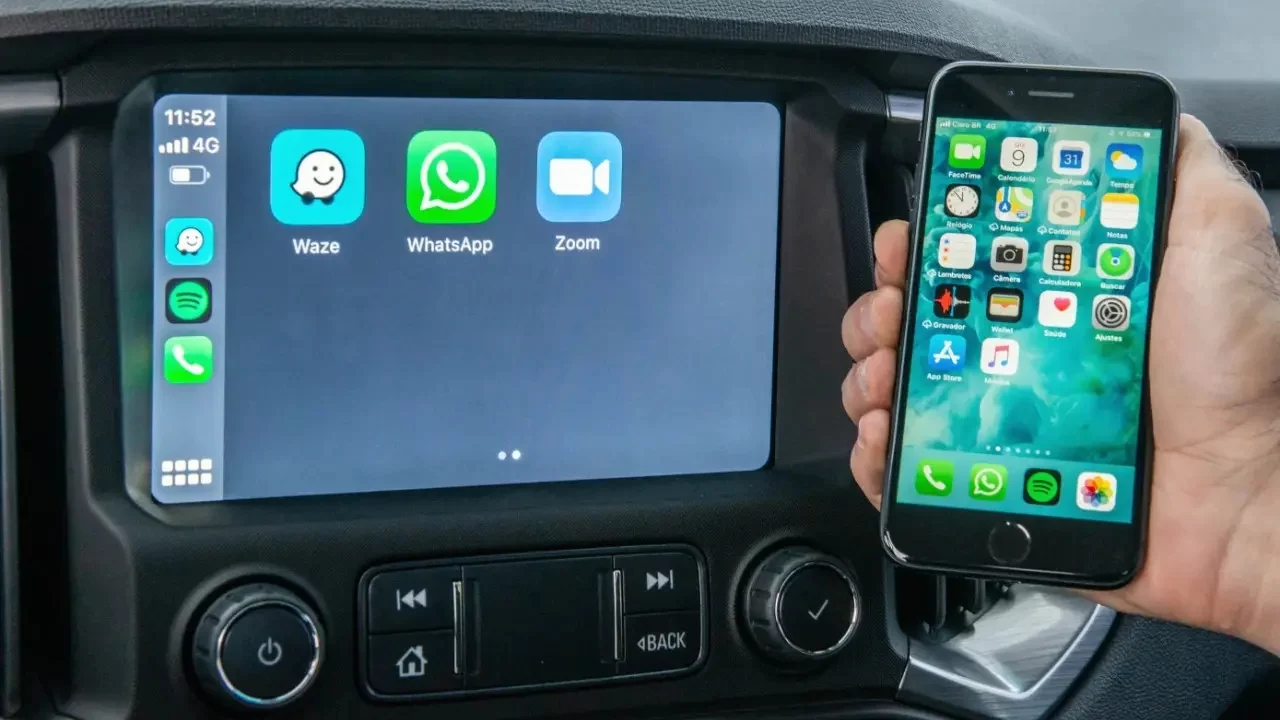
- Head Unit: Consider the features you need in a head unit. Do you want Bluetooth connectivity for wireless audio streaming and hands-free calling? Do you prefer a touchscreen interface for ease of use? Additionally, ensure that the head unit’s power output matches the requirements of your speakers and amplifiers.
- Amplifiers: Determine how many channels you need based on the number of speakers and subwoofers in your setup. Also, consider the power output (wattage) of the amplifiers and match it to the power handling capacity of your speakers and subwoofers.
- Speakers: Take into account the size of your vehicle’s speaker locations and ensure the speakers you choose are compatible. If you’re an audiophile seeking high-fidelity sound, consider component speakers for superior separation and imaging. Pay attention to the speaker’s power handling capability and sensitivity to ensure optimal performance.
- Subwoofers: Determine the size and quantity of subwoofers based on the bass output you desire. Consider the enclosure type (sealed, ported, or bandpass) that best suits your needs and available space. Remember to match the subwoofers’ power handling to the amplifier’s output for balanced performance.
- Wiring and Cables: Invest in high-quality wiring and cables to minimize signal loss and interference. Choose the appropriate gauge of wire based on the power requirements of your components. Additionally, consider using gold-plated connectors for a secure and corrosion-resistant connection.
- Sound Deadening Materials: Evaluate the acoustic characteristics of your vehicle and determine if sound deadening materials are necessary. If you experience excessive road noise or vibrations, consider adding sound deadening materials to improve the audio quality.
It’s important to strike a balance between budget, performance, and personal preferences when selecting components. Research different brands, read reviews, and seek expert advice if needed. Remember that every component should work harmoniously together to create a cohesive and immersive audio experience in your car.
Once you have a clear understanding of the components you need, it’s time to move onto the installation process. In the next sections, we’ll discuss how to install the head unit, wire the speakers, and build custom speaker enclosures. So let’s get our hands dirty and bring your custom car audio vision to life!
Installing the Head Unit
The head unit installation is the first step in creating your custom car audio system. Follow these steps to ensure a smooth and proper installation:
- Gather the necessary tools: Before starting the installation, gather the tools you’ll need, including a panel removal tool, wire strippers, crimping tool, electrical tape, and a multimeter (optional for testing connections).
- Disconnect the negative terminal of the battery: Safety first! Before working with any electrical components, disconnect the negative terminal of the vehicle’s battery to avoid any potential electrical shorts or damage.
- Remove the factory head unit: Carefully remove any trim panels or bezels surrounding the factory head unit using a panel removal tool. Once the panels are removed, unscrew any fasteners securing the factory head unit and disconnect all wiring harnesses and antenna connections. Set the factory head unit aside.
- Prepare the wiring harness: To ensure compatibility between the head unit and the vehicle’s wiring, you’ll need a wiring harness adapter. The adapter connects to the factory wiring harness, providing a plug-and-play interface for the new head unit. Connect the wires from the adapter to the corresponding wires on the new head unit’s harness using crimp connectors or soldering for a secure connection.
- Mount the new head unit: Slide the new head unit into the installation kit or dash kit designed for your vehicle’s make and model. Secure the head unit in place using the provided screws or brackets. Double-check that the head unit is securely mounted and properly aligned.
- Connect the wiring harness and antenna: Plug the wiring harness adapter into the vehicle’s wiring harness. Connect the antenna adapter to the vehicle’s antenna cable and plug it into the antenna input on the new head unit.
- Test the head unit: Before reassembling any panels, reconnect the negative terminal of the battery and turn on the vehicle. Test the functionality of the new head unit, including audio output, radio reception, and any additional features like Bluetooth or USB connectivity. Make any necessary adjustments or troubleshooting to ensure everything is working correctly.
- Secure and reassemble: Once you’re satisfied with the head unit’s performance, secure any loose wiring and tuck it away neatly. Reassemble any trim panels or bezels that were removed during the installation, ensuring they fit snugly and without any gaps.
Remember, each vehicle’s installation process may vary, so always refer to the specific instructions provided by the manufacturer for your head unit and dash kit. If you’re not confident in your installation skills, it’s recommended to seek professional assistance to avoid any potential damage to your vehicle or audio components.
With the head unit successfully installed, it’s time to move on to the next step: wiring the speakers. We’ll guide you through the process in the following section, so stay tuned!
Wiring the Speakers
Properly wiring the speakers is crucial for optimal sound reproduction and performance in your custom car audio system. Follow these steps to ensure a clean and efficient speaker wiring setup:
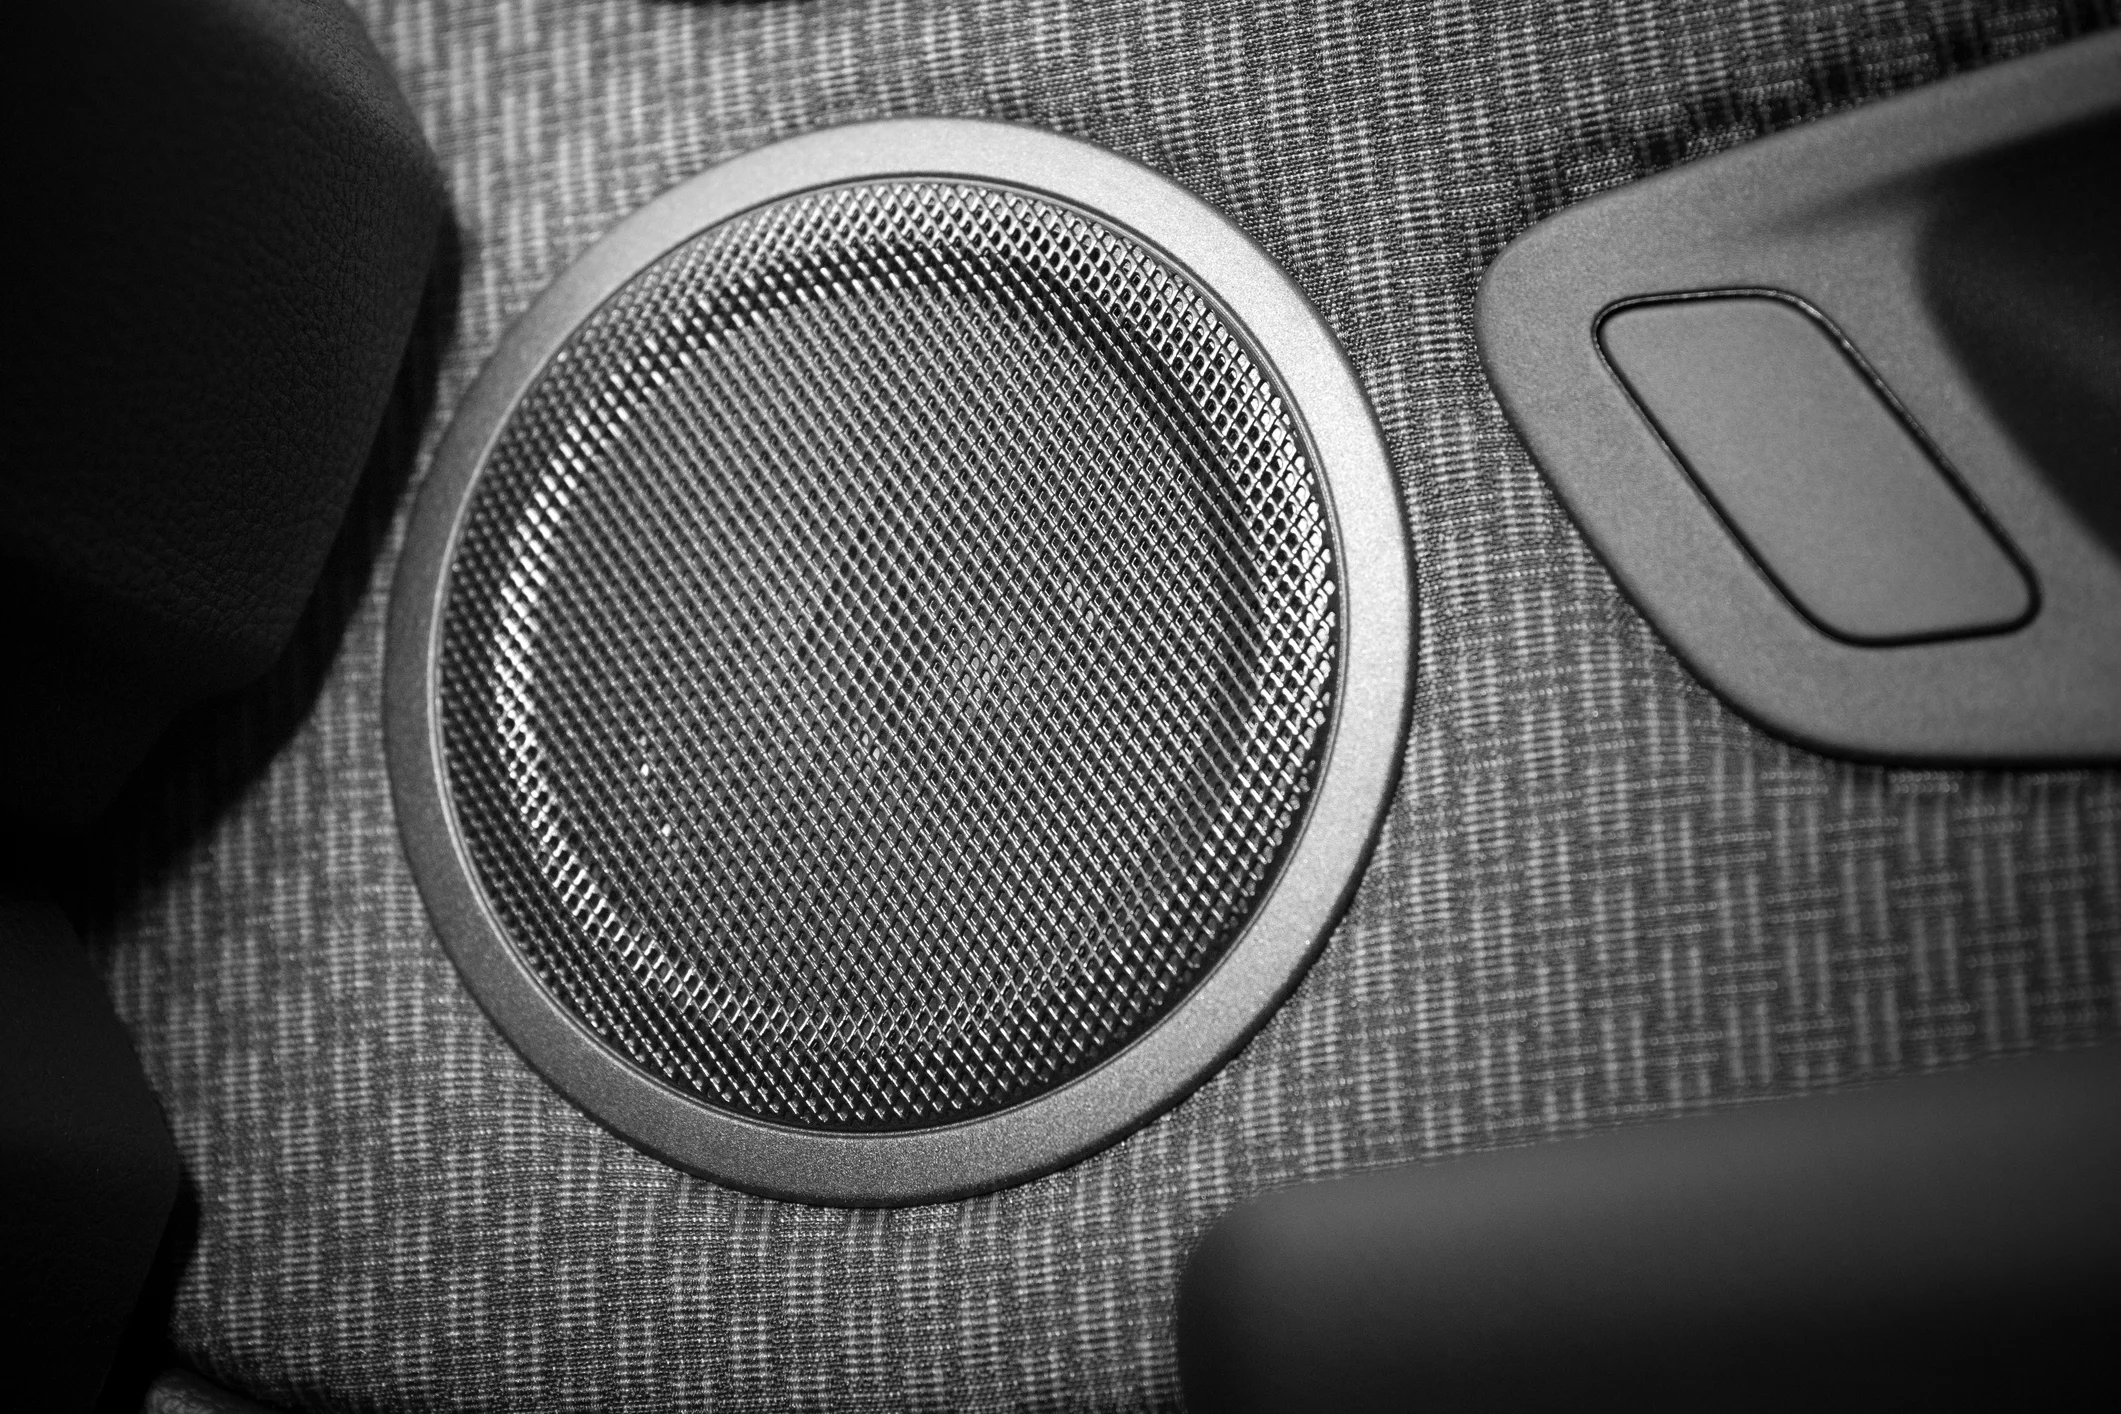
- Determine speaker locations: Identify the locations where you’ll be installing the speakers in your vehicle, such as the front doors, rear deck, or dashboard. Take note of any space limitations or special mounting requirements.
- Choose the right speaker wire: Select high-quality speaker wire with the appropriate gauge for your specific audio setup. Thicker wire with lower gauge numbers (e.g., 12 gauge) is recommended for longer wire runs or higher-power systems, while thinner wire with higher gauge numbers (e.g., 16 gauge) can be suitable for shorter wire runs or lower-powered systems.
- Measure and cut the speaker wire: Measure the distance between the speaker locations and the head unit or amplifier. Cut the speaker wire into lengths that will reach from each speaker to the head unit or amplifier, allowing for some extra slack for easier installation.
- Strip the ends of the speaker wire: Use wire strippers to remove a small section of insulation from the ends of each speaker wire. Strip an appropriate length to ensure a secure connection with the speaker terminals or the wiring harness adapter.
- Connect the speaker wire to the speakers: Depending on the type of speakers you’re installing, you’ll either connect the speaker wire directly to the speaker terminals or use a wiring harness adapter. If connecting directly, ensure a solid connection by twisting the exposed wire strands tightly around the speaker terminals or using crimp connectors for a secure fit.
- Connect the speaker wire to the head unit or amplifier: If using an aftermarket head unit, connect the speaker wire pairs to the corresponding speaker outputs on the back of the head unit. Match the positive (+) and negative (-) terminals correctly to avoid phase cancellation or distortion. If using an amplifier, connect the speaker wire pairs to the amplifier’s speaker output terminals, again matching the positive (+) and negative (-) connections properly.
- Test the speaker connections: Once all speaker wire connections are made, turn on your audio system and play some music. Check each speaker to ensure it is producing sound and functioning correctly. Adjust the fade and balance settings as needed to achieve the desired sound staging and distribution.
- Secure and route the speaker wire: Once you’re satisfied with the speaker connections, secure any loose wiring and route it neatly to prevent interference or damage. Use zip ties or wire clips to secure the wire along the vehicle’s existing wiring harnesses or structural supports.
Remember to follow the specific instructions provided by the speaker manufacturer and consult the wiring diagrams for your vehicle to ensure proper polarity and connection. Additionally, label each speaker wire at both ends for easy identification during future repairs or upgrades.
With the speakers wired correctly, we’re on track to completing your custom car audio system. In the next section, we’ll explore the process of building custom speaker enclosures to maximize the sound quality and performance. Keep reading!
Building Custom Speaker Enclosures
Building custom speaker enclosures is an excellent way to maximize the sound quality and performance of your car audio system. Whether you’re installing component speakers or subwoofers, custom enclosures allow you to optimize the speaker’s performance and fit them perfectly into your vehicle. Here’s a step-by-step guide to building custom speaker enclosures:
- Determine the type of enclosure: Decide if you want a sealed enclosure, ported enclosure, or a bandpass enclosure. Sealed enclosures provide accurate and tight bass response, while ported enclosures offer increased bass output at the expense of some accuracy. Bandpass enclosures provide a combination of both, emphasizing certain frequencies.
- Calculate the enclosure dimensions: Use the specifications provided by the speaker manufacturer, along with the desired enclosure type, to calculate the necessary dimensions. Factors such as the speaker’s size, recommended volume, and port dimensions (if applicable) need to be taken into account.
- Prepare the materials: Gather the necessary materials, including MDF (medium-density fiberboard), screws, wood glue, terminal cups, and speaker gaskets. MDF is commonly used due to its rigidity and acoustic properties.
- Design and template creation: Create a design for the custom enclosure based on the calculated dimensions. Use software or drawing tools to create a template that can be transferred onto the MDF. Ensure accuracy and precision in the template to ensure a proper fit for the speaker(s).
- Cut the MDF: Transfer the template onto the MDF and carefully cut out the required pieces using a jigsaw or a similar cutting tool. Take your time and make accurate cuts to ensure a clean final product.
- Assemble the enclosure: Begin by assembling the basic structure of the enclosure, starting with the front, back, and side panels. Use wood glue and screws to secure the pieces together, ensuring a tight and sturdy fit. Take care to align the edges properly for a seamless finish.
- Install the speaker(s) and terminal cups: Create openings in the enclosure for mounting the speaker(s) and terminal cups. Use a hole saw or a router to make precise openings that match the size of the speaker(s) and terminal cups. Install the speaker(s) and secure them in place using screws or brackets.
- Seal and reinforce: Apply a bead of wood glue along the internal seams of the enclosure to enhance the overall rigidity and prevent air leaks. Reinforce critical areas, such as corners and joints, with additional screws or bracing to ensure the enclosure’s integrity.
- Aesthetics and finishing touches: Sand down any rough edges or imperfections and apply a wood sealant or paint of your choice to protect the enclosure. Select a finish that matches your vehicle’s interior or personal style.
Building custom speaker enclosures may require advanced woodworking skills and tools. If you’re not confident in your abilities, it’s recommended to seek professional assistance or consider purchasing pre-made enclosures that are designed specifically for your speakers.
Remember to take accurate measurements, follow safety protocols when operating power tools, and refer to speaker specifications and enclosure design principles for optimal results. Custom enclosures can greatly enhance the sound quality and overall listening experience in your car, so consider investing the time and effort to build them correctly.
With custom speaker enclosures now complete, we’re approaching the final stages of setting up your custom car audio system. In the next section, we’ll discuss amplifiers and subwoofers, which add depth and power to your sound. Keep reading to learn more!
Amplifiers and Subwoofers
Amplifiers and subwoofers play a crucial role in enhancing your car audio system’s performance by adding depth, power, and clarity to the sound. Let’s explore the key aspects of amplifiers and subwoofers:
Amplifiers:
Amplifiers are responsible for boosting the audio signal from the head unit and providing sufficient power to drive the speakers. They allow you to achieve higher volume levels, improved clarity, and better dynamics. Consider the following when selecting an amplifier:
- Power Output: Choose an amplifier with sufficient power output to match the needs of your speakers. The power output should be within the recommended range of your speakers’ power handling capability to avoid damaging them.
- Channels: Amplifiers come in various configurations, including mono, 2-channel, and multi-channel setups. Determine the number of channels you need based on the number of speakers and subwoofers in your system.
- Class of Amplifier: Amplifiers can be classified as A, AB, D, or T. Class D amplifiers are known for their efficiency and compact size, making them popular choices for car audio systems.
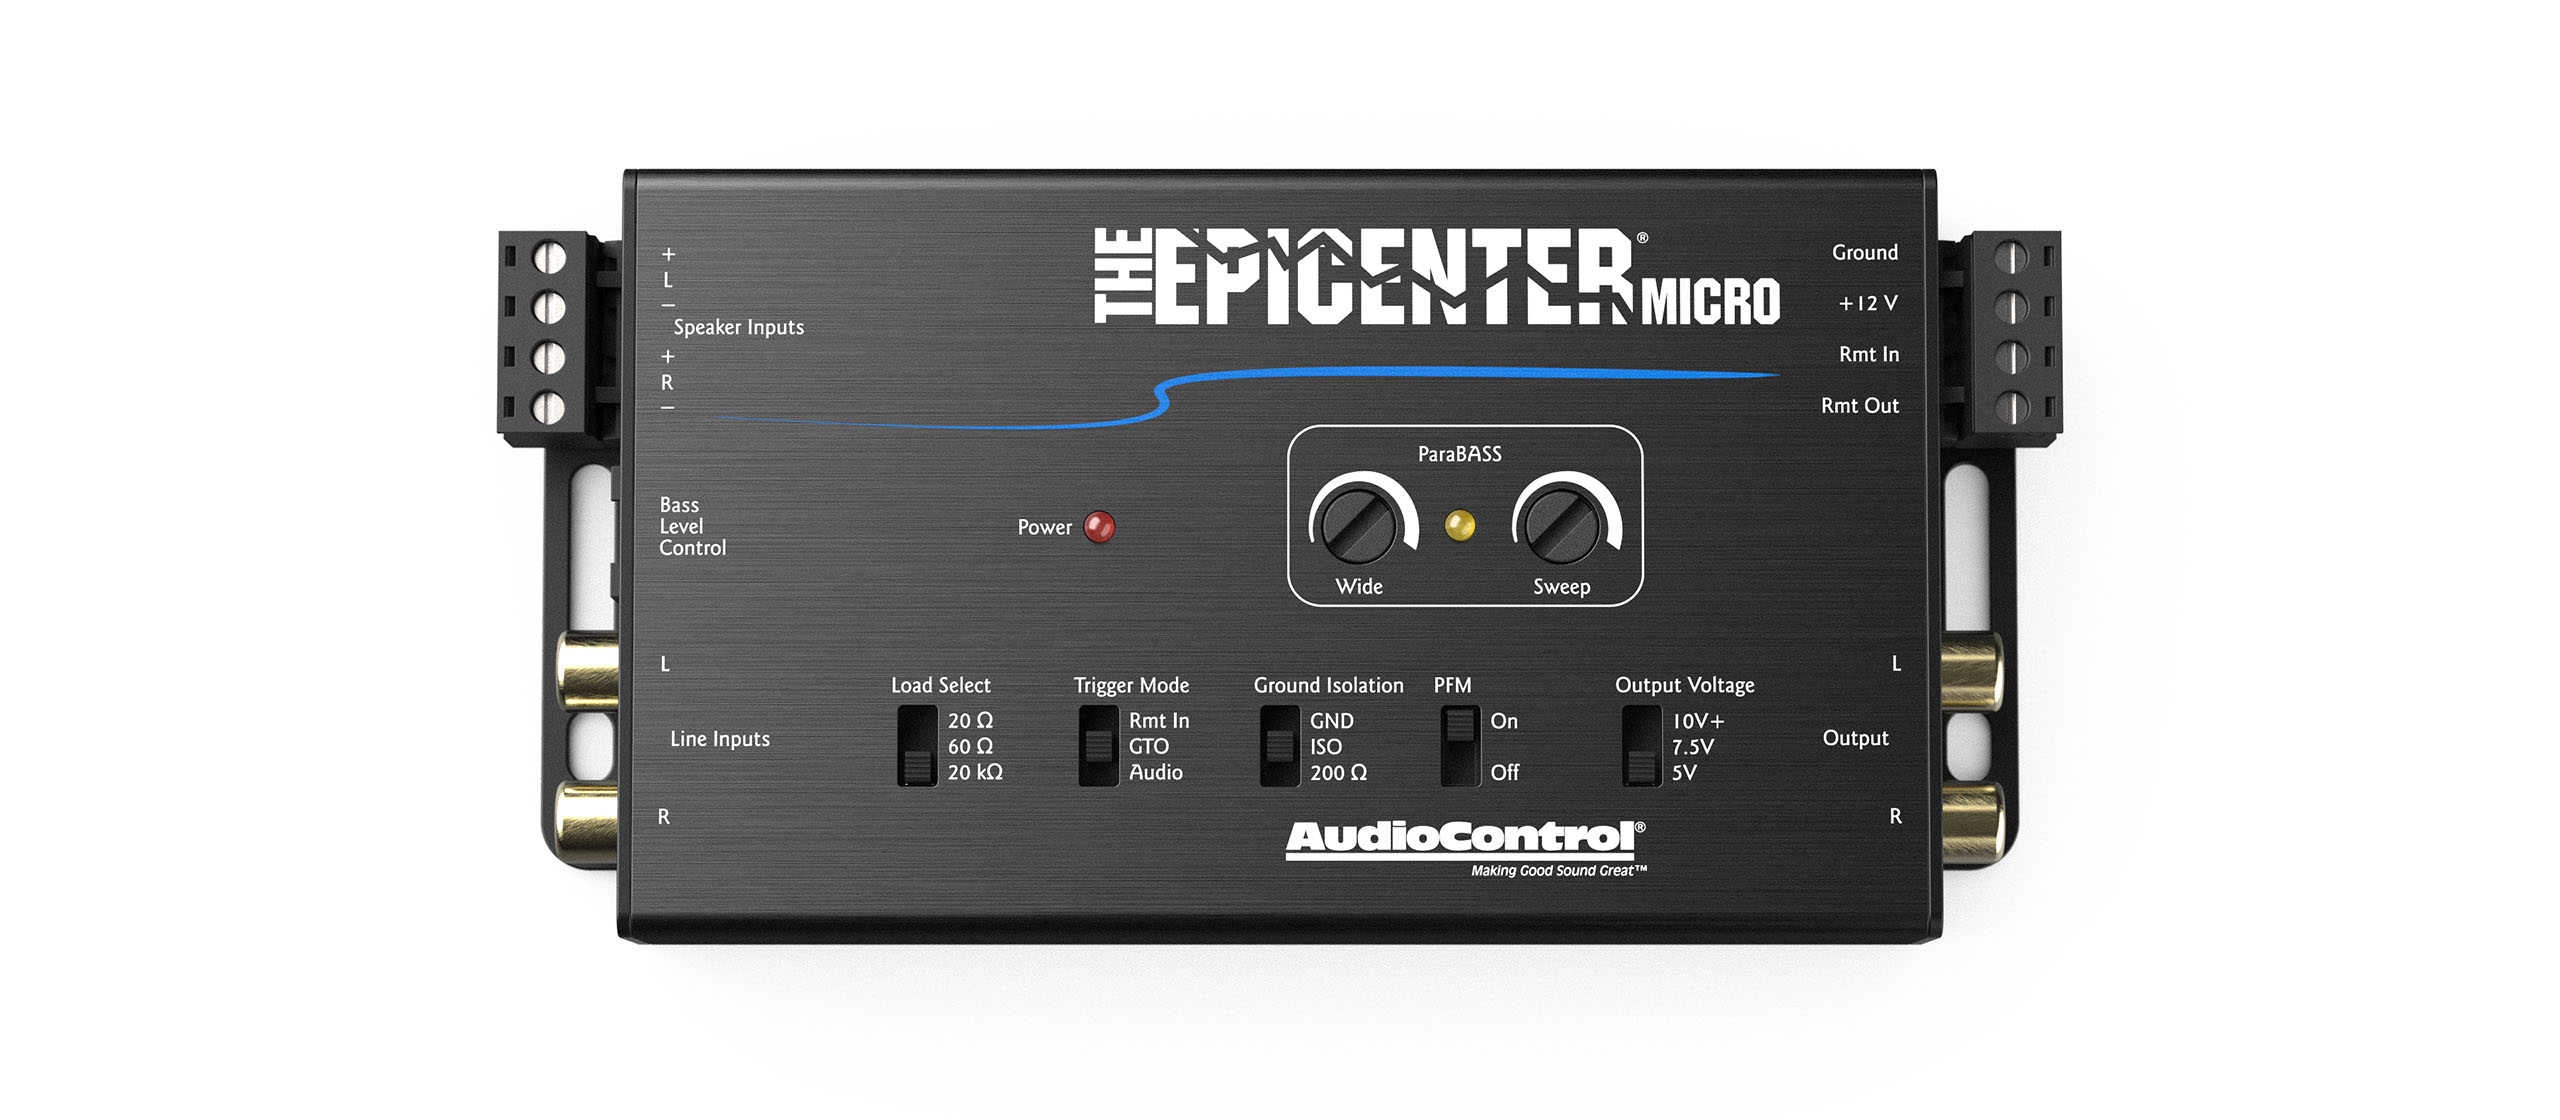
- Features: Consider additional features that may be important to you, such as built-in crossovers, equalization capabilities, or remote control options.
Subwoofers:
Subwoofers are dedicated speakers designed to reproduce low-frequency sounds, adding depth and impact to your music. When choosing a subwoofer, keep the following factors in mind:
- Size and Quantity: Subwoofers come in different sizes, typically measured in inches. The size you choose will depend on your available space and bass preferences. Consider whether you want a single subwoofer or multiple subwoofers for increased output.
- Enclosure Type: Determine the enclosure type based on your preferences and the subwoofer’s recommendations. Sealed enclosures provide accurate and well-defined bass, while ported or vented enclosures offer increased output at the expense of some accuracy.
- Power Handling: Consider the subwoofer’s power handling capability to ensure compatibility with your amplifier’s output. Match the RMS power ratings of the subwoofer and the amplifier for balanced and distortion-free performance.
- Frequency Response: Look for subwoofers with a wide frequency response to cover the low-frequency range effectively. Lower frequency response values indicate a deeper bass response.
Properly integrating amplifiers and subwoofers into your car audio system requires careful consideration of their specifications and compatibility with the rest of your setup. Ensure clean power delivery, proper wiring, and tune the system appropriately to achieve the desired sound quality and performance.
Next, we’ll dive into the process of tuning and adjusting your audio system to achieve the optimum sound quality. Stay tuned!
Tuning and Adjusting the Audio System
Once you have all the components of your custom car audio system installed, it’s essential to properly tune and adjust the system to achieve the best possible sound quality. Here are some key steps to help you in this process:
- Balance and Fade: Adjust the balance and fade settings to ensure that the sound is evenly distributed among all the speakers. This will help create a well-balanced soundstage and enhance the overall listening experience.
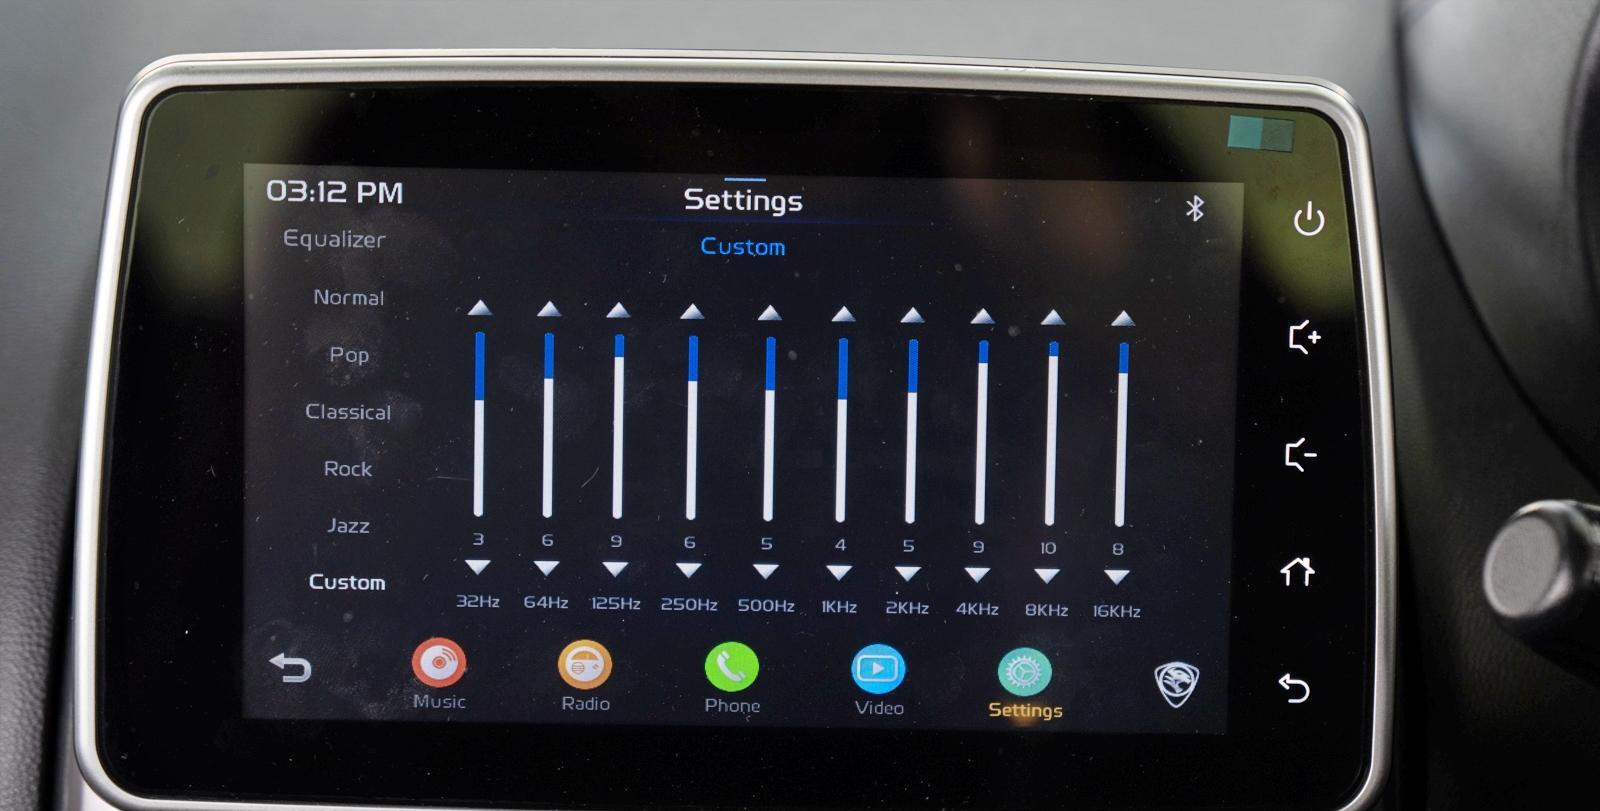
- Equalization (EQ): Most head units and amplifiers have built-in equalization settings that allow you to adjust the frequency response of the audio. Take the time to experiment with the EQ settings to achieve the desired tonal balance and compensate for any acoustic deficiencies in your vehicle’s interior.
- Crossover Settings: If you have component speakers or subwoofers in your system, adjust the crossover settings to ensure that each speaker is responsible for reproducing the appropriate frequency range. This will help prevent distortion and improve overall sound quality.
- Phase Alignment: If using multiple speakers or subwoofers, check and adjust the phase alignment. This involves ensuring that the sound waves produced by the speakers arrive at the listener’s ears simultaneously, minimizing interference and improving sound coherence.
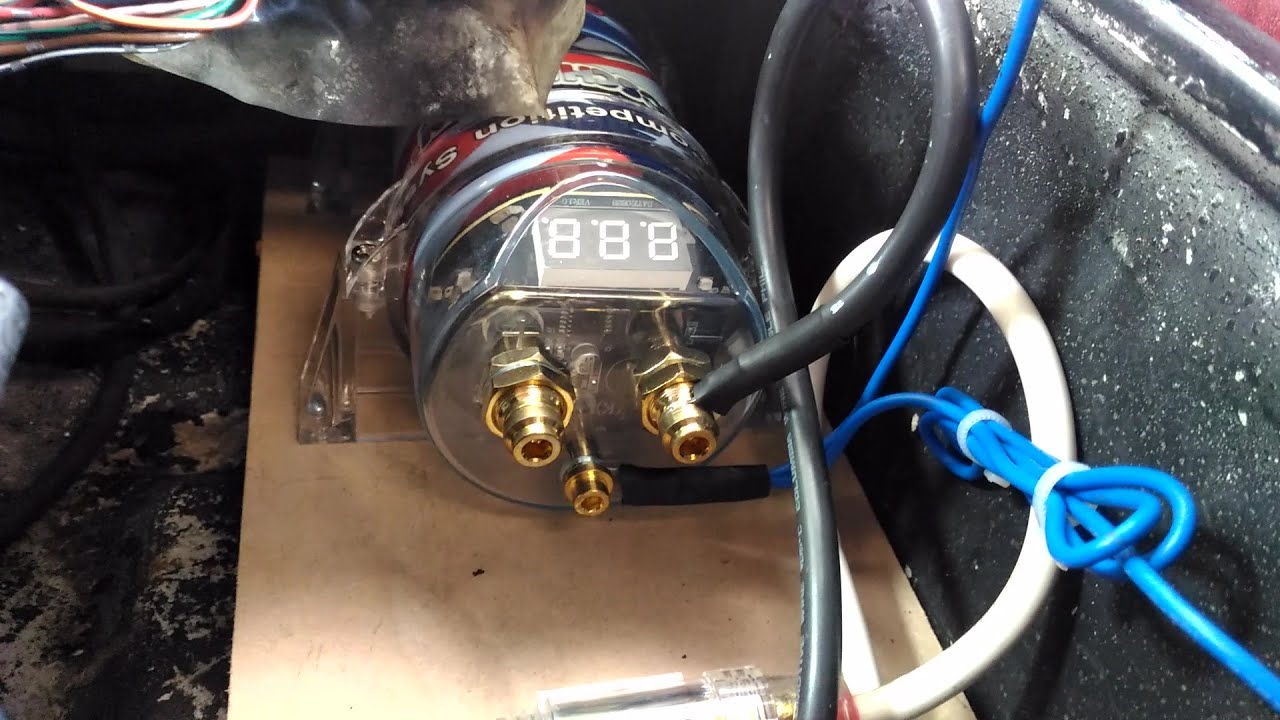
- Gain Settings: Adjust the gain settings on your amplifier(s) to properly match the input signal and prevent clipping or distortion. Use a multimeter or an oscilloscope to set the gain level appropriately, ensuring optimal power output without overdriving the speakers.
- Sound Deadening: If you haven’t already, consider applying additional sound deadening materials to reduce road noise and vibrations. This can help improve the clarity and overall sound reproduction in your vehicle.
- Acoustic Treatment: Depending on your preferences and budget, you may consider adding acoustic treatment to your vehicle’s interior. This can include installing sound-absorbing panels or applying specialized materials to minimize reflections and improve sound quality.
- Listening Test: Finally, take the time to listen to a variety of music genres and pay attention to the overall sound quality. Make small adjustments and fine-tune the settings as needed until you are satisfied with the sound reproduction.
Keep in mind that the tuning process may require some patience and experimentation. Don’t be afraid to make small changes, listen to the results, and continue adjusting until you achieve the desired sound quality and balance.
If you’re unsure about the tuning process, consulting an audio professional or attending car audio competitions or meetups can provide valuable insights and guidance to help you optimize your system’s performance.
Now that your audio system is finely tuned, let’s move on to the importance of sound deadening materials in enhancing sound quality in your car audio setup.
Enhancing Sound Quality with Sound Deadening Materials
When it comes to achieving the best sound quality in your car audio system, sound deadening materials are a valuable tool. These materials help minimize external noise, vibrations, and resonances, allowing your speakers to perform at their best. Here’s how to enhance sound quality with sound deadening materials:
- Identify problem areas: Take the time to identify areas in your vehicle that are prone to excessive noise or resonance. Common problem areas include doors, floors, trunk area, and wheel wells.
- Clean and prepare the surfaces: Before applying sound deadening materials, it’s important to clean the surfaces thoroughly to ensure proper adhesion. Remove any dirt, grease, or debris from the areas where the materials will be applied.
- Choose the right sound deadening materials: There are various types of sound deadening materials available, such as mass-loaded vinyl (MLV), butyl rubber sheets, and foam-based materials. Each has its own unique properties and effectiveness in reducing noise and vibrations. Consider factors such as cost, thickness, and installation ease when selecting the materials.
- Apply the materials: Start by applying the sound deadening materials to the problem areas identified earlier. For doors, apply the materials on the inner metal surfaces, including the outer door skin and inner door panel. For the floor and trunk area, cover as much surface area as possible. Be sure to follow the manufacturer’s instructions for proper application.
- Seal air gaps: In addition to applying sound deadening materials, use foam-based tapes or sealants to seal any air gaps or spaces that may cause rattles or unwanted noise. Pay attention to areas around speakers, wiring, and panels.
- Test and evaluate: Once the sound deadening materials have been installed, listen to your audio system and evaluate the difference in sound quality. Note any improvements in clarity, bass response, and overall sound separation.
- Consider professional installation: If you’re uncomfortable with the installation process or want to ensure optimal results, consider seeking professional installation services. They have the experience and expertise to apply the sound deadening materials effectively and maximize their benefits.
Sound deadening materials not only improve sound quality but also enhance the comfort and overall driving experience by reducing road noise and vibrations. They create a quieter and more pleasant environment inside your vehicle, allowing you to fully enjoy your music without any distractions.
Remember, the effectiveness of sound deadening materials will vary depending on the quality of the materials used, the extent of the installation, and the overall design of your vehicle. It’s important to conduct thorough research and choose reputable brands to ensure high-quality materials and optimal results.
With sound deadening materials in place, your car audio system is nearing its pinnacle of performance. In the next section, we’ll explore troubleshooting common issues that may arise in your custom car audio setup. Stay tuned for helpful tips and solutions!
Troubleshooting Common Issues
While setting up and enjoying your custom car audio system, you may encounter a few common issues that can affect sound quality or performance. Here are some troubleshooting tips to help you address any issues that arise:
- Distorted Sound: If you notice distortion in your audio, it could be due to several factors. Check the gain settings on your amplifier and adjust them accordingly. Ensure that the speakers are properly wired and that there are no loose connections or damaged components. Additionally, make sure the speakers are receiving the appropriate level of power from the amplifier.
- Insufficient Bass: If you feel that the bass output is lacking, first check the crossover settings for your subwoofers. Adjust the crossover frequency to allow the subwoofers to reproduce the lower frequencies more effectively. Also, ensure that the subwoofer enclosure is properly sealed or ported, as this can greatly impact bass response.
- No Sound from Speakers: If you’re not hearing any sound from your speakers, start by checking the wiring connections. Ensure that the positive and negative terminals are correctly connected and that there are no loose or damaged wires. Check the amplifier’s settings and confirm that the speakers are connected to the appropriate channels and that the volume levels are set correctly.
- Poor Sound Imaging: Sound imaging refers to the ability to accurately localize sounds from different speakers. If you’re experiencing poor sound imaging, check the balance and fade settings on your head unit. Make sure the speakers are positioned and installed correctly, maintaining the appropriate distance and angle from the listener. Consider the use of additional sound absorption materials or acoustic treatments to minimize reflections and enhance sound directionality.
- Electrical Noise: If you hear unwanted electrical noise, such as a whine or hiss, check the grounding of your audio system. Ensure that the head unit and amplifiers are properly grounded to a clean and secure ground point in the vehicle. Use shielded cables and avoid routing audio cables near power cables or other potential sources of electrical interference.
- Intermittent Connections: If you’re experiencing intermittent sound or signal loss, check all wiring connections for loose connections or poor contacts. Make sure the speaker wire connections are secure and that the terminals on the head unit, amplifiers, and speakers are clean and free from corrosion. Consider using quality connectors or soldering for a more reliable and permanent connection.
- Excessive Heat: High temperatures can cause damage to your audio components and affect their performance. Ensure that the amplifiers are properly ventilated and not stacked on top of each other, which can reduce heat dissipation. Consider adding cooling fans or installing amplifiers in a location with better airflow. If possible, park your vehicle in shaded areas to minimize heat buildup inside the car.
Remember, troubleshooting can be a process of trial and error. Begin with the basics of checking connections and settings, and then gradually investigate more specific issues. Don’t hesitate to consult professional installers or seek assistance from car audio forums or online communities for guidance and expertise.
By addressing and resolving common issues, you can ensure that your custom car audio system delivers the best possible sound quality and provides a truly enjoyable audio experience on every drive.
Congratulations! You have reached the end of our comprehensive guide to custom car audio. By following these steps and utilizing your creativity, you can create a custom car audio system that meets your unique preferences and takes your driving experience to new sonic heights. Enjoy the journey of tailored sound experiences!
Conclusion
Congratulations on completing our comprehensive guide to custom car audio! You now have a solid understanding of car audio systems, the components involved, and the process of creating a customized setup that delivers exceptional sound quality. By following the steps outlined throughout this guide, you’ll be well-equipped to embark on your journey to achieving the perfect car audio system.
We started by exploring the fundamental components of a car audio system, including the head unit, amplifiers, speakers, wiring, and sound deadening materials. Understanding these components is crucial for selecting the right ones and ensuring they work harmoniously to provide an immersive audio experience.
We then delved into the installation process, guiding you through installing the head unit, wiring the speakers, building custom speaker enclosures, and enhancing sound quality with sound deadening materials. These steps are essential for optimizing the performance of your car audio system and achieving the best sound possible.
We also covered the importance of amplifiers and subwoofers in adding depth and power to your sound, as well as the process of tuning and adjusting your audio system to achieve the desired sound quality. Fine-tuning and troubleshooting common issues are vital steps in perfecting your setup and ensuring a seamless audio experience.
By incorporating your creativity and personal preferences into the process, you can tailor your car audio system to your unique taste and make every drive an enjoyable sonic adventure. Remember to balance functionality, performance, and budget when selecting components and making installation decisions.
As you continue your car audio journey, don’t be afraid to explore new technologies, experiment with different setups, and seek advice from professionals or fellow car audio enthusiasts. The world of custom car audio is ever-evolving, offering exciting opportunities to enhance your driving experience through immersive and high-quality sound.
Thank you for joining us on this educational and exciting journey. We hope this guide has empowered you with the knowledge and confidence to create your dream car audio system. Now, go forth and enjoy the ultimate driving soundtrack!