Home>Devices & Equipment>Car Audio>How To Upgrade Car Audio

Car Audio
How To Upgrade Car Audio
Modified: March 8, 2024
Upgrade your car audio with these simple steps and enjoy a superior sound experience. Enhance your driving pleasure with top-quality car audio systems.
(Many of the links in this article redirect to a specific reviewed product. Your purchase of these products through affiliate links helps to generate commission for AudioLover.com, at no extra cost. Learn more)
Table of Contents
- Introduction
- Step 1: Assessing Your Current Car Audio System
- Step 2: Choosing the Right Components
- Step 3: Removing the Old Audio System
- Step 4: Installing the New Audio System
- Step 5: Wiring and Connecting the Components
- Step 6: Testing and Adjusting the Sound Quality
- Step 7: Additional Tips for Enhancing Your Car Audio Experience
- Conclusion
Introduction
Car audio plays an integral role in enhancing the overall driving experience. Whether you enjoy listening to upbeat music on long road trips or prefer the crystal-clear sound quality of your favorite podcasts, having a high-quality car audio system can make all the difference. It can transform your car into a mobile entertainment hub, providing hours of entertainment and enjoyment.
Upgrading your car audio system is a great way to take your driving experience to the next level. However, with so many options and technical jargon to navigate, it can be daunting to know where to start. That’s why we’ve put together this comprehensive guide to help you upgrade your car audio system with ease.
In this guide, we’ll walk you through step-by-step instructions on how to assess your current car audio system, choose the right components, remove the old audio system, install the new components, wire and connect everything, and finally test and adjust the sound quality. We’ll also provide additional tips to enhance your car audio experience even further.
By the end of this guide, you’ll have the knowledge and confidence to tackle your car audio upgrade project like a pro, ensuring that you enjoy optimal sound quality and clarity every time you hit the road. So, let’s dive in and unlock the full potential of your car audio system!
Step 1: Assessing Your Current Car Audio System
The first step in upgrading your car audio system is to assess the current setup. This will help you understand what needs to be improved and guide you in choosing the right components for your upgrade.
Start by examining the quality of sound produced by your existing speakers. Listen for any distortion, buzzing, or lack of clarity. Take note of any specific speakers that are performing poorly or not working at all.
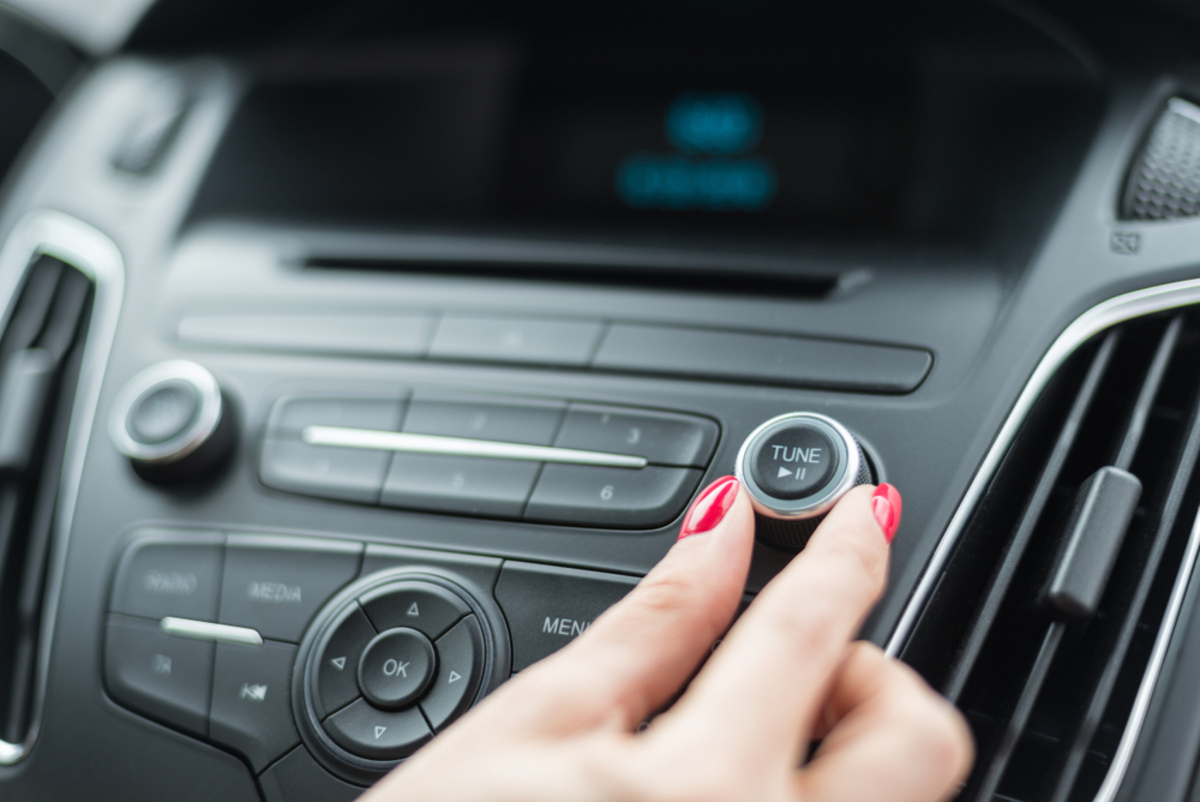
Next, evaluate the head unit or stereo receiver. Is it outdated? Are there limited features or connectivity options? Consider whether you want to replace just the head unit or opt for a complete system upgrade.
Additionally, take a look at the audio sources available in your car. Do you have Bluetooth connectivity for streaming music from your smartphone? Is there a CD player or an auxiliary input for other devices? Understanding the capabilities and limitations of your current audio sources will help you determine what features you want in your upgraded system.
Lastly, check the wiring and connections. Look for any frayed or damaged wires, loose connections, or improper grounding. These issues can cause sound quality problems and should be addressed before proceeding with the upgrade.
Once you have assessed your current car audio system and identified its strengths and weaknesses, you’ll have a clearer picture of what improvements you need to make. This knowledge will guide you in selecting the right components for your upgrade, ensuring that you choose products that are compatible and will deliver the desired improvements in sound quality and functionality.
Step 2: Choosing the Right Components
Choosing the right components for your car audio upgrade is crucial to achieving the desired sound quality and functionality. Here are some key factors to consider when selecting the components:
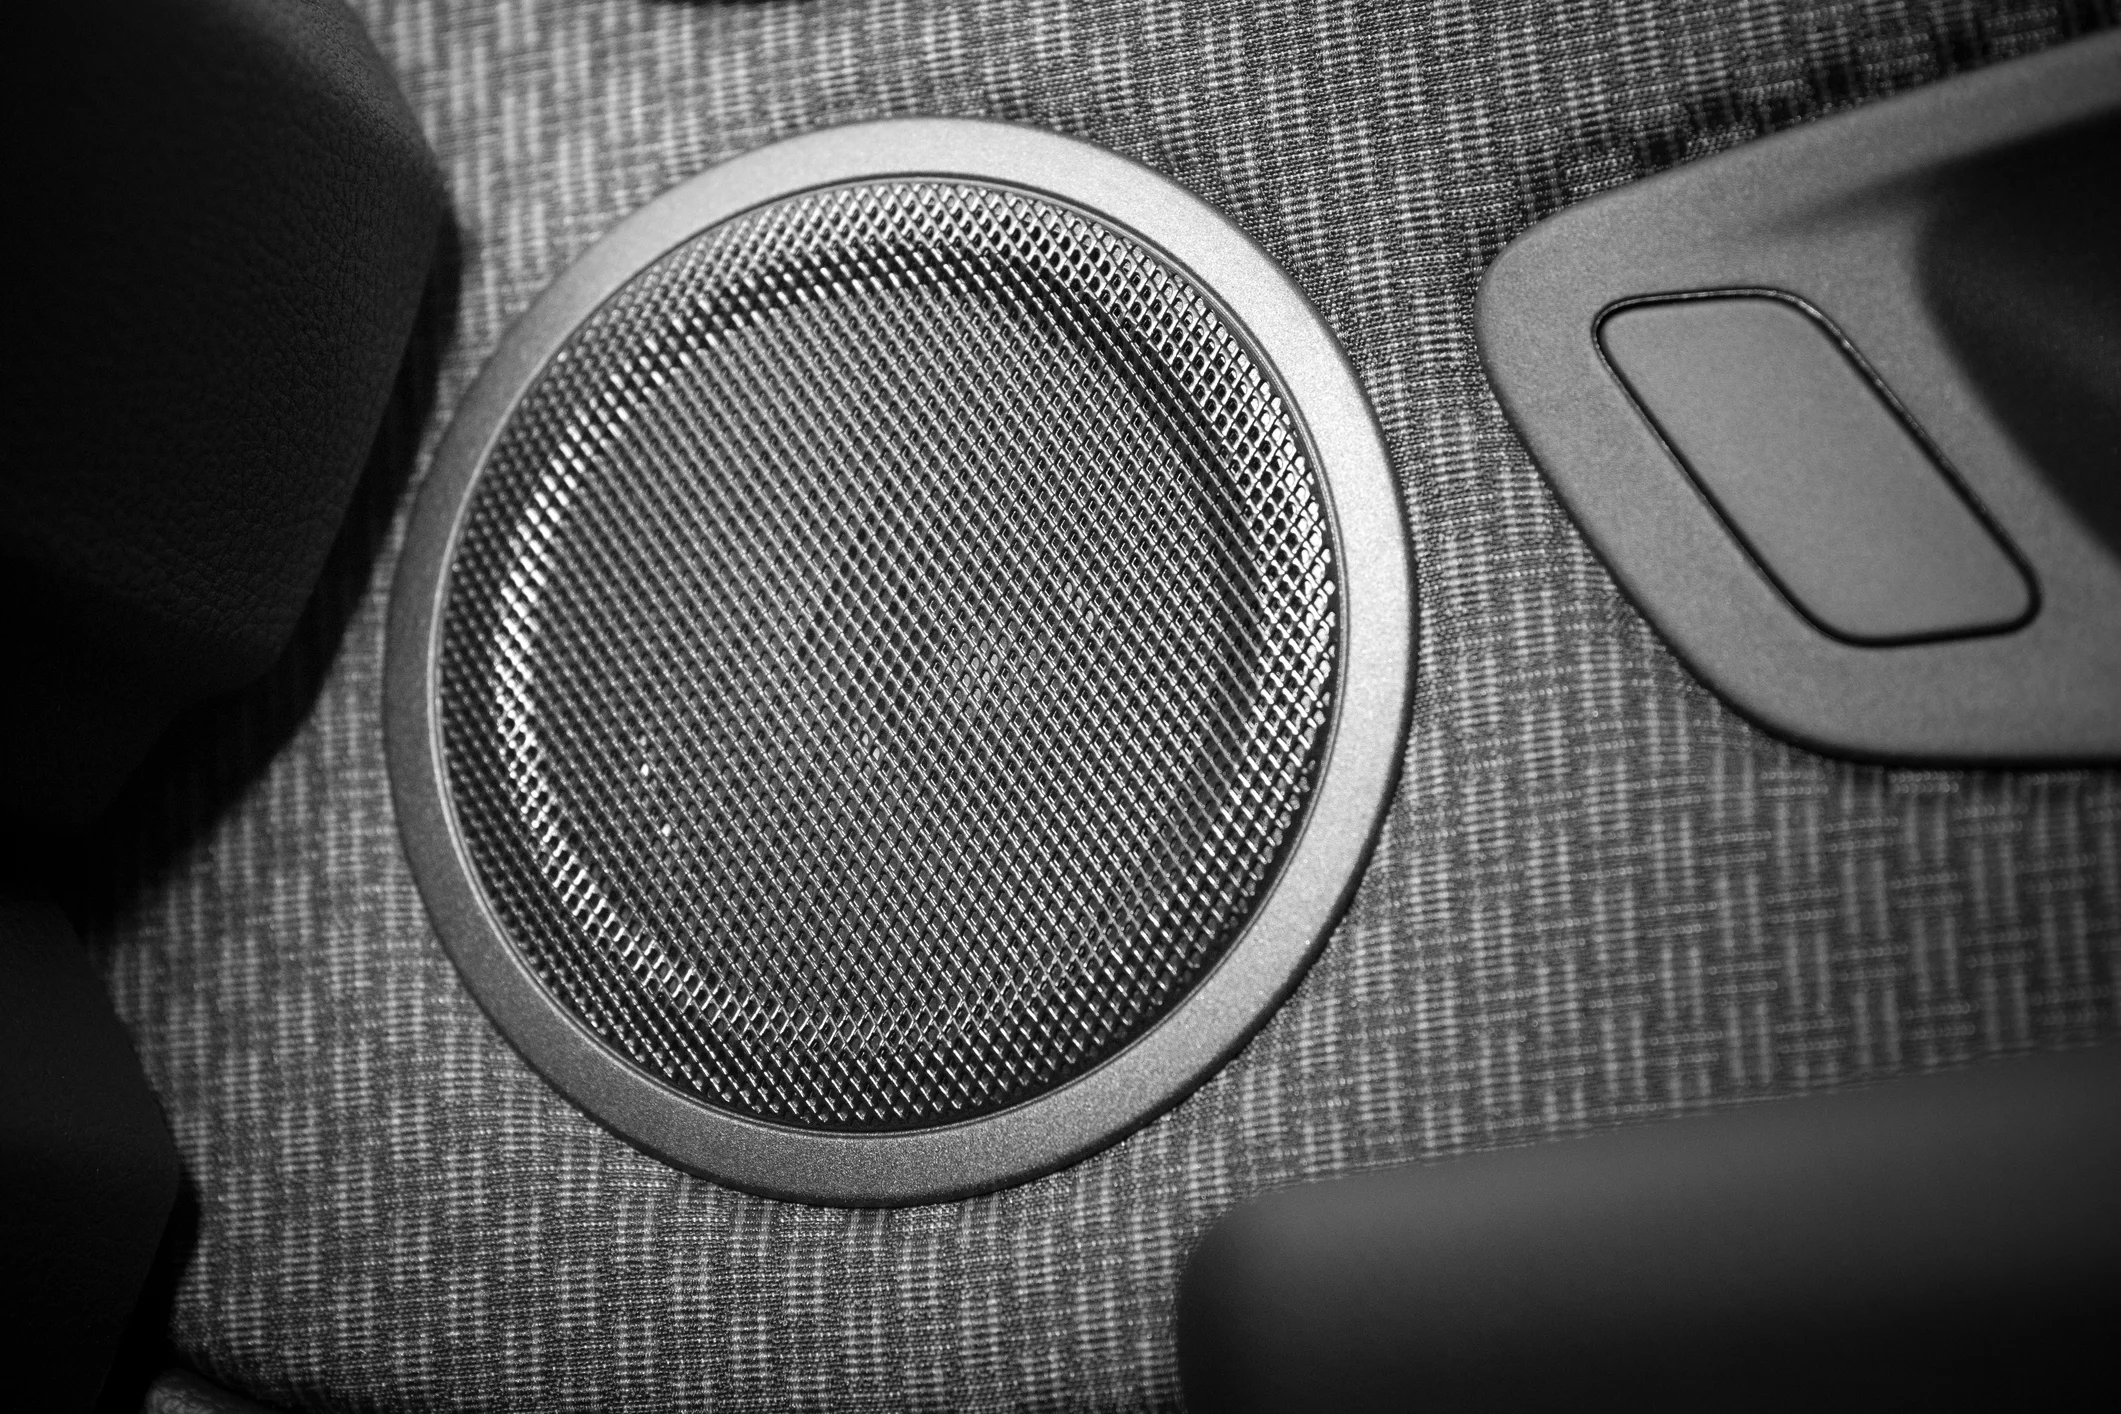
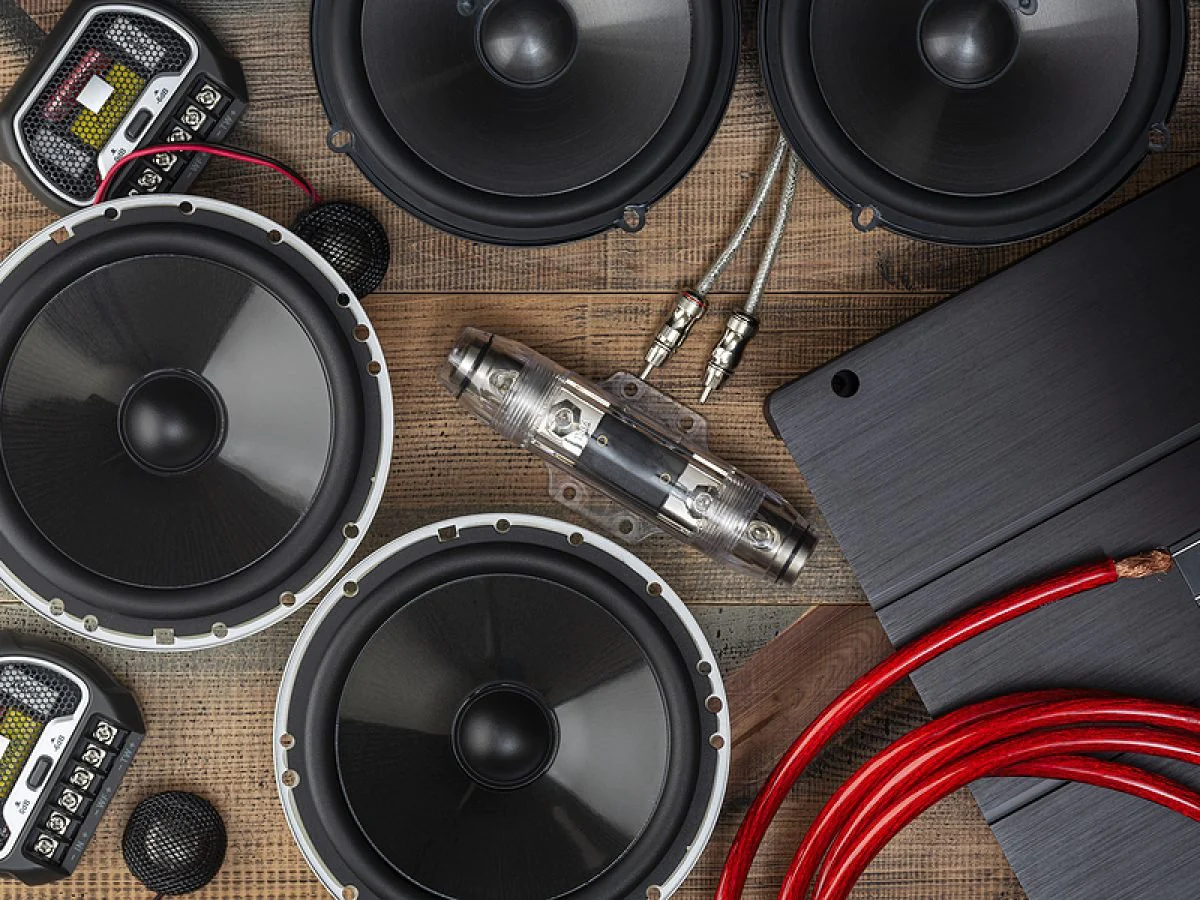
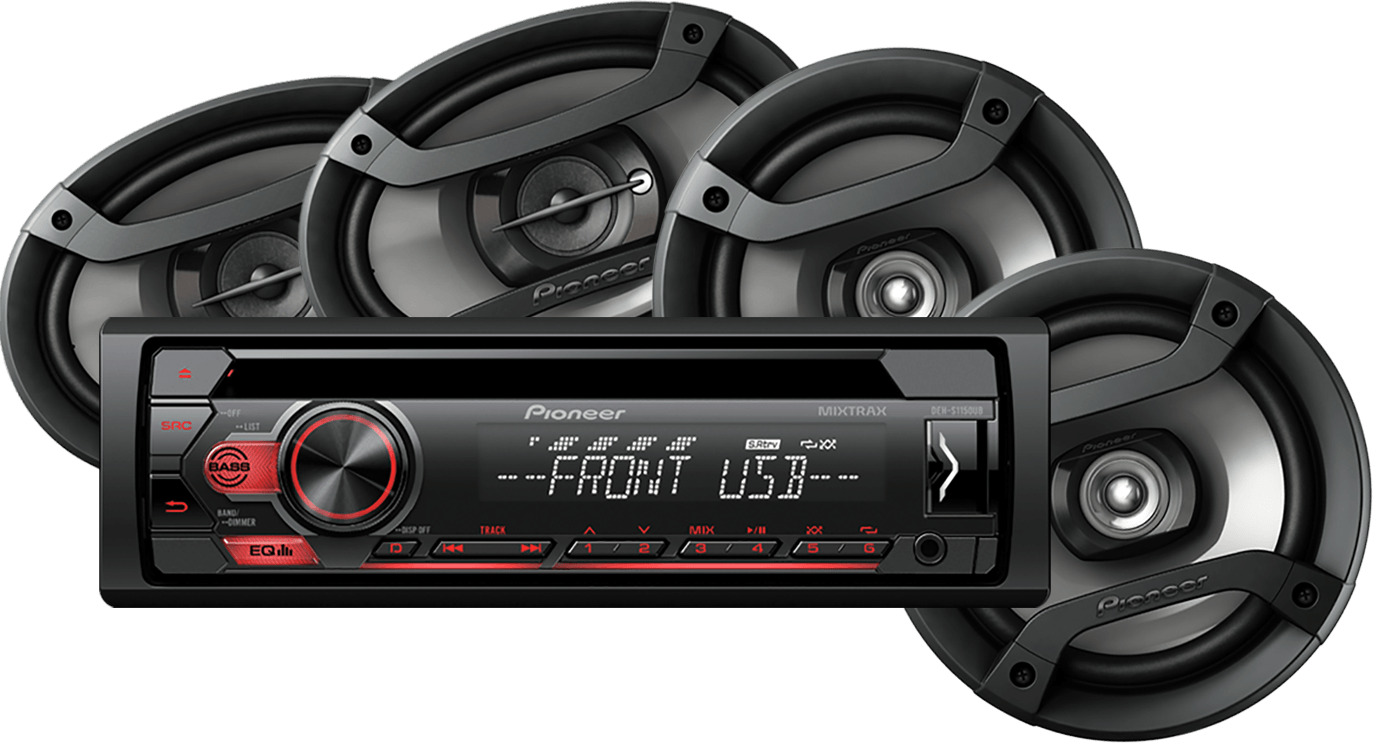
- Speakers: Determine the speaker size and type that will fit your car’s speaker locations. Consider factors such as power handling, sensitivity, frequency response, and build quality to ensure optimal sound reproduction. Decide if you want coaxial speakers (with a built-in tweeter) or component speakers (with separate tweeters for better sound imaging).
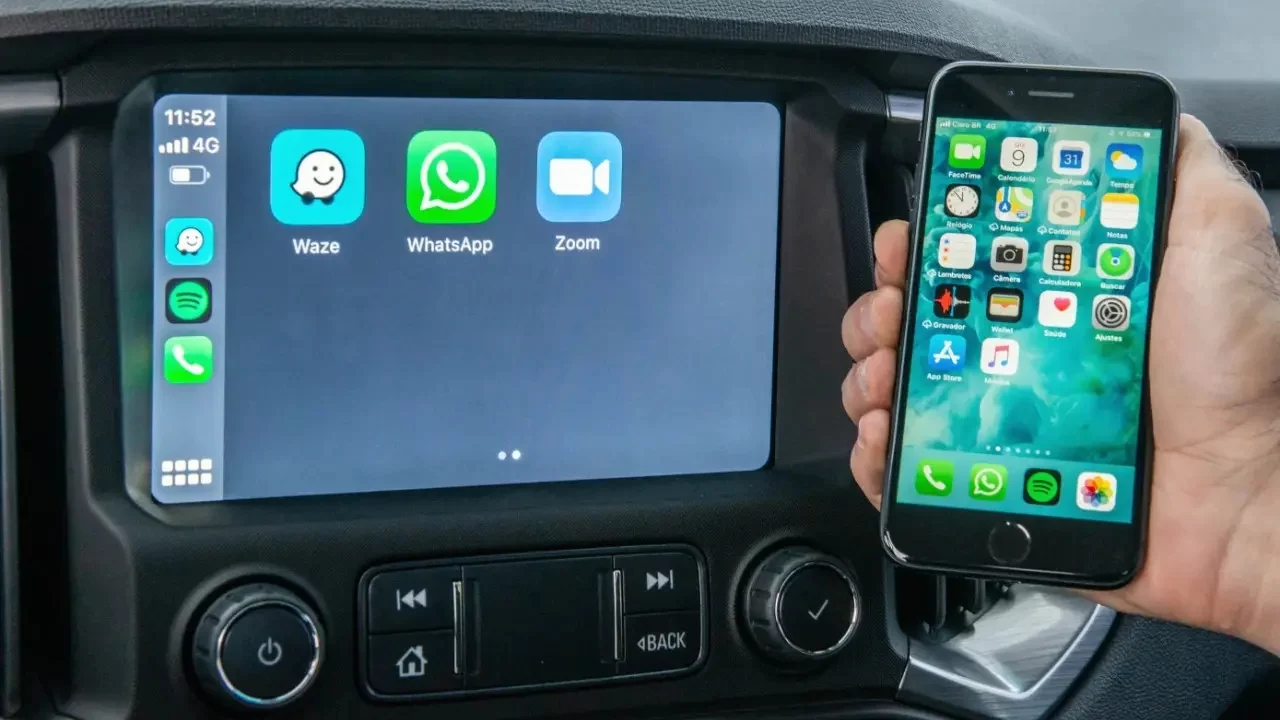
- Head Unit: Look for a head unit that matches your desired features and connectivity options. Consider whether you want a single DIN or double DIN unit, touchscreen capabilities, Bluetooth, USB, auxiliary inputs, and compatibility with Apple CarPlay or Android Auto.
- Amplifiers: If you want to enhance the power and clarity of your audio system, consider adding an external amplifier. Look for an amplifier that matches the power requirements of your speakers and provides the desired number of channels for your setup.
- Subwoofers: If you enjoy deep bass, adding a subwoofer to your system can greatly enhance the low-end frequencies. Choose a subwoofer that fits your available space, matches the power handling of your amplifier, and offers the desired level of bass response.
- Wiring and Accessories: Don’t forget about the necessary wiring and accessories to ensure a proper installation. This includes wiring harnesses, speaker wire, RCA cables, fuse holders, and sound deadening material.
Research different brands and read customer reviews to get an idea of the performance and reliability of the components you are considering. It’s also a good idea to visit a reputable car audio retailer or consult with an audio professional to get personalized recommendations based on your budget and specific requirements.
Remember, choosing high-quality components that are compatible with each other will guarantee a smoother installation process and better overall performance. Taking the time to research and select the right components will greatly contribute to the success of your car audio upgrade.
Step 3: Removing the Old Audio System
Once you have assessed your current car audio system and chosen the right components for your upgrade, it’s time to remove the old audio system. Follow these steps to ensure a safe and efficient removal process:
- Gather the Necessary Tools: Before you begin, gather the tools you’ll need for the job. This may include a set of screwdrivers (both flathead and Phillips), wire cutters/strippers, panel removal tools, and possibly a socket set.
- Disconnect the Battery: Start by disconnecting the negative terminal of your car’s battery. This will ensure you don’t accidentally short-circuit any electrical components during the removal process.
- Remove the Trim Panels: Carefully remove the trim panels surrounding the head unit, speakers, and any other components you plan to replace. Use the panel removal tools to pry them off gently, being mindful not to damage the panels or any clips holding them in place.
- Disconnect the Wiring: Once you have access to the backside of the head unit and speakers, disconnect the wiring harnesses and cables connected to them. Take note of the proper connections and where each wire is connected.
- Remove the Head Unit: Unscrew any mounting brackets or screws holding the head unit in place. Gently pull the head unit out of the dash, being cautious not to damage any wiring or other components in the process.
- Remove the Speakers: If you are replacing the speakers, unscrew any mounting screws and disconnect the wiring harness or speaker terminals. Carefully remove the speakers from their mounting locations.
- Remove Other Components: If you are replacing any amplifiers, subwoofers, or other components, follow the manufacturer’s instructions or consult with an audio professional for the proper removal process.
Throughout the removal process, take care to label and organize any wiring or connectors that will be reused with the new components. This will make the installation of the new audio system much easier.
By following these steps and exercising caution, you can safely and effectively remove the old audio system from your car, making way for the installation of the new components in the next step.
Step 4: Installing the New Audio System
With the old audio system removed, it’s time to install the new components and enjoy an upgraded car audio experience. Follow these steps to ensure a successful installation:
- Mount the Head Unit: Start by mounting the new head unit into the dash. Connect the wiring harness and antenna adapter to the back of the unit. Slide the head unit into place and secure it using the appropriate mounting brackets and screws.
- Install the Speakers: If you are replacing the speakers, mount the new speakers into the designated speaker locations. Connect the wiring harness or speaker terminals according to the manufacturer’s instructions. Ensure a secure fit and alignment with the speaker grilles or panels.
- Install Additional Components: If you are adding amplifiers, subwoofers, or other components, follow the manufacturer’s instructions for mounting and wiring. Place the components in suitable locations, ensuring proper grounding and secure connections.
- Connect the Wiring: Connect the wiring harnesses and RCA cables from the head unit to the amplifiers or subwoofers, if applicable. Use wire cutters and strippers to properly size and prepare the wires for connection. Ensure a solid and secure connection, paying attention to polarity and grounding.
- Secure and Organize the Wiring: Use zip ties or wire loom to secure and organize the wiring throughout the installation. This will prevent any loose wires from interfering with other components or moving parts and ensure a clean and professional look.
- Reinstall the Trim Panels: Carefully reinstall the trim panels that were removed earlier. Ensure a proper fit and alignment, and securely attach the panels using any clips or screws that were originally in place.
- Reconnect the Battery: Finally, reconnect the negative terminal of the car battery. This will restore power to the audio system and allow you to test the functionality and sound quality of the newly installed components.
Throughout the installation process, refer to the manuals and instructions provided with your specific components. Take your time and double-check all connections and mountings to ensure a proper and secure installation.
Once all components are installed and the wiring is connected, you’re ready to move on to the next step: wiring and connecting the components.
Step 5: Wiring and Connecting the Components
With the new audio system installed, it is important to properly wire and connect the components to ensure optimal performance and functionality. Follow these steps to connect the various audio components in your car:
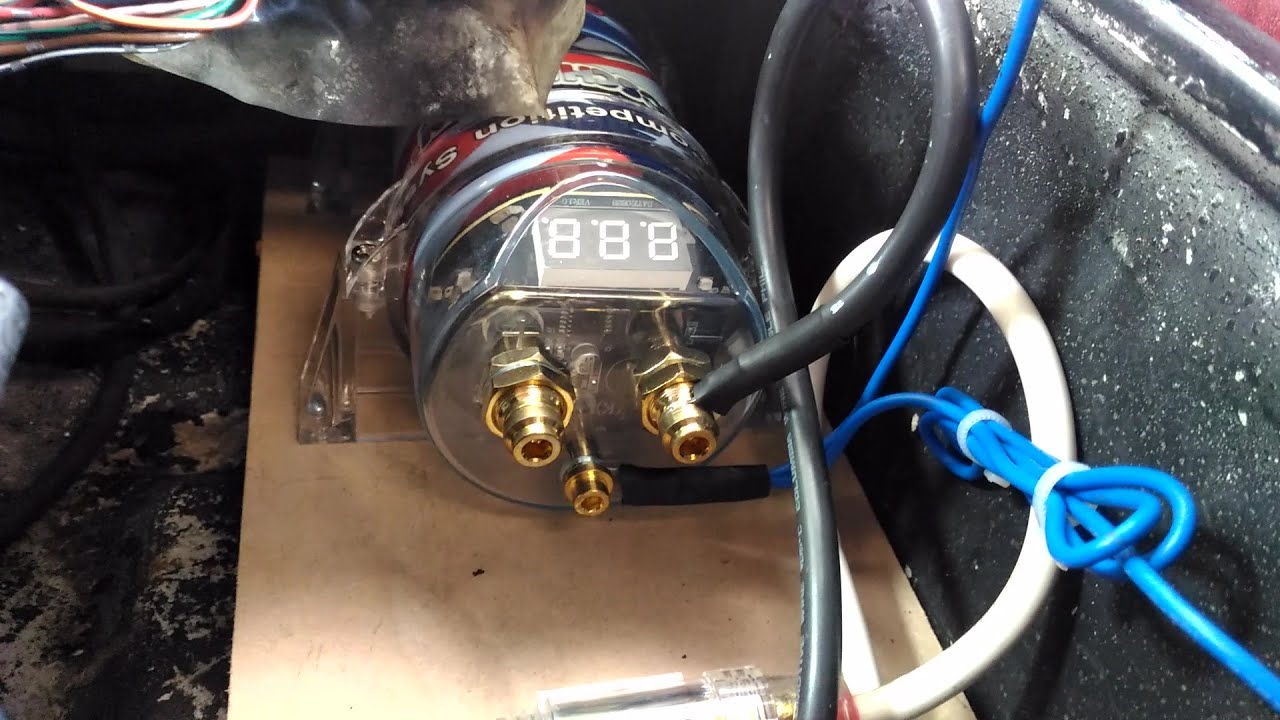
- Power Wiring: Start by connecting the power wire from the positive terminal of the car battery to the positive terminal of the amplifier. Ensure that the power wire is properly sized to handle the current requirements of the amplifier.
- Ground Wiring: Establish a good ground connection by connecting the amplifier’s ground wire to a solid metal point on the car’s chassis. Make sure the connection is clean and secure to avoid any grounding issues.
- Speaker Wiring: Connect the speaker wires from the amplifier or head unit to the corresponding speakers. Maintain proper polarity by connecting the positive (+) terminal of the amplifier/head unit to the positive (+) terminal of the speaker, and the negative (-) terminal to the negative terminal.
- Signal Wiring: If using an external amplifier, connect the RCA cables from the head unit’s preamp outputs to the RCA inputs on the amplifier. Ensure that the left and right channels are properly connected.
- Remote Turn-On Wiring: Connect the remote turn-on wire from the head unit or amplifier to the corresponding terminal on the amplifier. This wire signals the amplifier to turn on when the head unit is powered on.
- Fuse and Power Distribution: Install the appropriate fuse near the positive terminal of the car battery to protect the audio system from electrical faults. For multiple amplifiers, use a power distribution block to distribute power to each amplifier.
- Test the Wiring: Before finalizing all the connections, turn on your car audio system and test the wiring and connections. Listen for any abnormal noise, distortion, or imbalance in sound. Troubleshoot and fix any issues before proceeding.
Throughout the wiring process, use electrical tape or heat shrink tubing to cover and protect the exposed wire connections. This will prevent accidental short circuits and maintain the integrity of the audio system.
Make sure to consult the manuals and wiring diagrams provided with your specific audio components to ensure the correct wiring connections for your particular setup.
With the components wired and connected, you can now proceed to the next step: testing and adjusting the sound quality.
Step 6: Testing and Adjusting the Sound Quality
After wiring and connecting the components, it’s time to test and adjust the sound quality of your newly upgraded car audio system. Follow these steps to ensure optimal sound performance:
- Play Test Tracks: Choose a variety of test tracks that cover different genres and sound frequencies to evaluate the overall sound quality. This will help you identify any issues or areas that need adjustment.
- Balance and Fade: Adjust the balance and fade settings to ensure the sound is evenly distributed among the speakers in your car. This will ensure a balanced listening experience while driving.
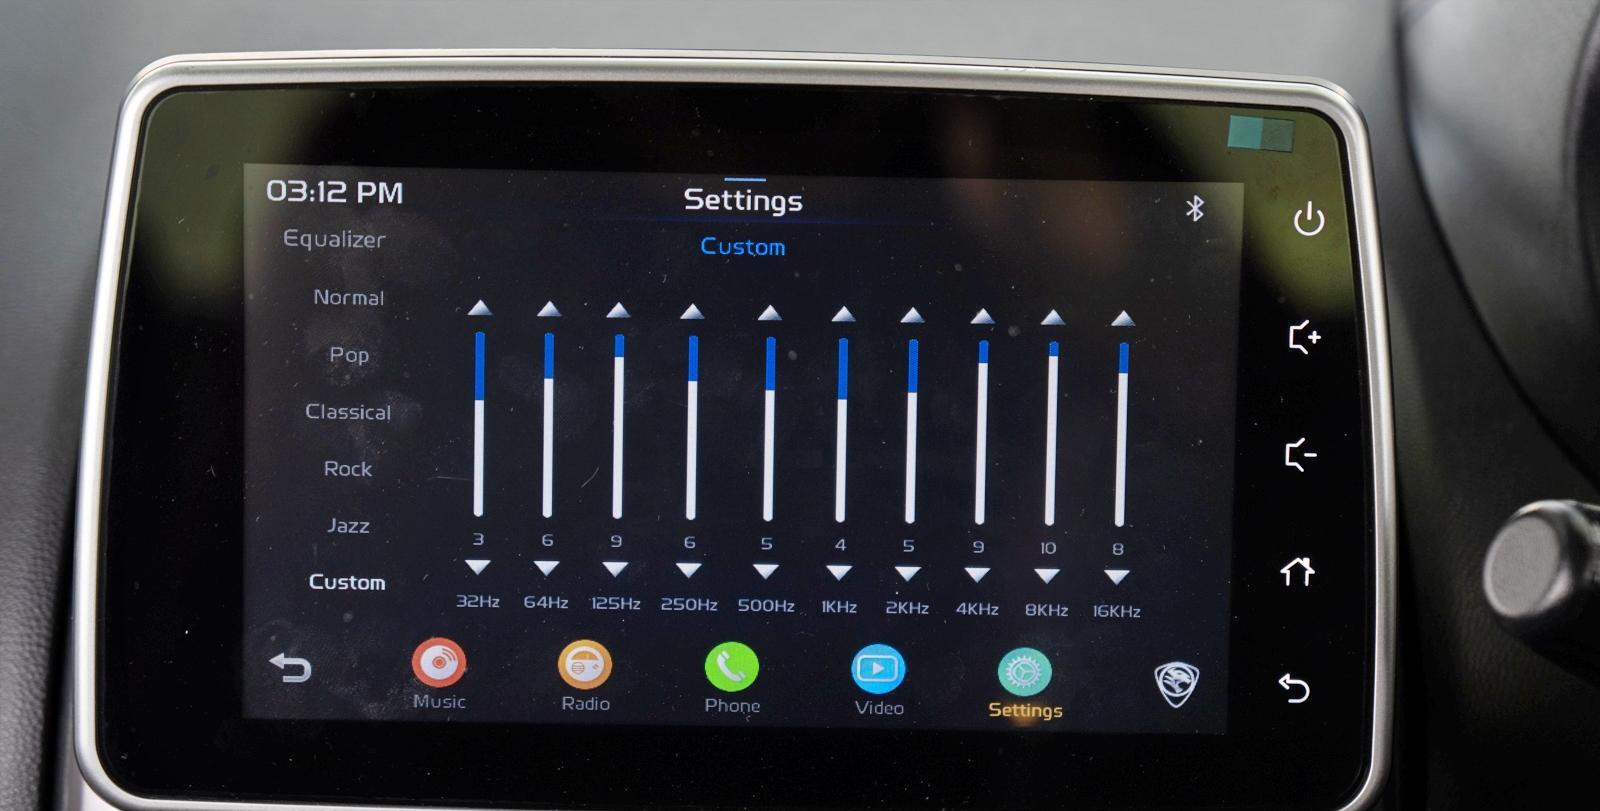
- Equalizer Settings: If your head unit or amplifier has an equalizer, use it to fine-tune the sound by adjusting the frequencies to your preference. Experiment with different settings to find the best sound reproduction for your audio setup.
- Crossover Settings: If your system includes a crossover, adjust the settings to ensure that each speaker is reproducing the appropriate frequencies. This will help prevent distortion and ensure a clean, clear sound output.
- Subwoofer Level and Phase: If you have a subwoofer, adjust the level and phase settings to achieve the desired bass response. Experiment with different levels to find the right balance between the subwoofer and other speakers in your car.
- Sound Imaging: Fine-tune the sound imaging by adjusting the placement and direction of the speakers. This will help create a more immersive listening experience and enhance the depth and width of the soundstage.
- Volume Levels: Set the volume levels to your preferred listening levels. Ensure that all the components are properly calibrated to prevent distortion or damage to the speakers or amplifiers at high volumes.
During the testing and adjustment process, take your time to listen carefully to the sound output and make incremental adjustments as needed. It may require some trial and error to find the perfect settings that suit your listening preferences.
If you’re unsure about the adjustments or if you’re not achieving the desired sound quality, consult with an audio professional or car audio specialist. They can provide expert guidance and help you optimize your audio system for the best performance.
Once you’re satisfied with the sound quality and adjustments, you can proceed to the final step: enjoying your enhanced car audio experience!
Step 7: Additional Tips for Enhancing Your Car Audio Experience
While you’ve successfully upgraded your car audio system, there are additional tips you can follow to further enhance your audio experience. Consider the following suggestions:
- Soundproofing: Reduce outside noise and improve audio clarity by adding sound deadening material to your car’s doors, floor, and trunk. This will minimize vibrations and resonances, resulting in a cleaner sound and better bass response.
- Tune Your System: If you’re not confident in tuning your audio system yourself, consider seeking professional help. An audio professional can use specialized equipment to analyze and adjust the sound to achieve optimal performance.
- Upgrade Electrical System: If you added powerful amplifiers and subwoofers to your system, consider upgrading your car’s electrical system. This will ensure that there is enough power supply to support the entire audio system without straining the car’s battery and alternator.
- Upgrade Source Material: Invest in high-quality audio files or streaming services that offer lossless or high-resolution music. This will ensure that you’re getting the best audio quality possible from your upgraded system.
- Proper Maintenance: Regularly clean and maintain your car audio components, including the speakers and head unit. This will help prolong their lifespan and maintain optimal performance over time.
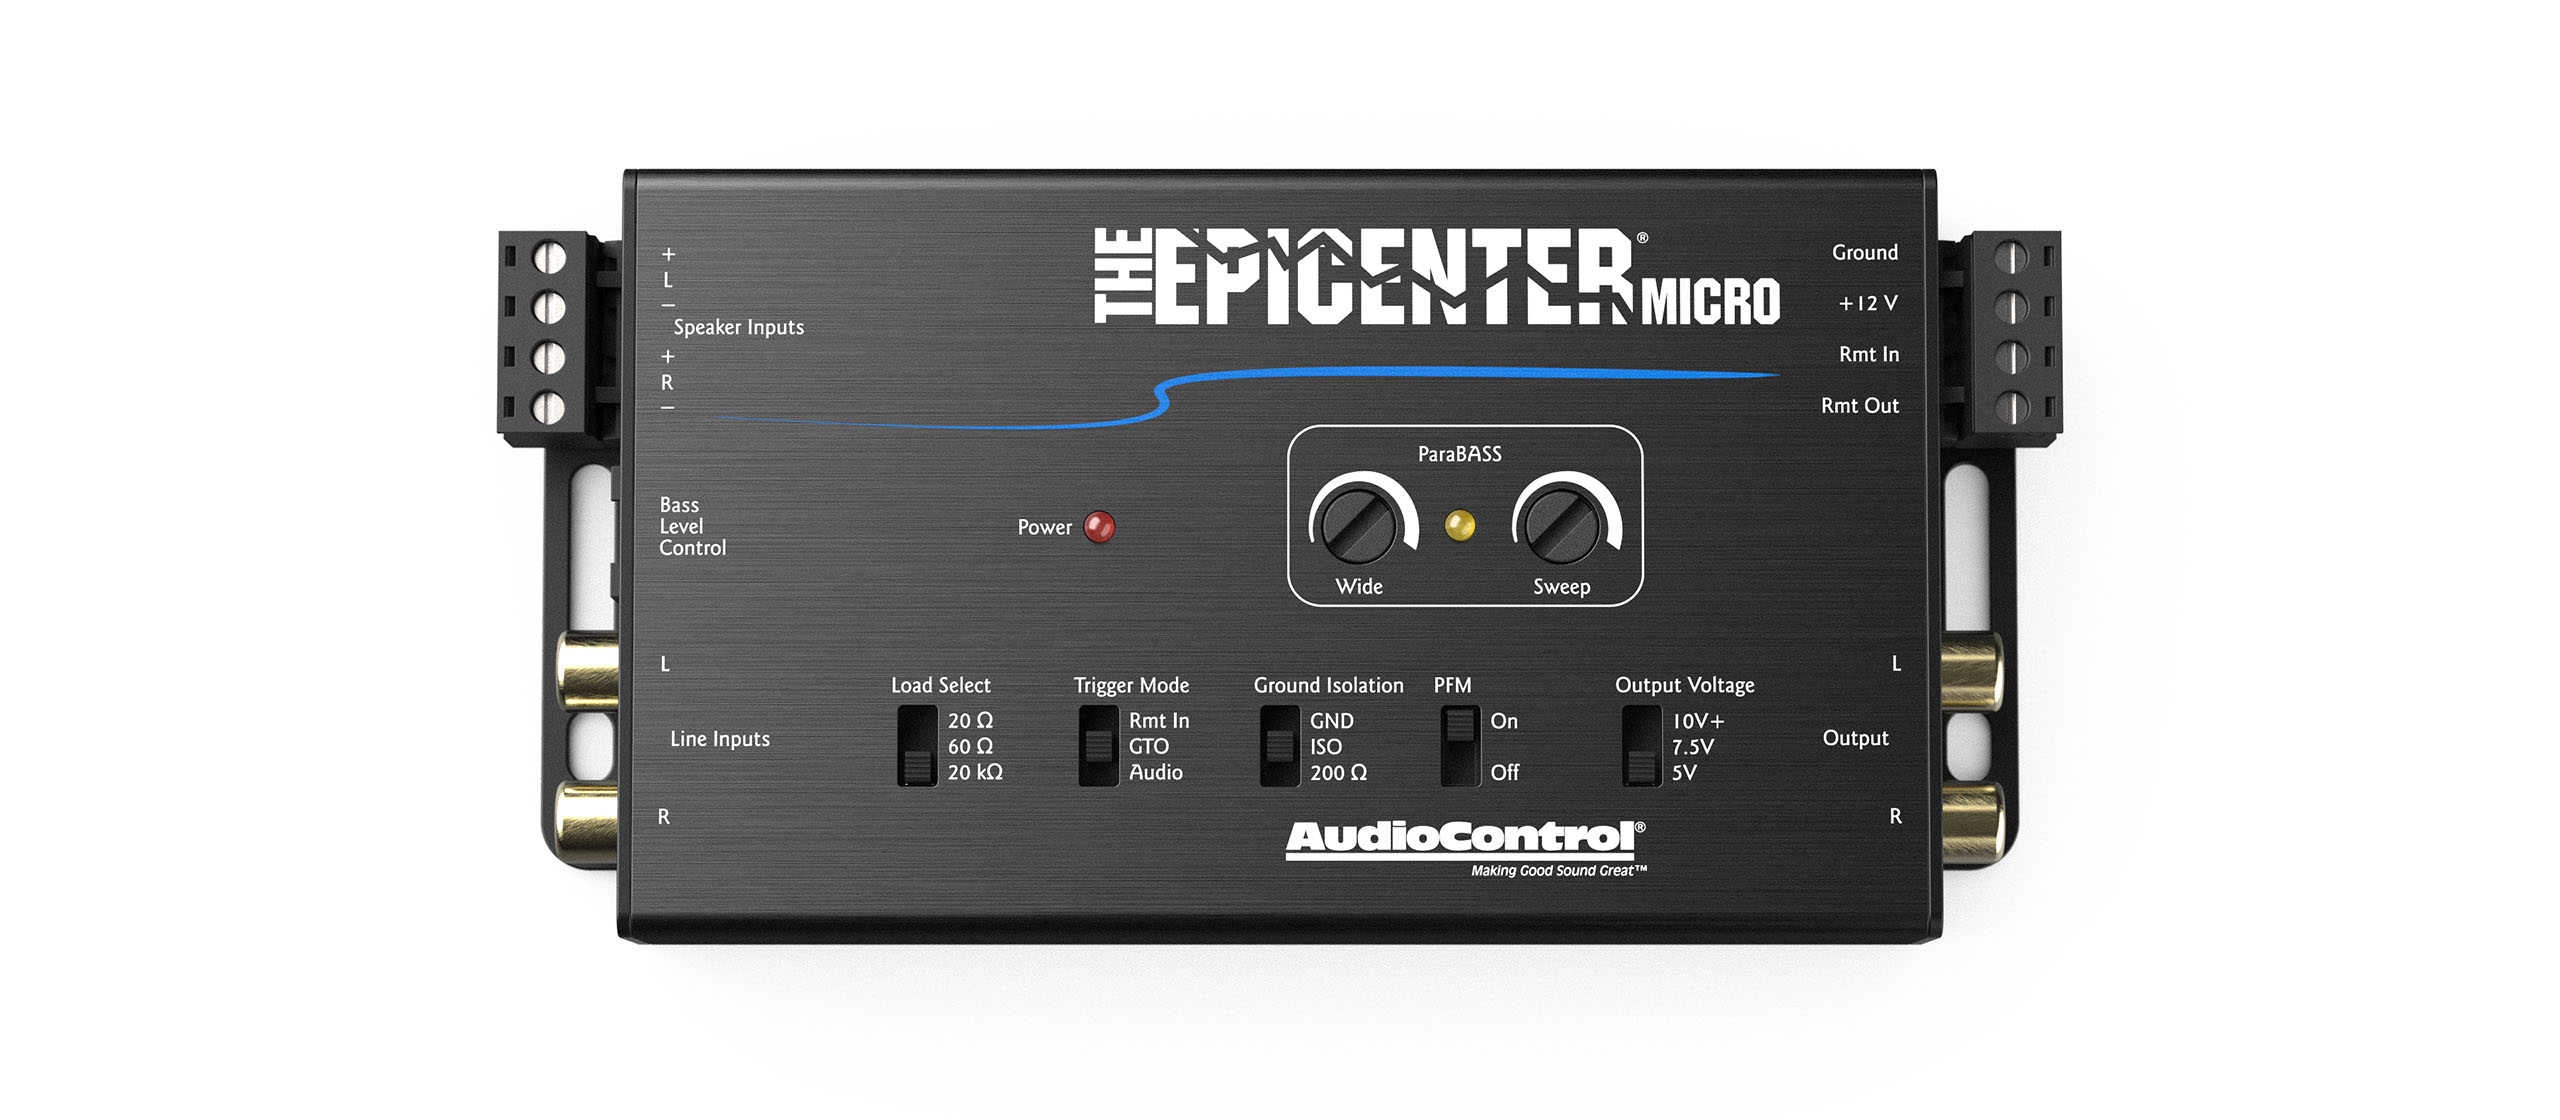
- Consider Acoustic Enhancements: Explore options such as adding a digital sound processor or upgrading to higher-end speakers and amplifiers to further refine and enhance the audio quality in your car.
- Listen and Enjoy: Finally, take the time to sit back and enjoy your upgraded car audio system. Experiment with different music genres and take pleasure in the improved sound clarity, deeper bass, and overall immersive audio experience.
Remember that everyone’s audio preferences are different, so fine-tuning your car audio setup to suit your personal taste is crucial. Experiment with different settings, audio sources, and music genres to find the perfect combination that brings you joy and satisfaction.
By following these additional tips and continuously exploring and optimizing your car audio system, you’ll be able to enjoy a truly remarkable and immersive audio experience every time you hit the road.
Conclusion
Congratulations! You have successfully upgraded your car audio system and unlocked a whole new level of audio enjoyment while behind the wheel. By following the step-by-step process outlined in this guide, you have learned how to assess your current car audio system, choose the right components, remove the old system, install the new components, wire and connect everything, test and adjust the sound quality, and implement additional tips for further enhancement.
Upgrading your car audio system is not only about achieving better sound quality, but also about creating a personalized and immersive audio experience that enhances your driving pleasure. The process involves careful consideration of the components, attention to detail during installation, and fine-tuning the system to suit your preferences.
Remember, constantly seek ways to optimize and improve your audio setup. Experiment with different settings, listen to a wide range of music genres, and stay updated with the latest advancements in car audio technology. Regular maintenance and proper care will also help ensure that your upgraded audio system performs optimally for years to come.
Now, sit back, relax, and enjoy your favorite tunes or podcasts in crisp, clear sound quality as you cruise along the open road. Let your upgraded car audio system transform your driving experience into a memorable and enjoyable journey every time.
Safe travels and happy listening!