Home>Production & Technology>Sound>How To Fix Airpods Sound
Sound
How To Fix Airpods Sound
Modified: January 22, 2024
Learn how to fix AirPods sound issues with our step-by-step guide. Troubleshoot common sound problems and enjoy crisp audio again.
(Many of the links in this article redirect to a specific reviewed product. Your purchase of these products through affiliate links helps to generate commission for AudioLover.com, at no extra cost. Learn more)
Table of Contents
Introduction
Welcome to our comprehensive guide on how to fix sound issues with your Airpods. As a proud owner of Apple’s popular wireless earbuds, you know the convenience and immersive audio experience they provide. However, like any electronic device, Airpods can sometimes encounter sound problems that can be frustrating to deal with.
In this article, we will address common issues that can affect the sound quality of your Airpods and provide step-by-step troubleshooting solutions to help you resolve these issues. Whether you’re experiencing crackling sounds, low volume, or distorted audio, we’ve got you covered. By following the troubleshooting steps outlined in this guide, you can enjoy your favorite music, podcasts, and videos with crystal-clear sound once again.
It’s important to note that not all sound issues with Airpods can be fixed through troubleshooting. In some cases, the problem may be caused by hardware defects or internal components that require professional repair. However, before considering that option, it’s worth exploring the troubleshooting steps we’ll outline in this article, as they often resolve many common sound-related issues.
So, without further ado, let’s dive in and learn how to fix sound problems with your Airpods!
Common Issues with Airpods Sound
While Airpods are known for their exceptional audio quality, there are a few common issues that users may encounter. Here are some of the most frequently reported problems:
- Crackling or Distorted Sound: Some Airpods users have reported hearing crackling or distorted audio, which can significantly impact their listening experience.
- Low Volume: If you find that the volume of your Airpods is lower than expected, it can be frustrating when you struggle to hear your favorite songs or podcasts.
- Intermittent Sound: At times, the sound from your Airpods may cut in and out or work inconsistently, leading to a disrupted and annoying listening experience.
- No Sound at All: In rare cases, you might encounter no sound coming from your Airpods, rendering them completely ineffective for audio playback.
- Imbalanced Sound: Another issue that some users face is imbalanced sound, where one Airpod produces louder or clearer audio than the other, leading to an imbalanced stereo effect.
If you are experiencing any of these issues, don’t worry. In the next section, we will guide you through a series of troubleshooting steps to help you resolve these sound-related problems with your Airpods.
Troubleshooting Steps
Now that we’ve identified the common sound issues with Airpods, let’s dive into the troubleshooting steps you can take to fix them. Follow these methods in the order presented, as they generally progress from the simplest to the most comprehensive solutions.
Step 1: Clean Your Airpods
Start by cleaning your Airpods, as dirt, debris, or wax buildup can affect sound quality. Gently wipe the earbuds and the speaker grilles using a soft, dry cloth. Avoid using liquid cleaners or inserting anything into the speaker grilles, as this can cause damage.
Step 2: Check Audio Settings on Your Device
Next, ensure that your device’s audio settings are optimized for Airpods. Check the volume levels, sound balance, and any equalizer or sound enhancement settings. Adjust them as needed to improve the sound quality.
Step 3: Reset Airpods
If you’re still experiencing sound issues, try resetting your Airpods. Place them in the charging case, open the lid, and press and hold the setup button on the back of the case until the status light starts flashing amber. Then, reconnect your Airpods to your device and check if the sound improves.
Step 4: Update Firmware
Outdated firmware can cause various issues, including sound problems. Make sure your Airpods have the latest firmware by connecting them to your device and going to the Bluetooth settings. If an update is available, follow the on-screen instructions to install it.
Step 5: Reconnect Airpods
Disconnecting and reconnecting your Airpods can sometimes resolve sound issues. On your device, go to the Bluetooth settings and forget your Airpods. Then, put your Airpods back in the charging case, close the lid, and wait a few seconds. Open the lid and place your Airpods near your device to reconnect them.
Step 6: Test with Another Device
If the sound issues persist, try connecting your Airpods to another compatible device to see if the problem lies with your original device or the Airpods themselves. If the sound improves on another device, it may indicate a compatibility issue with your initial device.
Step 7: Contact Apple Support
If none of the previous steps resolve the sound issues with your Airpods, it’s advisable to contact Apple Support for further assistance. They can provide additional troubleshooting steps or advise you on potential repairs or replacements if necessary.
By following these troubleshooting steps, you should be able to address most common sound issues with your Airpods. However, if the problem persists, remember that professional support is available to help you get back to enjoying your Airpods’ pristine sound quality.
Step 1: Clean Your Airpods
One of the first steps to take when encountering sound issues with your Airpods is to ensure they are clean. Over time, dirt, debris, and wax can accumulate on the earbuds and the speaker grilles, which can affect sound quality and volume. Cleaning your Airpods is a simple yet effective way to restore their optimal performance.
To clean your Airpods:
- Gently remove any visible dirt or debris from the earbuds using a soft, dry cloth. Be careful not to apply too much pressure, as excessive force can damage the delicate components inside.
- If you notice wax buildup on the speaker grilles, you can use a damp cloth or a cotton swab slightly moistened with water to carefully wipe away the wax. However, avoid using liquid cleaners or placing your Airpods under running water, as this can cause irreparable damage.
- Ensure that the speaker grilles are completely dry before placing your Airpods back in the charging case.
Regularly cleaning your Airpods can help maintain their sound quality and prolong their lifespan. Consider incorporating this simple cleaning routine into your regular device maintenance to prevent sound issues and ensure a consistent audio experience.
If cleaning your Airpods does not resolve the sound issues, proceed to the next step in our troubleshooting guide.
Step 2: Check Audio Settings on Your Device
When experiencing sound issues with your Airpods, it’s important to verify that the audio settings on your device are properly configured. Incorrect audio settings can affect the sound quality, volume, and overall audio experience.
Here’s how you can check and adjust the audio settings on your device:
- Start by ensuring that your Airpods are properly connected to your device. Open the Bluetooth settings on your device and verify that your Airpods are paired and connected.
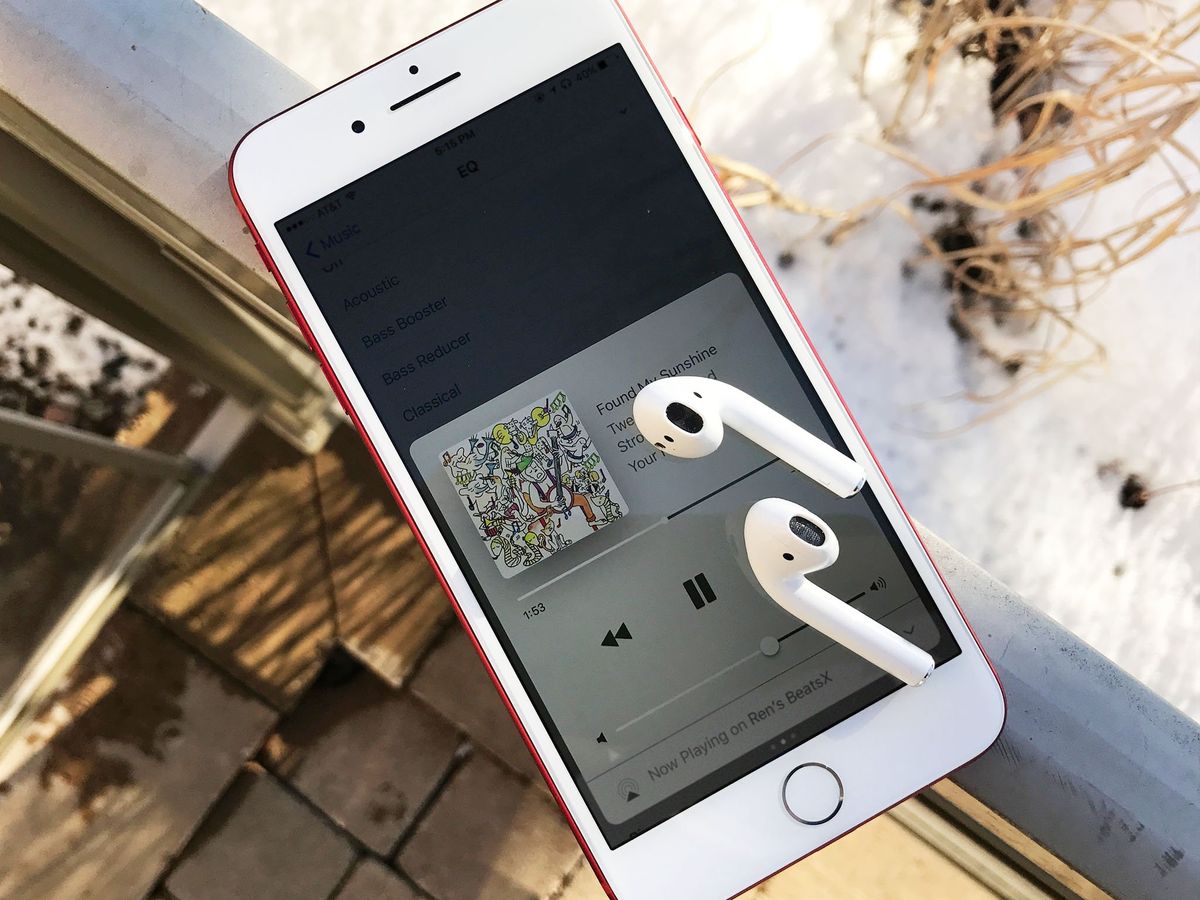
- Next, navigate to the sound or audio settings on your device. The location of these settings may vary depending on the operating system and device model you are using.
- Check the volume levels and make sure they are set to an appropriate level. Increase the volume to a comfortable level and test if the sound quality improves.
- Verify the sound balance settings to ensure that there is no imbalance between the left and right audio channels. Adjust the balance if necessary.
- If your device has an equalizer or sound enhancement settings, experiment with different presets or customize the settings to optimize the sound for your Airpods.
- Test the audio playback using different media sources (e.g., music, videos, podcasts) to see if the sound issue persists across all types of content.
By double-checking and adjusting the audio settings on your device, you can ensure that your Airpods are getting the optimal audio output. If the sound issues persist, proceed to the next step in our troubleshooting guide.
Step 3: Reset Airpods
If you’re still experiencing sound issues with your Airpods, resetting them can often help resolve any software-related glitches or conflicts. Resetting your Airpods is a simple process that can be done in just a few steps.
Here’s how to reset your Airpods:
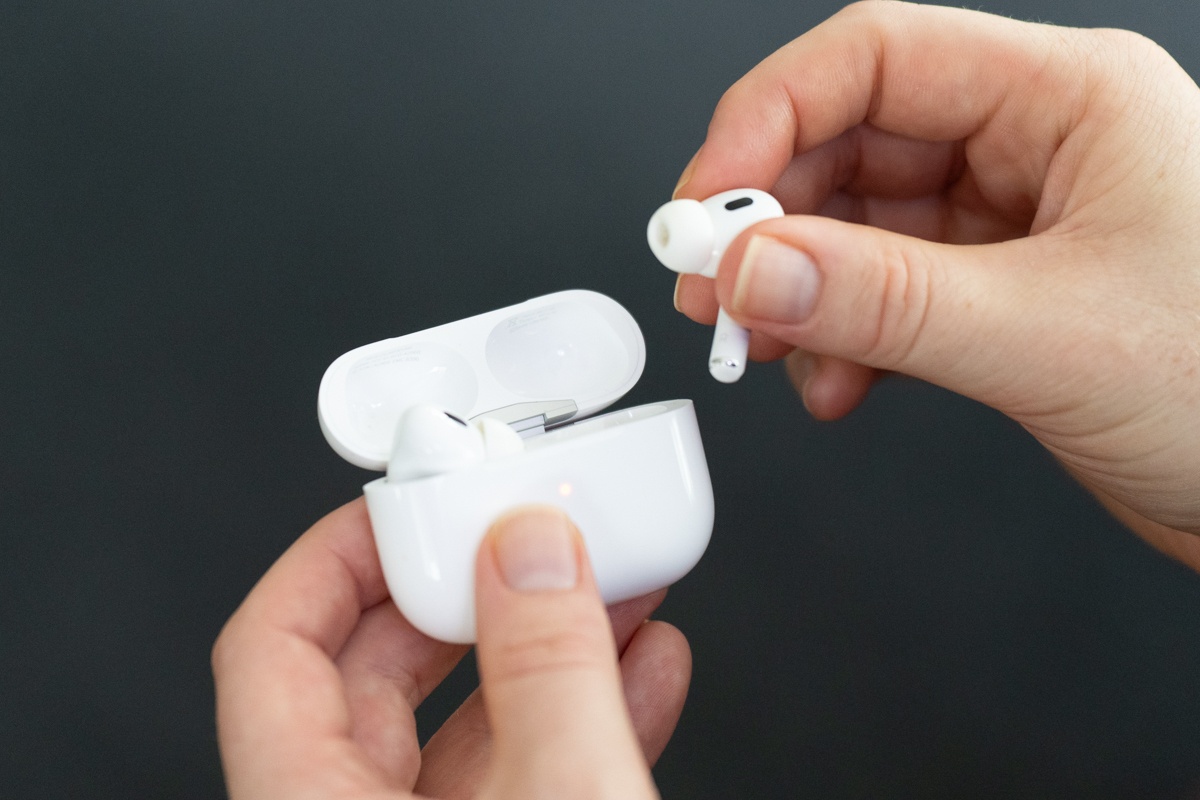
- Place both of your Airpods in the charging case and ensure that the lid is open.
- Locate the small button on the back of the case. It is usually situated near the bottom of the case, between the two slots for the Airpods.
- Press and hold the button for about 15 seconds, or until you see the status light on the case flashing amber. Note that the status light may also turn white briefly during the reset process.
- After the status light begins to flash, release the button.
Once the reset is complete, you can try reconnecting your Airpods to your device and test if the sound issues have been resolved. To reconnect, put your Airpods close to your device, open the lid of the case, and follow the instructions on your device’s screen to reconnect them.
Resetting your Airpods can often address minor software glitches that may be causing sound problems. However, if the sound issues persist after resetting, it may be necessary to proceed to the next troubleshooting step.
Step 4: Update Firmware
Outdated firmware can sometimes be the cause of sound issues with your Airpods. Apple periodically releases firmware updates to improve performance, fix bugs, and address compatibility issues. Updating your Airpods’ firmware can potentially resolve sound-related problems.
Here’s how you can check for and update the firmware on your Airpods:
- Ensure that your Airpods are connected to your device. Open the Bluetooth settings on your device and verify that your Airpods are paired and connected.
- Make sure that your device is connected to the internet, as firmware updates are downloaded and installed over the air.
- Place your Airpods in the charging case and keep the lid open.
- On your device, go to the Bluetooth settings and find your Airpods in the list of connected devices.
- Tap on the info (i) icon next to your Airpods’ name to access more details.
- If a firmware update is available for your Airpods, you will see an option to update the firmware. Follow the on-screen instructions to initiate the update process.
- Keep your Airpods in the charging case and connected to your device until the firmware update is complete. The update progress will be displayed on your device.
Once the firmware update is finished, reconnect your Airpods to your device and check if the sound issues have been resolved. Firmware updates can often address software-related issues that may affect the sound quality and performance of your Airpods.
If the sound issues persist even after updating the firmware, proceed to the next troubleshooting step.
Step 5: Reconnect Airpods
If you’re still experiencing sound issues with your Airpods, reconnecting them to your device may help resolve the problem. Reconnecting can establish a fresh connection and clear any temporary glitches or conflicts that may be affecting the audio output.
Here’s how to reconnect your Airpods:
- On your device, navigate to the Bluetooth settings.
- Find your Airpods in the list of paired devices and tap on the “i” information icon next to their name.
- Tap on the option to “Forget this device” or “Disconnect” to remove your Airpods from your device’s Bluetooth settings.
- Put your Airpods back into the charging case and close the lid.
- Wait a few seconds and then open the lid of the charging case.
- Position the charging case close to your device and follow the instructions on your device’s screen to reconnect your Airpods.
Once the reconnection is complete, test the sound output on your Airpods to see if the issues have been resolved. Reconnecting your Airpods can often help in resolving connectivity or compatibility-related sound problems.
If the sound issues persist even after reconnecting your Airpods, proceed to the next troubleshooting step.
Step 6: Test with Another Device
If you’re still encountering sound issues with your Airpods, it’s worth testing them with another compatible device. This step helps determine whether the problem lies with your original device or with the Airpods themselves. Testing with another device can help isolate the source of the issue and guide you toward a potential solution.
Here’s how you can test your Airpods with another device:
- Find another device that supports Bluetooth connectivity, such as a smartphone, tablet, or computer.
- Ensure that Bluetooth is enabled on the second device and put it in pairing mode if required.
- On your original device, disconnect or forget your Airpods from the Bluetooth settings.
- Place your Airpods back into the charging case and close the lid.
- On the second device, search for available Bluetooth devices and locate your Airpods in the list of available devices.
- Pair your Airpods with the second device and ensure a successful connection.
- Once connected, play audio on the second device and test the sound quality and performance of your Airpods.
If the sound issues persist on the second device, it indicates that the problem lies with the Airpods themselves. You can proceed to contact Apple Support or consider professional assistance for repair or replacement options.
However, if the sound issues do not occur on the second device, it suggests that the original device may be causing the problem. In this case, you can try troubleshooting steps specific to your device or seek assistance from the device manufacturer’s support.
Testing your Airpods with another device helps narrow down the potential cause of the sound issues, enabling you to pursue the appropriate solution.
Step 7: Contact Apple Support
If you have followed all the previous troubleshooting steps and are still experiencing sound issues with your Airpods, it may be time to contact Apple Support for further assistance. Apple’s support team is knowledgeable about their products and can provide specific guidance based on your situation.
Here’s what you can do to reach out to Apple Support:
- Visit Apple’s official support website or use the Apple Support app on your device to access various support options.
- Find the contact information for your region and choose the appropriate contact method, such as phone, chat, or email.
- Explain the sound issues you are experiencing with your Airpods in detail, mentioning the troubleshooting steps you have already tried.
- Provide any relevant information about your device, such as its model, operating system version, and any error messages you have encountered.
- Follow the guidance provided by the Apple Support representative. They may ask you additional questions, troubleshoot further, or guide you through advanced solutions.
- If necessary, they may recommend sending your Airpods in for inspection or provide information on repair or replacement options.
Remember to be patient and polite when contacting Apple Support. They are there to assist you and will do their best to resolve your issue.
Contacting Apple Support is especially important if your Airpods are still under warranty or if you have purchased AppleCare+ for additional coverage. They can help you determine the best course of action to get your Airpods working properly again.
Reach out to Apple Support for expert assistance when all other troubleshooting steps have been exhausted, and they will guide you towards the most appropriate solution for your sound issues with the Airpods.
Conclusion
Sound issues with Airpods can be frustrating, but with the troubleshooting steps outlined in this guide, you can tackle and resolve most common problems. From cleaning your Airpods to updating firmware and reconnecting them to your device, these steps can help restore the optimal audio experience you expect from your Airpods.
Remember to follow the troubleshooting steps in order, as they progress from simple solutions to more comprehensive ones. Additionally, testing your Airpods with another device can help identify whether the issue lies with the Airpods or your original device.
If you have exhausted all the troubleshooting steps and are still experiencing sound issues, don’t hesitate to contact Apple Support. Their team of experts can provide additional guidance and assistance to resolve the problem.
Ultimately, keeping your Airpods clean and up-to-date, along with ensuring proper device settings, can go a long way in maintaining optimal sound quality with your Airpods. By following the steps outlined in this guide and seeking appropriate support when needed, you can continue enjoying your favorite music, podcasts, and videos through your Airpods with exceptional sound.