Home>Production & Technology>Sound Bar>How To Connect Bose Sound Bar
Sound Bar
How To Connect Bose Sound Bar
Modified: January 22, 2024
Discover the step-by-step guide on how to effortlessly connect your Bose Sound Bar to enhance your audio experience. Find out everything you need to know about connecting a Sound Bar.
(Many of the links in this article redirect to a specific reviewed product. Your purchase of these products through affiliate links helps to generate commission for AudioLover.com, at no extra cost. Learn more)
Table of Contents
Introduction
Welcome to the world of immersive sound experience with a Bose sound bar! Whether you’re a movie buff, a music lover, or a gamer, a sound bar is an essential component to enhance your audio enjoyment. Bose is known for its superior audio quality and innovative technology, making their sound bars a popular choice for many consumers.
In this article, we will guide you on how to connect your Bose sound bar to your TV, so you can unleash the full potential of your entertainment system. You’ll be able to enjoy crystal-clear audio, powerful bass, and a cinematic experience right in the comfort of your own home.
Before we get started, it’s important to note that the specific steps may vary slightly depending on the model of your Bose sound bar and your TV. We recommend referring to the user manual provided with your sound bar for detailed instructions. Now, let’s dive in and get your Bose sound bar connected!
Step 1: Check the Compatible Devices
Before connecting your Bose sound bar, it is important to ensure that your devices are compatible with each other. For a seamless audio experience, check the following:
- TV Compatibility: Verify that your TV has an HDMI ARC (Audio Return Channel) or an optical audio output. These are the most common types of connections used to connect a sound bar.
- Bose Sound Bar Compatibility: Check if your Bose sound bar supports the type of connection available on your TV. Most Bose sound bars support both HDMI ARC and optical connections, but it’s always a good idea to double-check.
- HDMI CEC Support: HDMI CEC (Consumer Electronics Control) allows your TV remote to control the sound bar. Ensure that both your TV and sound bar support HDMI CEC if you want this convenience.
Once you’ve confirmed the compatibility of your devices, you can proceed with the connection process. If you’re unsure about any of the compatibility requirements, consult the user manuals of your TV and sound bar or reach out to the manufacturer’s customer support for assistance.
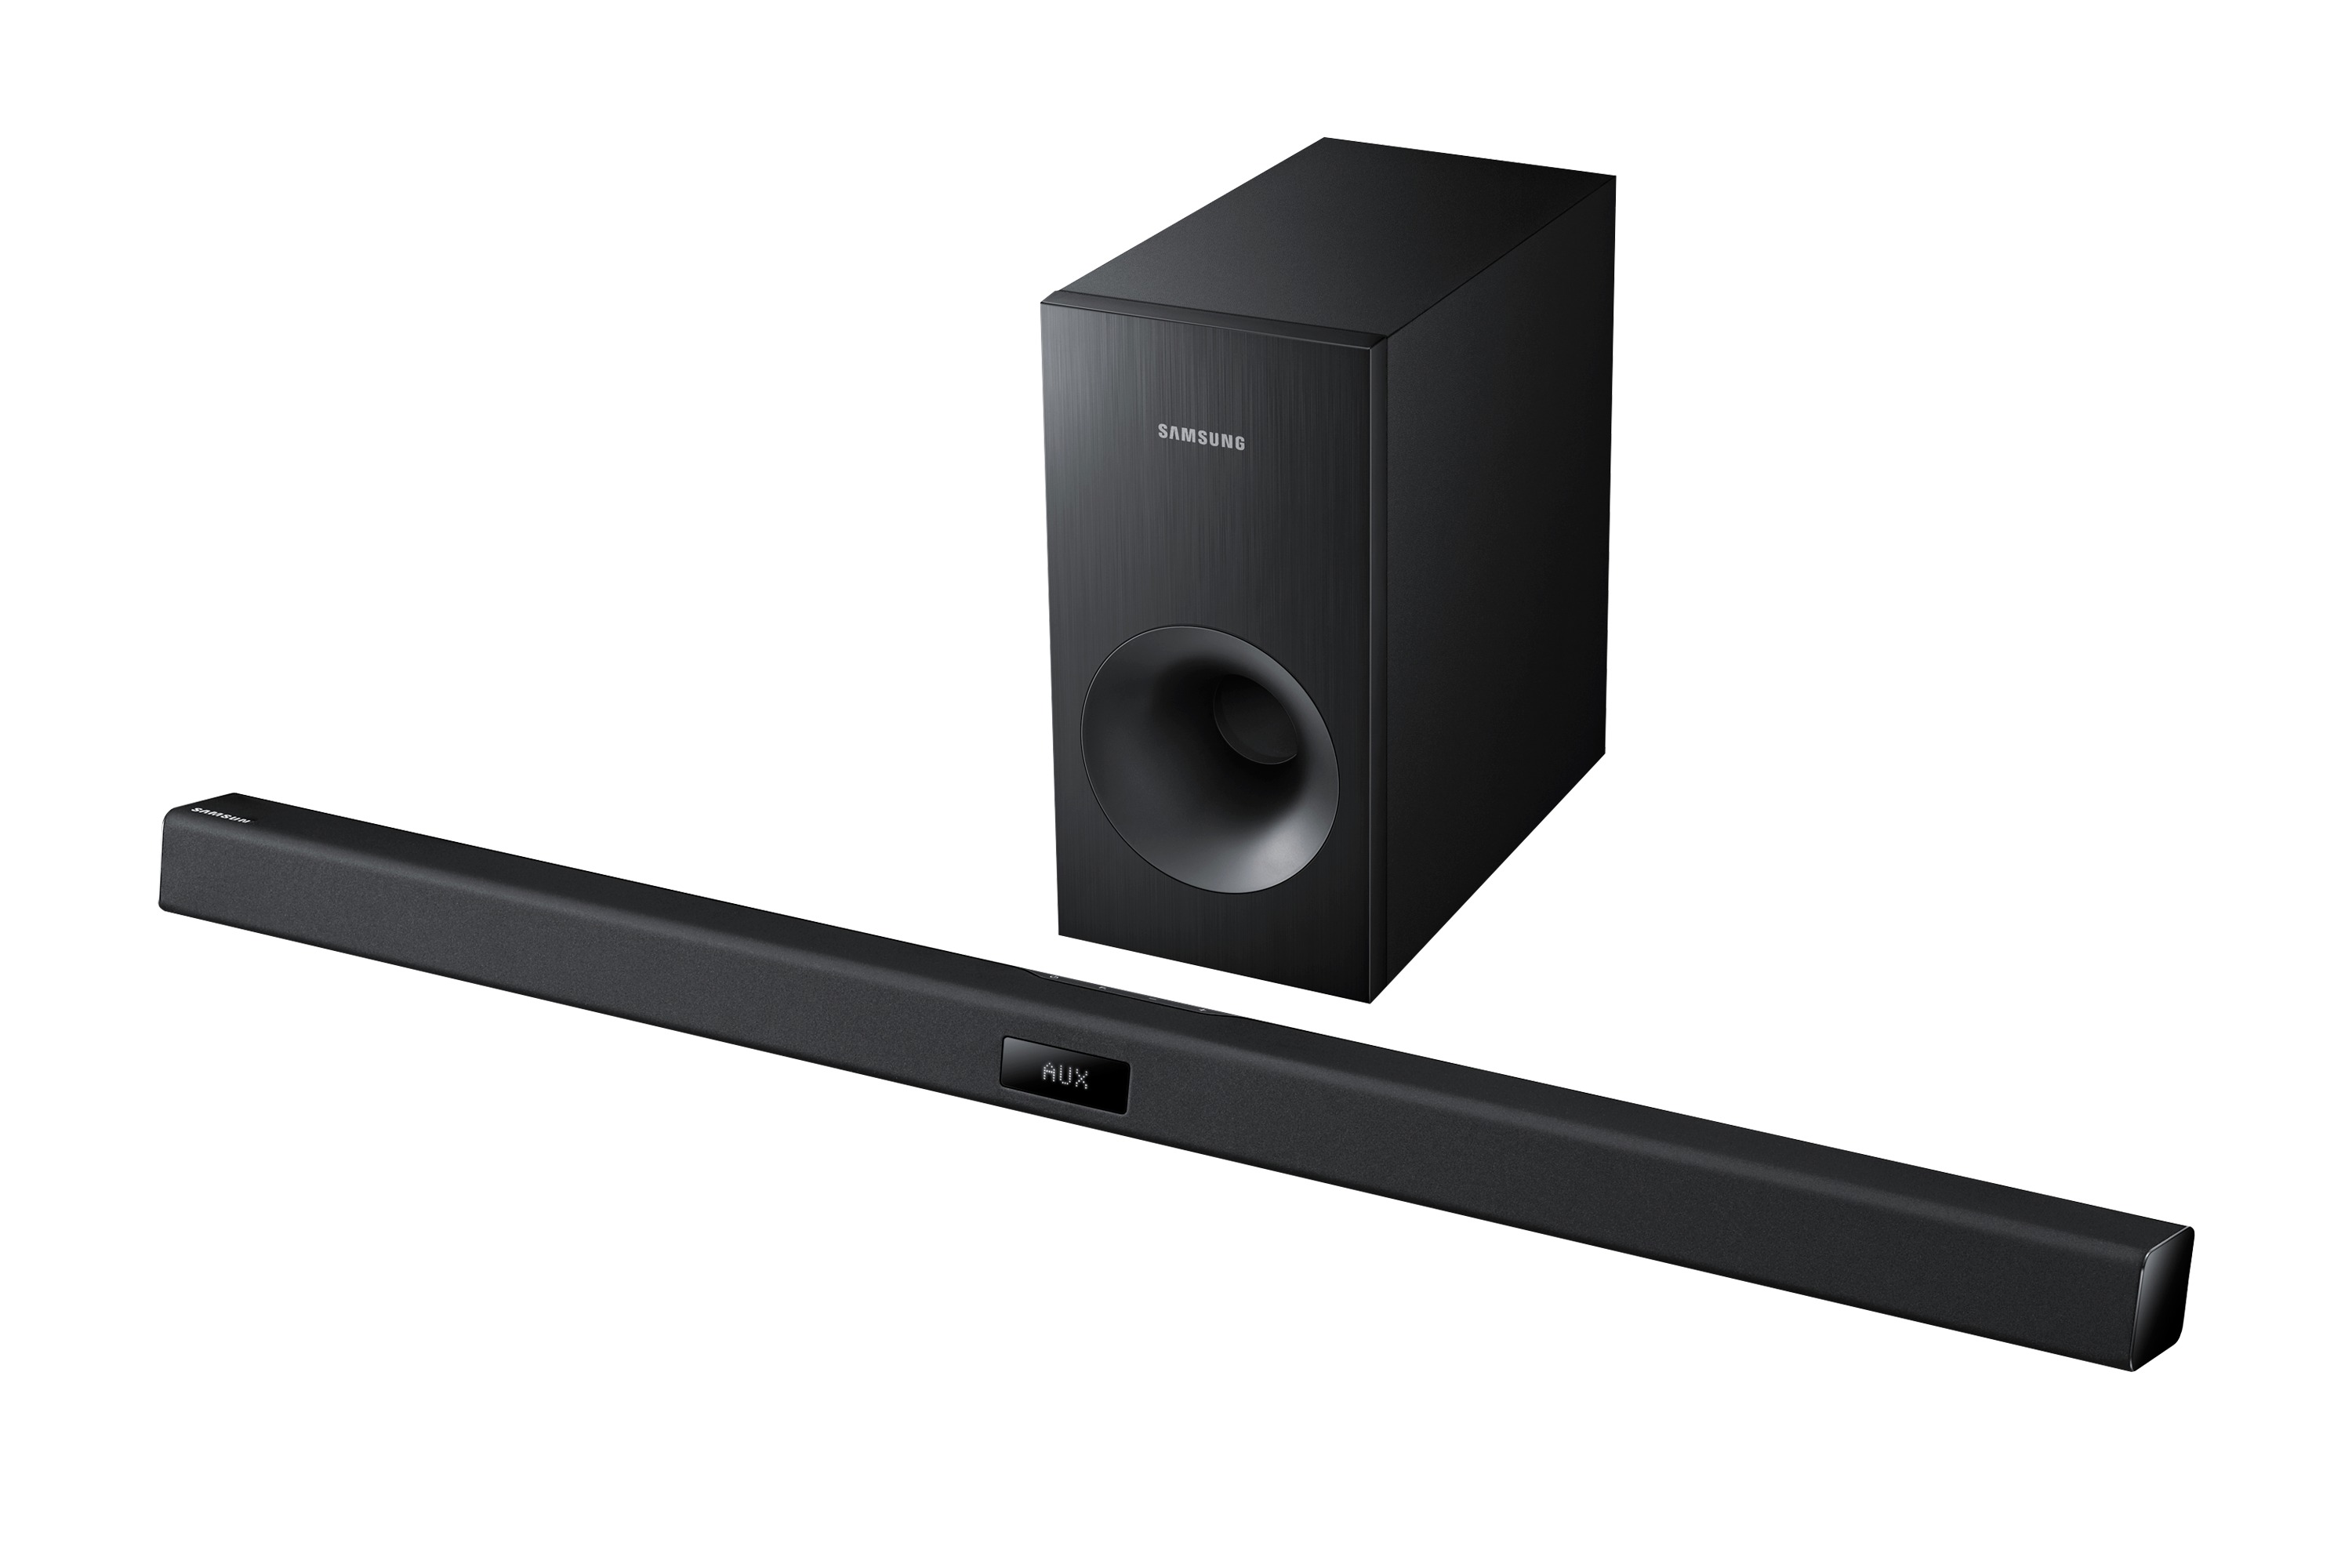
Step 2: Connect the Power Cord
Now that you’ve confirmed the compatibility of your devices, it’s time to connect the power cord for your Bose sound bar. Follow these steps:
- Locate the power cord that came with your Bose sound bar.
- Identify the power input port on the back of the sound bar.
- Insert one end of the power cord into the power input port.
- Plug the other end of the power cord into a power outlet.
- Ensure that the power cord is securely connected on both ends.
- Switch on the power outlet to provide electricity to the sound bar.
- You may see a power indicator light up on the sound bar to indicate that it is receiving power.
Once the power cord is connected, your Bose sound bar should be ready to be synced up with your TV. Proceed to the next step to establish the audio connection between the sound bar and your TV.
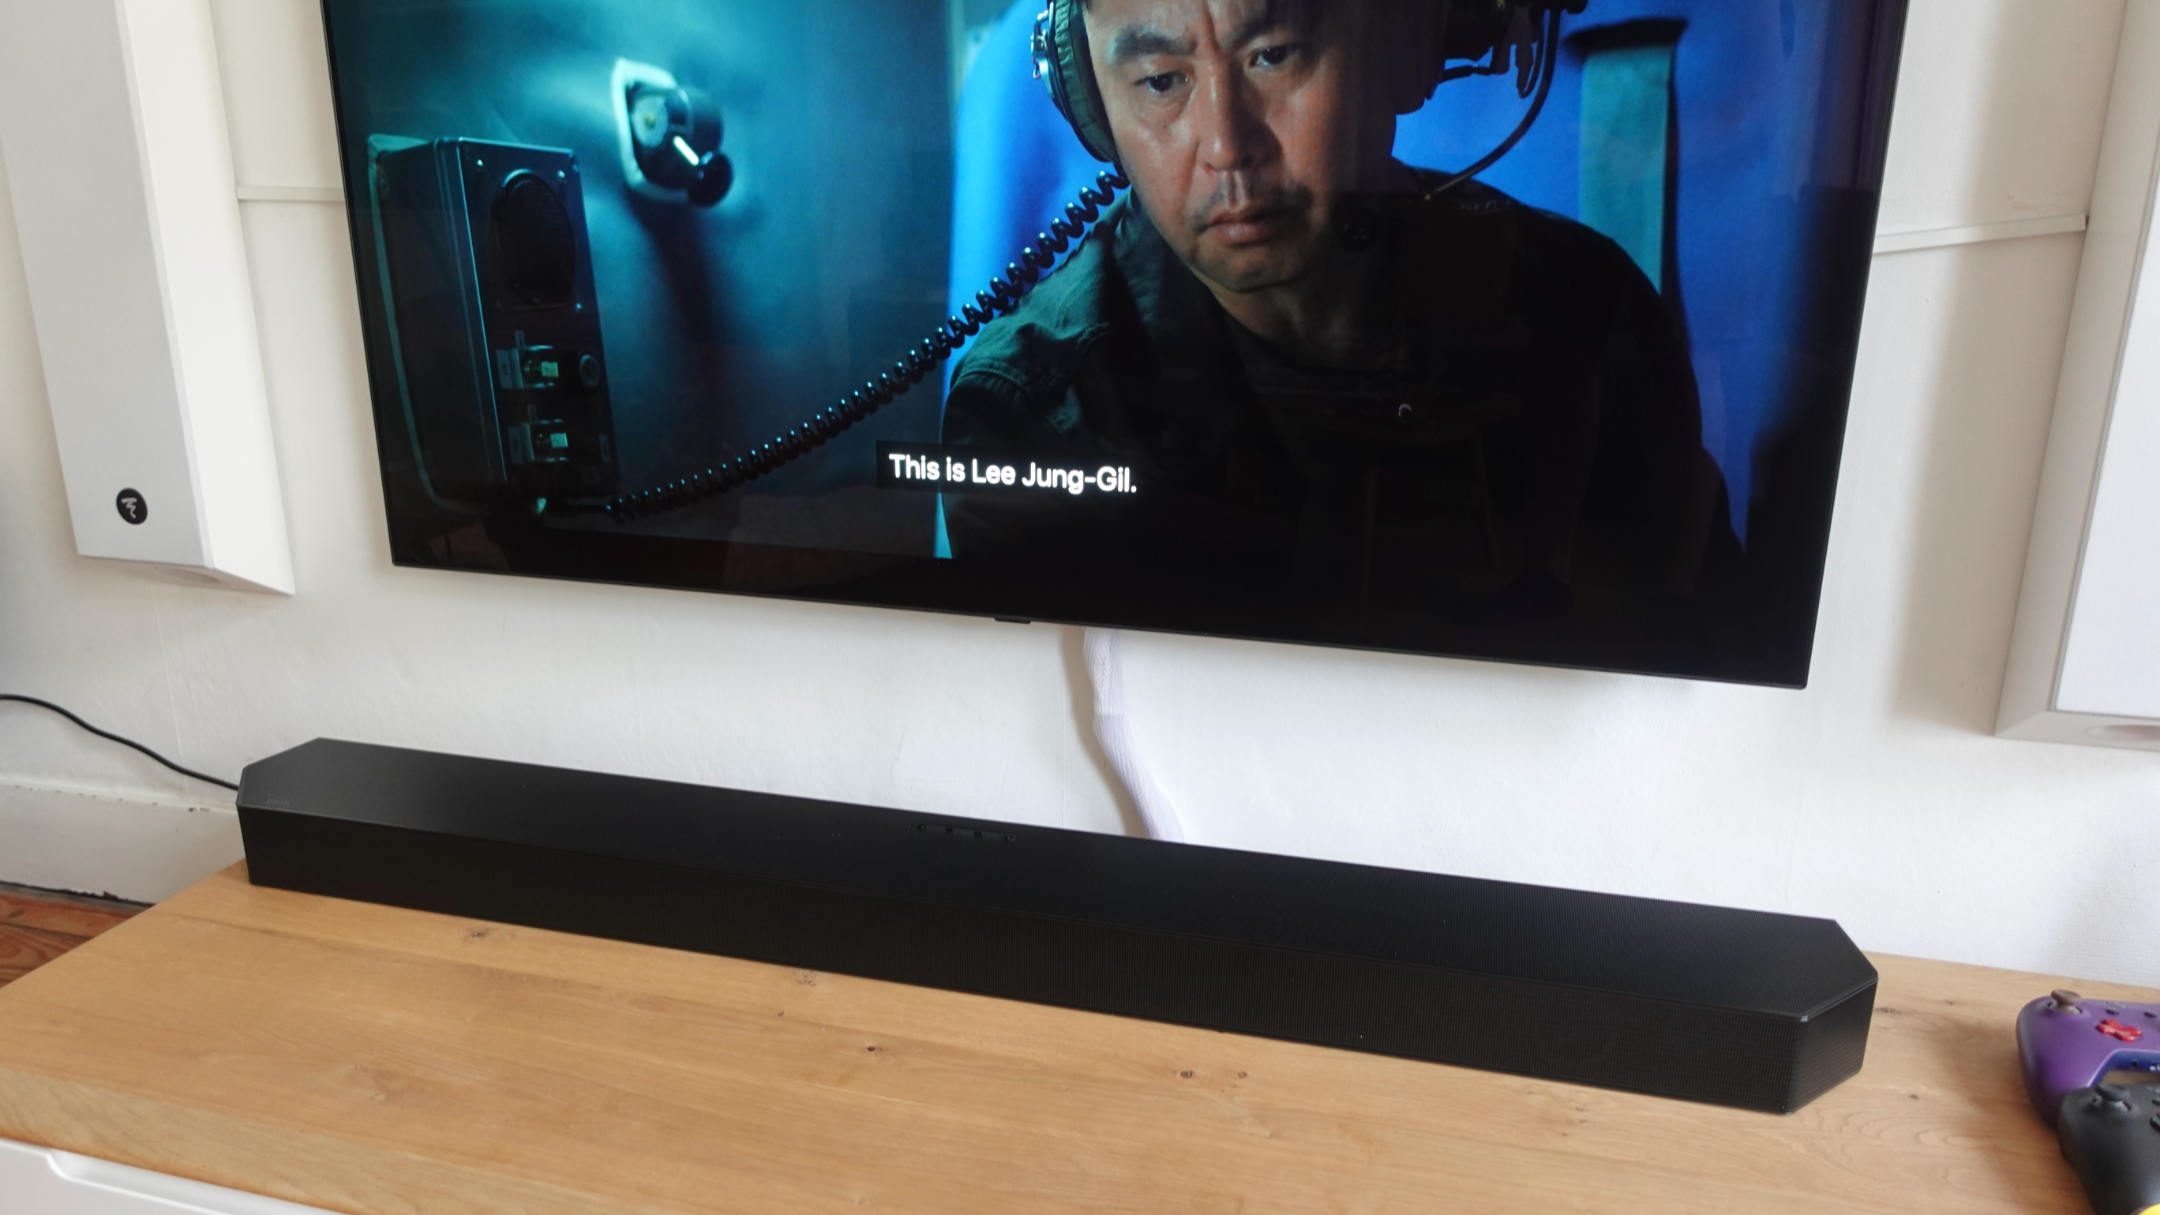
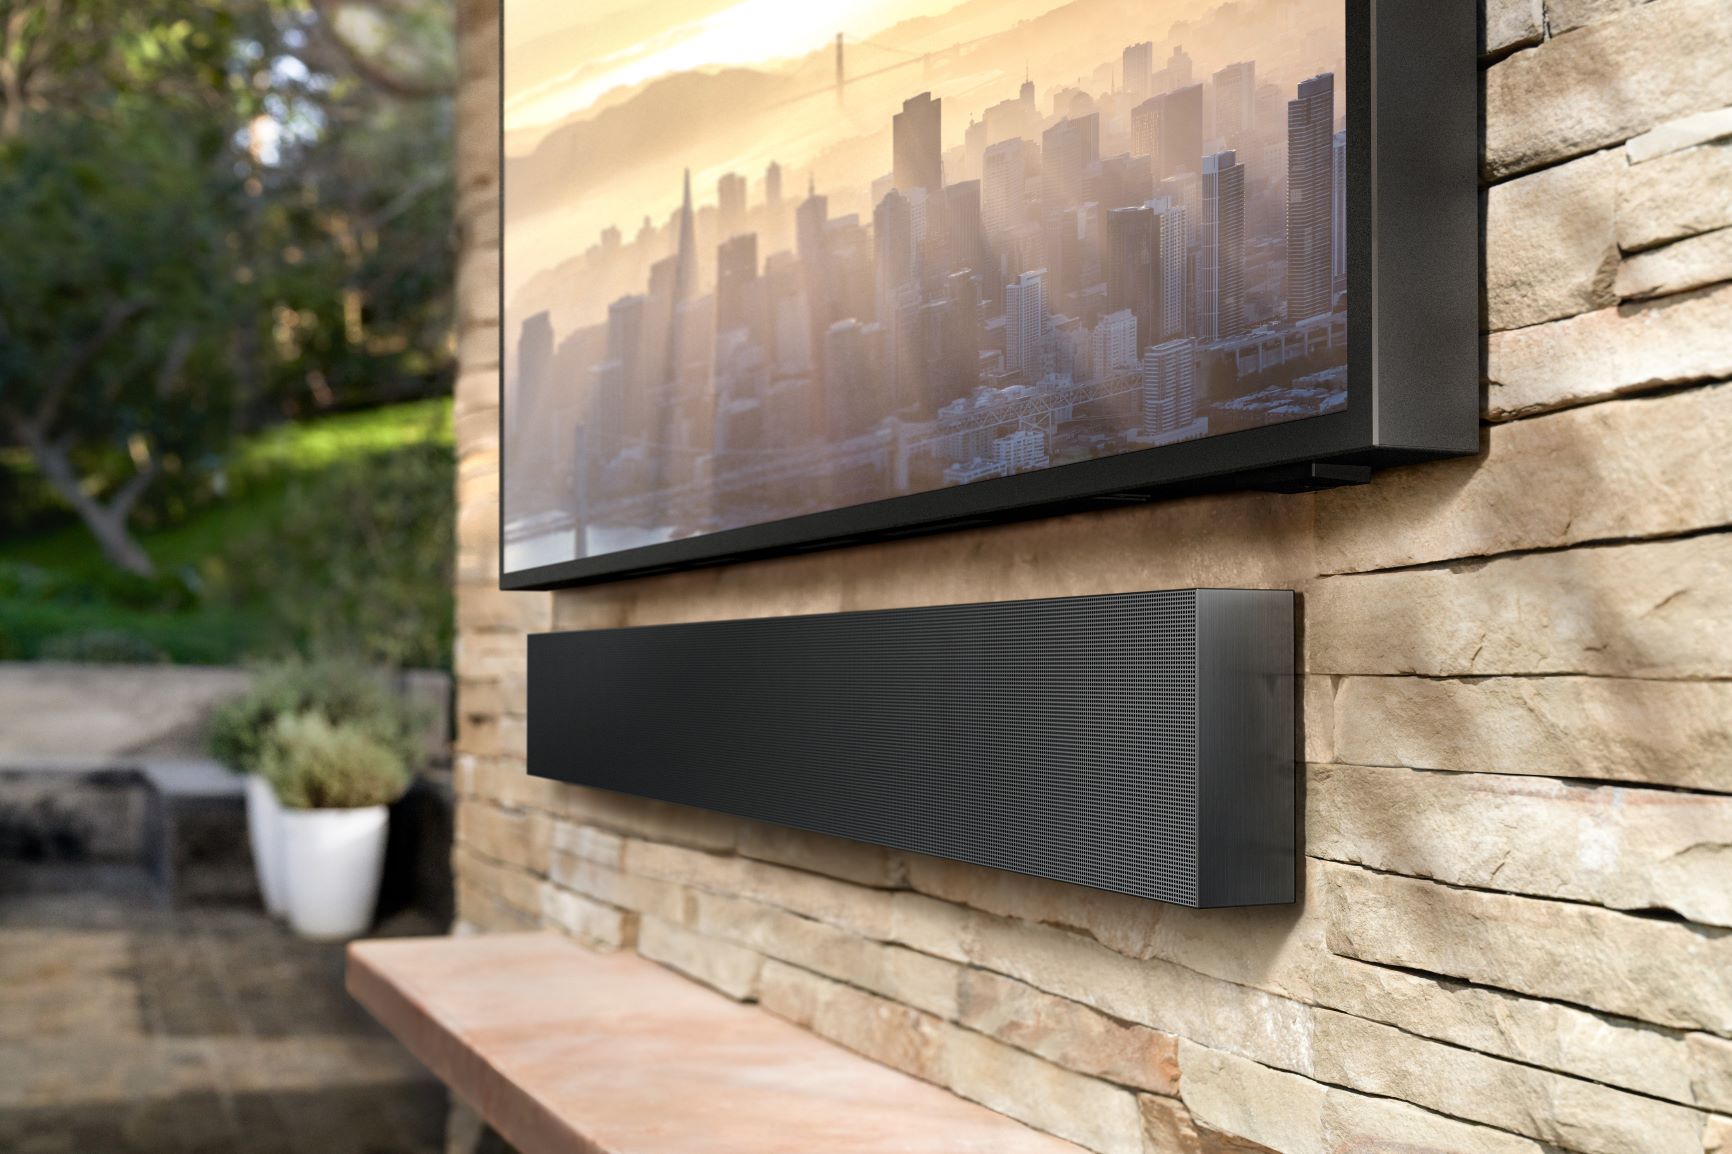
Step 3: Connect the Sound Bar to the TV using HDMI Cable
To establish the audio connection between your Bose sound bar and your TV, you will need to use an HDMI cable. Follow these steps:
- Locate the HDMI ARC or the HDMI input port on your TV. It is usually labeled as “HDMI ARC” or “HDMI In”.
- Take one end of the HDMI cable and insert it into the HDMI ARC or HDMI input port on your TV.
- Connect the other end of the HDMI cable to the HDMI output port on your Bose sound bar.
- Ensure that both ends of the HDMI cable are securely plugged in.
- If you have multiple HDMI ports on your TV, note down the port number where you connected the sound bar.
HDMI cables transmit both audio and video signals, so this connection will enable the sound bar to receive audio from your TV. Additionally, if your TV has HDMI-CEC support and it is enabled, you can control the sound bar using your TV remote.
If your TV does not have an HDMI ARC or HDMI input port, you can still connect your Bose sound bar using an optical cable. Consult the user manual of your sound bar to learn how to make this alternative connection.
After connecting the HDMI cable, you are ready to proceed with the setup process to ensure proper audio synchronization between your sound bar and TV.
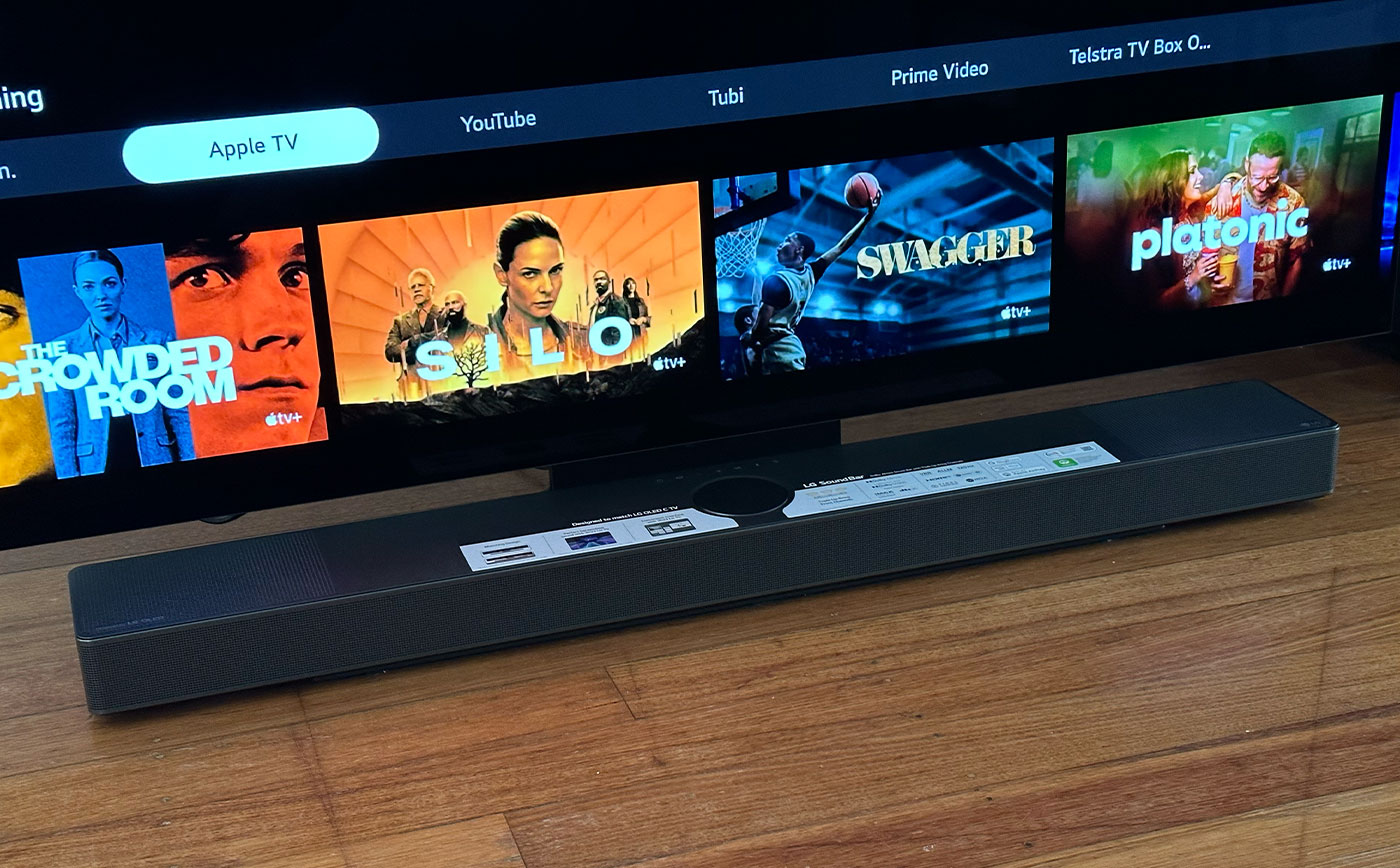
Step 4: Set up the Sound Bar with the TV
Now that you have connected your Bose sound bar to your TV, it’s time to set it up and ensure proper audio synchronization. Follow these steps:
- Turn on your TV and your Bose sound bar.
- Using your TV remote, navigate to the settings menu and locate the audio settings.
- Select the audio output option and choose the corresponding HDMI port where you connected the sound bar.
- Ensure that the audio output is set to HDMI ARC or the specific HDMI port you connected to.
- Check if there are any additional audio settings on your TV, such as virtual surround sound or dialogue enhancement. Adjust these settings according to your preference.
- On your Bose sound bar remote or using the buttons on the sound bar itself, select the appropriate input source for the audio. This should match the HDMI port you connected to.
- If your sound bar has any additional settings or modes, you can explore and customize them to enhance your audio experience.
By properly configuring the audio settings on both your TV and sound bar, you can ensure that the audio output is optimized for your viewing and listening pleasure. Take some time to experiment with different settings and find the perfect balance that suits your preferences.
Once you have completed the setup process, you are ready to fine-tune the audio settings to further enhance your sound bar experience.
Step 5: Adjust the Audio Settings
After setting up your Bose sound bar with your TV, it’s time to fine-tune the audio settings to optimize your sound quality. Here are some adjustments you can make:
- Volume Control: Adjust the volume levels on both your TV and sound bar to a comfortable listening level. Experiment with different volume settings to find the right balance between dialogue, background music, and sound effects.
- Sound Modes: Many Bose sound bars offer different sound modes such as “Movie,” “Music,” or “Sports.” These presets optimize the audio output based on the content you are watching or listening to. Try out different sound modes to find the one that suits your preference.
- Bass Control: Some sound bars have a built-in bass control feature that allows you to adjust the level of bass in the audio. Increase the bass for a more impactful and immersive experience or decrease it for a more balanced sound.
- Dialogue Enhancement: If you often find it hard to hear dialogue clearly, look for a dialogue-enhancement feature in your sound bar settings. This can help amplify the vocals and make them more distinct.
- Virtual Surround Sound: If your sound bar supports virtual surround sound, enable this feature to create a more immersive audio experience. It simulates a surround sound effect, making you feel like you’re in the middle of the action.
Remember, the optimal audio settings may vary depending on your personal preference and the content you are enjoying. Take some time to experiment with different settings until you achieve the audio quality that suits your tastes.
Now that you have adjusted the audio settings, it’s time to test the connection and enjoy the immersive sound of your Bose sound bar.
Step 6: Test the Connection and Enjoy Your Bose Sound Bar
With everything set up and the audio settings adjusted, it’s time to test the connection between your TV and Bose sound bar and start enjoying the enhanced audio experience. Follow these steps:
- Play a movie, TV show, or music on your TV.
- Ensure that the audio is coming from the Bose sound bar by listening for the sound output.
- Pay attention to the clarity, depth, and richness of the audio. Notice how the sound bar enhances the overall experience compared to the TV’s built-in speakers.
- If you have surround sound content, such as a movie with a 5.1 or 7.1 audio track, pay attention to how the sound bar reproduces the spatial audio for a more immersive experience.
- Adjust the volume, bass, and other settings as needed to fine-tune the sound to your liking.
Take the time to explore different types of content to fully appreciate the capabilities of your Bose sound bar. Watch an action-packed movie, listen to your favorite tracks, or play video games to experience the power and clarity of the sound bar’s audio performance.
Remember to sit back, relax, and let the immersive sound transport you into the heart of the action. Enjoy the enhanced audio experience that your Bose sound bar brings to your entertainment setup!
Congratulations on successfully setting up and connecting your Bose sound bar to your TV. Now, you can indulge in the rich, high-quality sound that will revolutionize your home entertainment experience.