Home>Production & Technology>Surround Sound>How To Connect Bose Surround Sound To TV
Surround Sound
How To Connect Bose Surround Sound To TV
Published: December 23, 2023
Learn how to connect your Bose surround sound system to your TV seamlessly. Enhance your viewing experience with immersive surround sound.
(Many of the links in this article redirect to a specific reviewed product. Your purchase of these products through affiliate links helps to generate commission for AudioLover.com, at no extra cost. Learn more)
Table of Contents
- Introduction
- Step 1: Check the compatibility of your Bose surround sound system with your TV
- Step 2: Gather the necessary cables and adapters
- Step 3: Set up the Bose surround sound system near your TV
- Step 4: Connect the audio output of your TV to the Bose surround sound system
- Step 5: Configure the audio settings on your TV
- Step 6: Test the connection and make necessary adjustments
- Conclusion
Introduction
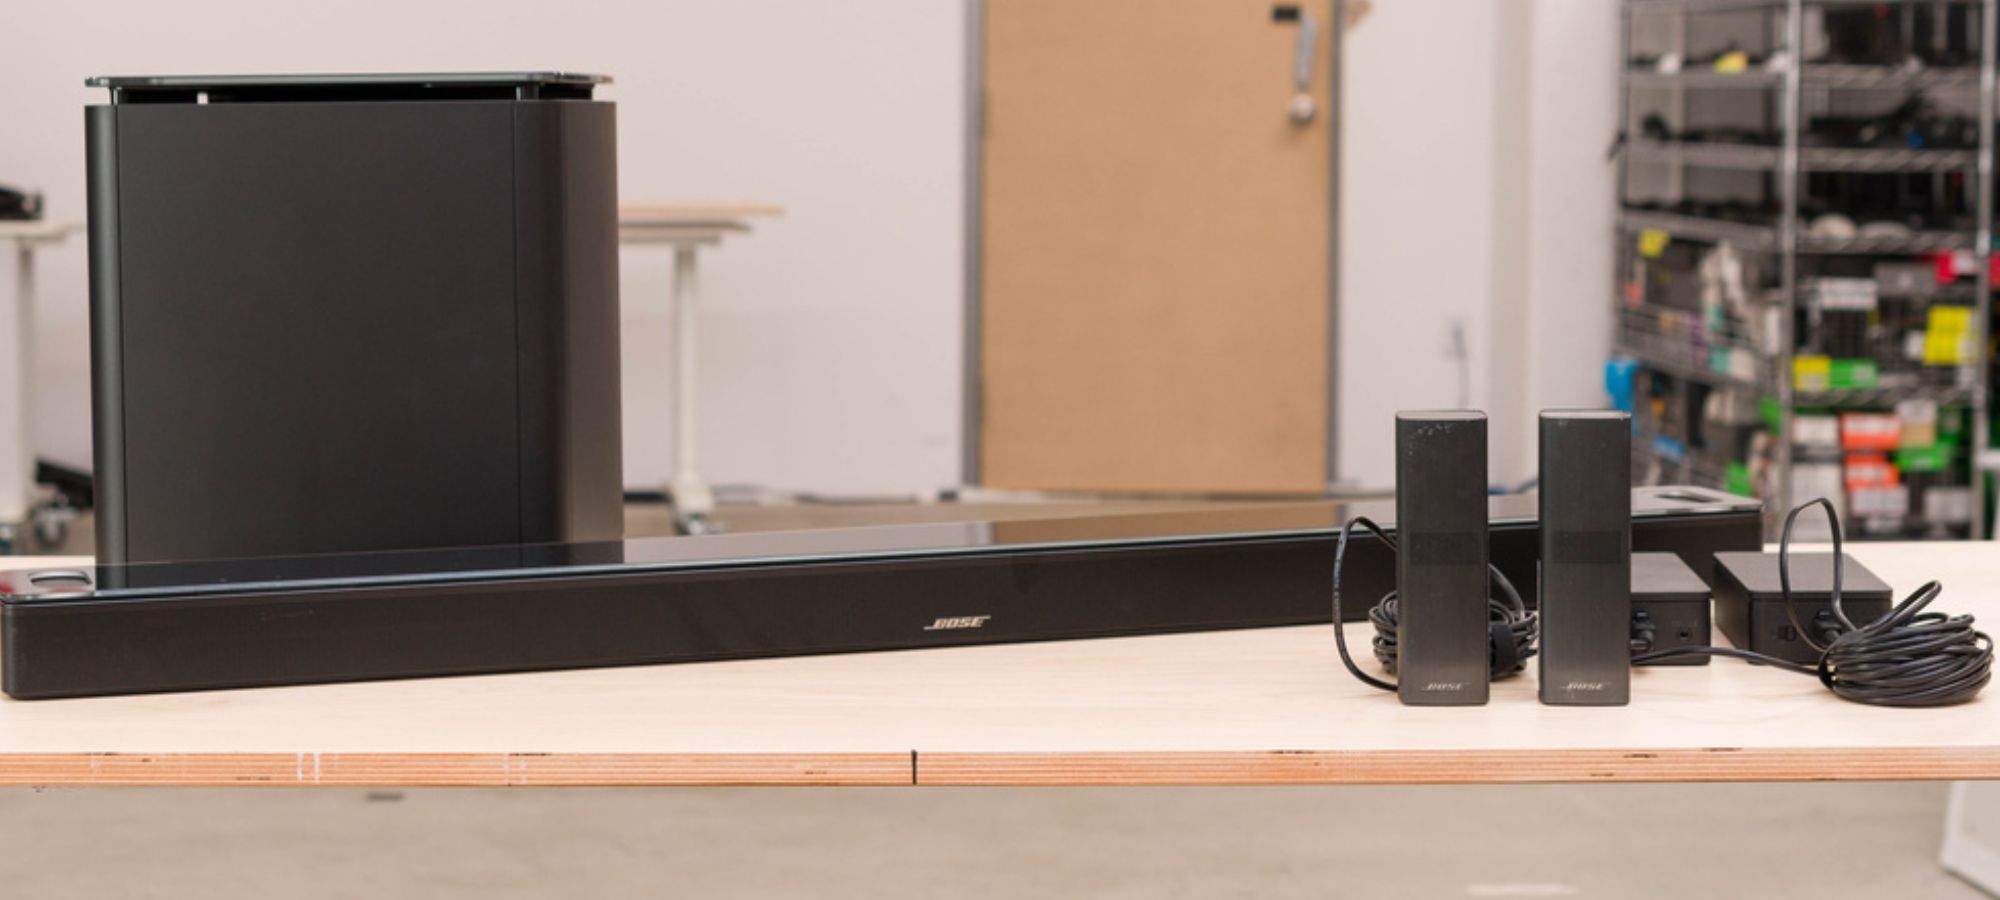
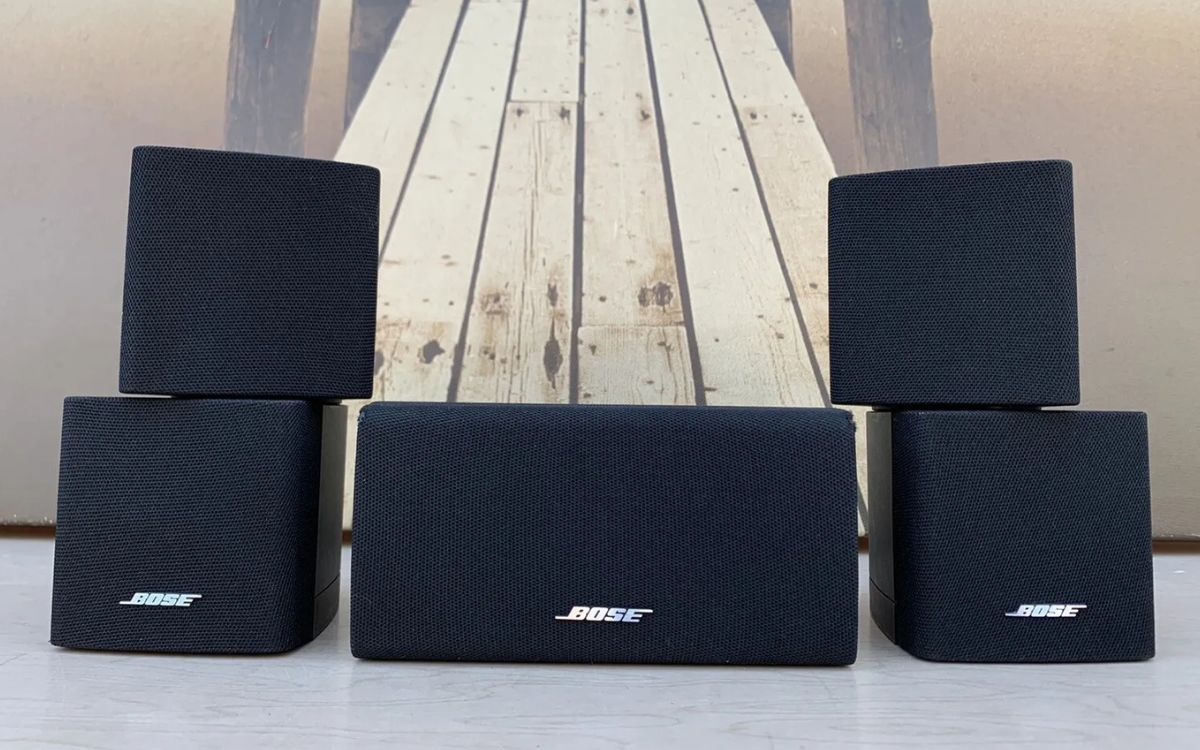
Surround sound systems have revolutionized the way we experience audio in our homes. With their ability to create a rich, immersive soundstage, they bring movies, music, and games to life, giving us the feeling that we are right in the middle of the action. One renowned brand that has mastered the art of surround sound is Bose. Known for their exceptional audio quality and innovative technology, Bose surround sound systems are a popular choice for home theater enthusiasts.
If you recently purchased a Bose surround sound system and want to connect it to your TV for an elevated audio experience, you’ve come to the right place. In this article, we will guide you through the process of connecting your Bose surround sound system to your TV, step by step. Whether you have a flat-screen TV or a more traditional model, we’ll help you set up your system and ensure that you can enjoy stunning surround sound whenever you watch your favorite movies or TV shows.
Before we dive into the setup process, it’s important to note that the specific steps may vary depending on the model of your Bose surround sound system and your TV. Always refer to the user manuals for both devices to get the most accurate and up-to-date instructions. Additionally, make sure you have all the necessary cables and adapters on hand before you begin. Let’s get started on enhancing your home theater experience!
Step 1: Check the compatibility of your Bose surround sound system with your TV
Before you start connecting your Bose surround sound system to your TV, it’s crucial to ensure that the two devices are compatible. Compatibility can affect the audio quality and overall performance, so it’s important to verify this before proceeding.
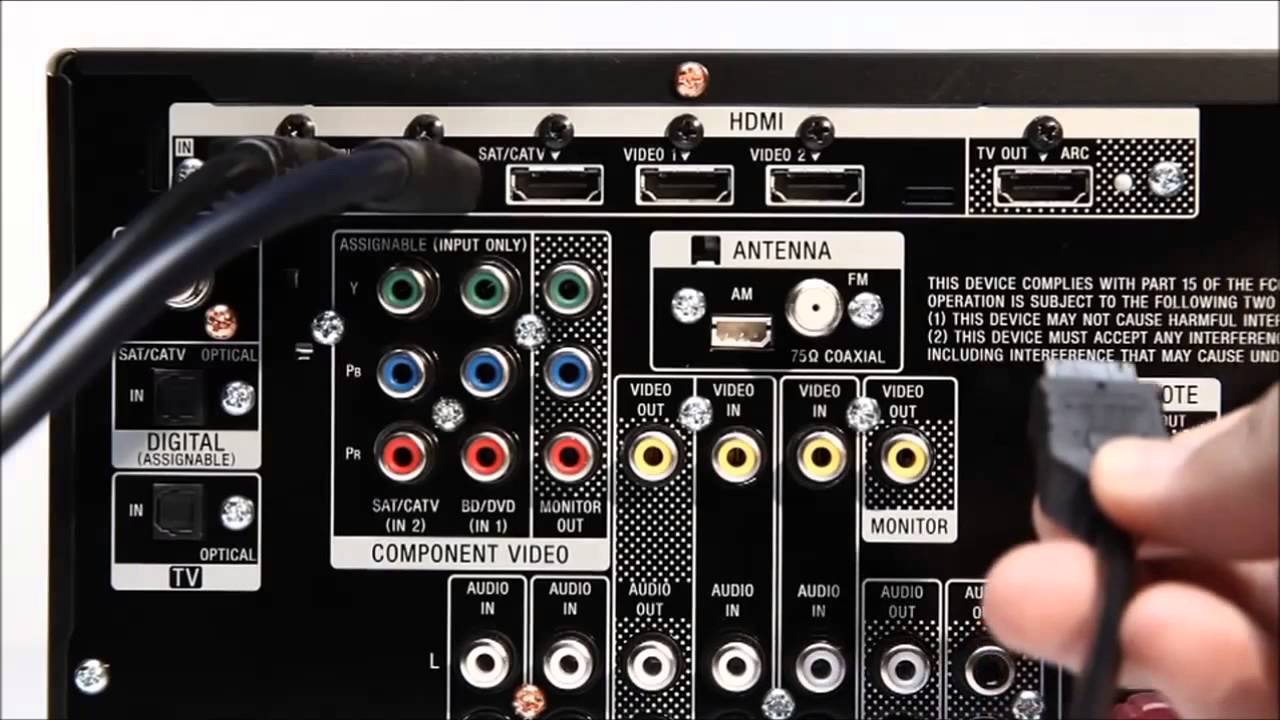
First, check the audio outputs on your TV. The most common types are HDMI ARC (Audio Return Channel), optical audio output, and RCA (red and white) audio output. Refer to your TV’s user manual or look for these ports on the back or side of the device.
Next, identify the audio inputs on your Bose surround sound system. It may have multiple input options such as HDMI, optical audio input, or analog audio input. Consult the user manual of your Bose system to determine the available inputs.
Once you have determined the available audio outputs on your TV and audio inputs on your Bose system, make sure they are compatible. For example, if your TV has an HDMI ARC output and your Bose system has an HDMI input labeled “ARC,” they are likely compatible. If they are not compatible, you may need additional adapters or cables to establish a connection.
Furthermore, consider the audio format compatibility between your TV and Bose system. Some TVs support only stereo audio, while others can output surround sound. If your Bose system supports surround sound formats like Dolby Digital or DTS, make sure your TV can output these formats as well. Refer to the user manuals or specifications of both devices to confirm their audio format capabilities.
By checking the compatibility of your Bose surround sound system with your TV, you can avoid any potential compatibility issues and ensure a seamless connection between the two devices. Once you have verified compatibility, you can proceed to the next step of the setup process.
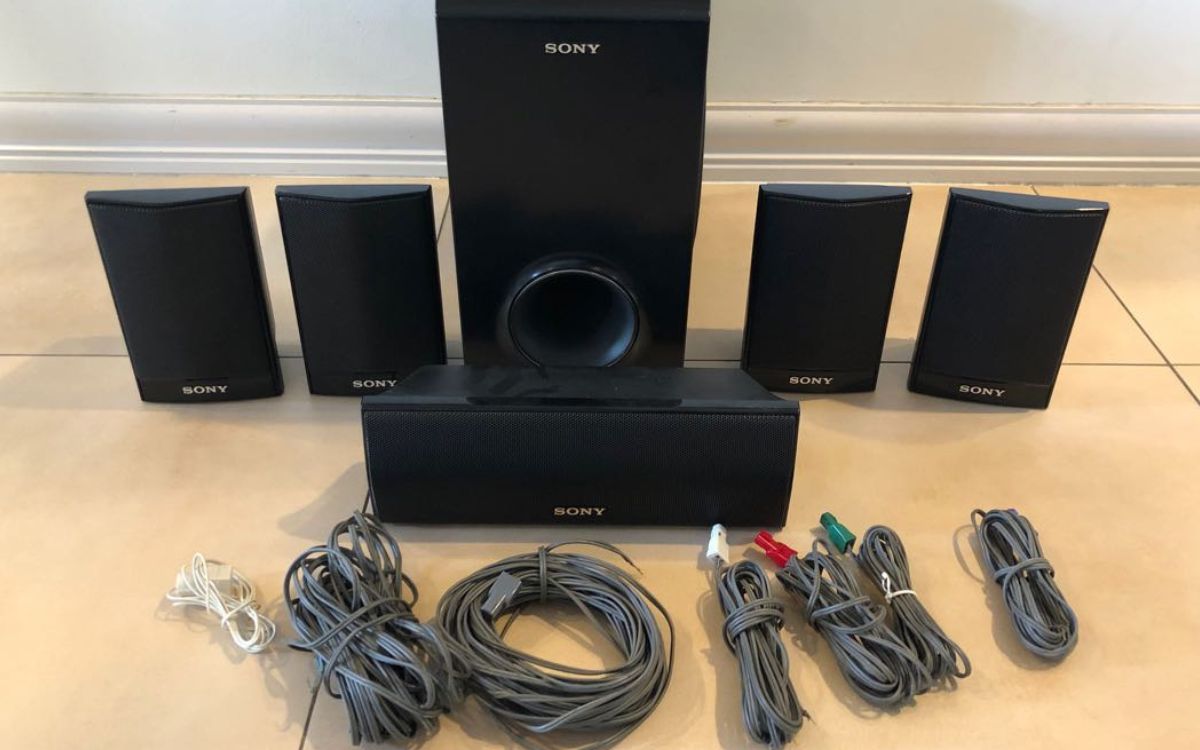
Step 2: Gather the necessary cables and adapters
Now that you have confirmed the compatibility between your Bose surround sound system and your TV, it’s important to gather the necessary cables and adapters to establish a connection. Depending on the available ports and inputs on both devices, you may need different types of cables and adapters.
The most common cables used for connecting a Bose surround sound system to a TV are HDMI, optical audio cables, and RCA cables. The type of cable you require will depend on the available inputs and outputs on your TV and Bose system.
If your TV and Bose system have HDMI ARC ports, you can use an HDMI cable with ARC support for a convenient and high-quality connection. HDMI cables transmit both audio and video signals, allowing you to enjoy surround sound while watching your favorite movies or TV shows.
In the absence of HDMI ARC ports, you may need to use an optical audio cable. This type of cable transfers digital audio signals from your TV to the Bose system, ensuring a clear and high-fidelity audio experience. Ensure that your TV and Bose system have optical audio input and output, respectively.
Alternatively, if your TV has RCA audio output, you can use RCA cables to connect to the analog audio inputs on your Bose system. RCA cables have red and white connectors that correspond to the right and left audio channels.
Keep in mind that you may also need additional adapters if the cables you have selected do not directly connect to the available ports. For example, if your TV has an optical audio output but your Bose system only has HDMI inputs, you will need an optical to HDMI adapter. Similarly, if your TV has RCA output and your Bose system has a different type of input, you will require an RCA to the respective connector adapter.
Before purchasing cables and adapters, double-check the user manuals of your TV and Bose system to determine the required specifications and ensure compatibility. It’s essential to use high-quality cables and adapters to maintain audio signal integrity and prevent any interference.
Once you have gathered the necessary cables and adapters, you are ready to move on to the next step of the setup process and physically connect your Bose surround sound system to your TV.
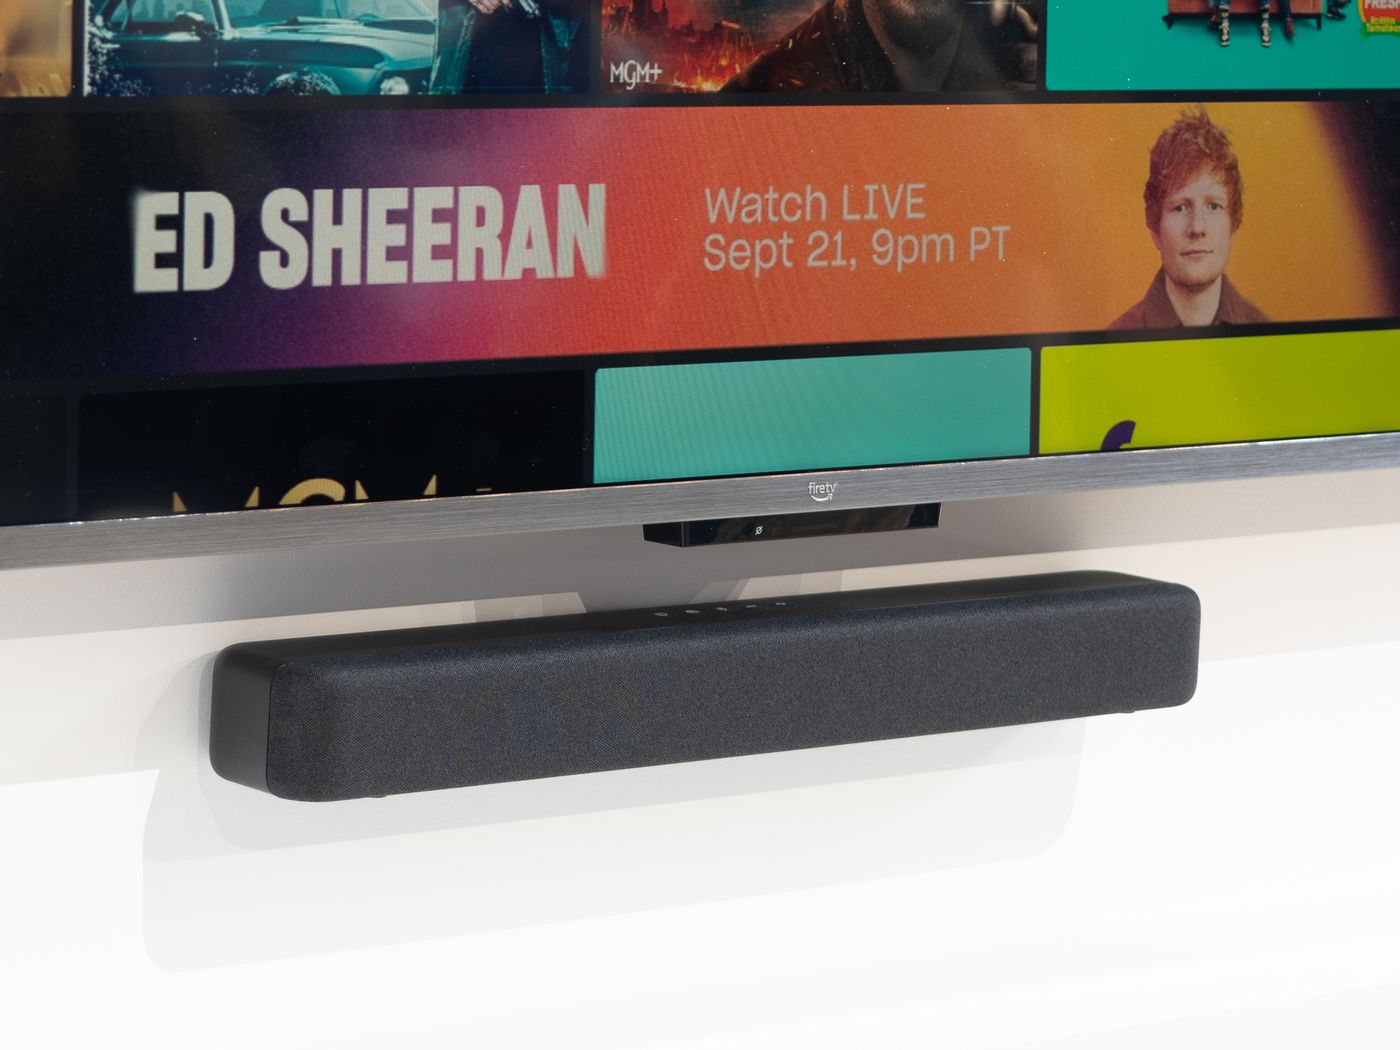
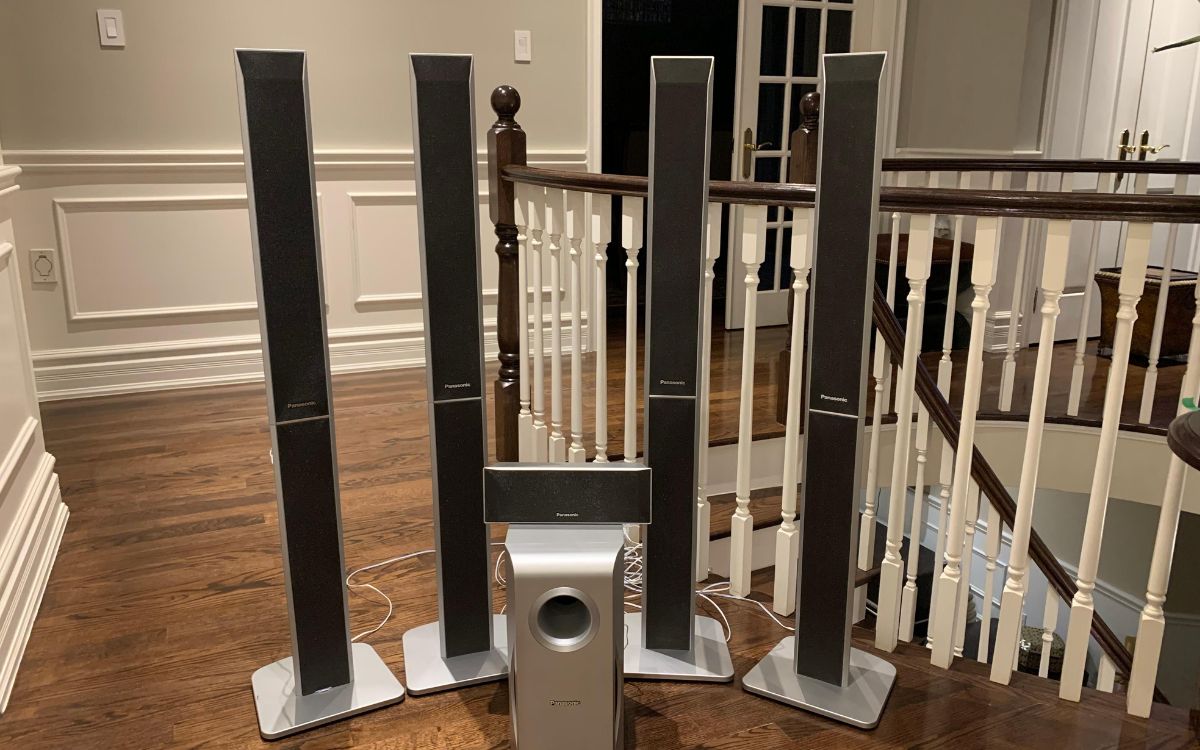
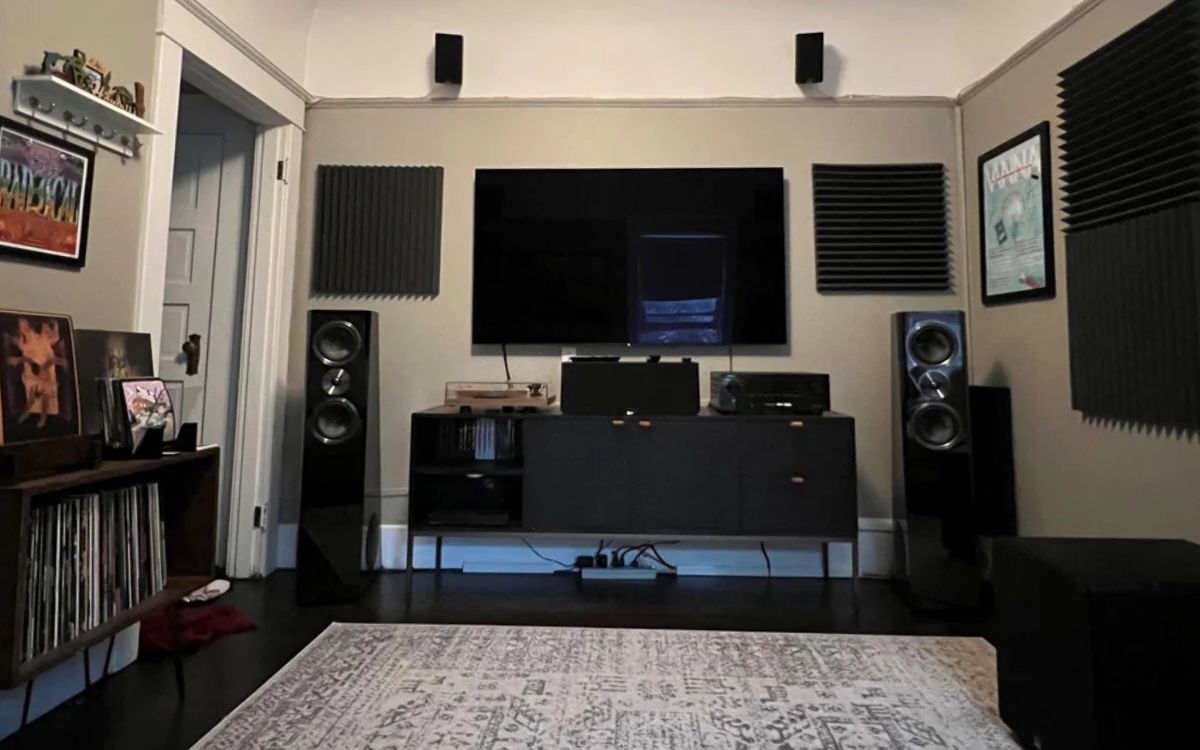
Step 3: Set up the Bose surround sound system near your TV
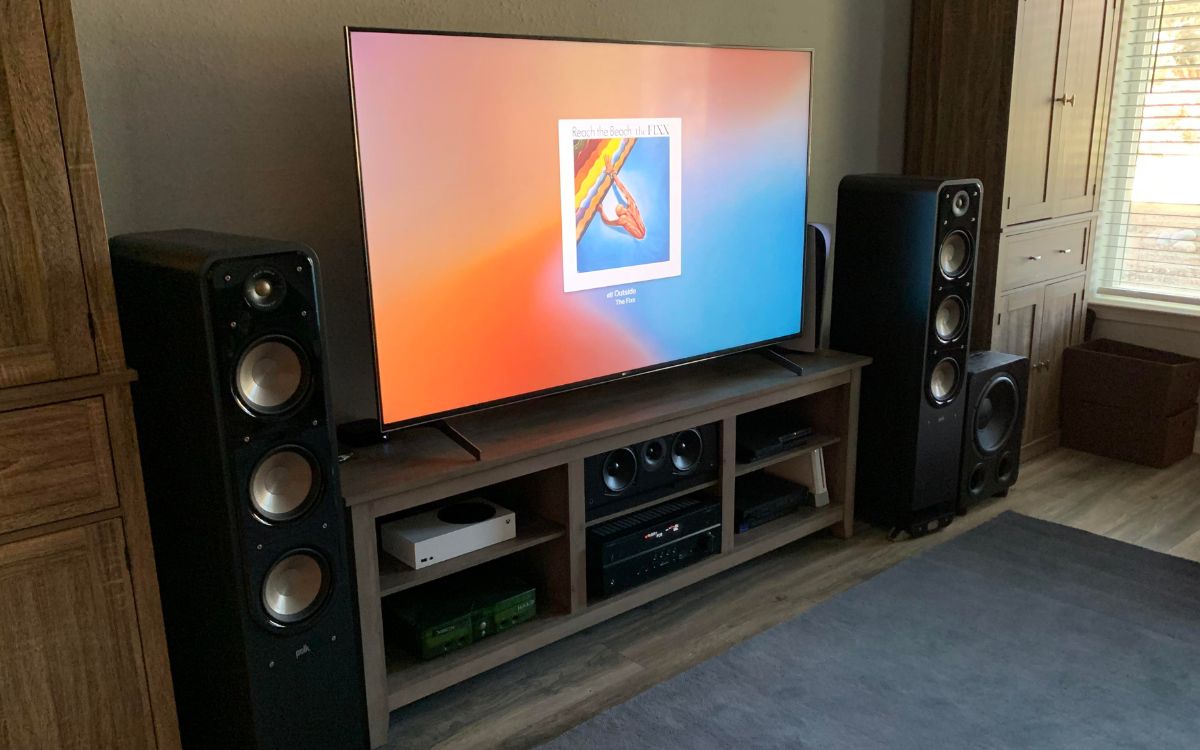
Now that you have gathered the required cables and adapters, it’s time to set up your Bose surround sound system near your TV. Proper placement of the speakers and subwoofer is essential to achieve an optimal surround sound experience.
Start by finding a suitable location for your Bose system. Ideally, the front speakers should be positioned on either side of your TV, facing towards the viewing area. The center channel speaker, if available, should be centered below or above the TV, while the rear speakers should be placed behind the seating area, facing towards the viewers.
Ensure that the speakers are at ear level or slightly above when seated to achieve the best sound dispersion. Avoid placing them too close to walls or corners, as it can affect the audio quality and create unwanted reverberations.
Next, find a spot for the subwoofer. The subwoofer is responsible for delivering deep bass frequencies, so placing it on the floor or near a wall can enhance its performance. Experiment with different positions to find the optimal placement that provides a balanced bass response.
Once you have determined the ideal placement for your Bose system, ensure that all the speakers have secure connections to the main unit or amplifier. Double-check that the wires are not tangled or in contact with any sharp objects that could damage them or affect the audio signal.
It’s also helpful to organize the cables neatly and use cable ties or clips to prevent tripping hazards and maintain a clean and tidy setup. Consider using cable sleeves or covers to further conceal and protect the cables, especially if you have pets or children in the house.
Take a moment to review the user manual of your Bose system for any specific placement recommendations, as different models may have unique requirements or considerations.
With your Bose surround sound system properly set up near your TV, you are now ready to proceed to the next step and connect the audio output of your TV to the Bose system, bringing the immersive surround sound experience to life.
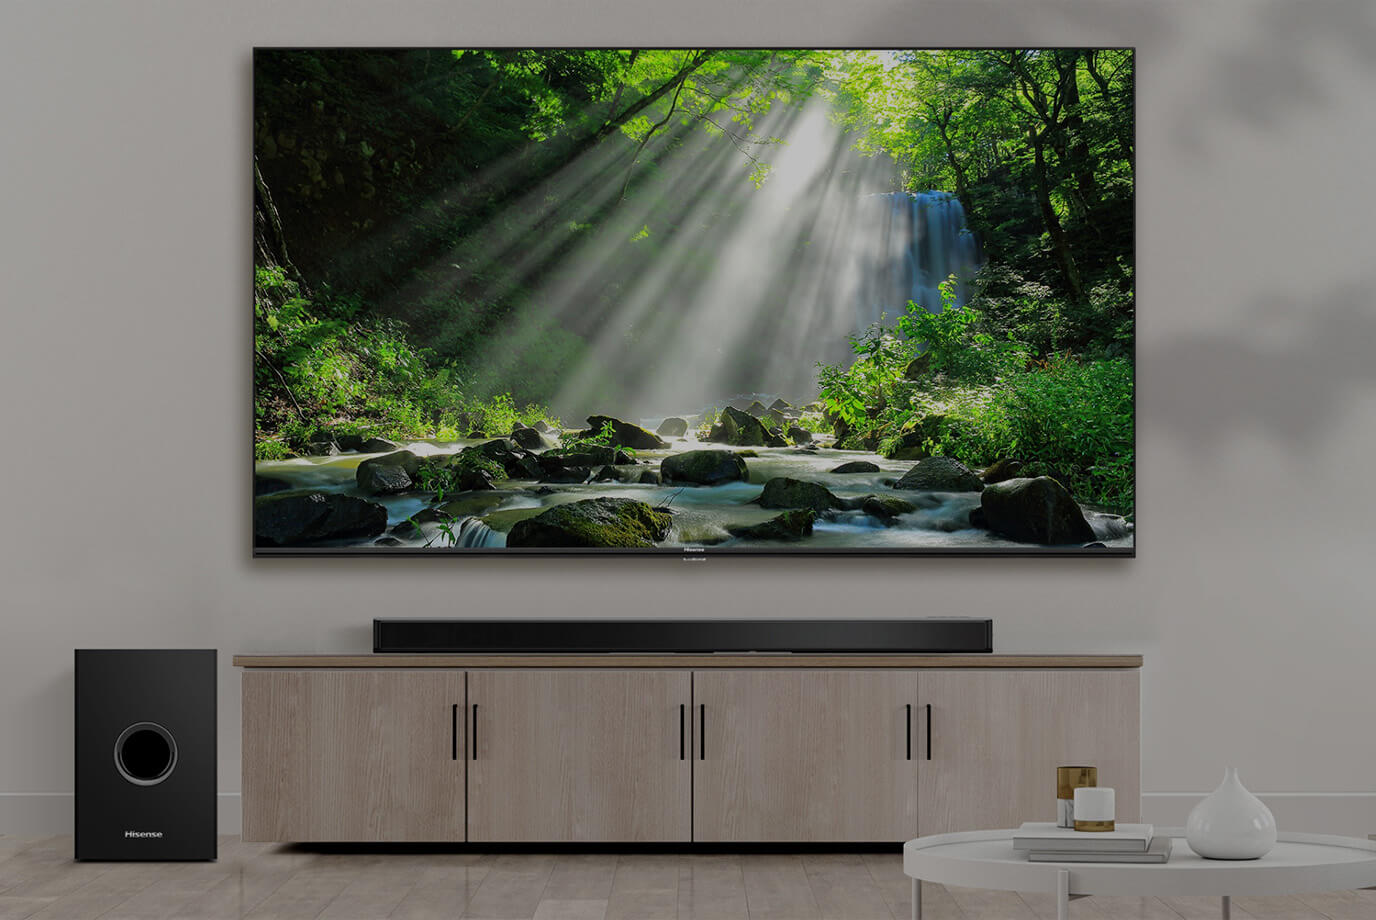
Step 4: Connect the audio output of your TV to the Bose surround sound system
Now that you have set up your Bose surround sound system and positioned the speakers appropriately, it’s time to connect the audio output of your TV to the Bose system. This step is crucial for ensuring that the audio from your TV is routed through the surround sound speakers.
Start by identifying the audio output on your TV that you will be using to connect to the Bose system. As discussed earlier, this could be an HDMI ARC output, an optical audio output, or an RCA audio output.
If you have an HDMI ARC output on your TV and your Bose system also supports HDMI ARC connectivity, use an HDMI cable with ARC support to connect the TV and the Bose system. Simply connect one end of the HDMI cable to the HDMI ARC output on your TV and the other end to the HDMI ARC input on your Bose system. This will allow the audio signals from your TV to pass through the HDMI connection and be played back through the Bose speakers.
If your TV has an optical audio output, use an optical audio cable to connect the TV and the Bose system. Insert one end of the optical cable into the optical audio output on your TV and the other end into the optical audio input on your Bose system. Make sure to securely insert the connectors to ensure a proper audio connection.
In the case of RCA audio output on your TV, use RCA cables to connect the TV and the Bose system. Connect the red and white connectors of the RCA cables to the corresponding audio output ports on your TV, and then connect the other end of the RCA cables to the analog audio input on your Bose system.
Once the audio output of your TV is connected to the Bose surround sound system, ensure that all the connections are secure and properly seated. Avoid bending or pinching the cables, as this can cause audio distortion or loss of connectivity.
Depending on your TV’s settings, you may need to change the audio output settings to route the sound to the connected Bose system. This can usually be done through the TV’s audio settings menu, where you can select the appropriate audio output option that corresponds to your Bose system.
Refer to the user manuals of your TV and Bose system for specific instructions on configuring the audio output settings and troubleshooting any potential issues.
With the audio output of your TV successfully connected to your Bose surround sound system, you are one step closer to enjoying immersive and high-quality surround sound for your favorite entertainment.
Step 5: Configure the audio settings on your TV
Now that you have connected the audio output of your TV to your Bose surround sound system, it’s time to configure the audio settings on your TV to ensure that the sound is properly routed through the Bose speakers. This step is essential for optimizing the audio experience and taking full advantage of your surround sound system.
Start by accessing the settings menu on your TV. This is usually done by pressing the “Menu” button on your TV remote control. Navigate to the audio settings section, where you can adjust various audio options and select the audio output configuration.
In the audio settings menu, look for the audio output or audio format option. Depending on your TV model, this may be labeled differently. Select the appropriate option that corresponds to the audio connection you have made with your Bose system.
If you have connected your TV and Bose system using HDMI ARC, ensure that the audio output setting is set to HDMI ARC or Audio Return Channel. This setting allows the TV to send the audio signals to the connected Bose system via the HDMI connection.
If you have used an optical audio cable for the connection, select the optical audio output or SPDIF option in the audio settings menu. This setting enables the TV to output the audio signals through the optical cable, which will be received by your Bose system.
In the case of RCA audio output, the TV may have separate configuration options for left and right audio channels. Make sure to select the appropriate settings for the RCA connection.
Once you have selected the correct audio output option, save the changes and exit the settings menu. Some TVs may require a restart for the new audio settings to take effect.
Additionally, explore the audio settings menu of your TV for any additional options related to surround sound or audio enhancement features. You may find options to adjust the equalizer settings, sound modes, or virtual surround sound settings. Experiment with these settings to customize the audio output according to your preferences.
Remember to consult the user manual of your TV for specific instructions and guidance on configuring the audio settings. Different TV models may have different menu layouts and terminology.
With the audio settings of your TV properly configured, you have successfully completed the setup process for connecting your Bose surround sound system to your TV. Now, it’s time to test the connection and make any necessary adjustments to ensure a seamless and immersive audio experience.
Step 6: Test the connection and make necessary adjustments
After you have completed the setup and configuration of your Bose surround sound system and TV connection, it’s important to test the connection and ensure that everything is working as expected. Testing the connection will allow you to identify any issues or adjustments that need to be made for optimal audio performance.
Start by playing audio or video content on your TV. It could be a movie, TV show, or music. Make sure the volume is set to a reasonable level to avoid any sudden loud noises.
Listen carefully and observe if the audio is coming from the Bose surround sound system. Check if all the speakers are producing sound and if the sound is balanced across different channels.
If you notice that the audio is not being played through the Bose speakers or that the sound is distorted, there are a few troubleshooting steps you can take. First, ensure that all the cables are securely connected on both the TV and the Bose system.
If you are using HDMI ARC, try switching HDMI ports on your TV or Bose system. Sometimes, certain HDMI ports may not be fully compatible or properly configured for ARC functionality.
If you are using an optical audio cable, inspect the cable for any visible damage or dirt. Clean the connectors and try reconnecting the cable to ensure a proper audio signal transfer.
In the case of RCA cables, confirm that the cables are firmly connected to the correct audio output and input ports. Ensure that the red cable is connected to the right channel and the white cable to the left channel.
If you made any adjustments to the audio settings on your TV during Step 5, verify that the settings are correctly configured. Double-check if the audio output option matches the connection you have established with your Bose system.
If you are still experiencing audio issues, consult the user manuals of both your TV and Bose system for specific troubleshooting steps. You may also consider reaching out to technical support for further assistance.
Once you have confirmed that the audio connection is working properly, take the time to fine-tune the audio settings to suit your preferences. Adjust the equalizer settings, sound modes, or surround sound options as necessary to achieve the desired audio experience.
It’s also a good idea to periodically check the connections and cables to ensure they remain secure and intact. Over time, cables can become loose or damaged, potentially affecting the audio signal quality.
By testing the connection and making any necessary adjustments, you can ensure that your Bose surround sound system and TV are working together seamlessly, delivering an immersive and captivating audio experience for all your entertainment needs.
Conclusion
Connecting your Bose surround sound system to your TV can greatly enhance your home theater experience, immersing you in rich, immersive audio. By following the steps outlined in this guide, you can successfully set up and configure your Bose system to work seamlessly with your TV, bringing your favorite movies, TV shows, and music to life.
Throughout the setup process, it’s important to verify the compatibility between your Bose system and your TV, gather the necessary cables and adapters, and position your speakers and subwoofer strategically for optimal sound dispersion. Connecting the audio output of your TV to the Bose system is a crucial step, and adjusting the audio settings on your TV ensures that the sound is routed correctly.
After completing the setup, take the time to test the connection and make any necessary adjustments to ensure that the audio is working as expected. Troubleshoot any issues that may arise and fine-tune the audio settings to suit your preferences.
Remember, each TV and Bose system may have different setup requirements and specific instructions, so always refer to the respective user manuals for accurate and detailed guidance.
With your Bose surround sound system successfully connected to your TV, you can now immerse yourself in a cinematic audio experience like never before. Enjoy the powerful and immersive sound that brings your favorite movies, TV shows, and music to life, enhancing your overall entertainment enjoyment.