Home>Instruments>Guitar>How To Change The Action On A Guitar
Guitar
How To Change The Action On A Guitar
Published: February 12, 2024
Learn how to change the action on a guitar with our step-by-step guide. Adjust your guitar's action for improved playability and sound.
(Many of the links in this article redirect to a specific reviewed product. Your purchase of these products through affiliate links helps to generate commission for AudioLover.com, at no extra cost. Learn more)
Table of Contents
Introduction
Changing the action on a guitar is a fundamental aspect of guitar maintenance and customization. The action of a guitar refers to the height of the strings above the fretboard. It significantly influences playability, intonation, and overall sound. Whether you prefer a lower, faster action for effortless fretting or a higher action for a fuller tone, understanding how to adjust it can greatly enhance your playing experience.
In this comprehensive guide, we will delve into the intricacies of changing the action on a guitar. From understanding the concept of guitar action to the step-by-step process of adjusting it, this article aims to equip both novice and seasoned guitarists with the knowledge and confidence to modify their instrument according to their preferences.
By the end of this guide, you will have a clear understanding of the tools required, the techniques involved, and the potential impact of altering the action on your guitar. So, grab your guitar, set aside any apprehensions, and let’s embark on this enlightening journey to master the art of changing the action on a guitar.
Understanding Guitar Action
Guitar action, often referred to as string action, is a critical factor that directly influences the playability and sound of the instrument. It is defined as the distance between the strings and the fretboard. The height of the action determines how easy or challenging it is to press the strings down to the frets, ultimately affecting the guitar’s playability, intonation, and tone.
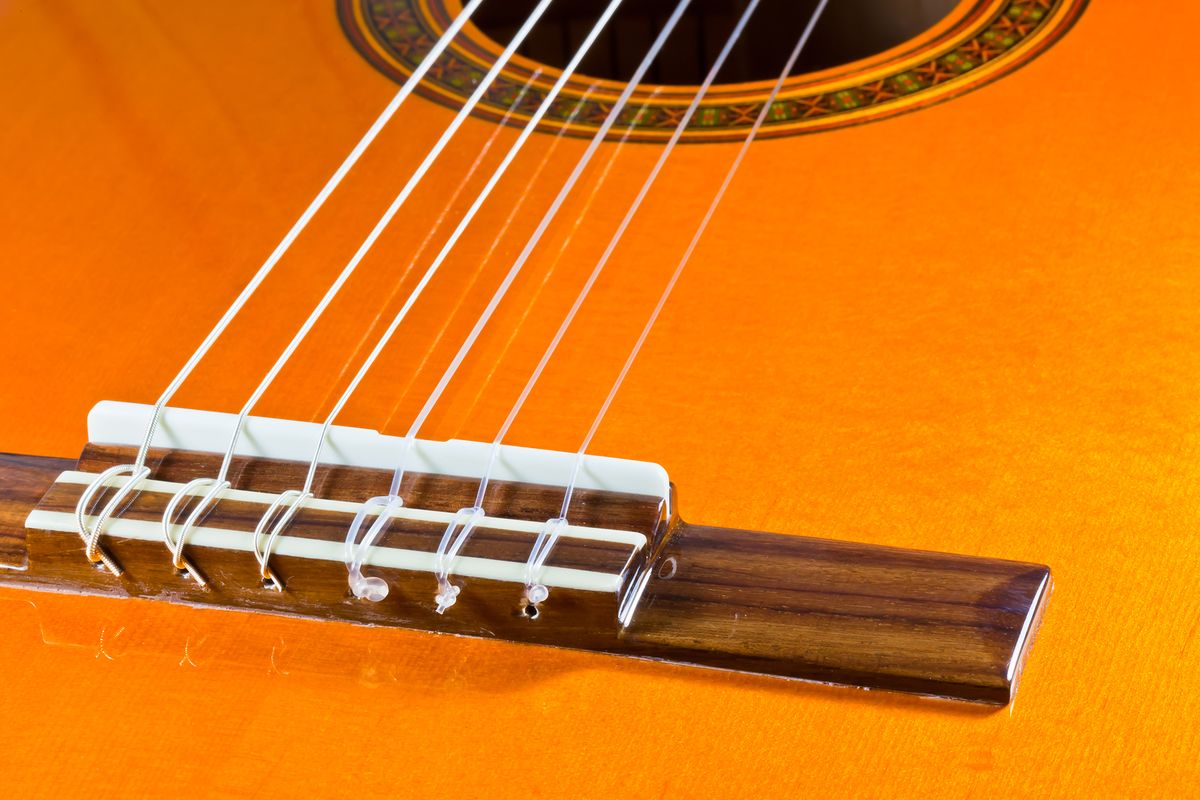
There are two primary components of guitar action: the nut action and the saddle action. The nut action pertains to the height of the strings above the first fret, while the saddle action refers to the height of the strings above the bridge. Both components play a crucial role in shaping the overall playability and sound of the guitar.
Optimal guitar action is often subjective, as it depends on the player’s playing style, finger strength, and musical preferences. Generally, a lower action facilitates easier fretting and faster playing, making it ideal for intricate lead guitar work and fast-paced chord changes. On the other hand, a higher action can produce a fuller, more resonant tone, albeit requiring more finger strength to press the strings down effectively.
Understanding the nuances of guitar action empowers guitarists to tailor their instrument to suit their unique playing style and sonic preferences. By grasping the significance of nut and saddle action, players can make informed adjustments to achieve their desired balance between playability and tone.
Tools Needed for Changing Guitar Action
Before embarking on the journey of adjusting the action on a guitar, it is essential to gather the necessary tools to ensure a smooth and precise process. The following tools are commonly required for changing the action on a guitar:
- Truss Rod Wrench: This specialized wrench is used to adjust the truss rod, which can affect the relief of the guitar neck and, consequently, the action of the strings.
- Capo: A capo is useful for holding down the strings at various frets, allowing for easier access to different areas of the fretboard during the adjustment process.
- Feeler Gauge: This thin, precise measuring tool is utilized to assess the gap between the strings and the frets, aiding in achieving the desired action height.
- Screwdrivers: Different types of screwdrivers, such as Phillips and flat-head, may be needed to adjust the bridge and saddle height, depending on the guitar’s design.
- String Action Gauge: This specialized tool provides accurate measurements of the string height at various points along the fretboard, ensuring uniform action across the entire neck.
- Allen Wrenches: Many guitars feature components, such as bridge saddles and locking nuts, that require specific sizes of Allen wrenches for adjustment.
- Microfiber Cloth: Keeping a soft, lint-free cloth handy is essential for cleaning and protecting the guitar’s finish during the adjustment process.
By having these tools readily available, guitarists can approach the task of changing the action on their instrument with confidence and precision. Additionally, maintaining these tools in good condition ensures that the guitar can be regularly adjusted to accommodate playing preferences and environmental changes, ultimately enhancing the overall playing experience.
Steps to Change Guitar Action
Changing the action on a guitar involves a series of meticulous steps to achieve the desired string height and playability. While the process may vary slightly depending on the type of guitar and individual preferences, the following general steps outline the fundamental procedure for adjusting the action:
- Assess the Current Action: Before making any adjustments, it is crucial to evaluate the existing action of the guitar. This can be done by visually inspecting the string height at various points along the fretboard and assessing the playability.
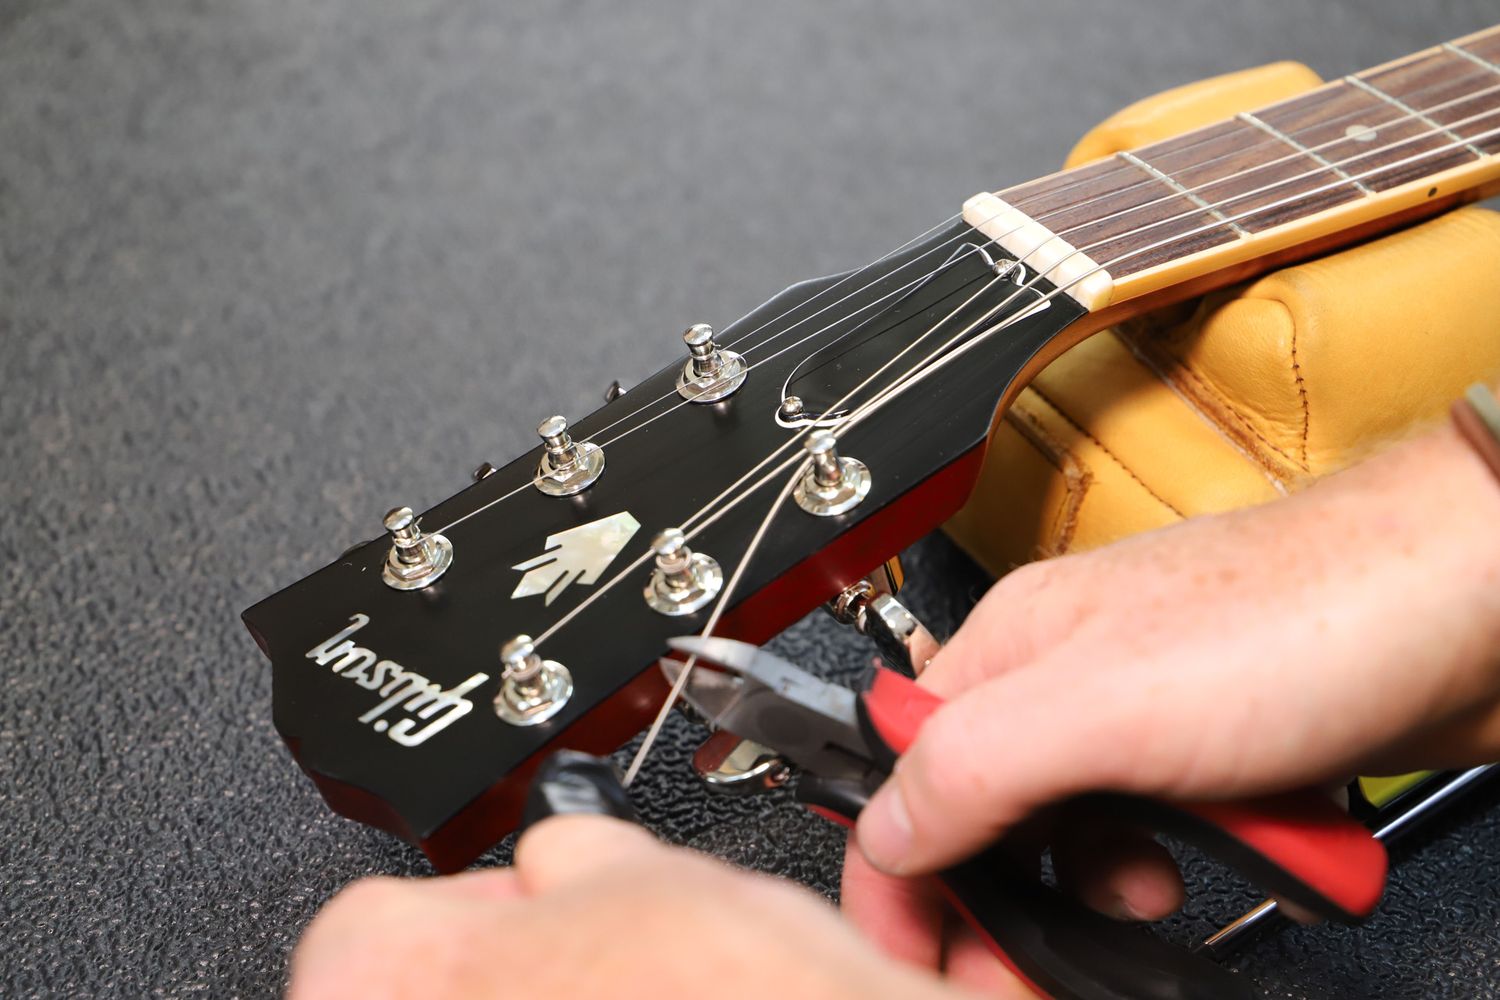
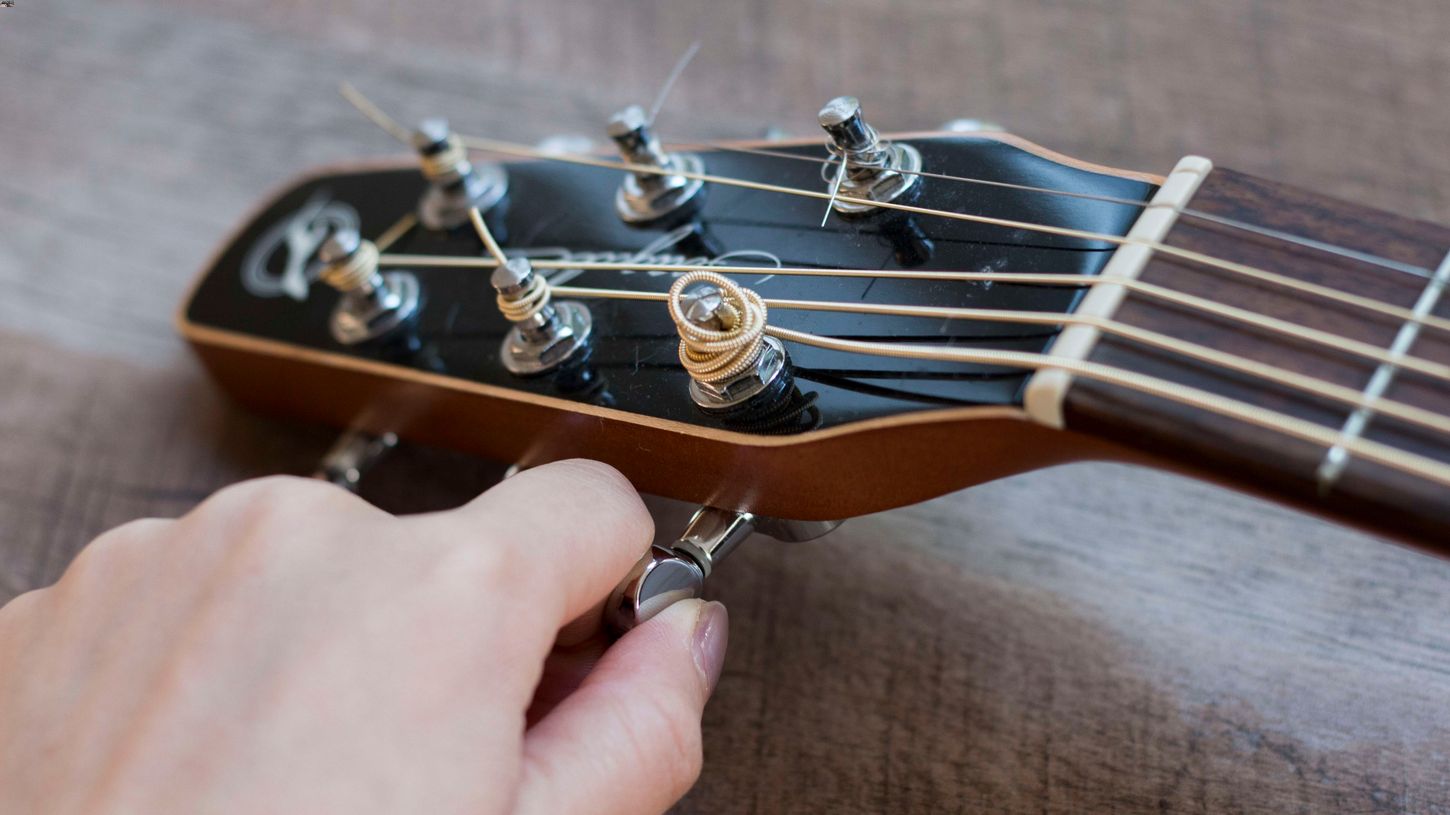
- Loosen the Strings: To facilitate the adjustment process, it is advisable to detune the strings slightly or use a capo to hold them in place while making changes to the nut or saddle height.
- Adjust the Truss Rod: If necessary, the truss rod can be adjusted to alter the relief of the guitar neck, which indirectly affects the action. Care should be taken to make incremental adjustments and avoid over-tightening the truss rod.
- Modify Nut Action: To change the nut action, files or specialized nut slotting tools can be used to carefully adjust the height of the strings at the nut. This step contributes to the overall playability and intonation of the guitar.
- Alter Saddle Action: Adjusting the saddle action involves raising or lowering the individual saddles on the bridge to achieve the desired string height and intonation across the fretboard. This step significantly impacts the playability and tone of the guitar.
- Re-Tune and Test: After making the necessary adjustments, the guitar should be re-tuned to pitch, and the action should be tested for playability, fret buzz, and intonation. Fine-tuning may be required to achieve the optimal action.
- Repeat as Needed: It is important to remember that achieving the perfect action may require iterative adjustments and testing. Patience and attention to detail are key to refining the action to suit individual playing preferences.
By following these steps with precision and care, guitarists can effectively modify the action of their instrument to align with their specific playing style and sonic requirements. It is essential to approach the process methodically and be mindful of the interconnected relationship between the nut action, saddle action, and overall playability of the guitar.
Adjusting the Truss Rod
The truss rod plays a pivotal role in maintaining the proper curvature of the guitar neck, thereby influencing the overall action of the instrument. Before adjusting the truss rod, it is essential to understand its function and the potential impact of its manipulation on the guitar’s playability and structural integrity.
To adjust the truss rod, follow these steps:
- Assess the Neck Relief: Using a straight edge or specialized notched straightedge, evaluate the curvature of the neck by measuring the gap between the straight edge and the fretboard at various points along the neck.
- Determine the Desired Relief: Consider your playing style and the guitar’s setup specifications to decide on the ideal amount of neck relief. This can vary based on personal preference and the guitar’s specific requirements.
- Use the Correct Tool: Locate the truss rod adjustment nut, typically located at the headstock or inside the soundhole, and ensure you have the appropriate truss rod wrench for your guitar model.
- Make Incremental Adjustments: Carefully insert the truss rod wrench into the adjustment nut and make subtle, quarter-turn adjustments in the appropriate direction to either increase or decrease the neck relief. Avoid over-tightening the truss rod, as this can lead to structural damage.
- Allow for Settling Time: After each adjustment, allow the neck to settle for a period before reassessing the relief. This settling period allows the neck to acclimate to the changes and provides a more accurate indication of the resulting relief.
- Reassess and Fine-Tune: Reevaluate the neck relief using the straight edge and make further adjustments as needed to achieve the desired curvature. It may be necessary to repeat the process of adjustment and settling multiple times to achieve the optimal neck relief.
Adjusting the truss rod demands precision and caution to avoid causing damage to the neck or compromising the structural integrity of the guitar. By understanding the principles of neck relief and following a systematic approach to truss rod adjustment, guitarists can effectively tailor the action of their instrument to suit their playing preferences and ensure optimal playability.
Adjusting the Bridge
The bridge of a guitar plays a crucial role in determining the action and intonation of the instrument. Whether it’s a fixed bridge or a tremolo system, making precise adjustments to the bridge is essential for achieving the desired string height and overall playability. Here’s a step-by-step guide to adjusting the bridge:
- Assess the Current Setup: Before making any adjustments, evaluate the existing bridge height and overall condition to identify areas that require modification.
- Stabilize the Guitar: Place the guitar on a stable surface, ensuring that it is properly supported to prevent any movement during the adjustment process.
- Locate the Adjustment Points: Identify the individual saddles or adjustment screws on the bridge that correspond to each string. These allow for independent height adjustments to achieve uniform action across the fretboard.
- Use the Correct Tools: Depending on the bridge type, select the appropriate tools, such as screwdrivers or specialized bridge adjustment tools, to modify the saddle height accurately.
- Make Incremental Adjustments: Using the designated tools, carefully raise or lower the saddles to achieve the desired string height. It’s advisable to make small adjustments and reassess the action frequently to avoid overcompensating.
- Consider Intonation: While adjusting the bridge, it’s important to verify and, if necessary, fine-tune the intonation of each string to ensure accurate pitch across the fretboard.
- Re-Tune and Test: After making the adjustments, re-tune the guitar to pitch and test the action by playing various passages and chords to gauge the playability and note clarity.
- Repeat as Needed: Achieving the optimal action may require multiple iterations of adjustment, testing, and fine-tuning to ensure uniform string height and ideal playability.
By meticulously adjusting the bridge and saddle height, guitarists can customize the action of their instrument to suit their playing style and preferences. This process not only enhances the playability of the guitar but also contributes to the overall tone and responsiveness of the instrument.
Testing and Fine-Tuning
After making adjustments to the truss rod and bridge to modify the action of the guitar, thorough testing and fine-tuning are essential to ensure that the instrument achieves the desired playability and tonal characteristics. The following steps outline the process of testing and fine-tuning the guitar’s action:
- Check for Fret Buzz: Play each string at different fret positions to identify any instances of fret buzz, which may indicate excessively low string action. If fret buzz is present, further adjustments to the truss rod or bridge may be necessary.
- Assess Playability: Play various scales, chords, and lead passages to gauge the overall playability of the guitar. Pay attention to the ease of fretting notes and the consistency of string response across the fretboard.
- Verify Intonation: Use a tuner to ensure that the guitar maintains accurate intonation across all strings and fret positions. Adjust the saddle positions as needed to optimize intonation and maintain consistent pitch.
- Re-Evaluate String Height: Measure the string action at different points along the fretboard using a string action gauge or feeler gauge. Aim for a consistent and comfortable action that aligns with your playing style and preferences.
- Re-Tune and Re-Test: Re-tune the guitar to pitch and repeat the aforementioned tests to confirm that the adjustments have effectively improved playability and tone without compromising string stability or causing fret buzz.
- Seek Feedback: If possible, have another guitarist play the instrument and provide feedback on the action, intonation, and overall playability. A second opinion can offer valuable insights and help identify any potential areas for further adjustment.
- Document the Setup: Once the optimal action and setup are achieved, consider documenting the specific adjustments made, including truss rod relief, bridge saddle heights, and any other modifications, for future reference.
Testing and fine-tuning the guitar’s action is a crucial aspect of the adjustment process, as it ensures that the instrument meets the player’s expectations in terms of playability, intonation, and overall performance. By meticulously evaluating the action and making iterative adjustments, guitarists can achieve a tailored setup that enhances their playing experience and musical expression.
Conclusion
Changing the action on a guitar is a nuanced and rewarding endeavor that empowers guitarists to customize their instrument according to their unique playing style and sonic preferences. By understanding the principles of guitar action and following a systematic approach to adjustment, players can achieve an optimal setup that enhances playability, intonation, and overall performance.
Throughout this guide, we have explored the fundamental concepts of guitar action, delved into the essential tools required for adjusting the action, and provided comprehensive steps for modifying the truss rod and bridge to achieve the desired string height. Additionally, we emphasized the importance of thorough testing and fine-tuning to ensure that the instrument meets the player’s expectations in terms of playability and tonal characteristics.
It is essential to approach the process of changing the action on a guitar with patience, precision, and a willingness to experiment. Each adjustment made to the truss rod and bridge contributes to the instrument’s overall playability and sonic potential, making it a deeply personal and rewarding aspect of guitar maintenance and customization.
By mastering the art of adjusting the action on a guitar, guitarists can unlock new levels of comfort, expressiveness, and tonal versatility, ultimately enriching their musical journey and performance experiences. Whether aiming for a lightning-fast, low action for intricate lead work or a higher, more resonant action for robust chordal playing, the ability to tailor the action to individual preferences is a valuable skill that empowers guitarists to realize their full creative potential.
As you embark on the journey of adjusting the action on your guitar, remember that each modification is an opportunity to refine and personalize your instrument, ultimately shaping the way you interact with and express yourself through music. Embrace the process, listen attentively to the changes in playability and tone, and revel in the transformative power of customizing the action on your guitar.