Home>Devices & Equipment>Microphone>How To Record With A Microphone
Microphone
How To Record With A Microphone
Published: February 16, 2024
Learn how to record with a microphone and improve your audio quality. Discover tips and techniques for using a microphone effectively.
(Many of the links in this article redirect to a specific reviewed product. Your purchase of these products through affiliate links helps to generate commission for AudioLover.com, at no extra cost. Learn more)
Table of Contents
Introduction
So, you’ve decided to delve into the world of audio recording? Congratulations! Whether you’re an aspiring podcaster, a musician, a content creator, or simply someone who wants to capture high-quality sound, understanding how to record with a microphone is a valuable skill. With the right knowledge and techniques, you can produce professional-grade recordings that captivate and engage your audience.
In this comprehensive guide, we’ll explore the essential steps to effectively record with a microphone. From selecting the right microphone for your needs to optimizing recording settings and applying post-production enhancements, you’ll gain valuable insights that will elevate the quality of your recordings.
Recording with a microphone is an art form in itself. It’s not just about capturing sound; it’s about conveying emotions, telling stories, and creating immersive experiences. Whether you’re aiming to record crystal-clear vocals, capture the intricate details of a musical performance, or produce captivating audio content, the principles of microphone recording remain fundamental.
Throughout this guide, we’ll delve into the nuances of microphone selection, the importance of setting up an optimal recording environment, techniques for adjusting microphone settings, and the intricacies of recording and post-production. By the end of this journey, you’ll be equipped with the knowledge and skills to embark on your recording endeavors with confidence and creativity.
So, grab your favorite microphone, set up your recording space, and let’s embark on this exciting exploration of the art and science of recording with a microphone. Whether you’re a seasoned audio engineer or a complete novice, there’s always something new to learn and discover in the world of microphone recording. Let’s dive in!
Choosing the Right Microphone
When it comes to recording with a microphone, selecting the right one for your specific needs is crucial. The vast array of microphone types, each designed for different purposes, can be overwhelming for beginners. However, understanding the key characteristics of microphones and their intended applications can simplify the selection process.
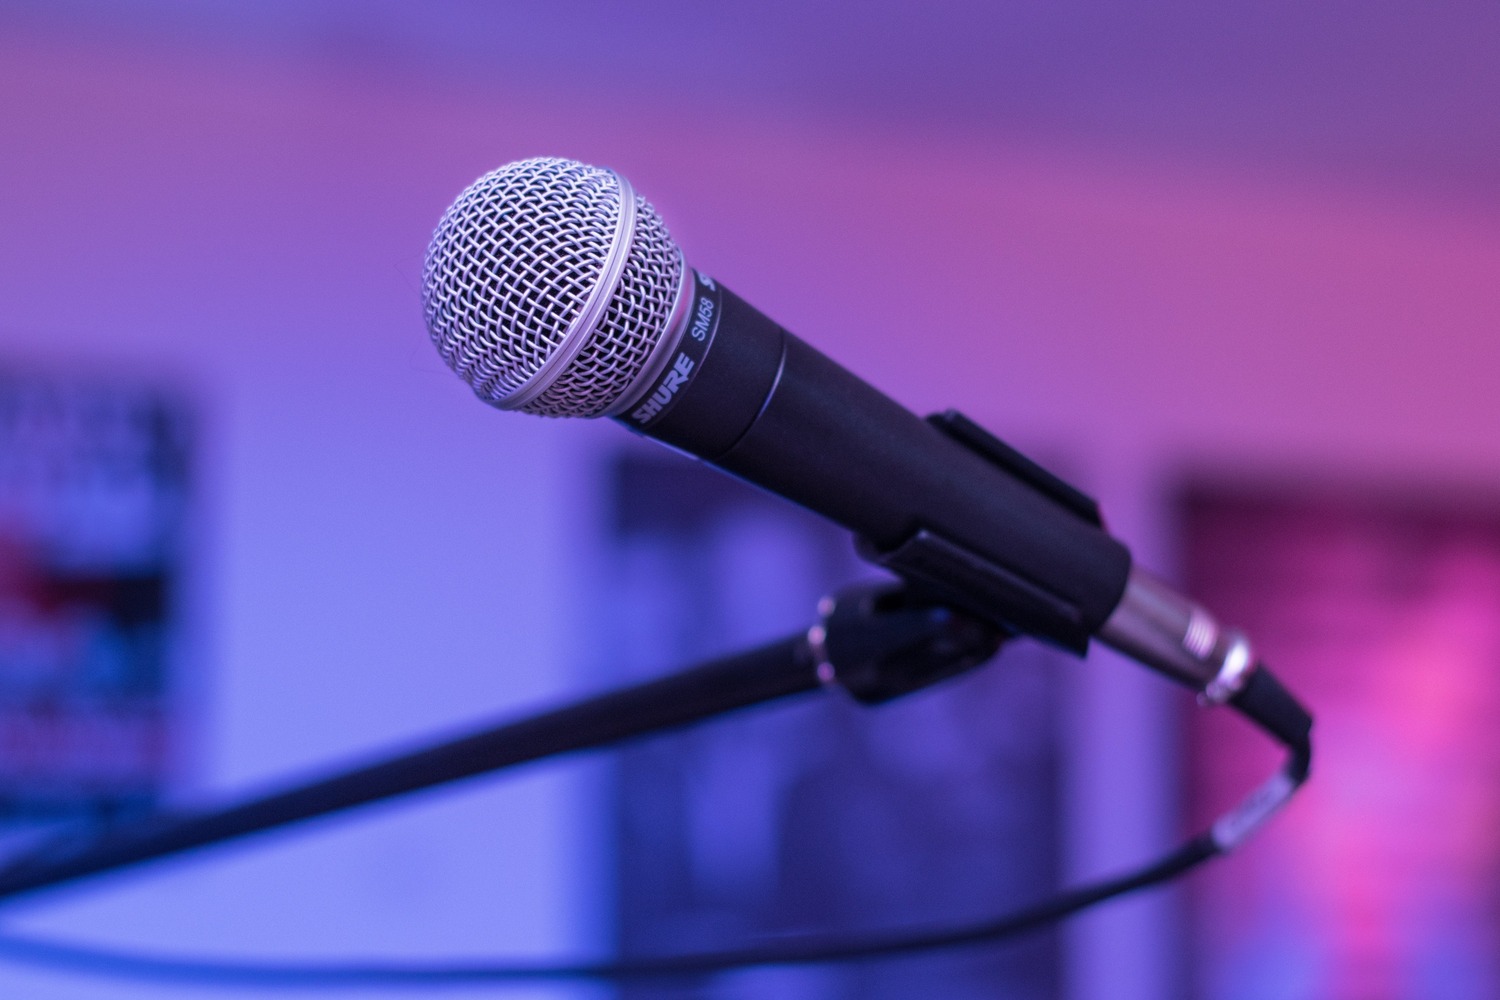
1. Dynamic Microphones: These rugged and versatile microphones are ideal for capturing loud sound sources, making them well-suited for live performances, amplifiers, and drums. Their durability and ability to handle high sound pressure levels make them a popular choice for stage and studio applications.
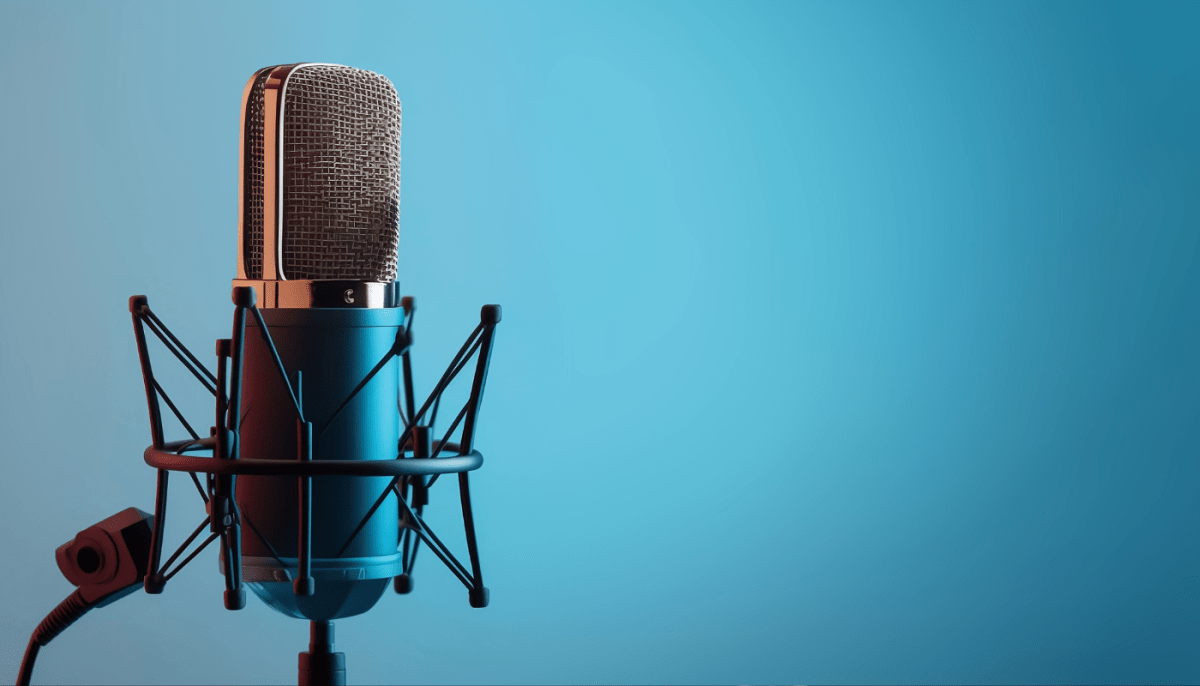
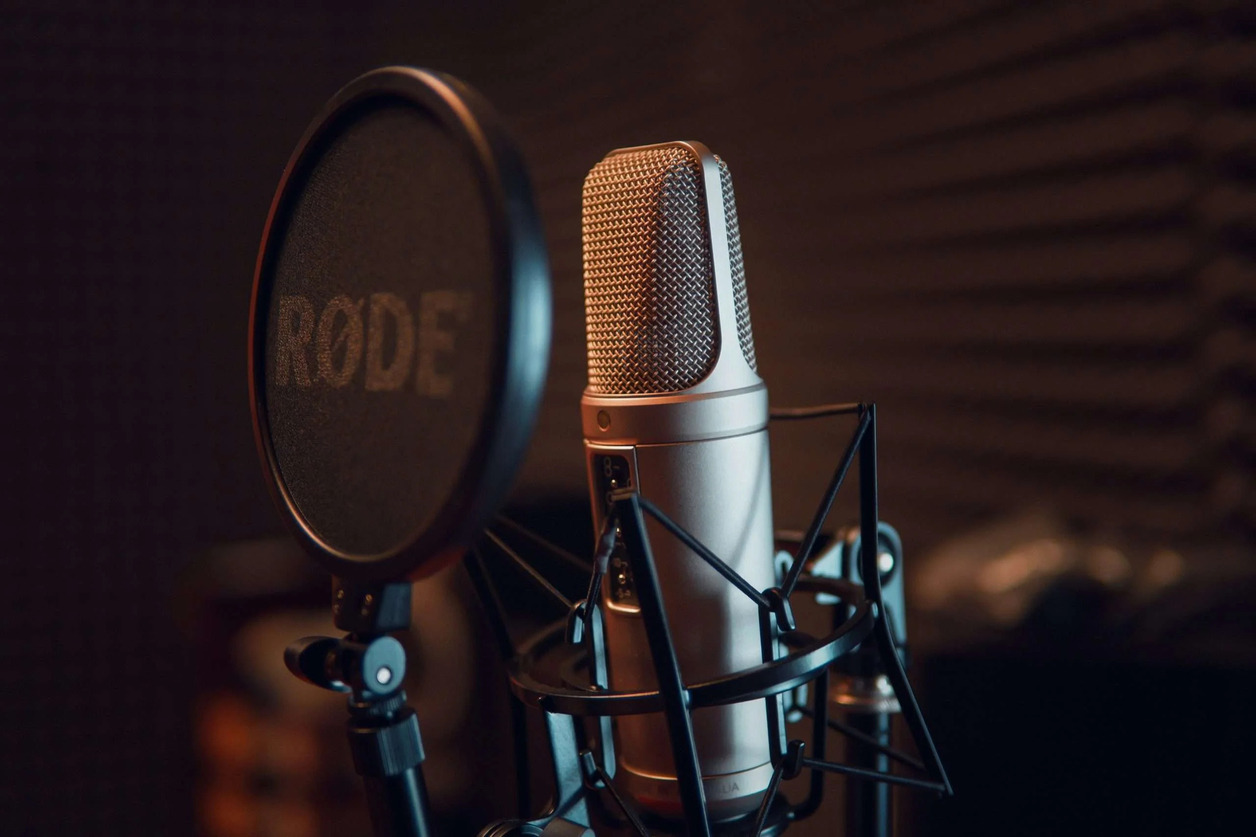
2. Condenser Microphones: Known for their exceptional sensitivity and wide frequency response, condenser microphones excel at capturing detailed nuances in vocals, acoustic instruments, and studio recordings. They are favored for their transparent sound and are commonly used in controlled studio environments.
3. Ribbon Microphones: With their warm and smooth sound signature, ribbon microphones are prized for their ability to add a vintage character to recordings. They are often preferred for capturing the rich tonal qualities of brass instruments, strings, and guitar cabinets.
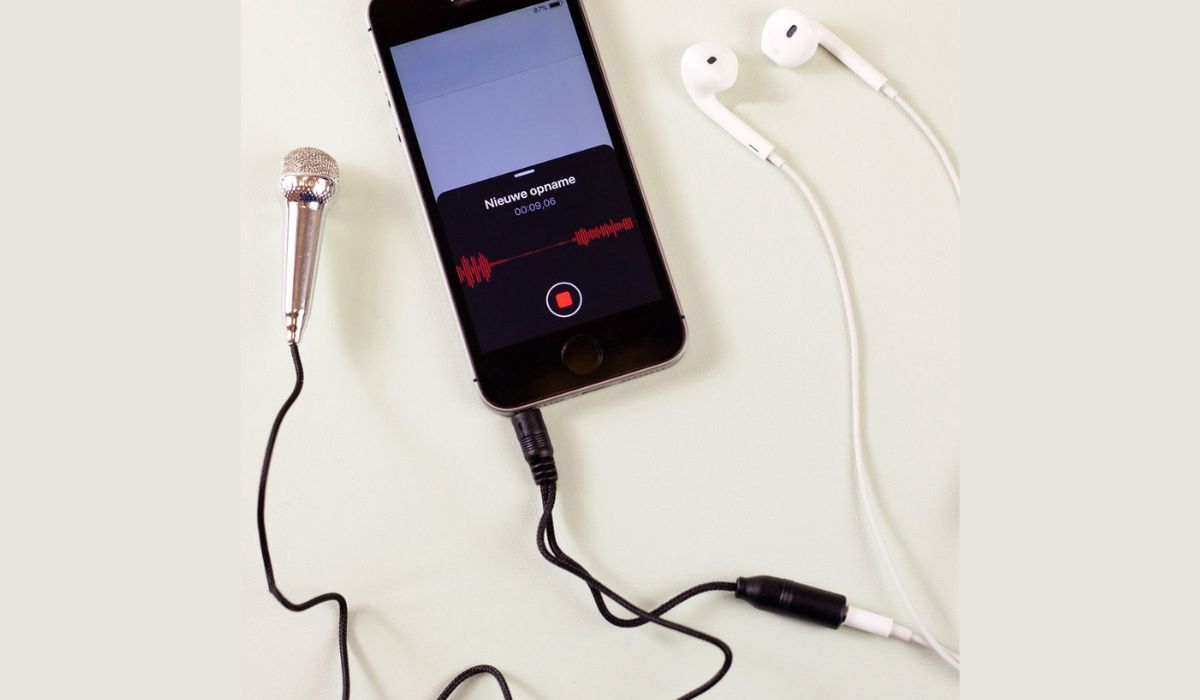
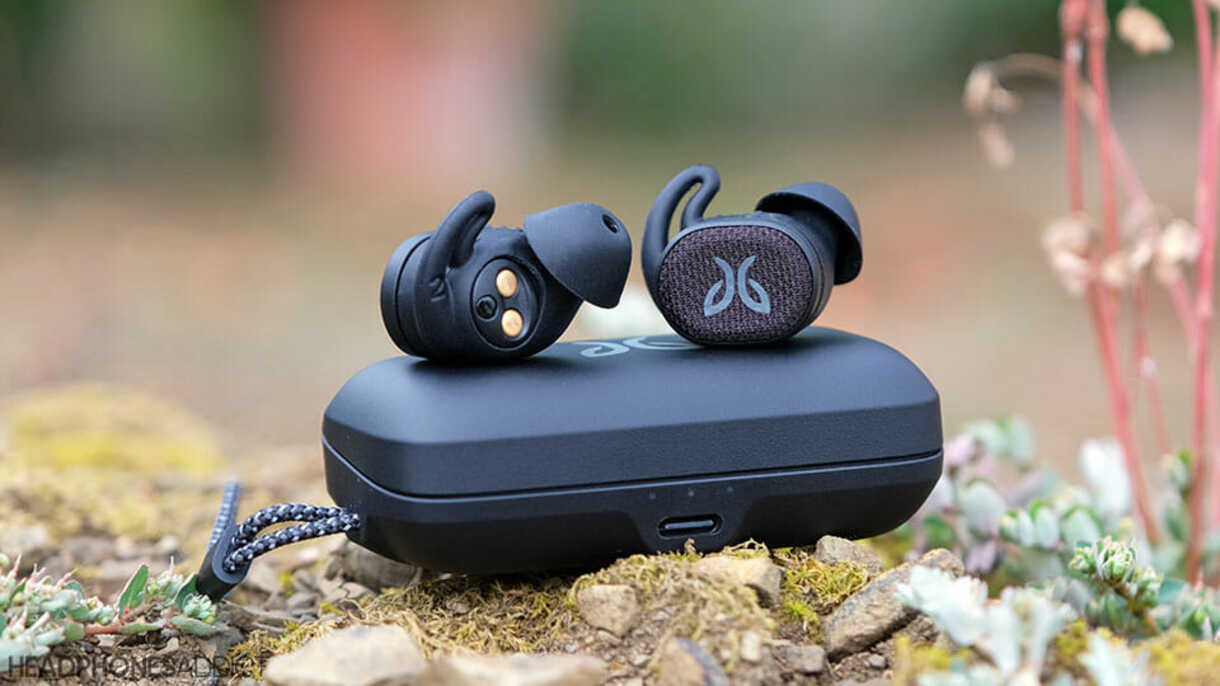
4. USB Microphones: As the demand for home recording setups has surged, USB microphones have gained popularity due to their convenience and plug-and-play functionality. These microphones are designed for direct connection to computers, making them an accessible choice for podcasters, YouTubers, and voiceover artists.
When choosing a microphone, consider the specific sound source you intend to record, the acoustic characteristics of your recording environment, and your budget. Additionally, researching and comparing microphone specifications and reading user reviews can provide valuable insights into the performance and suitability of different models.
Ultimately, the right microphone for you is one that complements your recording objectives, captures sound accurately, and aligns with your budget and technical setup. By understanding the unique sonic qualities of different microphone types, you can make an informed decision that elevates the quality of your recordings.
Setting Up Your Recording Space
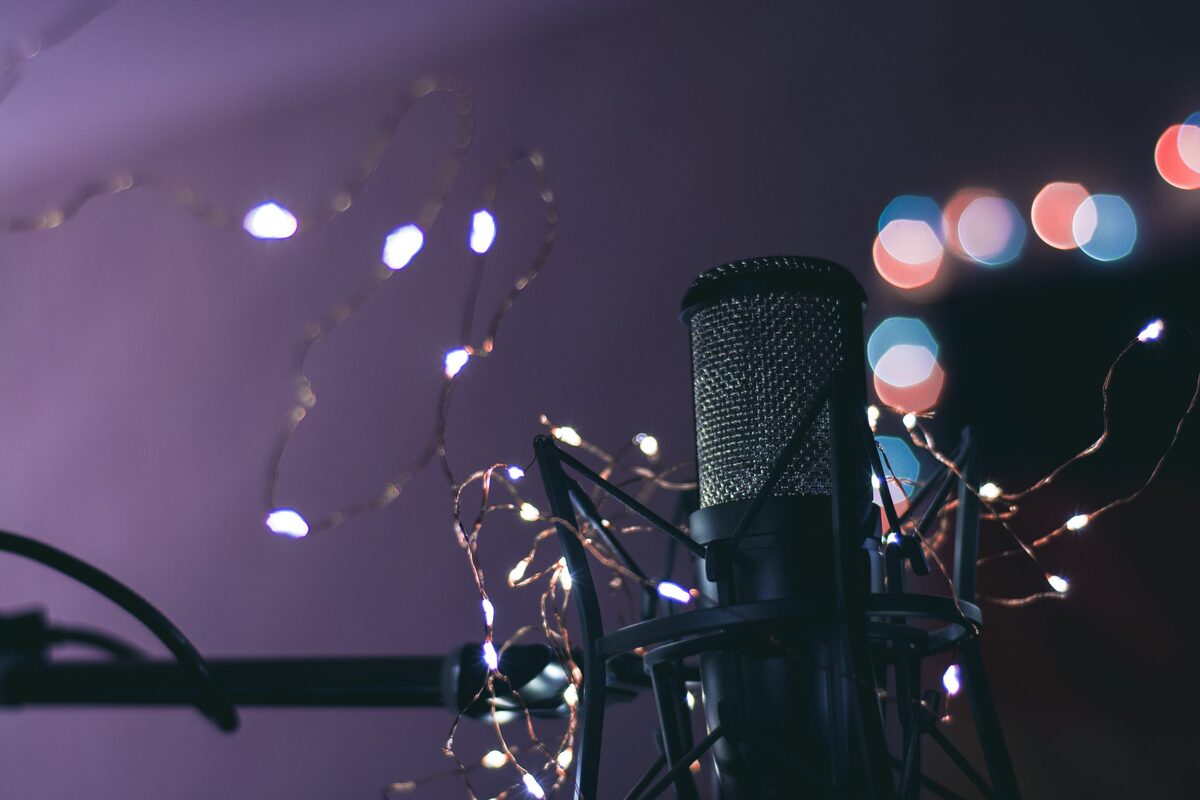
Creating an optimal recording environment is essential for capturing high-quality audio. Whether you’re recording vocals, instruments, or any other sound source, the acoustics of your recording space play a significant role in the final outcome. Here are some key considerations for setting up your recording space:
1. Room Selection: Choose a room with minimal background noise and good sound isolation. If possible, opt for a room with carpeted floors, drapes, and upholstered furniture to minimize sound reflections and reverberations.
2. Soundproofing: If your recording space is prone to external noise intrusion, consider soundproofing measures such as acoustic panels, bass traps, and soundproof curtains. These can help minimize unwanted noise and create a more controlled recording environment.
3. Acoustic Treatment: Implement acoustic treatment to manage sound reflections and ensure a balanced frequency response. This may involve using acoustic panels, diffusers, and bass traps to mitigate standing waves and control the room’s reverberation characteristics.
4. Microphone Placement: Experiment with microphone placement to achieve the desired sound capture. For vocals, a pop filter can help reduce plosives and sibilance, while positioning the microphone at the appropriate distance and angle can optimize the sound quality for different instruments.
5. Monitoring Environment: Ensure that your monitoring environment, including speakers or headphones, is conducive to accurate audio playback. Consider calibrating your monitoring system and minimizing potential sources of audio interference to make informed decisions during recording and mixing.
By paying attention to these factors, you can create a recording space that fosters optimal sound capture and minimizes the need for extensive post-production corrections. A well-prepared recording environment sets the stage for achieving professional-grade audio recordings that resonate with clarity and depth.
Adjusting Microphone Settings
Once you have selected the appropriate microphone and set up your recording space, it’s time to fine-tune the microphone settings to achieve the best possible sound capture. Properly adjusting the microphone settings is crucial for optimizing the audio quality and ensuring that your recordings accurately represent the intended sound source. Here are the key microphone settings to consider:
1. Polar Patterns: Many microphones offer selectable polar patterns, such as cardioid, omnidirectional, and figure-8. Understanding these patterns is essential for controlling the microphone’s sensitivity to sound from different directions. For solo vocals, a cardioid pattern can help minimize background noise, while omnidirectional patterns are suitable for capturing ambient sounds or group performances.
2. Gain/Volume Control: Adjusting the microphone’s gain or volume control is critical for setting the optimal recording level. Aim to capture a strong, clear signal without introducing distortion or noise. Experiment with different gain settings while monitoring the input levels to achieve an optimal balance between signal strength and noise floor.
3. High-Pass Filters: Some microphones feature built-in high-pass filters that attenuate low-frequency rumble and handling noise. Engaging the high-pass filter can be beneficial when recording vocals or instruments that do not require low-frequency capture, effectively cleaning up the audio signal and enhancing clarity.
4. Pad/Attenuation Switches: In situations where the sound source produces high SPL (sound pressure level), using a pad or attenuation switch can prevent the microphone from overloading. This feature is particularly useful when recording loud instruments or amplifiers, allowing you to maintain a clean signal without distortion.
5. Phantom Power: For condenser microphones and certain ribbon microphones, phantom power is often required to operate. Ensure that your audio interface or preamplifier provides the necessary phantom power voltage to enable the microphone to function optimally.
By familiarizing yourself with these microphone settings and their practical applications, you can refine the sound capture process and tailor the microphone’s performance to suit specific recording scenarios. Understanding how to adjust these settings empowers you to harness the full potential of your microphone and achieve professional-quality recordings with precision and clarity.
Recording Techniques
Effective recording techniques are essential for capturing pristine audio that faithfully represents the nuances and dynamics of the sound source. Whether you’re recording vocals, musical instruments, or ambient sounds, employing the right techniques can elevate the quality of your recordings. Here are some fundamental recording techniques to consider:
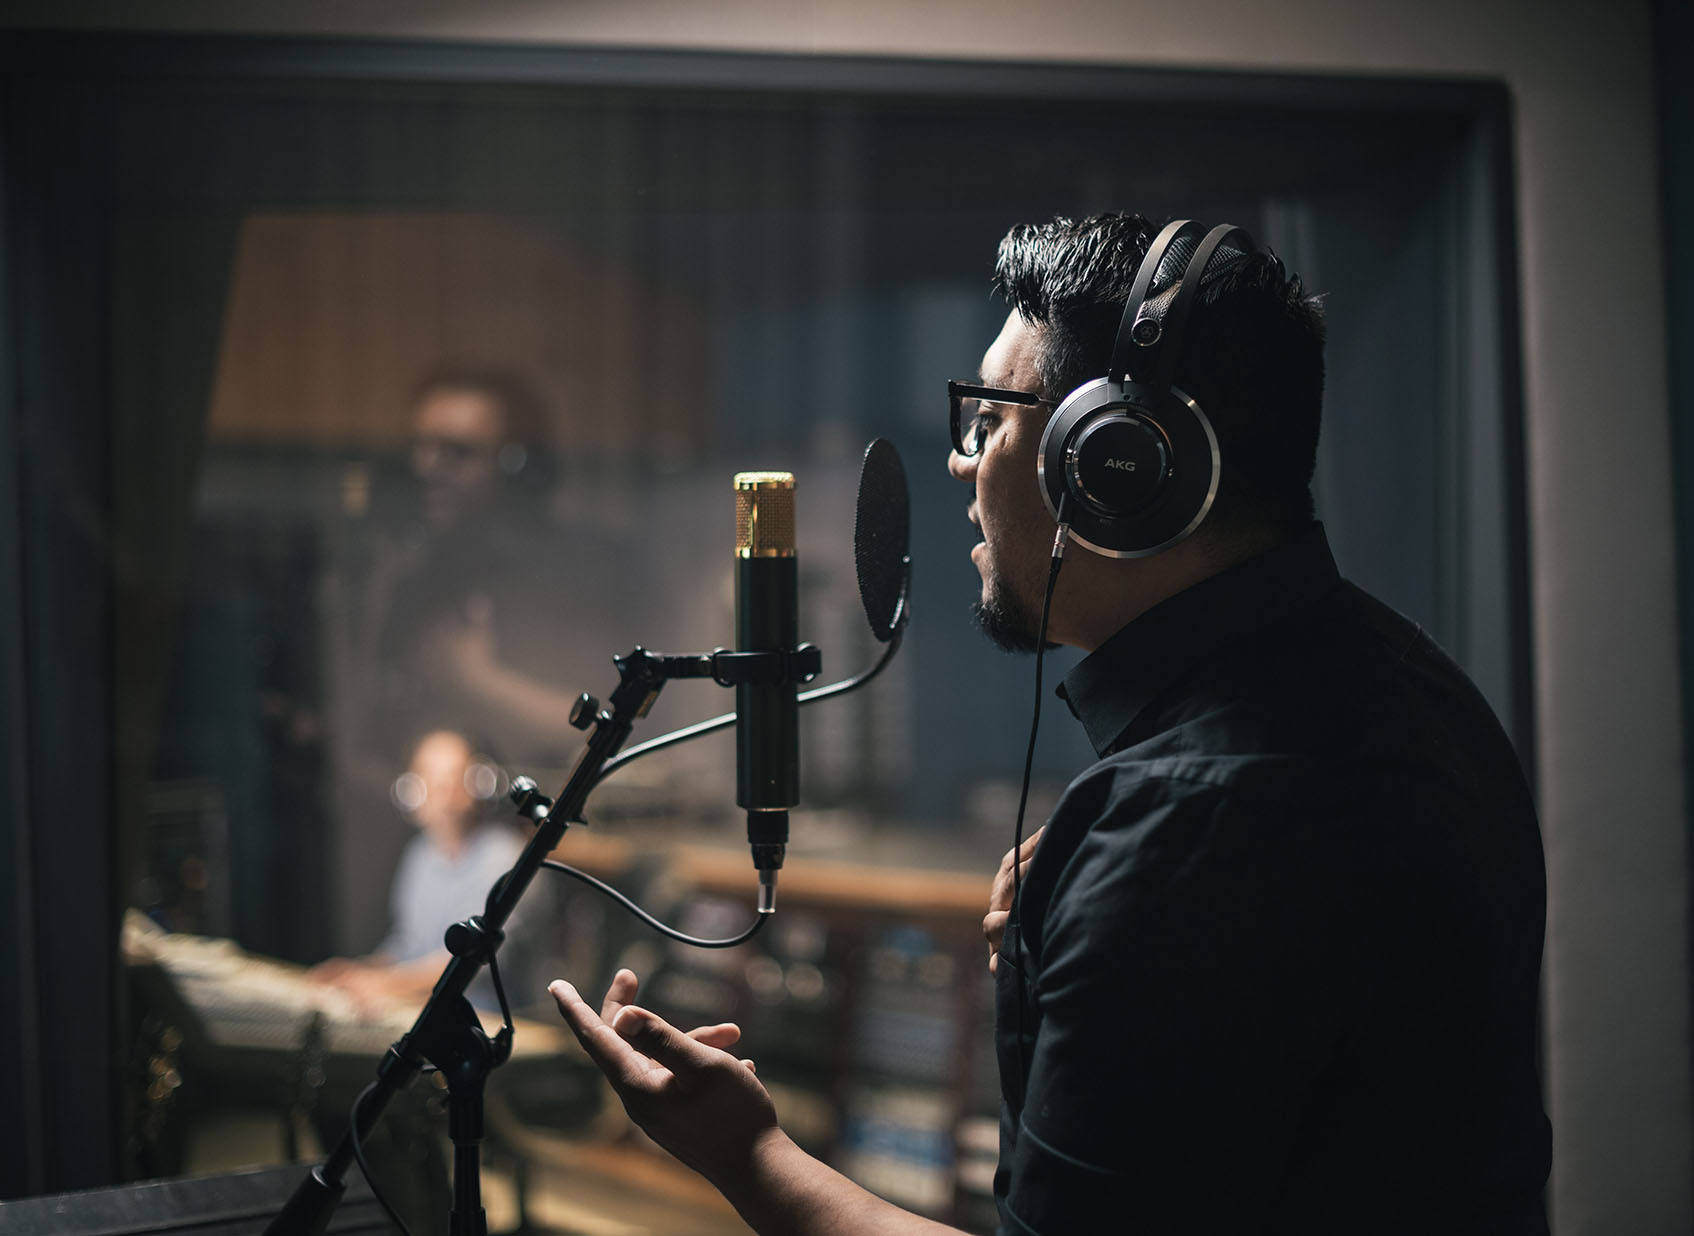
1. Microphone Placement: Experiment with microphone placement to achieve the desired tonal characteristics and spatial imaging. For vocals, positioning the microphone at an optimal distance and angle can enhance clarity and minimize unwanted room reflections. Similarly, strategic microphone placement for instruments can capture their unique timbre and resonance.
2. Performance Dynamics: Encourage performers to maintain consistent dynamics and control during recording. This ensures a balanced and expressive performance, reducing the need for excessive dynamic processing during post-production. Communicate the importance of microphone technique, such as maintaining a consistent distance and angle, to achieve uniform sound capture.
3. Room Ambience Capture: When recording in a controlled acoustic environment, consider capturing natural room ambience to add depth and dimension to your recordings. This can be achieved by strategically placing microphones to capture the room’s reverberation characteristics, enhancing the overall sonic texture of the recording.
4. Multiple Microphone Techniques: In scenarios where multiple sound sources need to be captured, employing techniques such as stereo miking, mid-side recording, or spaced pair configurations can create immersive and spatially rich recordings. These techniques are particularly effective for capturing ensemble performances, orchestral arrangements, and ambient soundscapes.
5. Monitoring and Communication: Maintain clear communication with performers and fellow recording personnel during the recording process. Effective monitoring ensures that everyone involved can provide real-time feedback and make adjustments as needed, resulting in cohesive and well-crafted recordings.
By mastering these recording techniques and adapting them to specific recording scenarios, you can enhance the sonic integrity and emotional impact of your recordings. Whether you’re aiming for pristine vocal captures, detailed instrument recordings, or immersive ambient soundscapes, employing these techniques will elevate the quality and authenticity of your audio productions.
Editing and Enhancing Your Recording
Once you’ve captured your audio recordings, the process of editing and enhancing plays a crucial role in refining the raw material into a polished and compelling final product. Whether you’re working with vocal takes, musical performances, or ambient soundscapes, employing effective editing and enhancement techniques can elevate the overall quality of your recordings. Here are key considerations for editing and enhancing your recordings:
1. Editing for Precision: Use digital audio workstations (DAWs) to meticulously edit and arrange your recordings. This involves tasks such as comping vocal takes, aligning instrumental performances, and removing unwanted noise or artifacts. Pay attention to timing, pitch correction, and seamless transitions to ensure a cohesive and precise final product.
2. Dynamic Processing: Apply dynamic processing techniques such as compression, limiting, and expansion to control the dynamics of your recordings. This helps to even out volume inconsistencies, add punch and presence to vocals and instruments, and maintain a balanced mix throughout the recording.
3. Tonal Shaping: Employ equalization (EQ) to sculpt the tonal characteristics of individual tracks and overall mixes. By adjusting the frequency balance, you can enhance clarity, warmth, and definition in your recordings, effectively shaping the sonic palette to achieve the desired tonal balance.
4. Spatial Enhancement: Utilize reverb, delay, and spatial processing to add depth and dimension to your recordings. Carefully integrating these effects can create a sense of space, immersion, and sonic richness, enhancing the overall ambience and spatial imaging of your recordings.
5. Creative Enhancement: Embrace creative enhancement techniques such as modulation effects, saturation, and harmonic excitation to add character and depth to your recordings. These tools can infuse your recordings with personality and sonic intrigue, elevating them beyond mere technical precision to evoke emotional resonance.
By approaching the editing and enhancement process with precision, creativity, and a keen ear, you can transform raw recordings into captivating and sonically rich productions. Whether you’re aiming for a pristine and polished sound or a creatively expressive sonic landscape, the art of editing and enhancing is pivotal in realizing the full potential of your recordings.
Conclusion
Congratulations on embarking on the journey of mastering the art of recording with a microphone. Throughout this guide, we’ve explored the essential elements of capturing high-quality audio, from choosing the right microphone to refining your recordings through editing and enhancement. As you venture into the realm of audio production, remember that the process of recording with a microphone is not merely a technical endeavor; it’s an art form that intertwines creativity, technical precision, and a deep understanding of sonic expression.
By selecting the appropriate microphone for your specific needs, establishing an optimal recording environment, and mastering the nuances of microphone settings and recording techniques, you have the power to create immersive and captivating audio experiences. Whether you’re a musician aiming to capture the nuances of a live performance, a podcaster seeking to engage your audience with compelling storytelling, or a content creator striving to convey emotions through sound, the principles of microphone recording remain fundamental.
As you refine your skills and expand your sonic palette, remember that the journey of mastering microphone recording is an ongoing exploration. Embrace experimentation, hone your listening skills, and stay attuned to the ever-evolving landscape of audio technology and techniques. Whether you’re working in a professional studio environment or a cozy home setup, the principles of effective microphone recording remain universal, rooted in the pursuit of sonic excellence and emotional resonance.
So, as you embark on your recording endeavors, armed with the knowledge and techniques shared in this guide, approach each recording session with curiosity, passion, and an unwavering commitment to capturing the essence of sound. The world of microphone recording is a boundless realm of sonic possibilities, waiting to be explored and expressed through your creative vision and technical prowess. Let the art of recording with a microphone be your gateway to crafting unforgettable auditory experiences that resonate with depth, clarity, and emotional impact.