Home>Devices & Equipment>Microphone>How To Connect Microphone To Receiver

Microphone
How To Connect Microphone To Receiver
Published: February 17, 2024
Learn how to properly connect a microphone to a receiver for optimal sound quality. Follow our step-by-step guide for seamless microphone setup.
(Many of the links in this article redirect to a specific reviewed product. Your purchase of these products through affiliate links helps to generate commission for AudioLover.com, at no extra cost. Learn more)
Table of Contents
Introduction
Introduction
When it comes to amplifying sound, a reliable microphone and receiver setup is essential. Whether you're a musician, public speaker, or audio enthusiast, understanding how to connect a microphone to a receiver is a fundamental skill. This process allows you to capture and transmit audio signals with clarity and precision, ensuring that your audience hears every word or note with utmost fidelity.
In this comprehensive guide, we will delve into the intricacies of connecting a microphone to a receiver. From exploring the various types of microphones and receivers to providing step-by-step instructions for establishing a seamless connection, this article aims to equip you with the knowledge needed to set up your audio system with confidence.
Understanding the nuances of microphone and receiver compatibility is crucial for achieving optimal sound quality. By familiarizing yourself with the different types of microphones and receivers available, you can make informed decisions when selecting and setting up your audio equipment. Additionally, learning how to troubleshoot common issues that may arise during the connection process will empower you to overcome technical challenges effectively.
Whether you're a seasoned audio professional or a novice enthusiast, this guide will serve as a valuable resource for honing your understanding of microphone-to-receiver connections. So, let's embark on this enlightening journey into the realm of audio technology, where we'll unravel the intricacies of establishing a seamless and robust connection between your microphone and receiver.
Types of Microphones
Types of Microphones
Microphones come in various types, each designed to cater to specific audio capture needs. Understanding the distinctions between these microphone varieties is essential for selecting the most suitable option for your intended application. Here are some common types of microphones:
- Dynamic Microphones: Known for their durability and versatility, dynamic microphones are ideal for capturing loud sound sources, such as live musical performances and amplified instruments. They can handle high sound pressure levels (SPL) and are less sensitive to ambient noise, making them a popular choice for stage performances and recording studios.
- Condenser Microphones: Renowned for their exceptional sensitivity and wide frequency response, condenser microphones are favored for capturing vocals, acoustic instruments, and nuanced sound sources. They require an external power source, known as phantom power, to operate, and are valued for their ability to deliver detailed and transparent audio reproduction.
- Ribbon Microphones: Characterized by their warm and natural sound, ribbon microphones excel at capturing the subtle nuances of acoustic instruments and vocals. They feature a thin strip of metal (the ribbon) suspended in a magnetic field, which translates sound waves into electrical signals. Due to their bidirectional pickup pattern, ribbon microphones capture sound from the front and back while minimizing side noise.
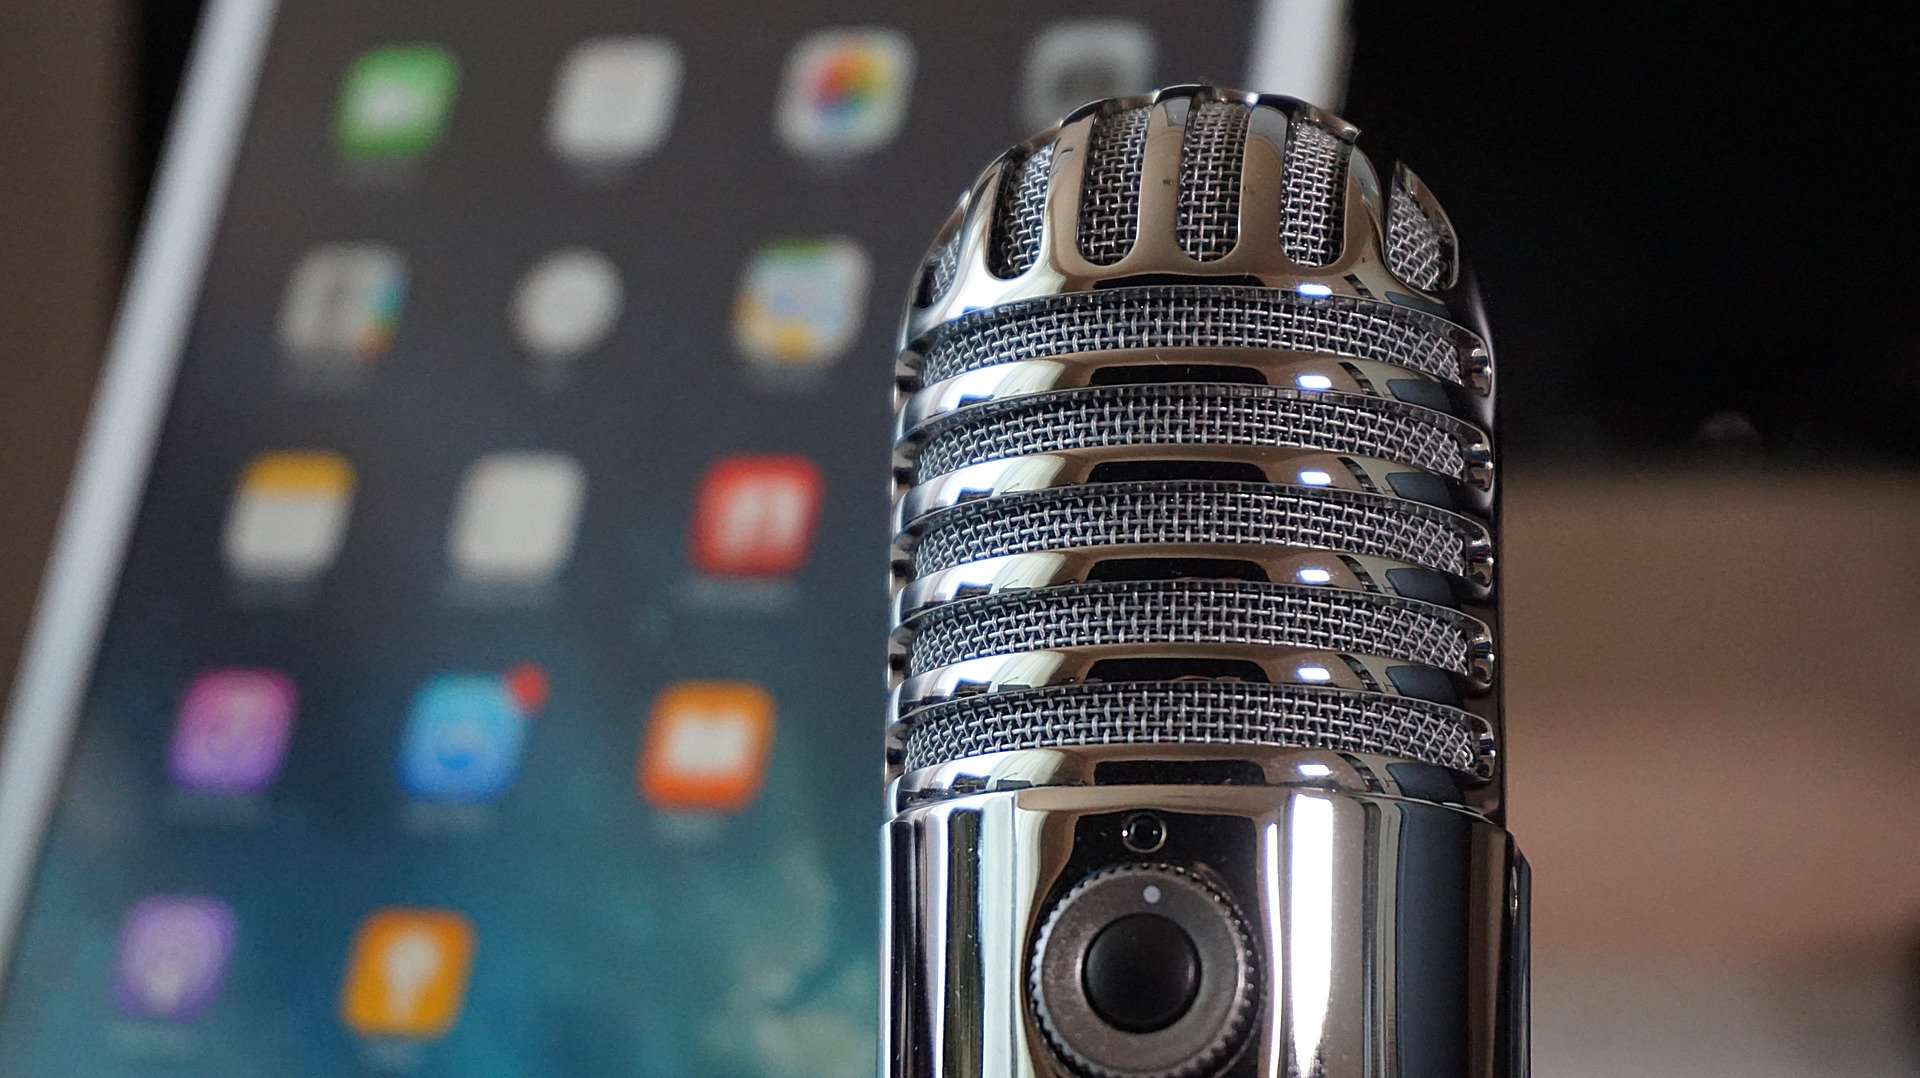
- USB Microphones: Designed for convenient plug-and-play functionality, USB microphones are popular choices for podcasting, voiceovers, and home recording setups. These microphones can be directly connected to a computer or mobile device via a USB port, eliminating the need for additional audio interfaces or preamps.
Each microphone type offers unique sonic characteristics and performance attributes, catering to diverse recording and amplification requirements. By understanding the strengths and limitations of these microphone varieties, you can make informed decisions when selecting the most suitable option for your specific audio capture needs.
Types of Receivers
Types of Receivers
Receivers play a pivotal role in processing and amplifying audio signals received from microphones, making them essential components of sound reinforcement and recording systems. Understanding the different types of receivers available can help you choose the most appropriate option for your audio setup. Here are some common types of receivers:
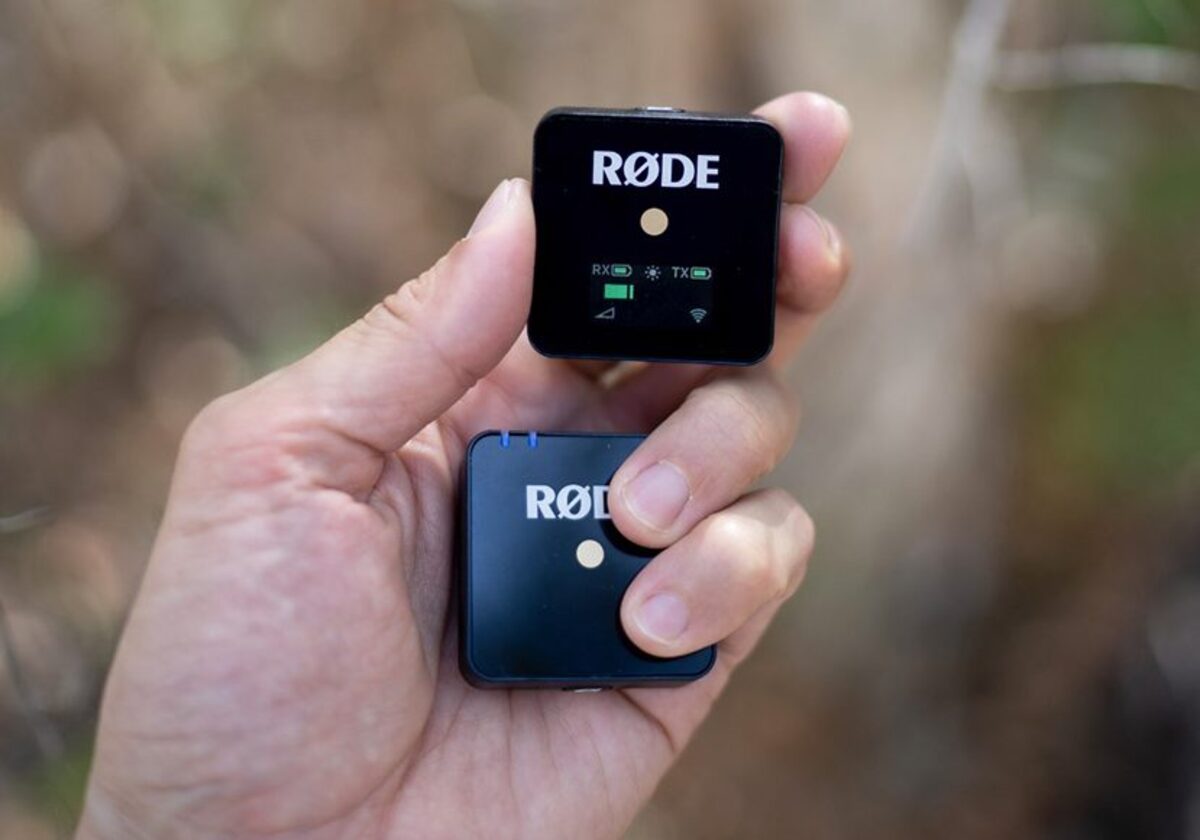
- Wireless Microphone Receivers: These receivers are designed to work in conjunction with wireless microphone systems, enabling the seamless transmission of audio signals without the constraints of physical cables. They are widely used in live performances, public speaking engagements, and broadcast applications, offering freedom of movement for the microphone user.
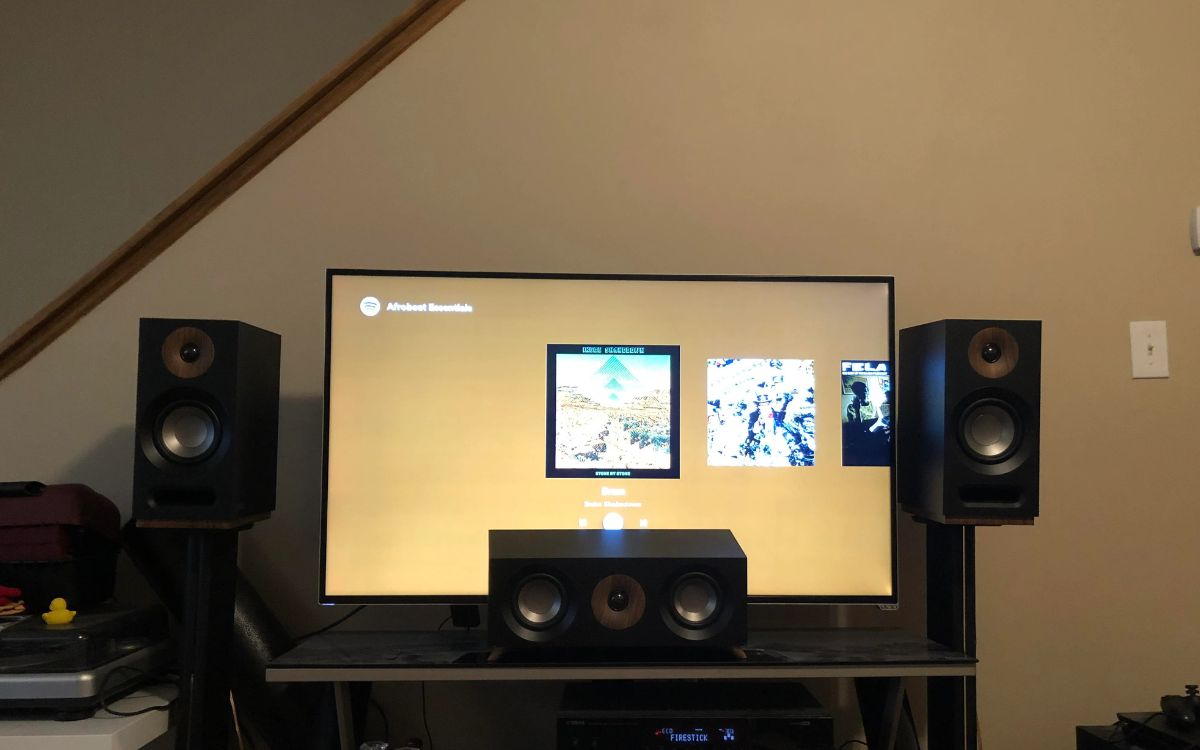
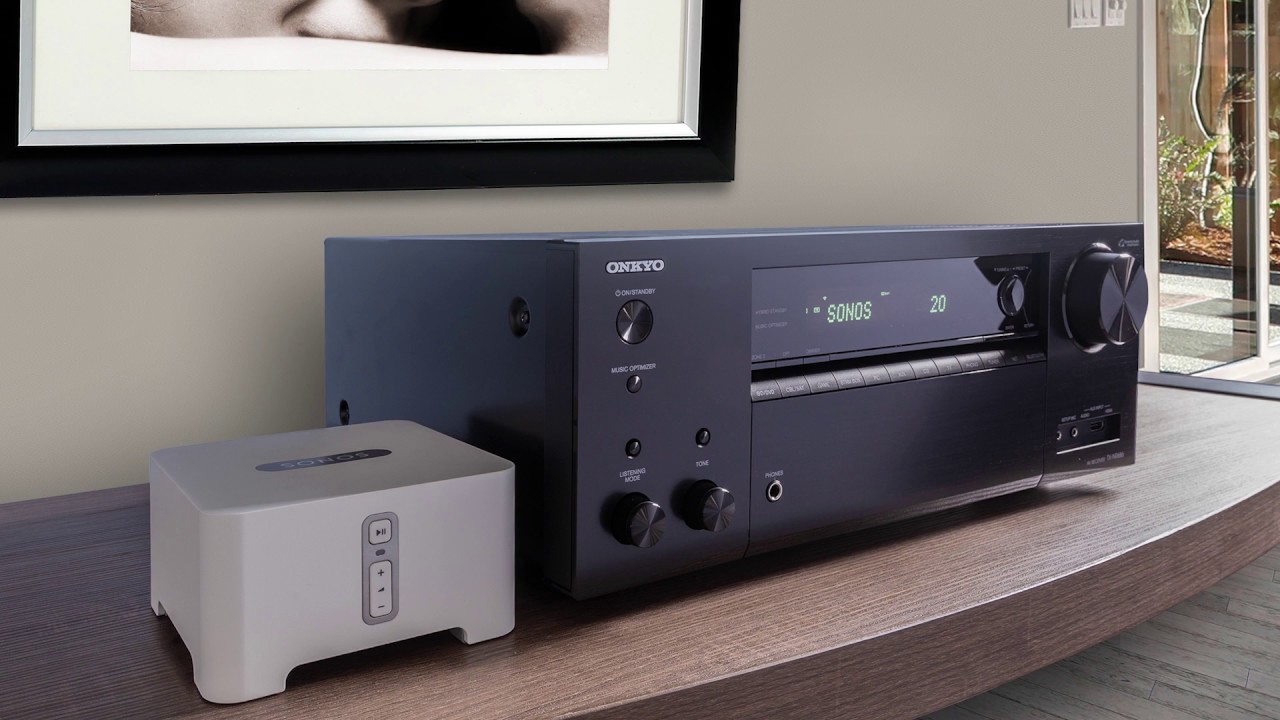
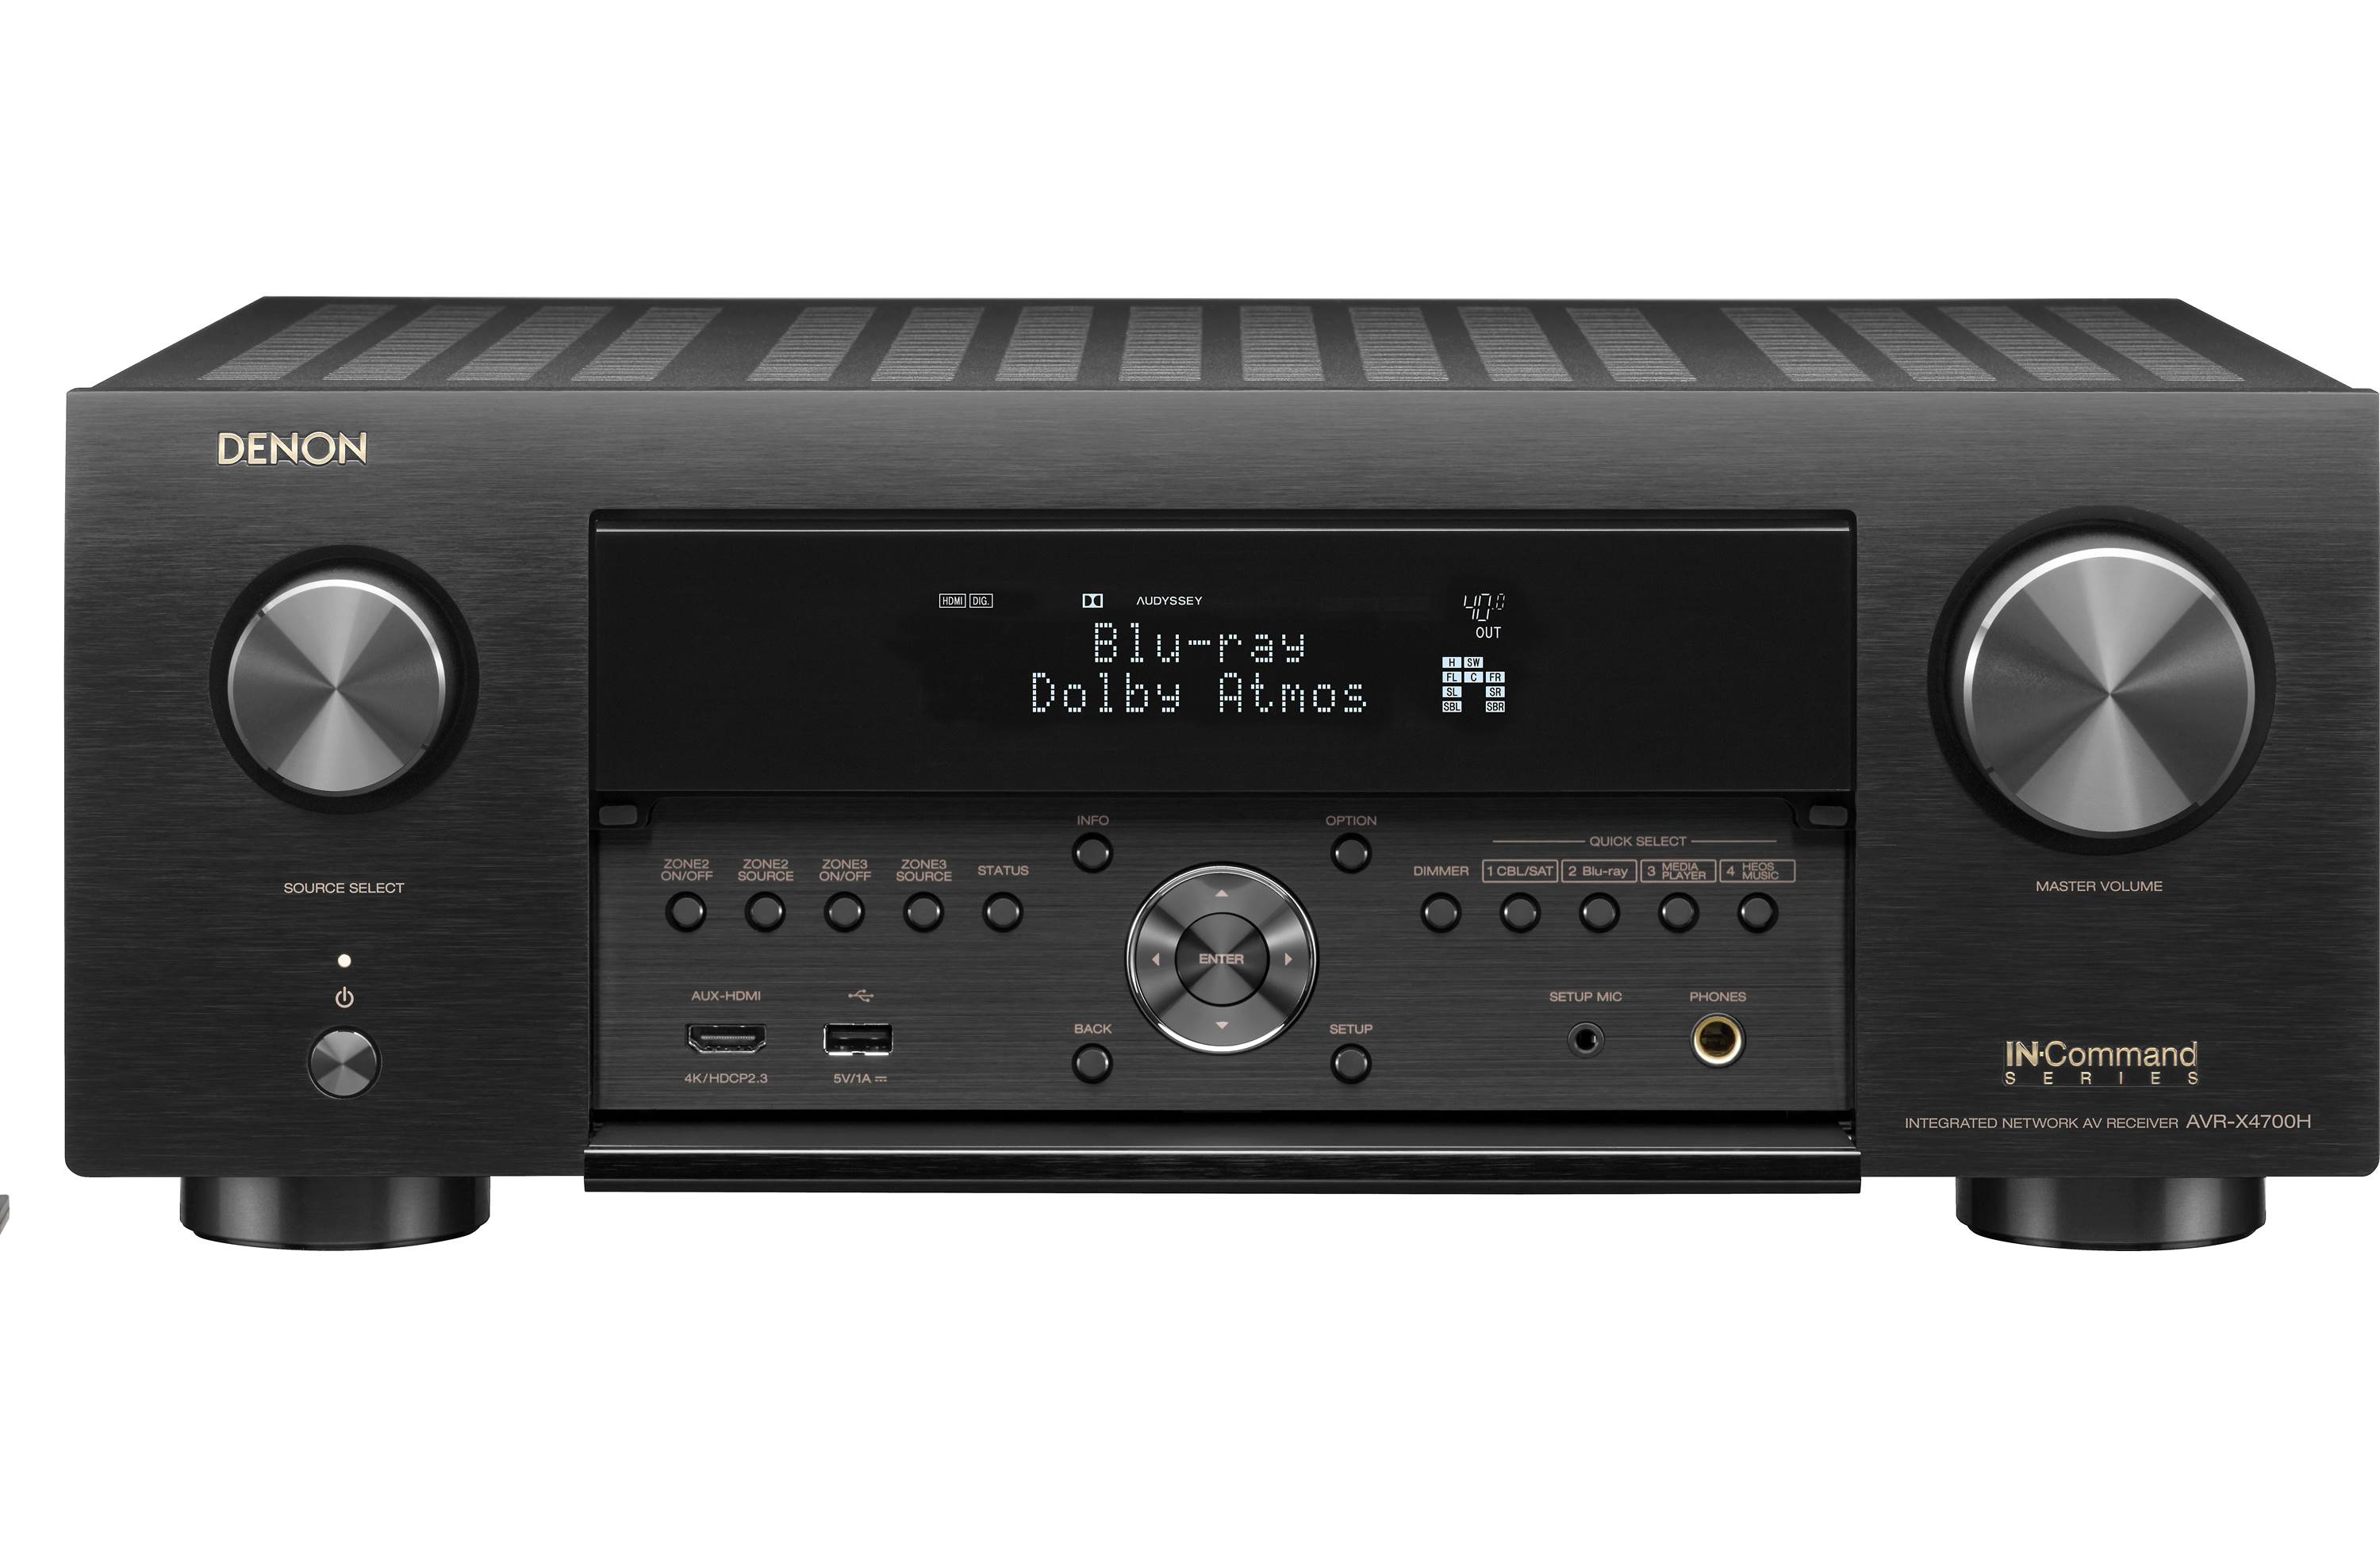
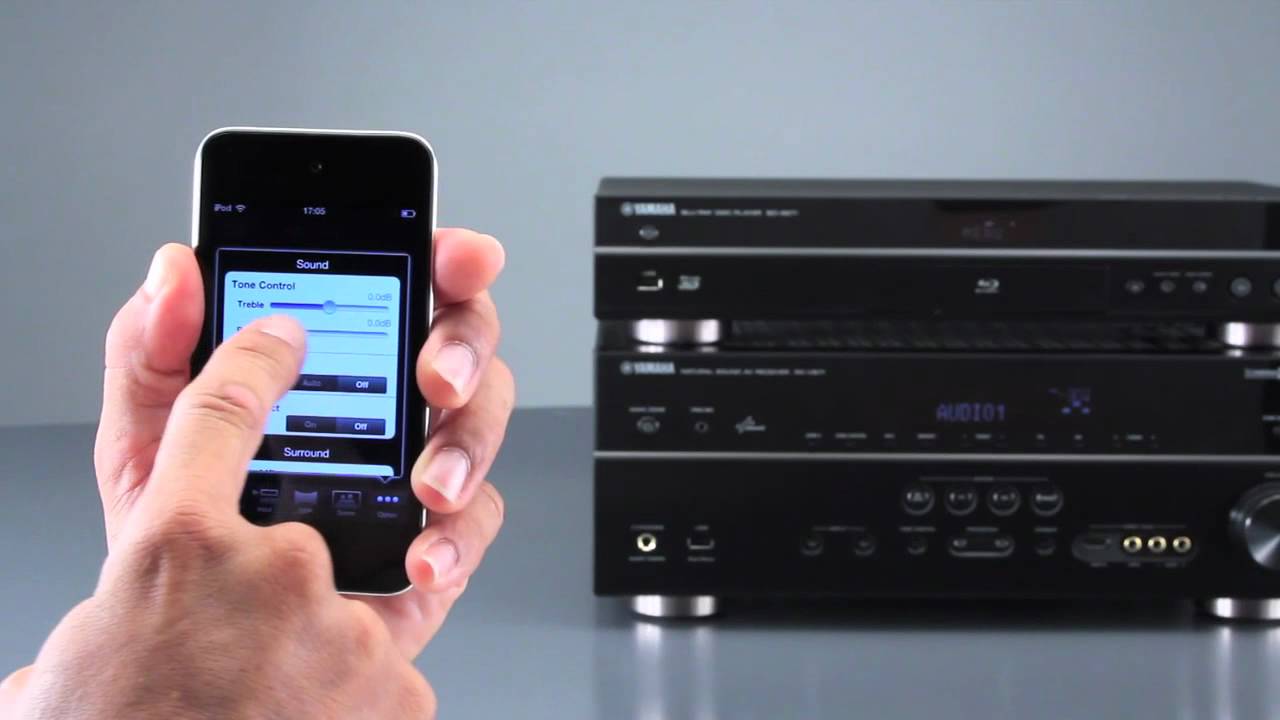
- Audio-Visual (AV) Receivers: Often utilized in home theater and entertainment setups, AV receivers serve as central hubs for processing audio and video signals from various sources, including Blu-ray players, gaming consoles, and set-top boxes. They are equipped with multiple audio inputs and outputs, surround sound processing capabilities, and integrated amplification for driving speakers.
- Broadcasting Receivers: Commonly employed in radio and television broadcasting, these receivers are designed to capture and process audio signals from microphones and other audio sources, ensuring high-quality transmission to listeners or viewers. They are engineered to meet the rigorous demands of professional broadcast environments, offering advanced signal processing and connectivity features.
- Studio Monitor Receivers: These receivers are tailored for monitoring audio playback in recording studios, post-production facilities, and mastering suites. They provide accurate and transparent audio reproduction, allowing sound engineers and producers to critically assess the quality of recorded material. Studio monitor receivers are integral to achieving precise sound monitoring during the production and mixing stages.
Each type of receiver is designed to fulfill specific audio processing and amplification requirements, catering to diverse applications in professional and consumer audio setups. By understanding the functionalities and features of these receivers, you can make informed decisions when selecting the most suitable option for your intended audio system.
Connecting a Microphone to a Receiver
Connecting a Microphone to a Receiver
Establishing a seamless connection between a microphone and a receiver is a fundamental aspect of setting up an audio system. Whether you’re preparing for a live performance, recording session, or public speaking engagement, the following steps will guide you through the process of connecting a microphone to a receiver:
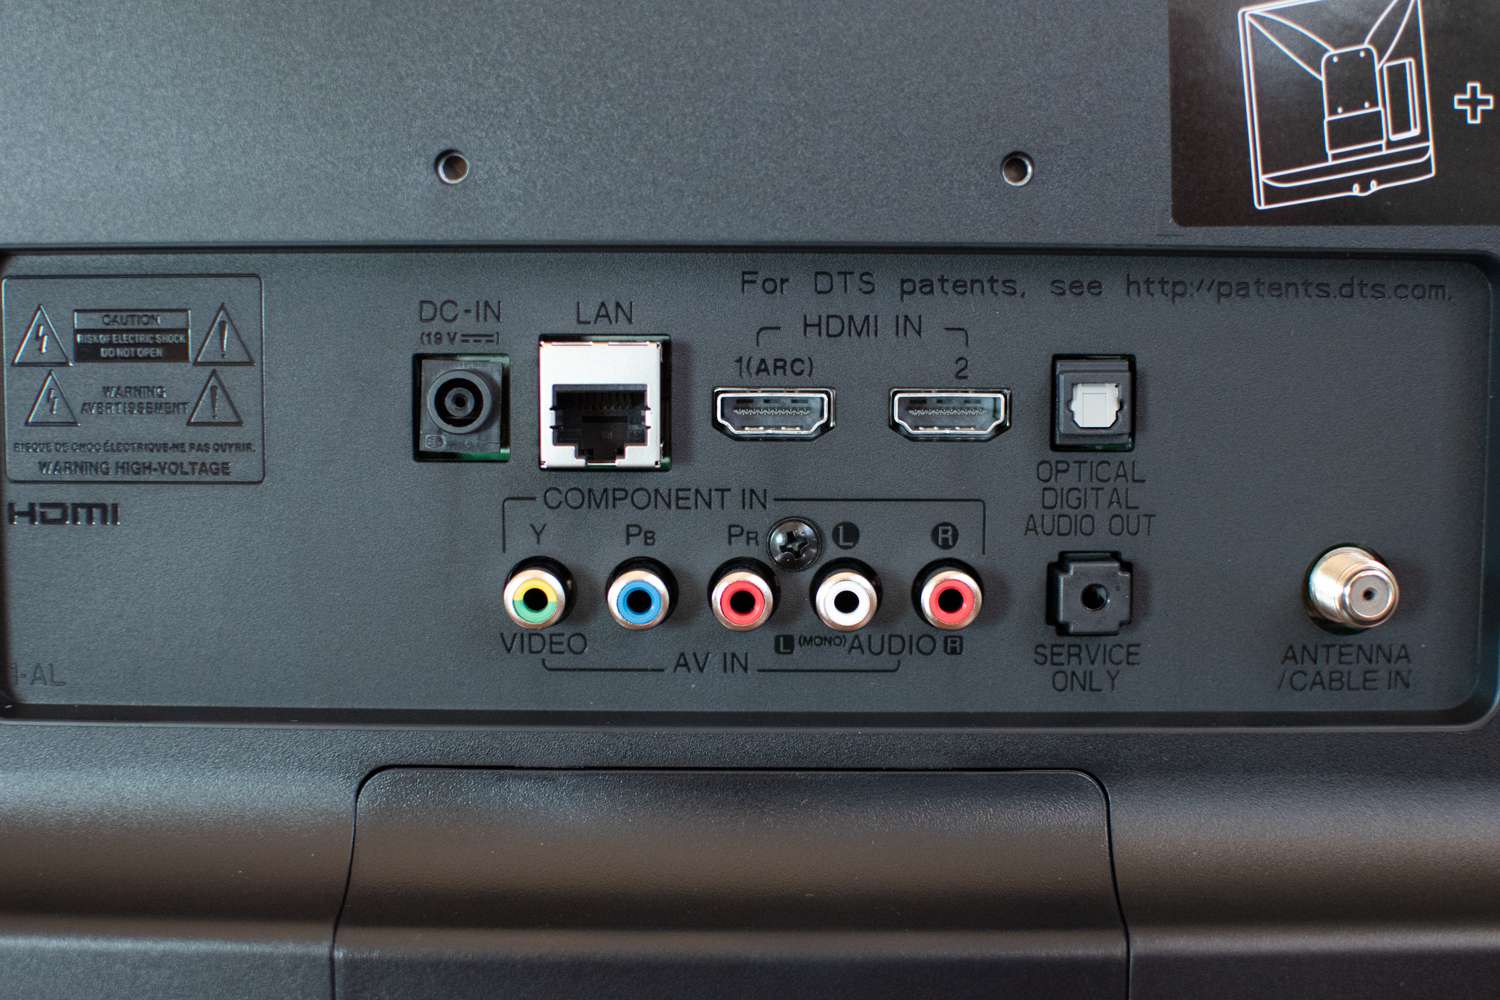
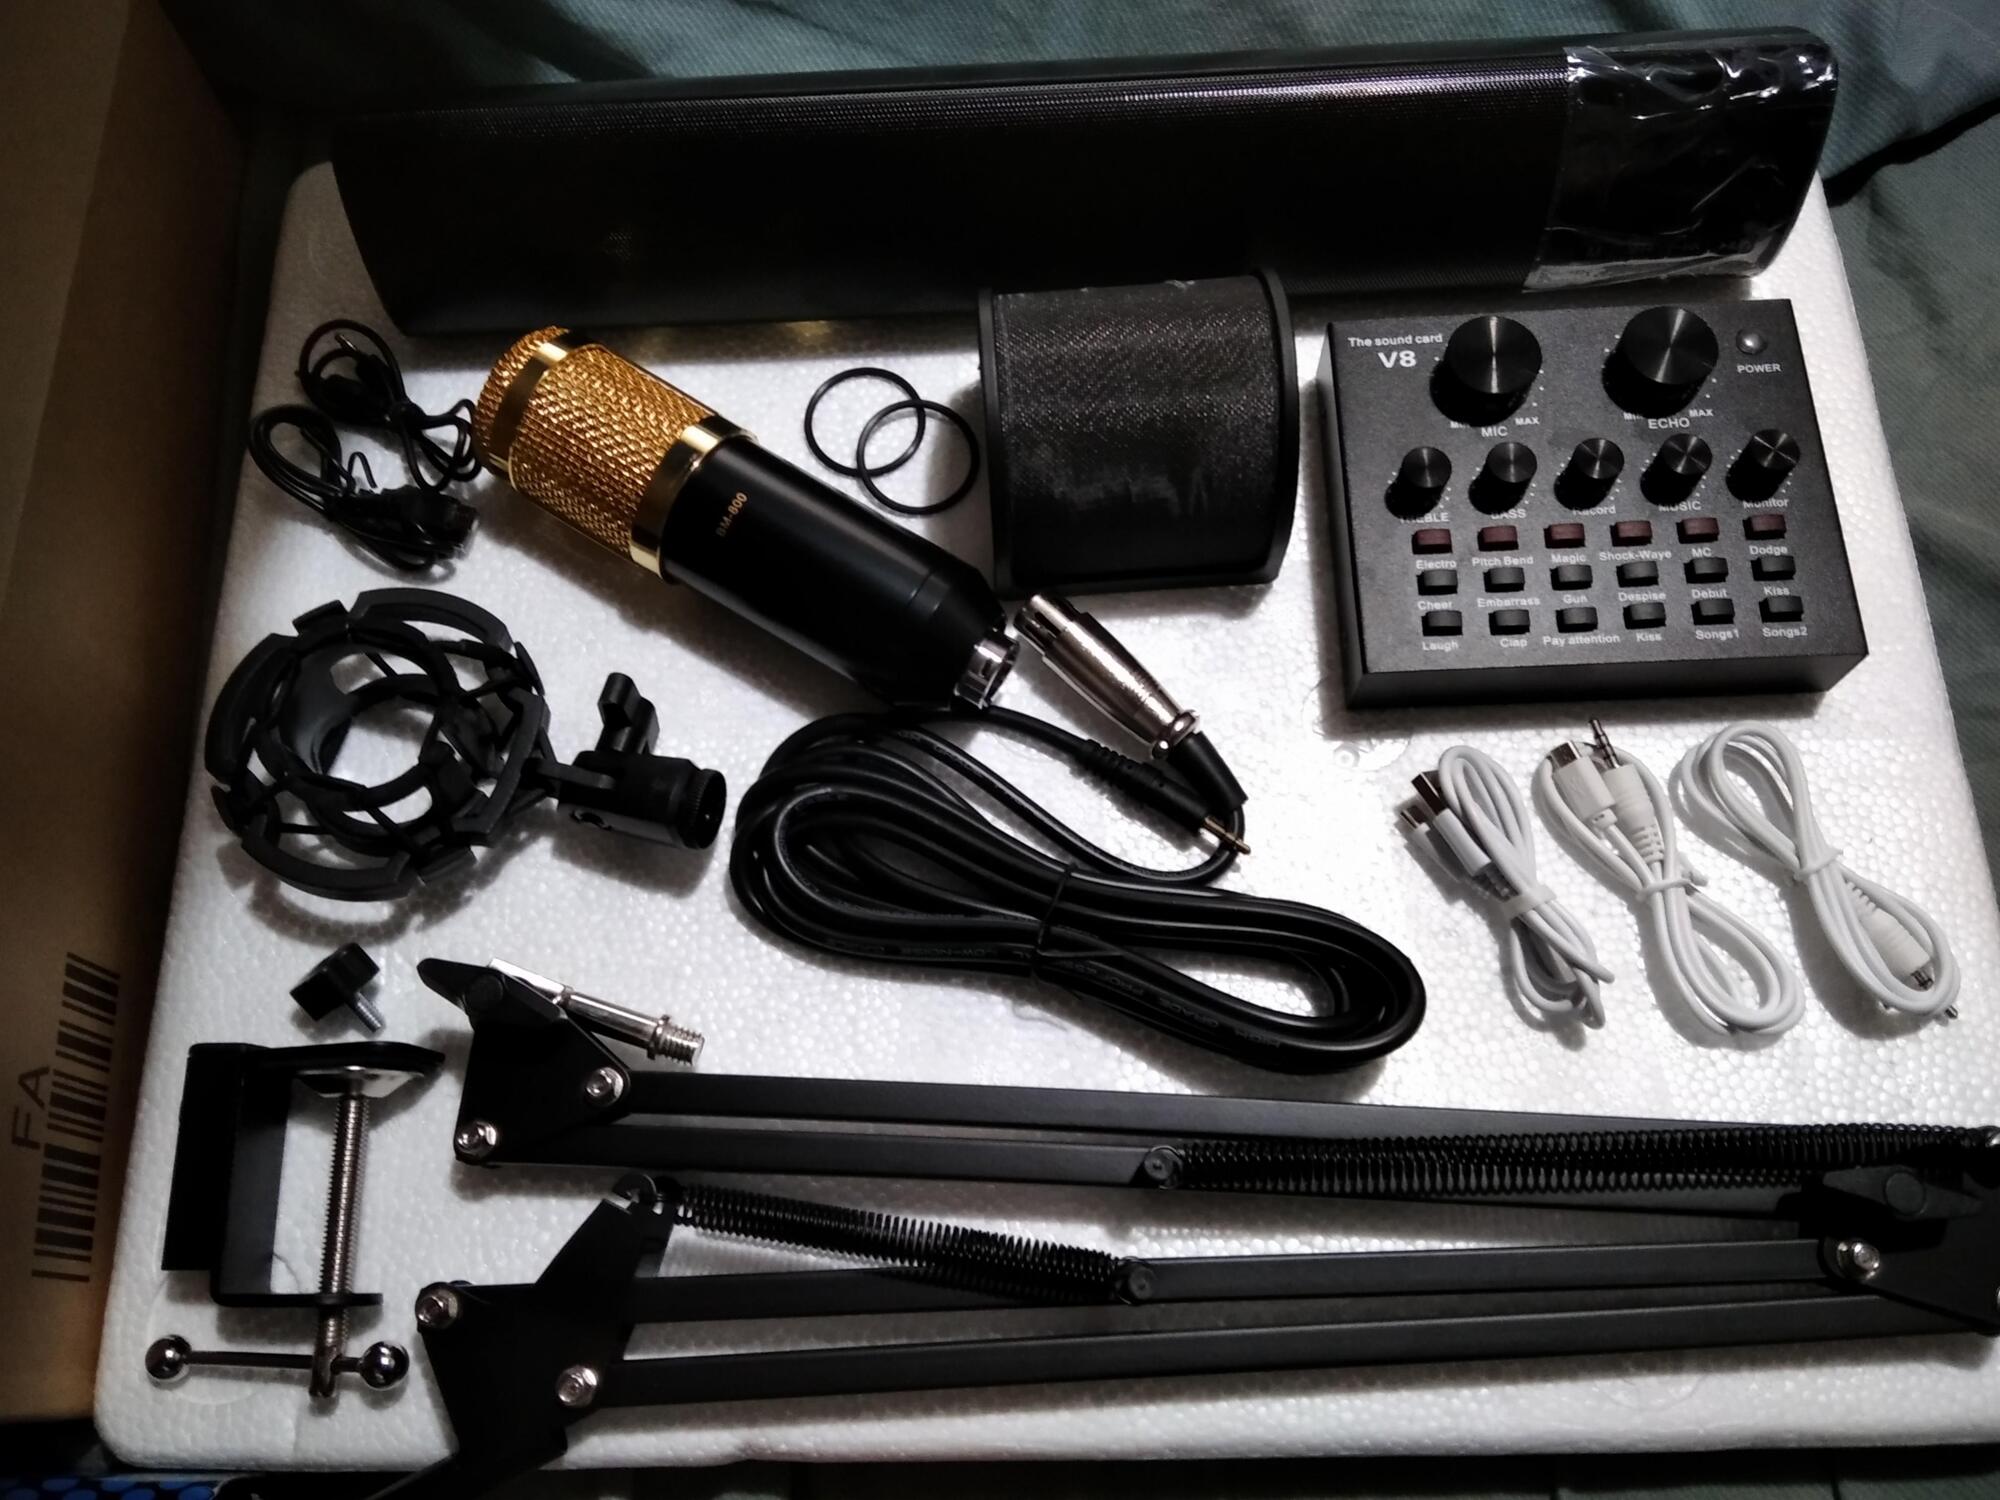
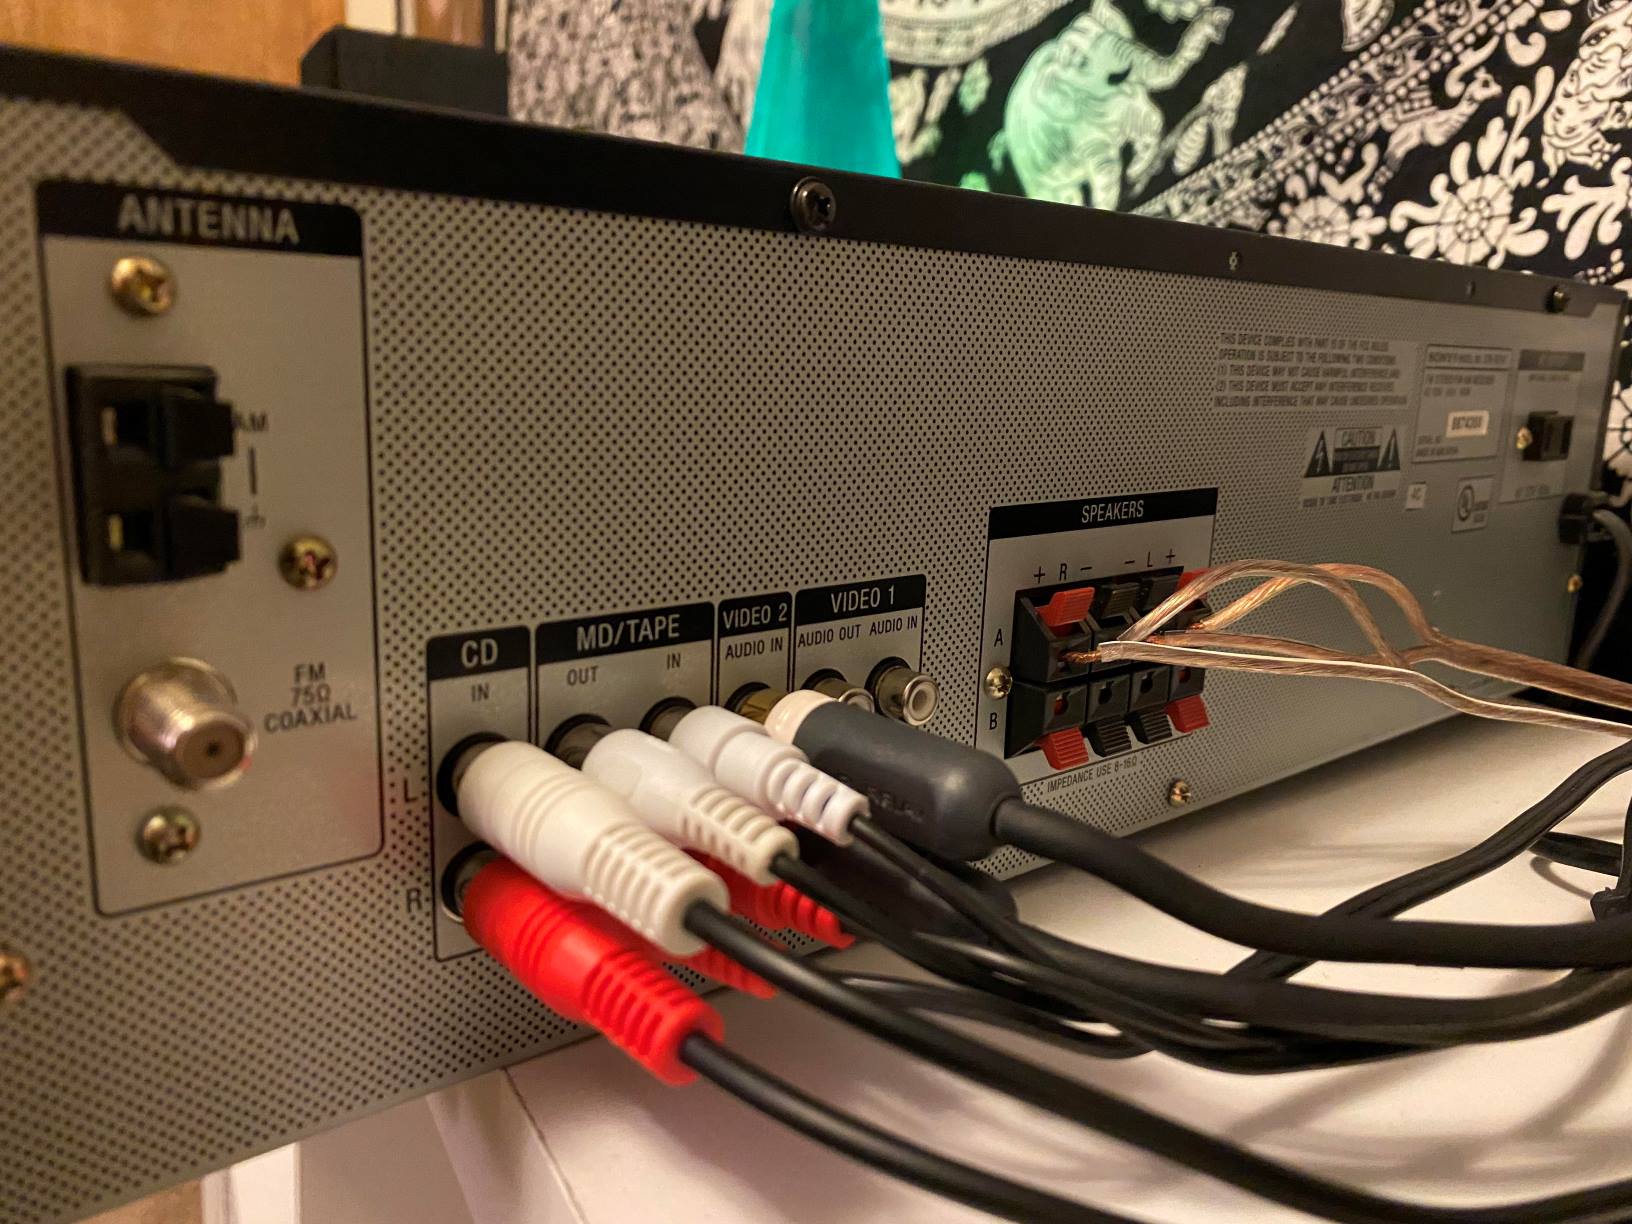
- Choose the Appropriate Cables: Select the necessary cables to connect the output of the microphone to the input of the receiver. For wired microphones, a standard XLR cable is commonly used, while wireless systems may require specialized connectors based on the manufacturer’s specifications.
- Power On the Receiver: If you are using a wireless microphone system, ensure that the receiver is powered on and properly set to the corresponding frequency or channel for the microphone being used.
- Connect the Microphone: For wired microphones, plug one end of the XLR cable into the microphone’s output and the other end into the input of the receiver, ensuring a secure connection. In the case of wireless microphones, follow the manufacturer’s instructions for syncing the microphone with the receiver.
- Set Input Levels: Adjust the input levels on the receiver to ensure that the incoming signal from the microphone is neither too low (resulting in weak audio) nor too high (potentially causing distortion). This step is crucial for achieving optimal sound quality and preventing audio clipping.
- Configure Receiver Settings: Depending on the type of receiver and its features, configure any necessary settings such as frequency selection, channel assignment, and signal processing options to accommodate the microphone’s signal and optimize audio performance.
- Verify Signal Reception: Test the connection by speaking into the microphone or generating sound from the source. Monitor the receiver’s audio output to confirm that the microphone’s signal is being received and processed correctly.
By following these steps, you can establish a reliable and functional connection between your microphone and receiver, ensuring that audio signals are captured and transmitted effectively. Whether you’re operating a wired or wireless microphone system, attention to detail during the connection process is crucial for achieving consistent and high-quality audio reproduction.
Testing the Connection
Testing the Connection
After connecting a microphone to a receiver, it is essential to conduct thorough testing to ensure that the audio signal is being captured and transmitted accurately. The following steps outline the process of testing the connection between the microphone and the receiver:
- Sound Check: Speak into the microphone or produce sound from the audio source to generate an audio signal. This initial sound check allows you to verify that the microphone is capturing sound and transmitting it to the receiver.
- Monitor Audio Output: Utilize headphones or speakers connected to the receiver’s audio output to monitor the captured audio signal. Listen for clarity, volume levels, and any potential issues such as distortion or unwanted noise.
- Check Signal Strength: Assess the strength and consistency of the audio signal received by the receiver. Ensure that the signal levels are within an optimal range, avoiding excessively low or high levels that may impact audio quality.
- Test Wireless Transmission (If Applicable): For wireless microphone systems, move around the performance or recording area while monitoring the audio signal’s stability. Verify that the wireless connection maintains reliable signal transmission without dropouts or interference.
- Verify Receiver Indicators: If the receiver features signal strength or audio level indicators, observe these visual cues to confirm that the microphone’s signal is being received and processed appropriately.
- Perform Audio Checks: Speak at varying volumes and distances from the microphone to assess its sensitivity and consistency in capturing sound. This step helps identify any potential issues with signal dropout or irregular response.
Thoroughly testing the connection between the microphone and receiver is crucial for identifying and addressing any technical issues that may affect audio performance. By meticulously evaluating the captured audio signal and its transmission, you can ensure that your audio system operates reliably and delivers high-quality sound reproduction.
Troubleshooting Common Issues
Troubleshooting Common Issues
While connecting a microphone to a receiver, various technical challenges may arise, impacting the functionality and performance of the audio system. By familiarizing yourself with common issues and their solutions, you can effectively troubleshoot and resolve potential problems. Here are some common issues encountered when connecting a microphone to a receiver, along with troubleshooting steps:
- Intermittent or No Audio Signal: If the receiver fails to detect or intermittently captures the microphone’s audio signal, check the cable connections for secure attachment. Ensure that the microphone’s output is properly connected to the receiver’s input, and inspect the cable for any signs of damage or wear.
- Unwanted Noise or Interference: If the audio signal exhibits unwanted noise, static, or interference, consider relocating the microphone and receiver away from potential sources of electromagnetic interference, such as power cables, electronic devices, or wireless routers. Additionally, verify that the microphone’s shielding and grounding are intact to minimize external interference.
- Distorted Audio: In the event of audio distortion or clipping, adjust the input levels on the receiver to ensure that the microphone’s signal is within an appropriate range. Lower excessively high input levels to prevent signal overload, which can result in distorted audio reproduction.
- Wireless Signal Dropout: For wireless microphone systems experiencing signal dropouts, verify that the transmitter and receiver are within the specified operating range and free from obstructions. Check for low battery levels in the wireless microphone transmitter, as depleted batteries can lead to signal instability and dropouts.
- Feedback and Microphone Placement: Address feedback issues by adjusting the microphone’s positioning and orientation relative to speakers or monitor systems. Avoid placing the microphone in close proximity to loudspeakers, as this can cause feedback loops and unwanted squealing or howling sounds.
- Receiver Configuration Errors: If the receiver’s settings are misconfigured, refer to the user manual or manufacturer’s guidelines to ensure that the receiver is set to the appropriate frequency, channel, and input configuration for the connected microphone. Incorrect receiver settings can lead to signal reception issues and audio anomalies.
By proactively identifying and troubleshooting common issues during the microphone-to-receiver connection process, you can optimize the functionality and reliability of your audio system. Implementing these troubleshooting steps empowers you to overcome technical challenges and ensure consistent, high-quality audio performance.
Conclusion
Conclusion
Mastering the art of connecting a microphone to a receiver is a fundamental skill for anyone involved in audio production, live performances, public speaking, or home entertainment setups. By understanding the nuances of microphone types, receiver functionalities, and the intricacies of establishing a seamless connection, you can elevate the quality of audio reproduction and communication experiences.
Throughout this guide, we have explored the diverse landscape of microphones, ranging from dynamic and condenser varieties to wireless and USB options, each offering unique sonic characteristics and applications. Additionally, we delved into the realm of receivers, encompassing wireless microphone receivers, audio-visual (AV) receivers, broadcasting receivers, and studio monitor receivers, each tailored to specific audio processing and amplification needs.
When it comes to connecting a microphone to a receiver, attention to detail is paramount. From selecting the appropriate cables and configuring input levels to testing the connection and troubleshooting common issues, every step plays a crucial role in ensuring a reliable and high-fidelity audio setup.
By following the comprehensive guidance provided in this article, you are equipped with the knowledge and practical insights needed to navigate the intricacies of microphone-to-receiver connections with confidence. Whether you’re setting up a professional sound reinforcement system, refining your home recording environment, or preparing for a captivating live performance, the principles outlined here serve as a valuable compass for achieving optimal audio connectivity and performance.
As you embark on your audio journey, may the seamless connection between your microphone and receiver pave the way for captivating soundscapes, clear communication, and unforgettable auditory experiences. Harness the power of technology, creativity, and knowledge to amplify your voice and musical expressions, knowing that the foundation of your audio system is built on expertise and precision.
With a deep understanding of microphone-to-receiver connections, you are poised to unleash the full potential of your audio endeavors, enriching the world with the transformative power of sound.

