Home>Devices & Equipment>Microphone>How To Connect Microphone

Microphone
How To Connect Microphone
Published: February 17, 2024
Learn how to connect a microphone to your device with our step-by-step guide. Get the best tips for setting up and using your microphone effectively.
(Many of the links in this article redirect to a specific reviewed product. Your purchase of these products through affiliate links helps to generate commission for AudioLover.com, at no extra cost. Learn more)
Table of Contents
Introduction
Introduction
Microphones are essential tools for capturing sound, whether it’s for recording music, podcasting, conducting interviews, or amplifying a voice in a live setting. Understanding how to connect a microphone properly is crucial for achieving high-quality audio recordings and clear amplification. Whether you’re connecting a microphone to a computer for digital recording or to a mixer for live sound reinforcement, knowing the correct steps can make a significant difference in the sound quality you achieve.
Microphones come in various types, each with its own unique characteristics and ideal uses. From dynamic microphones suitable for live performances to condenser microphones favored for studio recording, the options can seem overwhelming. Additionally, understanding how to troubleshoot common microphone connectivity issues can save you time and frustration when setting up your audio equipment.
In this guide, we will explore the different types of microphones, the process of connecting a microphone to a computer, and the steps for connecting a microphone to a mixer. Additionally, we will address common issues that may arise during the connection process and provide troubleshooting tips to help you achieve optimal audio performance.
Types of Microphones
Microphones come in various types, each designed to excel in specific applications. Understanding the differences between these microphone types is essential for selecting the most suitable option for your recording or amplification needs. The three primary types of microphones are dynamic, condenser, and ribbon.
Dynamic Microphones:
Dynamic microphones are rugged and versatile, making them ideal for live performances and recording loud sound sources. They can handle high sound pressure levels, making them suitable for amplifying guitar amps, drums, and vocals in a live setting. Dynamic microphones are less sensitive than condenser microphones, which makes them less likely to pick up background noise. They are also relatively affordable and do not require external power, making them convenient for various applications.
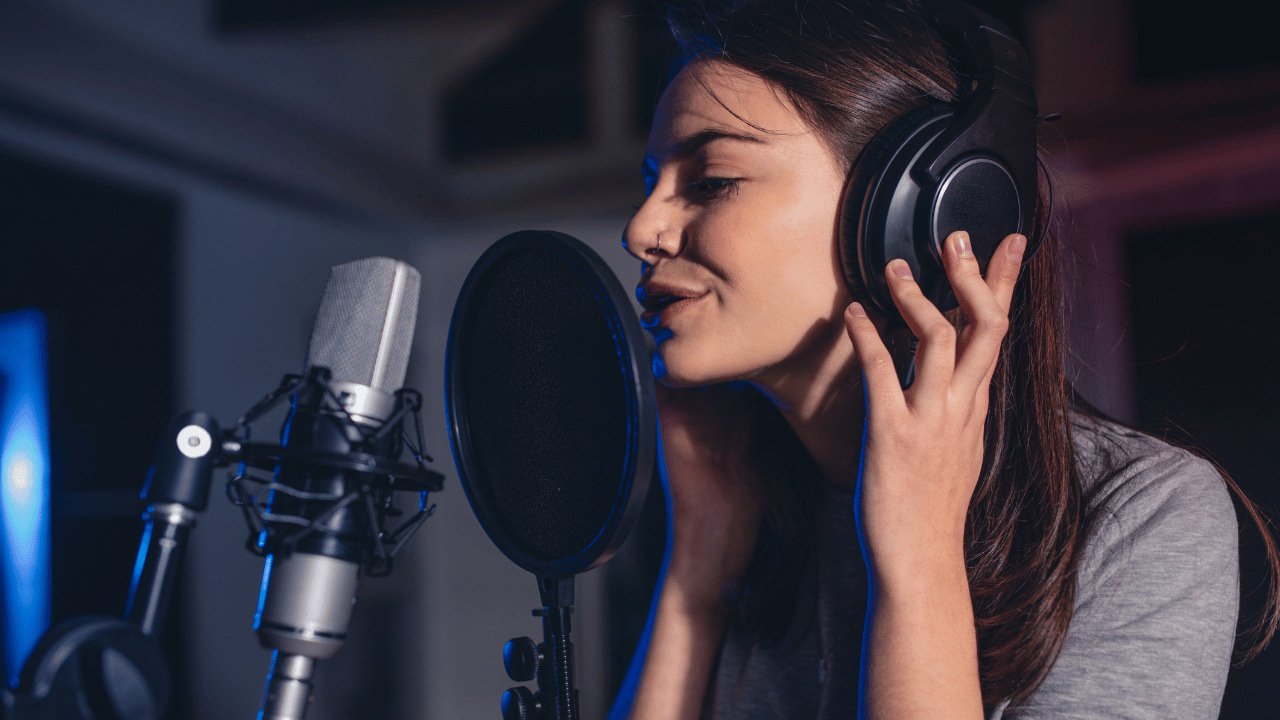
Condenser Microphones:
Condenser microphones are known for their sensitivity and wide frequency response, making them popular choices for studio recording, podcasting, and capturing acoustic instruments. These microphones require power, either from batteries or phantom power supplied by a mixer or audio interface. Condenser microphones are more fragile than dynamic microphones and may require careful handling, but they excel in capturing subtle nuances and delivering transparent, detailed sound.
Ribbon Microphones:
Ribbon microphones are revered for their warm, vintage sound and smooth frequency response. They are often used to capture delicate acoustic instruments and vocals, adding a classic touch to recordings. Ribbon microphones are known for their bidirectional (figure-eight) polar pattern, capturing sound from the front and back while rejecting sound from the sides. This unique characteristic allows for creative recording techniques and versatile sound capture.
Each type of microphone offers distinct advantages and considerations, and understanding their differences is crucial for making informed decisions when selecting a microphone for a specific purpose.
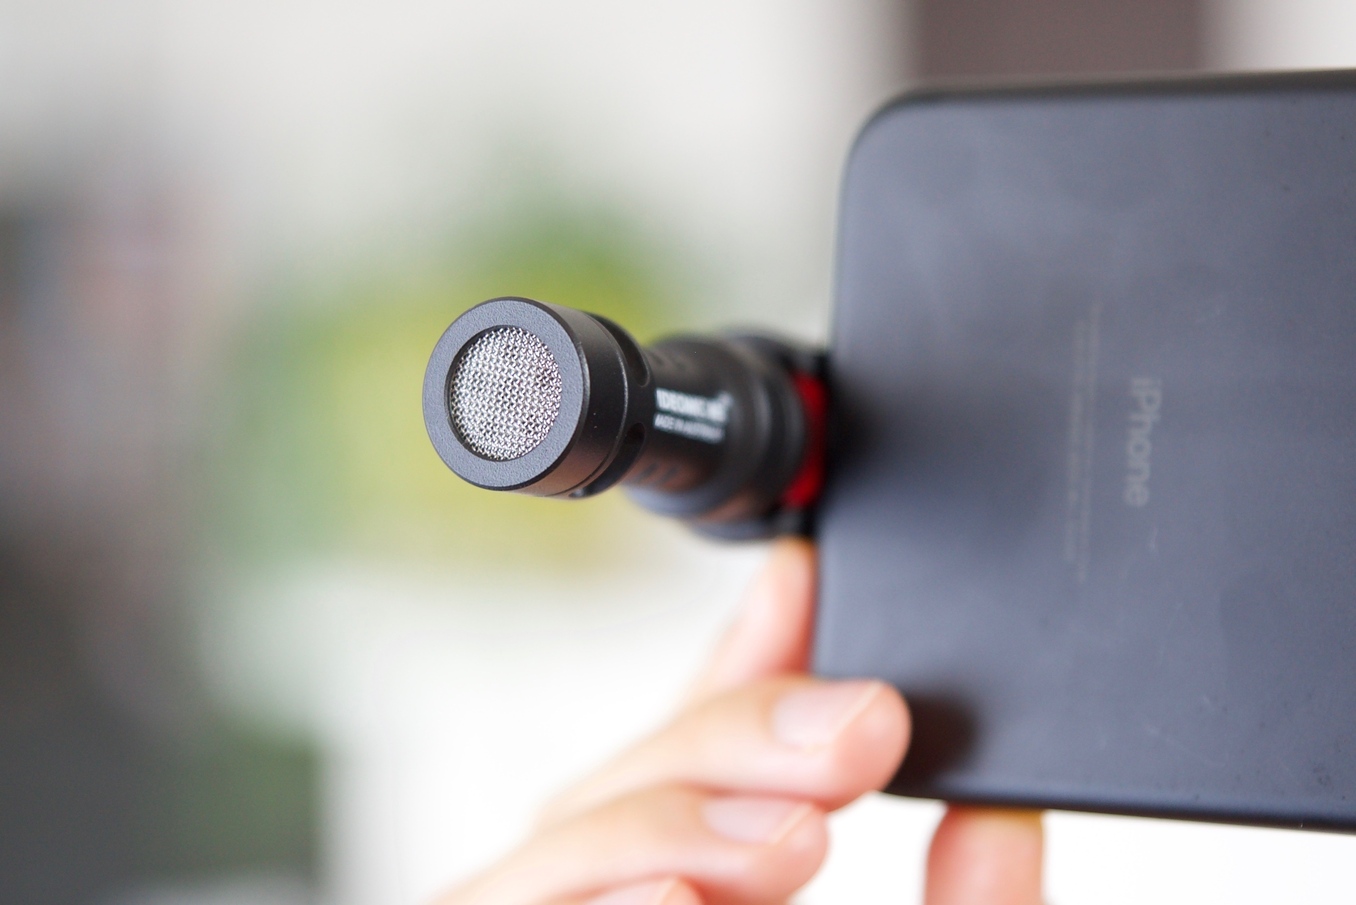
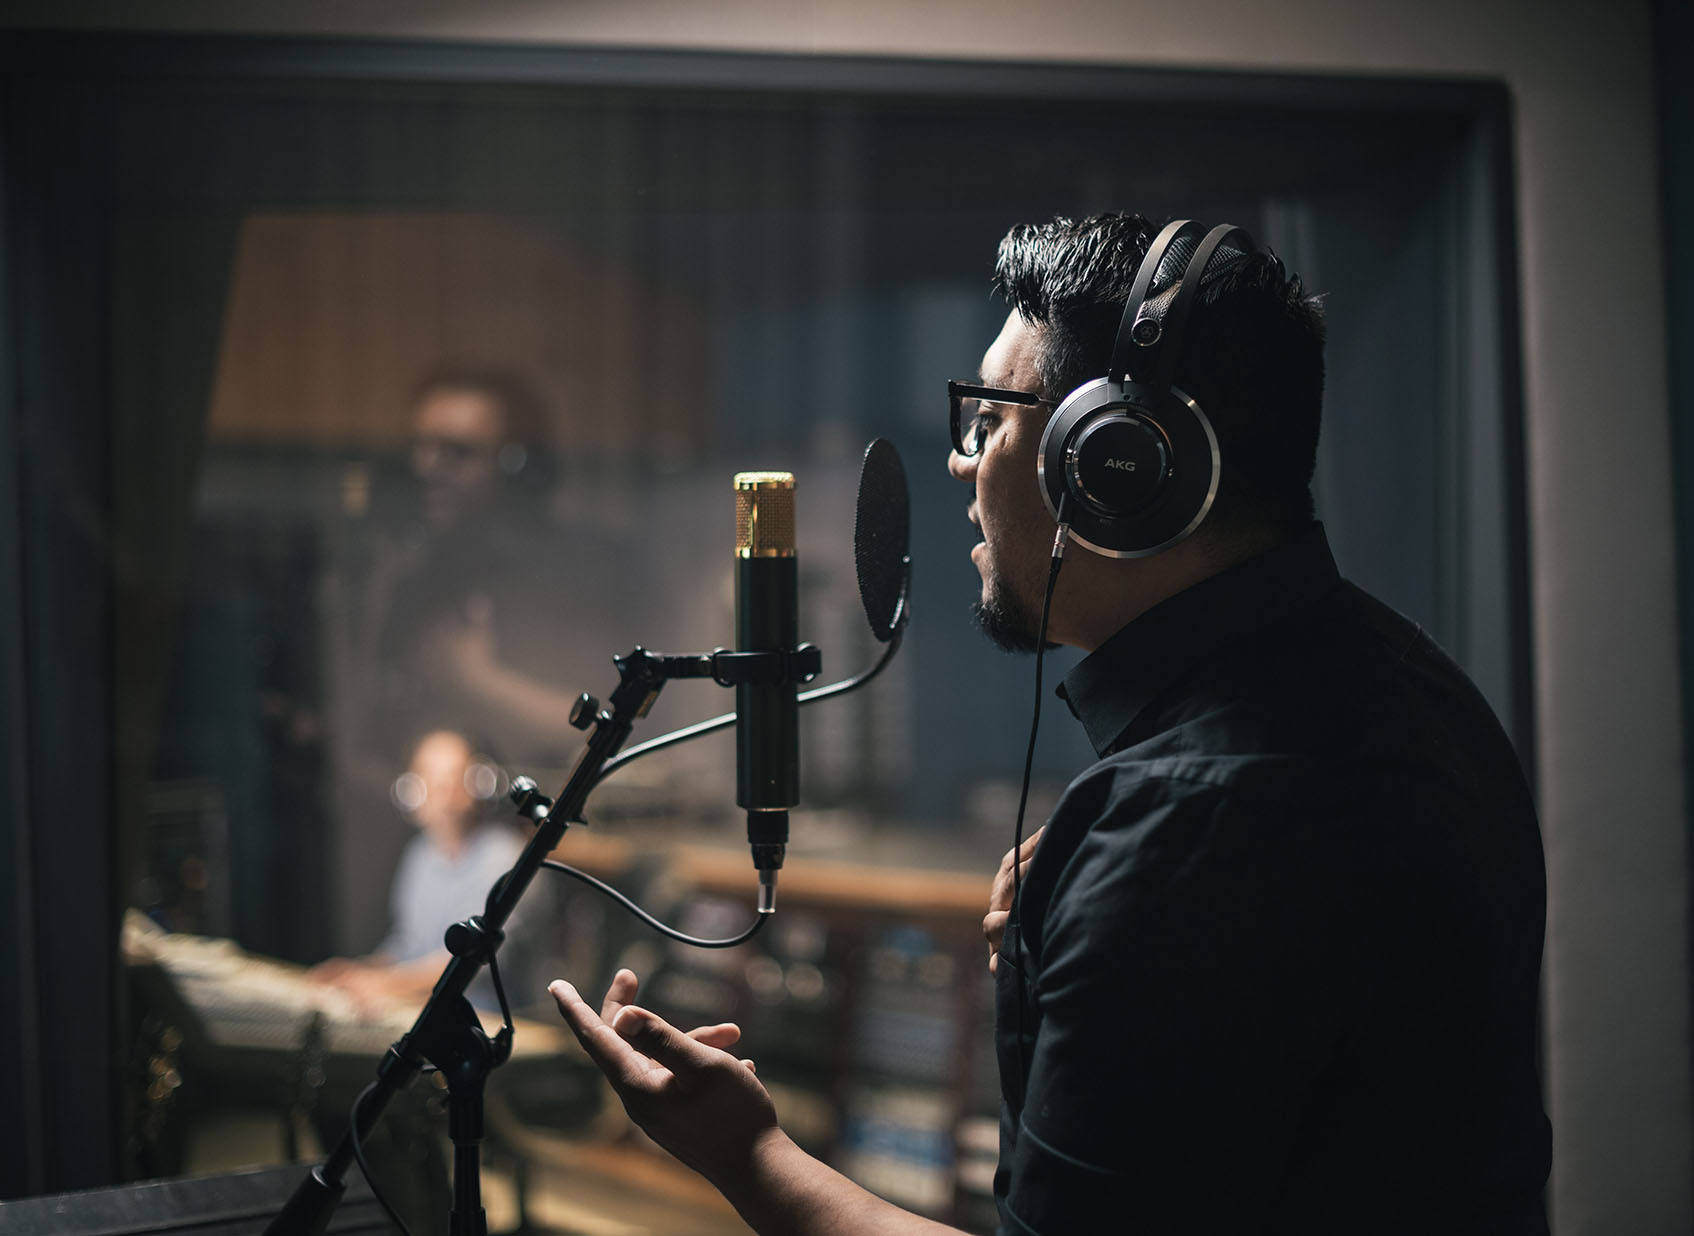
Connecting a Microphone to a Computer
Connecting a microphone to a computer is a fundamental process for individuals engaged in podcasting, voiceovers, video conferencing, and music production. Whether you’re using a USB microphone, an XLR microphone with an audio interface, or a built-in microphone on a laptop, the goal is to establish a reliable connection for capturing clear and professional-quality audio.
USB Microphones:
USB microphones are popular for their plug-and-play convenience. To connect a USB microphone to a computer, simply plug the USB cable into an available USB port on the computer. Once connected, the computer should recognize the microphone as an audio input device, allowing you to select it as the preferred input source in recording or video conferencing software.
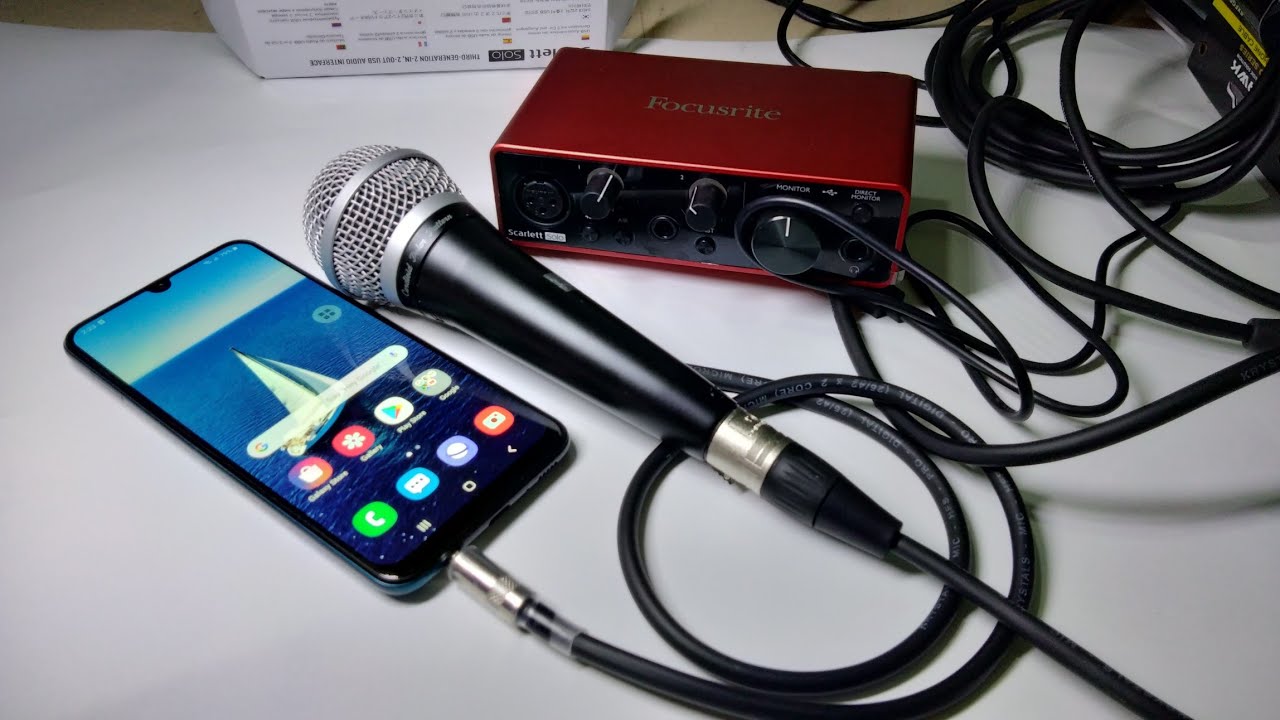
XLR Microphones with Audio Interface:
For XLR microphones, an audio interface is required to connect the microphone to a computer. The audio interface serves as a bridge between the analog signal from the microphone and the digital realm of the computer. To connect an XLR microphone to a computer, first, plug the microphone into the appropriate input on the audio interface using an XLR cable. Then, connect the audio interface to the computer using a USB or Thunderbolt cable. Once the audio interface is connected, select it as the audio input device in the computer’s audio settings.
Built-in Microphones:
Laptops and desktop computers often come equipped with built-in microphones, allowing users to capture audio without external devices. When using a built-in microphone, ensure that the computer’s audio settings are configured to recognize and utilize the internal microphone. Adjust the input volume and microphone settings as needed to achieve optimal audio quality.
When connecting a microphone to a computer, it’s essential to consider the intended use, the specific type of microphone being used, and the compatibility with recording or conferencing software. By following the appropriate connection steps and configuring the computer’s audio settings, users can seamlessly integrate microphones into their digital workflows for various applications.
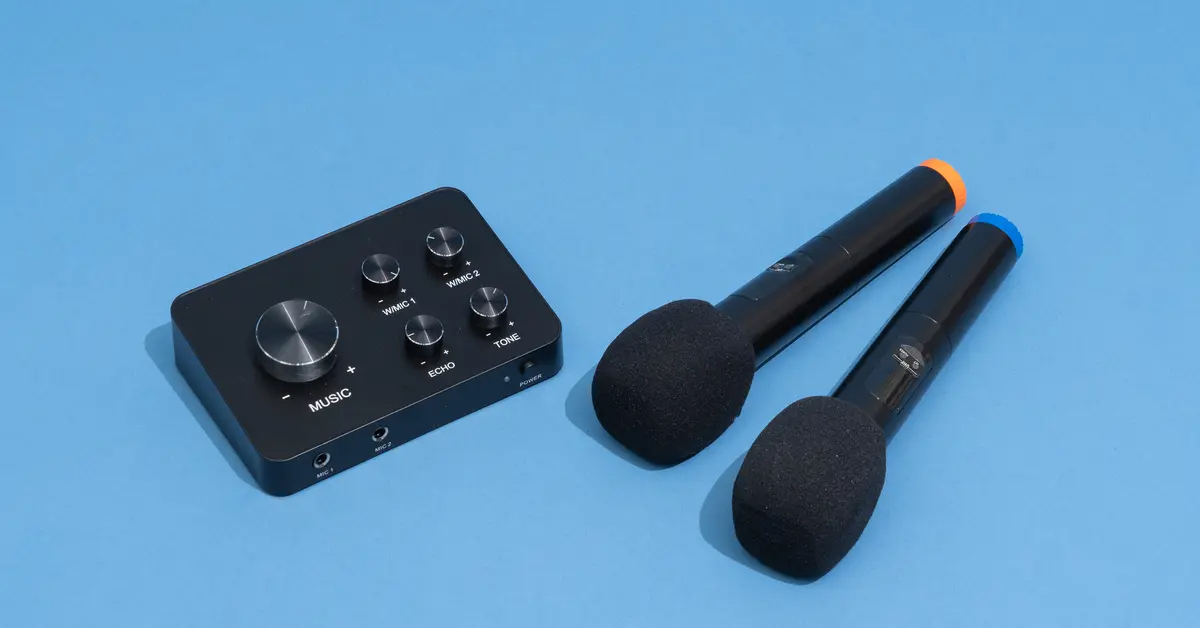
Connecting a Microphone to a Mixer
Connecting a microphone to a mixer is a fundamental aspect of live sound reinforcement, studio recording, and audio production. Mixers serve as central hubs for processing and blending audio signals, making it essential to establish proper connections for microphones to ensure optimal sound quality and control. Whether you’re using a dynamic microphone for live vocals or a condenser microphone for studio recording, the process of connecting a microphone to a mixer involves several key steps.
Using XLR Cables:
Most professional microphones utilize XLR connectors for balanced audio transmission. To connect a microphone to a mixer, use an XLR cable to link the microphone’s output to an available channel input on the mixer. Ensure that the channel’s gain control is set to an appropriate level to avoid distortion or insufficient signal strength. Additionally, engage any necessary phantom power if using a condenser microphone that requires it.
Setting Input Levels:
Once the microphone is connected, adjust the input level on the mixer to achieve an optimal signal level without clipping or overwhelming the channel. This step is crucial for maintaining a healthy signal-to-noise ratio and preventing audio distortion. Many mixers feature LED level meters that provide visual feedback to assist in setting the input levels accurately.
Applying Equalization and Effects:
After establishing a connection and setting input levels, mixers offer the flexibility to apply equalization and effects to the microphone signal. By adjusting the equalization settings, such as the low, mid, and high-frequency controls, users can tailor the microphone’s sound to suit the specific application or compensate for room acoustics. Additionally, mixers often include built-in effects such as reverb, delay, and compression, allowing users to enhance the microphone’s sound with creative processing.
By following these steps and considering the specific requirements of the microphones and the mixer being used, individuals can confidently connect microphones to mixers for live performances, studio recording sessions, podcast production, and various other audio applications.
Troubleshooting Common Issues
While connecting microphones to computers or mixers, users may encounter common issues that can affect audio quality and functionality. By understanding these potential issues and implementing troubleshooting techniques, individuals can overcome challenges and ensure that their microphones perform optimally.
Low Audio Levels:
If the microphone signal is weak or the audio levels are low, check the microphone’s connection to the audio interface or mixer. Ensure that all cables are securely connected and that the input gain is appropriately set. Additionally, verify that the microphone’s batteries (if applicable) are not depleted, as this can also cause low audio levels in condenser microphones.
Background Noise or Hum:
Background noise or a persistent hum in the microphone signal can be attributed to improper grounding, interference from electrical sources, or cable issues. To address this, try using different cables, repositioning the microphone away from potential sources of interference, and ensuring that all equipment is properly grounded. Using balanced cables and high-quality shielded connectors can also help mitigate interference and noise issues.
Phantom Power Problems:
When using condenser microphones that require phantom power, verify that the audio interface or mixer is supplying the necessary phantom power. Some mixers have a global phantom power switch, while others provide individual phantom power controls for each channel. If the microphone requires phantom power and is not receiving it, the signal will be significantly attenuated or absent altogether.
Distorted Audio:
Distorted audio from a microphone can be caused by excessive input levels, improper gain staging, or a faulty microphone capsule. To address this issue, reduce the input gain on the mixer or audio interface, ensuring that the microphone signal is within an acceptable range. If distortion persists, test the microphone with a different cable and input channel to isolate potential equipment-related problems.
By systematically troubleshooting these common issues and addressing them with appropriate solutions, users can effectively resolve connectivity and performance challenges when working with microphones for various applications.
Conclusion
Mastering the art of connecting microphones is a valuable skill for anyone involved in audio production, live sound engineering, podcasting, or content creation. Understanding the different types of microphones and their respective applications empowers individuals to make informed decisions when selecting the most suitable microphone for a specific task. Whether it’s the rugged versatility of dynamic microphones, the sensitivity of condenser microphones, or the vintage charm of ribbon microphones, each type offers unique sonic characteristics that cater to diverse recording and amplification needs.
When connecting microphones to computers, individuals can leverage the convenience of USB microphones or harness the flexibility of XLR microphones with audio interfaces. By following the appropriate connection steps and configuring the computer’s audio settings, seamless integration of microphones into digital workflows is achievable. Similarly, connecting microphones to mixers for live sound reinforcement or studio recording involves setting input levels, applying equalization and effects, and ensuring proper signal flow to achieve optimal sound quality.
Despite the potential for common issues such as low audio levels, background noise, phantom power problems, and distorted audio, users can troubleshoot these challenges effectively by addressing cable connections, grounding, interference, and gain staging. By implementing these troubleshooting techniques, individuals can mitigate connectivity and performance issues, ensuring that their microphones deliver the intended audio quality.
In conclusion, the ability to connect microphones with confidence and troubleshoot common issues is essential for achieving professional-grade audio recordings and live sound reinforcement. By combining technical knowledge with practical skills, individuals can unleash the full potential of microphones, capturing pristine audio and elevating their creative endeavors with clarity and precision.