Home>Devices & Equipment>Microphone>How To Connect Microphone To TV

Microphone
How To Connect Microphone To TV
Modified: February 17, 2024
Learn how to easily connect a microphone to your TV and enhance your audio experience. Follow our simple guide for seamless microphone integration.
(Many of the links in this article redirect to a specific reviewed product. Your purchase of these products through affiliate links helps to generate commission for AudioLover.com, at no extra cost. Learn more)
Table of Contents
Introduction
Introduction
Microphones are essential tools for capturing audio, whether it’s for recording music, conducting interviews, or delivering speeches. While we often associate microphones with recording studios, live performances, or public speaking engagements, they also have a valuable role in the realm of home entertainment. With the advancement of technology, many people now enjoy using microphones to enhance their TV viewing experience, whether it’s for karaoke nights, gaming, or video calls.
Connecting a microphone to a TV opens up a world of possibilities, allowing you to amplify your voice, engage in lively discussions, or simply enjoy crystal-clear audio during your favorite shows and movies. Whether you’re a casual TV viewer or a dedicated audiophile, understanding how to connect a microphone to your TV can significantly enrich your entertainment setup.
In this comprehensive guide, we’ll delve into the various types of microphones available, explore the process of connecting a microphone to a TV, and provide detailed steps for setting up and testing your microphone. Additionally, we’ll address common troubleshooting issues that may arise, ensuring that you can seamlessly integrate a microphone into your TV setup.
By the end of this article, you’ll have the knowledge and confidence to harness the power of a microphone in conjunction with your TV, unlocking a new dimension of audio immersion and interactivity within your home entertainment environment.
Types of Microphones
Microphones come in various types, each designed to cater to specific recording and amplification needs. Understanding the distinctions between these microphone types is crucial when considering how to connect them to a TV. Here are some common types of microphones:
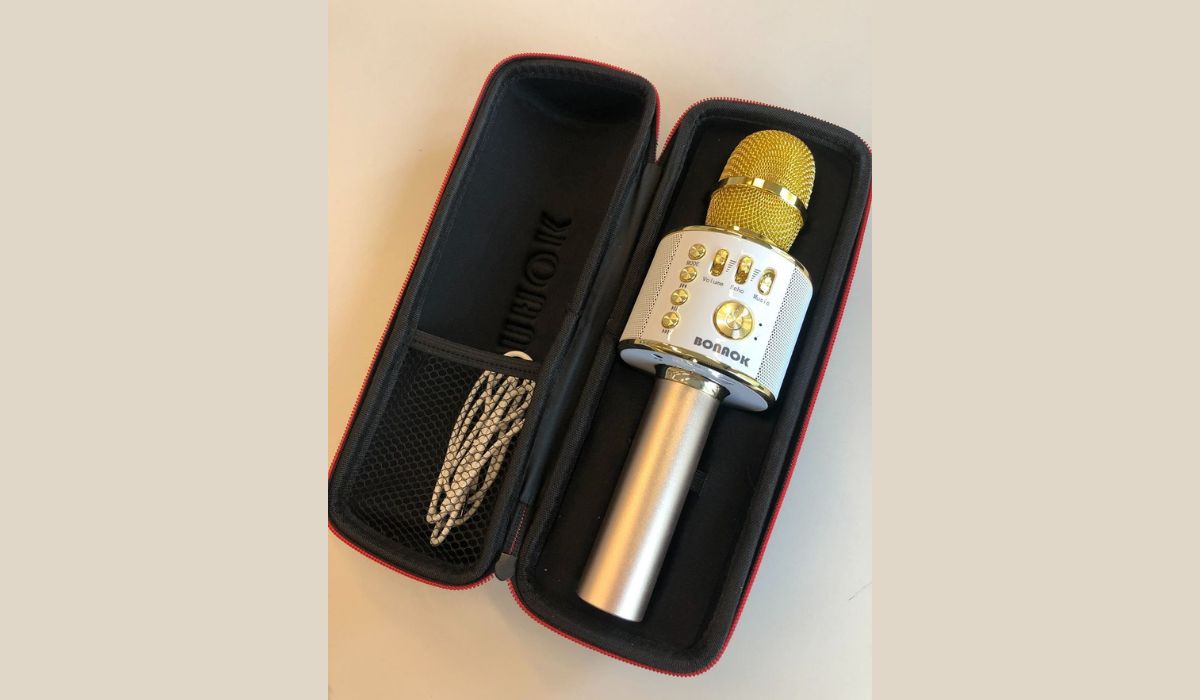
- Dynamic Microphones: Known for their durability and versatility, dynamic microphones are ideal for capturing loud sounds, making them suitable for live performances, recording instruments, and general vocal applications. Their robust construction and ability to handle high sound pressure levels make them a popular choice for karaoke nights and live TV commentary.
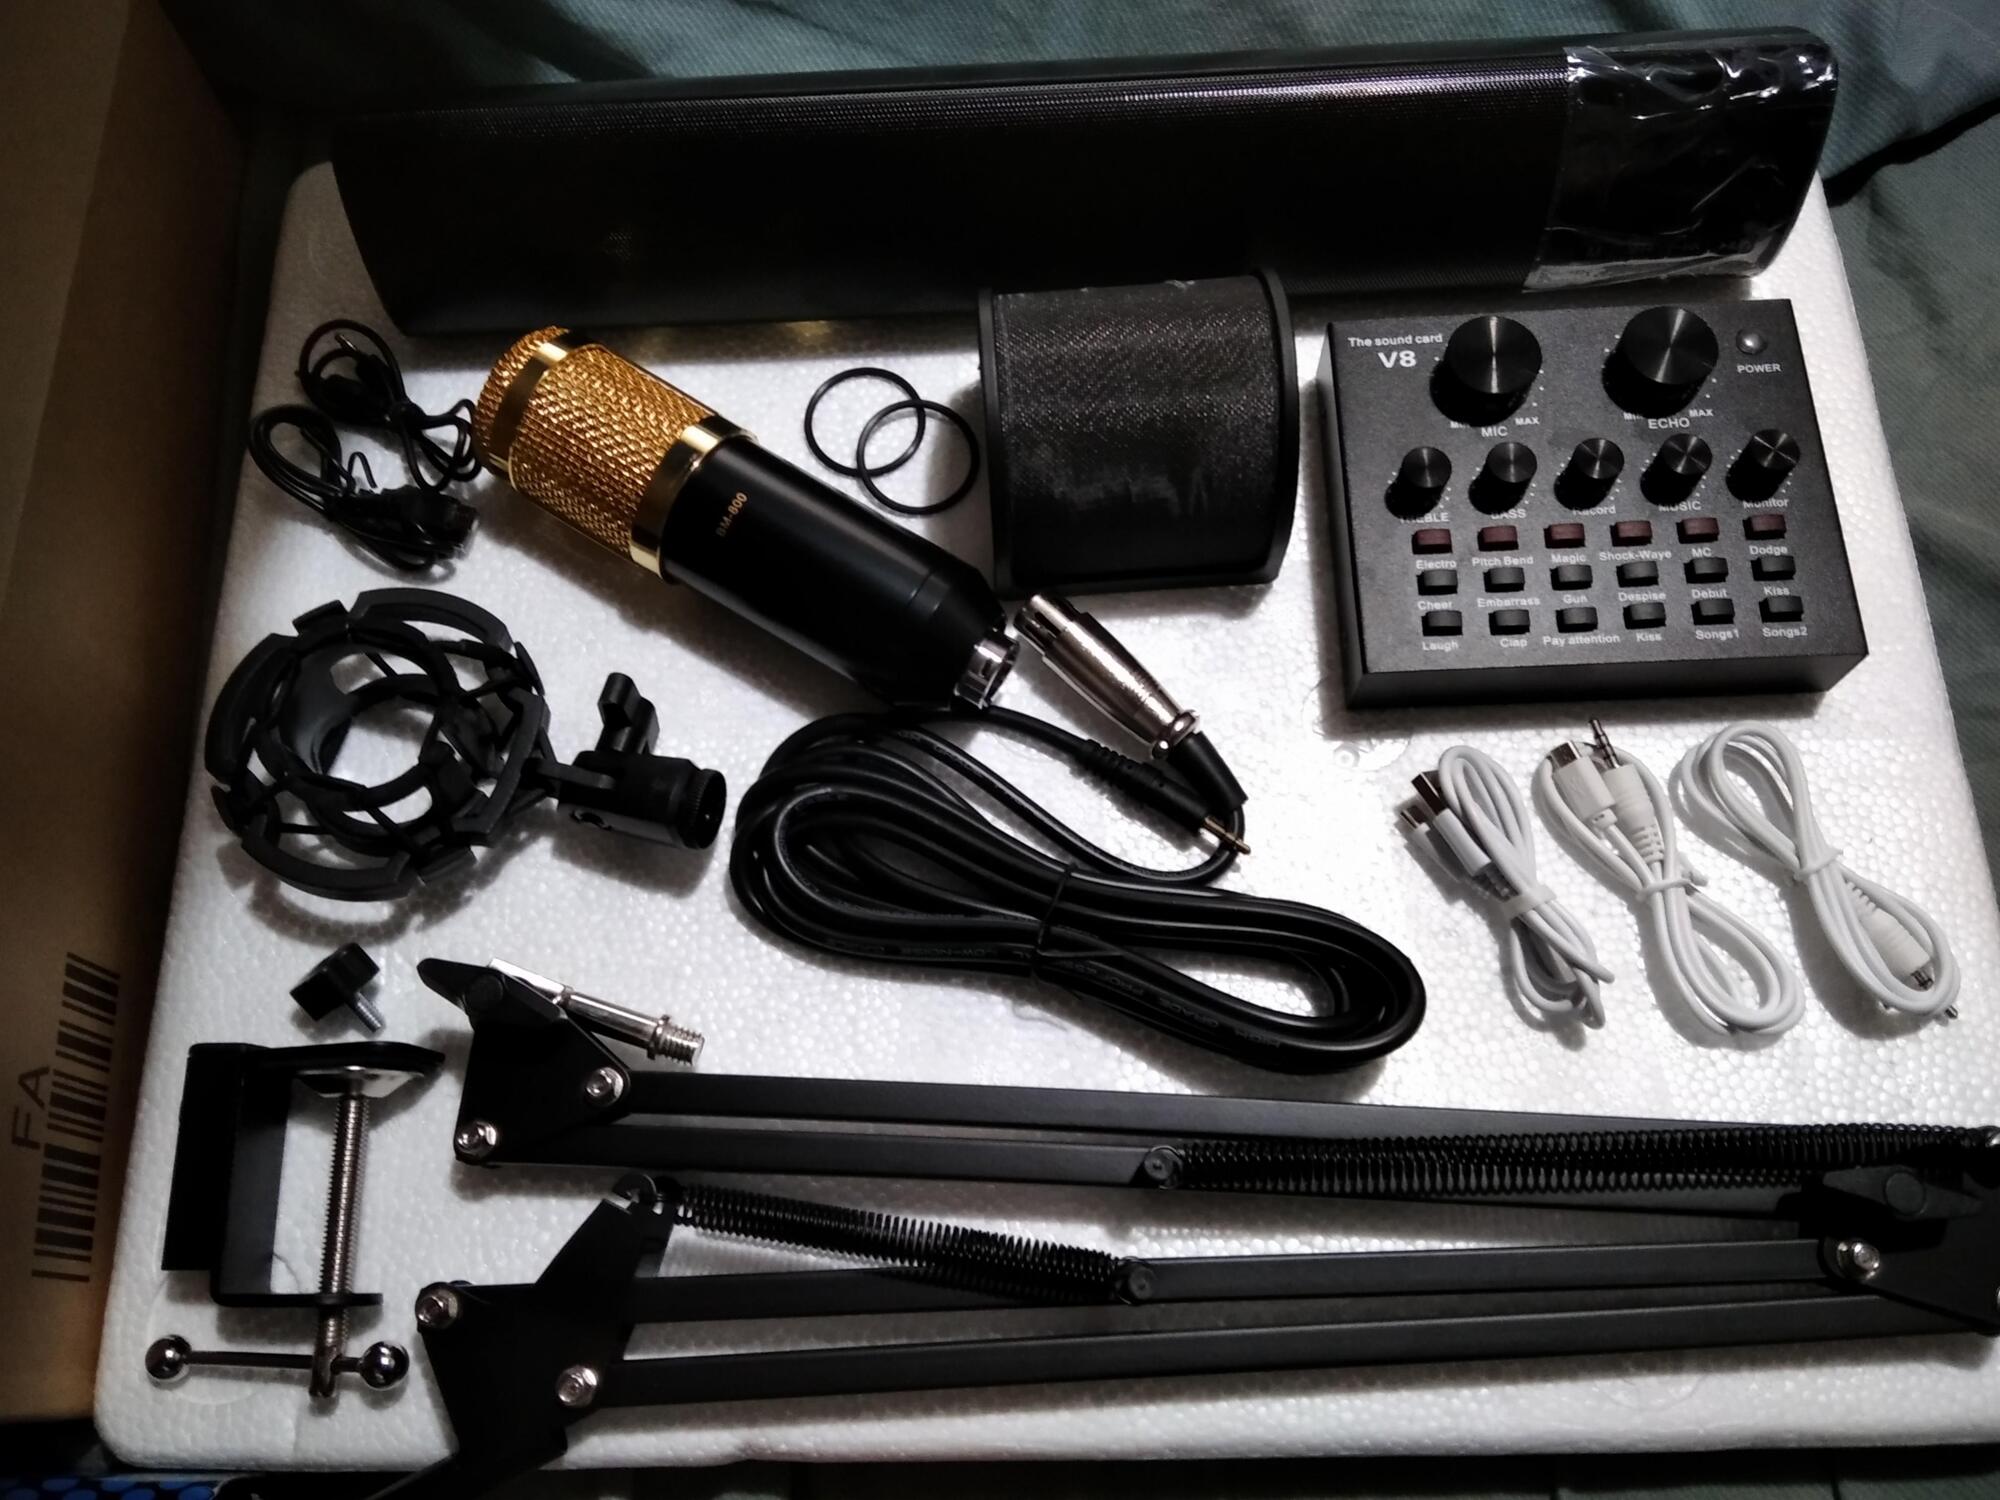
- Condenser Microphones: Renowned for their sensitivity and high-quality audio reproduction, condenser microphones excel in capturing subtle nuances and delivering crystal-clear sound. These microphones are commonly used in recording studios, podcasting, and professional vocal performances. When connecting a condenser microphone to a TV, it’s important to consider the power requirements, as many condenser microphones rely on external power sources, such as phantom power.
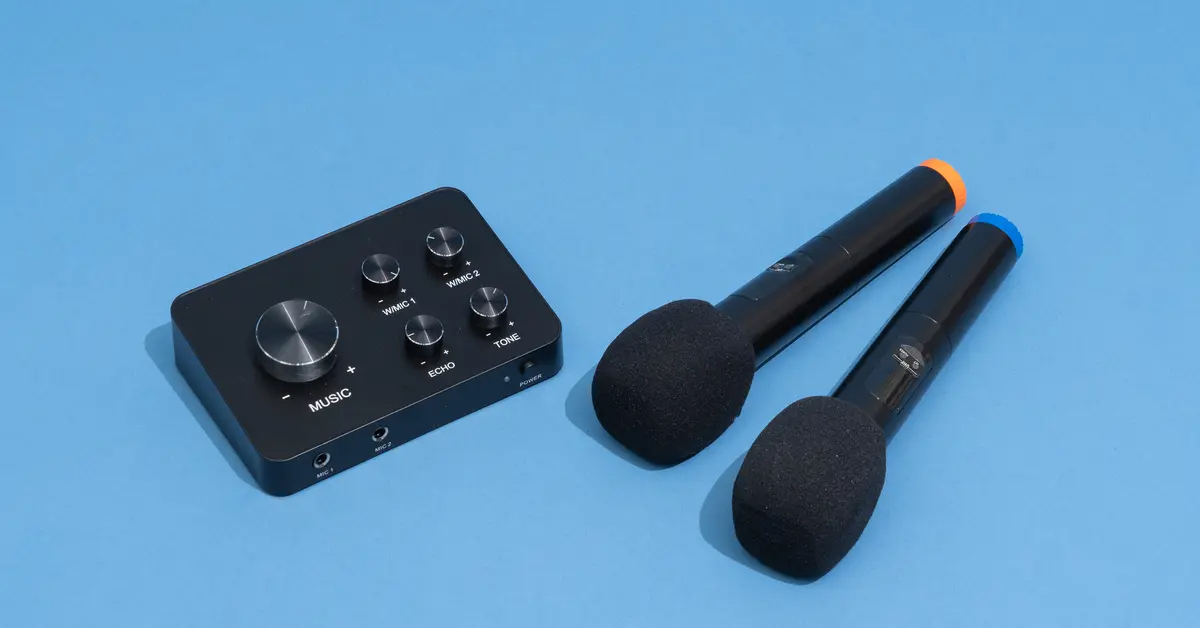
- Wireless Microphones: Offering freedom of movement and flexibility, wireless microphones are popular in live performances, public speaking engagements, and interactive TV experiences. With no cumbersome cables to contend with, wireless microphones provide a seamless and unencumbered audio input option for TVs, enabling users to move about without constraints.
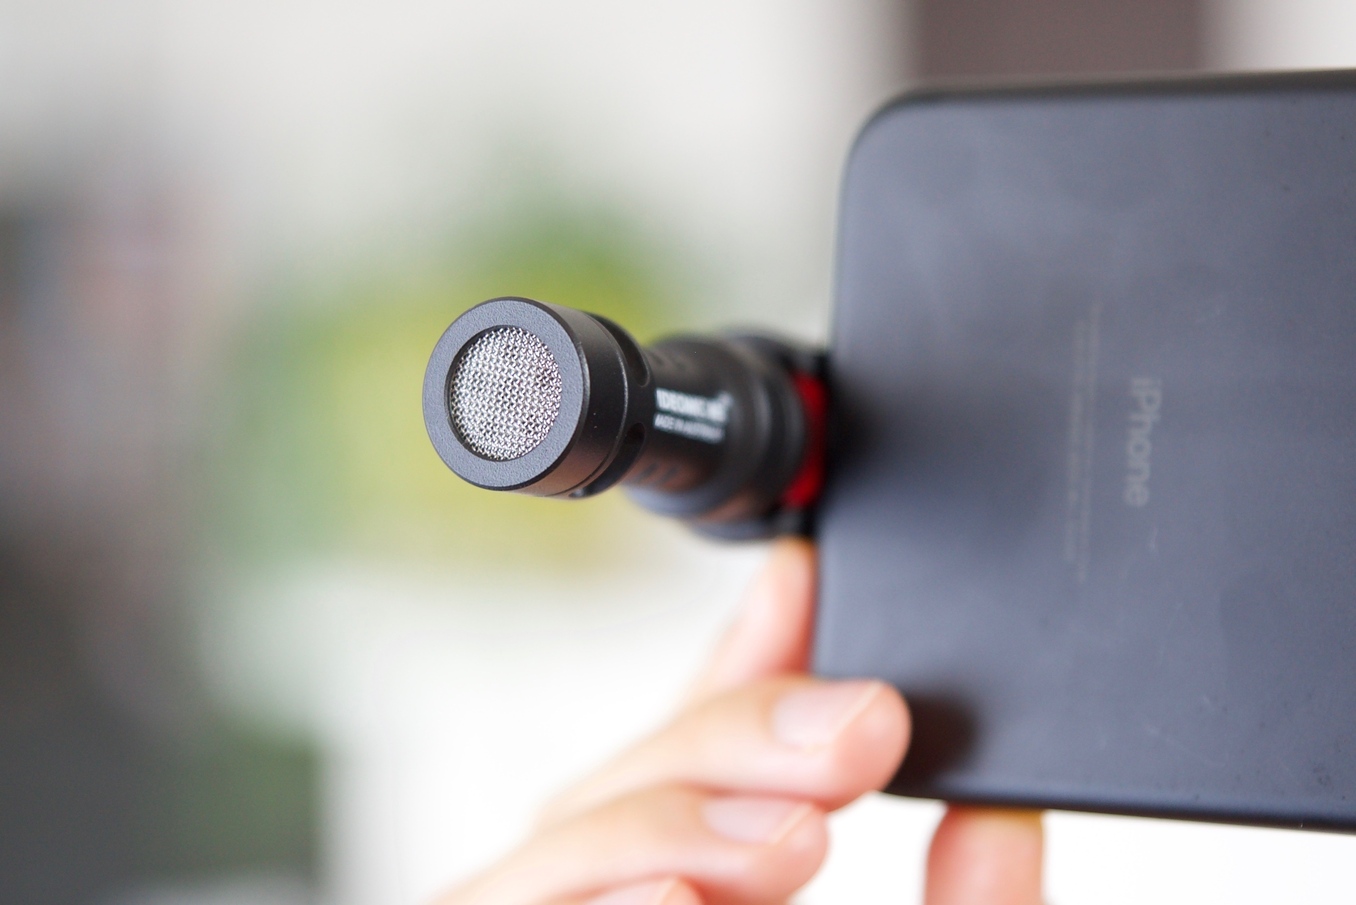
- USB Microphones: Designed for plug-and-play convenience, USB microphones are a popular choice for home recording, video calls, and gaming. With a simple USB connection, these microphones can be easily integrated with TVs, making them an accessible option for enhancing audio input during gaming sessions or virtual gatherings.
When selecting a microphone for use with a TV, it’s important to consider the specific use case, desired audio quality, and compatibility with the TV’s input options. By understanding the unique characteristics of each microphone type, you can make an informed decision when choosing the ideal microphone for your TV setup.
Connecting a Microphone to a TV
Connecting a microphone to a TV involves considering the available input options on the TV and selecting the appropriate cables or wireless connectivity methods. The process may vary depending on the type of microphone and the TV’s input capabilities. Here’s a step-by-step guide to connecting a microphone to a TV:
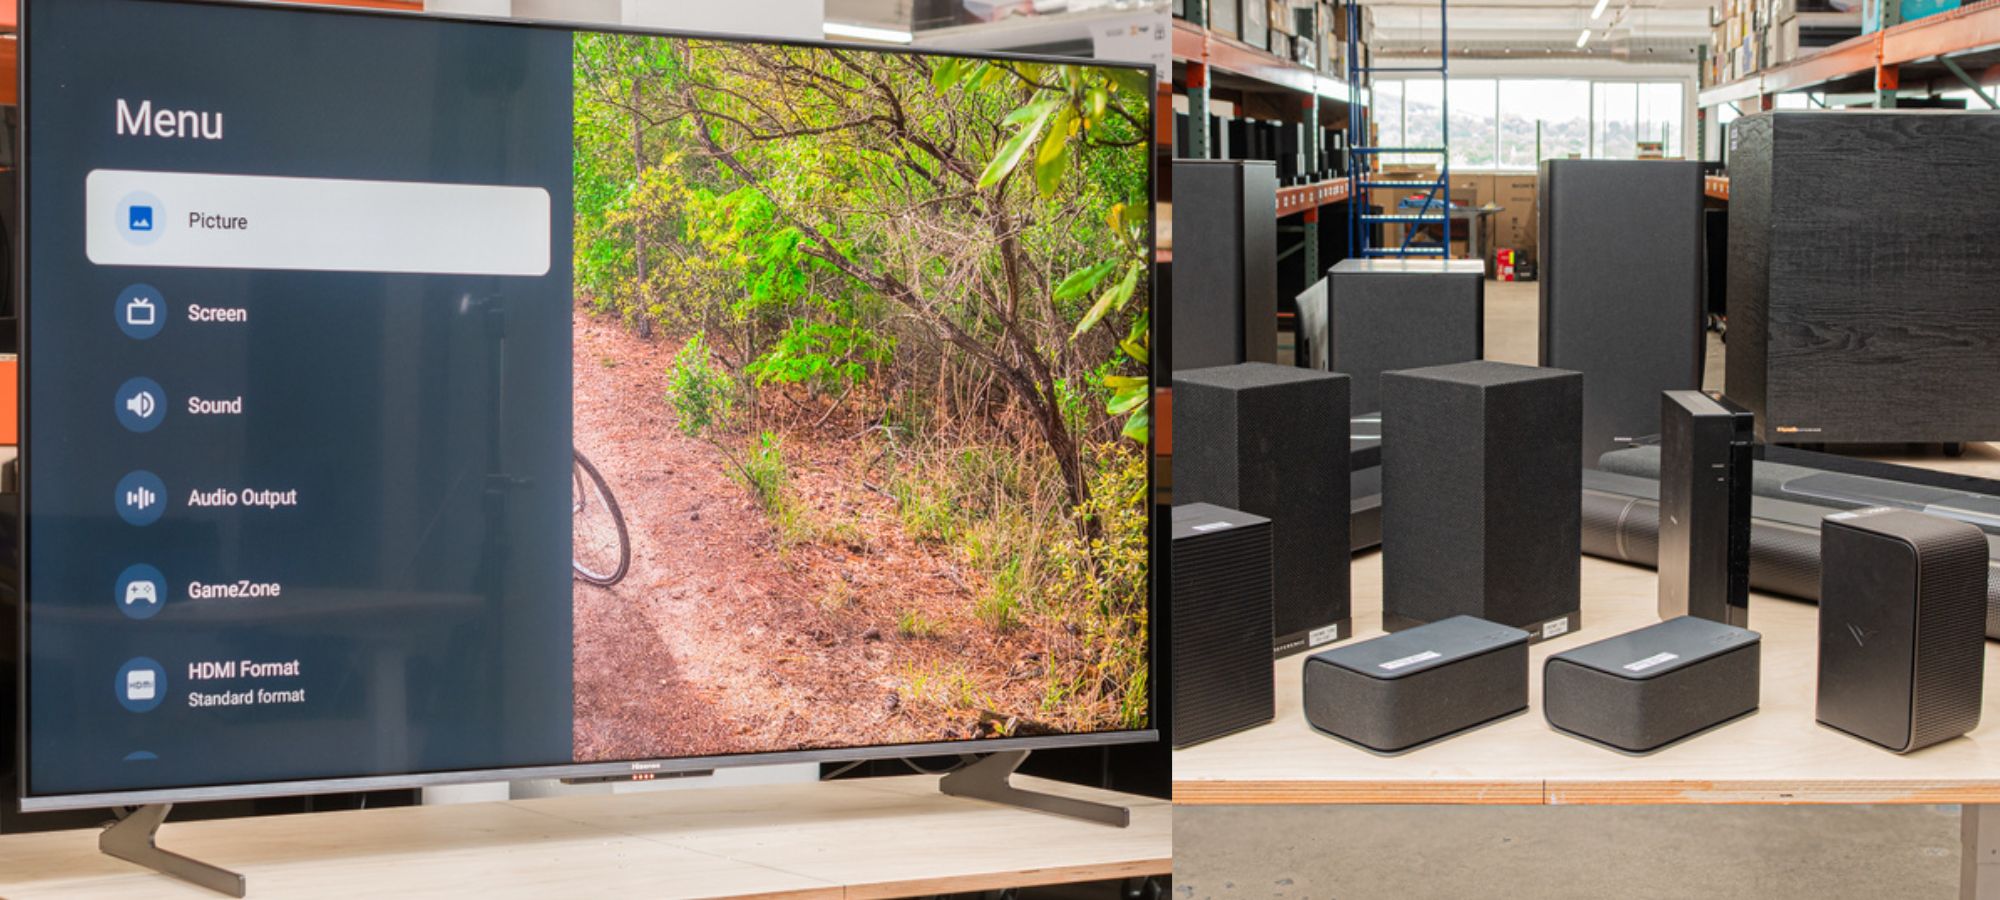
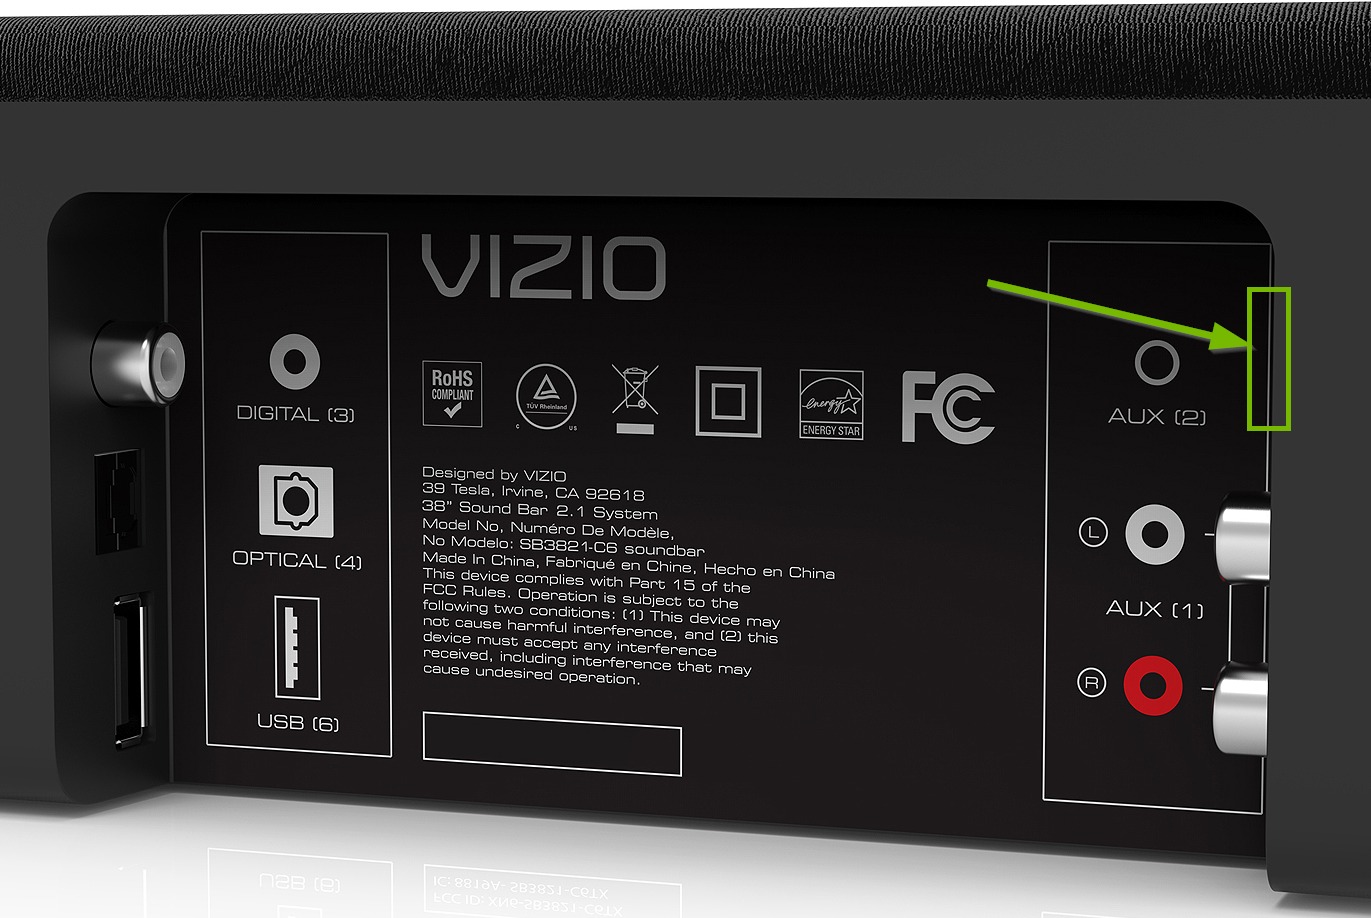
- Identify the TV’s Input Ports: Start by identifying the input ports available on your TV. Common input options include HDMI, USB, 3.5mm audio jack, and XLR inputs. Some modern smart TVs may also support Bluetooth connectivity for wireless audio input.
- Select the Appropriate Connection Method: Depending on the type of microphone you have, choose the suitable connection method. For dynamic and condenser microphones with XLR or 3.5mm outputs, you may need to use an adapter or audio interface to connect to the TV’s available input ports. USB microphones can be directly plugged into the TV’s USB port for seamless connectivity.
- Utilize Wireless Connectivity: If you have a wireless microphone system, check if your TV supports Bluetooth or wireless audio input. Many modern smart TVs feature Bluetooth connectivity, allowing you to pair and use wireless microphones effortlessly. Follow the TV’s instructions for pairing and connecting Bluetooth devices.
- Consider Audio Settings: Once the physical connection is established, access the TV’s audio settings to ensure that the microphone input is recognized. Depending on the TV model, you may need to navigate to the audio settings menu and select the appropriate input source, such as “External Microphone” or “Line-In.”
- Adjust Input Levels: To optimize the microphone’s audio input, adjust the input levels within the TV’s audio settings. This ensures that the microphone’s output is balanced and clear, enhancing the overall audio experience during TV usage.
By following these steps, you can seamlessly connect a microphone to your TV, expanding the audio input options and unlocking new possibilities for interactive entertainment, karaoke sessions, gaming, and more. Whether you prefer a wired or wireless setup, integrating a microphone with your TV can elevate the audio experience and add a new dimension of engagement to your viewing activities.
Setting Up the Microphone
Once the physical connection between the microphone and the TV is established, it’s essential to ensure that the microphone is properly set up and optimized for the best audio performance. Here are the key steps for setting up the microphone:
- Positioning the Microphone: Place the microphone in an optimal position based on your intended use. For vocal performances and presentations, a microphone stand or boom arm can provide stability and precise positioning. In the case of wireless microphones, ensure that the receiver is positioned within the TV’s wireless range for uninterrupted connectivity.
- Powering the Microphone (if applicable): If you’re using a condenser microphone that requires external power, such as phantom power, ensure that the necessary power source is connected and activated. This is crucial for enabling the microphone to capture and transmit audio effectively to the TV.
- Testing the Microphone: Before engaging in TV activities or live performances, conduct a brief audio test to ensure that the microphone is functioning correctly. Speak or sing into the microphone and monitor the audio output through the TV’s speakers or connected audio system. This allows you to verify the microphone’s input levels and overall sound quality.
- Adjusting Microphone Settings: Some microphones feature built-in controls for adjusting settings such as gain, polar patterns, and filters. Familiarize yourself with the microphone’s controls and make any necessary adjustments to optimize its performance for TV use. Additionally, if the TV offers audio enhancement features, such as equalizers or sound modes, experiment with these settings to tailor the microphone’s audio output to your preferences.
By carefully setting up the microphone and ensuring that it is positioned and configured for optimal performance, you can maximize its potential when integrated with the TV. Whether you’re engaging in lively discussions, delivering captivating performances, or simply enjoying karaoke sessions, a well-configured microphone enhances the overall audio experience, adding depth and clarity to the sound emanating from the TV.
Testing the Microphone
After setting up the microphone, it’s essential to conduct thorough testing to ensure that it seamlessly integrates with the TV and delivers the desired audio quality. Testing the microphone involves verifying its functionality, assessing audio levels, and confirming that it complements the TV’s audio output. Here’s a comprehensive approach to testing the microphone:
- Audio Input Verification: Begin by speaking or singing into the microphone while closely monitoring the TV’s audio output. Verify that the microphone’s input is recognized and that its audio is being transmitted effectively through the TV’s speakers or connected audio system. This initial test confirms that the microphone’s signal is reaching the TV and contributing to the overall audio output.
- Audio Clarity and Balance: Evaluate the clarity and balance of the microphone’s audio output. Pay attention to the richness of vocal tones, the absence of distortion, and the overall balance between the microphone’s input and the TV’s existing audio sources. Adjust the microphone’s positioning and settings as needed to achieve optimal clarity and balance.
- Dynamic Range and Sensitivity: Test the microphone’s ability to capture a wide dynamic range, especially if it’s being used for vocal performances, karaoke, or recording purposes. Speak softly and then project your voice to assess how the microphone responds to varying input levels. This test ensures that the microphone accurately captures nuances in vocal expression and maintains consistent sensitivity across different audio levels.
- Background Noise and Interference: Assess the microphone’s resistance to background noise and interference. If the TV environment is prone to ambient sounds or electronic interference, such as fan noise or electromagnetic interference from nearby devices, observe how the microphone handles these challenges. A reliable microphone should effectively isolate the desired audio source and minimize extraneous noise.
By conducting comprehensive tests, you can ascertain the microphone’s performance within the TV setup and address any potential issues related to audio quality, interference, or compatibility. Testing the microphone not only validates its functionality but also allows for fine-tuning to achieve optimal audio output, ensuring an immersive and seamless audio experience during TV usage.
Troubleshooting
While integrating a microphone with a TV can significantly enhance the audio experience, it’s important to be prepared to address potential issues that may arise during the setup and usage. By understanding common troubleshooting scenarios and solutions, you can effectively overcome challenges and ensure a seamless integration of the microphone with your TV. Here are some common troubleshooting tips:
- Unrecognized Microphone Input: If the TV fails to recognize the microphone input, double-check the physical connections and ensure that the microphone is securely plugged into the appropriate input port. Additionally, review the TV’s audio settings to confirm that the correct input source is selected. If using a wireless microphone, verify the pairing and connectivity status with the TV.
- Low Microphone Volume: If the microphone’s audio output is too low, adjust the input levels within the TV’s audio settings. Increase the microphone’s gain or sensitivity if it features adjustable controls. Additionally, ensure that the microphone is positioned optimally and that any obstructions or physical barriers are not impeding its ability to capture sound effectively.
- Interference and Distortion: Address any interference or distortion affecting the microphone’s audio quality. If the microphone is picking up unwanted background noise or experiencing distortion, relocate it to a quieter area and minimize potential sources of interference, such as electronic devices or environmental noise. Consider using microphone accessories, such as pop filters or shock mounts, to mitigate unwanted sounds and vibrations.
- Power and Compatibility Issues: For condenser microphones requiring external power, ensure that the power source, such as phantom power or a battery, is functioning correctly. If using an adapter or audio interface to connect the microphone to the TV, verify that the devices are compatible and that the necessary drivers or software updates are installed, especially when using USB or digital interfaces.
By proactively addressing these troubleshooting scenarios, you can optimize the integration of the microphone with your TV and mitigate potential audio-related challenges. Troubleshooting ensures that the microphone operates seamlessly within the TV setup, allowing you to fully enjoy its capabilities for karaoke, gaming, vocal performances, and interactive entertainment experiences.
Conclusion
Integrating a microphone with your TV opens up a world of possibilities, from immersive karaoke sessions and interactive gaming experiences to engaging live performances and crystal-clear audio for virtual gatherings. By understanding the different types of microphones available and the process of connecting and setting up a microphone with your TV, you can enhance your home entertainment environment and elevate the overall audio experience.
Whether you opt for a dynamic microphone for lively commentaries, a condenser microphone for studio-quality vocal performances, a wireless microphone for freedom of movement, or a USB microphone for plug-and-play convenience, the ability to connect these versatile audio tools to your TV provides a new dimension of interactivity and engagement.
Through careful consideration of the TV’s input options, proper connection methods, and thoughtful microphone setup, you can seamlessly integrate the microphone into your TV setup, amplifying your voice, capturing pristine audio, and immersing yourself in a world of dynamic soundscapes.
Testing the microphone’s functionality, adjusting its settings, and troubleshooting potential issues empowers you to optimize its performance within the TV environment, ensuring that you can enjoy clear, balanced, and captivating audio during your TV activities.
As you embark on this audio-enhancing journey, remember that the integration of a microphone with your TV is not merely a technical endeavor; it’s an opportunity to unlock creativity, foster meaningful connections, and infuse your entertainment experiences with the power of your voice. Whether you’re belting out your favorite tunes, engaging in lively discussions, or immersing yourself in the world of gaming, the microphone serves as a conduit for self-expression and audio enrichment.
By embracing the seamless integration of microphones with your TV, you can embark on a sonic adventure, where every word, note, and sound is amplified, celebrated, and shared within the vibrant tapestry of your home entertainment ecosystem.