Home>Devices & Equipment>Microphone>How To Record Microphone And Speakers With Audacity
Microphone
How To Record Microphone And Speakers With Audacity
Modified: February 18, 2024
Learn how to record microphone and speakers with Audacity using our step-by-step guide. Capture high-quality audio for your projects with ease.
(Many of the links in this article redirect to a specific reviewed product. Your purchase of these products through affiliate links helps to generate commission for AudioLover.com, at no extra cost. Learn more)
Table of Contents
Introduction
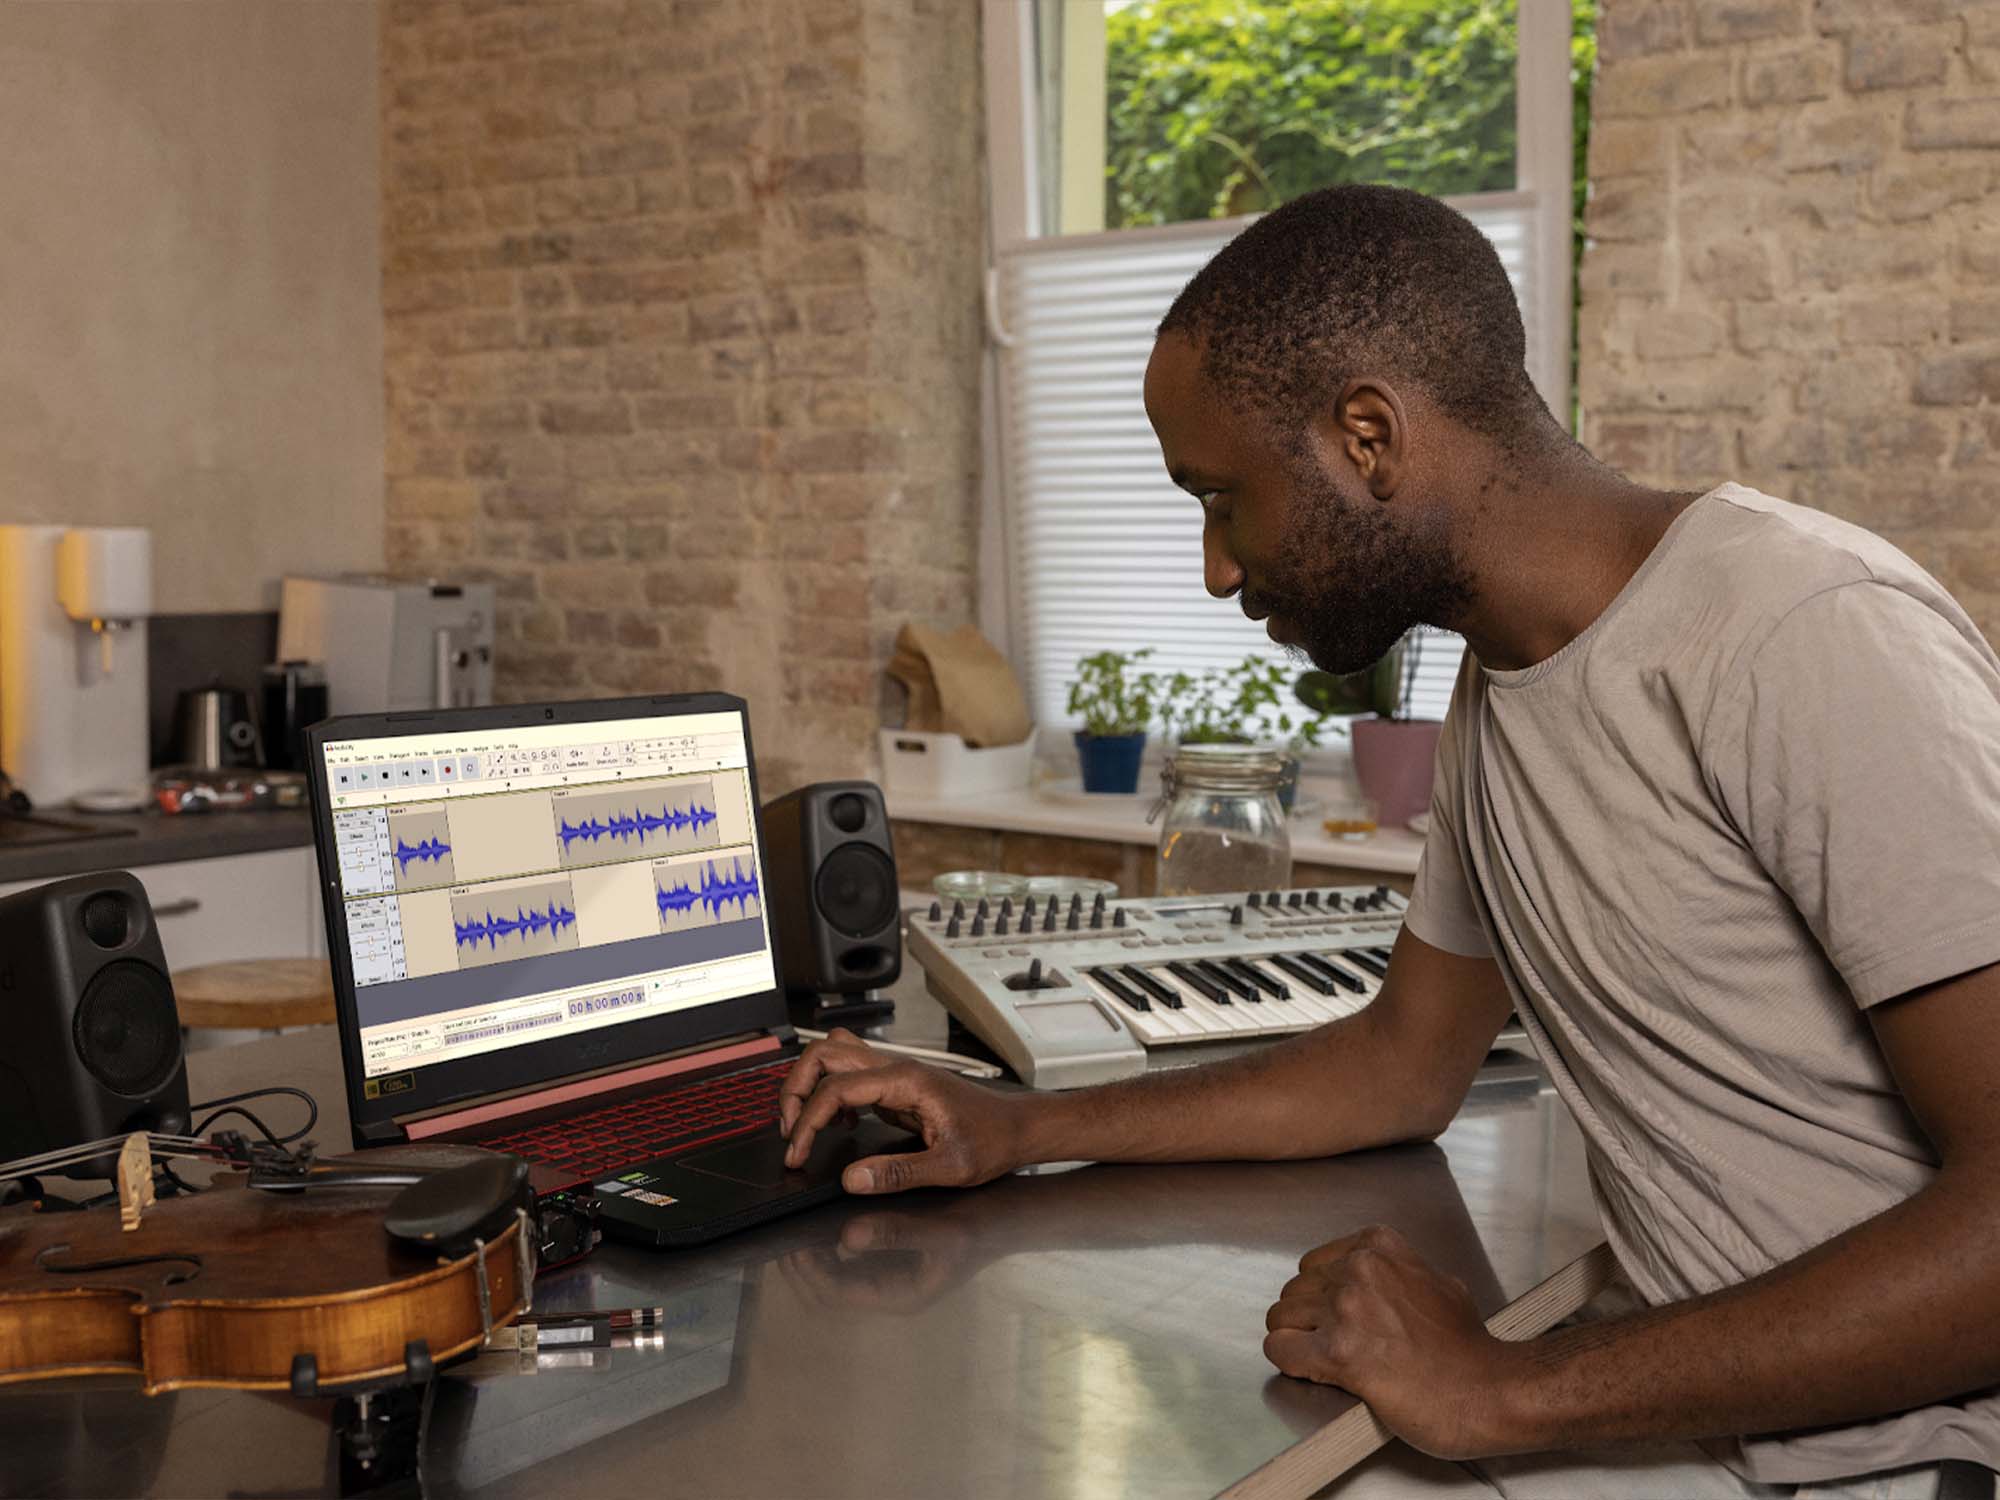
Recording audio with a microphone is a fundamental aspect of creating podcasts, music, voice-overs, and various other audio projects. Whether you are a seasoned professional or a novice enthusiast, understanding how to effectively capture audio using a microphone and Audacity, a popular open-source recording software, is crucial.
In this article, we will delve into the process of recording both microphone input and speaker output simultaneously using Audacity. This capability is particularly useful for creating tutorials, conducting interviews over video calls, capturing online streaming audio, and more. By comprehensively exploring the setup and recording procedures, you will gain the knowledge and confidence to undertake this task with ease.
We will begin by outlining the essential steps for configuring Audacity to facilitate the simultaneous recording of microphone and speakers. Subsequently, we will delve into the process of effectively capturing audio from these sources. Following this, we will explore the post-recording phase, focusing on editing and saving the recorded content.
By the end of this article, you will be equipped with the expertise to seamlessly record microphone and speaker audio using Audacity, empowering you to bring your audio projects to life with precision and clarity. Let's embark on this insightful journey into the realm of audio recording and editing.
Setting up Audacity for Recording
Prior to embarking on the process of recording microphone and speaker audio, it is imperative to configure Audacity to ensure optimal performance. The following steps will guide you through the setup process:
- Download and Install Audacity: Begin by downloading Audacity from the official website and following the installation instructions for your specific operating system. Once installed, launch the application to initiate the setup process.
- Select Audio Host and Recording Device: Navigate to the “Edit” menu and click on “Preferences.” In the “Devices” section, choose the appropriate audio host, such as Windows WASAPI or MME for Windows, or Core Audio for macOS. Then, select the microphone as the recording device to capture audio input.
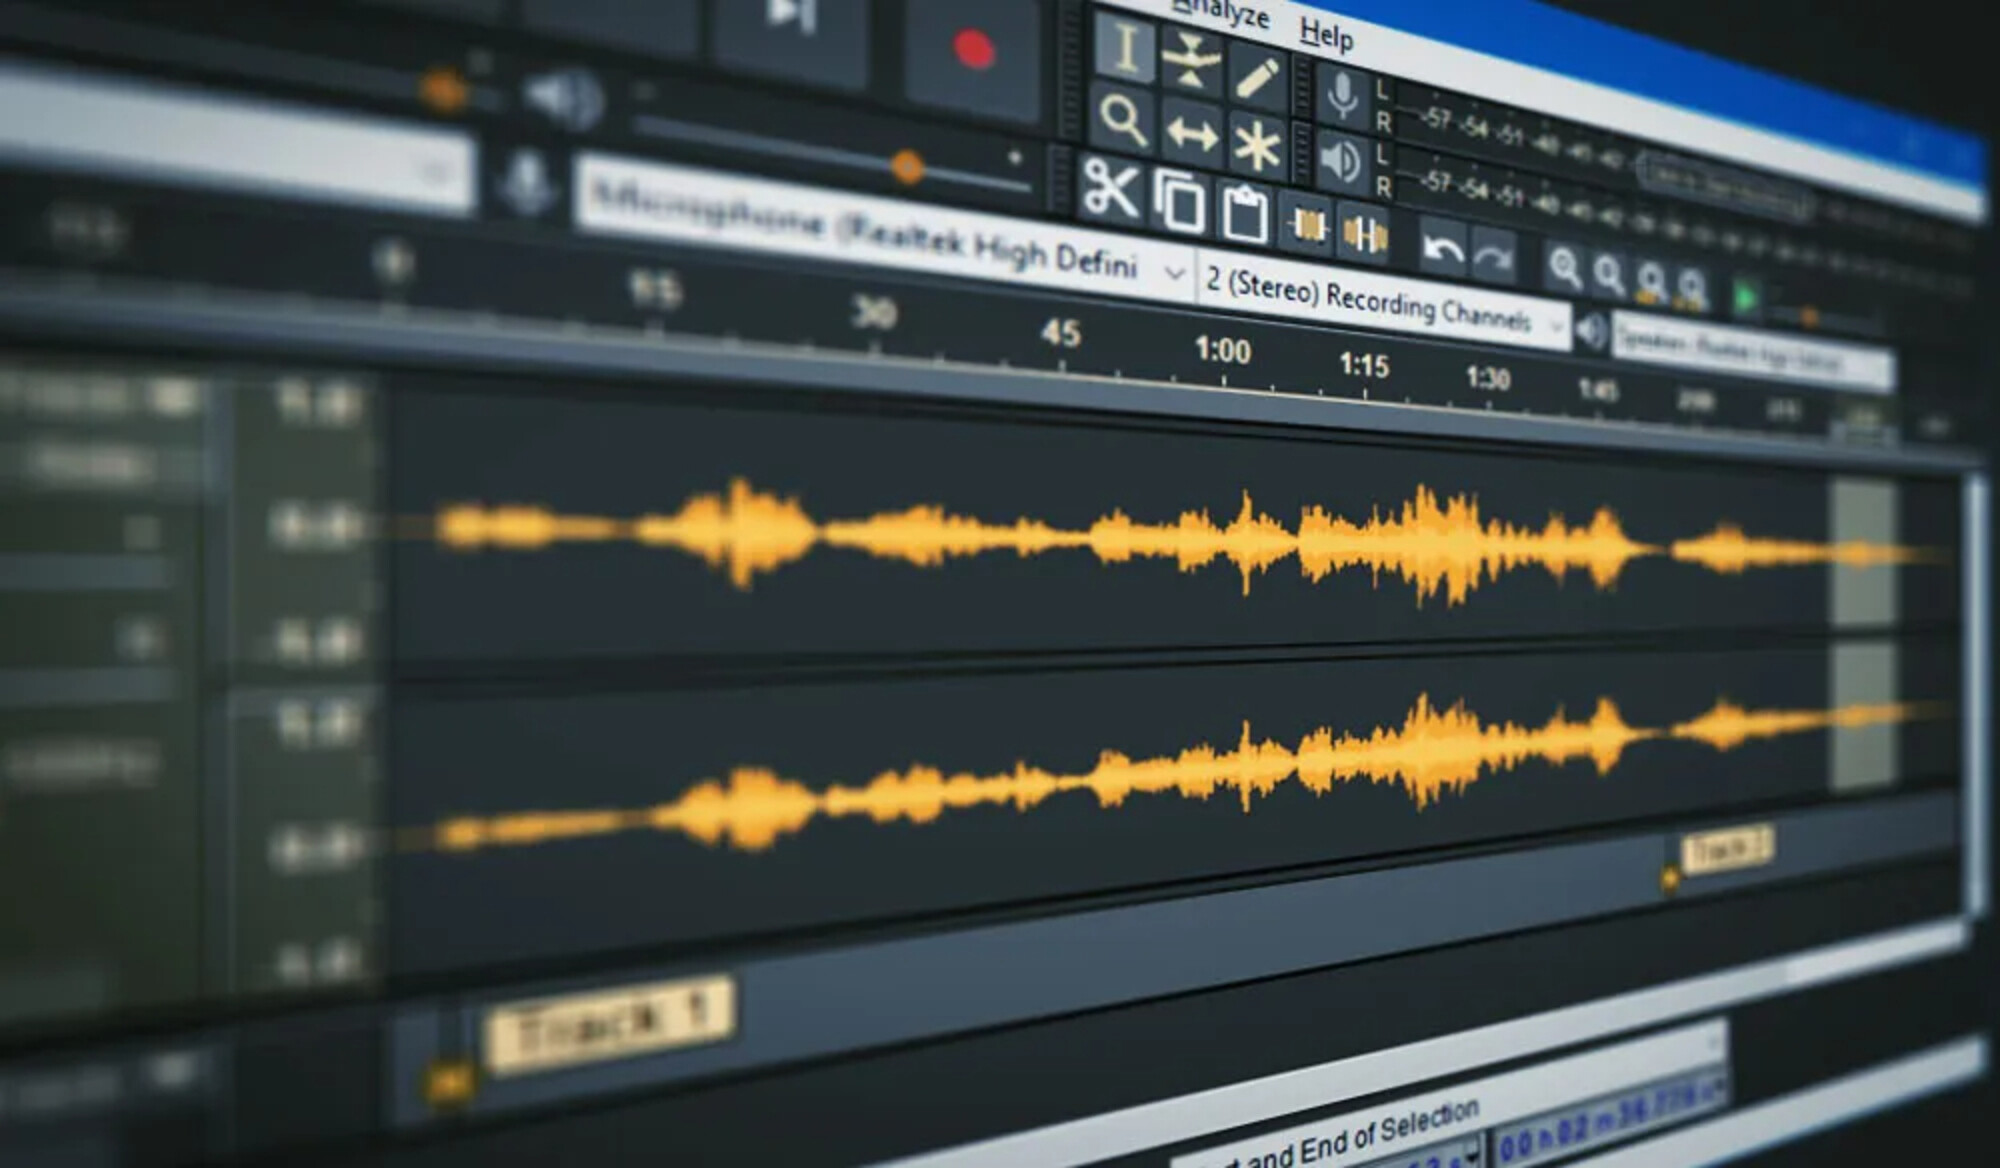
- Configure Recording Channels: In the “Devices” section of the Preferences menu, specify the recording channels. To record both microphone and speaker audio simultaneously, ensure that the input channels are set to capture audio from the microphone and the output channels are configured to record the system’s audio output.
- Adjust Recording Levels: Properly setting the recording levels is crucial to achieving high-quality audio recordings. Use the input volume controls to adjust the microphone input level, ensuring that it is neither too low, resulting in inaudible recordings, nor too high, leading to distortion.
- Test Recording Settings: Before commencing the actual recording, perform a test run to verify that both the microphone and speakers are being captured effectively. Speak into the microphone while playing audio through the speakers to confirm that the recording levels are balanced and the audio is being captured as intended.
By meticulously configuring Audacity according to these guidelines, you will establish an optimal recording environment, setting the stage for a seamless and efficient recording process. With the setup complete, you are now ready to proceed to the next phase: capturing microphone and speaker audio simultaneously.
Recording Microphone and Speakers Simultaneously
Once Audacity is appropriately configured, you can proceed to capture audio from both the microphone and speakers simultaneously. This capability is particularly valuable for scenarios such as recording online interviews, capturing audio from video calls, or creating instructional content. The following steps outline the process of recording microphone and speaker audio simultaneously using Audacity:
- Initiate the Recording: With Audacity open and the recording settings configured, click the “Record” button to commence the recording process. Ensure that the microphone is positioned correctly and that the audio you wish to capture from the speakers is ready to play.
- Speak Clearly and Monitor Audio Output: As you speak into the microphone, monitor the audio output from the speakers to ensure that both sources are being captured effectively. Adjust the microphone position and recording levels as necessary to achieve optimal audio quality.
- Capture the Desired Content: Whether you are conducting an interview, delivering a presentation, or recording a tutorial, continue speaking and playing audio through the speakers to capture the desired content. Maintain a steady pace and articulate your speech to ensure clarity in the recorded audio.
- Pause and Resume as Needed: If there are breaks in the audio content or pauses in the presentation, utilize the pause button in Audacity to temporarily halt the recording. Resume the recording when the audio activity resumes, allowing for seamless capturing of the entire session.
- Monitor Recording Levels: Throughout the recording process, keep an eye on the recording levels displayed in Audacity. Ensure that the levels remain within optimal ranges, avoiding clipping or excessively low volumes, which can compromise the quality of the recorded audio.
By following these steps, you can effectively record audio from both the microphone and speakers simultaneously, leveraging Audacity’s capabilities to capture a comprehensive audio experience. With the recording complete, you are now ready to transition to the post-recording phase, where you will have the opportunity to edit and save the captured audio content.
Editing and Saving the Recording
Following the successful capture of microphone and speaker audio using Audacity, the next crucial phase involves editing and saving the recorded content. This process allows you to refine the audio, remove any imperfections, and export the final recording in your preferred format. The following steps will guide you through the editing and saving process:
- Review the Recorded Content: Upon completing the recording, take the time to listen to the captured audio in its entirety. This step enables you to identify any sections that may require editing, such as background noise, pauses, or any unintended audio artifacts.
- Trim and Remove Unwanted Segments: Utilize Audacity’s editing tools to trim the audio and remove any unwanted segments. This may involve cutting out pauses, eliminating background noise, or refining specific sections to enhance the overall quality of the recording.
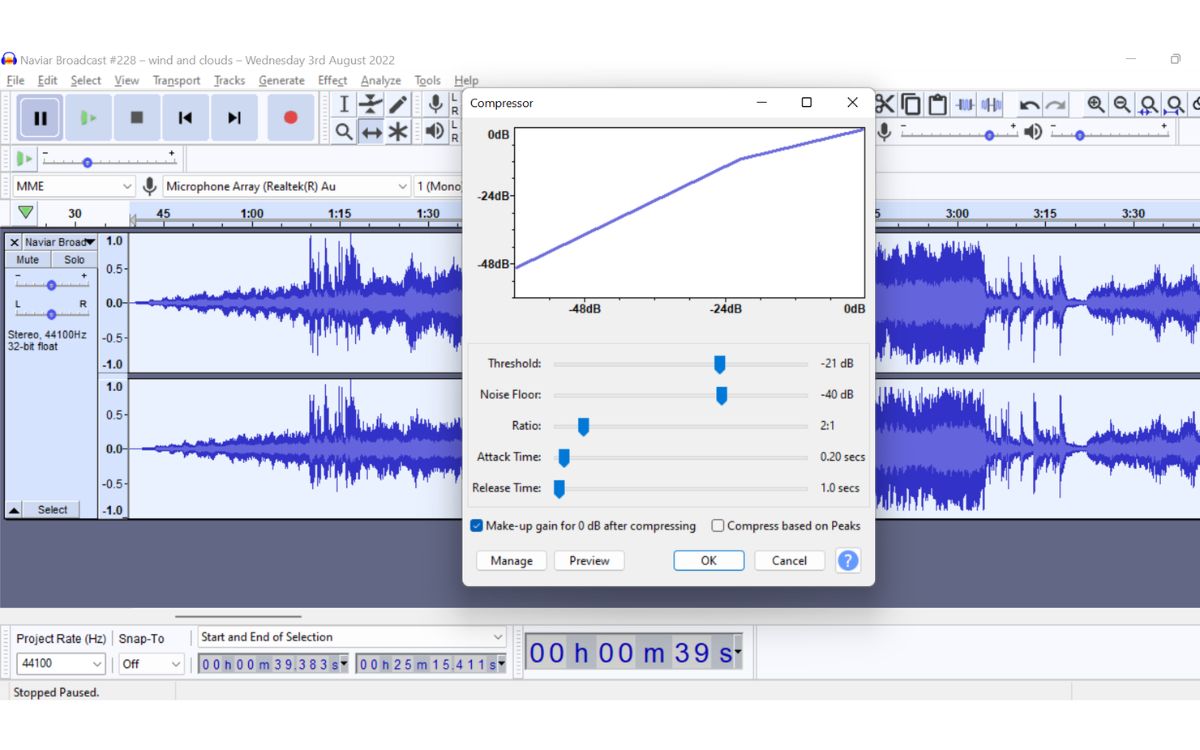
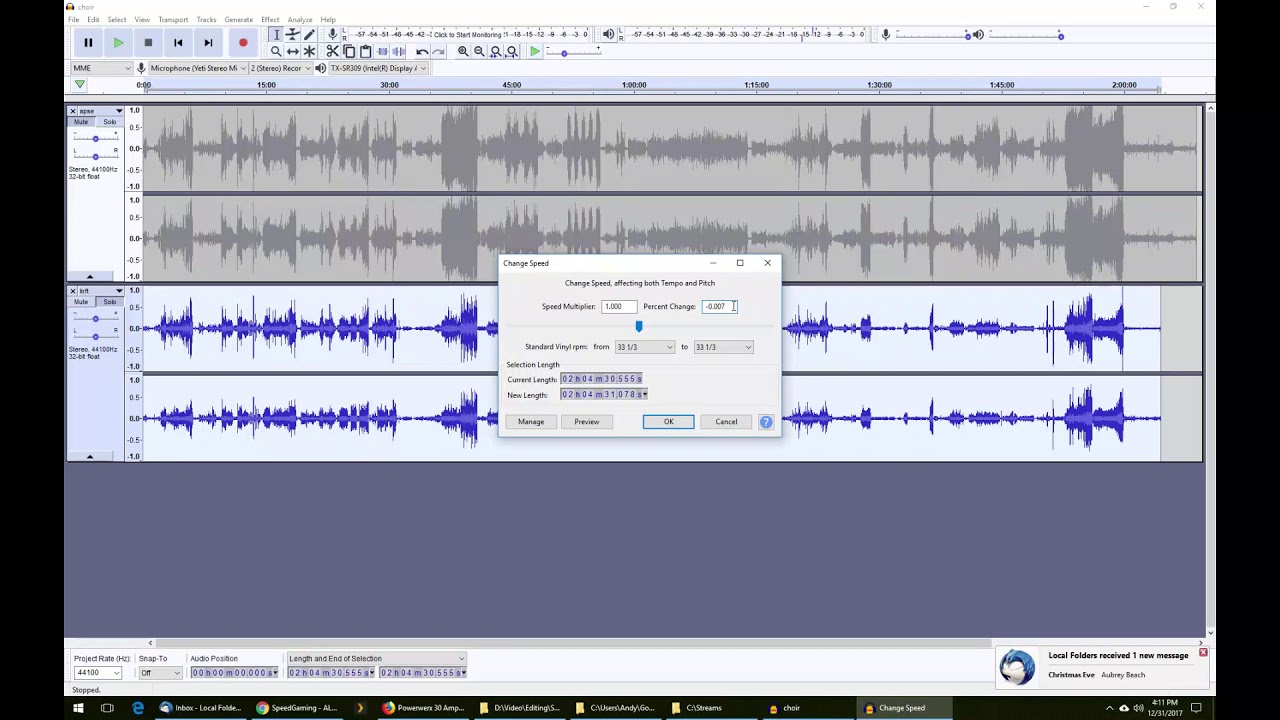
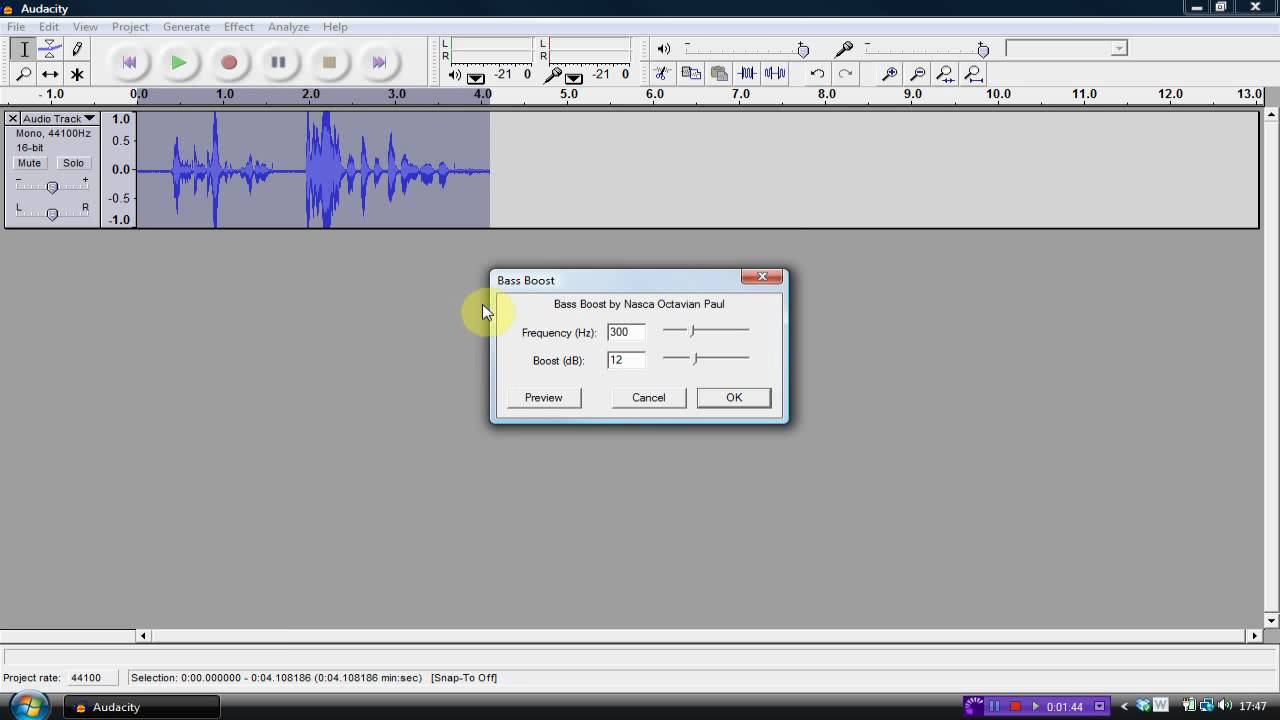
- Apply Audio Effects if Desired: Audacity offers a range of audio effects that can be applied to the recording, such as equalization, compression, and noise reduction. Assess the audio and apply effects as needed to achieve the desired sound quality and clarity.
- Adjust Volume and Balance: Ensure that the volume levels of the recorded audio are balanced and consistent. Use Audacity’s volume adjustment tools to refine the overall audio balance, preventing any sections from being excessively loud or quiet.
- Export the Recording: Once the editing process is complete, navigate to Audacity’s export options to save the recording in your preferred audio format, such as MP3, WAV, or FLAC. Specify the desired file name and location for the saved recording, and adjust any additional export settings as necessary.
- Save a Backup Copy: As a best practice, consider saving a backup copy of the edited recording in a separate location. This precaution ensures that you have a duplicate of the refined audio in case of any unforeseen issues with the primary saved file.
By diligently following these steps, you can effectively edit and save the recorded microphone and speaker audio, refining it to meet your specific requirements. Whether you are creating a podcast, tutorial, or any other audio project, the ability to seamlessly edit and save your recordings is essential for achieving professional and polished results.
Conclusion
Embarking on the journey of recording microphone and speaker audio with Audacity has equipped you with the knowledge and skills to capture comprehensive and high-quality audio content. By meticulously configuring Audacity, recording both microphone and speaker audio simultaneously, and seamlessly editing and saving the captured content, you have unlocked the potential to bring your audio projects to life with precision and finesse.
As you navigate the realm of audio recording and editing, it is essential to embrace the creative possibilities that this process offers. Whether you are crafting engaging podcasts, producing captivating tutorials, or conducting insightful interviews, the ability to capture and refine audio with Audacity empowers you to express your creativity and share your message with clarity and impact.
Furthermore, the knowledge gained from this endeavor opens the door to a myriad of opportunities in the audio production landscape. With the ability to skillfully record and edit microphone and speaker audio, you are well-equipped to explore diverse avenues, including voice-over work, music production, e-learning content creation, and beyond.
Ultimately, the journey of recording microphone and speaker audio with Audacity transcends technical proficiency; it is a gateway to storytelling, communication, and expression. As you harness the capabilities of Audacity and refine your skills in audio recording and editing, you are poised to embark on a fulfilling and enriching creative endeavor, where your voice and vision can resonate with audiences around the world.
So, go forth with confidence, armed with the expertise to capture, refine, and share your audio creations. Let your passion for audio production merge seamlessly with the technical prowess you have acquired, and unleash the full potential of your creativity through the captivating medium of sound.