Home>Devices & Equipment>Music Box>How To Clean Disc Music Box
Music Box
How To Clean Disc Music Box
Published: January 12, 2024
Learn how to clean your disc music box and keep it in perfect condition. Use our expert tips and techniques to maintain the sound quality and longevity of your music box.
(Many of the links in this article redirect to a specific reviewed product. Your purchase of these products through affiliate links helps to generate commission for AudioLover.com, at no extra cost. Learn more)
Table of Contents
Introduction
Welcome to the world of music boxes! These charming and nostalgic devices have been enchanting people for centuries with their delicate melodies and intricate designs. If you are the proud owner of a disc music box, you know just how special it is. However, over time, these treasured heirlooms can accumulate dust and dirt, which can affect their performance and appearance.
In this article, we will guide you through the process of cleaning your disc music box, ensuring that it remains in optimal condition for years to come. Gathering the right supplies, understanding the different parts of your music box, and knowing how to effectively clean both the exterior and interior are essential steps in maintaining its beauty and functionality.
Whether you inherited your disc music box or purchased it yourself, taking the time to clean and care for it properly will not only preserve its value but also allow you to continue enjoying its magical melodies.
Now, let’s dive into the world of disc music boxes and learn how to clean them with ease and precision. Get ready to embark on a journey that will revive the beauty and charm of your beloved music box!
Gathering the Supplies
Before you begin cleaning your disc music box, it’s important to gather the necessary supplies. Having the right tools at hand will ensure that the cleaning process goes smoothly and efficiently. Here are the essential supplies you will need:
- Soft, lint-free cloth: This will be used to wipe the exterior and interior of the music box without scratching the delicate surfaces.
- Cotton swabs: These are perfect for reaching small, intricate areas that a cloth might not be able to access.
- Mild dish soap: Dilute a small amount of mild dish soap in water to create a gentle cleaning solution.
- Small soft brush: A soft brush, such as a paintbrush or makeup brush, can be used to remove dust and dirt from hard-to-reach corners or crevices.
- Rubber gloves: It’s always a good idea to protect your hands while cleaning to avoid any potential allergies or skin irritation.
- Canned air: This can be used to blow away dust particles from sensitive parts of the music box without causing damage.
- Optional: Cleaning solution for stubborn stains: If you encounter tough stains or sticky residue, you may need a specialized cleaning solution. Make sure it is safe to use on the material of your music box.
By gathering these supplies, you will be well-prepared to clean your disc music box thoroughly and safely. It’s important to note that you should avoid using harsh chemicals or abrasive materials, as they can damage the delicate components of your music box. With the right tools in hand, let’s move on to preparing the music box for cleaning!
Preparing the Disc Music Box
Before diving into the actual cleaning process, it’s essential to prepare your disc music box to ensure a successful and safe cleaning session. Here are the steps to follow:
- Inspect the music box: Take a close look at your music box to identify any visible damage or loose parts. If you notice any issues, such as loose screws or broken components, it’s best to consult with a professional repair technician before attempting to clean the box.
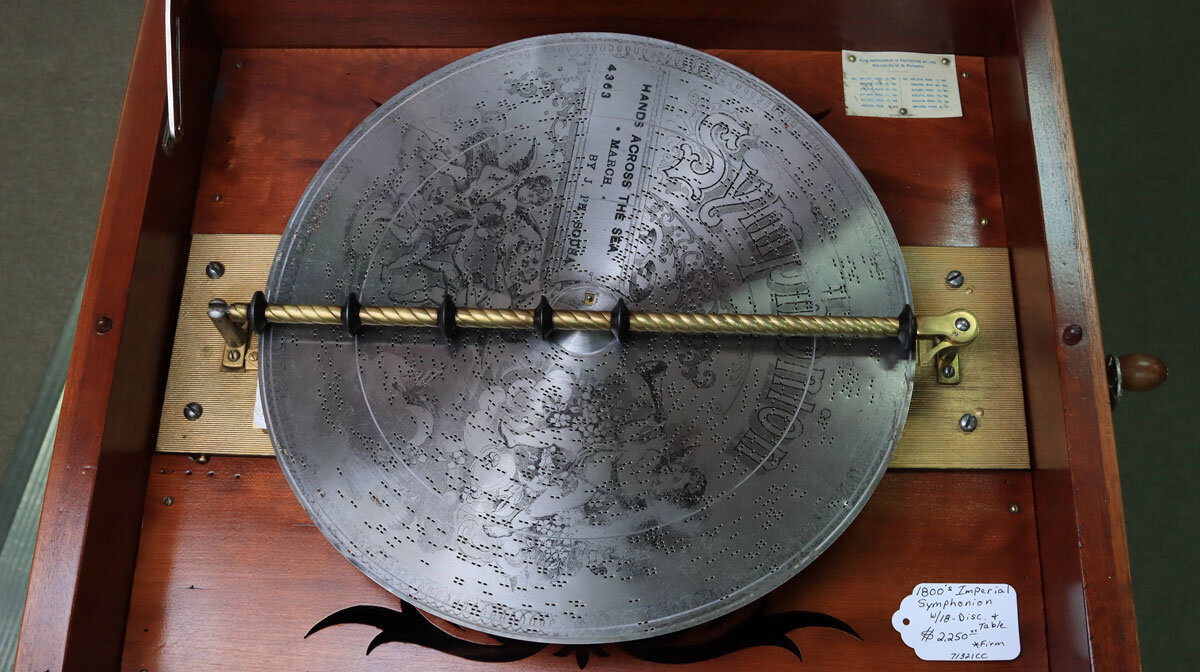
- Remove the disc: Most disc music boxes feature a removable disc that holds the song arrangements. Carefully remove the disc from the music box, making sure to handle it gently to avoid any damage.
- Turn off the movement: If your music box has an on/off switch or a winding mechanism, make sure to turn it off or stop the movement before cleaning. This will prevent any accidental activation or damage to the delicate mechanisms.
- Protect delicate parts: If your music box has any fragile or sensitive parts, such as glass or decorative figurines, consider covering them with a soft cloth or tissue paper to prevent any accidental damage during the cleaning process.
Preparing your music box in these ways will help ensure that you can clean it thoroughly while minimizing the risk of causing any harm to its delicate components. Once you’ve taken these necessary precautions, you’re ready to move on to cleaning the exterior of your disc music box.
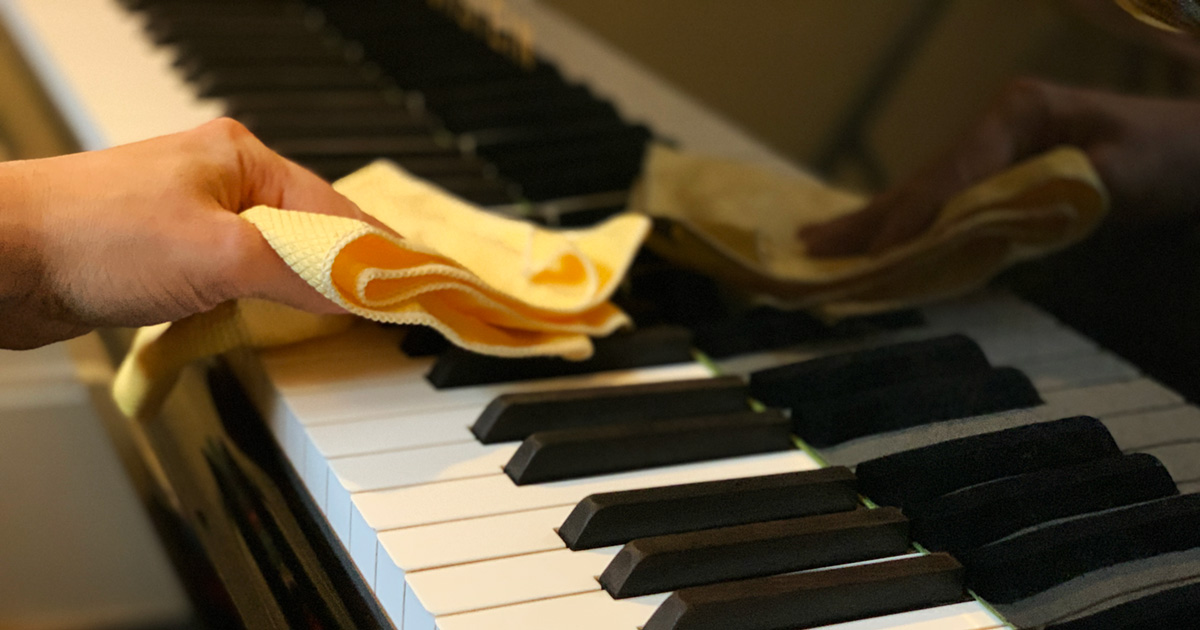
Cleaning the Exterior
The exterior of your disc music box is the first thing that catches the eye, so it’s important to clean it properly to restore its original beauty. Follow these steps to clean the exterior of your music box:
- Dust off the surface: Start by using a soft, lint-free cloth to gently remove any dust or debris from the exterior of the music box. Be thorough but take care not to apply too much pressure to avoid scratching the surface.
- Use a damp cloth: Moisten a soft cloth with a mixture of mild dish soap and water. Make sure the cloth is only lightly dampened, not wet. Gently wipe the exterior of the music box, paying attention to intricate details or crevices. Avoid getting the cloth too wet, as excessive moisture can damage the surface.
- Pay attention to metal parts: If your music box has metal accents or overlays, use a soft cloth to clean them. For tarnished metal, you can use a specialized metal cleaner or a suitable polishing cloth to restore its shine.
- Dry the exterior: Once you have cleaned the exterior, use a dry, lint-free cloth to thoroughly dry the surface. Ensure that no moisture is left behind as it can cause damage to the wood or metal components.
Remember to always be gentle and take your time when cleaning the exterior. Avoid using harsh chemicals or abrasive materials that can damage the delicate surfaces. Now that the exterior of your music box is clean, it’s time to move on to cleaning the interior to ensure optimum performance and sound quality.
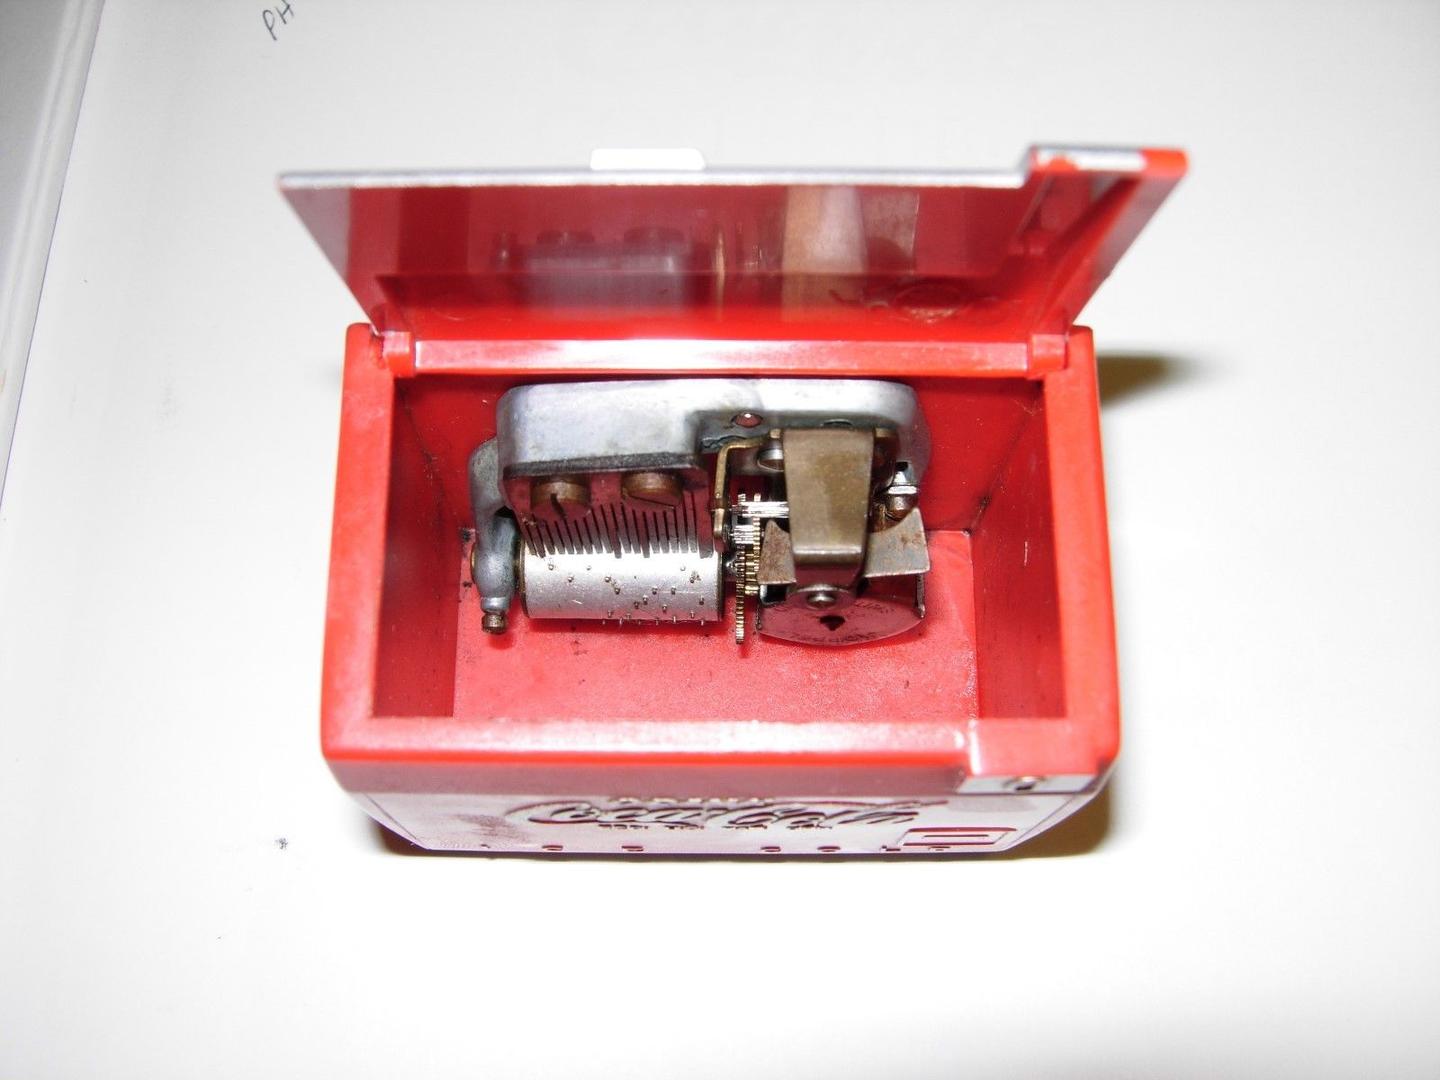
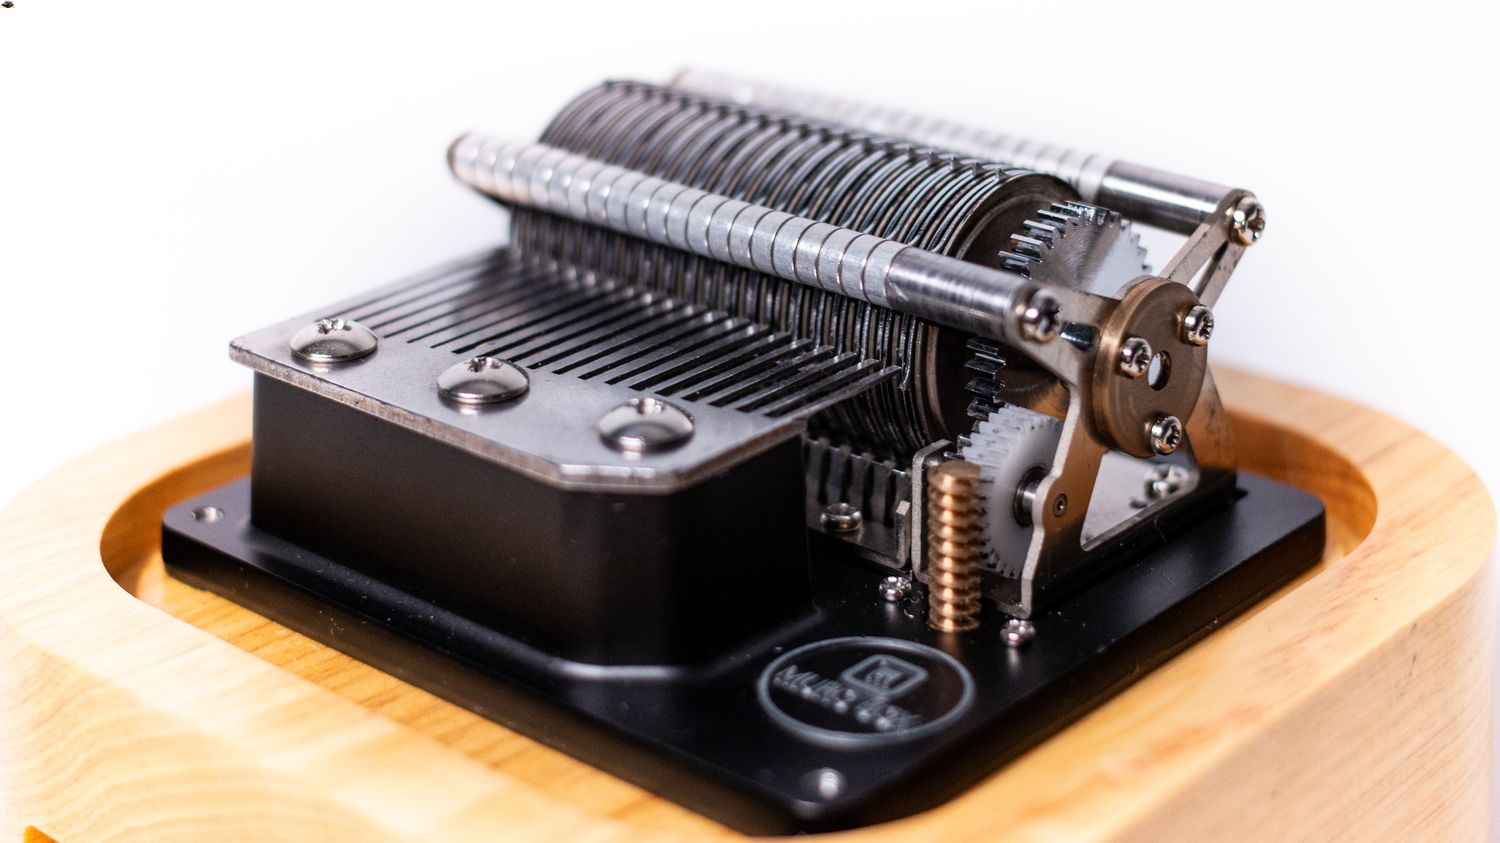
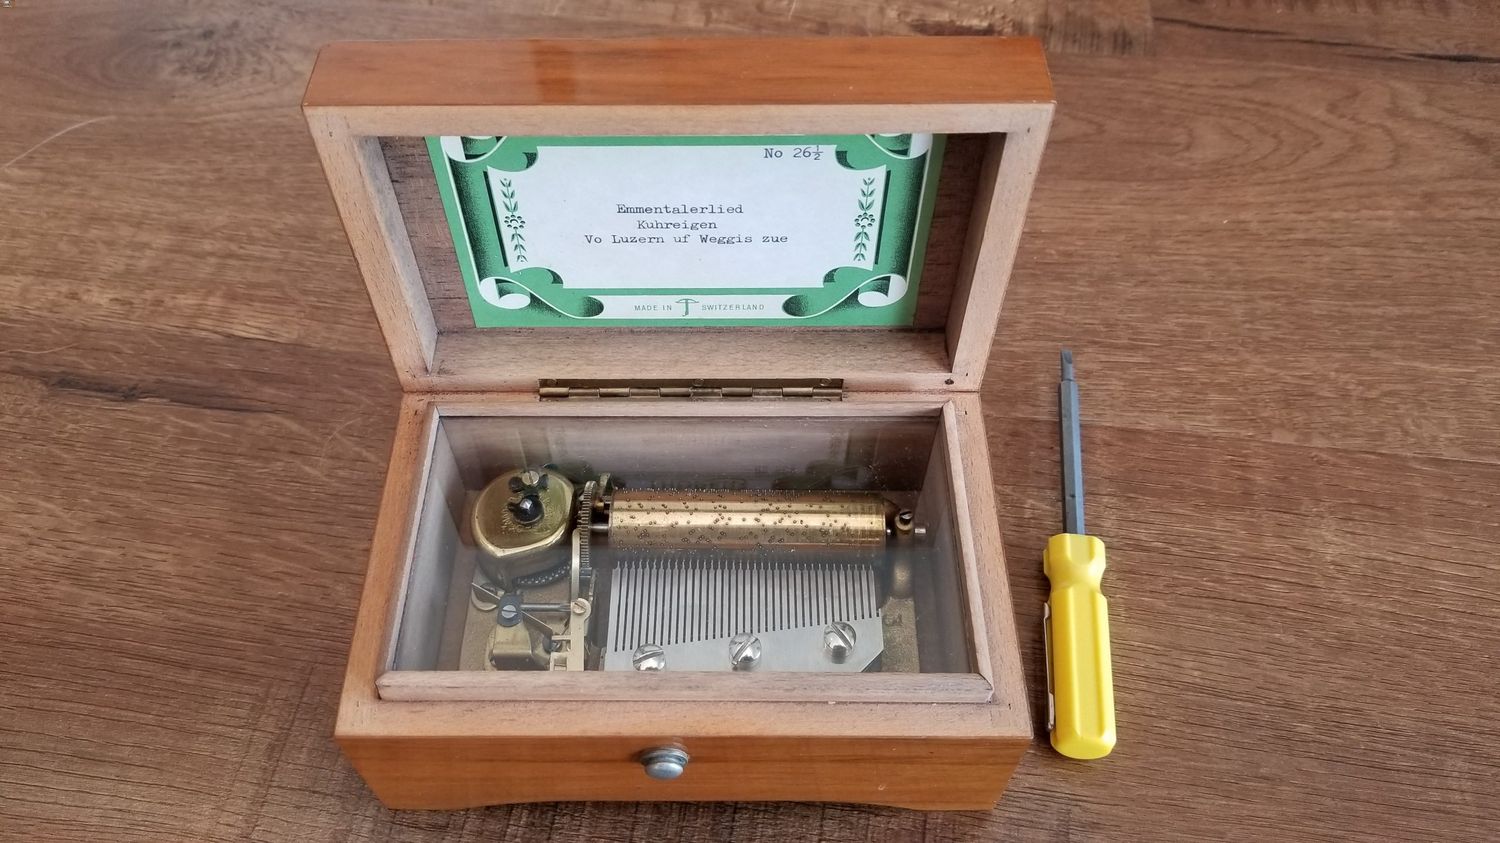
Cleaning the Interior
The interior of your disc music box plays a crucial role in producing the beautiful melodies it is known for. Cleaning the interior will not only maintain its performance but also ensure the longevity of the delicate components. Here’s how you can clean the interior of your music box:
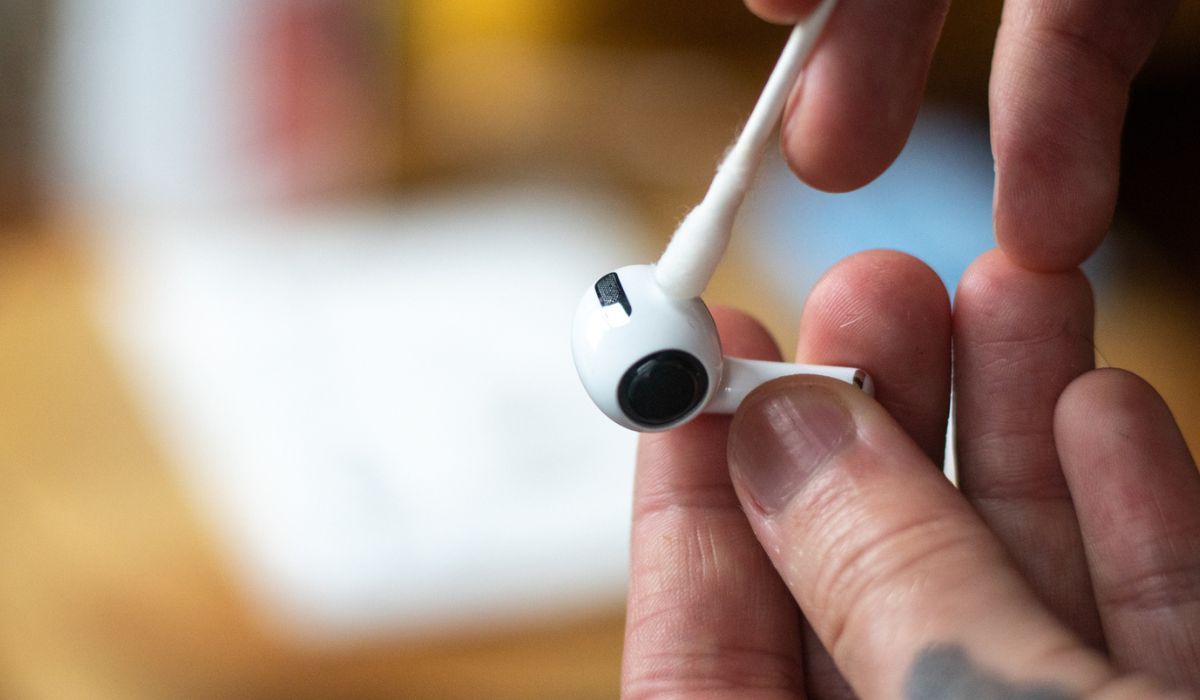
- Inspect the interior: Carefully examine the inside of the music box for any dust, debris, or loose parts that may interfere with its operation. Use a soft brush or cotton swab to remove any visible dirt or dust.
- Blow away dust: Utilize canned air in short and controlled bursts to blow away any remaining dust or debris from the interior of the music box. Hold the can upright and maintain a safe distance to prevent any condensation or forceful air from damaging the components.
- Clean the comb: The comb, which produces the music box’s sound, requires special attention. Gently run a clean and dry cotton swab along the teeth of the comb to remove any accumulated dirt or residue. Take care not to apply excessive pressure or bend the teeth.
- Address sticky keys or levers: If you find that certain keys or levers are sticking, you can use a cotton swab slightly dampened with rubbing alcohol to carefully clean them. Be sure to let the alcohol evaporate completely before reactivating the music box.
- Ensure proper alignment: Check that all the key pins and levers are properly aligned. If any keys or levers have become misaligned, gently move them back into their correct position using your fingers or a small tool.
By cleaning the interior of your music box, you are ensuring that all components are free from dirt and debris, allowing for smooth operation and optimal sound quality. Once you have thoroughly cleaned the interior, it’s important to address any stubborn stains or dirt that may require extra attention.
Removing Stubborn Stains or Dirt
While most dirt and stains can be effectively removed with gentle cleaning methods, there may be instances where you encounter stubborn stains or dirt that require a bit more effort. Here are some techniques you can try to remove stubborn stains or dirt from your disc music box:
- Spot cleaning: If you notice a small area with a stubborn stain, you can try using a cotton swab or a soft cloth slightly dampened with a specialized cleaning solution. Gently dab the stained area, being careful not to over-saturate the fabric.
- Non-abrasive cleaners: For tougher stains or dirt, you can use non-abrasive cleaners specifically formulated for the material of your music box. Make sure to read the instructions and test the cleaner in an inconspicuous area to ensure it doesn’t cause any damage.
- Stain removal guide: If you are unsure how to treat a specific type of stain, consult a stain removal guide or seek professional advice. Different materials may require different cleaning methods, so it’s important to use appropriate techniques to avoid damaging your music box.
- Professional cleaning: If you have exhausted all your options or if your disc music box is extremely valuable or delicate, it’s best to seek professional cleaning services. They have the expertise and specialized equipment to handle intricate and valuable pieces without causing harm.
Remember to always exercise caution when attempting to remove stubborn stains or dirt. Proceed with small, gentle steps to avoid any unintentional damage. Additionally, it’s crucial to thoroughly dry the cleaned area and ensure that no cleaning residue is left behind.
Now that you know how to deal with stubborn stains or dirt, it’s time to move on to the final steps of the cleaning process – drying and adding those finishing touches.
Drying and Final Touches
After completing the cleaning process, it’s important to properly dry your disc music box and add those final touches to ensure its preservation and visual appeal. Here are the steps to follow:
- Air drying: Allow your music box to air dry in a well-ventilated area. Avoid using heat sources such as hair dryers, as they can cause damage to delicate components.
- Inspect for moisture: Once the music box is dry, inspect it closely to ensure there is no residual moisture. Gently pat dry any areas that may still be damp using a clean, lint-free cloth.
- Apply a protective polish: If your music box has a wooden or metal exterior, you may consider applying a protective polish to enhance its shine and provide a barrier against future dust and dirt. Use a polish specially formulated for the material of your music box, following the manufacturer’s instructions.
- Reassemble the music box: Once the exterior is dry and polished, carefully reassemble the music box, ensuring that all components are properly aligned and in their correct positions. Take your time to avoid any mishaps or damage during reassembly.
- Display with care: Place your clean and dry disc music box in a safe and appropriate display area, away from direct sunlight, extreme temperatures, and excessive humidity. This will help protect it from potential damage and preserve its beauty for years to come.
By following these steps, you will complete the cleaning process and restore your disc music box to its former glory. Remember to handle it with care and clean it regularly to prevent the buildup of dirt and debris.
Now that you have learned how to effectively clean and care for your disc music box, you can continue enjoying the enchanting melodies and timeless beauty it brings to your life. Take pride in owning this cherished treasure and keep it well-maintained for generations to come.
Happy cleaning!
Conclusion
Cleaning and caring for your disc music box is a labor of love that ensures its longevity and preserves its aesthetic appeal. By following the steps outlined in this guide, you can confidently clean your music box without the fear of causing any damage or compromising its delicate components.
Gathering the necessary supplies, preparing the music box, and taking the time to clean both the exterior and interior will help maintain its beauty and functionality. Remember to be gentle, use appropriate cleaning solutions, and avoid harsh chemicals or abrasive materials that can harm the delicate surfaces.
Removing stubborn stains or dirt may require a bit more effort, but with patience and the right techniques, you can restore your music box to its original charm. In cases where you have concerns or your music box is particularly valuable or fragile, consulting a professional for cleaning services is recommended.
After the cleaning process, ensure your music box is thoroughly dry before reassembling and displaying it with care. Regular cleaning and proper maintenance will not only prolong the life of your music box but also ensure that it continues to bring joy and mesmerizing melodies for generations to come.
Remember, your disc music box is not just a decorative piece; it is a treasure that holds sentimental value. By investing time and effort into its care, you can pass down a cherished heirloom to future generations, carrying on the legacy of enchanting music and timeless beauty.
So, go ahead and embark on the journey of cleaning your disc music box. Embrace the magic that unfolds as you delicately restore its allure, and delight in the melodies that fill your heart and home.