Home>Production & Technology>Stereo>How To Remove Stereo From 2006 F150
Stereo
How To Remove Stereo From 2006 F150
Published: November 25, 2023
Learn how to remove the stereo from your 2006 F150 and upgrade your audio system. Expert tips and step-by-step instructions to enhance your driving experience.
(Many of the links in this article redirect to a specific reviewed product. Your purchase of these products through affiliate links helps to generate commission for AudioLover.com, at no extra cost. Learn more)
Table of Contents
- Introduction
- Tools and Materials Needed
- Step 1: Prepare the Work Area
- Step 2: Disconnect the Battery
- Step 3: Remove the Dash Trim Panels
- Step 4: Extract the Stereo Unit
- Step 5: Disconnect Wiring and Antenna Connections
- Step 6: Install the New Stereo Unit (Optional)
- Step 7: Reassemble the Dash Trim Panels
- Step 8: Reconnect the Battery
- Conclusion
Introduction
Upgrading the stereo system in your 2006 F150 can greatly enhance your driving experience. Whether you want to enjoy crystal-clear audio, integrate advanced features, or simply replace a malfunctioning unit, removing the old stereo is the first step. While it may seem like a daunting task, it can be accomplished with the right tools and a bit of patience.
In this article, we will guide you through the process of removing the stereo from your 2006 F150. We’ll provide step-by-step instructions to ensure a smooth and successful removal. With some basic knowledge and the necessary tools, you’ll be able to take on this project confidently.
Before we begin, it’s important to note that stereo removal procedures may vary slightly depending on the specific model and trim level of your F150. We recommend consulting your vehicle’s owner’s manual or seeking professional assistance if you have any doubts.
Now, let’s gather the tools and materials needed for the task at hand.
Tools and Materials Needed
Before you begin removing the stereo from your 2006 F150, make sure you have the following tools and materials on hand:
- Trim removal tools – These tools are designed to safely remove trim panels without causing damage to your vehicle’s interior. You can find various types of trim removal tools, such as plastic pry tools or trim removal wedges.
- Socket set and wrenches – You’ll need the appropriate sockets and wrenches to disconnect the battery and remove any screws or bolts holding the dash trim panels in place.
- Phillips and flathead screwdrivers – These will be used to remove screws or clips securing the stereo unit.
- Electrical tape – It’s always a good idea to have electrical tape on hand to secure any loose wiring connections.
- Rubbing alcohol and a microfiber cloth – These will come in handy for cleaning the dash trim panels and removing any dirt or grime.
- Optional: Replacement stereo unit – If you plan on installing a new stereo unit, make sure you have the appropriate replacement unit ready.
Having these tools and materials readily available will ensure a smooth and efficient stereo removal process. Now that you’re prepared, let’s move on to the first step – preparing the work area.
Step 1: Prepare the Work Area
Before you begin removing the stereo from your 2006 F150, it’s important to prepare the work area to ensure a safe and organized process. Follow these steps to properly prepare the work area:
- Find a well-lit and ventilated space – Working in a well-lit area will make it easier to see and handle small components. Ventilation is important to avoid inhaling any fumes that may be present.
- Park your vehicle in a safe location – Make sure your F150 is parked on a level surface and engage the parking brake to prevent any accidental movement.
- Open the windows – By opening the windows, you will allow fresh air to circulate and prevent the accumulation of any unpleasant odors or fumes.
- Gather your tools and materials – Ensure that you have all the necessary tools and materials mentioned earlier in this article within easy reach.
- Organize your workspace – Clear any clutter and create a designated area where you can place the trim panels, screws, and other components you’ll be removing.
- Protect the working surface – Lay a protective mat or cloth on the dashboard or any other surface where you’ll be working to prevent scratches or damage.
By following these preparatory steps, you’ll be setting yourself up for a smooth and efficient stereo removal process. With the work area ready, you can now proceed to the next step – disconnecting the battery.
Step 2: Disconnect the Battery
Before you begin removing the stereo from your 2006 F150, it’s crucial to disconnect the battery to prevent any electrical mishaps. Here’s how to disconnect the battery:
- Locate the battery – The battery is typically located in the engine compartment. Refer to your vehicle’s owner’s manual if you’re unsure of its exact location.
- Put on safety goggles and gloves – Handling a car battery can be hazardous, so it’s important to protect yourself by wearing safety goggles and gloves.
- Disconnect the negative terminal – Start by loosening the nut on the negative terminal using a wrench or socket. Once loosened, carefully lift the negative terminal off the battery post and set it aside.
- Disconnect the positive terminal – Repeat the same steps for the positive terminal, loosening the nut and removing the terminal from the battery post.
- Tuck the battery cables away from the terminals – To ensure that the battery cables don’t accidentally come into contact with the battery posts, tuck them away or cover them with a cloth.
By disconnecting the battery, you eliminate the risk of electrical shocks or short circuits while working on the stereo unit. Remember to exercise caution and be gentle when handling the battery terminals to avoid any damage. With the battery safely disconnected, you can now move on to the next step – removing the dash trim panels.
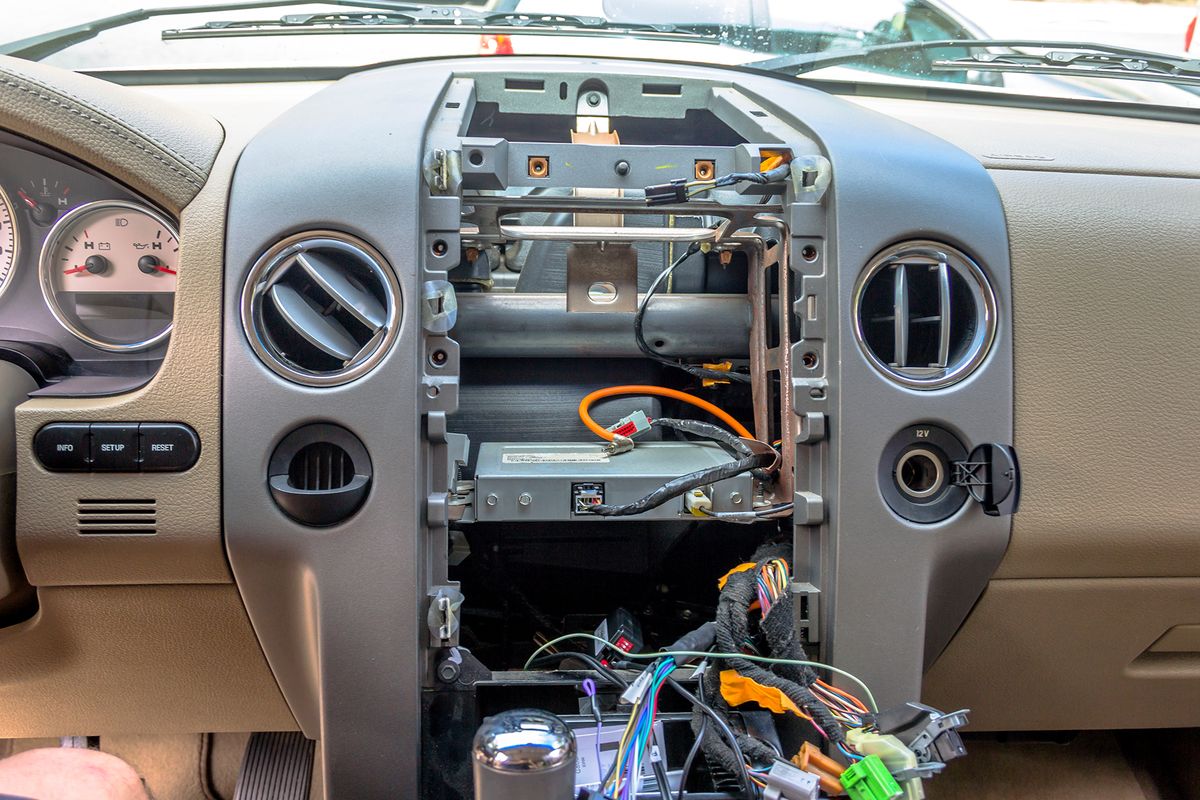
Step 3: Remove the Dash Trim Panels
Removing the dash trim panels is the next step in the process of removing the stereo from your 2006 F150. Follow these steps to remove the dash trim panels:
- Start with the lower trim panels – Begin by locating the lower trim panels surrounding the stereo unit. These panels are often held in place by clips or screws. Carefully pry the panels away using a trim removal tool, starting from the edges and working your way around.
- Move to the upper trim panels – Once the lower trim panels are removed, you can proceed to the upper trim panels. These are typically located above the stereo unit and may also be held in place by clips or screws. Again, use a trim removal tool to gently pry them away.
- Take note of any hidden screws – Some dash trim panels may have hidden screws behind covers or beneath other components. Be sure to check for any hidden screws and remove them using the appropriate tools.
- Set aside the trim panels – As you remove each trim panel, set them aside in a safe place. It’s a good idea to label or arrange them in the order of removal for easy reassembly later.
Removing the dash trim panels may require some patience and finesse. Take your time and be gentle to avoid damaging the panels or surrounding components. With the trim panels successfully removed, you’re ready to move on to the next step – extracting the stereo unit from the dashboard.
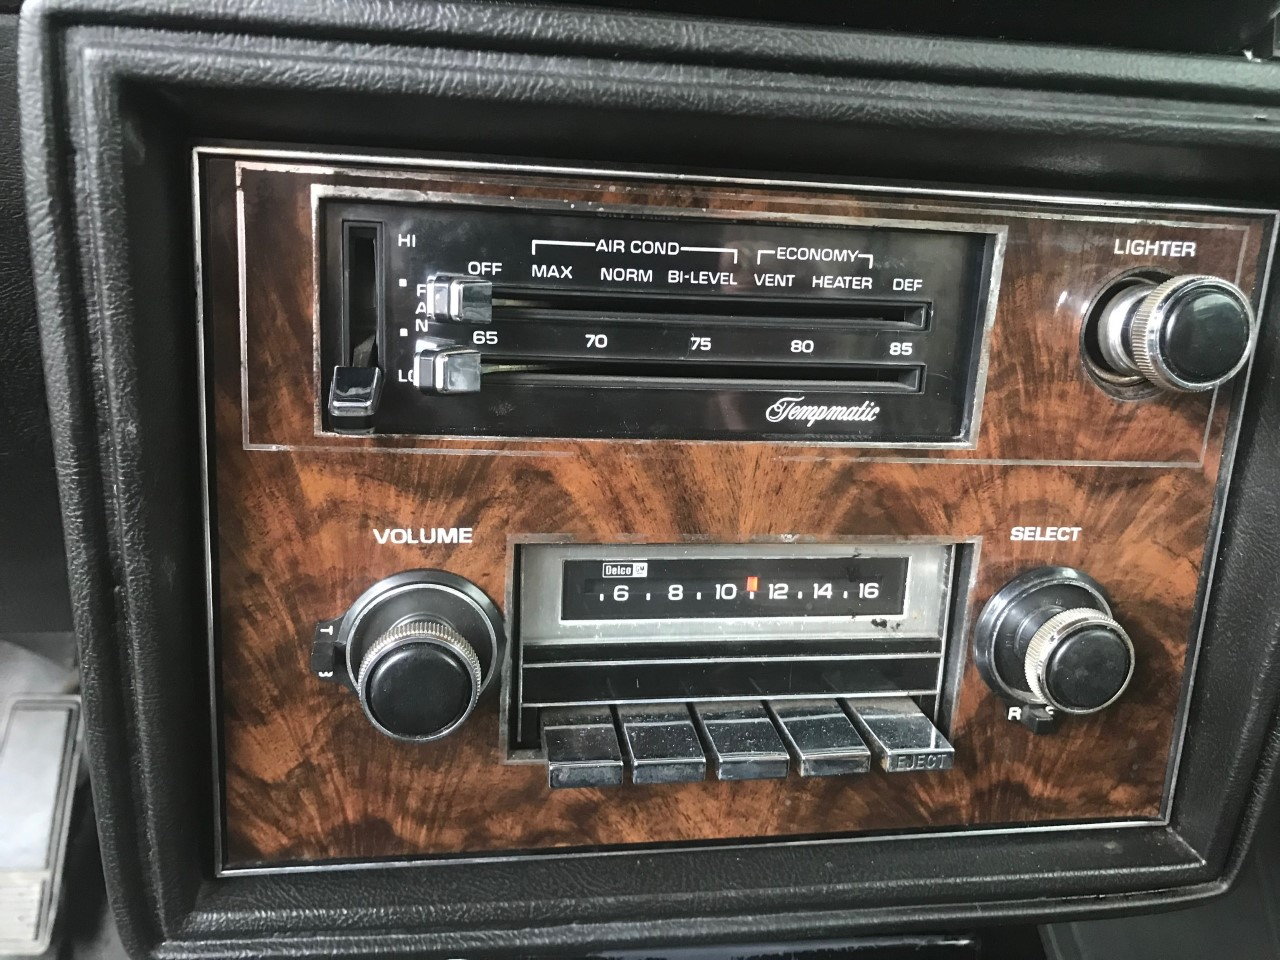
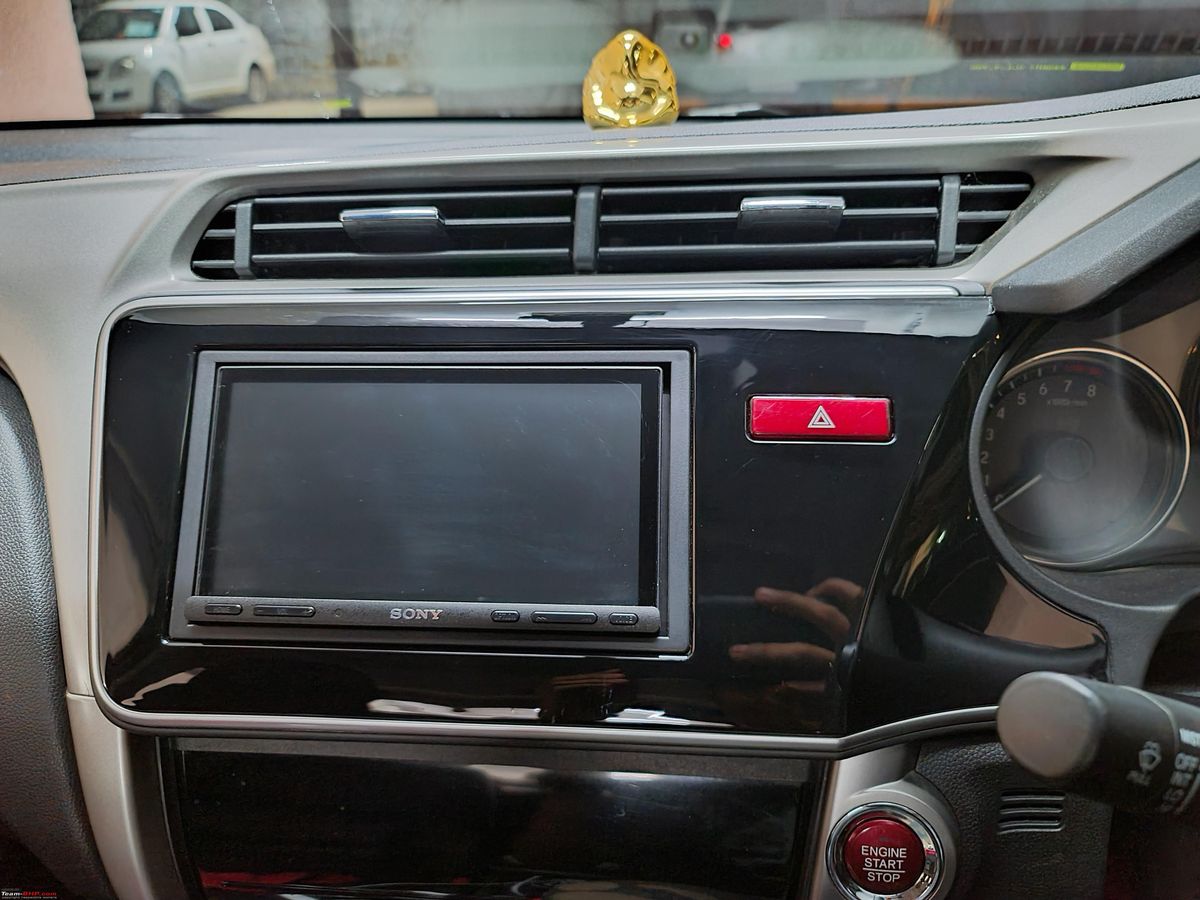
Step 4: Extract the Stereo Unit
After removing the dash trim panels, it’s time to extract the stereo unit from your 2006 F150. Follow these steps to successfully remove the stereo unit:
- Locate the stereo unit – The stereo unit is typically located in the center of the dashboard, where the trim panels were previously covering.
- Identify the mounting brackets or screws – Look for the mounting brackets or screws that secure the stereo unit in place. These brackets or screws may be located on the sides or top and bottom of the unit.
- Unscrew or remove the mounting brackets – Depending on the type of brackets or screws used, use the appropriate tools to unscrew or remove them. Keep track of the screws or brackets for reassembly later.
- Gently pull out the stereo unit – Once the mounting brackets or screws are removed, gently pull the stereo unit out of the dashboard. Be cautious of any wiring or antenna connections that might still be attached.
During this step, it’s important to handle the stereo unit with care to avoid any damage. If the unit doesn’t come out easily, double-check that all mounting brackets or screws have been properly removed. Once you have successfully extracted the stereo unit, you can proceed to the next step – disconnecting the wiring and antenna connections.
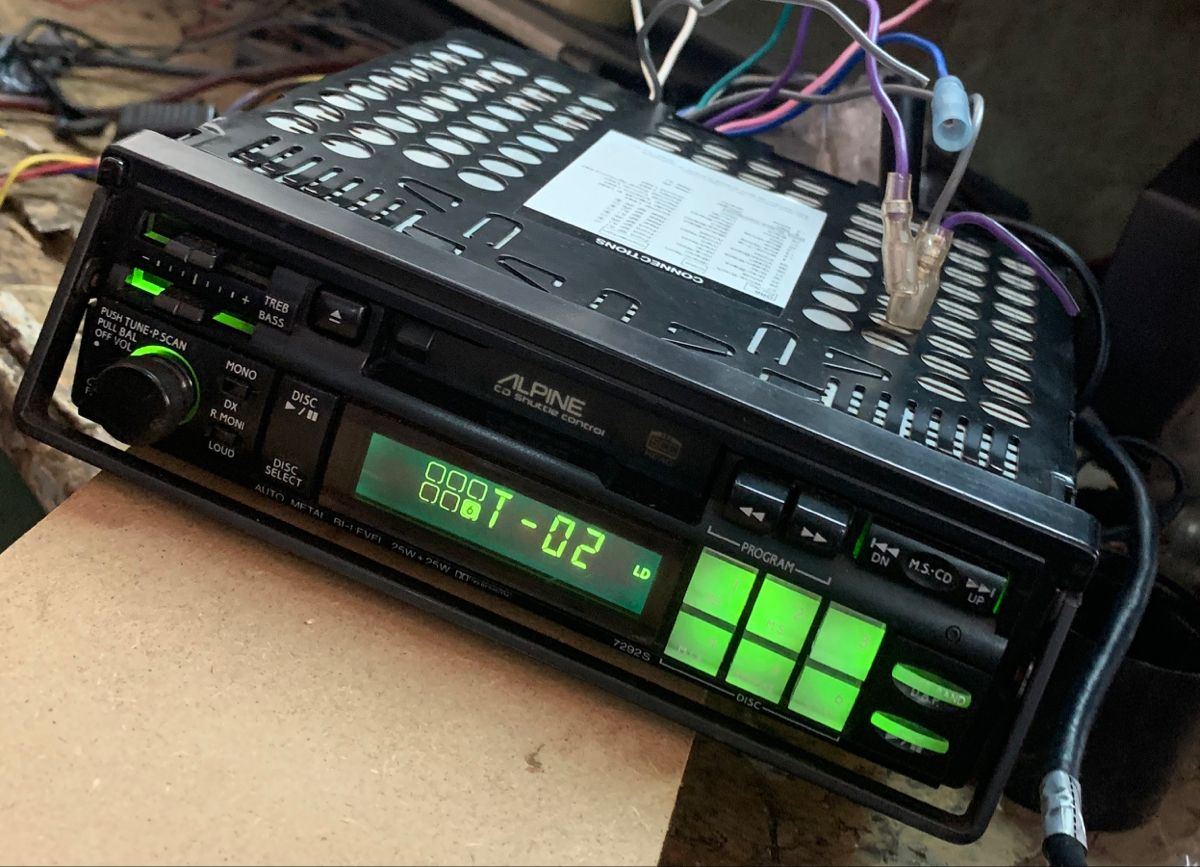
Step 5: Disconnect Wiring and Antenna Connections
With the stereo unit extracted from the dashboard, the next step is to disconnect the wiring and antenna connections. Follow these steps to safely disconnect the connections:
- Identify the wiring harnesses – Locate the wiring harnesses connected to the back of the stereo unit. These harnesses are responsible for providing power and receiving signals to and from the unit.
- Release the harness clips – Many wiring harnesses have clips that secure them in place. Use a small flathead screwdriver or your fingers to release the clips by pressing down or squeezing the sides of the clips.
- Gently pull apart the harnesses – Once the clips are released, gently pull apart the wiring harnesses. Take note of the color-coding or labels on the wires to make reinstallation easier.
- Locate the antenna cable – Look for the antenna cable connected to the stereo unit. It may be a thin wire with a small plug attached to the end.
- Unplug the antenna cable – Carefully unplug the antenna cable from the back of the stereo unit. Some cables may have a locking tab that needs to be pressed or a screw that needs to be loosened before unplugging.
As you disconnect the wiring and antenna connections, be gentle and avoid pulling on the wires themselves. Take your time to ensure that all connections are properly released before moving on to the next step. With the wiring and antenna connections successfully disconnected, you can continue with the optional step of installing a new stereo unit or proceed to reassembling the dash trim panels.
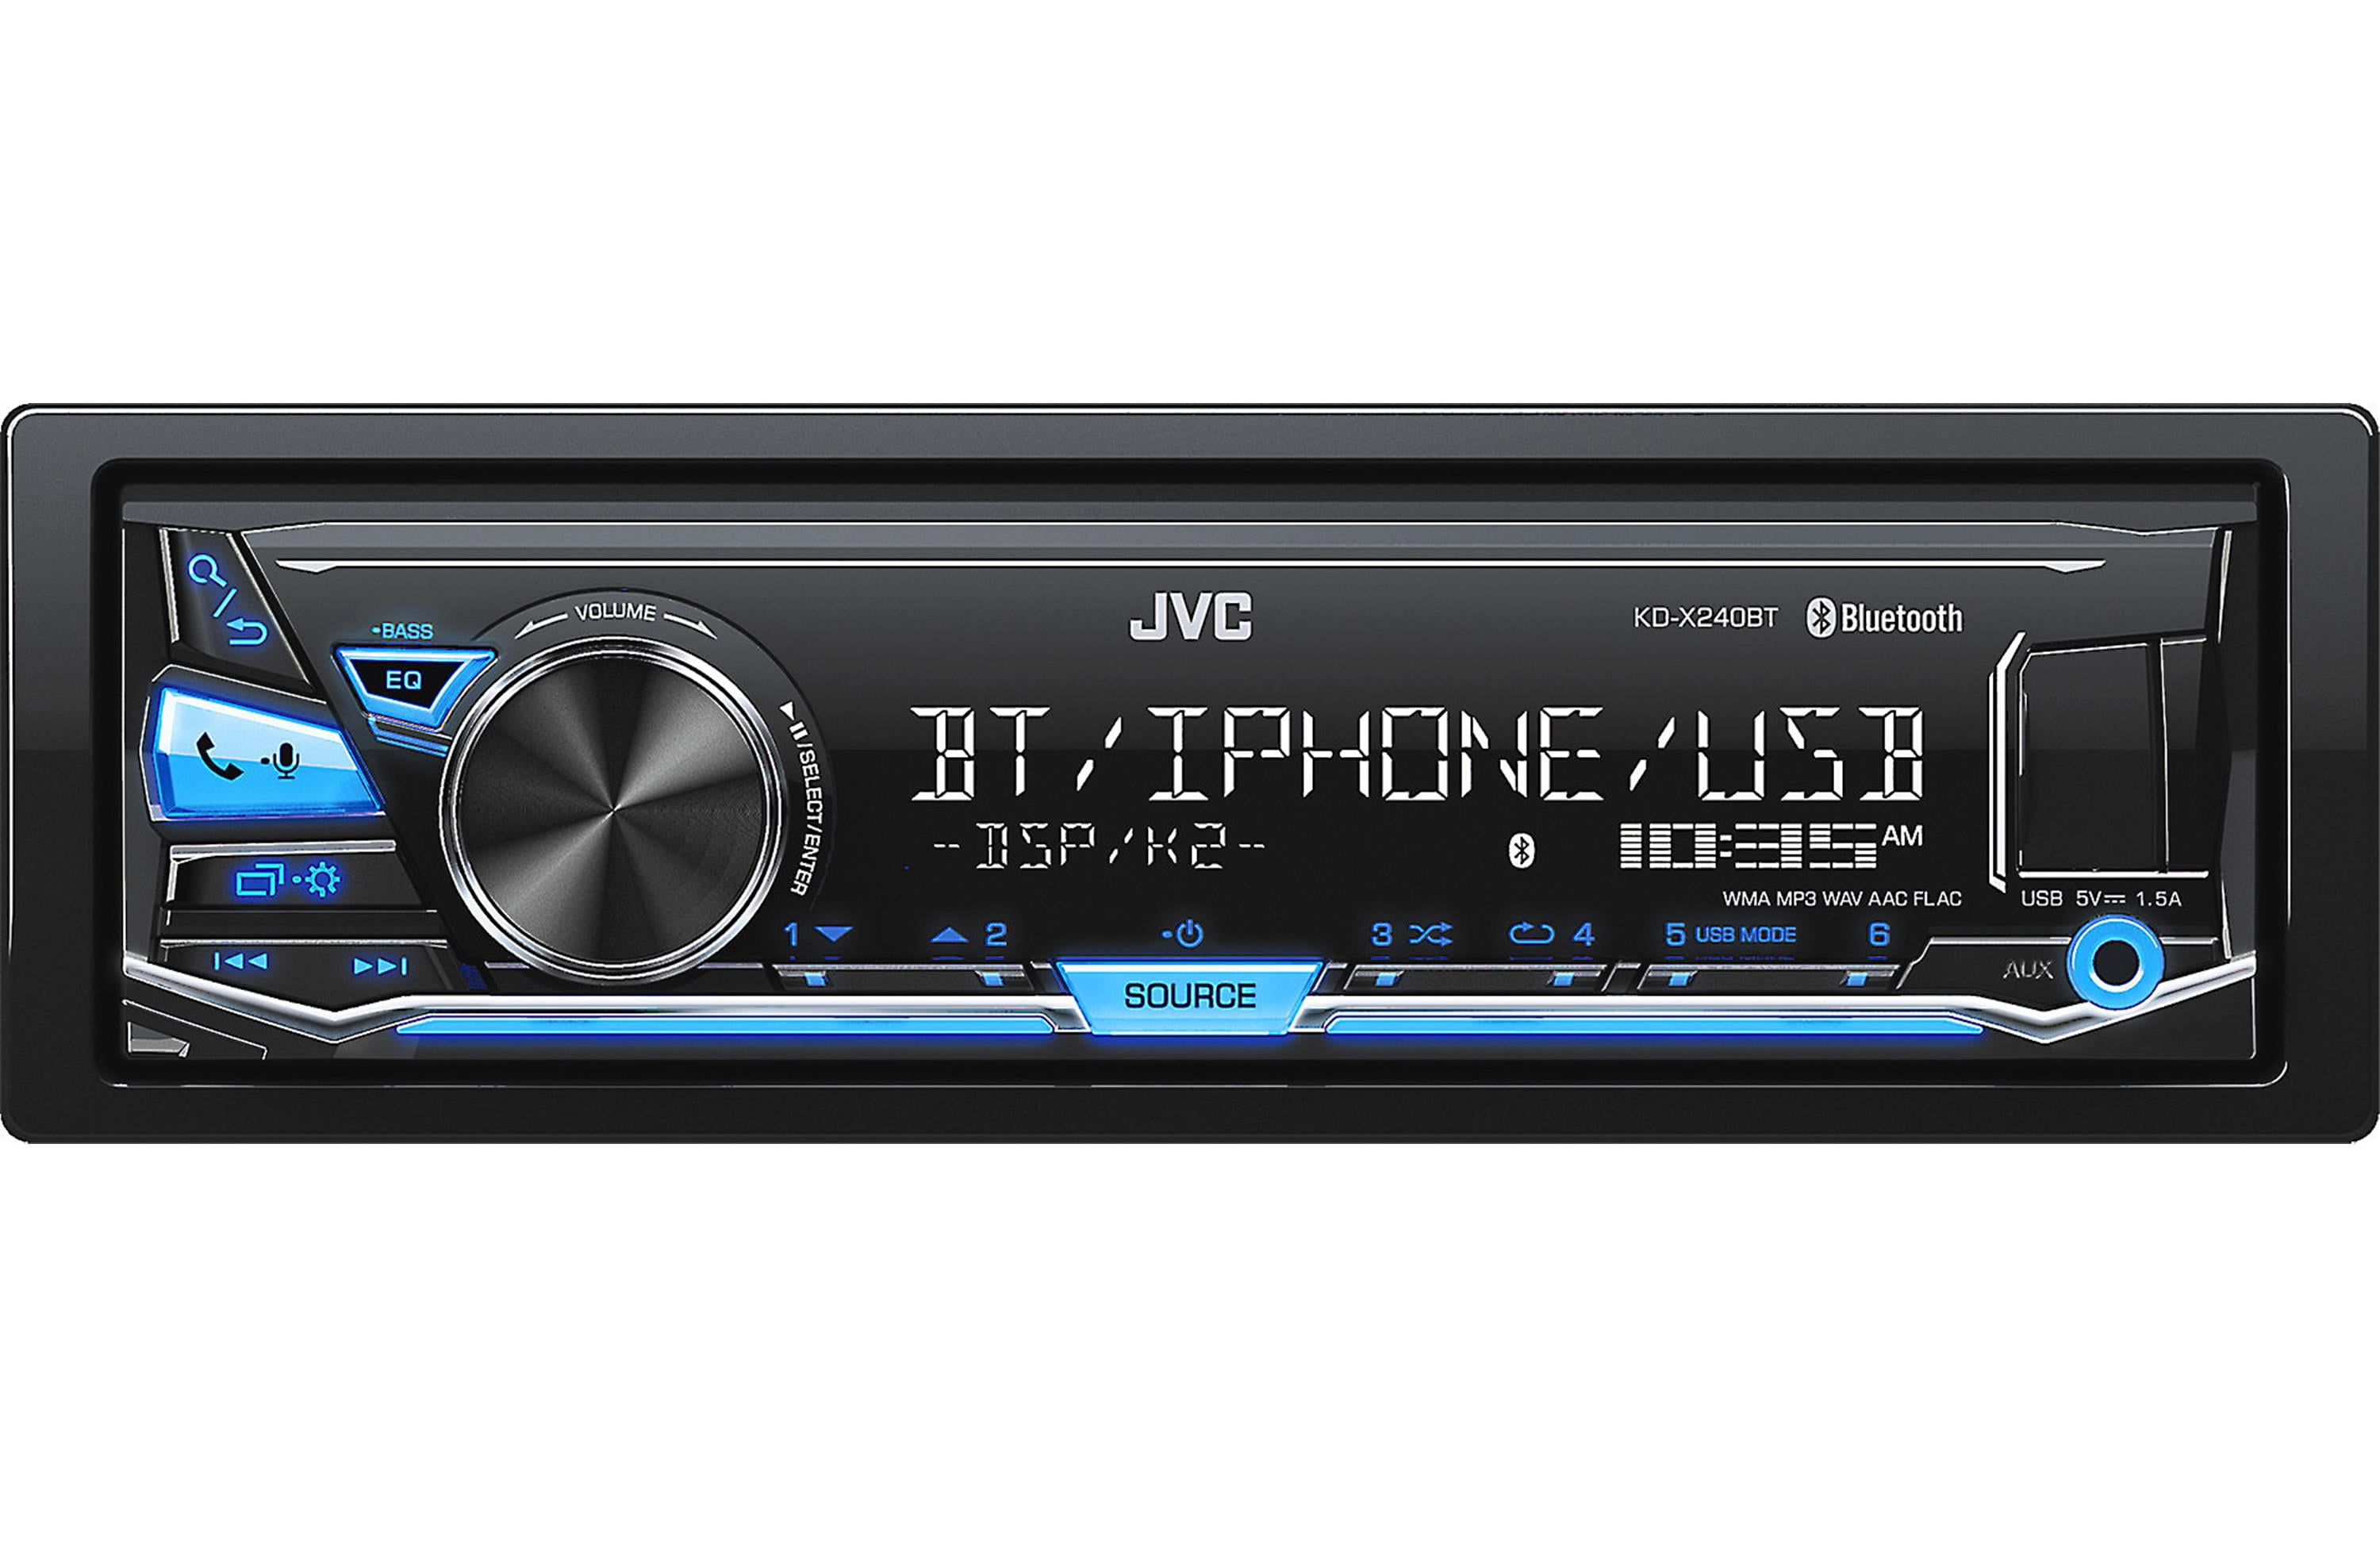
Step 6: Install the New Stereo Unit (Optional)
If you’re planning to upgrade your stereo system, this step will guide you through the process of installing a new stereo unit in your 2006 F150. Follow these steps for a successful installation:
- Prepare the new stereo unit – If you haven’t done so already, remove any protective covers or packaging from the new stereo unit. Familiarize yourself with the unit’s wiring harnesses, antenna input, and mounting brackets.
- Connect the wiring harnesses – Begin by connecting the wiring harnesses from your vehicle to the corresponding harnesses on the new stereo unit. Match the wire colors or refer to the wiring diagram provided with the unit for proper connections.
- Plug in the antenna cable – Connect the antenna cable to the appropriate input on the back of the new stereo unit. Ensure that it is securely plugged in.
- Mount the new stereo unit – Place the new stereo unit into the empty stereo mounting slot in the dashboard. Align the mounting brackets or screw holes and secure the unit in place using the provided hardware.
- Secure any loose wiring – Make sure all wiring and harnesses are neatly tucked away and secured using zip ties or electrical tape. This will prevent any interference or accidental disconnection while driving.
It’s important to follow the manufacturer’s instructions and recommended wiring connections for your specific stereo unit. If you’re unsure about any step, consult the user manual or seek professional assistance for guidance. With the new stereo unit successfully installed, you can move on to the next step – reassembling the dash trim panels.
Step 7: Reassemble the Dash Trim Panels
After disconnecting the old stereo unit or installing a new one, it’s time to reassemble the dash trim panels in your 2006 F150. Follow these steps to ensure a proper reassembly:
- Retrieve the trim panels – Take out the trim panels you removed earlier and organize them in the order of removal. Ensure that they are in good condition and free from any dirt or debris.
- Align the trim panels – Carefully align the trim panels with their respective slots on the dashboard. Make sure they sit flush and are evenly spaced.
- Press the trim panels into place – Apply gentle pressure to secure the trim panels back into their original positions. You may need to use your hands or a trim removal tool to snap them back in place.
- Reinstall any screws or clips – If there were any screws or clips holding the trim panels, reinsert them into the appropriate slots and tighten them securely. Double-check that all screws are in place.
During the reassembly process, take note of any additional steps or specific instructions provided by your vehicle’s manufacturer. It’s important to ensure that the trim panels fit snugly and are aligned correctly for a professional-looking finish. With the dash trim panels reassembled, you’re almost done – just one more step left to complete the process.
Step 8: Reconnect the Battery
The final step in removing the stereo from your 2006 F150 is to reconnect the battery. Follow these steps to safely reconnect the battery:
- Ensure all connections are secure – Before reconnecting the battery, double-check that all wiring connections and harnesses are properly secured and in their correct positions.
- Remove any protective covers – If you placed any protective covers or cloths over the battery terminals, remove them to expose the terminals.
- Reattach the positive terminal – Start by reattaching the positive terminal (red cable) to the positive post on the battery. Tighten the nut using a wrench or socket to ensure a secure connection.
- Reattach the negative terminal – Next, reattach the negative terminal (black cable) to the negative post on the battery and tighten the nut securely.
- Inspect the connections – Once the terminals are reconnected, visually inspect the connections to ensure they are tight and free from any corrosion or damage.
Reconnecting the battery allows power to flow to the newly installed or reattached stereo unit. It’s important to check that the terminals are properly tightened to ensure a reliable electrical connection. With the battery reconnected, you have successfully completed the process of removing the stereo from your 2006 F150.
Remember, if you installed a new stereo unit, take some time to test it out and make any necessary adjustments to optimize the sound quality and functionality. Enjoy your upgraded stereo system and the enhanced driving experience it provides!
Conclusion
Congratulations! You have successfully learned how to remove the stereo from your 2006 F150. Whether you wanted to upgrade your audio system, replace a faulty unit, or simply explore DIY car projects, this guide has provided you with the necessary steps to complete the task.
Throughout the process, you have prepared the work area, disconnected the battery, removed the dash trim panels, extracted the stereo unit, and disconnected the wiring and antenna connections. If you chose to install a new stereo unit, you have also learned how to do that. Finally, you reassembled the dash trim panels and reconnected the battery.
It’s important to note that while these steps provide a general guideline, the exact procedures may vary depending on your specific vehicle model and trim level. Always consult your vehicle’s owner’s manual or seek professional assistance if needed.
By following these instructions carefully and using the appropriate tools, you can ensure a smooth removal process and achieve a successful outcome. Enjoy your upgraded audio system and the enhanced driving experience it brings.
Remember to always prioritize safety, take your time, and seek help if you encounter any difficulties. With a bit of patience and effort, you can confidently tackle stereo removal projects and embark on further car customization endeavors.