Home>Devices & Equipment>Turntable>How To Replace The Belt On My JVC Turntable
Turntable
How To Replace The Belt On My JVC Turntable
Published: January 19, 2024
Learn how to easily replace the belt on your JVC turntable and keep your record player running smoothly. Discover step-by-step instructions for a hassle-free belt replacement.
(Many of the links in this article redirect to a specific reviewed product. Your purchase of these products through affiliate links helps to generate commission for AudioLover.com, at no extra cost. Learn more)
Table of Contents
Introduction
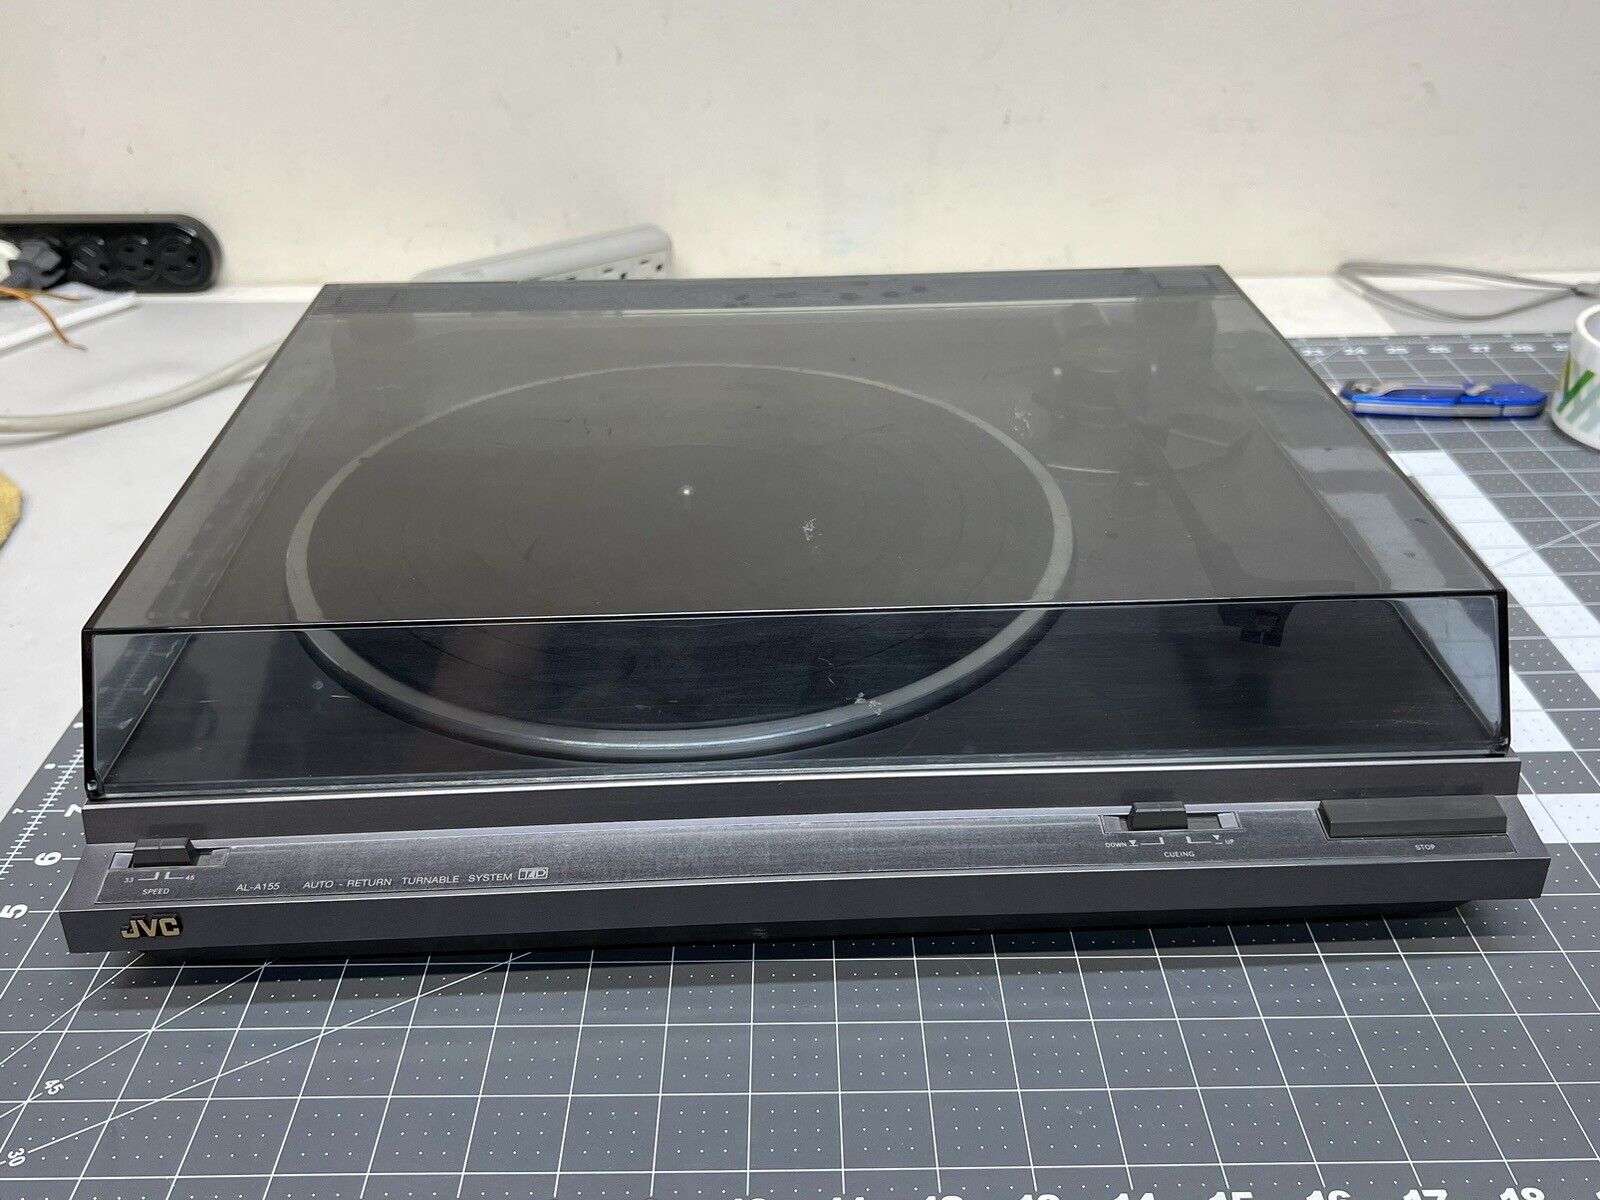
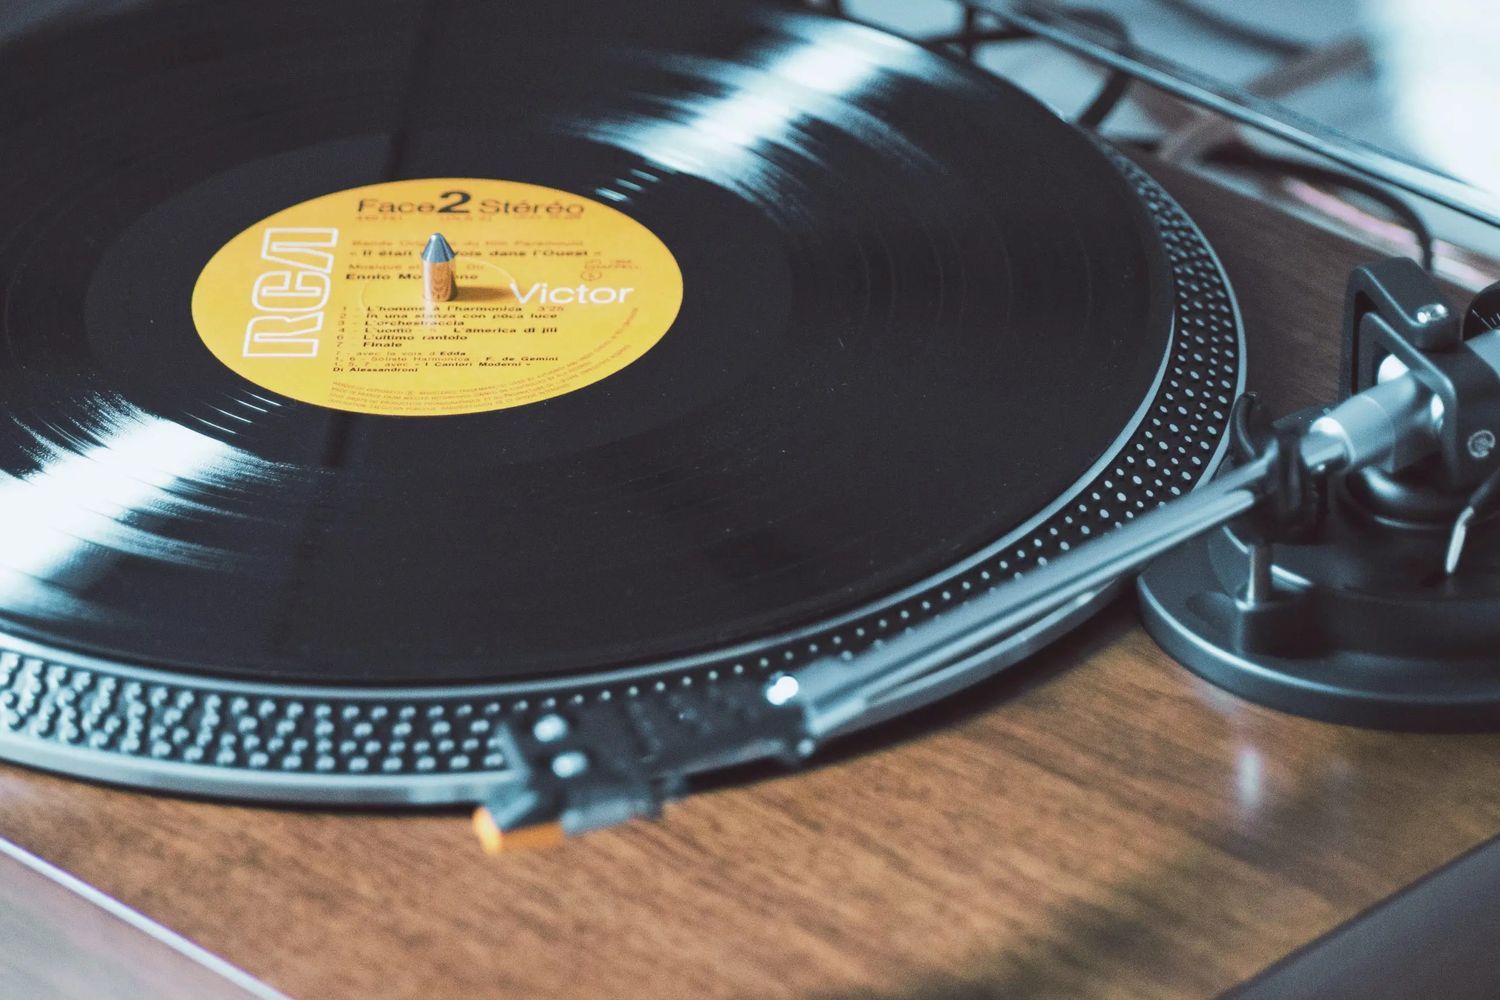
Welcome to our guide on how to replace the belt on your JVC turntable. If you’re experiencing issues such as a skipping needle or inconsistent playback, it could be due to a worn-out or damaged belt. Replacing the belt is a relatively simple task that can breathe new life into your turntable and restore its performance.
JVC turntables are known for their excellent sound quality and durability, and with a little bit of maintenance, they can continue delivering exceptional audio for years to come. By replacing the belt, you’ll be ensuring that the turntable’s platter, motor, and tonearm are functioning optimally, providing you with smooth and reliable playback.
In this guide, we’ll walk you through the step-by-step process of replacing the belt on your JVC turntable. We’ll cover everything from gathering the necessary tools to reassembling the turntable and testing the belt replacement. You don’t need to be a seasoned audio technician to tackle this task; with a few common tools and some patience, you’ll have your JVC turntable up and running in no time.
Before we dive into the process, it’s important to note that each turntable model may have slight variations in design, so it’s always a good idea to consult your JVC turntable’s user manual for specific instructions. Additionally, make sure to handle your turntable and its components with care to avoid any damage during the belt replacement process.
Now, let’s get started and learn how to replace the belt on your JVC turntable!
Step 1: Gathering the necessary tools
Before you begin the process of replacing the belt on your JVC turntable, it’s important to gather all the necessary tools to ensure a smooth and efficient procedure. Here are the tools you will need:
- Replacement belt: The first and most crucial tool you’ll need is a new replacement belt for your specific JVC turntable model. Make sure to purchase a belt that is compatible with the make and model of your turntable to ensure a proper fit.
- Screwdriver: Depending on your turntable’s design, you may need a Phillips head or flathead screwdriver to remove the platter and access the belt.
- Tweezers: It can be helpful to have a pair of tweezers to maneuver the belt into place and adjust its positioning.
- Lint-free cloth: To keep your turntable clean and free of debris, have a lint-free cloth handy to wipe down the platter and other components that may come in contact with the belt.
- Isopropyl alcohol: If your turntable has accumulated dirt or grime, you may want to use isopropyl alcohol to clean the belt and other parts during the replacement process. Make sure to use a high-quality, low-residue alcohol to avoid damaging the belt.
These are the essential tools you’ll need to replace the belt on your JVC turntable. It’s important to ensure that you have all the tools ready before you begin, as this will allow for a seamless and uninterrupted replacement process.
Once you have gathered the necessary tools, you’re ready to move on to the next step of the process: removing the platter to access the old belt.
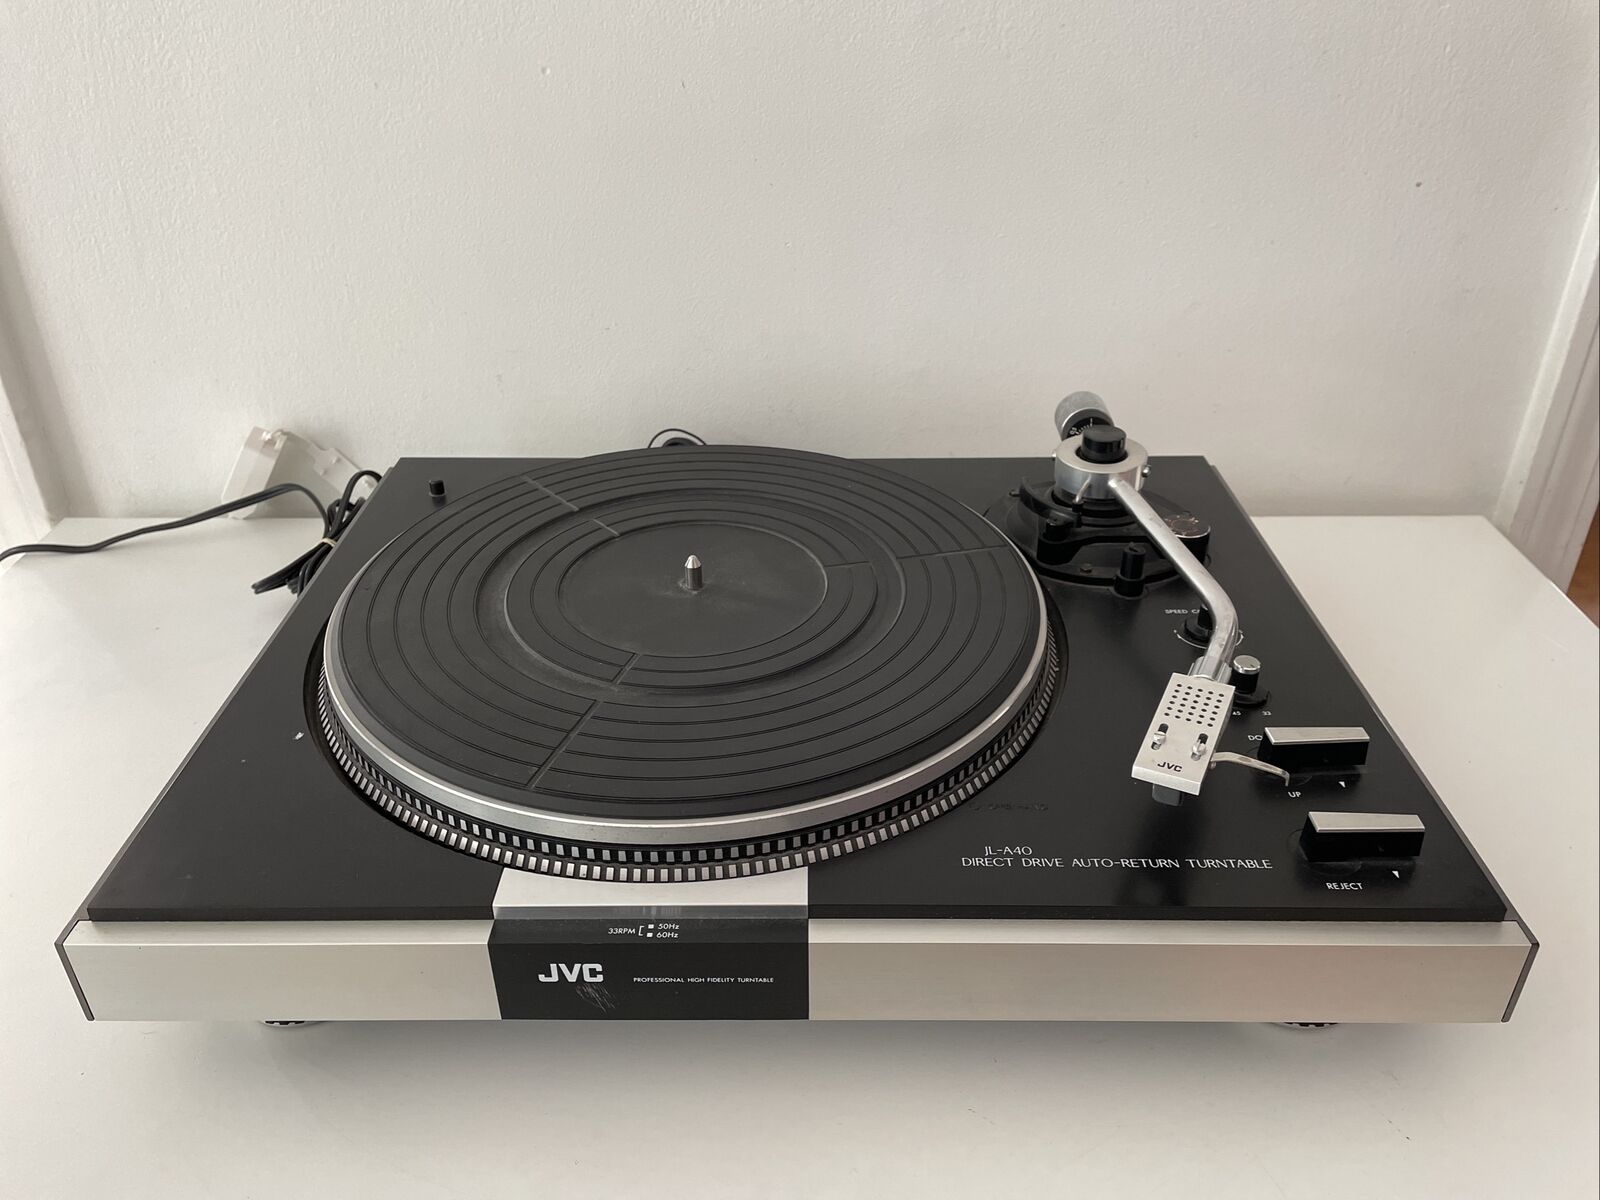
Step 2: Removing the platter
Now that you have all the necessary tools, it’s time to remove the platter of your JVC turntable to access the old belt. Follow these steps:
- Power off and unplug your turntable: Before you begin, ensure that your turntable is powered off and unplugged from any electrical source. This is crucial to prevent any accidental damage or injury during the process.
- Locate the platter: The platter is the large circular disc on top of the turntable. It is usually made of metal or plastic, and it is where you place your vinyl records for playback.
- Check for release clips or screws: Depending on the model of your JVC turntable, the platter may be held in place by release clips or screws. Examine the turntable to determine the method used to secure the platter.
- Release clips method: If your turntable has release clips, carefully press or lift the clips while gently lifting the edge of the platter. This will disengage the clips and allow you to remove the platter. Some turntables may have multiple release clips, so make sure to find and release them all.
- Screw method: If your turntable uses screws to secure the platter, use the appropriate screwdriver to remove the screws. Place the screws in a safe location to avoid misplacing them.
- Lift off the platter: Once the release clips or screws have been disengaged, you can lift off the platter from the turntable. Be careful not to apply excessive force or tilt the platter too much as you remove it.
With the platter removed, you now have access to the old belt and can proceed to the next step of the belt replacement process.
Note: If you encounter any difficulties or are unsure about the specific method to remove the platter from your JVC turntable, refer to the user manual or consult online resources for your particular model.
Step 3: Locating the belt
Now that you have successfully removed the platter, it’s time to locate the old belt on your JVC turntable. Follow these steps:
- Inspect the turntable interior: With the platter off, take a look at the inside of the turntable. You should see a motor spindle located near the center, as well as a circular groove or track around the outer edge of the turntable.
- Identify the belt path: The belt should be wrapped around the motor spindle and positioned inside the circular track on the turntable. Carefully locate the belt’s path and take note of its position to ensure proper reinstallation of the new belt.
- Examine the condition of the old belt: While inspecting the old belt, check for any signs of damage, wear, or stretching. This can include cracks, tears, or a loose and sagging appearance. If the old belt is visibly worn or damaged, it is crucial to replace it to restore proper turntable functionality.
During this step, be sure to handle the turntable components with care and avoid touching the delicate internal mechanisms. Additionally, take note of any other components or parts that may require cleaning or maintenance while you have access to the turntable’s interior.
Once you have located the old belt and assessed its condition, you are ready to proceed to the next step of the belt replacement process: removing the old belt from the turntable.
Note: If you are unsure about the specific location of the belt or need additional guidance, consult your JVC turntable’s user manual or search for online resources related to your particular model.
Step 4: Removing the old belt
Now that you have located the old belt on your JVC turntable, it’s time to remove it and prepare for the installation of the new belt. Follow these steps to remove the old belt:
- Gently grip the old belt: Carefully grip the old belt with your fingers or use a pair of tweezers to hold it securely. Be cautious not to pull or stretch the belt excessively as it may cause further damage.
- Release tension and remove the belt: Depending on the design of your JVC turntable, you may need to release tension from the belt before removing it. This can be done by moving the motor spindle or adjusting any tensioning mechanisms in place. Once the tension is released, carefully slide the old belt off the motor spindle and out of the circular track on the turntable.
- Inspect for any debris or residue: As you remove the old belt, take the opportunity to inspect the motor spindle and the circular track for any debris, dirt, or residue. If you notice any build-up, use a lint-free cloth lightly dampened with isopropyl alcohol to clean the surfaces. Be gentle and ensure that the alcohol has evaporated completely before proceeding.
It’s important to note that some turntable models may have additional components or mechanisms associated with the belt, such as idler wheels or drive pulleys. If your JVC turntable has any of these components, pay attention to their condition and cleanliness while removing the old belt.
Once the old belt has been successfully removed and the turntable components are clean, you’re ready to move on to the next step: installing the new belt onto your JVC turntable.
Note: Take care not to misplace the old belt, as you may need to refer to its size and shape when selecting the appropriate replacement belt.
Step 5: Installing the new belt
With the old belt removed from your JVC turntable, it’s time to install the new replacement belt. Follow these steps to ensure a successful installation:
- Verify the compatibility of the new belt: Before proceeding, double-check that the replacement belt you have is the correct size and compatible with your specific JVC turntable model. Refer to the turntable’s user manual or consult online resources to confirm the appropriate belt size and type.
- Prepare the new belt: If the new belt appears loose or stretched, gently warm it with a hairdryer on low heat or place it in warm water for a few minutes. This will help restore its elasticity and ensure a proper fit on the motor spindle and circular track.
- Wrap the belt around the motor spindle: Begin by carefully positioning one end of the new belt around the motor spindle located at the center of the turntable. Take your time to ensure that the belt is snug and properly aligned on the spindle.
- Place the belt into the circular track: Once the belt is secured around the motor spindle, guide the other end of the belt into the circular track around the outer edge of the turntable. Be mindful not to twist or strain the belt as you position it into the track.
- Adjust the belt tension: Depending on your JVC turntable model, you may need to adjust the tension of the belt to ensure optimal performance. Refer to the turntable’s user manual for specific instructions on adjusting the belt tension, if necessary.
During the installation process, be conscientious of the delicate components of your turntable and avoid applying excessive force. Take your time to ensure that the new belt is properly seated on both the motor spindle and circular track.
Once the new belt is successfully installed and properly tensioned, you’re ready to move on to the next step of the belt replacement process: reassembling your JVC turntable.
Note: If you encounter any difficulties during the installation process or have concerns about the positioning of the new belt, consult your JVC turntable’s user manual or search for online resources specific to your turntable model.
Step 6: Reassembling the turntable
With the new belt successfully installed on your JVC turntable, it’s time to reassemble the various components. Follow these steps to ensure a proper reassembly:
- Position the platter: Align the spindle-shaped center hole of the platter with the motor spindle on the turntable. Carefully lower the platter onto the spindle, ensuring that it sits securely and flush with the turntable surface.
- Secure the platter: If your turntable uses release clips, make sure they are engaged by pressing or locking them back into position. If screws were used to secure the platter, use the appropriate screwdriver to reattach them snugly.
- Ensure proper seating: Gently rotate the platter by hand to ensure that it spins freely and smoothly, indicating that it is properly seated. Be cautious not to disturb the position of the belt during this process.
- Double-check for obstacles: Before completing the reassembly, verify that no cables, wires, or other obstacles are interfering with the platter’s movement. Ensure that all connections and cables are secured and neatly organized.
As you reassemble the turntable, it’s important to handle the components with care and avoid applying excessive force. Be mindful of the delicate nature of the turntable’s mechanisms and take your time to ensure a proper and secure reassembly.
Once you have completed the reassembly process, you’re ready to move on to the final step: testing the belt replacement on your JVC turntable.
Note: If you encounter any difficulties or have concerns about the reassembly process, consult your JVC turntable’s user manual or seek guidance from online resources related to your specific turntable model.
Step 7: Testing the belt replacement
After reassembling your JVC turntable, it’s essential to thoroughly test the belt replacement to ensure proper functionality. Follow these steps to test the new belt:
- Power on your turntable: Plug in your turntable and power it on. Make sure the power source is stable and that all connections are secure.
- Select a test record: Choose a test record that is in good condition and free from any visible damage. This will allow you to accurately assess the playback quality.
- Place the test record onto the platter: Carefully place the test record onto the platter, ensuring it sits securely and aligned with the spindle.
- Manually initiate playback: Depending on your JVC turntable’s features, manually activate the tonearm and gently lower the stylus onto the surface of the test record. Take note of the playback quality, such as the clarity of audio, absence of skipping or distortion, and smooth rotation of the platter.
- Monitor playback performance: Pay close attention to the overall playback performance, making note of any anomalies or issues that may have persisted even after the belt replacement. Listen for any irregularities in sound or any signs of skipping or stuttering during playback.
If you encounter any problems during the testing phase, such as continued skipping or inconsistent playback, double-check the belt alignment and tension. Make any necessary adjustments following the manufacturer’s instructions or seek assistance from a turntable technician if needed.
With the new belt properly installed and the turntable functioning smoothly, you can now enjoy your JVC turntable’s enhanced performance and reliable playback.
Note: Regular maintenance, including cleaning the turntable and replacing the belt as needed, will help maintain the long-term performance of your JVC turntable and ensure years of quality audio enjoyment.
Conclusion
Congratulations! You have successfully replaced the belt on your JVC turntable. By following the step-by-step process outlined in this guide, you have revived your turntable’s performance and ensured optimal playback quality.
Replacing the belt on your JVC turntable is a relatively simple task that can make a significant difference in audio performance. A worn-out or damaged belt can lead to skipping, inconsistent playback, and diminished sound quality. However, with a new belt in place, you can enjoy smooth rotation, accurate tracking, and clear audio reproduction.
Remember, when undertaking any maintenance or repair on your JVC turntable, consult the user manual specific to your turntable model for detailed instructions and guidance. Additionally, take your time and handle the components with care to avoid any accidental damage.
Regular maintenance, including belt replacement as needed, is crucial for the longevity and optimal performance of your JVC turntable. By ensuring that the belt is in good condition and properly installed, you can continue to enjoy your vinyl collection with the superb sound quality that JVC turntables are known for.
We hope this guide has been helpful in guiding you through the process of replacing the belt on your JVC turntable. Now, sit back, relax, and enjoy the rich sounds of your vinyl records on your newly rejuvenated turntable!