Home>Production & Technology>Stereo>How To Remove A JVC Car Stereo
Stereo
How To Remove A JVC Car Stereo
Modified: January 22, 2024
Learn how to remove a JVC car stereo easily with our step-by-step guide. Replace your old stereo with a new one and enjoy enhanced audio quality in your vehicle.
(Many of the links in this article redirect to a specific reviewed product. Your purchase of these products through affiliate links helps to generate commission for AudioLover.com, at no extra cost. Learn more)
Table of Contents
- Introduction
- Step 1: Gather necessary tools
- Step 2: Locate the release keys
- Step 3: Insert the release keys into the stereo slots
- Step 4: Pull out the stereo with the release keys
- Step 5: Disconnect the wiring harness
- Step 6: Remove the stereo completely
- Step 7: Install a new stereo or reattach the existing one
- Conclusion
Introduction
Welcome to our comprehensive guide on how to remove a JVC car stereo. Whether you want to upgrade your current stereo system or simply need to troubleshoot an issue, knowing how to properly remove the stereo is essential. JVC car stereos are known for their quality audio performance and user-friendly features, making them a popular choice among car enthusiasts.
Before diving into the step-by-step process, it’s important to gather the necessary tools to ensure a smooth and hassle-free removal. These tools typically include release keys or tools specific to your car model, a flat-head screwdriver, and possibly a trim removal tool. Having these tools readily available will make the removal process much easier.
Removing a JVC car stereo may seem daunting at first, but with the right instructions, it can be a straightforward task. In this guide, we’ll take you through the steps needed to safely remove the stereo without causing any damage to your car’s interior or the stereo itself. Remember to exercise caution and patience throughout the process to avoid any mishaps.
Once you’ve successfully removed the JVC car stereo, you can either install a new stereo of your choice or reattach the existing one after performing any necessary maintenance or repairs. Whether you’re a seasoned car enthusiast or a beginner looking to learn more about car stereos, this guide will provide you with the knowledge you need to remove a JVC car stereo with confidence.
Step 1: Gather necessary tools
Before you begin the process of removing a JVC car stereo, it’s important to gather the necessary tools. Having the right tools on hand will make the removal process much easier and prevent any potential damage to your car or the stereo itself. Here are the tools you’ll need:
- Release keys or tools specific to your car model: JVC car stereos are typically installed using release keys or tools that are specifically designed for your car model. These tools will help release the stereo from its mounting bracket.
- Flat-head screwdriver: You may need a flat-head screwdriver to pry open any clips or panels that are holding the stereo in place.
- Trim removal tool (optional): Depending on your car’s make and model, you may need a trim removal tool to safely remove any trim panels or bezels surrounding the stereo.
Having these tools ready before you start will save you time and frustration during the removal process. It’s important to note that the specific tools required may vary depending on your car’s make and model, so it’s a good idea to consult your car’s owner’s manual or do some research to ensure you have the correct tools.
Once you have gathered the necessary tools, you’re ready to move on to the next step: locating the release keys.
Step 2: Locate the release keys
In order to remove a JVC car stereo, you will need to locate the release keys or tools specific to your car model. These release keys are designed to unlock the stereo from its mounting bracket, allowing you to remove it from the dashboard. Here’s how to locate the release keys:
- Consult your car’s owner’s manual: The owner’s manual will often have information on the specific tools or release keys needed to remove the stereo. It may provide details on their location or even include a diagram.
- Check online resources: Many car enthusiasts and forums provide valuable information and tutorials on specific car models. Look for resources related to your car make and model to find information on the location of the release keys.
- Visit a car dealership or professional installer: If you’re unsure about the location of the release keys, visit a car dealership or a professional car stereo installer. They will be familiar with the process and can guide you to the right location.
Once you have located the release keys, you are ready to proceed to the next step, which involves inserting the release keys into the stereo slots. Keep in mind that the location of the release keys may vary depending on your car’s make and model, so it’s important to refer to the specific instructions for your vehicle.
Step 3: Insert the release keys into the stereo slots
Now that you have located the release keys for your JVC car stereo, it’s time to insert them into the stereo slots. These slots are typically located on either side of the stereo’s faceplate. Here’s how to properly insert the release keys:
- Take the release keys in your hands, ensuring that you have one for each side of the stereo.
- Position yourself in front of the stereo, facing the dashboard.
- Insert one release key into the left slot and the other into the right slot. You should feel some resistance as you insert them.
- Push the keys in until they click or lock into place. This indicates that they are properly engaged with the stereo.
It’s essential to ensure that the release keys are fully inserted and securely locked into place. This will allow you to safely remove the JVC car stereo without causing damage to your vehicle or the stereo itself.
Once you have inserted the release keys, you are ready to move on to the next step: pulling out the stereo with the release keys.
Step 4: Pull out the stereo with the release keys
With the release keys securely inserted into the stereo slots, you can now proceed to pull out the JVC car stereo from the dashboard. Follow these steps to do so:
- Position your hands on either side of the stereo, near the release keys.
- Apply equal pressure and gently pull the stereo towards you. The release keys will help disengage the stereo from the mounting bracket.
- Keep pulling until the stereo is completely released from the bracket. It may require a bit of force, but be cautious not to pull too aggressively to avoid damaging any wires or components.
- Once the stereo is free, carefully detach the release keys from the slots. Set them aside for future use or store them in a safe place.
During this process, you may encounter some resistance or hear a clicking sound as the stereo disengages from the mounting bracket. This is normal and indicates that the stereo is being released correctly.
It’s important to handle the stereo with care while pulling it out. Make sure to support it properly and avoid any sudden movements that could cause damage to the stereo or surrounding components.
Now that you have successfully pulled out the JVC car stereo, you can proceed to the next step: disconnecting the wiring harness.
Step 5: Disconnect the wiring harness
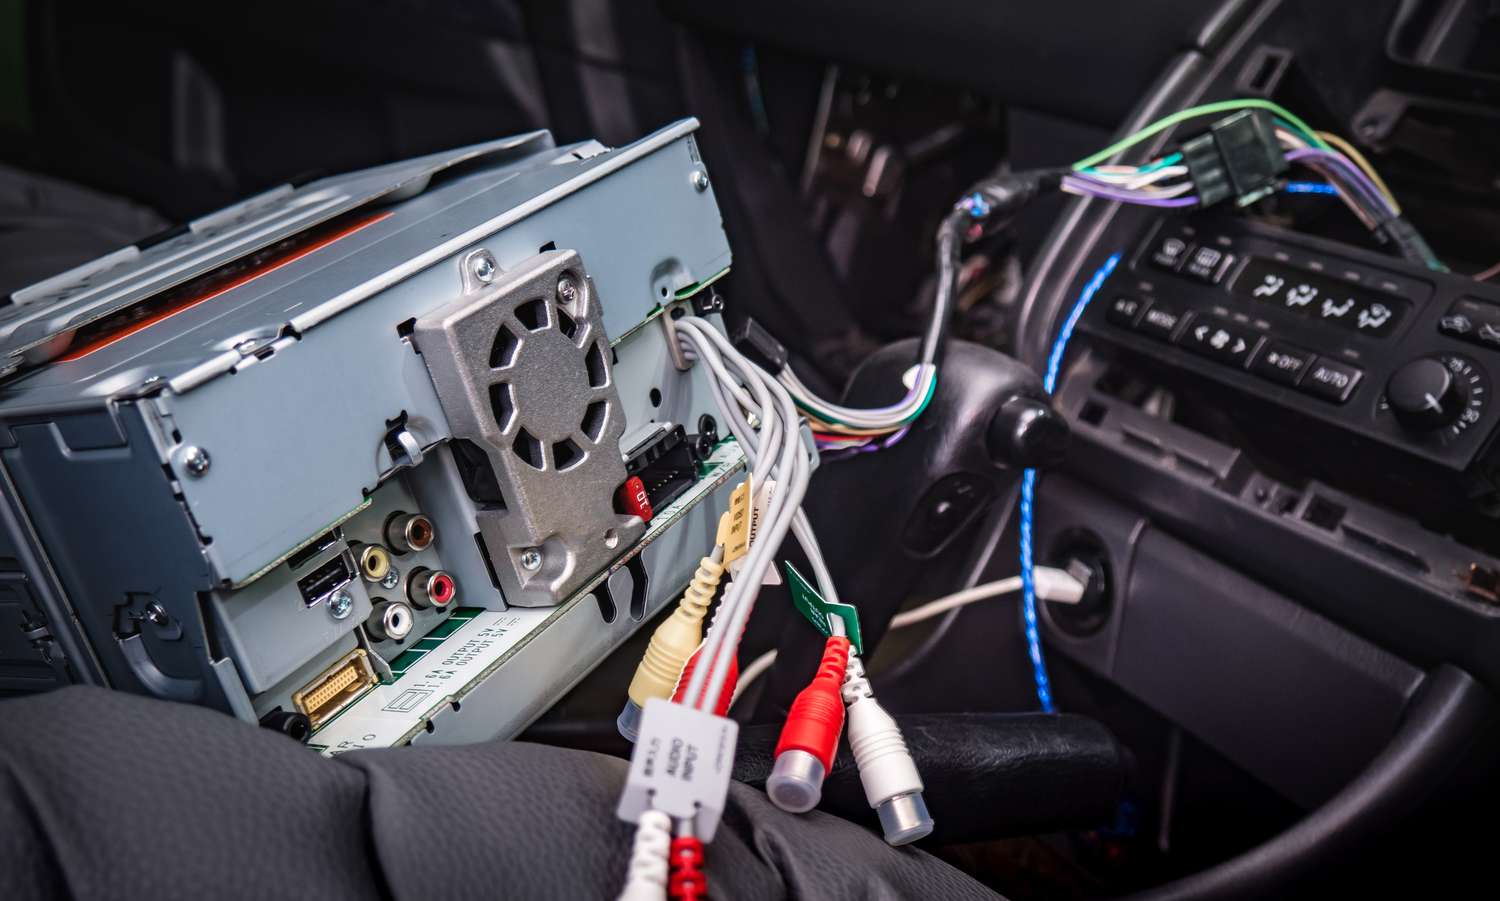
After successfully removing the JVC car stereo from the dashboard, the next step is to disconnect the wiring harness. The wiring harness connects the stereo to the car’s electrical system, and it needs to be detached to fully remove the stereo. Here’s how to disconnect the wiring harness:
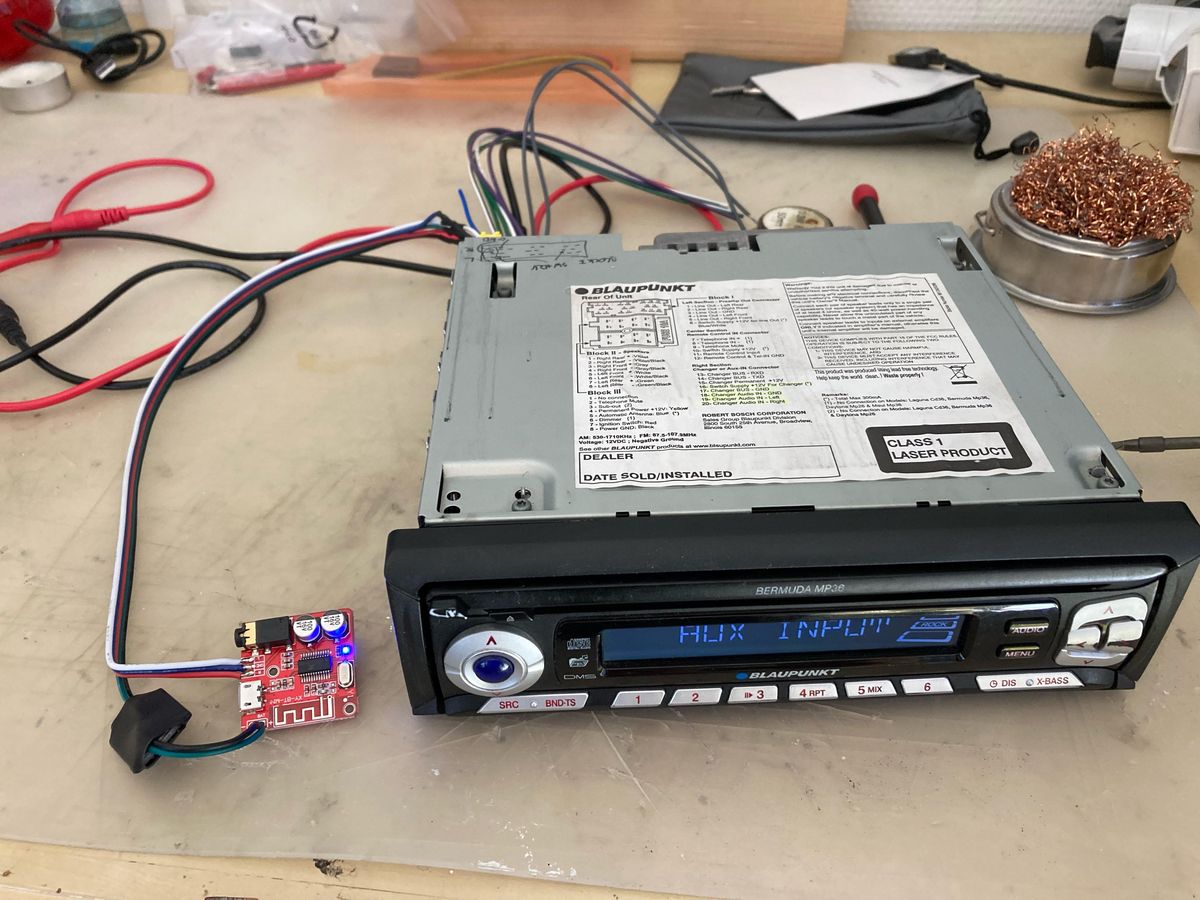
- Locate the wiring harness at the back of the stereo. It will be a bundle of wires connected to a plastic connector.
- Identify the locking mechanism on the connector. It may be a tab or a latch that needs to be released in order to disconnect the harness.
- Using your fingers or a small flat-headed screwdriver, carefully release the locking mechanism. This may involve pressing a tab or sliding a latch.
- Once the locking mechanism is released, gently pull the wiring harness connector away from the stereo. It should come off easily, detaching the wires from the stereo.
Take care not to yank or forcefully pull the wiring harness, as it may cause damage to the connector or the wires themselves. Handle the connectors and wires with care to ensure a smooth disconnection.
If you have difficulties disconnecting the wiring harness, refer to your car’s owner’s manual for specific instructions. Certain car models may have slightly different mechanisms for disconnecting the wiring harness.
With the wiring harness disconnected, you are one step closer to removing the JVC car stereo completely. The next step will guide you through the process of removing the stereo entirely from the dashboard.
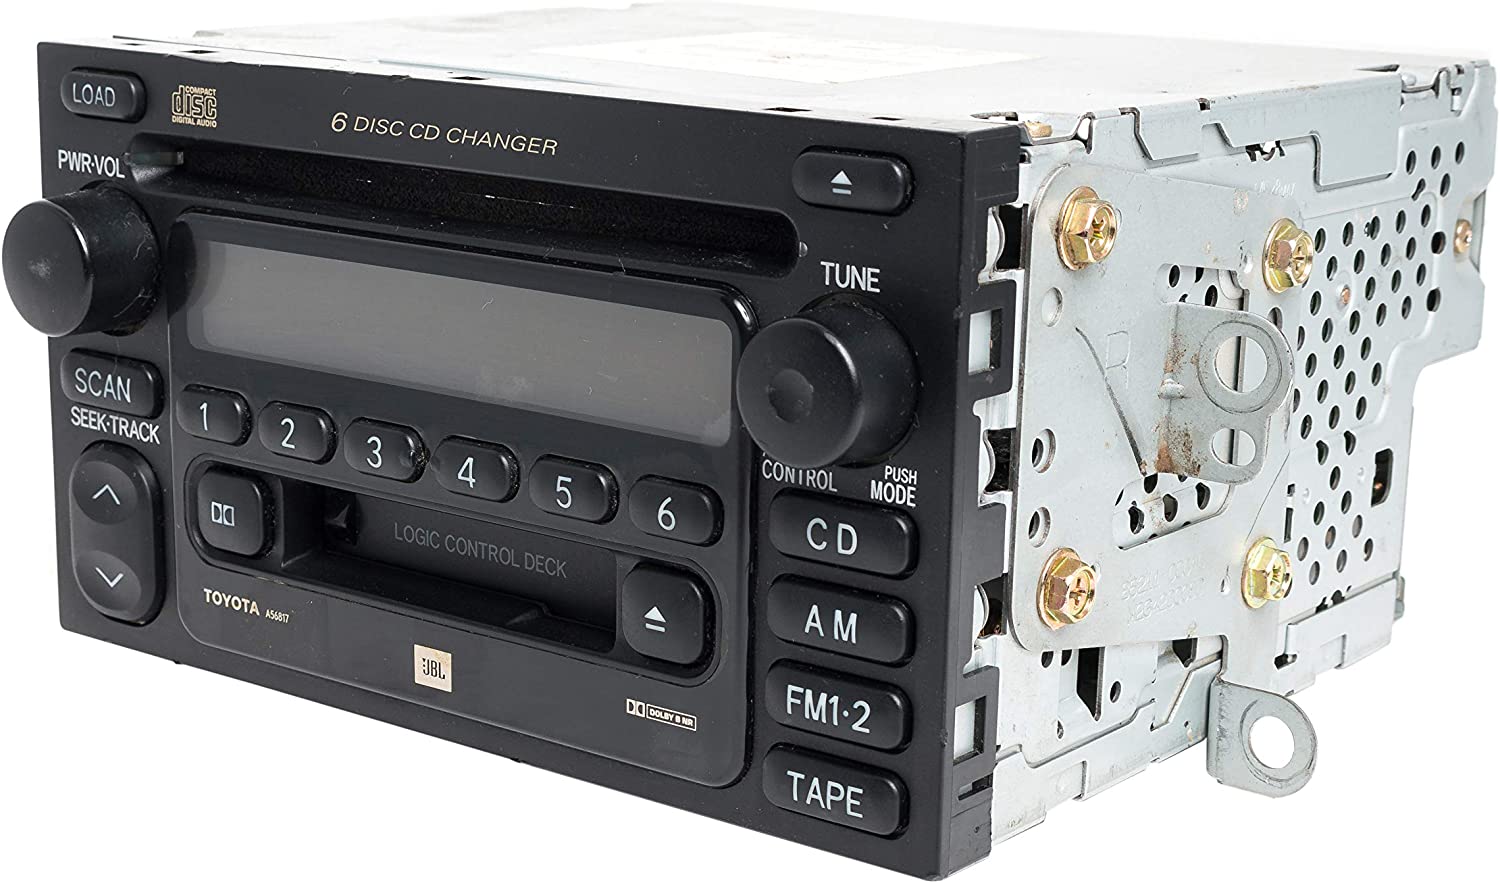
Step 6: Remove the stereo completely
With the wiring harness disconnected, you are now ready to remove the JVC car stereo completely from the dashboard. Follow these steps to safely remove the stereo:
- Gently slide the stereo out of the mounting bracket. Be mindful of any wires or cables that may still be connected to the back of the stereo.
- If there are any clips or brackets holding the stereo in place, release them carefully. These may be located on the sides or top of the stereo.
- As you slide the stereo out, check for any connected wires or cables that may still be attached. If you find any, disconnect them by gently pulling them apart or releasing any clips or connectors.
- Once all the wires and cables are disconnected, continue sliding the stereo out until it is completely free from the dashboard.
- Set the removed JVC car stereo aside in a safe and secure location.
Throughout this process, be cautious of any fragile components or buttons on the stereo. Avoid applying excessive force or pressure that could cause damage. Take your time to ensure a smooth and careful removal.
Remember to keep track of any screws, clips, or brackets that were removed during the process. Storing them in a labeled container can make reinstallation easier later on.
With the JVC car stereo removed, you can now proceed to the next step: installing a new stereo or reattaching the existing one, depending on your needs.
Step 7: Install a new stereo or reattach the existing one
Now that you have successfully removed the JVC car stereo, you have the option to either install a new stereo or reattach the existing one if you were performing maintenance or troubleshooting. Here are the steps for both scenarios:
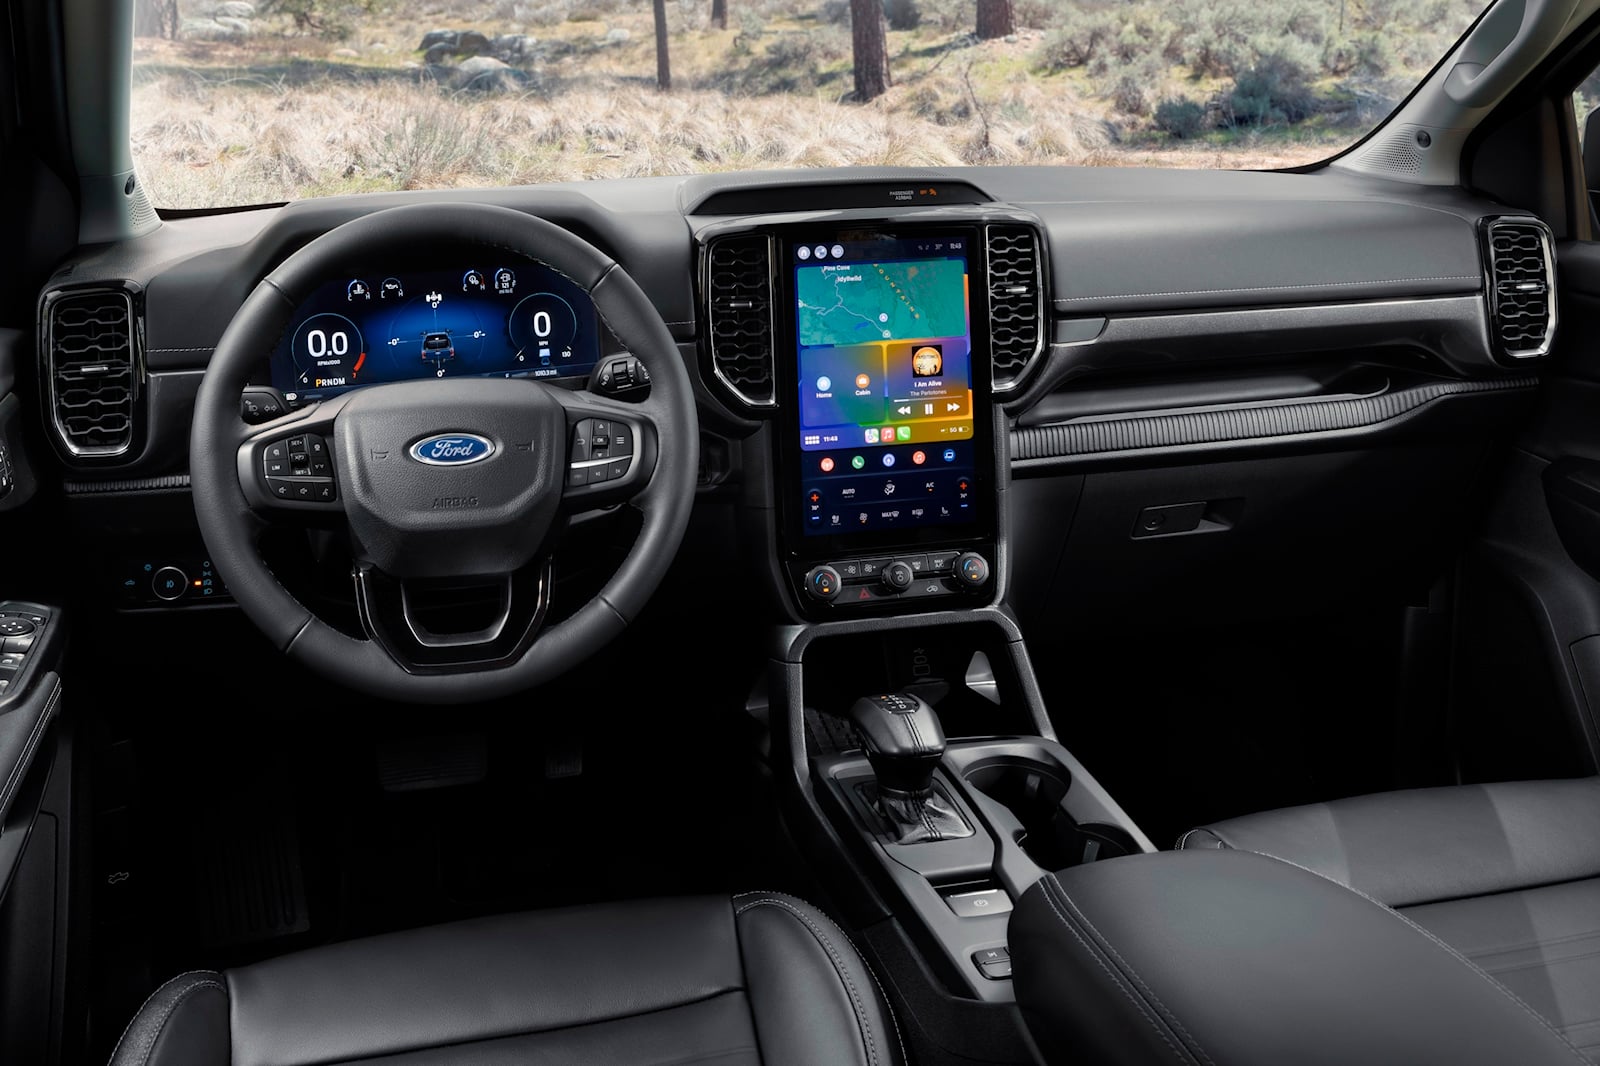
Installing a new stereo:
- Read the instructions and guidelines provided with your new stereo to ensure proper installation.
- Connect the wiring harness of the new stereo to the corresponding connector in the car’s wiring system. Make sure each wire is securely connected.
- Slide the new stereo into the mounting bracket, ensuring it fits properly and aligns with any clips or brackets in the dashboard.
- If necessary, secure the new stereo using screws, clips, or brackets provided with the new stereo.
- Double-check all connections and ensure that the stereo is securely in place.
Reattaching the existing stereo:
- Inspect the existing stereo for any damage or loose connections before reattaching it.
- Ensure that all wires and cables are properly connected and in good condition.
- Carefully slide the existing stereo back into the mounting bracket until it fits snugly.
- If applicable, use screws, clips, or brackets to secure the stereo in place.
- Verify that all connections are secure and functioning properly.
Once you have installed the new stereo or reattached the existing one, test the functionality to ensure everything is working correctly. Check all audio sources, buttons, and features to guarantee a seamless integration.
Remember to dispose of any packaging materials or old stereo components responsibly, and enjoy your newly installed or reattached JVC car stereo!
Conclusion
Removing a JVC car stereo may seem like a challenging task, but with the right tools and instructions, it can be done efficiently and safely. Throughout this comprehensive guide, we have walked you through the step-by-step process of removing a JVC car stereo from your vehicle’s dashboard.
By following the steps outlined in this guide, you can confidently remove the stereo without causing any damage to your car’s interior or the stereo itself. Remember to gather the necessary tools, locate the release keys, insert them into the stereo slots, pull out the stereo, disconnect the wiring harness, and ultimately remove the stereo completely. You also have the option to install a new stereo or reattach the existing one to suit your specific needs.
Always exercise caution and handle the stereo and wiring harness with care. Take your time, refer to your car’s owner’s manual or seek professional guidance if needed, and ensure that all connections are secure and functioning properly.
Whether you’re upgrading your car stereo system or troubleshooting an issue, knowing how to remove a JVC car stereo is a valuable skill. We hope that this guide has provided you with the knowledge and confidence to successfully remove and replace your JVC car stereo.
Remember, if you’re ever unsure or uncomfortable with any step of the process, it’s always recommended to consult a professional car stereo installer for assistance. Safety should always be the top priority.
Now, armed with this knowledge and guidance, you can embark on the journey of removing a JVC car stereo with confidence and ease. Good luck, and enjoy the enhanced audio experience in your car!