Home>Devices & Equipment>Streaming>How Do I Record Streaming Music On My Computer Using Cubase


Streaming
How Do I Record Streaming Music On My Computer Using Cubase
Modified: March 8, 2024
Learn how to record streaming music on your computer using Cubase. Follow our step-by-step guide to capture your favorite tracks effortlessly.
(Many of the links in this article redirect to a specific reviewed product. Your purchase of these products through affiliate links helps to generate commission for AudioLover.com, at no extra cost. Learn more)
Table of Contents
Introduction
Recording streaming music on your computer can be an exciting and rewarding endeavor, especially when you have the right tools at your disposal. One such tool that has gained popularity among music enthusiasts and professionals is Cubase. This powerful digital audio workstation (DAW) offers a comprehensive set of features for recording, editing, and producing music, making it an ideal choice for capturing streaming audio.
With the ability to record audio from various sources, including streaming platforms, Cubase provides a seamless solution for capturing your favorite music, podcasts, or any other audio content directly onto your computer. Whether you're looking to create a personal archive of your favorite tracks or extract audio for creative projects, Cubase offers a versatile platform for capturing streaming music with precision and clarity.
In this guide, we will explore the process of setting up Cubase for recording streaming music on your computer. From configuring the audio input and output settings to recording and editing the captured audio, you'll gain valuable insights into leveraging Cubase's capabilities for capturing high-quality streaming music. By following the steps outlined in this guide, you'll be well-equipped to embark on your journey of preserving and repurposing streaming audio content with ease and efficiency.
Now, let's delve into the intricacies of setting up Cubase for recording streaming music, empowering you to harness the full potential of this innovative software for your audio recording needs.
Setting up Cubase for recording streaming music
Before diving into the process of recording streaming music using Cubase, it's essential to ensure that the software is properly configured to capture audio from your computer's sound output. Here's a step-by-step guide to setting up Cubase for recording streaming music:
-
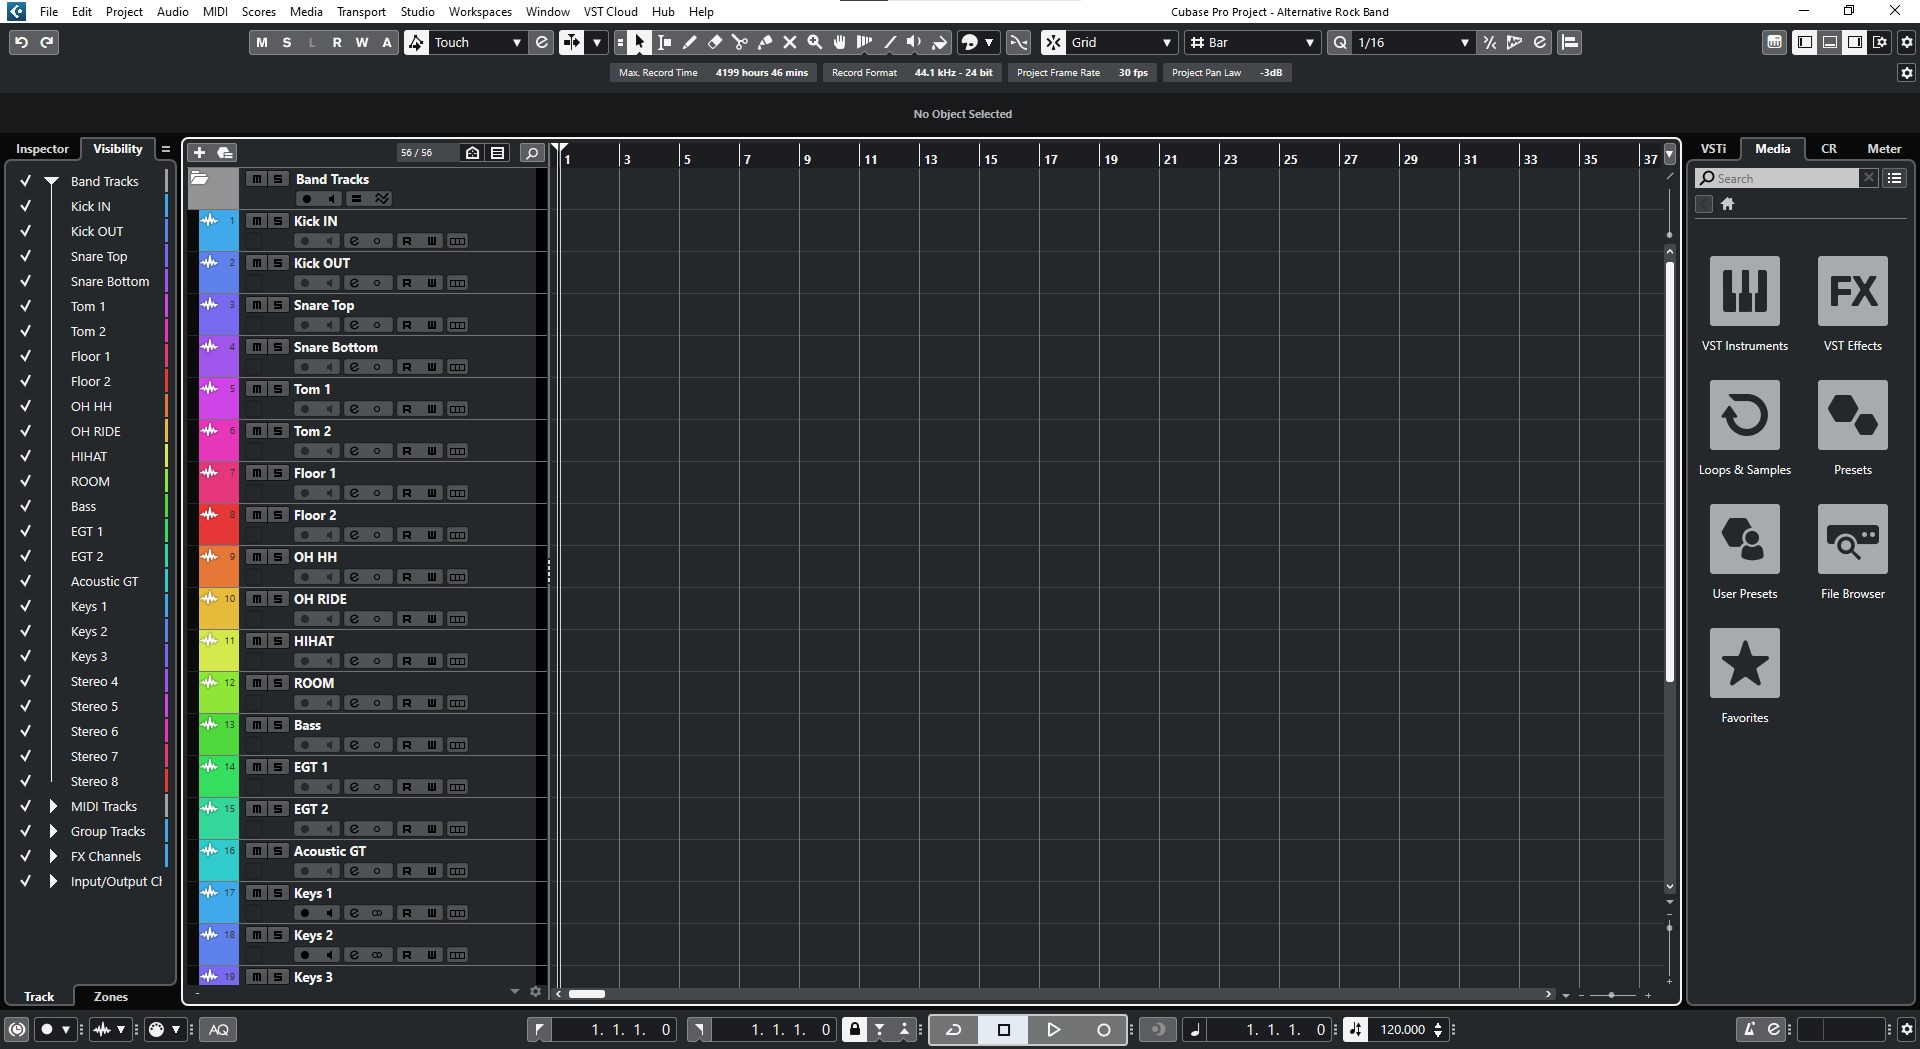
Launch Cubase: After installing Cubase on your computer, launch the software to initiate the setup process. Familiarize yourself with the user interface, as this will be your workspace for recording and editing streaming music.
-
Create a New Project: Start by creating a new project within Cubase. This will serve as the container for your recorded streaming audio, providing a dedicated space for organizing and editing the captured content.
-
Select Audio Input Source: Navigate to the audio input settings within Cubase and ensure that the appropriate input source is selected. Since you'll be capturing audio from your computer's sound output, choose the corresponding input source to enable Cubase to receive the audio signal.
-
Configure Audio Output: Verify that the audio output settings are correctly configured within Cubase. This ensures that the playback of the recorded streaming music is routed to the desired output device, such as your computer's speakers or headphones.
-
Adjust Recording Levels: Before initiating the recording process, it's crucial to adjust the recording levels within Cubase to achieve optimal audio quality. Monitor the input levels to prevent audio clipping or distortion during the recording session.
-
Set Project Tempo and Time Signature: Depending on the streaming music you intend to record, you may need to set the project tempo and time signature to align with the audio content. This step ensures that the recorded music integrates seamlessly with other elements in your projects.
-
Enable Monitoring: Activate the monitoring feature within Cubase to listen to the audio signal in real-time as it passes through the software. This allows you to verify the audio quality and make any necessary adjustments before commencing the recording.
By following these steps, you can effectively prepare Cubase for capturing streaming music with precision and clarity. With the software configured to receive and process audio from your computer's sound output, you're now ready to embark on the recording process and capture your favorite streaming music seamlessly.
Configuring audio input and output
Configuring the audio input and output settings within Cubase is a crucial step in preparing the software for recording streaming music. By ensuring that the correct input and output sources are selected, you can effectively capture and monitor the audio signal with precision. Here's a detailed exploration of the process involved in configuring the audio input and output settings within Cubase:
Selecting the Audio Input Source
When setting up Cubase for recording streaming music, it's essential to navigate to the audio input settings within the software. Here, you'll have the opportunity to select the appropriate input source through which the streaming audio will be captured. Depending on your computer's configuration, you may encounter multiple input sources, including built-in microphones, external audio interfaces, or virtual audio devices. It's imperative to choose the input source that corresponds to your computer's sound output, ensuring that Cubase can effectively receive the audio signal for recording.
Verifying Audio Output Configuration
In addition to configuring the input source, it's equally important to verify the audio output settings within Cubase. This step ensures that the playback of the recorded streaming music is routed to the desired output device, such as your computer's speakers, headphones, or external monitoring system. By confirming the audio output configuration, you can establish a seamless playback pathway for the captured audio, allowing you to monitor and review the recorded content with clarity and precision.
Adjusting Input Levels and Monitoring
As part of the configuration process, it's beneficial to adjust the input levels within Cubase to optimize the recording quality. By monitoring the input levels, you can prevent audio clipping or distortion, ensuring that the captured streaming music maintains its fidelity and clarity. Additionally, enabling the monitoring feature within Cubase allows you to listen to the audio signal in real-time as it passes through the software. This real-time monitoring capability empowers you to assess the audio quality and make any necessary adjustments before commencing the recording, thereby enhancing the overall recording experience.
By meticulously configuring the audio input and output settings within Cubase, you can establish a robust foundation for capturing streaming music with precision and clarity. This preparatory phase sets the stage for a seamless recording process, enabling you to harness the full potential of Cubase for preserving and repurposing your favorite streaming audio content.
Recording the streaming music
Once you have configured Cubase to receive and process audio from your computer's sound output, you are ready to embark on the exciting process of recording streaming music. Cubase offers a streamlined approach to capturing audio from various sources, including streaming platforms, empowering you to preserve your favorite music with exceptional clarity and fidelity. Here's a comprehensive guide to recording streaming music using Cubase:
-
Initiating the Recording Process: To begin recording streaming music, ensure that the audio input and output settings are correctly configured within Cubase. Once the software is primed to receive the audio signal from your computer's sound output, navigate to the recording interface within Cubase to prepare for the capture process.
-
Selecting the Recording Source: Within Cubase, designate the input source for the recording session, specifying the pathway through which the streaming music will be captured. Since you'll be recording audio from your computer's sound output, ensure that the corresponding input source is selected to facilitate the seamless capture of the streaming music.
-
Commencing the Recording: With the input source configured, initiate the recording process within Cubase to capture the streaming music in real-time. As the audio signal flows through the software, Cubase diligently captures the content, preserving the nuances and intricacies of the streaming music with remarkable precision.
-
Monitoring the Recording: Throughout the recording session, leverage Cubase's monitoring capabilities to listen to the captured audio in real-time. This real-time monitoring feature allows you to assess the quality of the recording, ensuring that the streaming music is captured with optimal fidelity and clarity.
-
Managing Recording Parameters: Cubase offers a range of recording parameters that can be adjusted to tailor the capture process to your specific preferences. From setting recording levels to applying real-time effects, you have the flexibility to fine-tune the recording parameters to achieve the desired audio quality.
-
Pausing and Resuming Recording: In scenarios where interruptions or breaks are necessary during the recording session, Cubase provides the functionality to pause and resume the recording seamlessly. This feature ensures that you can manage the recording process with ease, accommodating any pauses or adjustments as needed.
-
Completing the Recording: Once the streaming music has been successfully captured, conclude the recording session within Cubase. The software meticulously finalizes the recorded audio, preserving it within the project environment for further editing and manipulation.
By following these steps, you can effectively record streaming music using Cubase, harnessing the software's advanced capabilities to capture and preserve your favorite audio content with unparalleled precision and clarity. Whether you're archiving cherished tracks or extracting audio for creative projects, Cubase offers a versatile and intuitive platform for capturing streaming music with exceptional fidelity and efficiency.
Editing and exporting the recorded music
After successfully capturing streaming music using Cubase, the software provides a comprehensive suite of tools and features for editing and exporting the recorded audio with precision and finesse. This pivotal phase of the audio production process empowers you to refine the captured content, apply creative enhancements, and ultimately prepare the music for distribution or further manipulation. Here's a detailed exploration of the editing and exporting process within Cubase:
Accessing the Recorded Audio
Upon completing the recording session, navigate to the project environment within Cubase to access the recorded streaming music. The captured audio is seamlessly integrated into the project, allowing for effortless retrieval and manipulation. Cubase's intuitive interface provides a user-friendly workspace for managing recorded audio tracks, streamlining the editing and exporting workflow.
Editing Tools and Functions
Cubase offers a diverse array of editing tools and functions, empowering you to refine and enhance the recorded music with precision. From basic editing tasks such as trimming and arranging audio segments to advanced processes like applying real-time effects and corrective adjustments, the software provides a versatile toolkit for sculpting the captured audio to your exact specifications. With features such as audio quantization, pitch correction, and time-stretching, Cubase enables you to elevate the recorded music to new heights of sonic excellence.
Creative Processing and Effects
In addition to fundamental editing tasks, Cubase boasts an extensive collection of creative processing and effects modules that can be applied to the recorded music. Whether you seek to infuse the audio with reverberation, modulation, or dynamic processing, Cubase offers a rich palette of effects to embellish and enrich the captured content. By leveraging these creative tools, you can imbue the streaming music with character, depth, and sonic allure, transforming it into a captivating auditory experience.
Exporting and File Formats
Once the editing process is complete, Cubase facilitates seamless exporting of the edited audio in a variety of file formats. Whether you intend to create high-fidelity audio files for distribution or export stems for further mixing and mastering, the software offers flexible export options to accommodate diverse production requirements. Cubase's export functionality ensures that the edited streaming music is rendered with pristine clarity and fidelity, ready for integration into your projects or sharing with a wider audience.
Finalizing the Production
As the edited and exported music takes its final form, Cubase provides the necessary tools and utilities to finalize the production. Whether it involves mastering the audio for optimal playback or preparing it for integration into larger projects, the software equips you with the means to bring the production to its culmination with finesse and precision.
By harnessing Cubase's robust editing and exporting capabilities, you can elevate the recorded streaming music to new heights of sonic excellence, ensuring that it resonates with clarity, depth, and artistic expression. Whether you're refining captured tracks for personal enjoyment or preparing them for broader dissemination, Cubase offers a comprehensive platform for realizing your creative vision with unparalleled fidelity and finesse.

