Home>Production & Technology>Surround Sound>How Do I Add A Surround Sound System Attached To My TV When Hooking My Computer To It?

Surround Sound
How Do I Add A Surround Sound System Attached To My TV When Hooking My Computer To It?
Published: December 22, 2023
Learn how to add a surround sound system to your TV when connecting your computer, enhancing your audio experience and immersing yourself in cinematic sound.
(Many of the links in this article redirect to a specific reviewed product. Your purchase of these products through affiliate links helps to generate commission for AudioLover.com, at no extra cost. Learn more)
Table of Contents
Introduction
Adding a surround sound system to your TV when hooking your computer to it can greatly enhance your audio experience. Whether you’re a movie enthusiast, a gamer, or simply someone who enjoys immersive sound quality, a surround sound system can bring your entertainment to life.
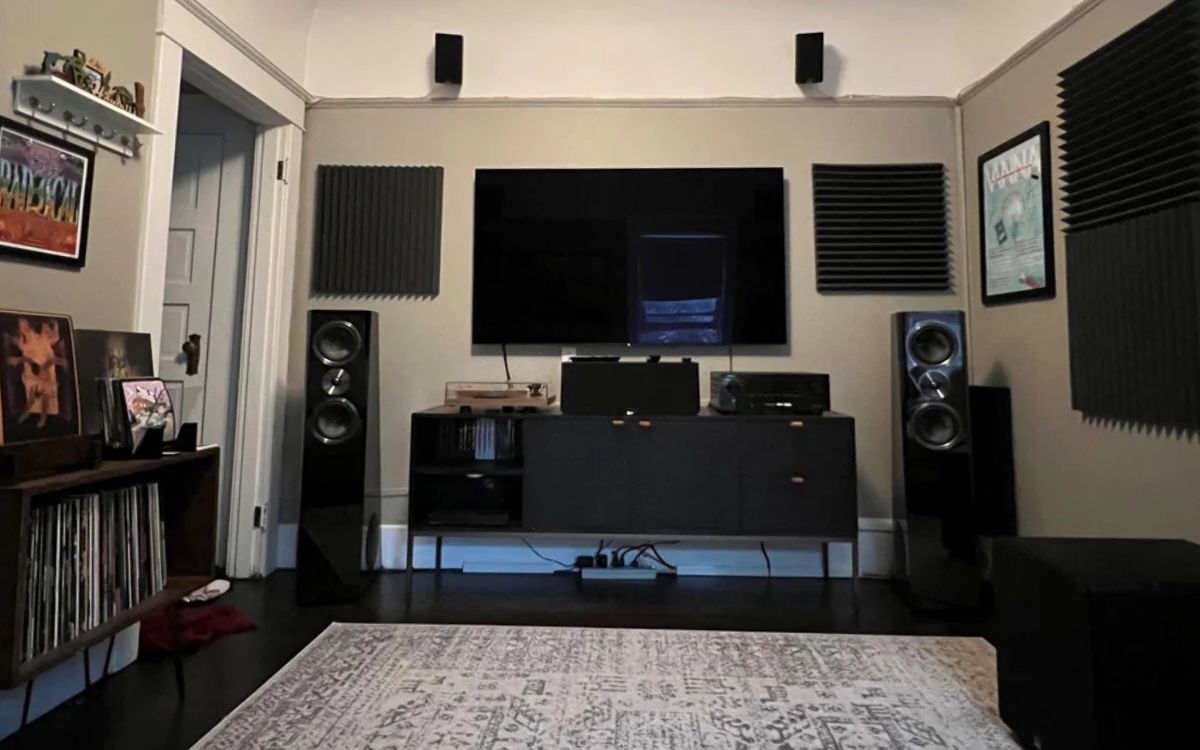
Surround sound technology creates a multidimensional audio experience by utilizing multiple speakers placed strategically around the room. This allows for a more realistic and immersive soundstage, where you can hear sounds coming from different directions, just like in a movie theater or concert hall.
When it comes to connecting your computer to your TV and integrating a surround sound system, there are several steps to follow. First, you need to assess your TV and computer setup to determine compatibility and available connections. Then, you’ll need to choose the right surround sound system that meets your requirements and budget.
Once you have the necessary equipment, you can proceed to connect the surround sound system to your TV and then hook up your computer to the TV. Adjusting the sound settings and testing the system will ensure that everything is working correctly and optimized for the best audio experience.
In this article, we will guide you through each step of the process, providing detailed instructions and tips to help you add a surround sound system to your TV when hooking your computer to it. So, get ready to elevate your audio experience and immerse yourself in a world of captivating sound!
Step 1: Assessing Your TV and Computer Setup
Before adding a surround sound system to your TV, it’s important to assess your TV and computer setup. This will help you determine the compatibility and available connections for connecting the components.
First, take a close look at your TV. Check if it has built-in speakers or if it has an audio output option. Most modern TVs come with HDMI ARC (Audio Return Channel) capability, which allows audio signals to be sent both to and from the TV and external devices. If your TV has an ARC-enabled HDMI port, it will make connecting the surround sound system much easier.
Next, examine your computer. Look for the available audio output connections. Common options include HDMI, DisplayPort, and audio output jacks. Determine which one will be used to connect to your TV and subsequently to the surround sound system.
It’s also essential to consider the audio formats supported by your TV and computer. Make sure they are compatible with the surround sound system you plan to use. Common audio formats include Dolby Digital, DTS, and PCM.
If you’re uncertain about any of these aspects or require more information, consult the user manuals of your TV and computer. They should provide detailed specifications and connection options.
Once you have gathered all the necessary information about your TV and computer setup, you can move on to the next step, which is choosing the right surround sound system that suits your needs and preferences.
Step 2: Choosing the Right Surround Sound System
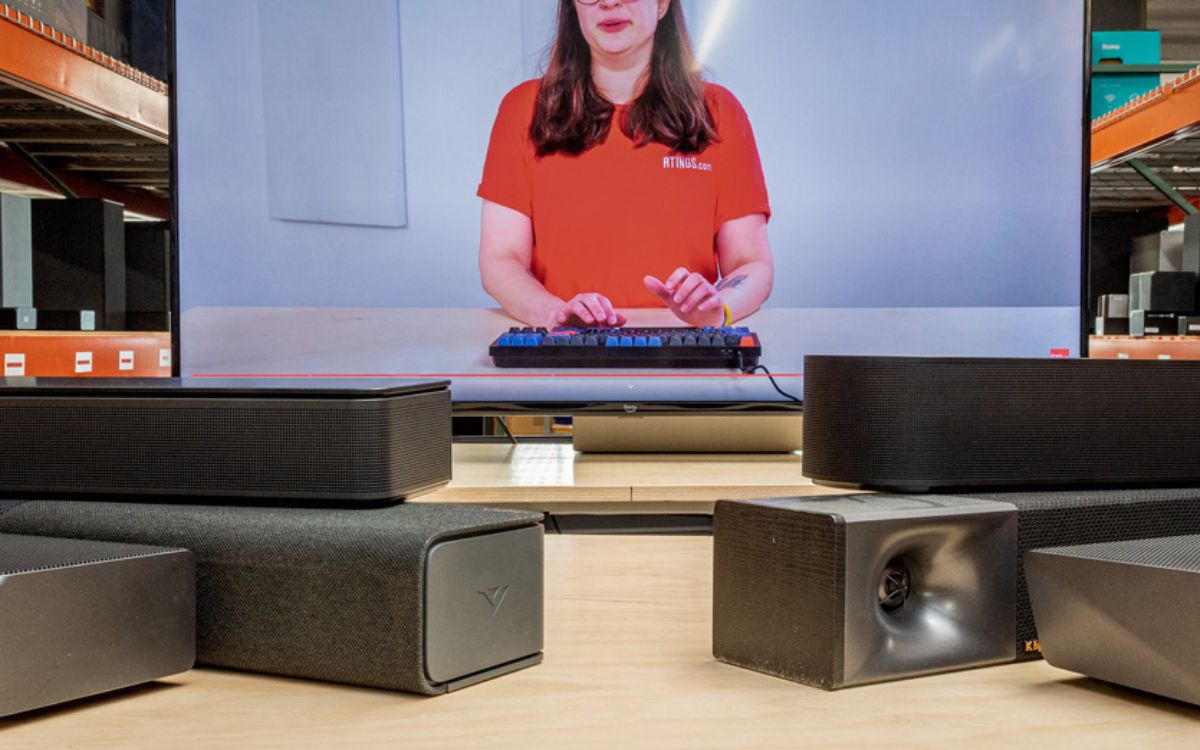
When it comes to choosing a surround sound system, there are a few factors to consider. These include the type of system, speaker configuration, and your budget.
There are two main types of surround sound systems: the traditional wired system and the more modern wireless system. The traditional wired system requires running cables from the amplifier or receiver to each individual speaker. On the other hand, wireless systems use wireless connectivity to transmit audio signals from the source to the speakers, eliminating the need for extensive cables. Consider your preference and convenience when deciding between the two.
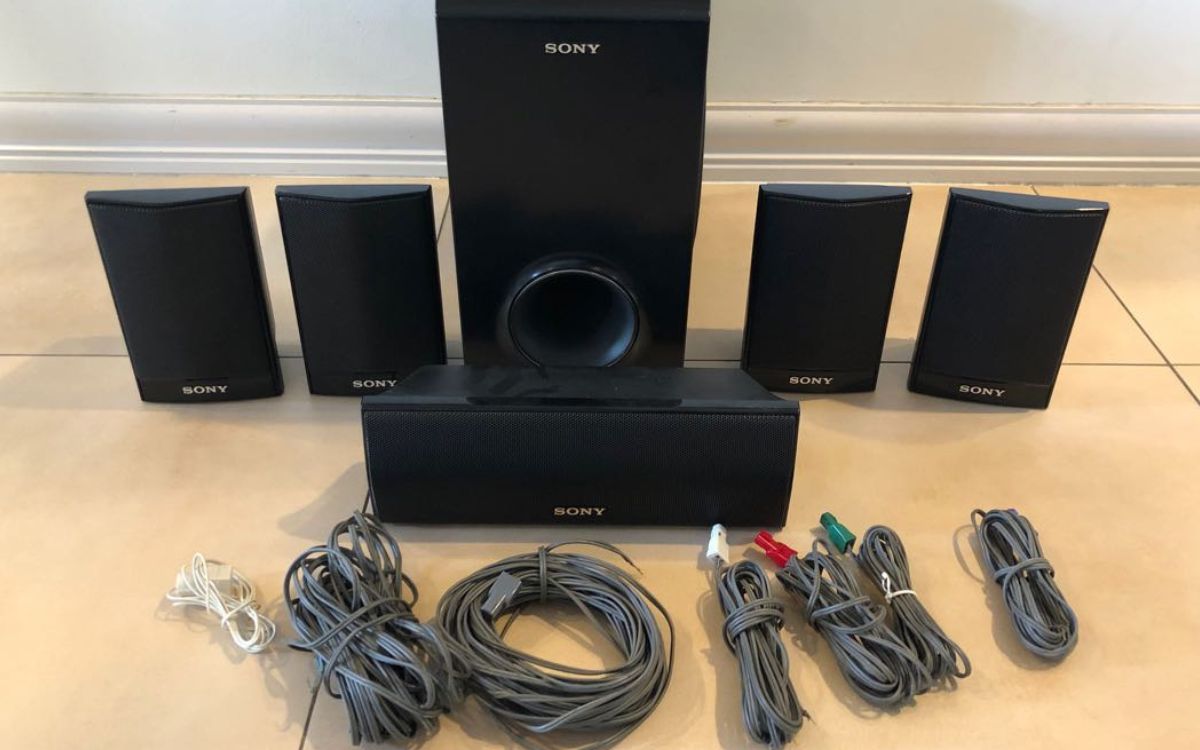
Speaker configuration is another important consideration. The typical surround sound system consists of a center speaker, front left and right speakers, rear left and right speakers, and a subwoofer. This is known as a 5.1 channel system. However, more advanced setups such as 7.1 or even 9.1 systems include additional speakers for a more immersive experience. Take into account the size of your room and your personal audio preferences when choosing the speaker configuration.
Set a budget for your surround sound system. Prices can vary significantly depending on the brand, quality, and features of the system. Determine how much you are willing to spend and explore different options within your price range. Remember, a higher price doesn’t always guarantee better sound quality, so read reviews and consider recommendations from trusted sources.
Additionally, look for features that are important to you. This could include Bluetooth connectivity, compatibility with streaming services, or support for specific audio formats. Consider factors like ease of setup, user-friendly interfaces, and any additional functionalities that might enhance your overall experience.
Once you have chosen the right surround sound system for your needs, you can move on to the next step, which involves connecting the system to your TV.
Step 3: Connecting the Surround Sound System to Your TV
Now that you have chosen the right surround sound system, it’s time to connect it to your TV. Follow these steps to ensure a proper connection:
- Identify the audio output options on your TV. If your TV has an ARC-enabled HDMI port, use an HDMI cable to connect it to the HDMI ARC input on the surround sound system. This will allow audio to pass from the TV to the system.
- If your TV doesn’t have ARC capabilities, you can use an optical audio cable. Connect one end of the optical cable to the optical audio output on your TV and the other end to the optical input on the surround sound system.
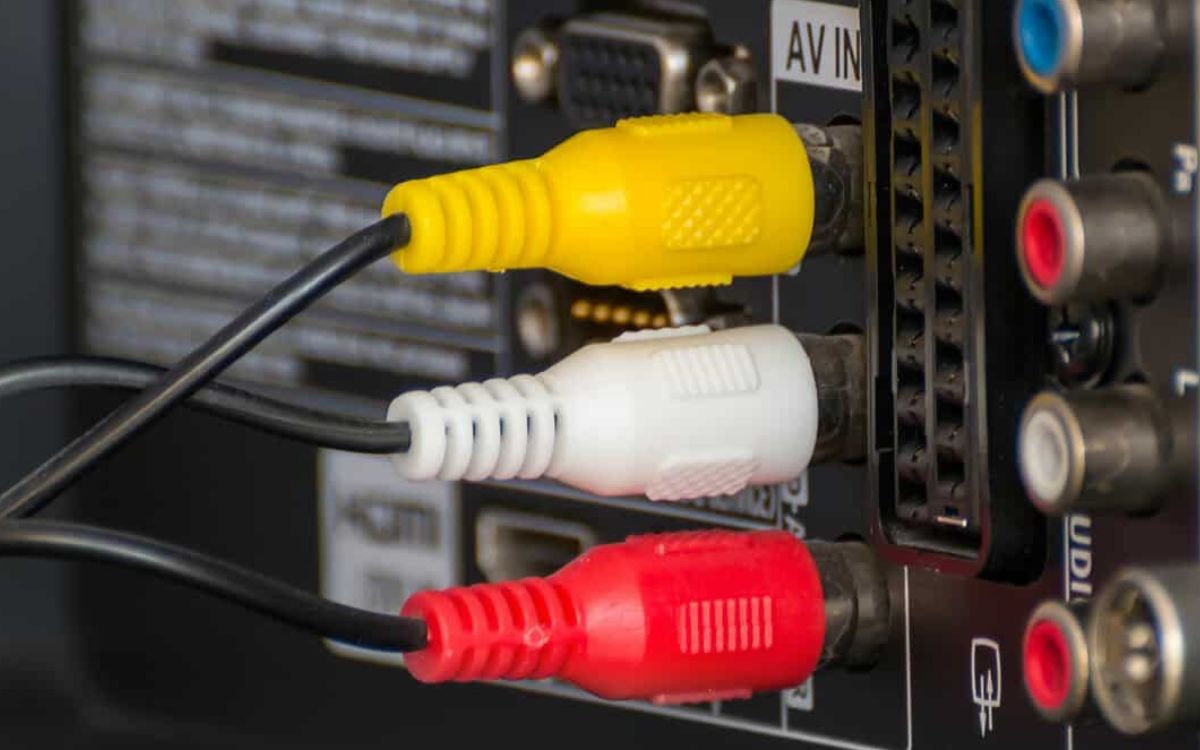
- If your TV has RCA audio output options, you can use RCA cables. Connect the red and white connectors on one end of the RCA cable to the corresponding audio output jacks on the TV, and the other end to the audio input jacks on the surround sound system.
- Make sure to power on both your TV and the surround sound system.
- Set your TV’s audio output settings to the appropriate option. This can usually be found in the TV’s audio or settings menu. Select the audio output option that matches the connection you made (HDMI ARC, optical, or RCA).
Once you have successfully connected the surround sound system to your TV, you can move on to the next step, which involves connecting your computer to the TV.
Step 4: Connecting the Computer to Your TV
To complete the setup, you need to connect your computer to your TV. Follow these steps to establish the connection:
- Identify the available output options on your computer. The most common ones are HDMI, DisplayPort, and VGA.
- If both your computer and TV have an HDMI port, use an HDMI cable to connect them. Simply plug one end of the HDMI cable into the HDMI output port on your computer and the other end into an available HDMI input port on your TV.
- If your computer has a DisplayPort, you can use a DisplayPort-to-HDMI adapter or cable for the connection. Connect one end of the DisplayPort adapter or cable to the DisplayPort output on your computer and the other end to an available HDMI input port on your TV.
- If your computer only has a VGA output, you will need a VGA-to-HDMI converter. Connect one end of the VGA cable to the VGA output on your computer and the other end to the VGA-to-HDMI converter. Then, use an HDMI cable to connect the converter to an available HDMI input port on your TV.
- Once the computer is connected to the TV, use your TV’s remote control to select the corresponding HDMI input as the source for the computer’s display.
Depending on your computer’s operating system, you may need to adjust the display settings to ensure the proper output resolution and aspect ratio on the TV. This can usually be done by accessing the display settings in the control panel or system preferences of your computer.
With the computer successfully connected to the TV, you are one step closer to enjoying a surround sound experience. Now, it’s time to move on to adjusting the sound settings.
Step 5: Adjusting Sound Settings
Once your surround sound system and computer are properly connected to your TV, it’s important to adjust the sound settings to ensure optimal audio performance. Here’s what you need to do:
- Access the audio settings on your TV. This can usually be done by going to the settings menu and selecting the audio or sound options.
- Choose the appropriate audio output option that corresponds to the connection you made. If you connected your TV to the surround sound system using HDMI ARC, select the HDMI ARC option. If you used an optical audio cable, choose the optical option.
- Check the audio format settings. Ensure that it is set to the desired audio format supported by your TV and the surround sound system. Common audio formats include Dolby Digital, DTS, and PCM.
- Adjust the volume and audio balance settings to your preferences. This can help fine-tune the sound output and ensure a balanced audio experience.
Next, you’ll want to adjust the audio settings on your computer to ensure that the sound signal is being properly sent to the TV and the surround sound system. Here’s how:
- Access the audio settings on your computer. This can usually be done through the control panel or system preferences, depending on your operating system.
- Select the audio output device as the TV or the HDMI connection you made.
- Check the audio format settings on your computer. Make sure they are compatible with the surround sound system. Select the appropriate audio format, such as Dolby Digital or DTS, if available.
- Adjust the volume level on your computer to a comfortable level.
By adjusting the sound settings on both your TV and computer, you can ensure that the audio signal is properly routed to your surround sound system and that you are getting the best possible audio experience.
Once the sound settings are adjusted, you’re ready for the final step – testing the surround sound system.
Step 6: Testing the Surround Sound System
After connecting and adjusting the settings of your surround sound system, it’s time to test it to ensure everything is working correctly. Follow these steps to conduct a thorough test:
- Play a piece of content that supports surround sound, such as a movie with a 5.1 or higher audio track, or a video game with surround sound capabilities.
- Pay attention to the audio coming from each speaker. Use the sound test feature available in many surround sound systems to verify that sound is being emitted from the correct speakers. This will help you confirm that the channels are set up correctly.
- Check if the sound is balanced and immersive. Sounds should appear to come from the appropriate direction, creating a realistic audio experience. Listen for clarity, richness, and depth in the sound output.
- If you notice any issues, such as missing audio from certain speakers or unbalanced sound, revisit the connections and settings to ensure everything is properly configured.
- Make fine adjustments to the speaker levels and sound settings based on your preferences. Use the equalizer settings on your surround sound system or on your computer to customize the audio output according to your taste.
Utilize a variety of audio sources, including movies, music, and games, to thoroughly test the capabilities of your surround sound system. Experiment with different genres and audio formats to get a complete understanding of its performance.
Don’t hesitate to consult the user manual or online resources specific to your surround sound system if you encounter any difficulties during the testing process. They can provide additional guidance and troubleshooting tips.
By conducting a thorough test, you can ensure that your surround sound system is functioning properly and delivering the immersive audio experience you desire.
Congratulations! You have successfully added a surround sound system to your TV while hooking your computer to it. Now, sit back, relax, and enjoy an extraordinary audio experience with your favorite entertainment content.
Conclusion
Adding a surround sound system to your TV when hooking your computer to it can transform your audio experience and elevate your entertainment to new heights. By following the steps outlined in this guide, you can seamlessly integrate a surround sound system into your setup and enjoy immersive, high-quality sound.
Throughout this process, you learned how to assess your TV and computer setup, choose the right surround sound system, and connect it to your TV. You also discovered how to connect your computer to the TV and adjust the sound settings for optimal performance. Lastly, you conducted a thorough test to ensure that your surround sound system is working as expected.
Remember that every setup may have slight variations, so consult the user manuals of your specific devices for more detailed instructions. Additionally, seek help from online forums or professional technicians if you encounter any difficulties along the way.
Now, you can fully immerse yourself in your favorite movies, games, and music, experiencing sound from all directions like never before. Get ready to hear every subtle detail and feel the rumbling bass as if you were in the midst of the action.
So, grab your popcorn, set up your surround sound system, and prepare to be blown away by the incredible audio experience that awaits you!