Home>Instruments>Guitar>How To Record A Guitar To A Computer
Guitar
How To Record A Guitar To A Computer
Modified: March 12, 2024
Learn how to easily record your guitar to your computer for high-quality music production. Follow our step-by-step guide to start recording your guitar today!
(Many of the links in this article redirect to a specific reviewed product. Your purchase of these products through affiliate links helps to generate commission for AudioLover.com, at no extra cost. Learn more)
Table of Contents
Introduction
So, you've mastered the art of playing the guitar, and now you're ready to share your musical talent with the world. Whether you're a seasoned guitarist or just starting out, recording your guitar playing can be an incredibly rewarding experience. Not only does it allow you to capture your creativity and musical ideas, but it also provides a platform for sharing your music with others.
In today's digital age, recording your guitar to a computer has never been easier. With the right equipment and software, you can achieve professional-quality recordings right from the comfort of your own home. This article will guide you through the process of recording your guitar to a computer, covering everything from the necessary equipment to the final mixing stages.
Recording your guitar to a computer opens up a world of possibilities. You can create demos, record full songs, collaborate with other musicians remotely, or simply capture your practice sessions for review. The flexibility and convenience offered by computer-based recording make it an attractive option for guitarists of all levels.
Throughout this guide, we'll explore the essential equipment needed for recording, the process of setting up your computer for recording, connecting your guitar to the computer, selecting the right recording software, the actual recording process, and finally, editing and mixing your recordings. By the end of this article, you'll have a comprehensive understanding of how to record your guitar to a computer and be well on your way to producing professional-quality recordings from the comfort of your own home.
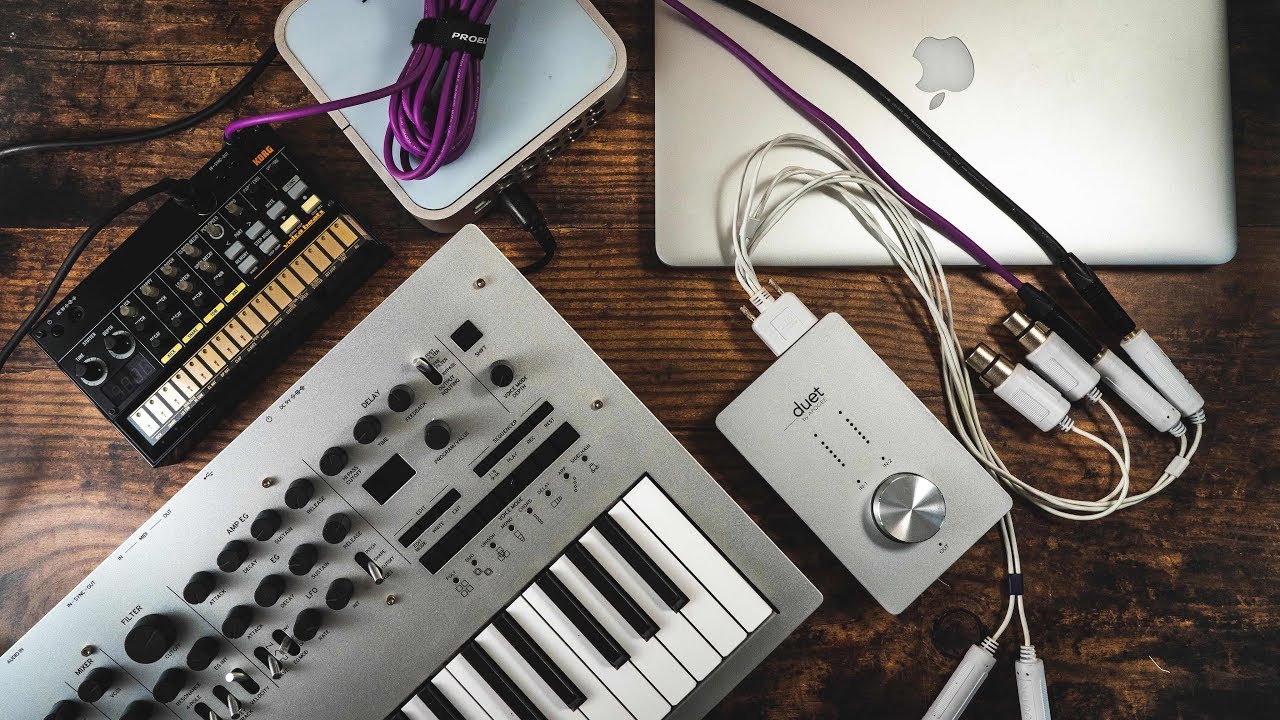
Equipment Needed
Before you can start recording your guitar to a computer, you’ll need to gather the necessary equipment. Here’s a rundown of the essential gear you’ll need:
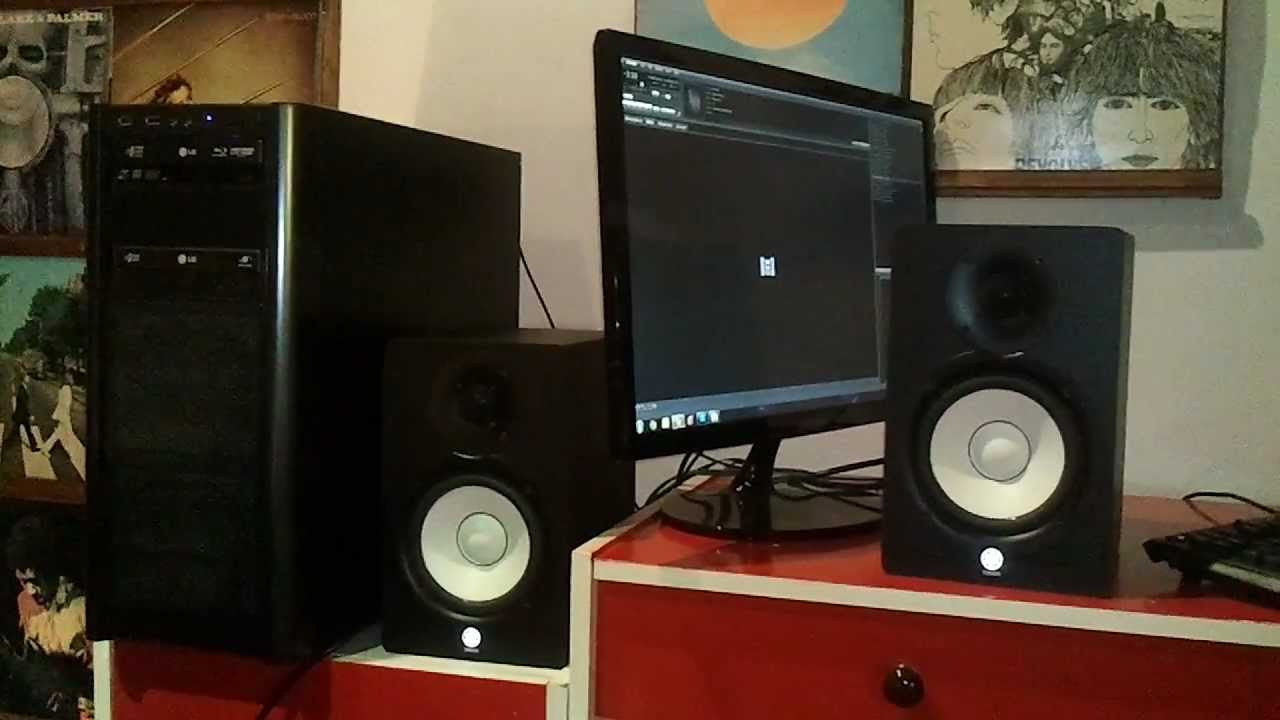
- Computer: A reliable computer is the heart of your recording setup. Whether you prefer a desktop or a laptop, make sure it meets the system requirements of your recording software.
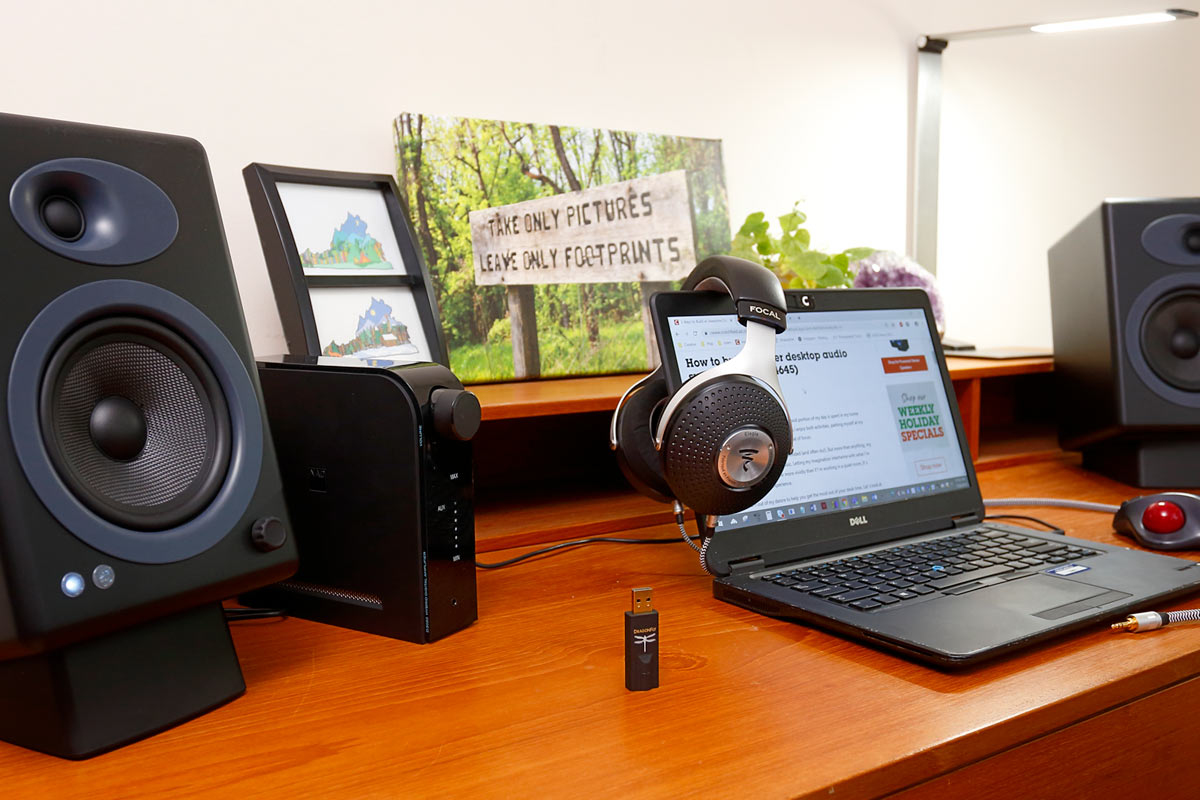
- Audio Interface: An audio interface serves as the bridge between your guitar and the computer. It converts the analog signal from your guitar into digital data that the computer can process. Look for an interface with high-quality preamps and enough inputs to accommodate your recording needs.
- Microphone (optional): If you plan to mic up your guitar amplifier or record acoustic guitar, a microphone is essential. There are various types of microphones suited for different recording purposes, so choose one that best fits your needs and budget.
- Guitar Cables: Reliable instrument cables are crucial for connecting your guitar to the audio interface. Invest in durable cables to ensure a clean and noise-free signal transfer.
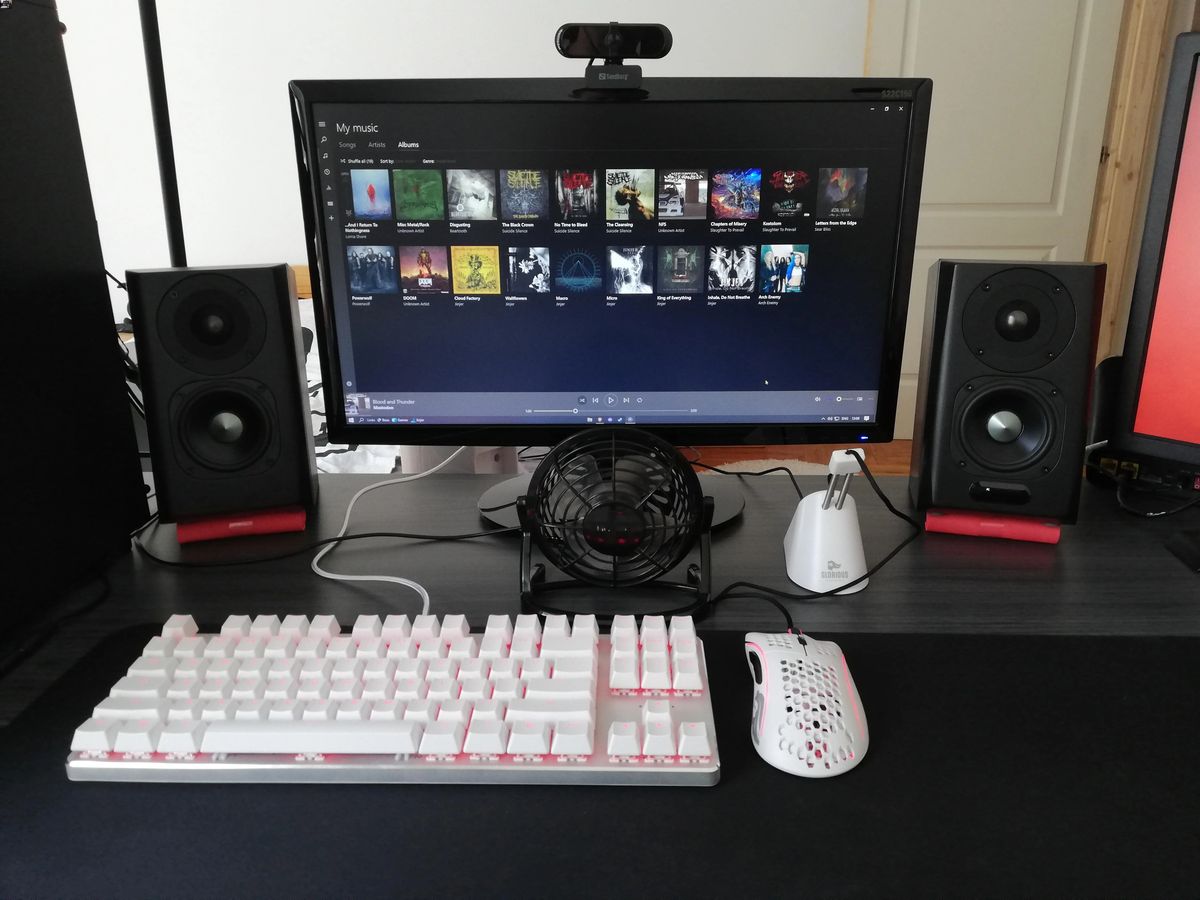
- Monitoring Headphones or Speakers: Accurate monitoring is essential for recording and mixing. Invest in a pair of studio-quality headphones or monitor speakers to hear the details of your recordings clearly.
- Recording Software: Also known as a digital audio workstation (DAW), recording software is where you’ll capture, edit, and mix your recordings. There are many options available, catering to different budgets and skill levels.
- Guitar: Last but not least, you’ll need a guitar! Whether it’s an electric, acoustic, or bass guitar, ensure it’s in good playing condition and properly tuned before recording.
While this list covers the fundamental equipment, there are additional accessories and peripherals that can enhance your recording experience, such as a microphone stand, pop filter, and studio monitor controller. As you delve deeper into recording, you may find the need to expand your setup to meet specific recording demands.
Now that you have an overview of the essential equipment, the next step is to set up your computer for recording.
Setting Up Your Computer
Before diving into recording your guitar, it’s crucial to ensure that your computer is properly set up for the task. Here are the key steps to prepare your computer for recording:
- System Optimization: To achieve smooth recording and playback, close unnecessary applications and processes running in the background. This minimizes the strain on your computer’s resources, allowing your recording software to operate efficiently.
- Audio Driver Installation: Install the latest drivers for your audio interface. These drivers facilitate communication between the interface and your computer, ensuring low latency and optimal performance.
- Buffer Size Adjustment: Adjust the buffer size in your recording software to find the right balance between low latency and stable performance. Lower buffer sizes reduce latency but require more processing power, while higher buffer sizes offer more stability but may introduce noticeable latency.
- Storage Space: Ensure that your computer has sufficient storage space for recording and storing audio files. Consider using an external hard drive for additional storage to prevent your computer’s internal drive from filling up quickly.
- Updates and Maintenance: Keep your operating system, recording software, and audio interface drivers up to date. Regular updates often include performance improvements and bug fixes that can enhance your recording experience.
By following these steps, you’ll create an optimized environment for recording your guitar to your computer. A well-configured computer minimizes technical hurdles, allowing you to focus on capturing your musical ideas with ease.
With your computer ready for recording, the next step is to connect your guitar to the audio interface, which we’ll explore in the following section.
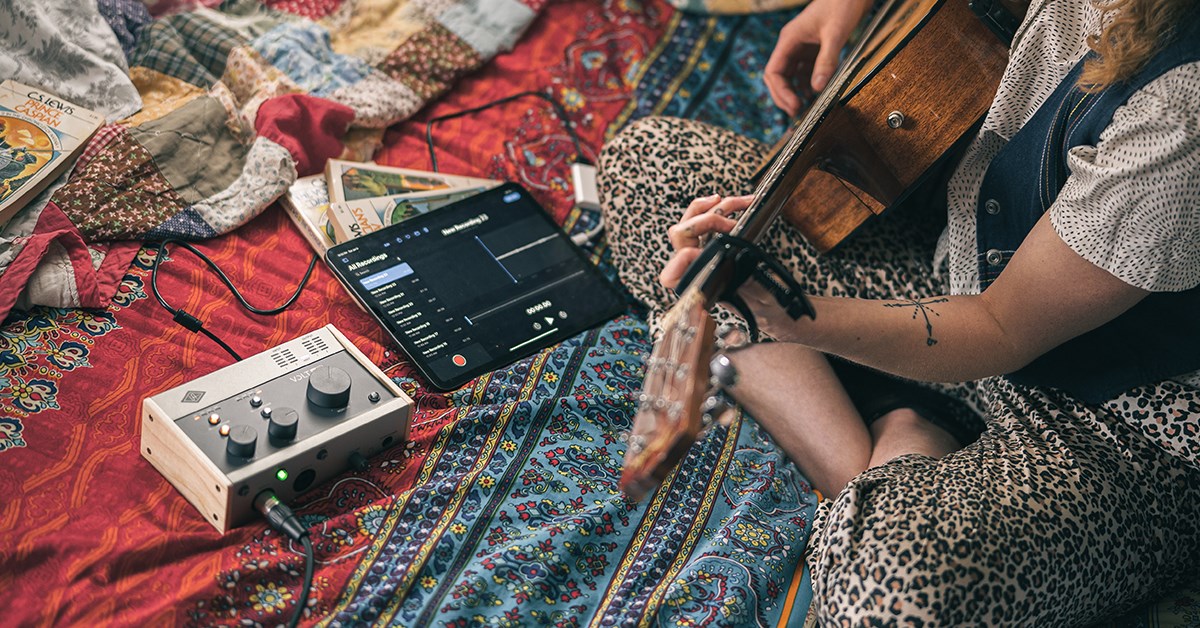
Connecting Your Guitar
Now that your computer is set up for recording, it’s time to connect your guitar to the audio interface. The process is relatively straightforward, but it’s essential to ensure a secure and noise-free connection. Here’s how to do it:
- Connect the Audio Interface: Start by connecting your audio interface to your computer using the provided USB or Thunderbolt cable. Once connected, power on the audio interface and install any necessary drivers or software.
- Plug In Your Guitar: Using a high-quality instrument cable, plug one end into your guitar’s output jack and the other end into the input of the audio interface. If you’re using an electric guitar, ensure that the volume and tone knobs are adjusted to your preference.
- Adjust Input Levels: Most audio interfaces feature input gain knobs or level controls. Set the input level for your guitar to ensure a healthy signal without clipping. Clipping occurs when the input signal is too loud, resulting in distortion and an unpleasant sound.
- Phantom Power (If Applicable): If you’re using a condenser microphone to record acoustic guitar or vocals, and it requires phantom power, make sure to activate phantom power on the audio interface. This provides the necessary power for the microphone to function properly.
Once your guitar is connected to the audio interface, you’re ready to move on to the next crucial step: selecting the right recording software for capturing your guitar performances. The recording software serves as the canvas for your musical creations, offering a range of tools for recording, editing, and mixing your guitar tracks.
Choosing Recording Software
When it comes to recording your guitar to a computer, selecting the right recording software, also known as a digital audio workstation (DAW), is paramount. The recording software serves as the central hub for capturing, editing, and mixing your guitar recordings. Here are some key considerations when choosing recording software:
- Features and Capabilities: Different recording software offers varying features and capabilities. Consider the tools you’ll need, such as multi-track recording, virtual instruments, audio effects, and mixing capabilities. Some popular recording software options include Pro Tools, Logic Pro, Ableton Live, FL Studio, and Reaper, each with its unique strengths and workflow.
- User Interface and Workflow: The user interface of the recording software plays a significant role in your overall recording experience. Look for a software interface that aligns with your workflow and provides intuitive navigation. A well-designed interface can streamline your recording process and inspire creativity.
- Compatibility and Integration: Ensure that the recording software is compatible with your computer’s operating system and hardware. Additionally, consider the software’s integration with third-party plugins and virtual instruments, as these expand your sonic palette and creative possibilities.
- Ease of Use: For beginners, an intuitive and user-friendly recording software can ease the learning curve. Look for software that provides ample resources, tutorials, and community support to help you navigate the recording process effectively.
- Budget and Scalability: Recording software comes in a range of price points, from free to premium options. Consider your budget and long-term goals when selecting software. Some software offers scalable versions, allowing you to upgrade as your recording needs evolve.
Before committing to a specific recording software, consider exploring demo versions or trial periods to experience the workflow and features firsthand. Additionally, seek recommendations from fellow musicians and producers to gain insights into their preferred recording software.
Once you’ve chosen the recording software that best suits your needs, you’ll be ready to embark on the exciting journey of capturing your guitar performances with professional-grade recording tools at your fingertips.
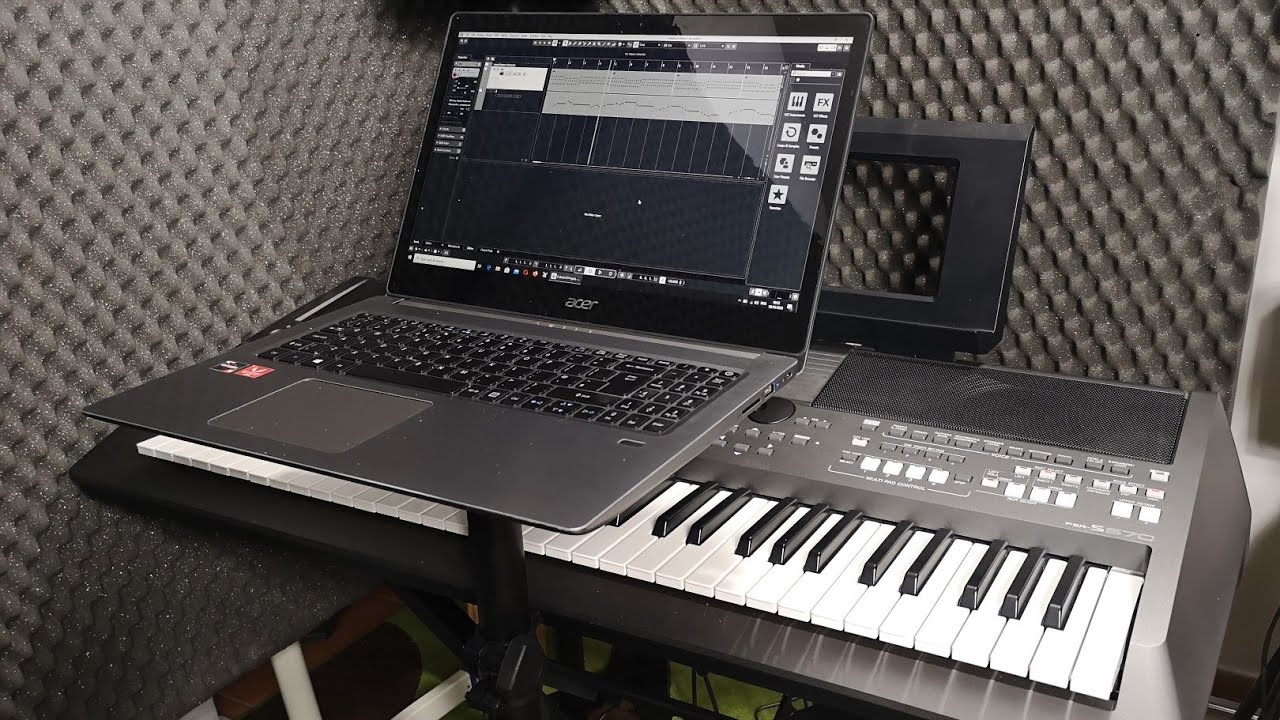
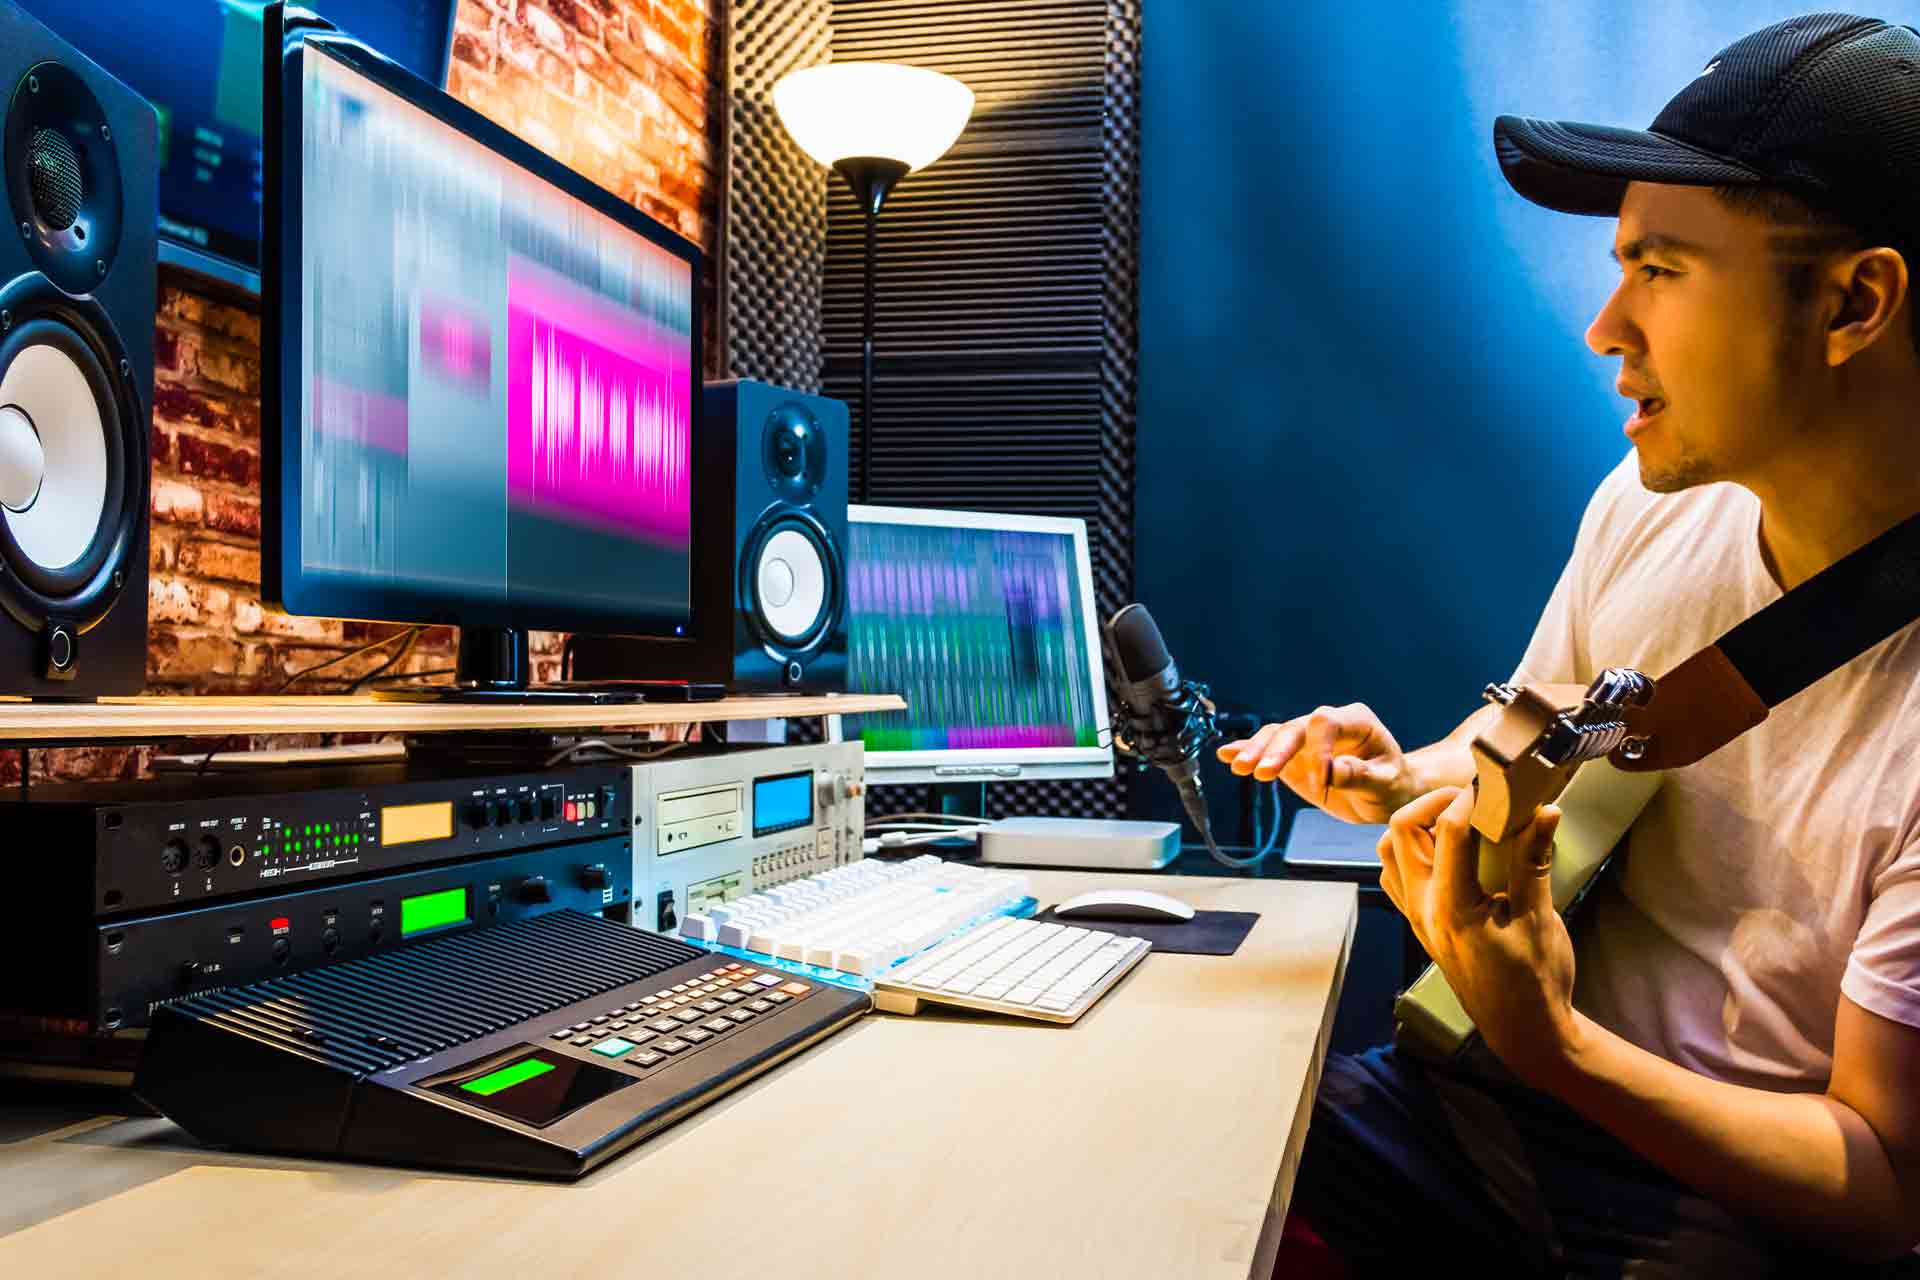
Recording Your Guitar
With your computer, audio interface, and recording software set up, you’re now poised to capture the rich tones and melodies of your guitar playing. The process of recording your guitar involves a blend of technical proficiency and artistic expression. Here’s a guide to help you navigate the recording process:
- Creating a New Project: Launch your recording software and create a new project. Set the project’s tempo, time signature, and recording quality to match your desired settings.
- Setting Up Tracks: Create a new audio track within your recording software for recording your guitar. If you’re using multiple microphones or recording additional instruments, create separate tracks for each source to maintain flexibility during the mixing stage.
- Monitoring and Levels: Before recording, ensure that your audio levels are set appropriately. Use the audio interface’s monitoring feature or the recording software’s input meters to monitor the signal from your guitar. Aim for a healthy signal level without clipping.
- Recording Takes: When you’re ready, hit the record button and start playing your guitar. If you’re aiming for a polished performance, consider recording multiple takes to capture different interpretations of the music. This provides flexibility during the editing phase.
- Layering and Overdubs: If you intend to layer multiple guitar parts or overdub additional instruments, repeat the recording process for each element. Layering allows you to build rich, textured arrangements within your recordings.
- Experimentation and Creativity: Don’t be afraid to experiment with different microphone placements, amp settings (if recording electric guitar), and playing techniques. Embrace the creative process and explore the sonic possibilities offered by your recording setup.
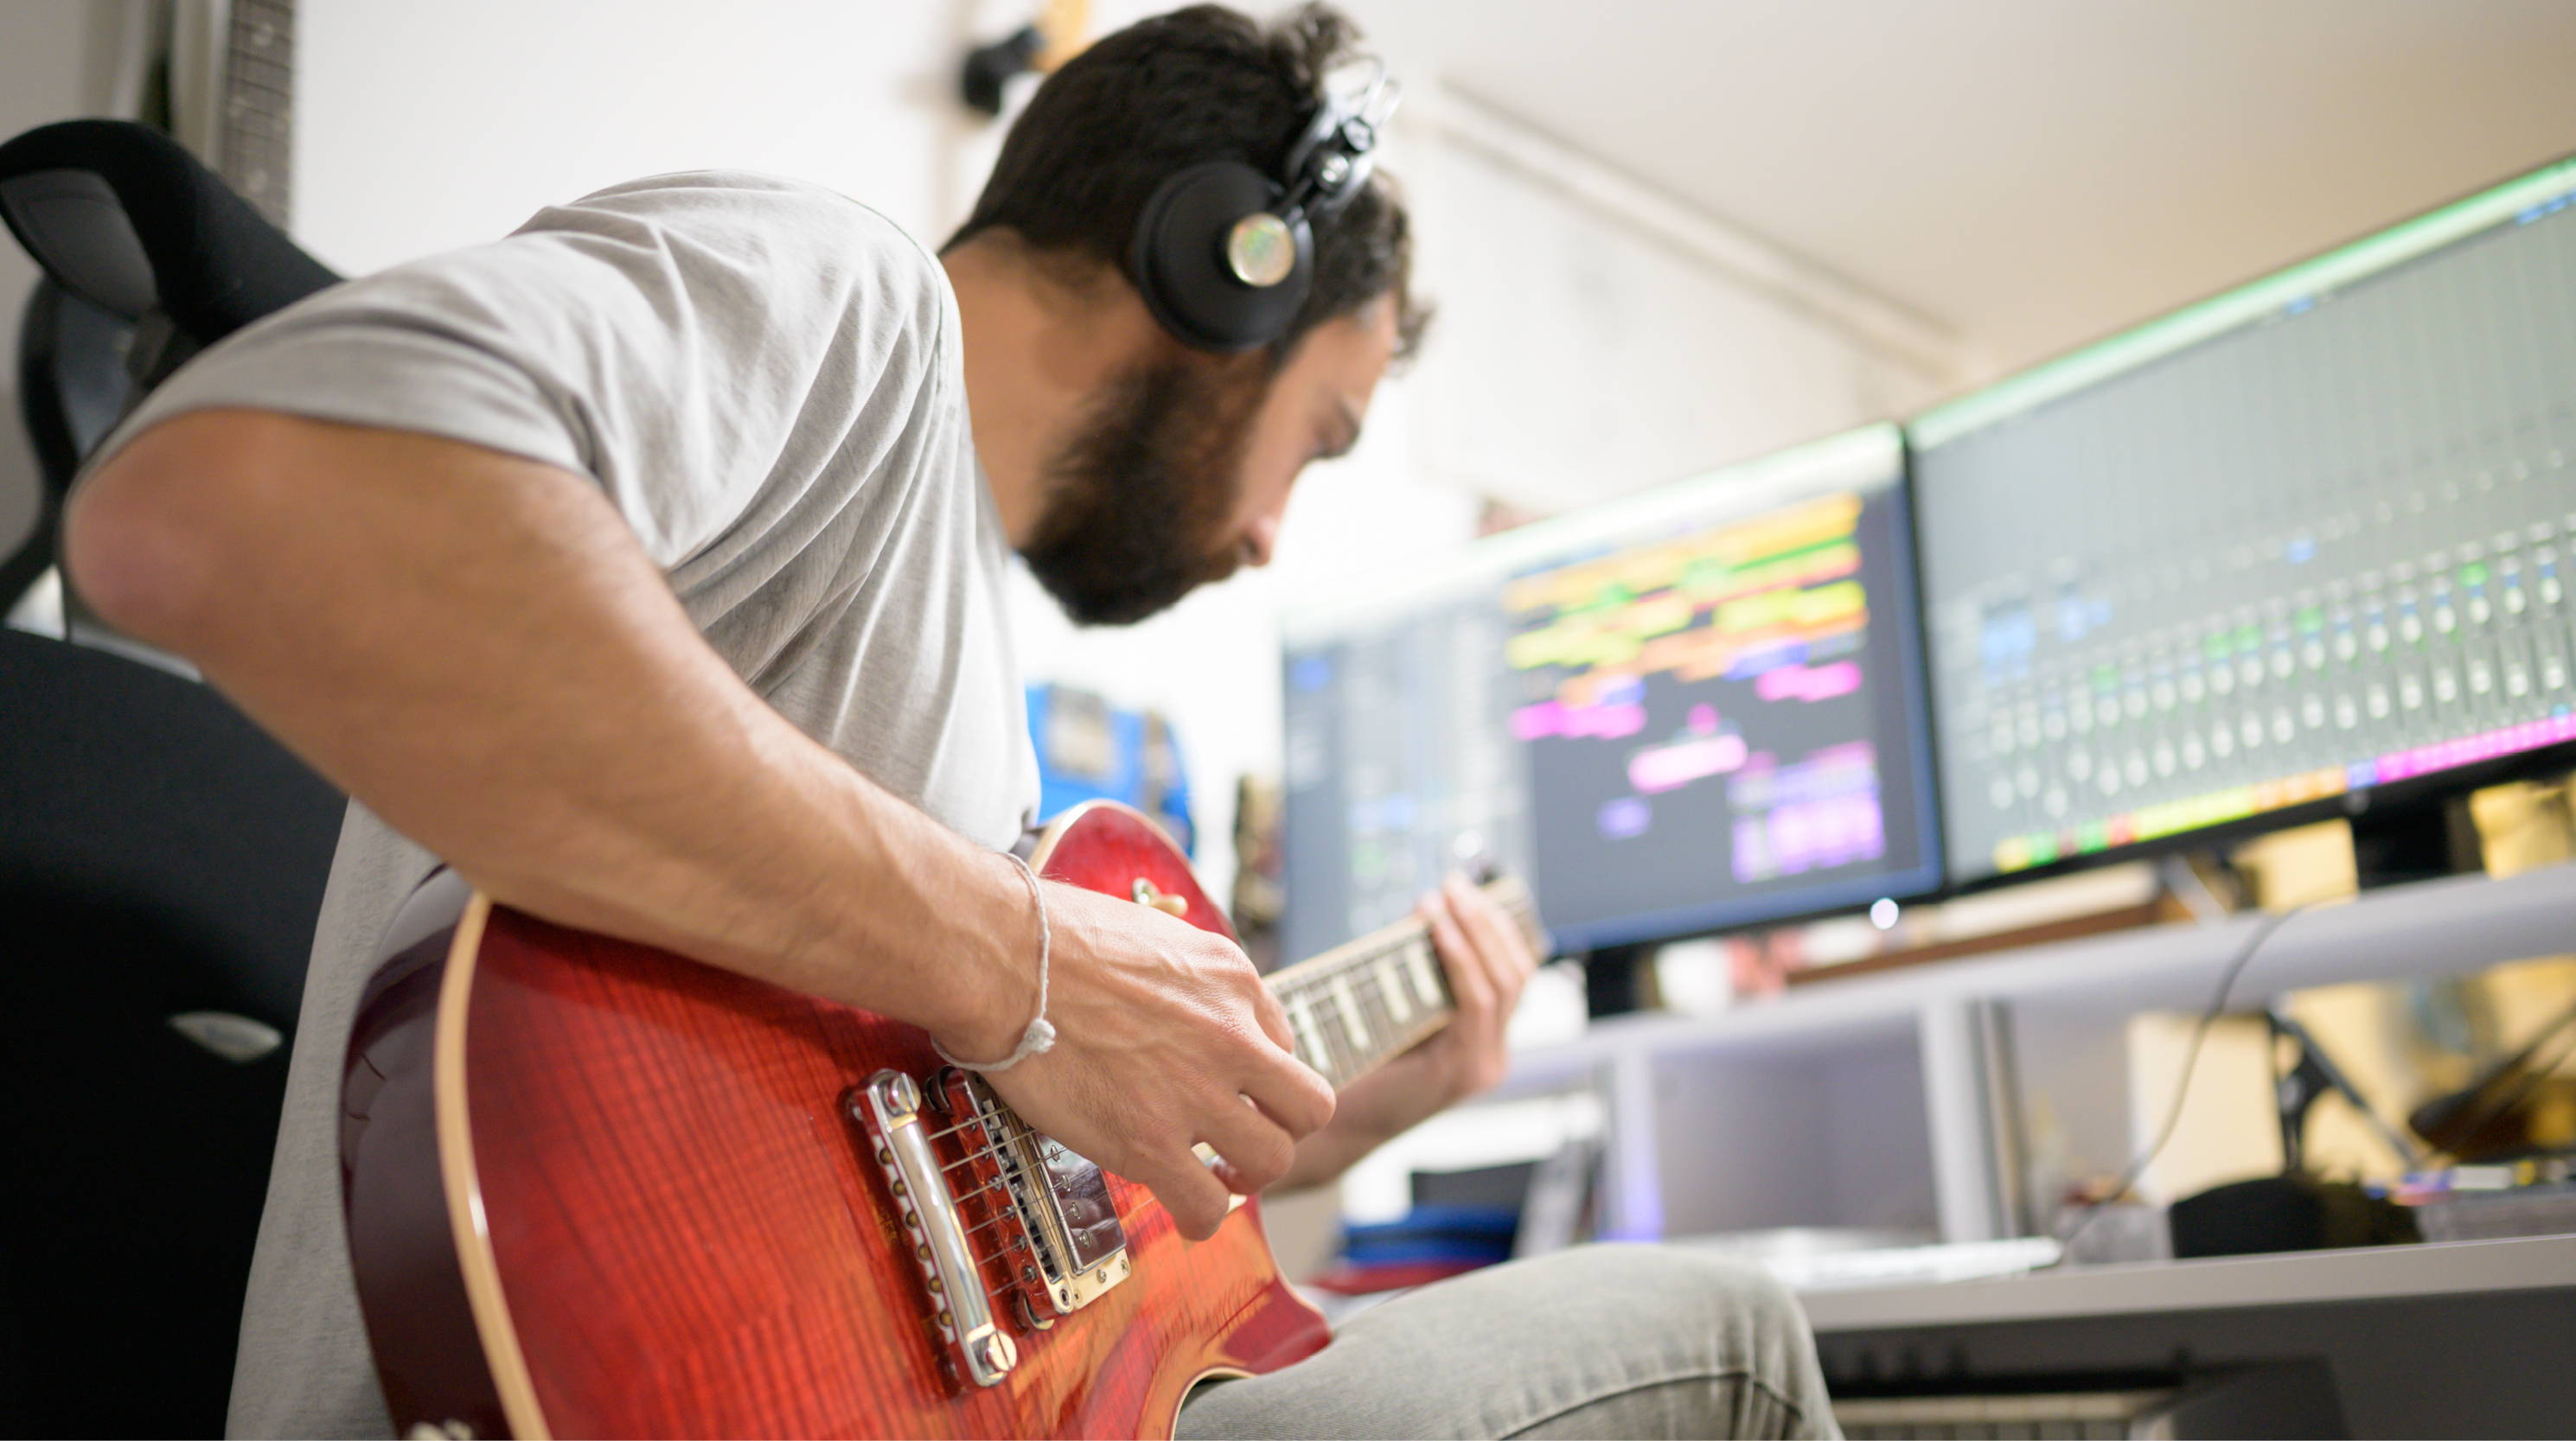
As you record your guitar, it’s essential to maintain a comfortable and inspiring environment. Minimize distractions, ensure proper lighting, and create a space where you can fully immerse yourself in the music. Additionally, consider using headphones for monitoring to capture the nuances of your guitar playing without external interference.
Once you’ve captured your guitar performances, you’ll move on to the post-recording phase, where you’ll edit and mix your recordings to achieve a polished and cohesive sound. This stage marks the transition from capturing raw performances to shaping them into finished musical works.
Editing and Mixing
After recording your guitar performances, the next phase involves editing and mixing your recordings to refine and enhance the sonic qualities of your music. This stage allows you to sculpt your guitar tracks, address any imperfections, and create a balanced and polished sound. Here’s a comprehensive overview of the editing and mixing process:
- Compiling Takes: If you recorded multiple takes of your guitar performances, listen through the recordings and compile the best sections into a cohesive performance. This process, known as comping, allows you to create a composite take that captures the finest moments of your playing.
- Editing and Timing Correction: Use the editing tools in your recording software to refine the timing and phrasing of your guitar tracks. You can quantize the timing for a precise feel or manually adjust the timing to maintain the natural flow of your performance.
- Applying Effects and Processing: Experiment with adding audio effects such as reverb, delay, compression, and equalization to enhance the tonal characteristics of your guitar recordings. Additionally, consider processing your guitar tracks to address any tonal imbalances or to achieve a specific sonic aesthetic.
- Level Balancing and Panning: Set appropriate volume levels for each of your guitar tracks and consider panning them across the stereo field to create a sense of space and depth within your mix. Balancing the levels ensures that each element contributes harmoniously to the overall sound.
- Mixing Techniques: Delve into mixing techniques such as automation, spatial effects, and dynamic processing to shape the dynamics and spatial characteristics of your guitar recordings. These techniques allow you to create a captivating and immersive listening experience.
- Reference and Iteration: Throughout the mixing process, periodically reference your mix against professional recordings to gain perspective on the tonal balance and overall sound. Iteration is key, and revisiting your mix with fresh ears can reveal new insights and opportunities for improvement.
As you delve into the editing and mixing phase, it’s essential to trust your ears and embrace the creative decisions that align with your artistic vision. The editing and mixing process empowers you to shape your guitar recordings into captivating musical expressions that resonate with your audience.
Upon completing the editing and mixing stages, you’ll have transformed your raw guitar performances into polished and sonically engaging recordings. The final step involves exporting your finished tracks and sharing your musical creations with the world, marking the culmination of your guitar recording journey.
Conclusion
Congratulations on embarking on the journey of recording your guitar to a computer! Throughout this comprehensive guide, you’ve gained insights into the essential equipment, setting up your computer, connecting your guitar to the audio interface, choosing the right recording software, the process of recording your guitar, and the crucial stages of editing and mixing. By mastering these fundamental aspects of guitar recording, you’ve equipped yourself with the tools to capture and refine your musical expressions with professional-grade quality.
Recording your guitar to a computer opens up a world of creative possibilities, allowing you to document your musical ideas, collaborate with fellow musicians, and produce professional-quality recordings from the comfort of your own home. Whether you’re a seasoned guitarist or just beginning your musical journey, the process of recording your guitar serves as a gateway to sharing your passion for music with a global audience.
As you continue to hone your recording skills, remember to embrace experimentation, trust your creative instincts, and enjoy the process of capturing your musical inspirations. Each recording session offers an opportunity for growth and self-expression, enabling you to refine your craft and connect with others through the universal language of music.
With dedication, perseverance, and a commitment to continuous learning, you’ll find that the art of recording your guitar to a computer becomes a deeply fulfilling and rewarding pursuit. Whether you’re crafting intricate compositions, capturing raw improvisations, or exploring new sonic landscapes, your guitar recordings serve as a testament to your unique musical voice.
So, go forth with confidence, armed with the knowledge and passion to embark on your guitar recording endeavors. Let your creativity soar, and may your guitar recordings inspire and resonate with audiences around the world. The world eagerly awaits the musical tapestries you’ll weave through the art of recording your guitar to a computer.