Home>Production & Technology>Audio Cable>How Do I Connect My Optical Audio Cable To My Computer?
Audio Cable
How Do I Connect My Optical Audio Cable To My Computer?
Modified: January 22, 2024
Learn how to connect an optical audio cable to your computer for improved sound quality. Follow these simple steps to enhance your audio experience.
(Many of the links in this article redirect to a specific reviewed product. Your purchase of these products through affiliate links helps to generate commission for AudioLover.com, at no extra cost. Learn more)
Table of Contents
Introduction
Audio cables are an essential component for connecting audio devices and achieving high-quality sound. Among various types of audio cables, optical audio cables have gained popularity due to their ability to transmit uncompressed digital audio signals. This makes them ideal for connecting devices like computers, televisions, and audio receivers.
If you’re looking to connect your optical audio cable to your computer, you’re in the right place. In this article, we will guide you through the process, step by step, to ensure a successful audio connection.
Before we dive into the steps, let’s briefly discuss the benefits of using an optical audio cable. Unlike analog cables, optical cables transmit digital audio signals using light, resulting in a cleaner and more precise sound reproduction. They are also capable of carrying multiple channels of audio, making them suitable for surround sound systems.
Additionally, optical audio cables are immune to electromagnetic interference, ensuring a consistent audio experience even in environments with high electrical interference. This makes them an ideal choice for connecting your computer to external speakers, soundbars, or home theater systems.
Now that we understand the advantages of optical audio cables, let’s move on to the step-by-step process of connecting your optical audio cable to your computer.
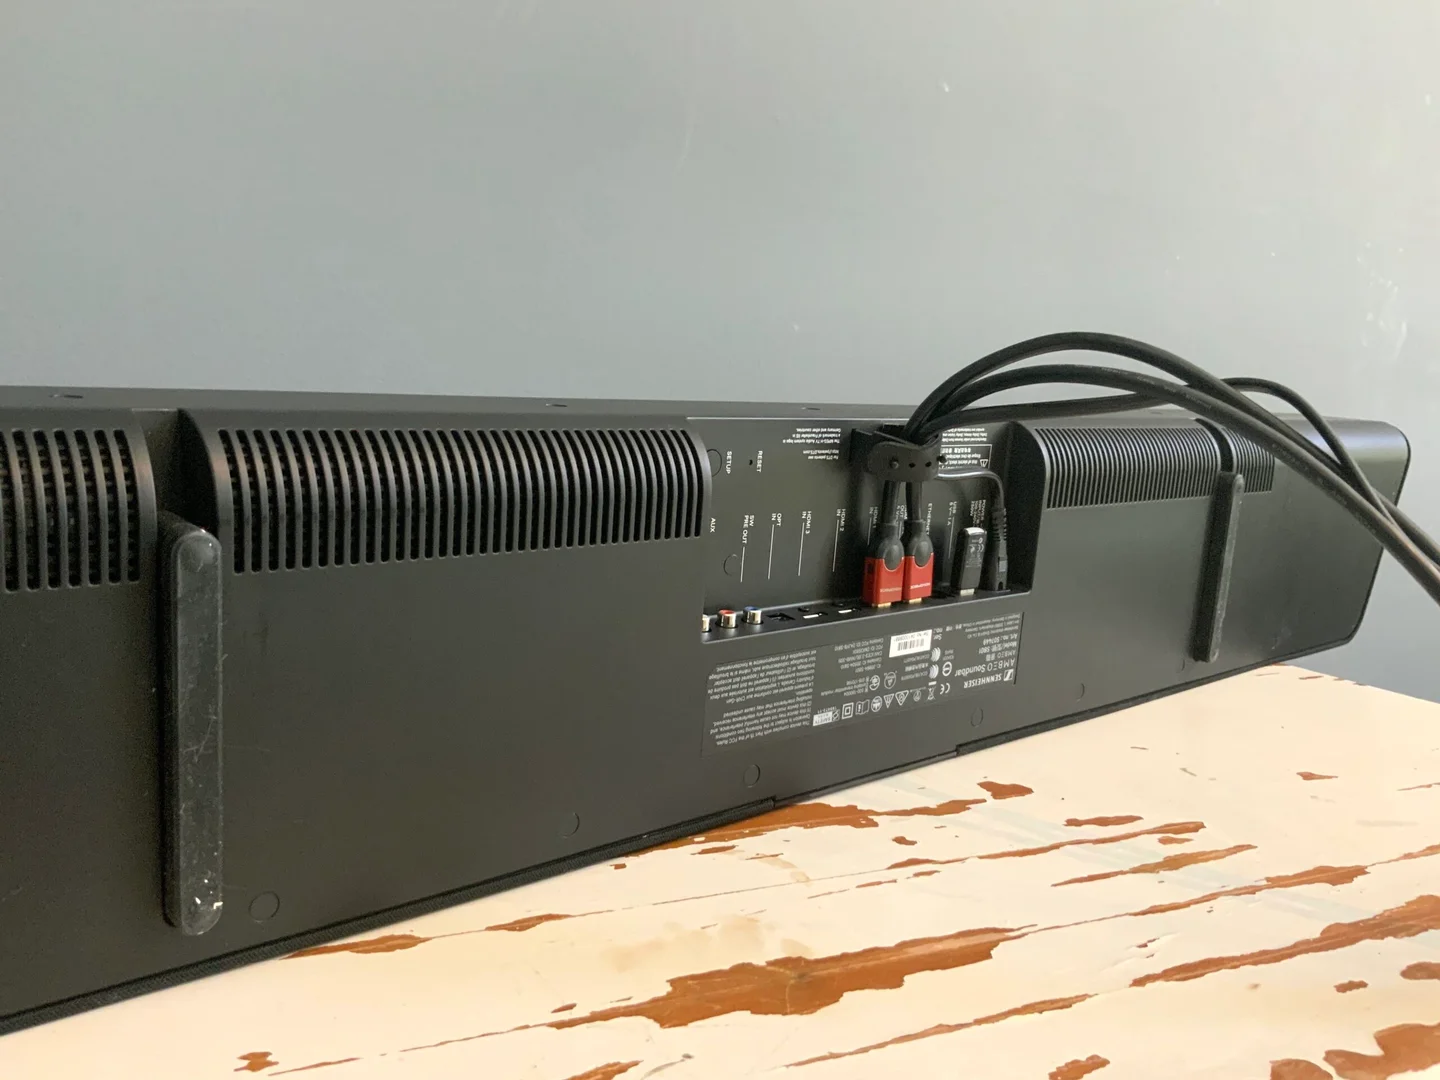
Step 1: Checking your computer’s audio ports
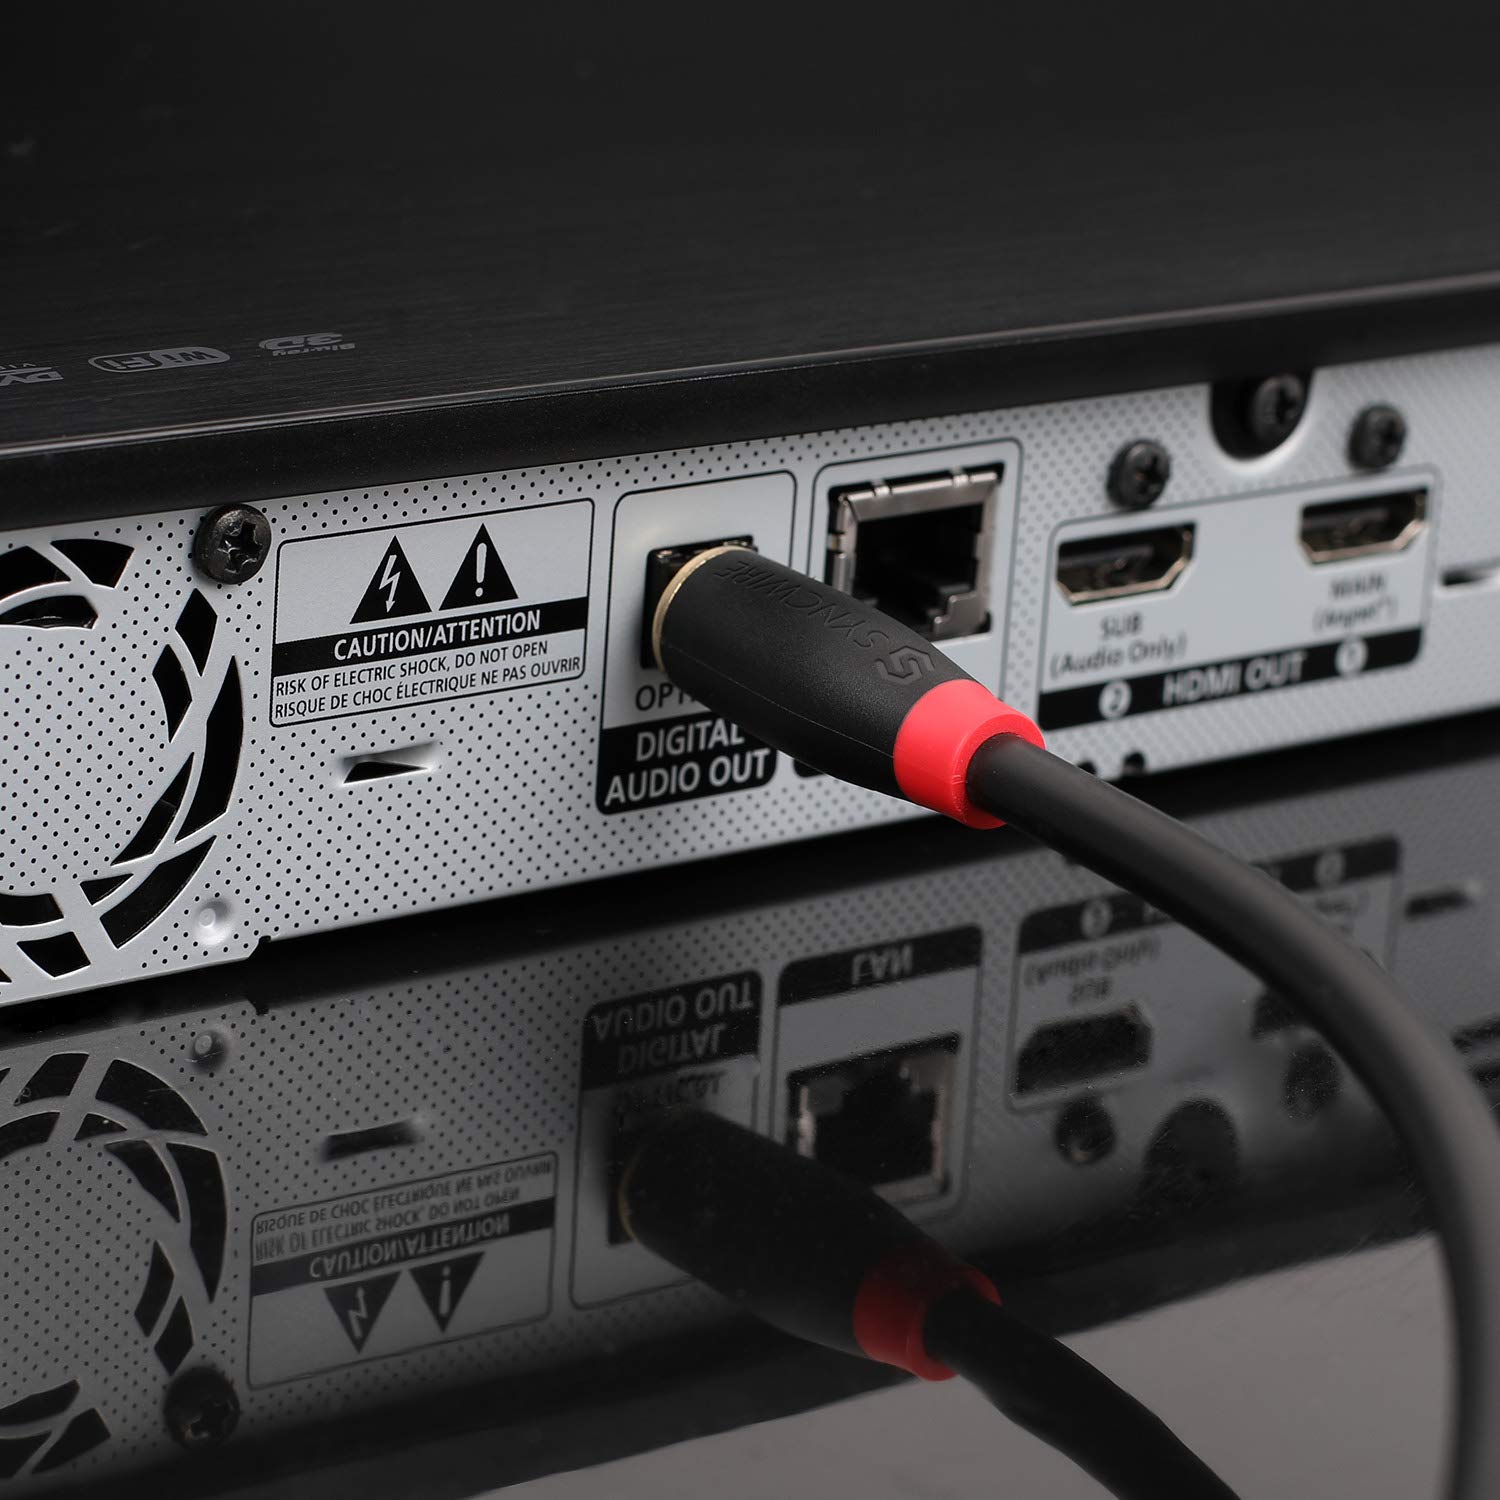
Before connecting your optical audio cable to your computer, it’s important to ensure that your computer has the necessary audio ports. Most modern computers have an optical audio output port, typically labeled as “Optical Out” or “TOSLINK.” However, not all computers have this port, so it’s essential to check beforehand.
Start by locating the audio ports on your computer. These ports are usually located on the back or side of the computer tower or on the side of a laptop. Look for the audio symbol, which resembles sound waves, to identify the audio ports.
If you are unable to locate an optical audio port, don’t worry. Some computers might have the capability to support optical audio by using an adapter or a sound card with an optical output. In this case, you may need to consult your computer’s manual or contact the manufacturer for further guidance.
It’s also important to note that some computers may have a combined audio/headphone jack that supports both analog and optical audio. If your computer has this type of jack, ensure that it supports optical audio output by checking your computer’s specifications or consulting the manufacturer.
Once you have confirmed that your computer has an optical audio port or the capability to support optical audio, you can proceed to the next step of connecting the optical audio cable.
Step 2: Connecting the optical audio cable to the computer
Now that you have verified that your computer has an optical audio port, it’s time to connect the optical audio cable.
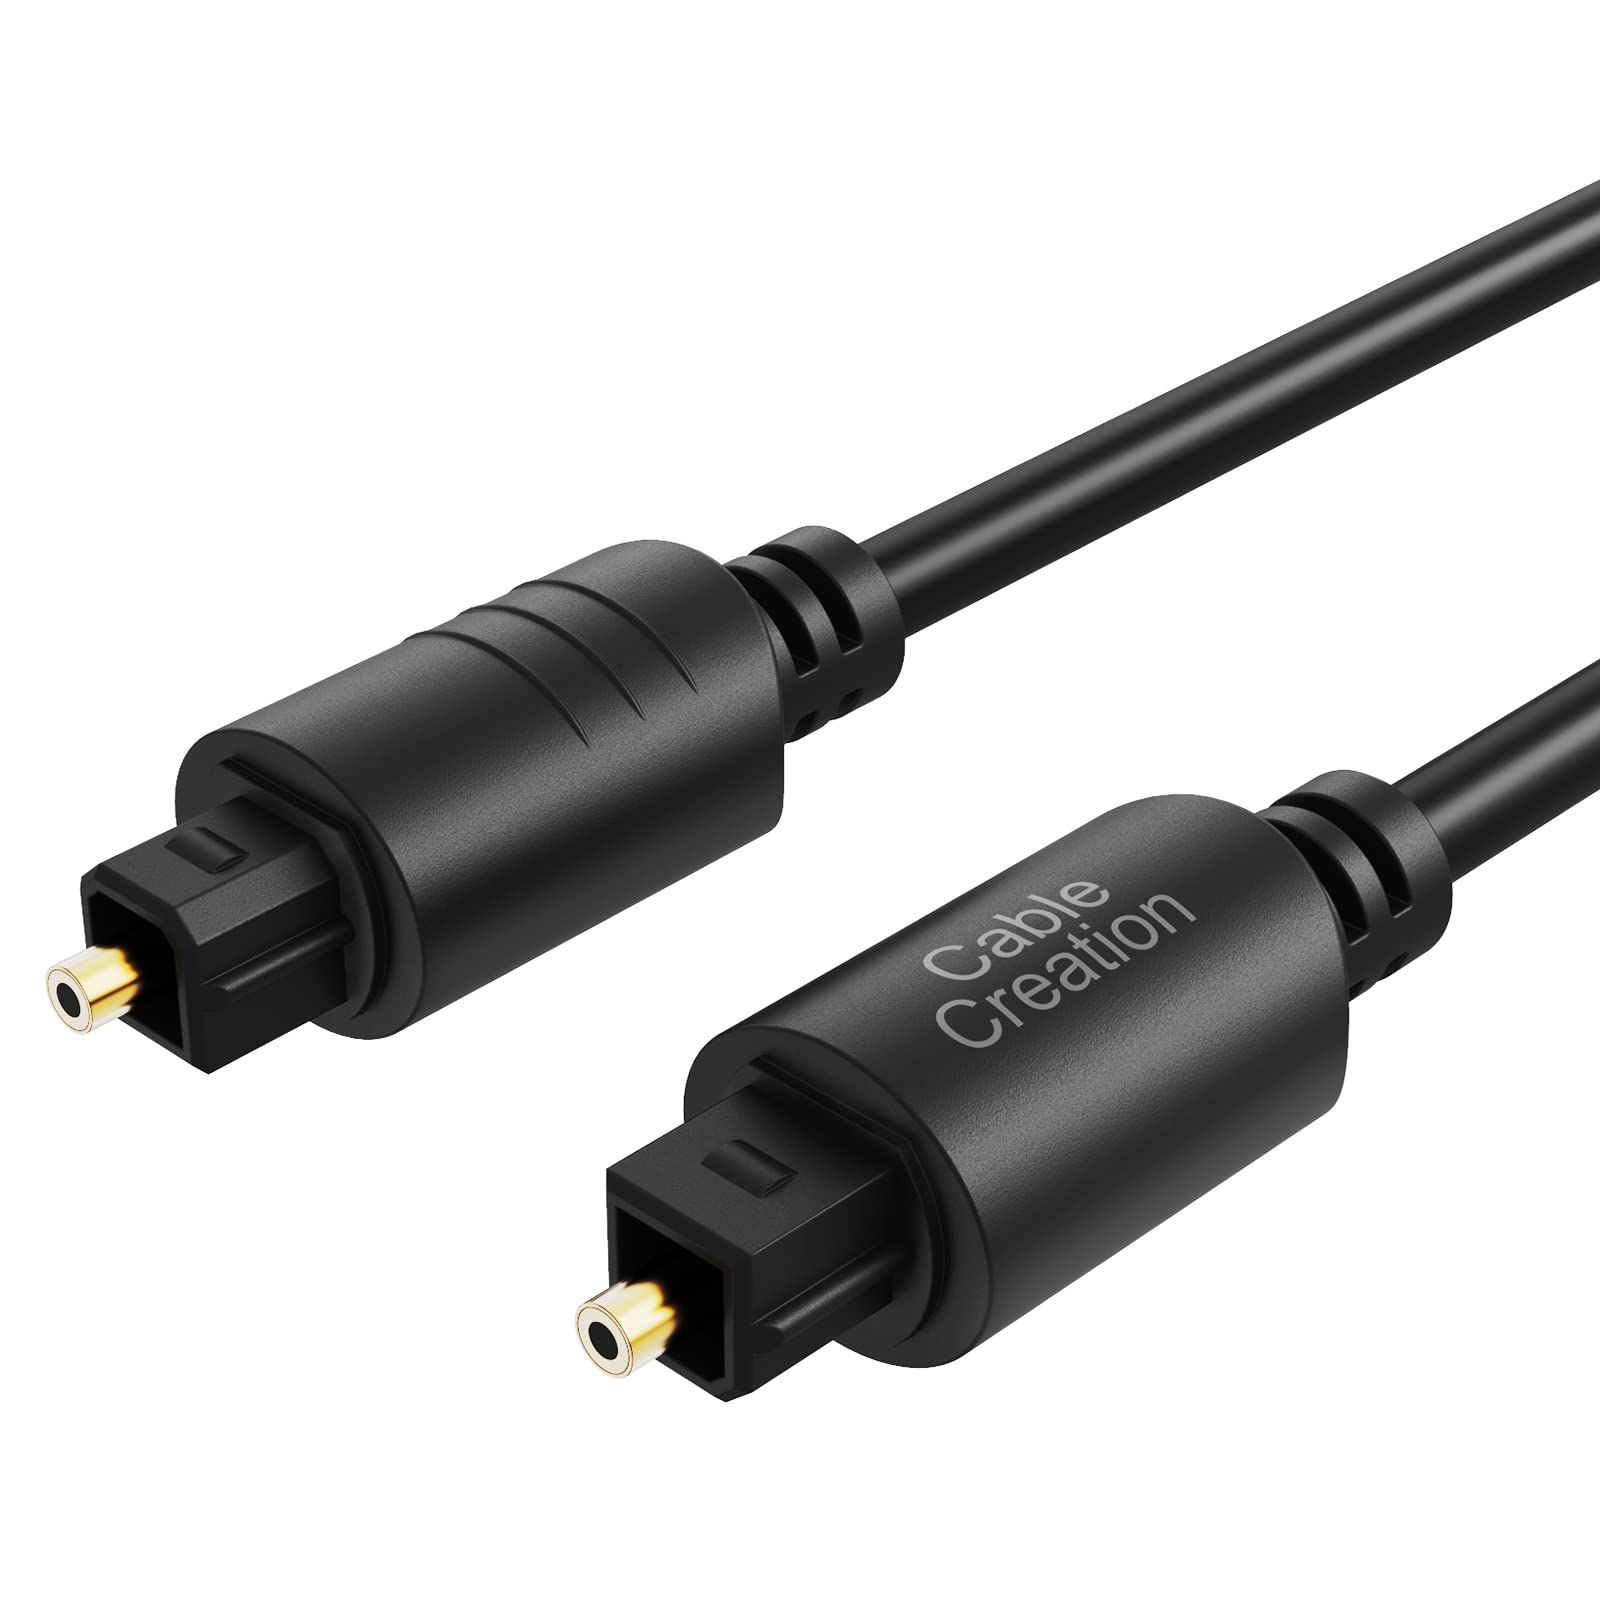
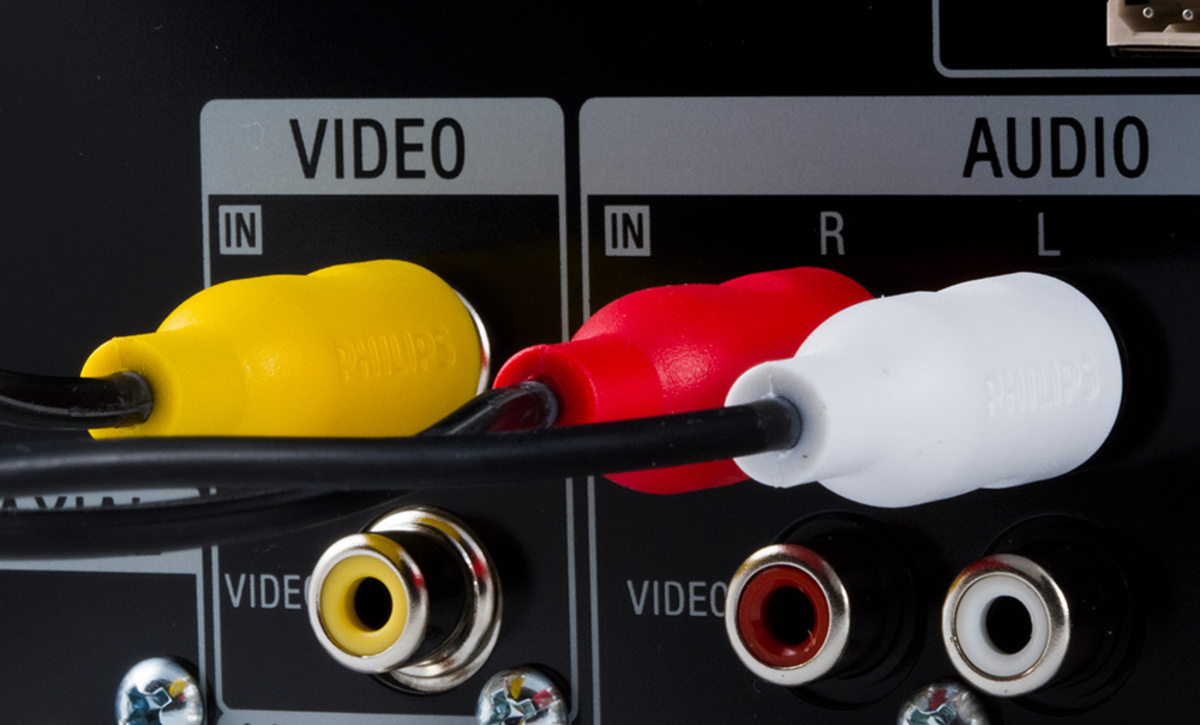
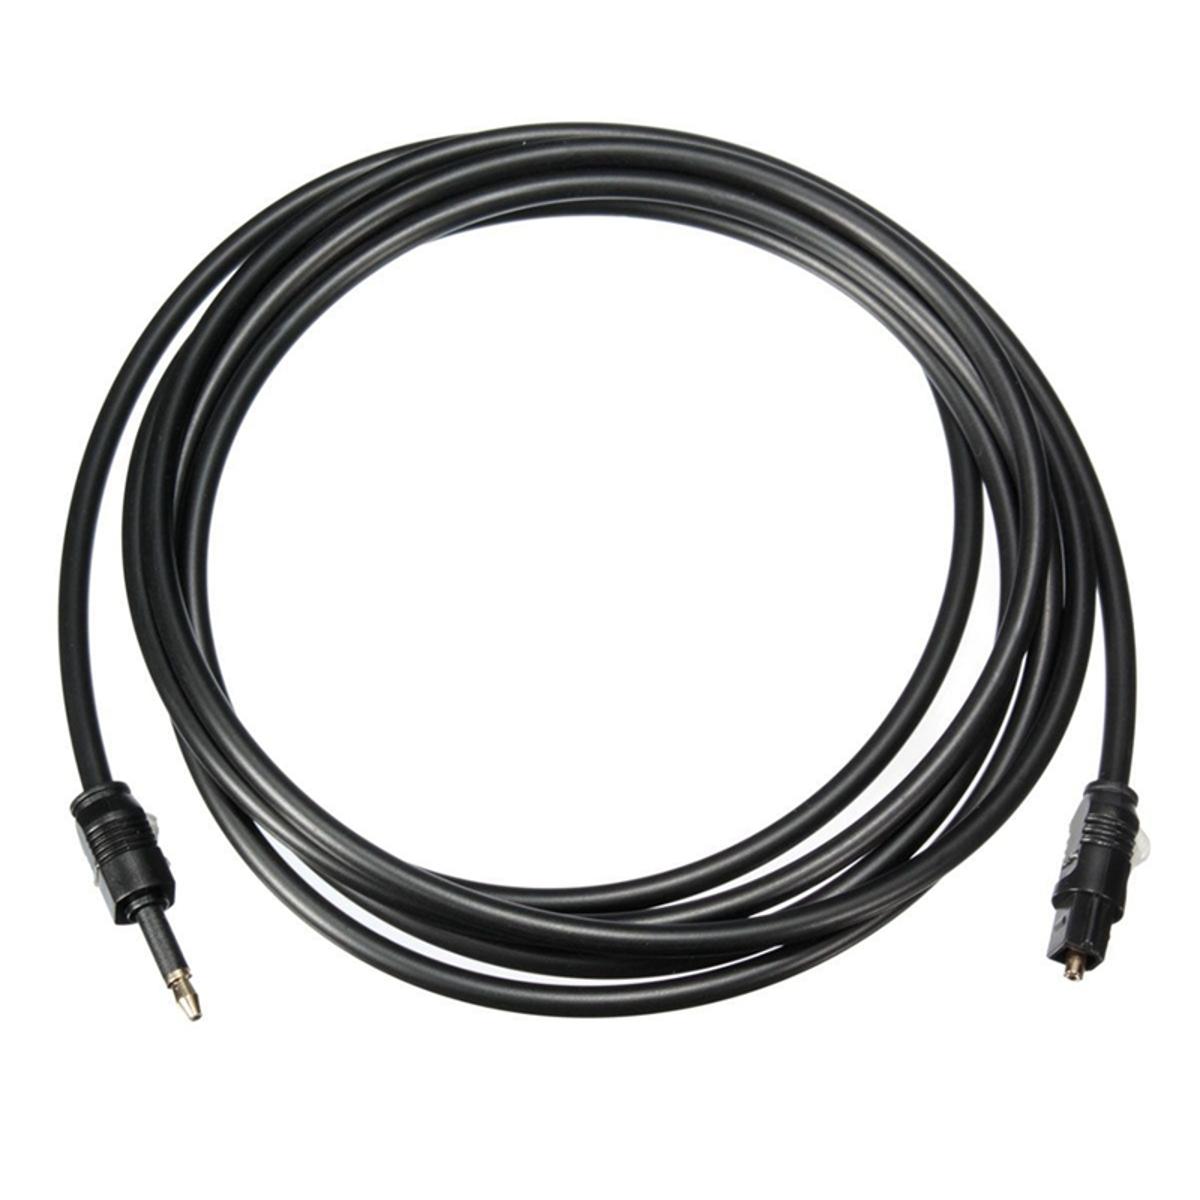
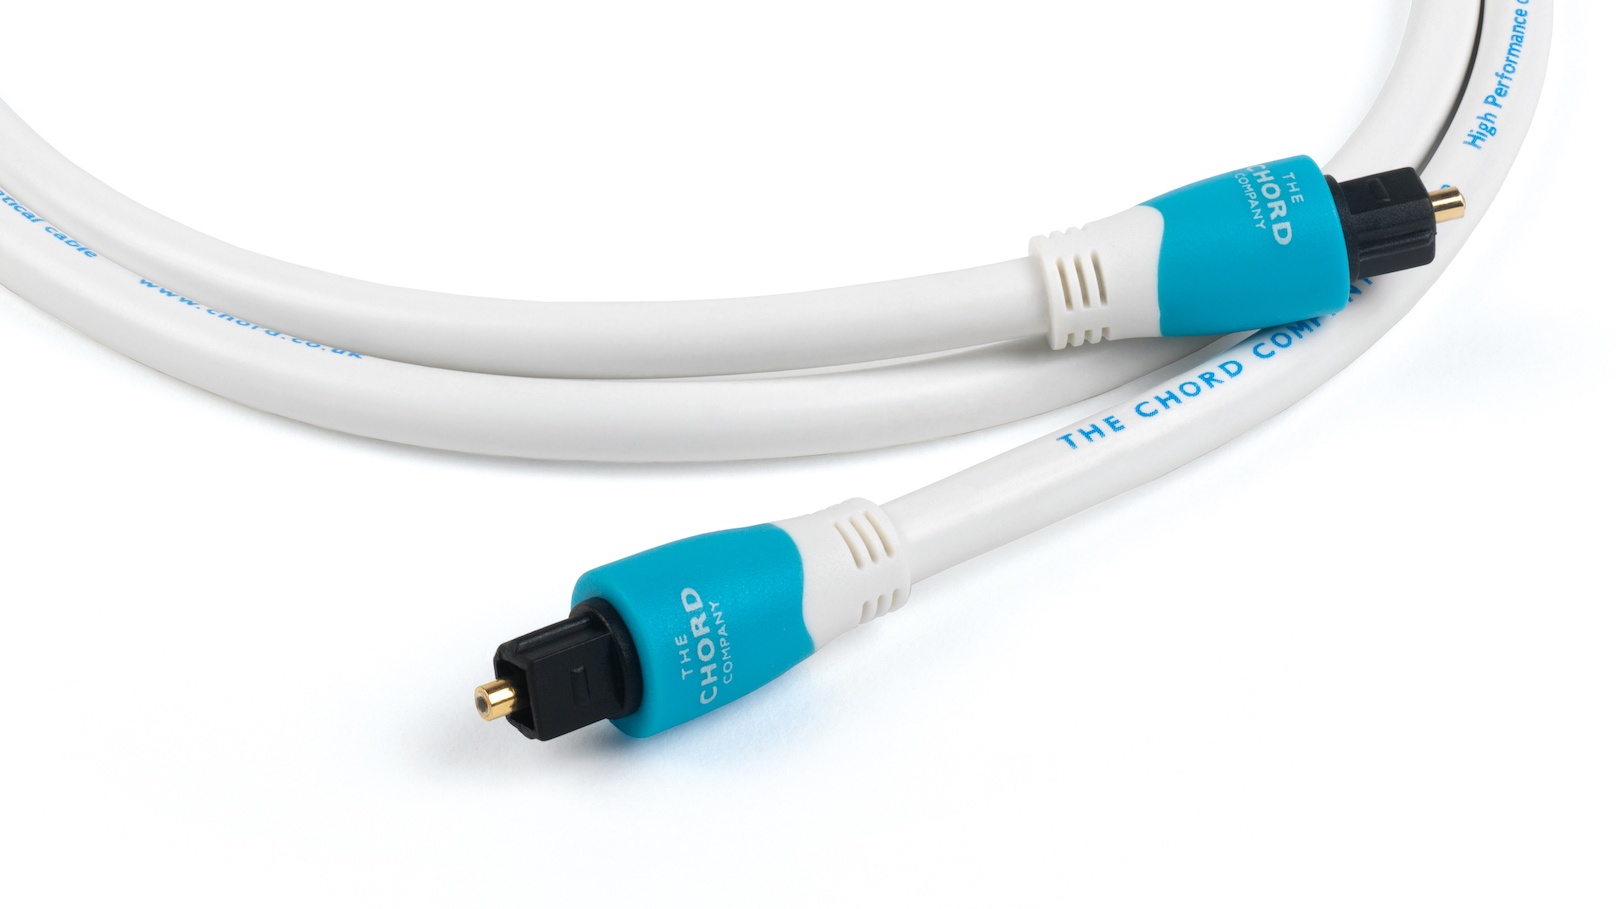
- Start by locating the optical audio cable. It has a distinctive rectangular connector on each end, typically with a red light emitting from one end.
- Ensure that both your computer and external audio device are turned off to prevent any potential damage during the connection process.
- Take one end of the optical audio cable and insert it into the optical audio port on your computer. Make sure to align the connector properly and gently push it in until it clicks into place. Be careful not to force it or use excessive pressure.
- Next, take the other end of the optical audio cable and insert it into the corresponding optical audio input port on your external audio device. This device can be a soundbar, a home theater system, or any other device capable of receiving optical audio signals.
- Similar to the computer, gently push the connector into the audio input port until it clicks into place.
- Once the connectors are securely in place, you can now power on your computer and the external audio device.
Congratulations! You have successfully connected the optical audio cable to your computer. Now, let’s move on to the next step and configure the audio settings to ensure proper playback.
Step 3: Configuring audio settings on your computer
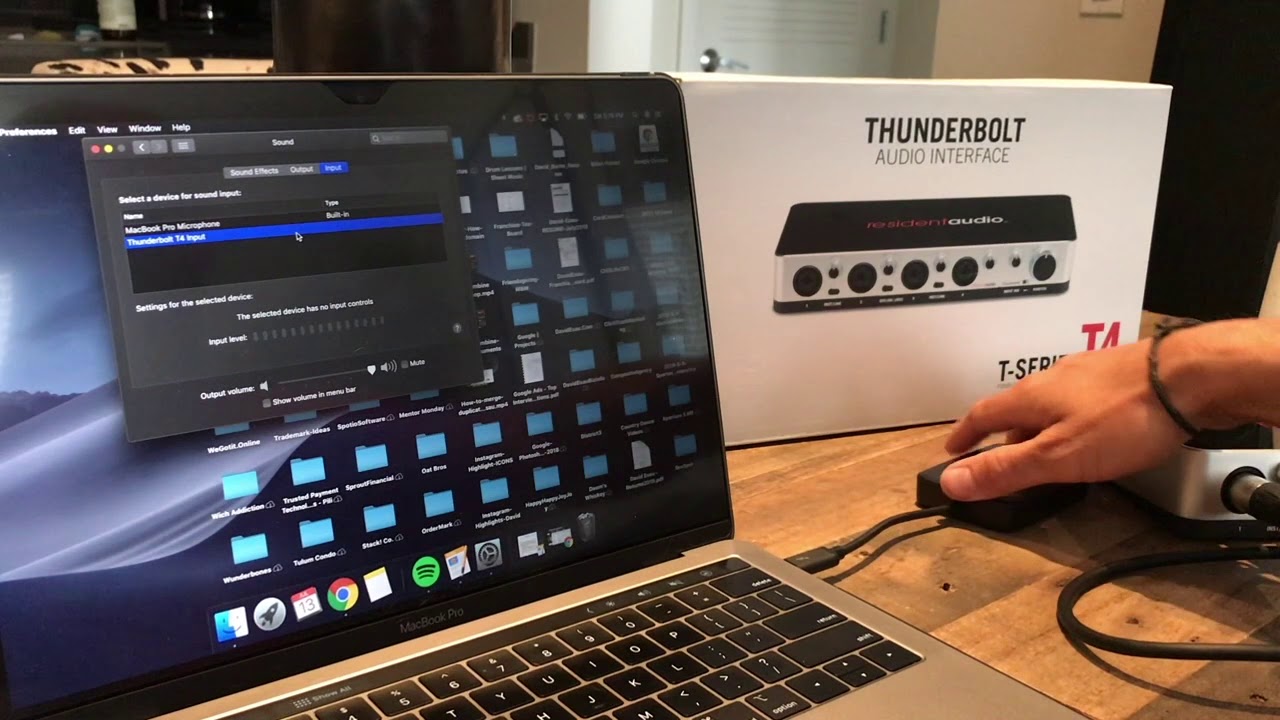
After connecting the optical audio cable to your computer, you need to configure the audio settings to ensure that the audio is correctly routed through the optical output. Here’s how you can do it:
- On your computer, go to the Sound settings. You can typically access this by right-clicking the volume icon in the taskbar and selecting “Sounds” or by going to the Control Panel and selecting “Sound.”
- In the Sound settings, navigate to the Playback tab. Here, you should see a list of available audio devices. Look for the one that corresponds to the optical output or the name of the external audio device you connected.
- Select the optical audio output as the default playback device. Right-click on it and choose “Set as Default Device” or “Set as Default Communication Device,” depending on your preference.
- Once you have set the optical output as the default device, you may want to adjust the volume levels. Click on the “Properties” or “Configure” button and navigate to the levels tab. Here, you can adjust the volume to your desired level.
- Additionally, if you are using a surround sound system or a soundbar that supports multiple channels, you can configure the audio format. Click on the “Properties” or “Configure” button again and navigate to the “Supported Formats” tab. Here, you can choose the desired audio format, such as Dolby Digital or DTS, depending on your device’s capabilities.
- Once you have made the necessary adjustments, click “Apply” and then “OK” to save the changes.
With the audio settings properly configured, you should now be able to enjoy high-quality audio through your connected devices using the optical audio cable.
Now, let’s move on to the final step and test the audio connection to ensure it is working correctly.
Step 4: Testing the audio connection
After configuring the audio settings on your computer, it’s important to test the audio connection to ensure everything is working properly. Here’s how you can do it:
- Play a piece of audio or video content on your computer that has sound, such as a music file, a YouTube video, or a movie.
- Ensure that the volume on your computer is not muted and is set to an audible level.
- Listen for the audio output from your external audio device, whether it’s a soundbar, home theater system, or speakers. If you’re using a surround sound system, pay attention to the positioning of the speakers and ensure that the audio is coming from the correct channels.
- If you’re not hearing any audio or if the audio is distorted, make sure the optical audio cable is securely connected at both ends. Try disconnecting and reconnecting the cable and ensure that it is inserted fully into the optical ports.
- If the issue persists, double-check the audio settings on your computer and verify that the optical audio output is selected as the default device.
- You can also try restarting your computer and external audio device to see if that resolves any software or connectivity issues.
- If you’re still experiencing audio problems, consider consulting the user manual or contacting the manufacturer of your computer or audio device for further assistance.
Once you have confirmed that the audio connection is working correctly and you can hear clear and high-quality sound, congratulations! You have successfully connected your optical audio cable to your computer and can now enjoy an enhanced audio experience.
Remember to keep the optical audio cable and the audio ports clean and free from dust or debris to maintain optimal performance. Regularly inspect the cable for any signs of wear or damage, and replace it if necessary.
Thank you for following this step-by-step guide. We hope it has helped you connect your optical audio cable to your computer successfully. Enjoy your immersive audio experience!
Conclusion
Connecting an optical audio cable to your computer can significantly improve your audio experience and allow you to enjoy high-quality sound when watching movies, playing games, or listening to music. By following the steps outlined in this guide, you can seamlessly connect your optical audio cable and configure the audio settings on your computer.
Remember to check your computer for an optical audio port or ensure its compatibility with an adapter or sound card. Then, connect the cable securely to both the computer and your external audio device. Configuring the audio settings by setting the optical output as the default device and adjusting the volume levels will ensure optimal playback.
Once everything is set up, don’t forget to test the audio connection by playing audio or video content and listening for clear and immersive sound. Troubleshoot any issues by double-checking the cable connection, audio settings, and device configurations.
By following these steps, you can enjoy enhanced audio quality and take full advantage of the capabilities of your computer and external audio devices.
We hope this guide has been helpful in guiding you through the process of connecting your optical audio cable to your computer. With this newfound knowledge, you can take your audio experience to the next level and immerse yourself in the sounds of your favorite media.
Remember to keep your equipment well-maintained and clean. Regularly inspect the optical audio cable for any signs of damage or wear and consider replacing it if necessary. With proper care, your audio setup will continue to provide you with outstanding sound for years to come.
Thank you for reading, and we wish you many enjoyable audio moments with your connected optical audio cable and computer!