Home>Production & Technology>Audio Interface>How Do I Record The Output Of My Audio Interface Into The Input
Audio Interface
How Do I Record The Output Of My Audio Interface Into The Input
Published: February 4, 2024
Learn how to record the output of your audio interface into the input for seamless connectivity and optimal sound quality. Discover expert tips and techniques now!
(Many of the links in this article redirect to a specific reviewed product. Your purchase of these products through affiliate links helps to generate commission for AudioLover.com, at no extra cost. Learn more)
Table of Contents
Introduction
Welcome to the world of audio interfaces! If you are an aspiring musician, podcaster, or content creator, an audio interface is an essential tool for capturing high-quality audio. Whether you want to record vocals, instruments, or any other sound source, an audio interface acts as the bridge between your analog audio gear and your computer.
In this article, we will explore the process of recording the output of your audio interface into the input, allowing you to capture and preserve your musical creations or podcast episodes with pristine audio quality. We will provide you with a step-by-step guide on setting up your audio interface, connecting it to your computer, and configuring your recording software to ensure smooth and successful recording sessions.
With the advancements in technology, audio interfaces have become more affordable and user-friendly, making them accessible to musicians and content creators of all levels of expertise. Whether you are a beginner or a seasoned professional, understanding how to record the output of your audio interface will empower you to unleash your creativity and produce professional-grade recordings.
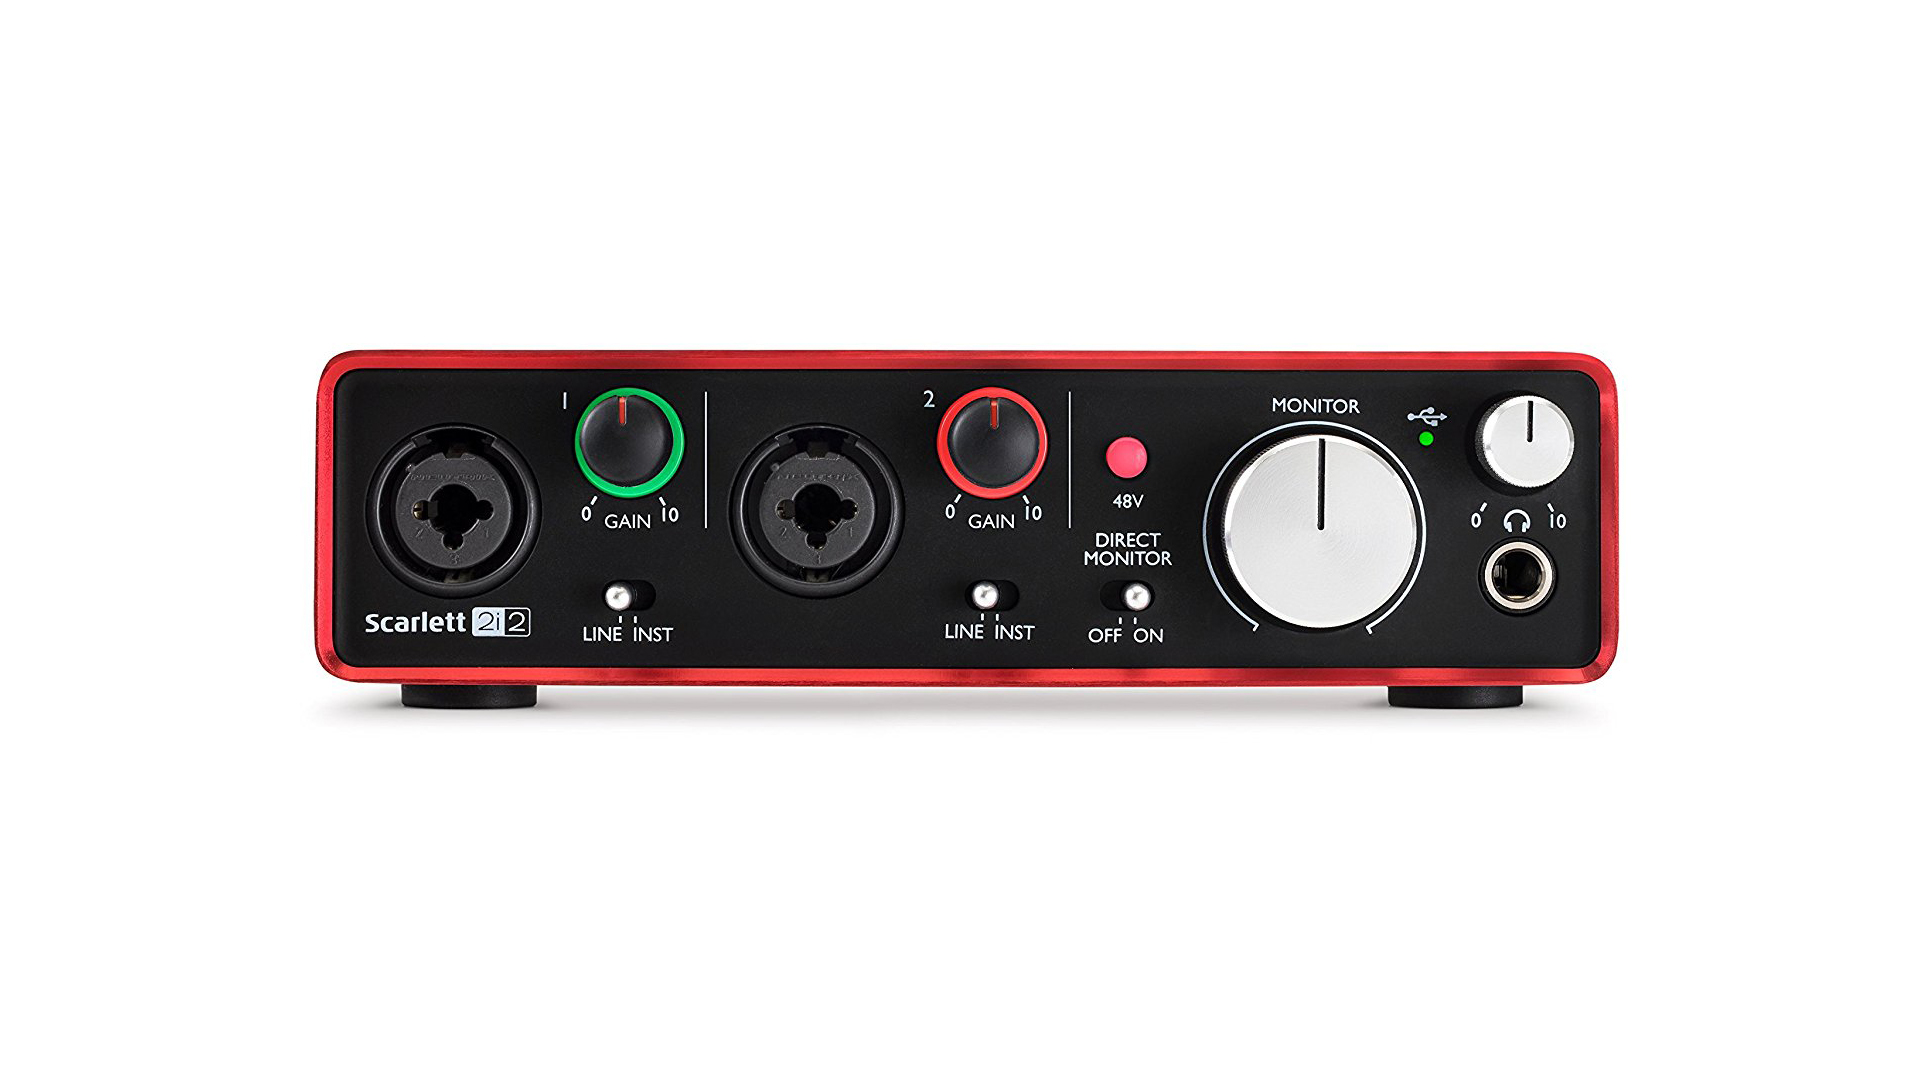
Before we dive into the technicalities, let’s briefly discuss what an audio interface is and its role in the recording process. An audio interface is an external hardware device that converts analog audio signals from microphones, instruments, or other sound sources into digital signals that your computer can understand. It also provides features such as preamps, headphone outputs, and multiple inputs and outputs for versatile recording and monitoring capabilities.
Now that you have a basic understanding of what an audio interface is, let’s proceed to the next section to explore how to set up your audio interface.
Understanding the audio interface
Before we jump into the setup process, let’s take a moment to understand the key components and features of an audio interface. This knowledge will help you make informed decisions when selecting an audio interface that meets your specific needs.
An audio interface typically consists of the following components:
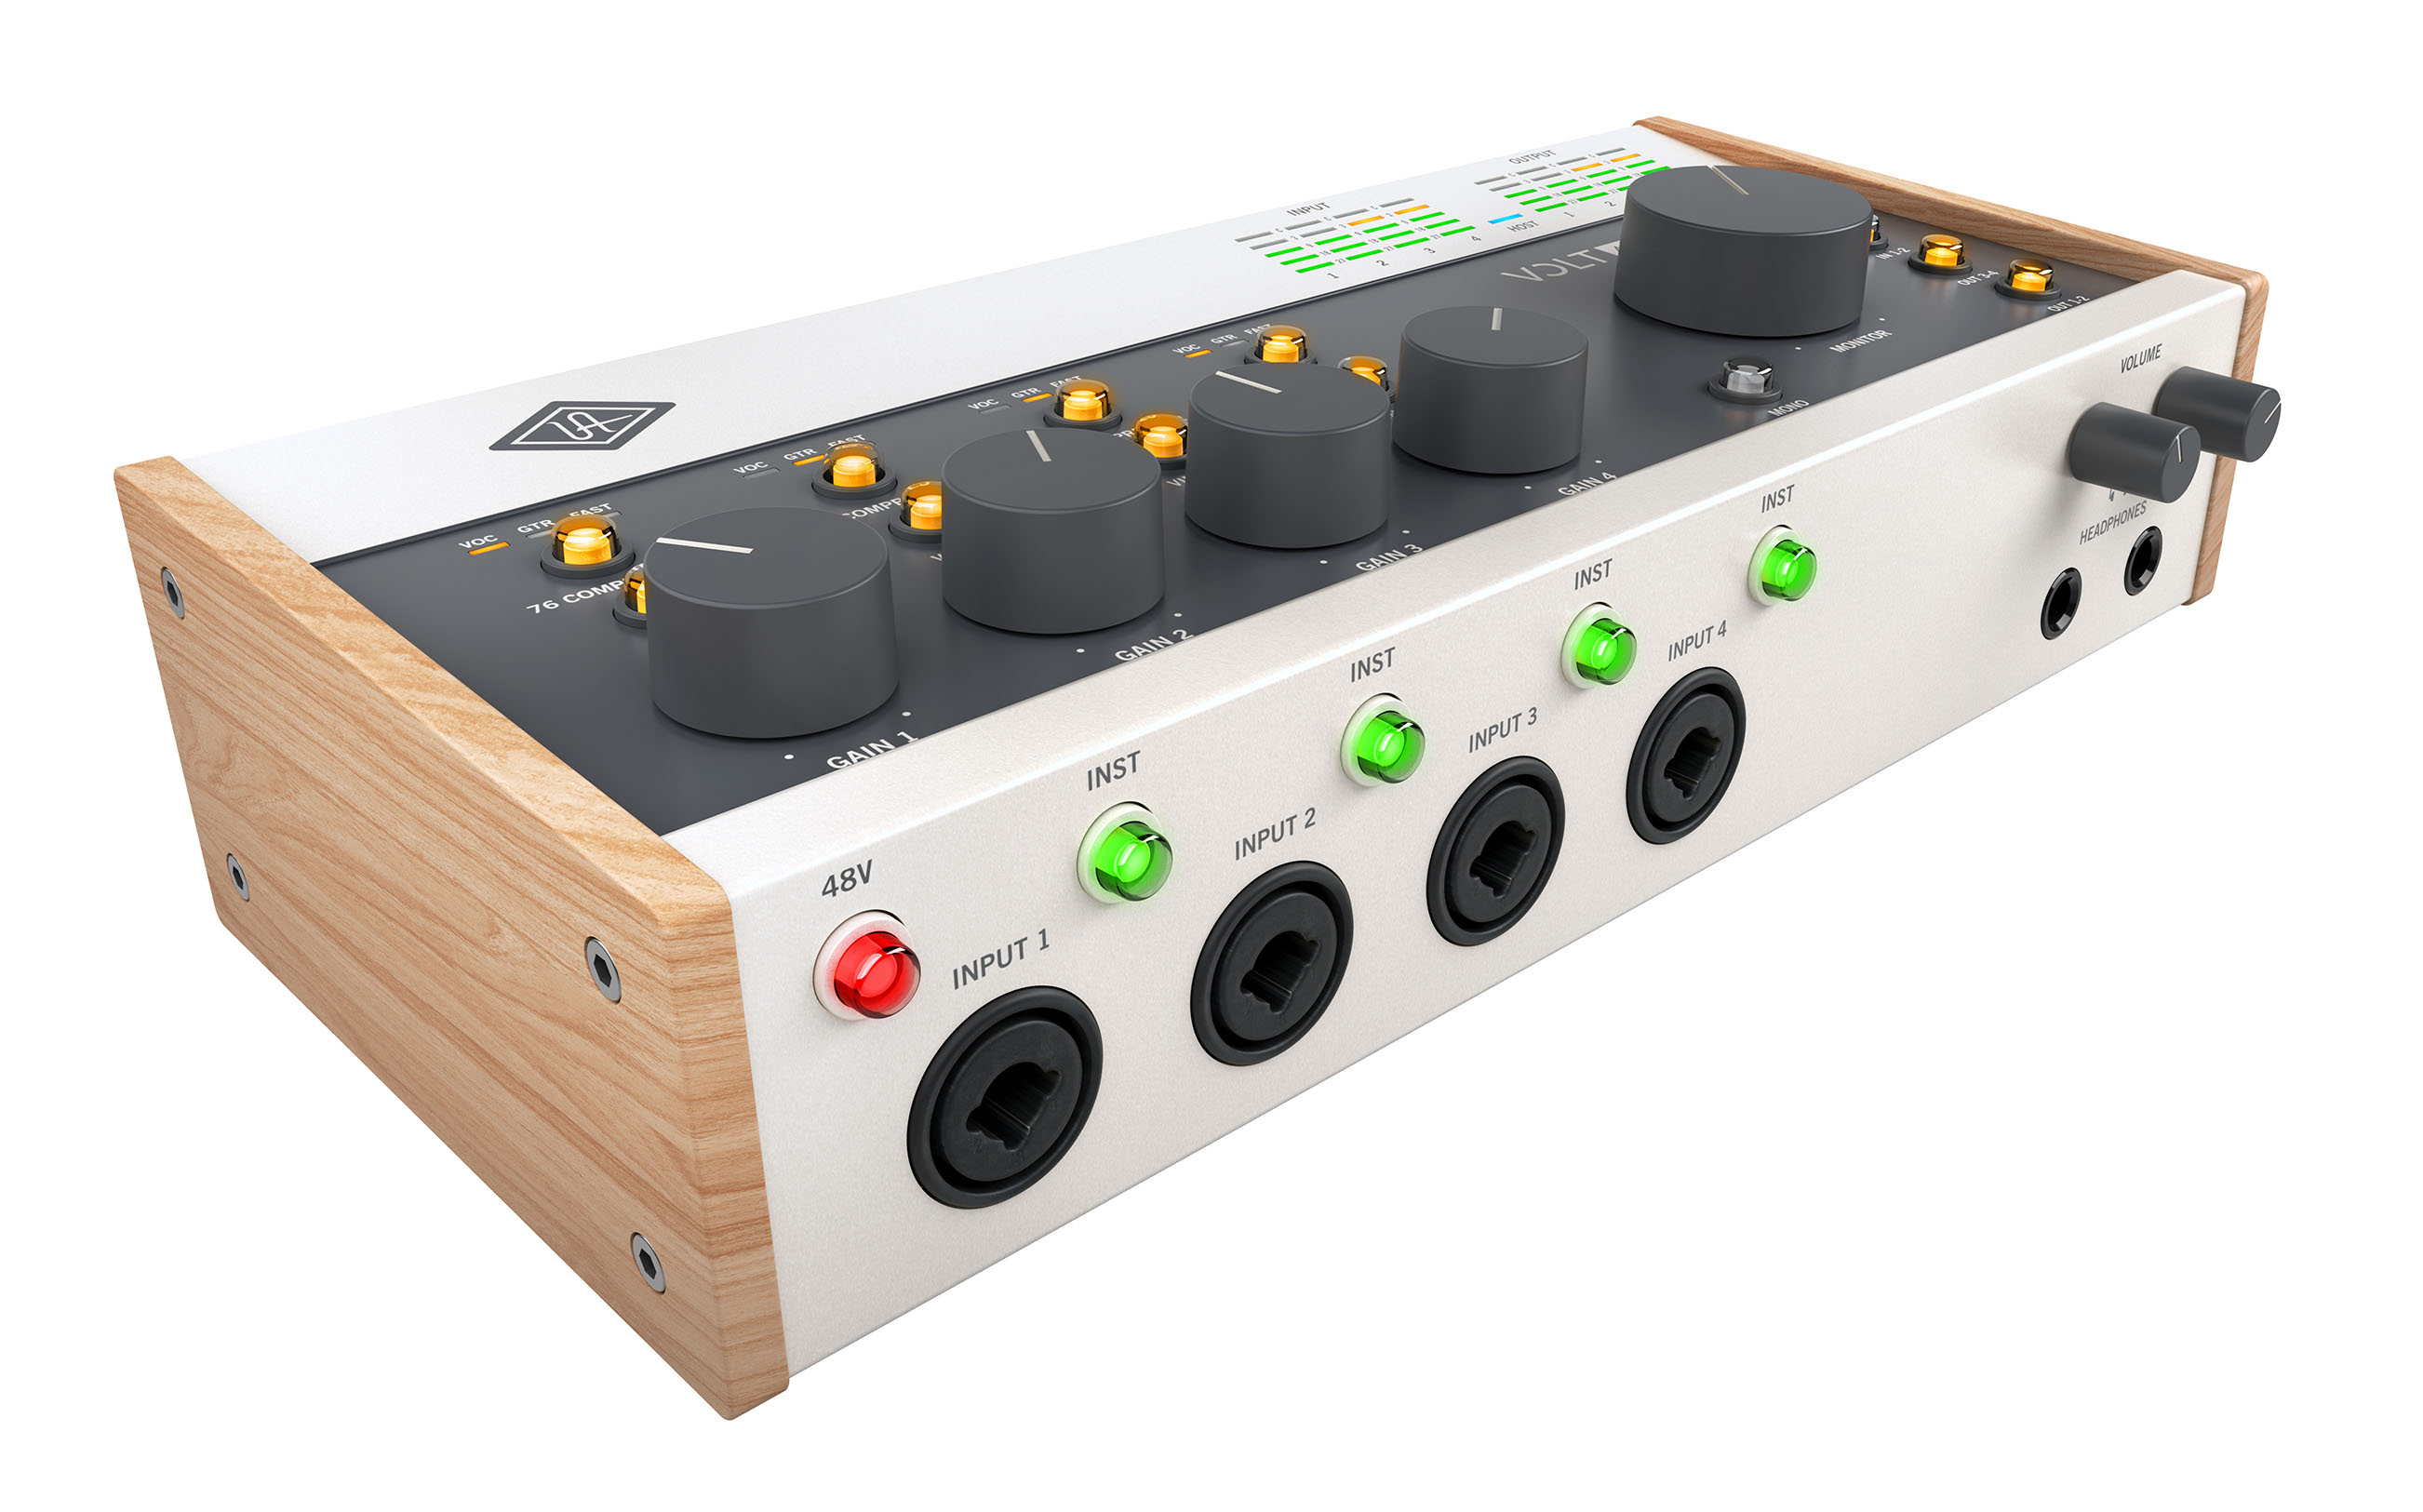
- Inputs: These are the connectors where you can plug in your microphones, instruments, or other audio sources. The number and types of inputs may vary depending on the model of the audio interface. Common input types include XLR (for microphones) and TRS or TS (for instruments).
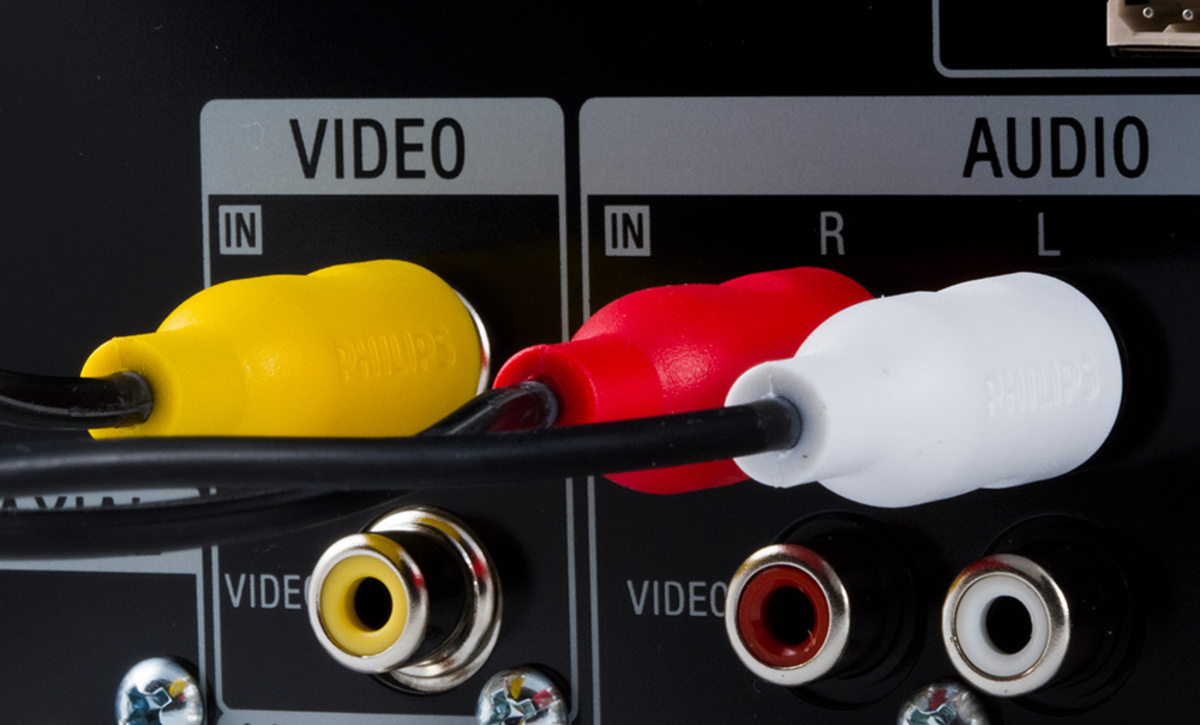
- Outputs: These are the connectors through which you can connect your speakers, headphones, or other audio devices to listen to the recorded audio. Like inputs, the number and types of outputs may vary.
- Preamps: Preamps amplify the weak analog signals from microphones or instruments to line level signals suitable for recording. They play a crucial role in capturing clean and high-quality audio.
- Sample Rate and Bit Depth: These settings determine the audio quality and resolution. Higher sample rates and bit depths offer better audio fidelity but require more storage space.
- USB/Firewire/Thunderbolt Port: This connection interface allows you to connect the audio interface to your computer. The choice of the connection type depends on the compatibility with your computer and the desired data transfer speed.
Now that you have a better understanding of the various components of an audio interface, it’s time to set it up and start recording. In the next section, we will walk you through the step-by-step process of setting up your audio interface.
Setting up the audio interface
Setting up your audio interface properly is crucial to ensure optimal performance and recording quality. Follow these steps to get your audio interface up and running:
- Read the Manual: Start by reading the user manual that comes with your audio interface. Each interface may have specific instructions or requirements, so it’s important to familiarize yourself with the manufacturer’s recommendations.
- Install the Drivers: Depending on your operating system, you may need to install the drivers for your audio interface. Visit the manufacturer’s website and download the latest drivers for your specific model.
- Connect the Power: Some audio interfaces require external power, while others are bus-powered and draw power from the computer via the USB or Thunderbolt connection. Ensure that your audio interface is properly powered.
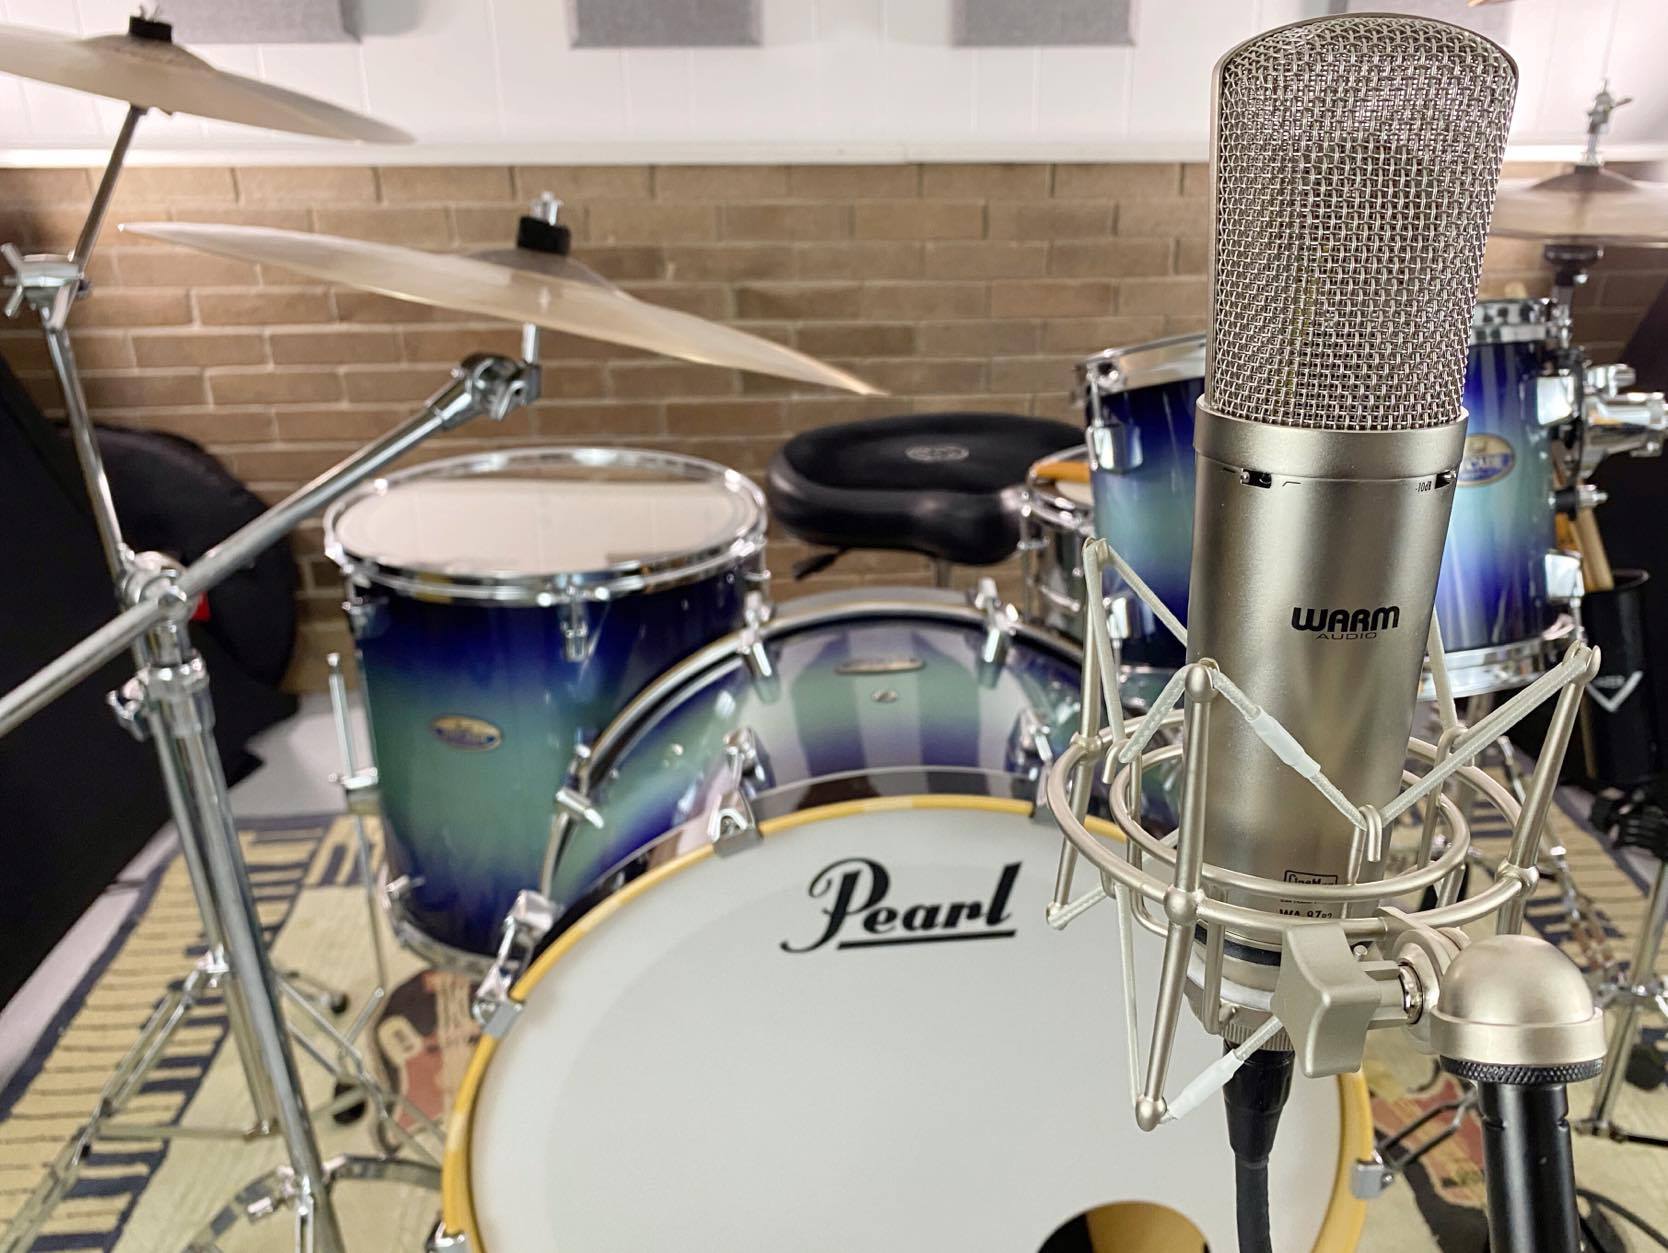
- Connect the Audio Cables: Use appropriate cables to connect your microphones, instruments, or other audio sources to the corresponding input jacks on the audio interface. XLR cables are typically used for microphones, while TRS or TS cables are used for instruments.
- Connect the Output Devices: Use cables to connect your speakers or headphones to the output jacks on the audio interface. This will allow you to monitor the audio while recording or playback.
- Connect the Audio Interface to the Computer: Use the provided USB, Firewire, or Thunderbolt cable to connect your audio interface to your computer. Make sure to use the appropriate port on your computer.
Once you have completed these steps, your audio interface should be properly set up and connected to your computer. The next section will guide you through selecting the input source on your audio interface.
Connecting the audio interface to the computer
Now that your audio interface is physically set up, the next step is to establish a connection between the interface and your computer. Follow these steps to connect your audio interface to the computer:
- Check System Requirements: Before connecting the audio interface, ensure that your computer meets the system requirements specified by the manufacturer. This may include the operating system version and available USB, Firewire, or Thunderbolt ports.
- Choose the Right Cable: Depending on the type of audio interface and computer ports available, select the appropriate cable. Common options include USB, Firewire, and Thunderbolt cables. Use high-quality cables to ensure a reliable connection.
- Connect the Cable: Connect one end of the cable to the corresponding port on your audio interface and the other end to the respective port on your computer. Ensure that the cable is securely plugged in.
- Install Drivers: In some cases, you may need to install specific drivers for your audio interface before your computer can recognize it. Visit the manufacturer’s website and download the latest drivers for your interface model. Follow the installation instructions provided.
- Power On the Audio Interface: If your audio interface has a power switch, turn it on. Some interfaces can be powered directly from the computer’s USB port, while others may require an external power source. Follow the manufacturer’s instructions for powering on the device.
- Computer Recognition: Once the audio interface is connected and powered on, your computer should recognize it. Look for any system notifications or prompts indicating the successful detection of the audio interface.
- Test the Connection: Open your preferred recording software and check if the audio interface is listed as an available input/output device. You can perform a quick test by connecting a microphone or instrument to the audio interface’s input and checking if the signal is being received by the software.
With the audio interface successfully connected to your computer, you are now ready to move on to the next step, which is selecting the input source on the interface.
Selecting the input source
Now that your audio interface is connected to your computer, it’s time to select the input source that you want to use for recording. Follow these steps to choose the correct input source:
- Open the Recording Software: Launch your recording software, such as a digital audio workstation (DAW) or a podcasting application. Ensure that your audio interface is recognized and selected as the input/output device in the software’s preferences or settings.
- Access the Input Settings: Navigate to the input settings within your recording software. This area allows you to configure the audio interface and select the input source.
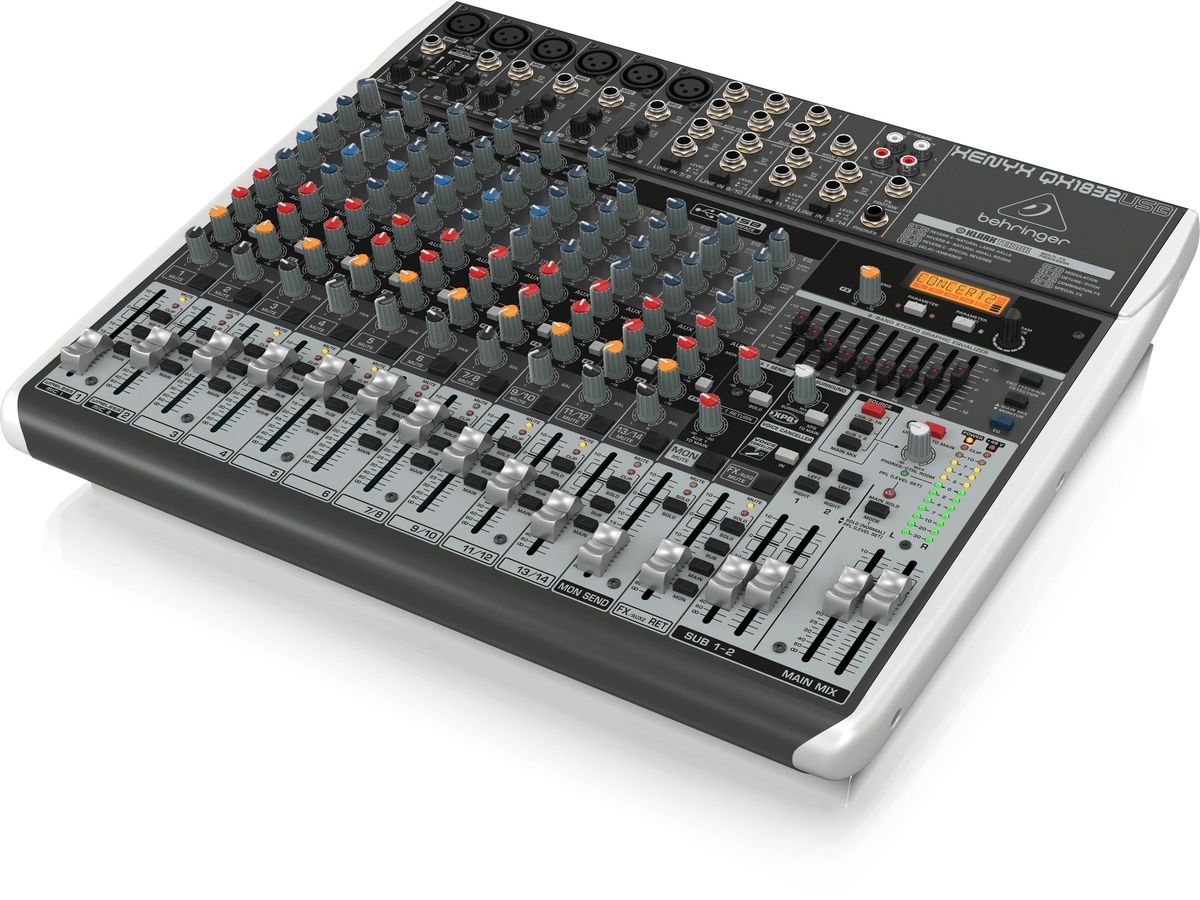
- Select the Input Channel: In the input settings, you will typically see a list of available input channels on your audio interface. This could be labeled as Input 1, Input 2, etc. Select the appropriate input channel that corresponds to the physical input where your microphone or instrument is connected.
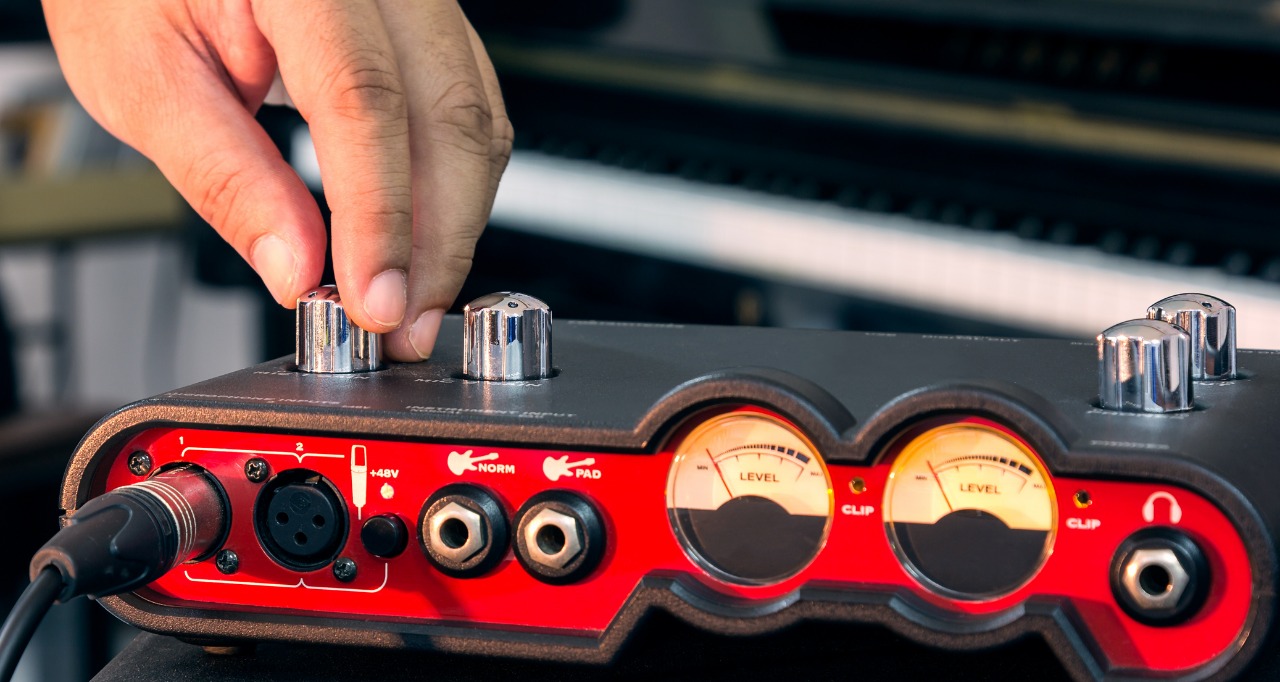
- Adjust the Input Gain: Most audio interfaces have a gain control knob or slider for each input channel. Use this control to adjust the input gain to an appropriate level. Avoid setting the gain too low, as it may result in a weak signal, or too high, as it can result in distortion.
- Monitor the Input Signal: Activate the input monitoring feature in your recording software to listen to the input signal in real-time. This allows you to ensure the correct input source is being detected and that the signal level is appropriate.
It’s important to note that the process of selecting the input source and adjusting the input gain may vary slightly depending on the recording software you are using. Consult the software’s documentation or user manual for specific instructions.
Now that you have selected the input source on your audio interface and adjusted the input gain, you are ready to move on to the next step, which is configuring your recording software for optimal recording settings. We will cover this in the upcoming section.
Adjusting input levels
Once you have selected the input source on your audio interface, the next step is to adjust the input levels to ensure optimal recording quality. Properly adjusting the input levels helps prevent distortion and ensures that your recordings have the right balance between volume and clarity. Follow these steps to adjust the input levels:
- Play Test Audio: Before adjusting the input levels, play a test audio source through your audio interface. This could be a pre-recorded track or a sound source that you want to record. Use this audio to monitor and assess the input levels.
- Observe the Input Meters: Look at the input meters on your recording software or audio interface. These meters provide a visual representation of the input signal level. Ideally, you want the input signal to reach near the maximum level without clipping or reaching the red zone.
- Adjust the Input Gain: Rotate the input gain control knob or slider on your audio interface to adjust the input level. Start with a low gain setting and gradually increase it while monitoring the input meters. Aim to have the signal peaking at around -12 to -6 dBFS (decibels relative to full scale) on the meters.
- Monitor for Distortion: While adjusting the input levels, listen carefully for any distortion or clipping in the audio. If you hear distortion, reduce the input gain until the distortion is eliminated.
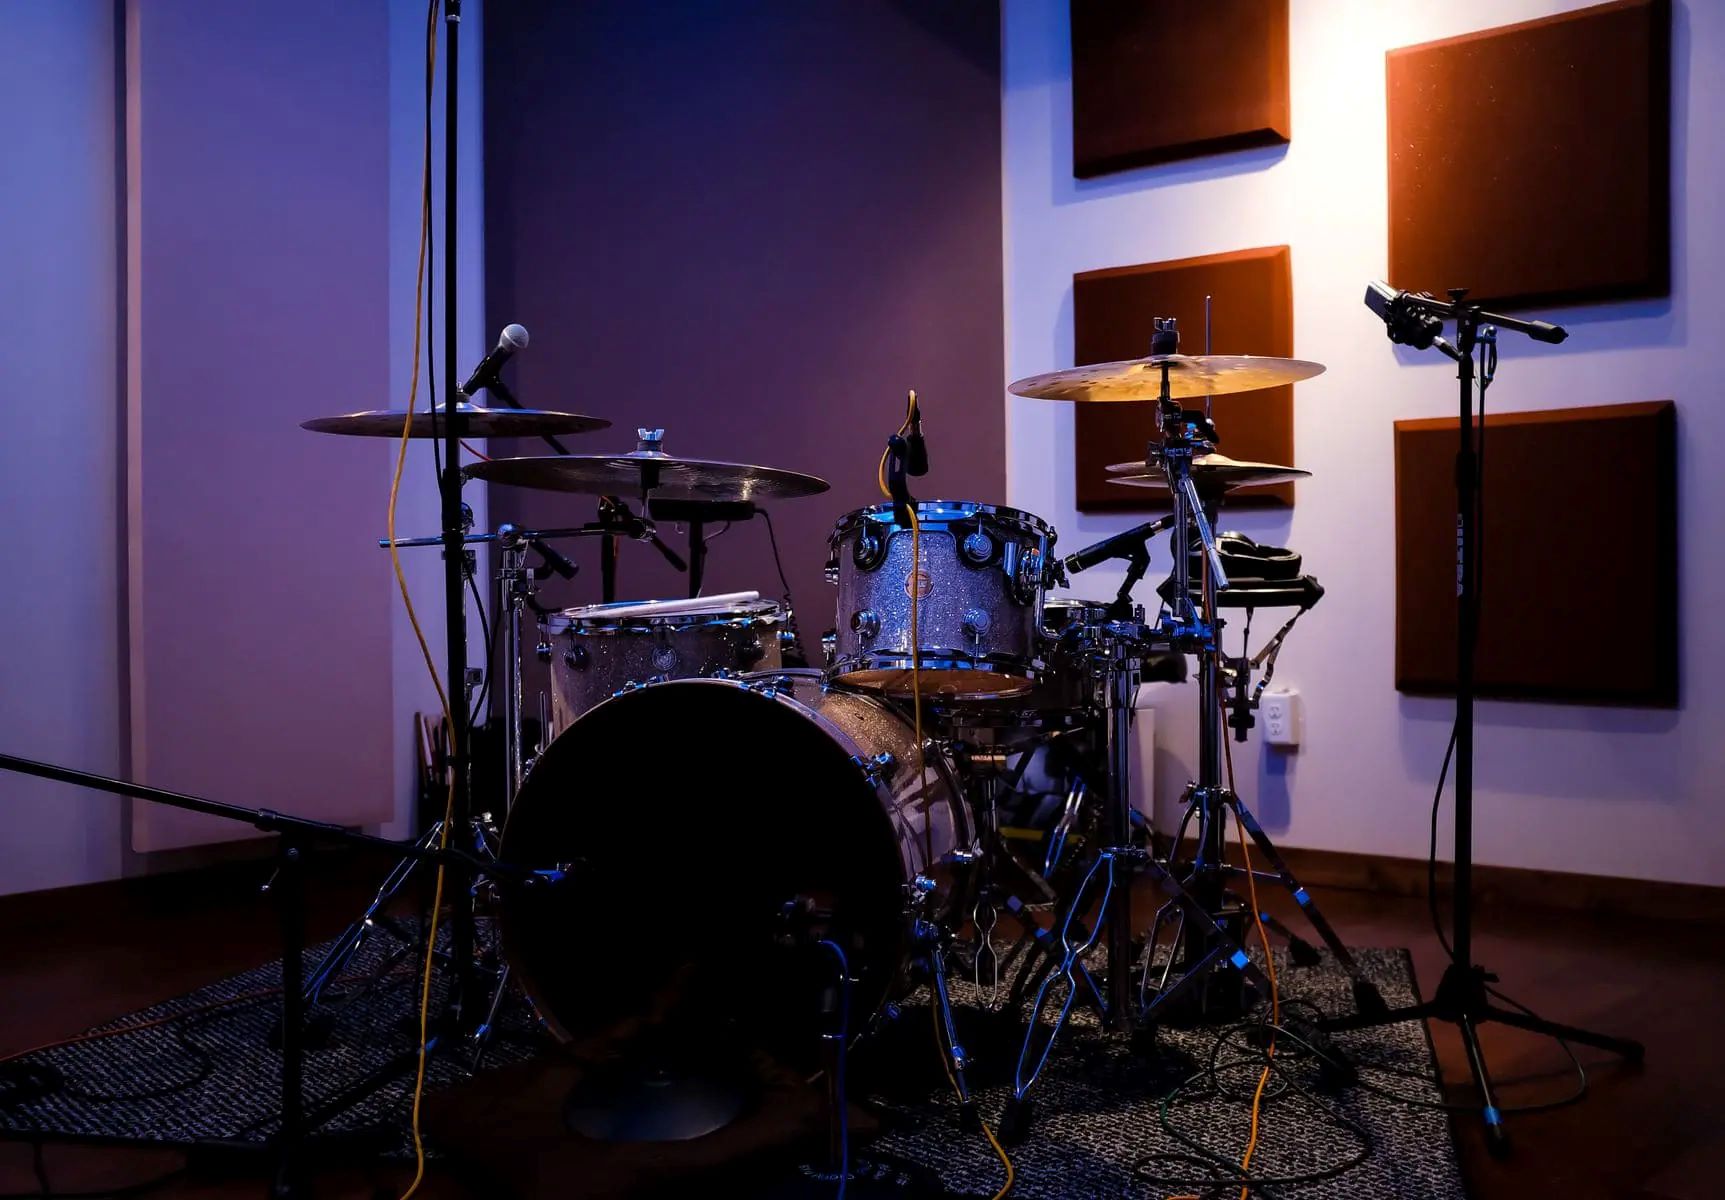
- Consider Dynamic Range: Depending on the dynamics of your audio source, you may need to adjust the input levels differently. For example, instruments with a wide dynamic range, such as drums, may require lower input levels to avoid clipping during louder sections.
It’s worth mentioning that proper input level adjustment is subjective and may vary depending on the specific recording scenario and personal preference. It’s recommended to perform a few test recordings, listen back, and make further adjustments if needed.
With the input levels properly adjusted, you are now ready to move on to the next step, which is configuring your recording software for a seamless recording experience. We will discuss this in the upcoming section.
Configuring recording software
Once your audio interface is set up and the input levels are adjusted, it’s time to configure your recording software to ensure a smooth and efficient recording process. The specific steps may vary depending on the recording software you are using, but here are some general guidelines:
- Audio Device Settings: Access the preferences or settings in your recording software to select your audio interface as the input and output device. Choose the appropriate sample rate and bit depth settings for your project. These settings should match the capabilities of your audio interface.
- Set Recording Path: Determine the location on your computer where you want the recorded audio files to be saved. Create a new project folder if needed.
- Configure Track Inputs: Create a new track in your recording software for each input source you want to record. Assign the corresponding input channel from your audio interface to each track.
- Apply Effects or Processing: If desired, add any effects or processing plugins to your tracks before recording. This can include EQ, compression, or reverb, among others. Adjust the settings according to your preferences.
- Enable Monitoring: Activate the input monitoring feature in your recording software to listen to the input signal in real-time. This allows you to hear yourself or the audio source as you record, reducing latency and creating a more natural recording experience.
- Test Recording: Before starting your official recording session, perform a test recording to ensure that the audio is being captured correctly and the levels are balanced. Listen back to the test recording and make any necessary adjustments before proceeding.
Remember to consult the documentation or user manual of your specific recording software for detailed instructions on how to configure settings and use its features.
With your recording software properly configured, you are now ready to move on to the exciting part – recording the output of your audio interface. We will guide you through the process in the next section.
Recording the output of the audio interface
Now that everything is properly set up and configured, it’s time to start recording the output of your audio interface. Follow these steps to capture your audio:
- Arm the Tracks: In your recording software, arm the tracks that you want to record. This enables them to receive and record the audio signal.
- Start the Recording: Press the record button in your software to begin recording. Make sure to start playback of your audio source, whether it’s live instruments, pre-recorded tracks, or a podcast recording.
- Monitor the Recording: Keep an eye on the recording meters in your software to ensure that the audio is being recorded at an appropriate level. Avoid clipping, which occurs when the signal exceeds the maximum level and results in distortion.
- Monitor the Performance: As you’re recording, monitor the performance through headphones or speakers connected to your audio interface. This allows you to hear the sound in real-time and make any necessary adjustments during the recording session.
- Pause and Resume: If needed, you can pause and resume the recording at any time. This is useful for breaks or when you need to make adjustments to your setup.
- Stop and Save: Once you’ve finished recording, press the stop button in your software. Remember to save your recording to a designated folder on your computer.
After completing the recording, remember to listen back to your recording to ensure the audio quality meets your expectations. Make any necessary edits or adjustments before finalizing your project.
Now that you have successfully recorded the output of your audio interface, you are ready to troubleshoot any potential issues that may arise. We will discuss some common troubleshooting tips in the next section.
Troubleshooting tips
While setting up and recording with an audio interface is usually a straightforward process, you may encounter some challenges along the way. Here are some troubleshooting tips to help you address common issues:
- No Sound/Input: If you’re not hearing any sound or the input signal is not being detected, check the following: ensure that your audio interface is powered on, all cables are securely connected, and the input/output settings in your recording software are configured correctly.
- Distorted Sound: If the recorded audio sounds distorted, reduce the input gain on your audio interface. Additionally, check if any effects or processing plugins are causing the distortion and adjust their settings if necessary.
- Latency Issues: Latency refers to the delay between playing or recording sound and hearing it through your audio interface. To minimize latency, reduce the buffer size in your recording software’s settings, use a high-quality USB/Firewire/Thunderbolt cable, and consider using an audio interface with low-latency features.
- Crackling or Popping Noise: Crackling or popping noises can be caused by various factors, such as improper buffer settings, outdated drivers, or incompatible sample rates. Make sure your drivers are up to date, experiment with different buffer settings, and ensure that the sample rates in your software and audio interface match.
- Unexpected Dropouts: If your audio interface suddenly stops working or disconnects during recording, check the USB/Firewire/Thunderbolt connection, try a different cable or port, and ensure that your computer’s power-saving settings are not interfering with the interface’s operation.
- Monitoring Issues: If you’re not able to hear the audio signal while recording, check if the input monitoring feature is enabled in your recording software. Also, make sure your headphones or speakers are connected properly to your audio interface.
If you’re still experiencing issues after troubleshooting, consider referring to the documentation or contacting the customer support of your audio interface or recording software for further assistance.
By addressing these common troubleshooting scenarios, you can overcome obstacles and ensure a smooth recording experience with your audio interface.
Conclusion
Congratulations! You have successfully learned how to record the output of your audio interface into the input. By following the steps outlined in this guide, you are now equipped with the knowledge and understanding to capture high-quality audio recordings for your music, podcasts, or any other creative projects.
We started by understanding the components of an audio interface and how it functions as the gateway between your analog audio gear and your computer. Then, we walked through the process of setting up the audio interface, connecting it to your computer, selecting the input source, adjusting input levels, and configuring your recording software for optimal results.
Throughout the setup and recording process, we also covered troubleshooting tips to help you overcome common challenges such as no sound, distorted audio, latency issues, and monitoring problems. By employing these troubleshooting techniques, you can quickly resolve these issues and continue creating without interruption.
Remember, practice makes perfect. As you continue to use your audio interface and gain more experience, you will become more proficient in producing professional-grade recordings. Pay attention to the finer details, experiment with different techniques, and trust your ears to guide you towards achieving the desired sound.
With your audio interface as your trusted companion, you now have the tools to unleash your creativity, express your musical talents, and capture the essence of your artistic vision. So go ahead, connect your instruments, microphones, or other sound sources, and let your audio interface be the conduit that brings your ideas to life.
Happy recording!