Home>Devices & Equipment>Subwoofer>How To Build A Ported Subwoofer Box

Subwoofer
How To Build A Ported Subwoofer Box
Modified: February 18, 2024
Learn how to build a ported subwoofer box and unleash the power of your subwoofer. Step-by-step guide for optimal bass performance.
(Many of the links in this article redirect to a specific reviewed product. Your purchase of these products through affiliate links helps to generate commission for AudioLover.com, at no extra cost. Learn more)
Table of Contents
- Introduction
- Understanding Ported Subwoofer Boxes
- Tools and Materials Needed
- Step 1: Determine the Speaker Specifications
- Step 2: Calculate the Box Volume
- Step 3: Design the Port
- Step 4: Build the Box Structure
- Step 5: Mount the Speaker
- Step 6: Install the Port
- Step 7: Seal the Box
- Step 8: Connect the Wiring
- Step 9: Test and Fine-tune the Subwoofer Box
- Conclusion
Introduction
Welcome to the world of powerful and immersive audio experiences with subwoofers. If you’re a music lover or a home theater enthusiast, you understand the importance of a quality subwoofer to enhance the low-frequency sound production. A subwoofer adds that deep bass rumble that can make your favorite songs come alive and make action movie scenes feel more intense.
While there are numerous subwoofers available in the market, building your own custom subwoofer box allows you to have complete control over the specifications and ultimately the performance of your subwoofer setup. In this article, we will focus on building a ported subwoofer box, which is designed to enhance the bass response by utilizing a port or vent that allows the air to flow in and out of the enclosure.
Building a ported subwoofer box requires some technical knowledge and the right tools and materials. Don’t worry, though – we will guide you through the process step by step, ensuring that you have all the necessary information to create a powerful subwoofer box that suits your needs and preferences.
Not only will building your own ported subwoofer box be a satisfying DIY project, but it can also save you money compared to purchasing a pre-built subwoofer enclosure. Additionally, the customization options allow you to tailor the subwoofer box to your specific preferences and the specifications of your chosen subwoofer.
Ready to dive into the world of subwoofer customization? Let’s get started with understanding ported subwoofer boxes and the tools and materials you’ll need for the project.
Understanding Ported Subwoofer Boxes
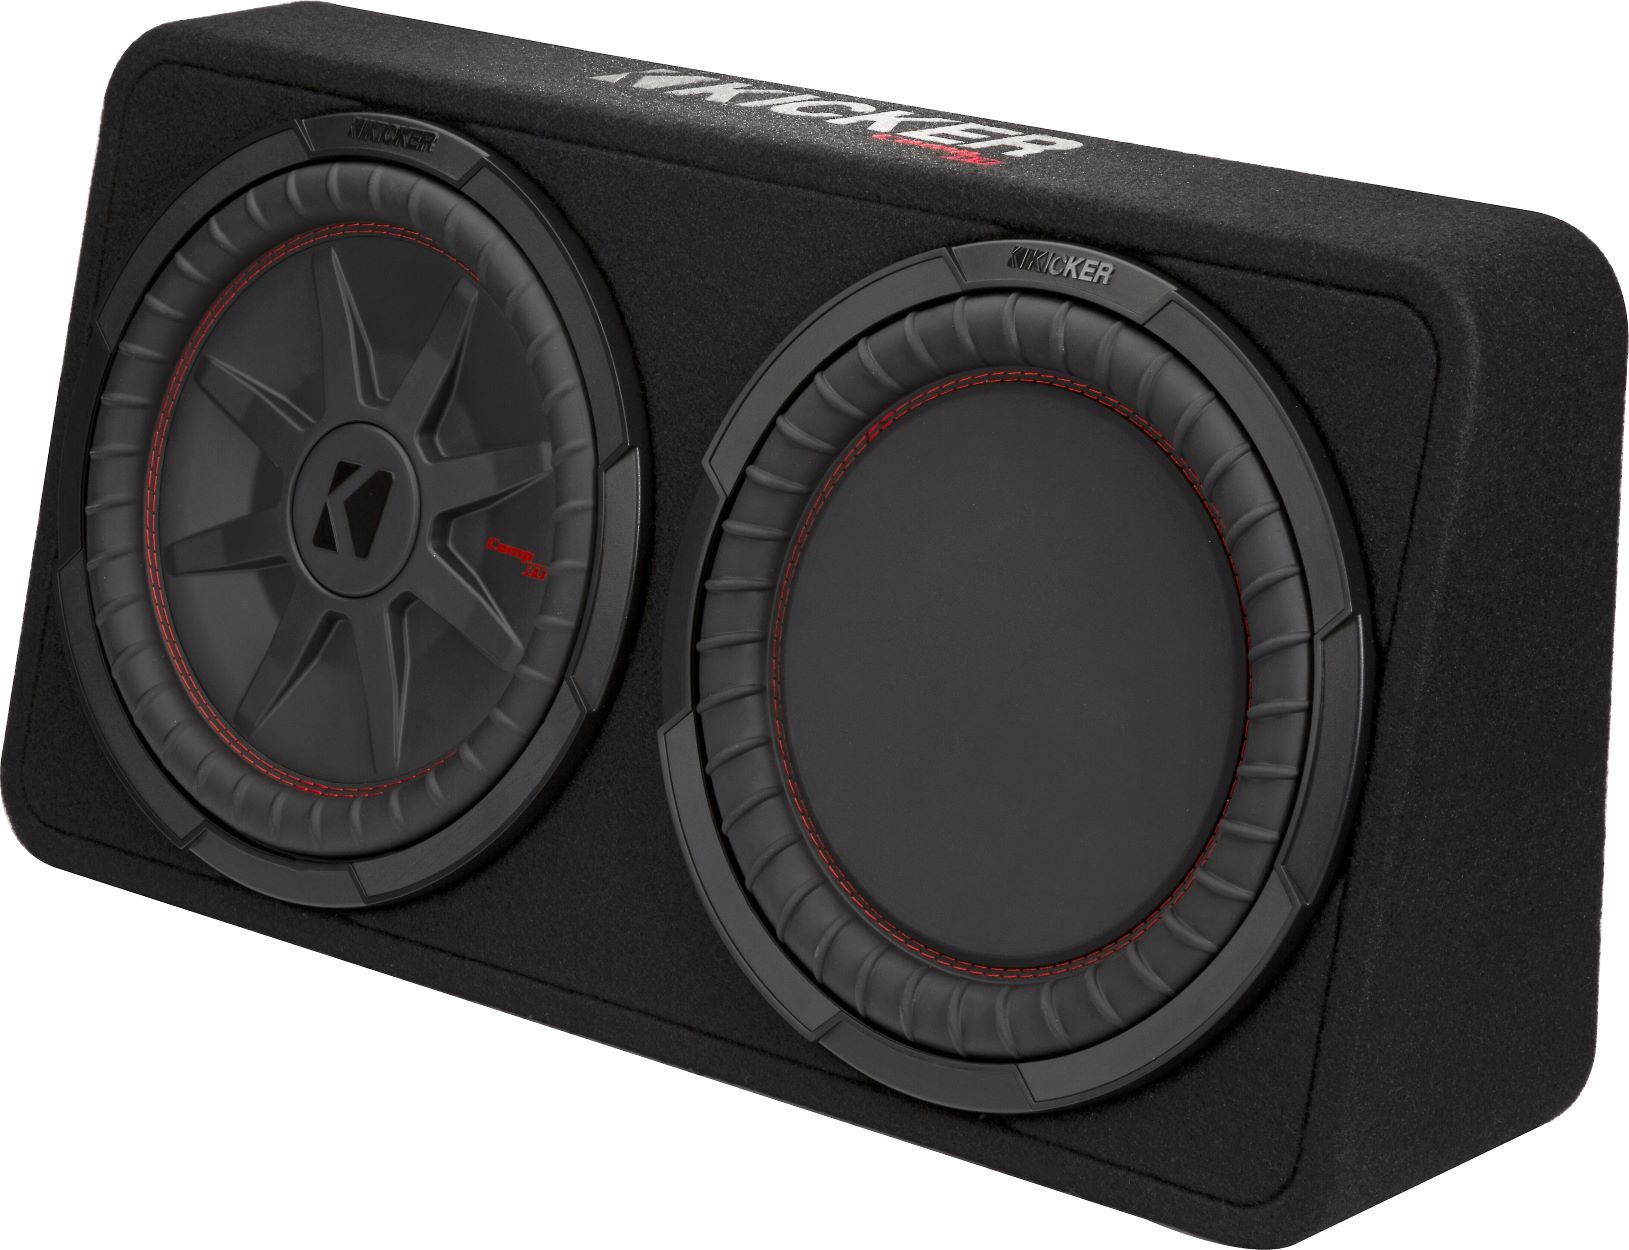
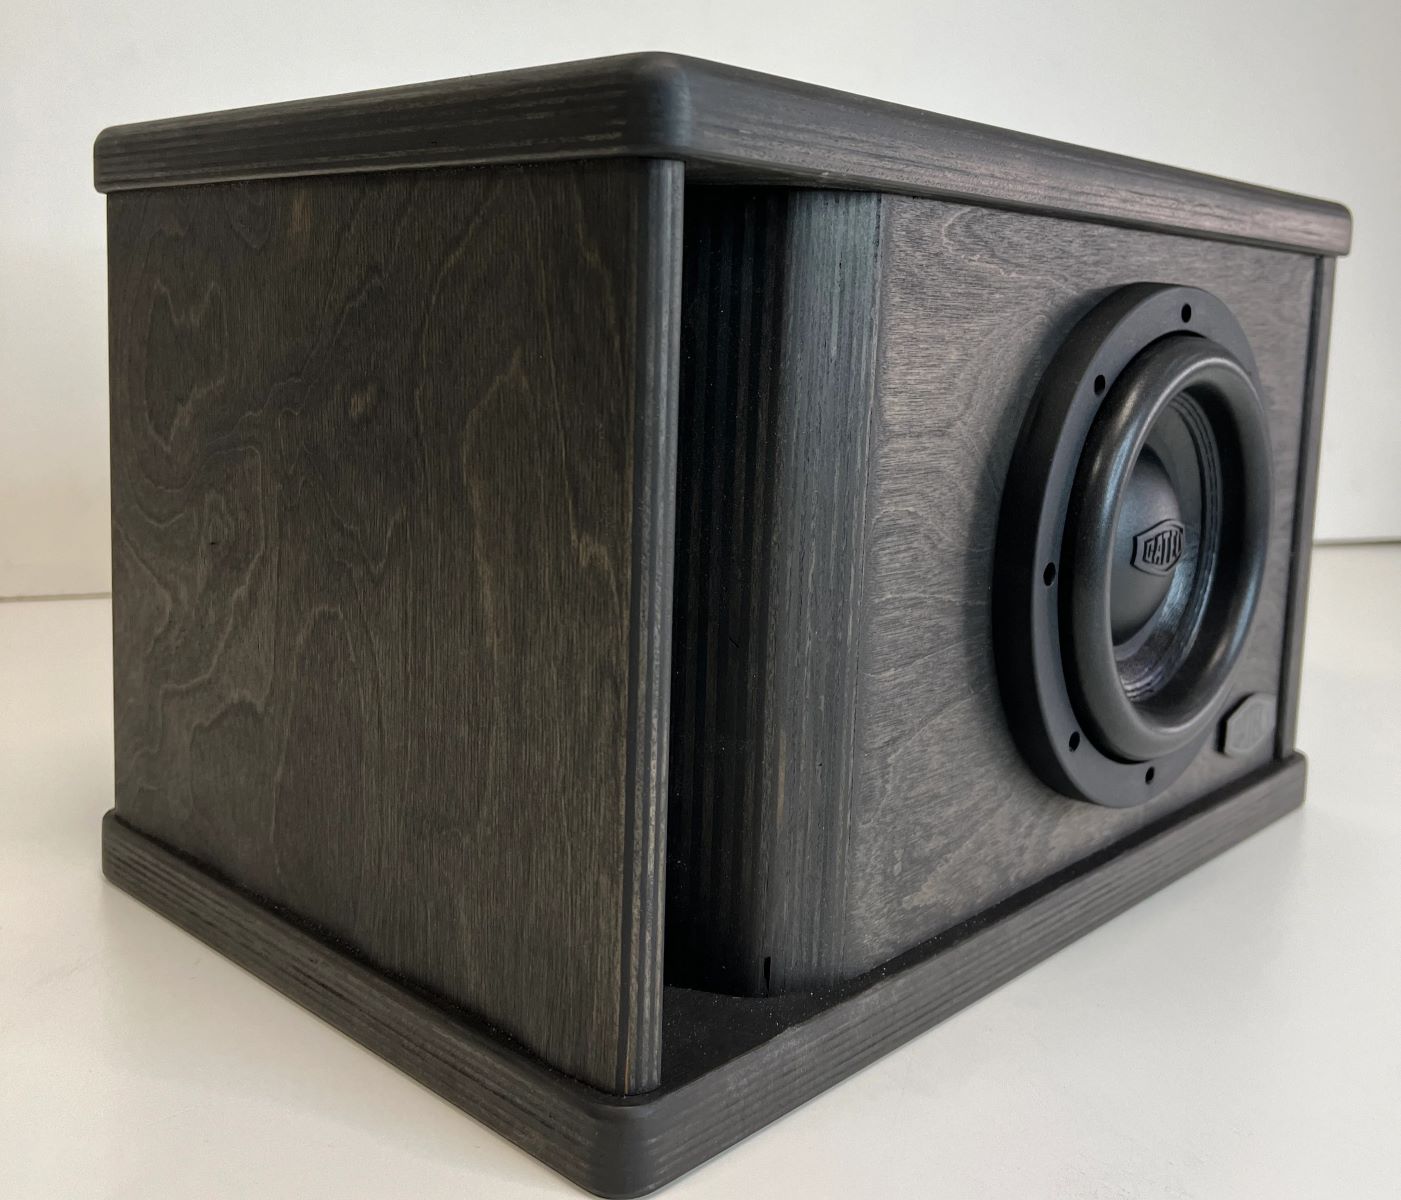
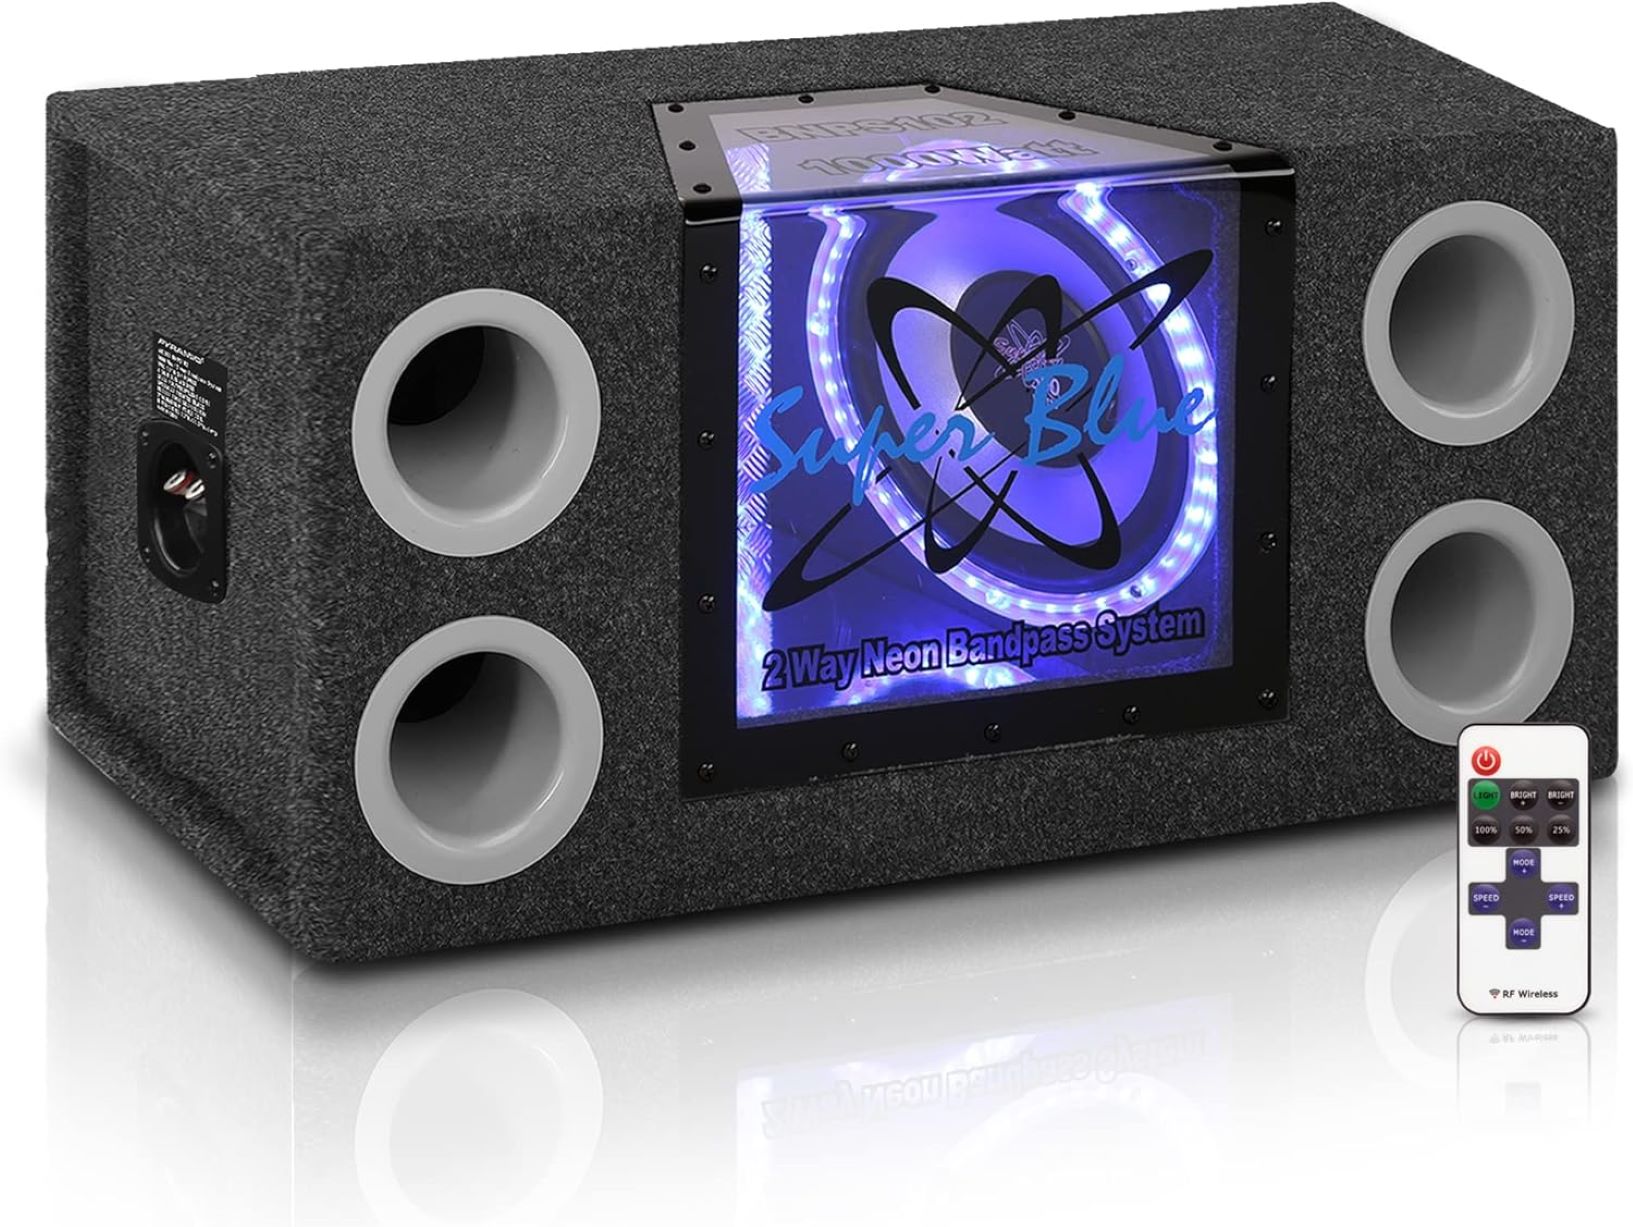
Before you start building a ported subwoofer box, it’s essential to understand how it works and the benefits it offers compared to other types of enclosures. A ported subwoofer box, also known as a vented or bass-reflex enclosure, is designed to improve the efficiency and output of low-frequency sound reproduction.
The key component of a ported subwoofer box is the port or vent, which is a specifically sized and shaped opening that allows air to move in and out of the enclosure. The subwoofer driver, located inside the box, produces sound by vibrating a diaphragm, creating waves of air pressure. In a ported box, the port acts as a conduit for the movement of air. It is strategically tuned to a specific frequency range to augment the low-frequency output of the subwoofer.
One of the primary advantages of a ported subwoofer box is increased bass response. The port helps the subwoofer produce lower frequencies more efficiently by allowing the pressure generated within the box to escape. This results in deeper, more impactful bass compared to a sealed enclosure. Ported boxes also tend to be more efficient, meaning they produce higher sound levels with the same amount of power compared to other types of enclosures.
However, it’s important to note that ported boxes have specific design considerations. The size, shape, and position of the port, as well as the overall internal volume of the box, all play a crucial role in determining the performance of the subwoofer. Improperly designed or tuned ported subwoofer boxes can lead to poor sound quality, port noise, or even damage to the subwoofer itself.
Now that you have a basic understanding of ported subwoofer boxes, let’s move on to the tools and materials you’ll need to start building your own.
Tools and Materials Needed
Before you embark on building your own ported subwoofer box, it’s important to gather all the necessary tools and materials. Here’s a list of what you’ll need:
Tools:
- Power drill
- Circular saw or jigsaw
- Router (optional, for rounding the edges)
- Tape measure
- Pencil or marker
- Screwdriver
- Clamps
- Sanding block or sandpaper
- Safety goggles and ear protection
Materials:
- MDF (Medium Density Fiberboard) or plywood for the box construction
- Subwoofer driver (speaker)
- Speaker terminal cup
- Speaker wires
- Screws
- Wood glue
- Carpenter’s glue
- Sealant (such as silicone caulk or automotive gasket tape)
- Port tube or pipe (specifically designed for the desired tuning frequency)
These tools and materials should be readily available at your local hardware store. It’s important to choose high-quality materials, especially the MDF or plywood used for the box construction, as it will play a significant role in the overall sound quality and durability of the subwoofer box.
Once you have gathered all the necessary tools and materials, you’re ready to move on to the next step: determining the specifications for your subwoofer speaker. This will help guide the design and construction of the ported subwoofer box. Let’s dive into the details in the next section.
Step 1: Determine the Speaker Specifications
Before starting the construction of your ported subwoofer box, it’s essential to determine the specifications of the subwoofer driver (speaker) you’ll be using. The specifications will guide you in calculating the appropriate box volume and tuning frequency for optimal performance.
The key specifications to consider are:
- Driver Size: The size of the subwoofer driver is typically measured in inches and refers to the diameter of the cone. Common sizes include 10″, 12″, and 15″. Choose a driver size that suits your preferences and the available space for your subwoofer box.
- Power Handling (RMS/Peak): This specification indicates the amount of power the subwoofer can handle continuously (RMS) and at its peak. Ensure that your subwoofer’s power handling matches your amplifier’s capabilities for optimal performance and to prevent damage.
- Frequency Response: The frequency response indicates the range of frequencies that the subwoofer can accurately reproduce. It’s typically represented as a range in Hertz (Hz). Choose a subwoofer with a frequency response that aligns with your desired bass extension.
- Impedance: Impedance is the electrical resistance presented by the subwoofer to the amplifier. It’s typically represented in Ohms (Ω). Ensure that your amplifier can handle the impedance of your chosen subwoofer.
These specifications can usually be found in the product documentation or on the manufacturer’s website. Additionally, if you’re purchasing a subwoofer driver separately from an enclosure, consider the Thiele/Small parameters. These parameters provide detailed information about the driver’s electrical and mechanical characteristics, which can be useful for more advanced box design techniques.
Once you have determined the specifications of your subwoofer driver, you’re equipped with the necessary information to calculate the appropriate box volume and tuning frequency for your ported subwoofer box. In the next step, we’ll walk you through the calculations to ensure optimal performance. Let’s get started!
Step 2: Calculate the Box Volume
Calculating the box volume is a crucial step in building a ported subwoofer box. The volume of the box directly affects the performance and sound quality of the subwoofer. To determine the ideal box volume, you will need the Thiele/Small parameters of your subwoofer driver as well as some basic mathematical calculations.
The most common method for calculating the box volume is using the Manufacturer’s Recommendations or the Thiele/Small Parameters Method. The Thiele/Small parameters provide information about the speaker’s electrical and mechanical characteristics, which is useful for designing an enclosure specific to the driver.
Here are the basic steps to calculate the box volume:
- Obtain the Thiele/Small parameters for your subwoofer driver. These parameters may include Vas (Equivalent Acoustic Volume), Qts (Total Q Factor), and Fs (Resonant Frequency).
- Calculate the Vas/alpha ratio. Divide Vas (in liters) by the constant of 112 (Vas/alpha = Vas/112).
- Calculate the box volume. Multiply the Vas/alpha ratio by the driver’s Qts. The result is the net internal box volume required in liters. It’s always a good practice to increase the volume slightly to compensate for the displacement caused by the subwoofer driver itself.
It’s worth mentioning that the specific calculations may vary slightly depending on the design goals and preferences. However, the steps outlined above provide a good starting point for most ported subwoofer box designs.
Once you have calculated the required box volume, you can move on to designing the port in the next step. The port plays a crucial role in achieving the desired bass response and should be carefully designed based on the box volume and specific subwoofer driver. Let’s continue to the next step and design the port for your subwoofer box!
Step 3: Design the Port
Designing the port is an important step in building a ported subwoofer box as it influences the tuning frequency and overall bass response. The port, also known as a vent, is a tube or pipe that allows air to flow in and out of the enclosure, augmenting the low-frequency output of the subwoofer. To design an effective port, you need to consider the port length, diameter, and positioning within the box.
Here’s how you can design the port for your subwoofer box:
- Determine the desired tuning frequency: The tuning frequency is the specific frequency at which the port and the subwoofer resonate together to produce the desired bass response. It is typically based on your musical preferences. Lower tuning frequencies result in deeper bass, while higher tuning frequencies provide tighter and more controlled bass. Research the recommended tuning frequencies for your specific subwoofer model or consult the manufacturer’s guidelines.
- Calculate the port length: The port length determines the tuning frequency. You can use online calculators or specific formulas to calculate the port length based on the desired tuning frequency and the internal box volume. The calculated length must be precise to achieve the desired tuning.
- Determine the port diameter: The port diameter affects the airflow and the overall performance of the port. It is usually determined based on the internal box volume and the desired tuning frequency. Consider the recommended port diameter range for your subwoofer driver and the calculated port length to ensure optimal performance.
- Positioning the port: The location of the port within the box can influence the overall sound output. Generally, placing the port near one of the box walls or corners can help enhance the bass response by utilizing the boundary effect. However, avoid positioning the port too close to the subwoofer driver to prevent unwanted turbulence and distortion.
It’s crucial to note that proper port design is essential to avoid issues such as port noise or port chuffing. Port noise can occur when the airflow moves at high speeds through the port, resulting in unwanted noise. Pay attention to the port length, diameter, and smoothness of the internal surface to minimize the risk of port noise.
Once you have calculated the port dimensions and determined the positioning, you’re ready to move on to the construction phase. In the next step, we’ll guide you through building the structural components of your ported subwoofer box. Let’s get started!
Step 4: Build the Box Structure
Now that you have determined the specifications for your subwoofer and designed the port, it’s time to start building the box structure for your ported subwoofer enclosure. The box structure serves as the foundation for your subwoofer setup and provides the necessary support and stability.
Follow these steps to build the box structure:
- Measure and mark your cuts: Use a tape measure and pencil to mark the dimensions of the box on your chosen material, which is typically Medium Density Fiberboard (MDF) or plywood. Measure carefully to ensure accurate cuts.
- Cut the panels: Utilize a circular saw or jigsaw to make the necessary cuts based on your marked dimensions. Take proper precautions such as wearing safety goggles and ear protection.
- Pre-drill holes: To prevent splitting while assembling the box, pre-drill pilot holes on the edges where the panels will be joined together. Use a drill bit slightly smaller than the screws you will be using.
- Apply wood glue: Apply a thin layer of wood glue to the edges of the panels that will be joined together. Make sure to spread the glue evenly to ensure a solid bond.
- Assemble the box: Align the panels according to your marked dimensions and secure them together using screws. Use clamps to hold the panels in place as the glue dries. Check for any gaps or unevenness and adjust as necessary.
- Round the edges (optional): If desired, use a router to round the edges of the box. This can provide a visually appealing look and help reduce air turbulence inside the enclosure.
- Sand the surfaces: Use a sanding block or sandpaper to smooth out any rough edges or surfaces. This will ensure a professional and clean finish.
Remember to follow safety precautions throughout the construction process and work in a well-ventilated area. Additionally, consult the user manual or resources specific to your tools to ensure proper usage and technique.
With the box structure complete, you’re one step closer to assembling your ported subwoofer box. In the next step, we will guide you through mounting the subwoofer driver into the enclosure. Let’s continue building your custom subwoofer box!
Step 5: Mount the Speaker
Mounting the subwoofer driver (speaker) into the box is a critical step in building your ported subwoofer enclosure. Properly securing the speaker ensures optimal performance and prevents any unwanted vibrations or movement during operation.
Follow these steps to mount the speaker:
- Prepare the speaker mounting hole: Measure the diameter of the speaker and mark the corresponding mounting hole on one of the box panels. Use a hole saw or jigsaw to carefully cut out the hole.
- Apply a gasket (optional): To create an airtight seal between the speaker and the box, you can use a gasket made of foam or rubber. Place the gasket around the mounting hole on the inside of the box, ensuring a proper fit.
- Secure the speaker: Carefully lower the speaker into the mounting hole, ensuring that the speaker’s terminals (positive and negative) are accessible from the inside of the box. Align the screw holes on the speaker with those on the mounting hole and use screws to secure the speaker in place. Be cautious not to over-tighten the screws, as it can damage the speaker.
- Connect the speaker wires: Take your speaker wires and connect them to the terminals on the back of the mounted speaker. Ensure a proper connection by matching the positive (+) and negative (-) terminals.
- Secure the speaker wires: Route the speaker wires neatly and away from any potential obstructions or moving parts within the box. You can use cable ties or adhesive clips to secure the wires in place and prevent them from vibrating or coming into contact with the speaker cone.
It’s crucial to ensure a secure and proper mounting of the speaker to avoid any rattling or distortion during operation. Take your time to double-check the alignment and connections before moving on to the next step.
With the speaker securely mounted, we can now proceed to install the port in the next step. The port assists in enhancing the bass response of the subwoofer by allowing air to flow in and out of the box. Let’s continue building your custom ported subwoofer box!
Step 6: Install the Port
Installing the port is a crucial step in creating your ported subwoofer box. The port, also known as a vent, allows air to flow in and out of the enclosure, enhancing the bass response and overall performance of the subwoofer. It’s important to position and install the port properly to achieve the desired tuning frequency and airflow.
Follow these steps to install the port:
- Choose the appropriate port: Select a port tube or pipe that is specifically designed for the desired tuning frequency. The port’s length and diameter should align with your box volume and tuning frequency calculations in previous steps.
- Measure and mark the port location: Determine the ideal location to mount the port inside the box. The position should allow for smooth airflow and avoid any obstructions, such as the speaker or internal bracing.
- Cut the port hole: Use a hole saw or jigsaw to cut a hole in the chosen location that matches the diameter of the port tube or pipe. Take care to make a clean and precise cut.
- Fit the port: Insert the port tube or pipe into the port hole. Ensure that it fits snugly and extends fully into the box, without any protrusions or gaps.
- Secure the port: To secure the port in place, you can use wood glue around the edges of the port hole. Additionally, you may choose to reinforce it with screws or brackets for added stability.
- Seal the port: Apply a bead of sealant, such as silicone caulk or automotive gasket tape, around the edges of the port where it meets the box. This helps create an airtight seal to maximize the efficiency and performance of the ported enclosure.
Take your time to ensure that the port is accurately positioned and securely installed. Any irregularities or air leaks can impact the performance of the subwoofer and potentially cause unwanted noise or distortion.
With the port properly installed, your custom ported subwoofer box is taking shape. In the next step, we will focus on sealing the box to ensure optimal air tightness and performance. Let’s proceed!
Step 7: Seal the Box
Sealing the box is a crucial step in building your ported subwoofer enclosure. Proper sealing ensures optimal air tightness, which is essential for achieving accurate and powerful bass response without any unwanted air leaks or vibrations.
Here’s how you can seal the box:
- Inspect the box: Before sealing, carefully inspect the box for any gaps, cracks, or uneven edges. Use sandpaper or a sanding block to smooth out any rough surfaces.
- Apply sealant: Choose a suitable sealant, such as silicone caulk or automotive gasket tape, for sealing the various joints and seams of the box. Apply a thin and even layer of sealant on both the inside and outside of the box wherever two panels or joints meet.
- Pay attention to corners and edges: Focus on sealing the corners and edges of the box, as these areas are more prone to air leakage. Run a bead of sealant along the inside and outside corners to ensure a tight seal.
- Seal the speaker mounting hole: Apply sealant around the edge of the speaker mounting hole to create an airtight seal between the speaker and the box. This prevents any air leakage through the mounting hole.
- Seal the port: Apply sealant around the edges of the port where it meets the box, ensuring a proper seal between the port and the enclosure. This helps to prevent any air leakage through the port.
- Allow the sealant to cure: Follow the manufacturer’s instructions regarding the curing time for the sealant. Keep the box in a well-ventilated area to allow the sealant to dry and cure fully.
Properly sealing the box is essential for achieving optimum performance and minimizing any air leakage that can negatively impact the sound quality. Take your time and be thorough in applying the sealant to ensure airtightness.
With the box properly sealed, you’re nearing the completion of your ported subwoofer box construction. In the next step, we will focus on connecting the wiring to the subwoofer. Let’s proceed to the next step!
Step 8: Connect the Wiring
Now that the box is sealed, it’s time to connect the wiring to your subwoofer. Properly connecting the wiring ensures the subwoofer receives the necessary power and signal to produce quality bass sound. Follow these steps to connect the wiring:
- Prepare the speaker wire: Measure and cut the appropriate length of speaker wire needed to connect your subwoofer to the amplifier or receiver. Make sure to leave a bit of extra wire for flexibility.
- Identify the positive (+) and negative (-) terminals: Locate the terminals on the back of the subwoofer and identify the positive and negative terminals. They are usually marked with “+” and “-“
- Strip the wire insulation: Use wire strippers to carefully strip about half an inch of insulation from the ends of the speaker wire. Be cautious not to damage the wire strands during this process.
- Connect the wires: Insert the exposed wire ends into the corresponding positive (+) and negative (-) terminals on the subwoofer. Ensure a secure connection by using appropriate wire connectors, banana plugs, or terminal blocks. Make sure there is no bare wire exposed that could potentially cause a short circuit.
- Connect the other end of the wires: Connect the other ends of the speaker wires to the corresponding speaker outputs on your amplifier or receiver. Again, ensure a secure and proper connection to prevent any signal loss or interference.
- Check the connections: Once all the connections are made, double-check the wiring to ensure that there are no loose or improperly connected wires. This will help avoid any potential issues related to poor sound quality or electrical safety.
It is important to follow the specific instructions provided by the manufacturer of your subwoofer and amplifier for connecting the wiring. This will ensure that you have the correct polarity and proper impedance matching for optimal performance.
With the wiring successfully connected, you’re almost ready to experience the powerful bass from your custom ported subwoofer box. In the final step, we will discuss how to test and fine-tune the subwoofer for optimal sound quality. Let’s move to the next step!
Step 9: Test and Fine-tune the Subwoofer Box
Now that your ported subwoofer box is complete, it’s time to test and fine-tune its performance to achieve the desired sound quality. This step involves adjusting various settings and parameters to optimize the bass response and ensure an immersive audio experience. Here’s how you can test and fine-tune your subwoofer box:
- Set up your audio system: Connect your amplifier or receiver to the subwoofer output using the appropriate cables. Ensure that all connections are secure and properly configured.
- Play audio content: Select a music track or movie scene that features low-frequency sounds or deep bass. This will allow you to assess the performance of your subwoofer box.
- Adjust subwoofer volume and crossover: Use the controls on your amplifier or receiver to adjust the subwoofer volume and crossover frequency. The volume control determines the subwoofer’s output level, while the crossover control sets the frequency at which the subwoofer takes over the bass from the main speakers.
- Listen for balance and integration: Pay attention to the bass response and how it integrates with the rest of the audio system. The bass should blend seamlessly with the main speakers, enhancing the overall sound without overpowering it.
- Make fine adjustments: Depending on your personal preferences and room acoustics, you may need to make further adjustments. Experiment with different crossover frequencies, phase settings, and placement of the subwoofer to find the sweet spot that delivers the best sound for your listening environment.
- Measure and analyze: If you want to delve deeper into fine-tuning, consider using specialized audio measurement tools and software to analyze the frequency response and make precise adjustments. This can help identify any peaks or dips in the bass frequency range that need to be addressed.
Remember that fine-tuning the subwoofer box is an ongoing process. Room acoustics, speaker placement, and personal preferences can all impact the final sound. Don’t be afraid to experiment and take the time to find the ideal settings that suit your taste and environment.
By following these steps and fine-tuning your subwoofer box, you can enjoy the deep and immersive bass that enhances your audio experience. Congratulations on building your own custom ported subwoofer box!
Remember to frequently monitor and inspect your subwoofer box for any changes or issues. Regular maintenance and care will ensure its longevity and continued performance. Sit back, relax, and enjoy the powerful bass that your custom subwoofer box brings to your music and movies!
Conclusion
Congratulations! You have successfully completed the journey of building your own ported subwoofer box. By following the steps outlined in this guide, you have not only gained a deeper understanding of ported subwoofer enclosures but also crafted a customized audio solution tailored to your preferences. Your hard work and attention to detail have paid off, and now you can enjoy powerful and immersive bass in your music and movies.
Building a ported subwoofer box allows you to wield control over the specifications and design of your audio system. You have the freedom to choose the subwoofer driver that suits your needs, calculate the optimal box volume, design the port for desired tuning, and fine-tune the system to deliver the best audio experience.
Throughout the construction process, you have learned about the importance of accurate measurements, proper sealing, and secure mounting of components. These steps are essential for achieving excellent sound quality, preventing air leaks, and minimizing unwanted vibrations or distortions.
Remember, building a ported subwoofer box is a journey that continues even after completion. As you fine-tune and experiment with different settings, you may find new ways to optimize your audio system and further enhance your listening experience.
Now that you have gained the knowledge and skills to build a ported subwoofer box, you may consider exploring advanced techniques or experimenting with different subwoofer configurations. With your newfound expertise, you can delve deeper into the realm of audio customization and take your passion for high-quality sound to new heights.
Enjoy the deep bass and immersive audio that your custom ported subwoofer box brings to your favorite music, movies, and games. Sit back, relax, and let the powerful low-frequency rumble engulf you in a world of rich and captivating sound.

