Home>Devices & Equipment>Troubleshooting Car Stereo Power and Sound
Devices & Equipment
Troubleshooting Car Stereo Power and Sound
Modified: 3 October 2026
Table of Contents
Start here when car stereo troubleshooting leads to no power
Effective car stereo troubleshooting starts with a multimeter reading at the battery terminals before you assume the head unit has failed. Anything below 12.4 volts can mimic a stereo fault even when other electronics still light up, which is why a stereo that won't power on often draws attention to the power source first. A weak cell may still illuminate dashboard lights but lack the reserve to bring the radio out of standby. If you are dealing with a car radio that won't turn on and the source checks out, move to the interior fuse panel near the driver’s kick panel or glove compartment to check the fuse for the radio, which may be labelled AUDIO or RADIO. Getting the stereo fuse located and visually inspected takes only a minute, and a blown fuse is the simplest fix you will encounter. A deeper car radio malfunction sometimes traces back to voltage drop on the accessory circuit rather than the fuse itself, so probe the yellow constant-power and red switched-power wires at the harness with your meter. The confusing situation of a dead battery with working electronics, where the dome light glows but the starter only clicks, reinforces why a voltage reading matters; a source hovering near 12.0 volts can still wake the infotainment screen briefly, then cause it to shut down under load.
When the stereo has power but no sound
When the display glows and the track counter moves but the cabin stays silent, the problem usually sits between the head unit and the speakers. Start by checking the mute button and the fader control. A fader shifted fully to the rear will kill the front speakers and can look exactly like a silent radio issue on an otherwise healthy system. If the fader is centered and muting is off, switch sources. A CD or USB track that plays normally while FM is dead points to a tuner fault. Many drivers chase a radio signal cutting in and out only to find a loose antenna lead behind the dash rather than a failing receiver. Factory amplifiers add another layer. A blown amp fuse or a tripped protection circuit will silence every speaker even though the head unit appears to be working perfectly.
Bluetooth and phone connections create their own quiet failures. If you use an iPhone and audio drops, Apple’s steps begin at Settings > Bluetooth. Turn Bluetooth off, wait about 5 seconds, and turn it back on before checking the car manual for pairing instructions. Renaming the iPhone at Settings > General > About > Name can help when multiple phones have been paired and the car keeps grabbing the wrong device. For wired CarPlay, confirm the car supports it and that the iPhone runs the latest version of iOS. Then verify the vehicle has the newest firmware from the manufacturer. Before you tear into the dash to fix static radio in car, eliminate the phone as the source by testing a known-clean FM station or a CD. Interference from a charging cable or a poorly seated auxiliary cord often mimics tuner static. The same interference that frustrates drivers trying to improve AM radio reception at home applies on the road. Nearby phone chargers, dash cameras, and LED daytime running lights can blanket the AM band with noise that has nothing to do with the stereo itself.
Stereo turns off or behaves erratically
Intermittent shutdowns rarely point to a single culprit, so start by separating voltage sag from a genuine hardware fault. The link between electrical load and the head unit becomes obvious with the car stereo turning off with headlights, where a weak ground or a corroded terminal clamp drops the supply voltage just enough to trigger the radio's low-voltage protection the instant the halogen or LED circuit draws current.
Before chasing wiring, eliminate the phone as a trigger by restarting the device, then turning Bluetooth off in Settings > Bluetooth and back on after about five seconds. If multiple devices have ever been paired, renaming the iPhone in Settings > General > About > Name is recommended because that mistake can cause connection problems.
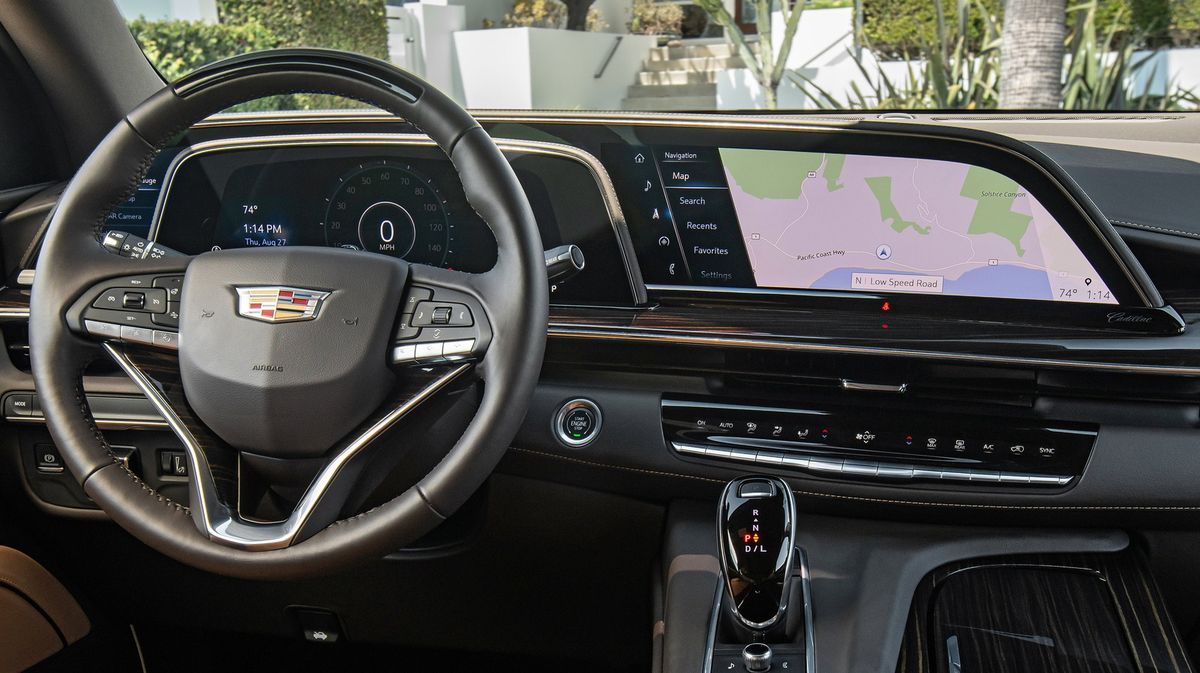
When the display itself is the problem, car stereo touch screen issues often stem from a cracked digitizer or a failing ribbon cable behind the panel rather than the mainboard, though a frozen interface may also respond to a hard restart of the paired phone; understanding these car stereo touch screen issues helps you decide whether to attempt a DIY fix or seek professional repair. Similarly, many radio screen malfunction causes trace back to condensation inside the display or a loose flex connector that loses contact as the cabin warms up; recognizing these radio screen malfunction causes can save you from replacing a perfectly good mainboard. If the backlight glows but no text appears, the panel may need hardware service instead of a firmware update.
- radio screen malfunction causes — Why Is My Radio Screen Not Working
- car stereo touch screen issues — Why Won't My Touch Screen Work Car Stereo
Controlling power on and off manually
Before you reach for the dash tools, confirm the battery voltage is not the real culprit, as many units that refuse to wake up are simply protecting themselves against a supply that has sagged below 12.4 volts. Once the electrical foundation is solid, most Pioneer head units follow a consistent rhythm, and you would want the article on how to turn on pioneer radio to get the display lit without fumbling. To turn on pioneer radio, a quick press of the SRC/OFF button brings the display to life immediately, but knowing how to turn off pioneer radio requires holding that same button until the screen goes dark, which is why you would want the article on how to turn off pioneer radio to ensure the unit powers down fully every time. If you own a touchscreen model like the DMH-Z6350BT, you will need to touch and hold the display to power down, then touch any button to wake it back up. This distinction matters because a short press may not trigger a full shutdown, leaving the unit running when you intended to turn it off. The sequence differs enough from a factory radio that drivers routinely search for how to turn off radio only after sitting in a silent driveway with the display still glowing, and you would want the article on how to turn off radio to avoid that confusion. On certain Pioneer receivers, selecting the source-off option kills only the music while the unit stays powered, so holding the physical button remains the surest method for a complete shutdown.
- turn off pioneer radio — How To Turn Off Pioneer Radio
- turn on pioneer radio — How To Turn On Pioneer Radio
- turn off radio — How To Turn Off Radio
Managing stereo power with the engine off
When you want to keep the radio on when car is off for a tailgate or a long evening at the drive-in, the most reliable method is shifting the ignition to the Accessory position instead of leaving the engine idling, which powers the stereo without the fuel cost and noise of a running motor. Many modern vehicles will still auto-shut the system after roughly 30 minutes to an hour to protect the power source, and in a push-button Ford, pressing the start/stop button once without touching the brake pedal enters accessory mode, but the exact sequence is manufacturer-specific. The real challenge comes when you need to keep radio on at drive-in through a double feature; a healthy battery can handle a few hours of draw, but an older battery on the edge may not last as long.
A different frustration arises when you cannot get the head unit to power down at all. If you return to a locked car and find the radio still on when car is off, the usual cause is a wiring fault that delivers constant 12V to the stereo's switched power input, effectively bypassing the ignition entirely. On an aftermarket installation, this often happens when the installer ties the head unit's red accessory lead to a permanent source instead of a circuit that is only hot in Accessory or Run, and a worn ignition cylinder can create the same symptom when the mechanical switch fails to break the connection even after you pull the key. When the car stereo stays on when ignition is off despite a healthy switch, one remedy is routing that sense wire through a fused relay or a dedicated toggle, which isolates the load without leaving the circuit in a permanent live state that slowly drains the electrical reserve overnight.
Preventing and measuring battery drain
Before chasing wiring gremlins, understand that a healthy power source sitting at 12.4 volts or higher gives you a fighting chance. The safe playtime limit depends on your unit's amp-hour rating and the stereo's actual current draw. If you are wondering about car battery life with the stereo off, the more immediate threat is a parasitic drain that slowly bleeds the reserve capacity while the vehicle sits locked and silent, which is why you would want the article on how long a car battery can run a car stereo with the engine off. You can measure the battery drain from a radio left on by setting a multimeter to the 10A DC range, disconnecting the negative cable, and placing the meter in series between the cable and the post after the car has sat undisturbed for up to 45 minutes so every module can enter sleep mode. A normal reading sits below 50 milliamps, while anything above 100 milliamps points to a circuit that is staying awake when it should not, and a draw exceeding 1 amp is severe enough to kill the cell overnight. To isolate a car stereo draining battery when off, pull fuses one at a time while watching the meter; when the number drops into the safe zone, you have found the offending circuit, and you would want the article on car stereo draining battery when off to understand exactly how to diagnose and stop that drain. If the culprit is your iPhone running a navigation or music app in the background, open Settings, tap Battery, then tap Low Power Mode (or tap Power Mode, then tap Low Power Mode) to stretch the remaining charge until you can start the engine.
- car battery life with the stereo off — How Long Can A Car Battery Run A Car Stereo With The Engine Off