Home>Production & Technology>Stereo>How To Power Car Stereo With PC Power Supply
Stereo
How To Power Car Stereo With PC Power Supply
Modified: January 22, 2024
Learn how to power your car stereo using a PC power supply. Upgrade your car audio system with this cost-effective solution.
(Many of the links in this article redirect to a specific reviewed product. Your purchase of these products through affiliate links helps to generate commission for AudioLover.com, at no extra cost. Learn more)
Table of Contents
- Introduction
- Step 1: Understanding the PC power supply
- Step 2: Checking the power requirements of the car stereo
- Step 3: Gathering the necessary tools and materials
- Step 4: Preparing the PC power supply
- Step 5: Connecting the car stereo to the PC power supply
- Step 6: Testing the setup
- Step 7: Securing the connections
Introduction
Do you have an old PC power supply laying around and a car stereo that needs a power source? Why not repurpose that PC power supply to power your car stereo? It’s a great way to save money and breathe new life into your old computer components.
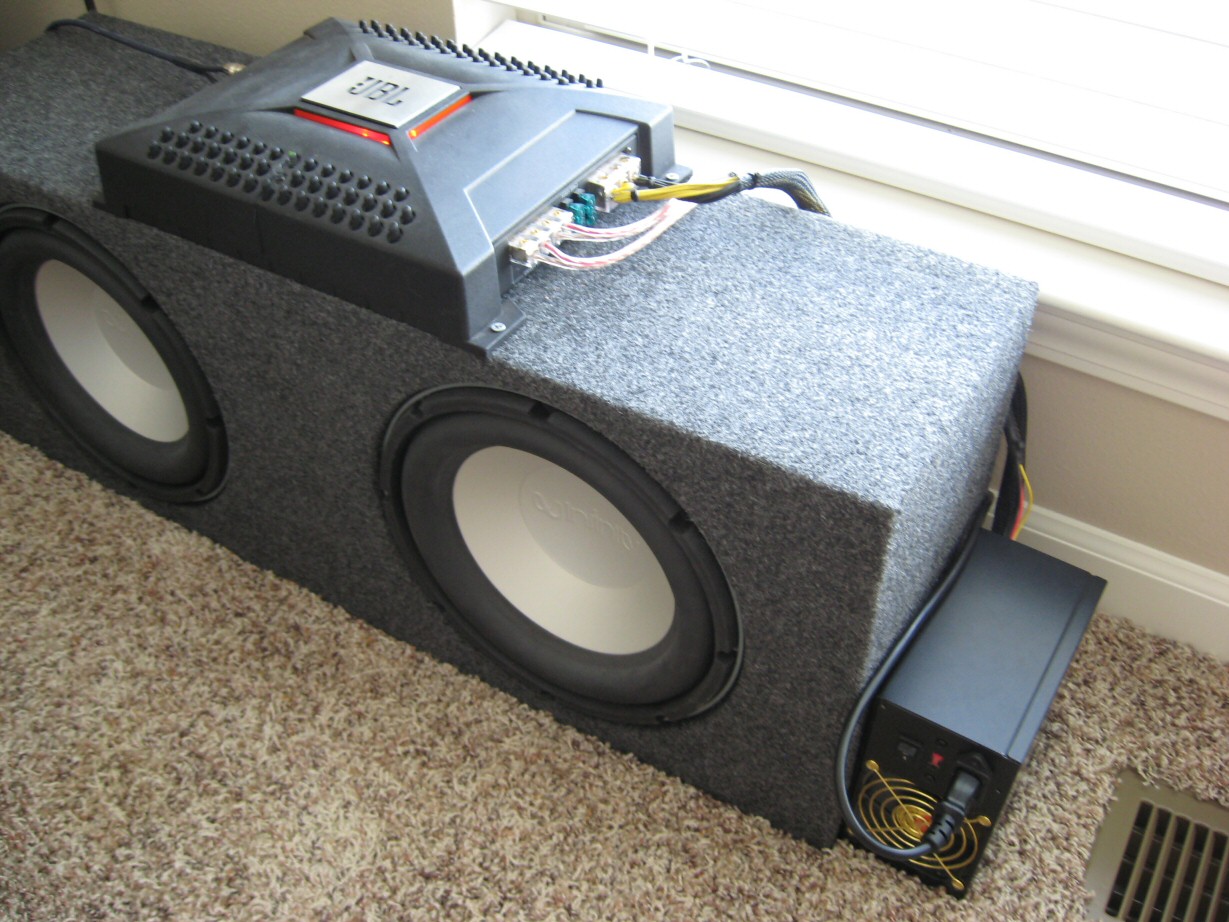
Powering a car stereo with a PC power supply is a relatively simple and cost-effective project. It allows you to make use of the 12-volt power supply from the PC to power your car stereo, eliminating the need for a separate car battery or power inverter. Additionally, PC power supplies often provide a stable and reliable power output, ensuring optimal performance of your car stereo.
In this guide, we will walk you through the necessary steps to power your car stereo using a PC power supply. Before we begin, it is important to note that this DIY project requires a basic understanding of electronics and wiring. If you are unfamiliar with these concepts, it may be best to consult a professional or someone with experience in this area.
With that said, if you’re ready to dive in, let’s get started on transforming your PC power supply into a trusty power source for your car stereo.
Step 1: Understanding the PC power supply
In order to successfully repurpose your PC power supply to power your car stereo, it is crucial to have a good understanding of how the PC power supply works.
A PC power supply is designed to convert the AC power from your wall outlet into DC power, which is then distributed to various components within your computer. The power supply uses transformers, rectifiers, capacitors, and voltage regulators to provide different voltages, such as 3.3 volts, 5 volts, and 12 volts, depending on the needs of the computer components.
For our purposes, we will be focusing on the 12-volt rail of the PC power supply. This is the voltage that is commonly used to power car stereos and other automotive accessories.
It’s important to note that not all PC power supplies have a 12-volt rail. Some older or lower wattage power supplies may not have the necessary voltage output to power a car stereo. Before proceeding, carefully check your PC power supply to ensure it has a 12-volt rail. Most modern ATX power supplies will have a 12-volt rail, but it’s always good to double-check.
Additionally, it is important to understand the different connectors and cables that are present on the PC power supply. The main connector you will be using for this project is the 24-pin ATX connector. This connector provides power to the motherboard and will be used to power the car stereo.
Take some time to familiarize yourself with the PC power supply and its components. This will help you better understand how to repurpose it for powering your car stereo in the following steps.
Step 2: Checking the power requirements of the car stereo
Before diving into the project, it is important to determine the power requirements of your car stereo. This will ensure that the PC power supply you have is capable of providing enough power to run the stereo without any issues.
Start by referring to the user manual or specifications of your car stereo. Look for information about the power requirements, particularly the voltage and current requirements. Most car stereos operate on a 12-volt DC power supply, which aligns perfectly with the 12-volt rail of a PC power supply.
Next, check the current draw of your car stereo. This will give you an idea of how much power the stereo will require for operation. The current draw is usually mentioned in the user manual or can be found on the back of the stereo unit. It is typically expressed in amps (A).
Once you have the voltage and current information, you can calculate the power requirement of your car stereo. The power (in watts) can be calculated by multiplying the voltage by the current (P = V * I).
For example, if your car stereo operates at 12 volts and has a current draw of 5 amps, the power requirement would be 12 volts * 5 amps = 60 watts.
Compare the power requirement of your car stereo to the wattage rating of the PC power supply. Most PC power supplies provide a maximum power output in watts. Ensure that the wattage rating of your PC power supply is equal to or greater than the power requirement of your car stereo.
If the wattage rating of your PC power supply is lower than the power requirement of the car stereo, you may encounter issues such as power fluctuations or the power supply not being able to sustain the required power. In such cases, it is recommended to use a higher wattage PC power supply to ensure a stable and reliable power source for your car stereo.
Step 3: Gathering the necessary tools and materials
Now that you have a good understanding of your PC power supply and the power requirements of your car stereo, it’s time to gather the tools and materials needed for this project.
Here’s a list of the essential tools and materials you will need:
- PC Power Supply: Make sure you have a PC power supply with a 12-volt rail that meets or exceeds the power requirements of your car stereo.
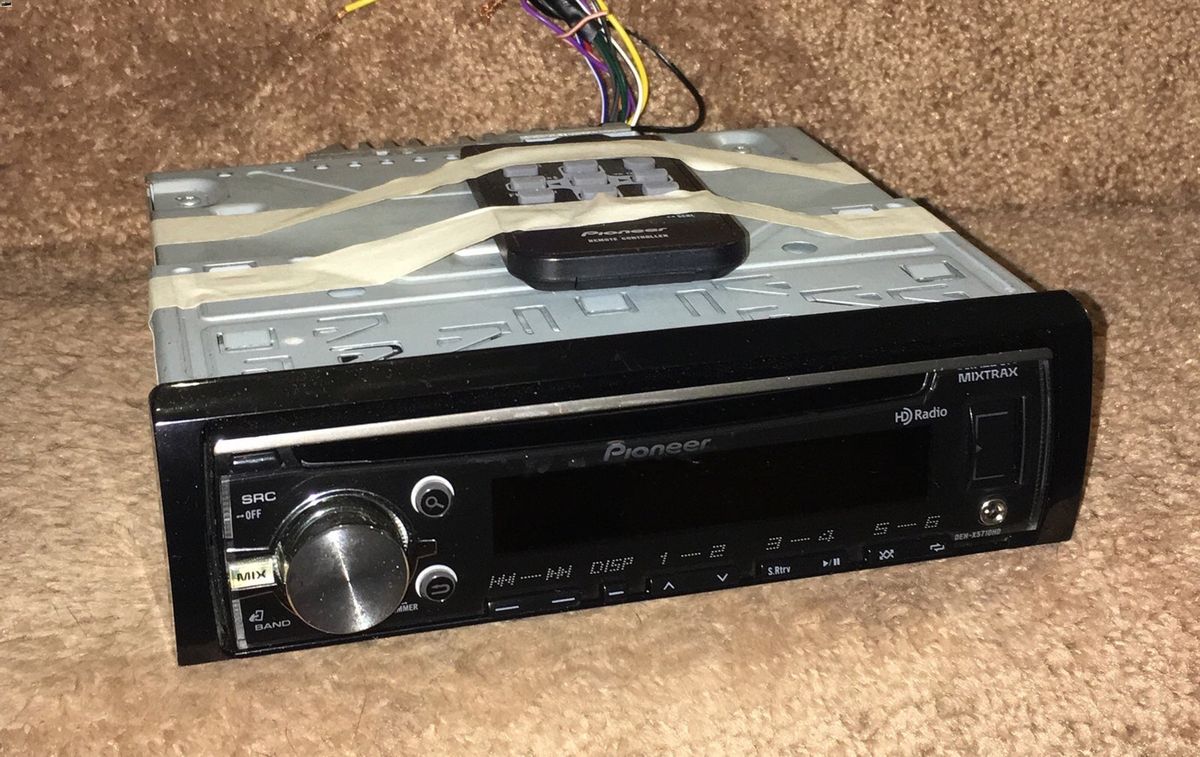
- Car Stereo: Ensure you have the car stereo unit that you plan to power with the PC power supply. Check the user manual or specifications to confirm the power requirements.
- Electrical Tape or Heat Shrink Tubing: These are used to secure and insulate the connections.
- Wire Cutters and Strippers: Necessary for cutting and stripping the wires.
- Screwdriver: Depending on the PC power supply, you may need a screwdriver to remove the cover or make any necessary adjustments.
- Wire Connectors: These help in making secure and reliable connections between the PC power supply and the car stereo.
- Wire Crimper: If you choose to use wire connectors, a wire crimper will be needed to crimp the connectors onto the wires.
- Electrical Multimeter: Optional but highly recommended for testing continuity, voltages, and ensuring proper connections.
It’s worth noting that the specific tools and materials needed may vary depending on your setup and personal preferences. If you have any additional tools or materials that you think may be helpful for this project, feel free to include them in your setup.
Once you have gathered all the necessary tools and materials, you are ready to move on to the next step: preparing the PC power supply for use with the car stereo.
Step 4: Preparing the PC power supply
Before connecting the PC power supply to the car stereo, there are a few steps you need to take in order to prepare the power supply for this specific purpose.
Firstly, ensure that the PC power supply is disconnected from any power source. This is important for your safety and to prevent any potential damage to the power supply or car stereo.
If your PC power supply has a standard power cord, connect it to a wall outlet. This will allow you to access the power supply’s internals more easily. If your power supply has a built-in power cord, skip this step.
Next, remove the cover of the PC power supply. This can typically be done by removing a few screws located on the back or sides of the power supply. Refer to the manufacturer’s instructions if you need guidance on how to safely remove the cover.
Once the cover is removed, locate the 24-pin ATX connector. This is the main connector that provides power to the motherboard in a traditional PC setup. In this case, we will repurpose it to power the car stereo.
Inspect the pins of the ATX connector to identify the +12V pin. This pin delivers the 12-volt power that we need for the car stereo. It is usually color-coded yellow or marked with a “+12V” label on the connector. Take note of its location as you will need to connect the car stereo to this pin.
Now, we need to locate the ground pin for the 12-volt rail. This is typically a black wire or a black pin on the ATX connector. The ground wire will be connected to the ground pin of the car stereo to complete the circuit.
Before proceeding to the next step, take a moment to tidy up any loose wires or cables inside the power supply. Use cable ties or similar methods to keep the wires organized and prevent interference with other components.
With the PC power supply now properly prepared, we can move on to the next step: connecting the car stereo to the PC power supply.
Step 5: Connecting the car stereo to the PC power supply
With the PC power supply prepared, it’s time to connect the car stereo to the power supply. This step involves making the necessary electrical connections to provide power to the car stereo.
Start by identifying the positive (+) and negative (-) power leads on your car stereo. These are usually labeled on the stereo unit or indicated in the user manual. The positive lead is typically red, while the negative lead is black.
Take the positive lead of the car stereo and connect it to the +12V pin of the 24-pin ATX connector on the PC power supply. Ensure a secure connection by using a wire connector or by soldering the wires together. If you choose to use a wire connector, use a wire crimper to crimp the connector onto the wire.
Next, take the negative lead of the car stereo and connect it to the ground pin of the ATX connector. Again, use a wire connector or solder the wires together securely.
After making the connections, use electrical tape or heat shrink tubing to insulate and protect the exposed wires and connections. This step is essential to prevent accidental short circuits or damage to the power supply or car stereo.
Double-check the connections to ensure they are secure and properly insulated. Tug gently on the wires to make sure they are firmly in place before proceeding.
Once you are satisfied with the connections, carefully route the wires and secure them in place using cable ties or clips. Make sure the wires are neatly organized and do not obstruct any ventilation or moving parts within the PC power supply.
At this point, you have successfully connected the car stereo to the PC power supply. However, before powering everything up, it’s important to test the setup to ensure everything is functioning correctly.
Follow the next step to test the setup and finalize the connections for a secure and reliable power source for your car stereo.
Step 6: Testing the setup
After connecting the car stereo to the PC power supply, it’s essential to test the setup to ensure that everything is working as expected. Testing will help identify any potential issues or errors before finalizing the connections.
Before proceeding, ensure that the car stereo is turned off and the PC power supply is not connected to any power source.
To begin testing, plug the PC power supply into a wall outlet, or if it already has a power cord, make sure it is connected to a power source.
Next, power on the PC power supply. You should hear a gentle hum or see a LED indicator light up, indicating that the power supply is providing power.
Now, turn on the car stereo and check if it powers up correctly. Pay attention to the display, buttons, and any other components of the stereo to ensure they are functioning properly.
If the car stereo powers on without any issues and operates as expected, congratulations! The setup is successful, and you can move forward to the final step.
However, if the car stereo does not power on or displays any error messages, double-check your connections and ensure everything is properly plugged in and insulated. It’s possible that a loose connection, incorrect wiring, or insufficient power supply may be causing the problem.
If you encounter any issues during the testing phase, it may be helpful to consult the user manual of the car stereo or seek assistance from an experienced individual in car stereo installation or electrical systems.
Once you have confirmed that the car stereo is working correctly, proceed to the final step to secure the connections and ensure long-term reliability.
Step 7: Securing the connections
To ensure the longevity and reliability of your setup, it is crucial to properly secure the connections between the car stereo and the PC power supply. This step will help prevent any accidental disconnections or damage to the wires in the future.
Start by thoroughly inspecting each connection point. Check for any loose wires, exposed conductors, or signs of wear. If you notice any issues, fix them immediately by re-crimping connectors, re-soldering wires, or replacing any damaged components.
Once you have confirmed that the connections are in good condition, proceed to secure them in place. One effective method is to use zip ties or cable clamps to hold the wires together and prevent them from coming loose. Bundle the wires together and attach the zip ties or cable clamps at regular intervals to maintain a neat and organized setup.
Next, wrap the connection points with electrical tape or apply heat shrink tubing. This additional layer of insulation will protect the connections from external factors such as moisture or vibrations. Make sure to completely cover the exposed metal parts of the connectors, leaving no bare wires or terminals exposed.
After securing the wires, reattach the cover of the PC power supply using the screws. Ensure that the cover is securely in place to protect the internal components from dust, debris, and accidental contact.
Finally, perform a final visual inspection of the entire setup. Check for any potential hazards, such as loose wires near ventilation openings or sharp edges. Make any necessary adjustments to ensure a safe and professional installation.
With the connections properly secured and the setup thoroughly inspected, you can now power on the PC power supply and the car stereo. Verify that everything powers up correctly and operates as expected.
Congratulations! You have successfully repurposed your PC power supply to power your car stereo. Enjoy the convenience and cost savings of this DIY project, knowing that you have created a reliable and efficient power source for your car audio system.