Home>Devices & Equipment>Turntable>How To Buff Out A Turntable Dust Cover
Turntable
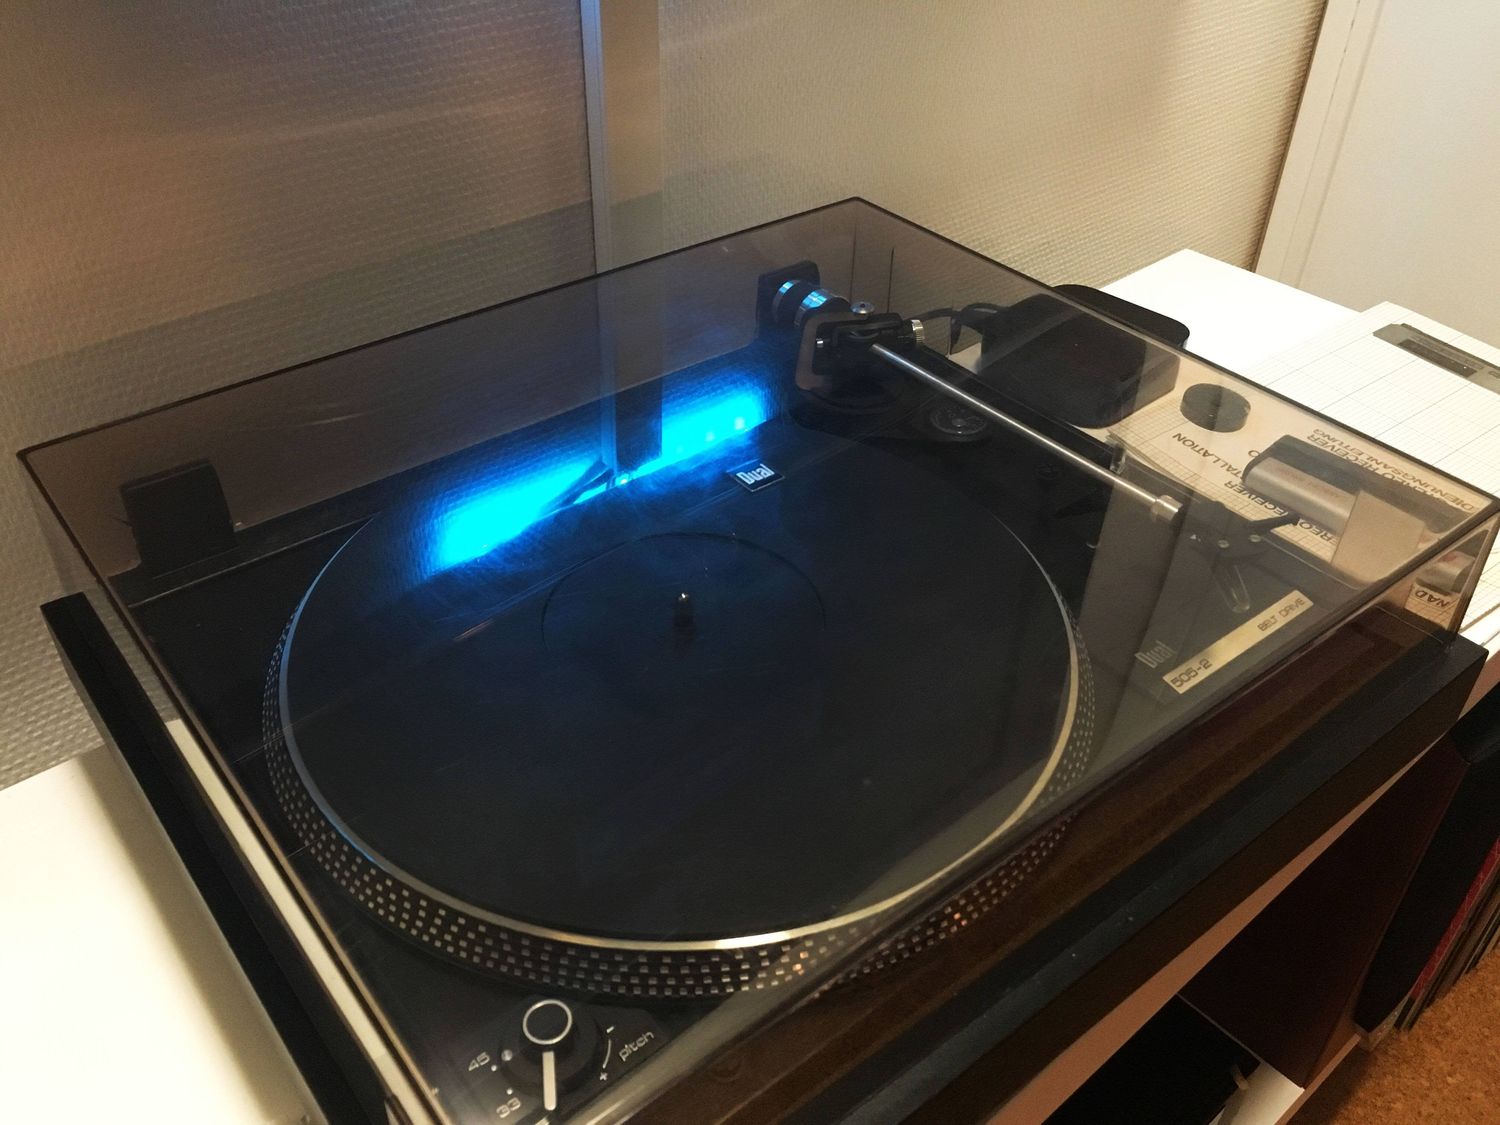
How To Buff Out A Turntable Dust Cover
Modified: January 22, 2024
Learn how to effectively buff out the dust cover of your turntable with our step-by-step guide. Keep your turntable looking pristine and performing at its best.
(Many of the links in this article redirect to a specific reviewed product. Your purchase of these products through affiliate links helps to generate commission for AudioLover.com, at no extra cost. Learn more)
Table of Contents
Introduction
Welcome to our guide on how to buff out a turntable dust cover. If you’re a vinyl enthusiast, you know how important it is to keep your turntable and its components in top-notch condition. One essential part of maintaining your turntable is taking care of the dust cover. Over time, dust, fingerprints, and smudges can accumulate on the cover, diminishing its appearance and potentially affecting the visibility of your records. Luckily, with a few simple steps, you can easily restore the shine and clarity of your turntable dust cover.
Before we begin, it’s essential to note that different turntables may have different types of dust covers made from various materials, such as acrylic or polycarbonate. It’s crucial to ensure that the method you use to buff out your turntable dust cover is compatible with the material it’s made from. Always refer to your turntable’s manual or consult the manufacturer’s guidelines to determine the proper way to clean and maintain your specific dust cover.
In this guide, we will provide you with a general step-by-step process to buff out your turntable dust cover. However, please keep in mind that you should always exercise caution and follow the manufacturer’s recommendations when working with any delicate turntable components.
So, let’s gather the necessary materials and get started on restoring your turntable dust cover!
Materials Needed
Before you begin buffing out your turntable dust cover, gather the following materials:
- Mild dish soap or a dedicated plastic cleaner: To effectively clean the dust cover without causing any damage, it’s important to use a mild cleaning solution specifically formulated for plastic surfaces.
- Microfiber cloth or lint-free cloth: These soft and non-abrasive cloths are ideal for gently cleaning and polishing the dust cover without leaving any scratches or streaks.
- Isopropyl alcohol: This common household item is effective for removing tough stains or sticky residue from the dust cover.
- Water: You’ll need some lukewarm water to mix with the mild dish soap or plastic cleaner.
- Soft-bristle brush or toothbrush: This will come in handy for reaching into corners and crevices of the dust cover.
- Soft, non-abrasive sponge or foam pad: Use this to apply the cleaning solution and gently buff the dust cover.
- Plastic polish or polish specially designed for acrylic surfaces (optional): If you want to restore a glossy shine to the dust cover, you may choose to use a plastic polish or an acrylic-specific polish.
Note: Always refer to the manufacturer’s recommendations for your specific turntable and dust cover, as they may provide additional guidelines or suggest specific products for cleaning and maintenance.
Now that you have all the necessary materials, let’s move on to the step-by-step process of buffing out your turntable dust cover.
Step 1: Remove the Dust Cover
The first step in the process of buffing out your turntable dust cover is to remove it from the turntable. This will make it easier to clean and access all areas of the cover.
Before removing the dust cover, ensure that your turntable is turned off and unplugged to avoid any accidents or damage. Once you’ve done that, follow these steps:
- Locate the hinges or clips that attach the dust cover to the turntable. These are usually located at the back or sides of the cover.
- Gently lift the dust cover upwards, taking care not to put too much pressure on the hinges or clips. If necessary, refer to your turntable’s manual for specific instructions on how to remove the dust cover.
- Once the dust cover is free from the turntable, place it on a clean and stable surface, such as a table or countertop, with the inside facing upwards. This will prevent any further dust or dirt from settling on the cover while you work on it.
Now that the dust cover is safely removed, you can proceed to the next step: cleaning the dust cover.
Step 2: Clean the Dust Cover
Now that you’ve removed the dust cover from your turntable, it’s time to give it a thorough cleaning to remove any accumulated dust, fingerprints, or smudges.
Follow these steps to clean the dust cover:
- Prepare a cleaning solution by mixing a small amount of mild dish soap or a dedicated plastic cleaner with lukewarm water in a bowl. Make sure not to use too much soap, as it can leave behind unwanted residue.
- Dip a microfiber cloth or lint-free cloth into the cleaning solution and wring out any excess liquid. The cloth should be damp, but not dripping wet.
- Gently wipe the damp cloth over the entire surface of the dust cover, applying light pressure to remove dirt and grime. Pay extra attention to areas with visible smudges or fingerprints.
- If there are any stubborn stains or sticky residue, dampen a soft-bristle brush or toothbrush with the cleaning solution and gently scrub the affected areas in a circular motion. Be careful not to apply too much pressure to avoid scratching the surface.
- Rinse the cloth with clean water and wring out any excess liquid.
- Wipe the entire dust cover again, this time with the clean damp cloth, to remove any soap residue or remaining dirt.
- For tough stains or sticky residue that won’t come off with the cleaning solution alone, you can use a small amount of isopropyl alcohol on a cloth to spot clean the affected areas. Make sure to test the alcohol on a small, inconspicuous area first to ensure it doesn’t damage or discolor the dust cover.
- Once you’ve cleaned the entire dust cover, use a dry microfiber cloth or lint-free cloth to gently pat it dry and remove any remaining moisture.
Now that the dust cover is clean and dry, it’s time to move on to the next step: buffing the dust cover to restore its shine.
Step 3: Buffing the Dust Cover
After cleaning the dust cover, the next step is to buff it to restore its shine and clarity. This step will help remove any remaining smudges or fine scratches on the surface of the cover.
Follow these steps to buff the dust cover:
- Dampen a soft, non-abrasive sponge or foam pad with clean water.
- If you’re using a plastic polish or acrylic-specific polish, apply a small amount to the damp sponge or foam pad. Be sure to follow the manufacturer’s instructions regarding the application of the polish and its compatibility with your dust cover material.
- Gently rub the damp sponge or foam pad in circular motions over the entire surface of the dust cover. Apply light pressure but avoid pressing too hard, as this can cause damage to the cover.
- Continue buffing the dust cover in circular motions until you notice an improvement in the overall shine and clarity.
- If necessary, you can apply more polish to the sponge or foam pad and repeat the buffing process for any stubborn stains or scratches.
- Once you’re satisfied with the buffing results, use a clean, dry microfiber cloth or lint-free cloth to gently wipe away any excess polish residue and give the dust cover a final shine.
By buffing the dust cover, you will not only enhance its appearance but also ensure better visibility of your records while playing them on your turntable.
Now that the dust cover is buffed and looking brand new, it’s time to move on to the final step: reattaching the dust cover to your turntable.
Step 4: Reattach the Dust Cover
With your freshly cleaned and buffed dust cover, it’s time to reattach it to your turntable. Follow these steps to securely and properly reattach the dust cover:
- Ensure that both the dust cover and the turntable are clean and free from any debris or dust.
- Align the hinges or clips on the dust cover with the corresponding slots or attachments on the turntable. Take care not to force or bend the hinges to avoid any damage.
- Gently lower the dust cover onto the turntable, making sure that it sits evenly and securely.
- Double-check the alignment and ensure that the dust cover is properly seated in place.
- If your turntable has locking mechanisms or latches to hold the dust cover in place, engage them to secure the dust cover tightly.
- Once the dust cover is reattached, give it a gentle wipe with a clean, dry microfiber cloth or lint-free cloth to remove any fingerprints or smudges that may have occurred during the reattaching process.
And there you have it! Your turntable’s dust cover is now clean, buffed, and securely reattached. It will not only protect your valuable vinyl records but also contribute to the overall aesthetic appeal of your turntable setup.
Remember to regularly clean and maintain your turntable dust cover to keep it in optimal condition. By doing so, you can extend its lifespan and ensure a clear view of your records as they spin on your turntable.
Enjoy your pristine turntable and happy spinning!
Conclusion
Congratulations! You have successfully learned how to buff out a turntable dust cover. By following the steps outlined in this guide, you can restore the shine and clarity of your dust cover, ensuring that it not only protects your turntable but also enhances the visual appeal of your vinyl collection.
Remember, proper maintenance and cleaning of your turntable’s dust cover are essential for preserving its longevity and functionality. Regularly removing dust and debris will help prevent scratches and maintain optimal visibility of your records.
Always refer to the manufacturer’s guidelines and recommendations for cleaning and maintaining your specific turntable and dust cover. Different materials may require specific cleaning products or techniques to avoid damage.
Make sure to gather all the necessary materials before starting the cleaning process. Mild dish soap or plastic cleaner, microfiber or lint-free cloths, isopropyl alcohol, and soft-bristle brushes are some common items that can aid in effectively cleaning and buffing your dust cover.
Remember to exercise caution and avoid using abrasive materials or harsh chemicals that may damage the dust cover’s surface. Gentle buffing with a soft sponge or foam pad, along with the right cleaning solution, will help restore the shine and clarity of your dust cover without causing any harm.
Lastly, securely reattach the dust cover to your turntable, ensuring proper alignment and engagement of the hinges or clips. This will keep the dust cover in place and protect your turntable when it’s not in use.
With regular cleaning and maintenance, your turntable’s dust cover will continue to provide reliable protection and contribute to the overall aesthetics of your vinyl listening experience.
Now, it’s time to enjoy your pristine turntable and let the music spin!