Home>Devices & Equipment>Turntable>How To Level Turntable
Turntable
How To Level Turntable
Published: January 17, 2024
Learn how to level your turntable for optimal sound quality and performance. Our step-by-step guide will help you achieve perfect balance and eliminate vibrations.
(Many of the links in this article redirect to a specific reviewed product. Your purchase of these products through affiliate links helps to generate commission for AudioLover.com, at no extra cost. Learn more)
Table of Contents
Introduction
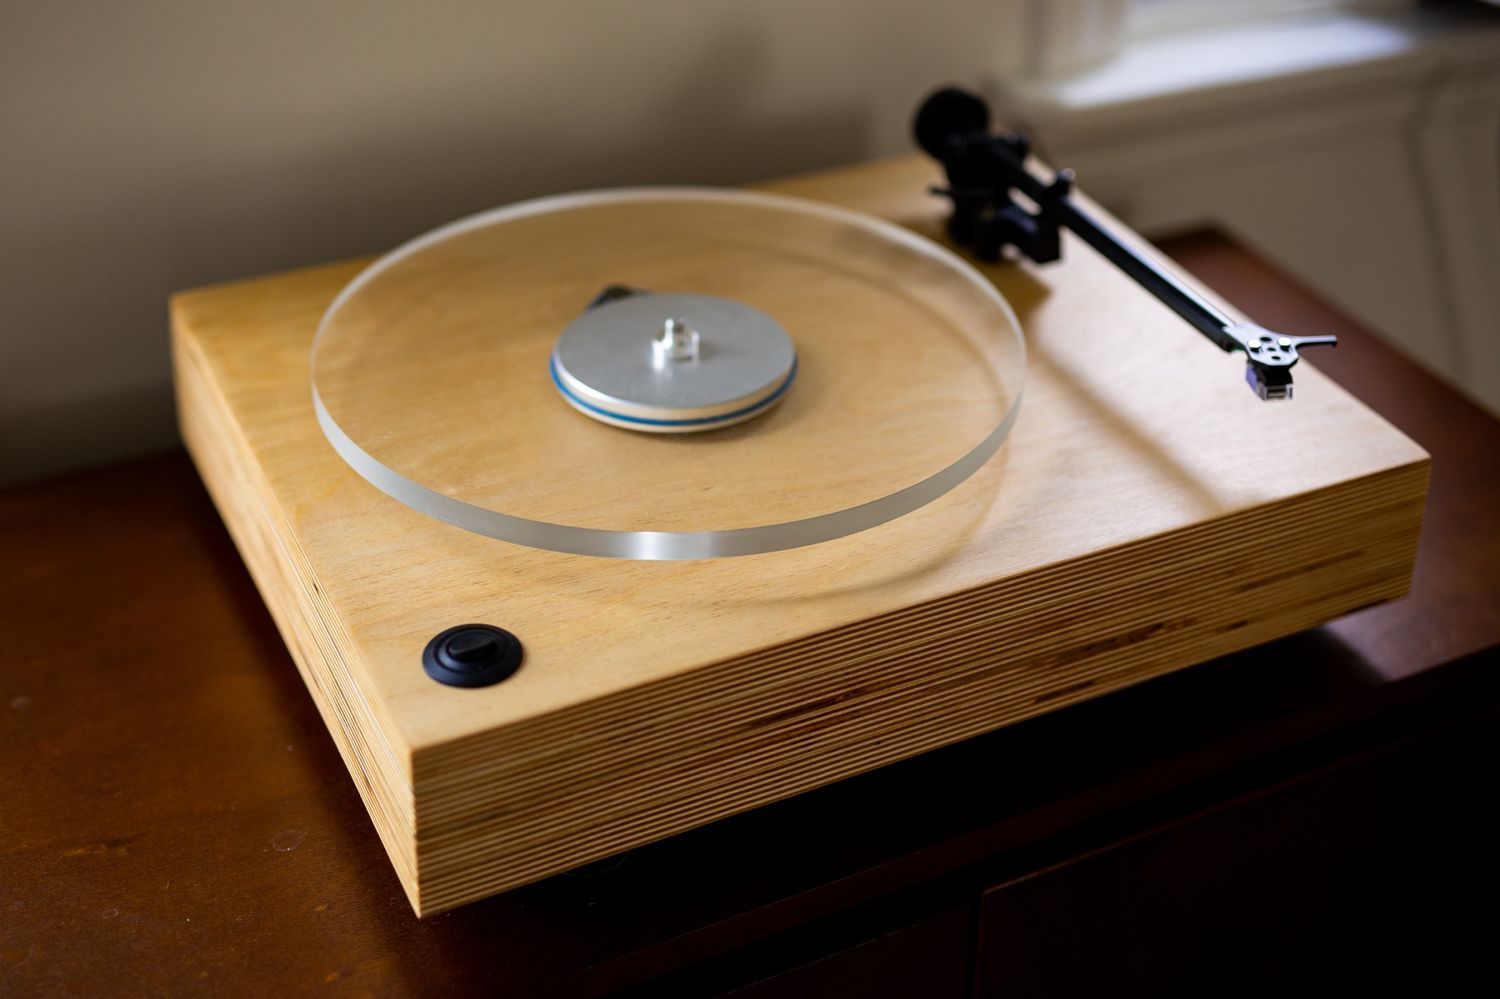
Turntables are beloved devices for audiophiles and music enthusiasts who appreciate the warm, rich sound of vinyl records. However, to enjoy the best possible sound quality, it is essential to have a properly leveled turntable. A level turntable ensures that the stylus rests evenly on the record, minimizing distortion and maximizing sound fidelity.
In this guide, we will walk you through the process of leveling your turntable step by step. Whether you are a seasoned vinyl collector or a novice turntable user, this article will provide you with the knowledge and tools necessary to achieve optimal performance from your turntable.
By leveling your turntable, you will not only enhance the sound quality but also extend the lifespan of your equipment. A level turntable reduces the wear and tear on the stylus and tonearm, preventing premature damage and preserving the integrity of your vinyl collection.
Before we dive into the steps, let’s quickly discuss the importance of leveling and how it affects the performance of your turntable.
Step 1: Gather Necessary Tools
Before you begin the process of leveling your turntable, make sure you have the following tools on hand:
- A spirit level or bubble level
- A screwdriver or an Allen wrench (depending on your turntable’s adjustment features)
The spirit level is crucial for finding the perfect balance and ensuring that your turntable is aligned correctly. It can be a handy tool to have even outside of turntable leveling, as it is useful for various other household tasks.
The screwdriver or Allen wrench is essential for making adjustments to your turntable’s feet or leveling mechanism. Different turntable models have different methods of adjustment, so make sure you have the appropriate tool for your specific turntable.
Once you have gathered these tools, you are ready to proceed to the next step and prepare your turntable for leveling.
Step 2: Prepare the Turntable
Before you can start leveling your turntable, it is important to prepare the turntable and ensure that it is in an optimal position for adjustments. Follow these steps:
- Turn off the turntable and unplug it from the power source. This is essential for safety reasons and to avoid any accidental movements while you are leveling.
- If your turntable has a dust cover, remove it to access the turntable platter and tonearm. Keep the dust cover in a safe place to prevent any damage.
- Clear the surface where your turntable is placed. Remove any objects, such as records or accessories, from the vicinity of the turntable. This will allow you to have a clear workspace and prevent any interference during the leveling process.
Once you have completed these steps, you are ready to proceed to the next step of leveling your turntable.
Step 3: Place the Level on the Turntable
Now that you have prepared your turntable, it’s time to place the level on the turntable. This step will help you gauge the initial levelness of your turntable and determine if any adjustments are necessary. Follow these steps:
- Choose a spirit level or bubble level that is long enough to span the width of your turntable platter.
- Place the level horizontally across the center of the turntable platter. Ensure that the level is aligned parallel to the edge of the platter.
- Observe the bubble on the level. If the bubble is centered between the two lines or within the designated centering mark, it indicates that your turntable is already level. In this case, you may not need to make any further adjustments.
- If the bubble is off-center and tilted towards one side, it indicates that your turntable is not level. Take note of the direction in which the bubble is leaning, as this will guide you through the subsequent adjustments.
By placing the level on the turntable, you now have a baseline understanding of your turntable’s levelness. In the next step, we will discuss how to make the necessary adjustments to achieve a perfectly leveled turntable.
Step 4: Adjust the Level
Once you have determined that your turntable is not level, it’s time to make the necessary adjustments. Follow these steps to ensure that your turntable is properly aligned:
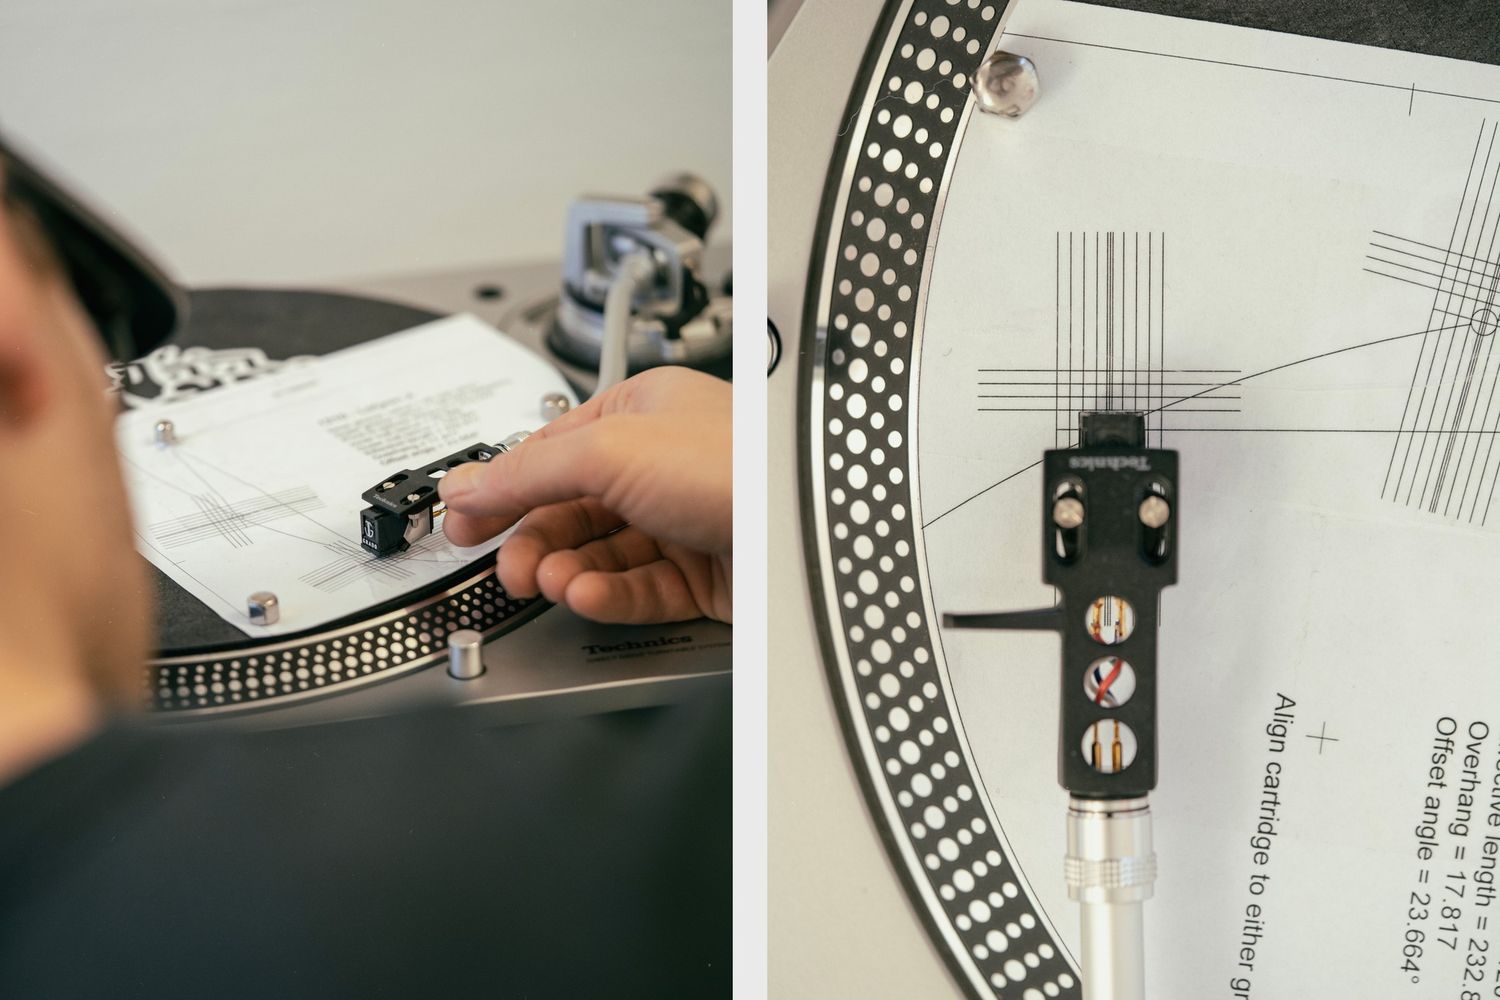
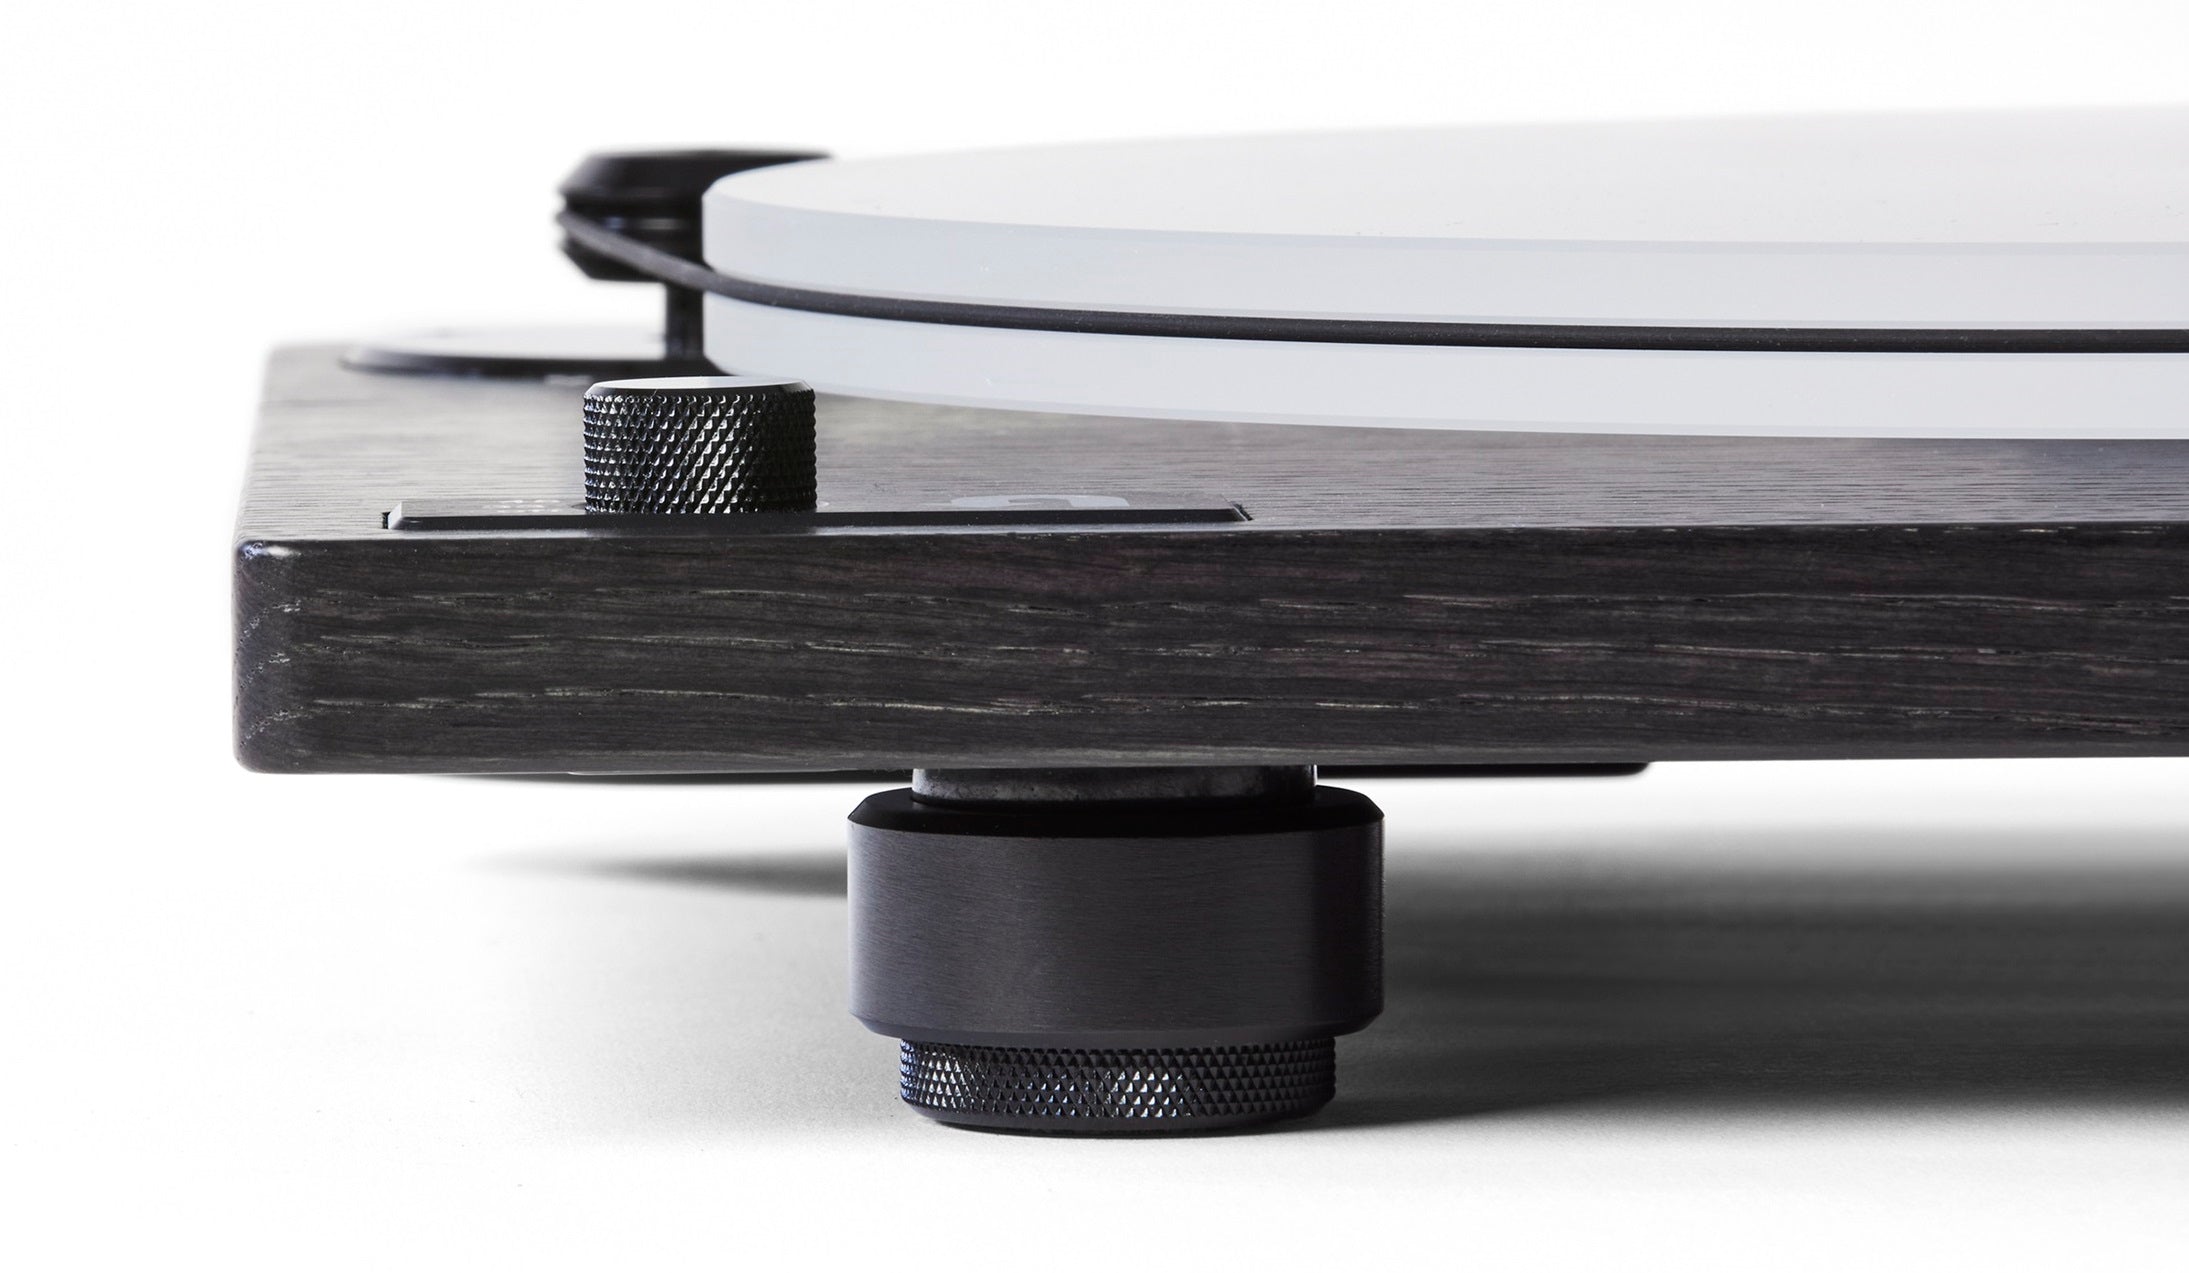
- Identify the adjustable feet or leveling mechanism of your turntable. Consult the user manual or inspect the bottom of the turntable to locate these components.
- Using your screwdriver or Allen wrench, start by loosening the screws or bolts on the feet or leveling mechanism. This will allow you to freely adjust the height of each foot.
- Begin adjusting the feet in the direction indicated by the bubble level. For example, if the bubble is leaning towards the left, lower the left side of the turntable slightly. Similarly, if the bubble is leaning towards the right, lower the right side of the turntable.
- Make incremental adjustments to each foot, tightening or loosening the screws as needed, until the bubble on the level is centered between the two lines or within the designated centering mark.
Remember to make gradual and small adjustments to avoid overcompensation. It is important to find the right balance to ensure a level turntable.
Once you have adjusted the feet of your turntable to achieve a level position, you can move on to the next step to check the balance of your turntable.
Step 5: Check the Balance
After adjusting the level of your turntable, it’s essential to check the balance to ensure that the tonearm is floating parallel to the record surface. Follow these steps to check the balance of your turntable:
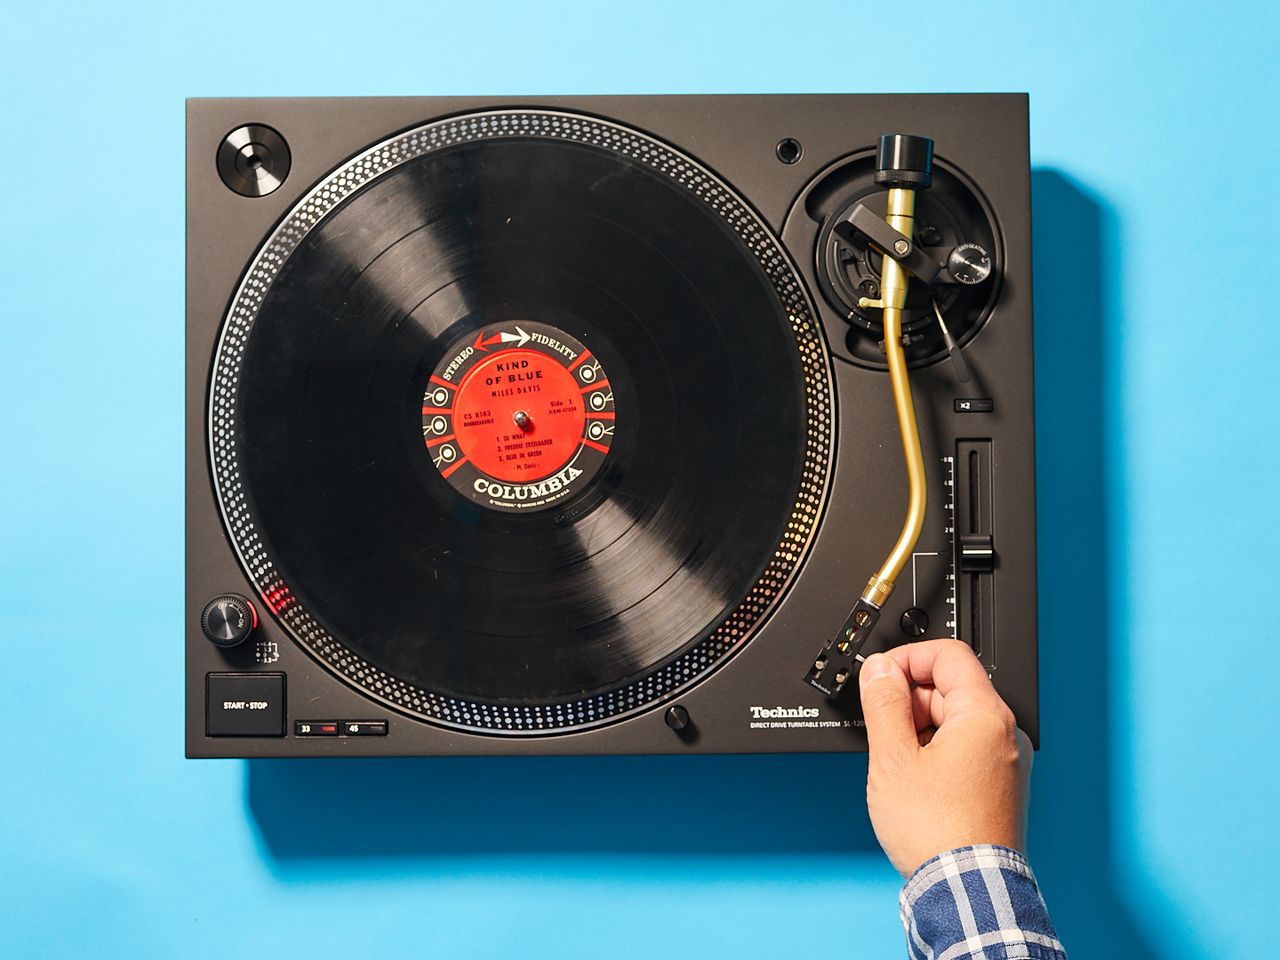
- Place a record on the turntable platter and position the tonearm over the record.
- Engage the tonearm lift mechanism to raise the tonearm and remove any weight or pressure from it.
- Slowly release the tonearm and observe its behavior. The tonearm should descend smoothly and hover just above the record surface, parallel to it.
- If the tonearm is not balanced and tilts towards one side or if it drags on the record surface, you will need to make further adjustments.
To correct any imbalance, you can make small adjustments to the counterweight and anti-skate settings of your turntable. Refer to your turntable’s user manual for specific instructions on how to adjust these settings.
Continue to fine-tune the balance until the tonearm hovers parallel to the record surface without touching it. This will ensure optimal tracking and prevent any unnecessary wear or damage to your vinyl records.
Once you have achieved the desired balance, you can proceed to the next step to fine-tune the level of your turntable.
Step 6: Fine-tune the Level
Now that you have checked the balance of your turntable, it’s time to fine-tune the level to achieve optimal performance. Follow these steps to make precise adjustments:
- Place the level back onto the turntable, ensuring that it is aligned parallel to the edge of the platter.
- Observe the bubble on the level and take note of its position. If the bubble is not perfectly centered, you will need to make slight adjustments to achieve a level turntable.
- Start by making small adjustments to the feet or leveling mechanism of your turntable. Use the screwdriver or Allen wrench to raise or lower the feet in the direction needed to center the bubble.
- Check the level after each adjustment and continue making incremental changes until the bubble is perfectly centered between the two lines or within the designated centering mark.
Remember to make gentle and precise adjustments to avoid overcompensation or destabilizing the turntable. Take your time to ensure that the level is accurate and the turntable is perfectly balanced.
Once you are satisfied with the levelness of your turntable, you can proceed to the final step to test the performance and enjoy your vinyl records.
Step 7: Test the Turntable
After going through the previous steps to level and fine-tune your turntable, it’s time to put it to the test. Follow these steps to ensure that your turntable is performing at its best:
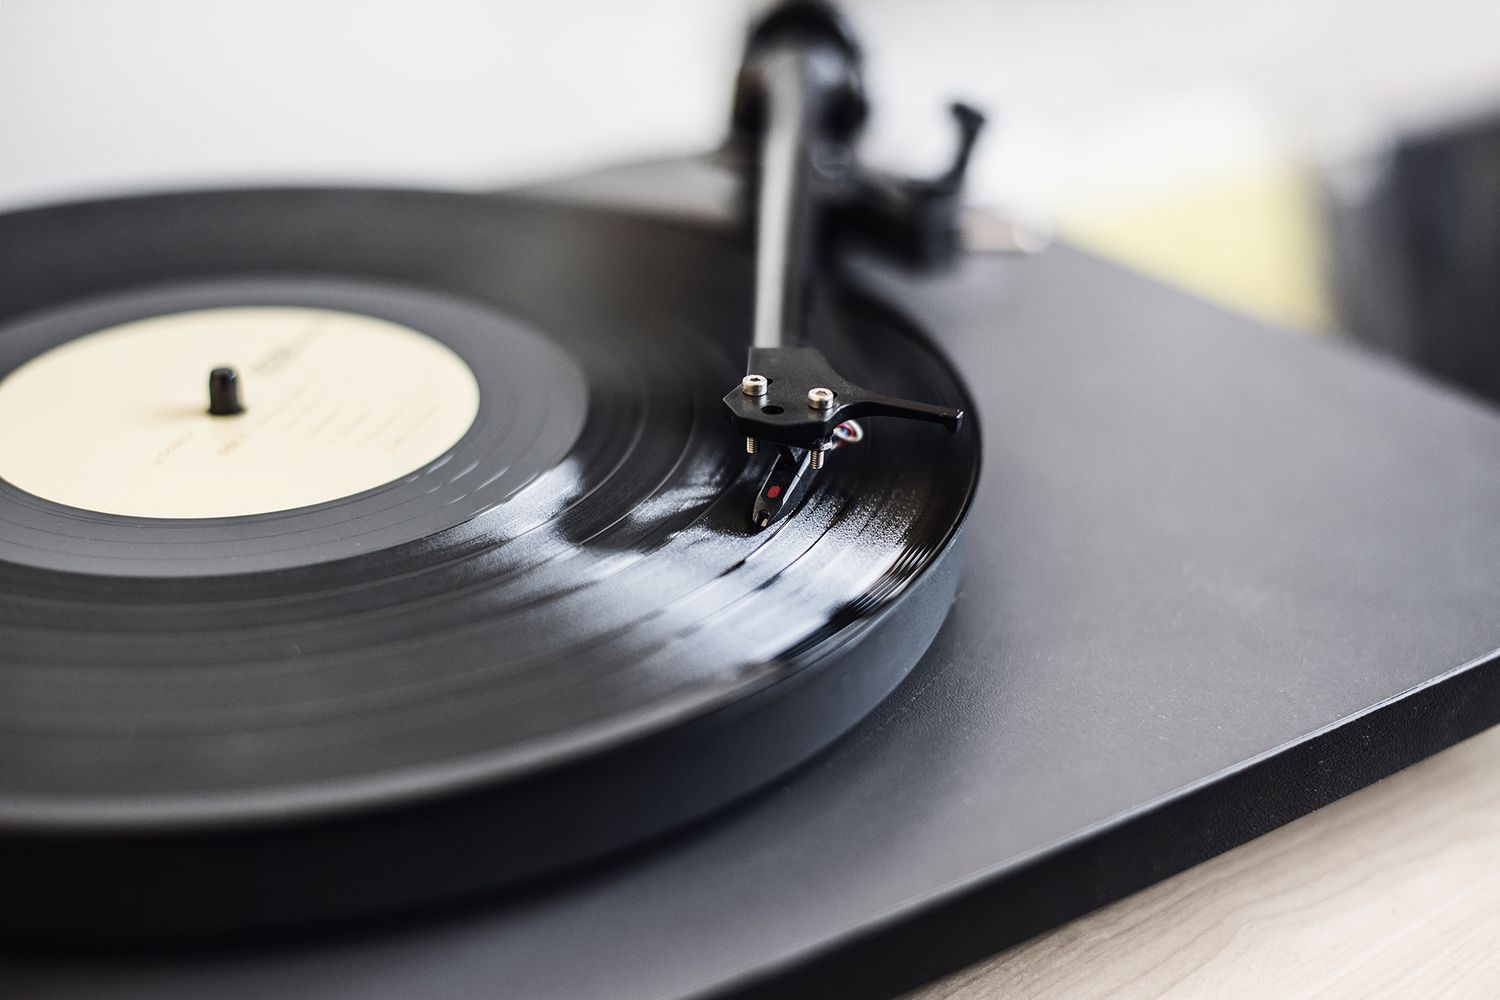
- Select a high-quality vinyl record from your collection.
- Carefully place the record on the turntable platter, ensuring that it is aligned correctly.
- Lower the tonearm onto the record, gently guiding it onto the outer edge.
- Engage the playback function and listen to the sound produced by your turntable.
- Pay attention to the clarity, balance, and overall quality of the audio. If the sound is clear, undistorted, and properly balanced between the left and right channels, it indicates that your turntable is performing well.
- If you notice any issues with sound quality, such as excessive distortion, imbalance, or skipping, you may need to revisit the leveling and fine-tuning process to make further adjustments.
It is important to note that other factors, such as the condition of your vinyl records, the quality of your cartridge and stylus, and the alignment of your cartridge, can also impact the sound quality. However, ensuring that your turntable is properly leveled sets a solid foundation for optimal performance.
Congratulations! You have successfully leveled and tested your turntable. By taking the time to properly level your turntable, you can now enjoy your vinyl records with enhanced sound quality and a more satisfying listening experience.
Remember, regular maintenance and adjustments may be necessary over time, so be sure to periodically check the level of your turntable to maintain optimal performance.
Enjoy the warm and captivating sound of vinyl with a leveled turntable!
Conclusion
Leveling your turntable is a crucial step in optimizing its performance and ensuring the best possible sound quality from your vinyl records. By following the steps outlined in this guide, you can achieve a level turntable that minimizes distortion and maximizes the fidelity of your audio.
Throughout the process, we have discussed the importance of gathering the necessary tools, preparing the turntable, placing the level, making adjustments, checking the balance, fine-tuning the level, and finally, testing the turntable’s performance. These steps are designed to guide you through the process of leveling with precision and accuracy.
Remember that each turntable is unique, and the process may vary slightly depending on your specific model. Consult your turntable’s user manual for any specific instructions or adjustments that may be required.
By investing the time and effort to properly level your turntable, you not only enhance the sound quality but also prolong the lifespan of your equipment. A level turntable reduces wear on the stylus and tonearm, preserving the longevity of your vinyl records.
Enjoy the pure joy and nostalgia of listening to vinyl records with a turntable that is perfectly leveled. Immerse yourself in the rich, warm sound that only vinyl can deliver, and let your favorite albums come to life with the utmost clarity and precision.
Now that you have the knowledge and tools to level your turntable, go ahead and embark on this journey of enhancing your vinyl listening experience. Happy listening!