Home>Devices & Equipment>Turntable>How To Change Out A Technics Linear Turntable Stylus
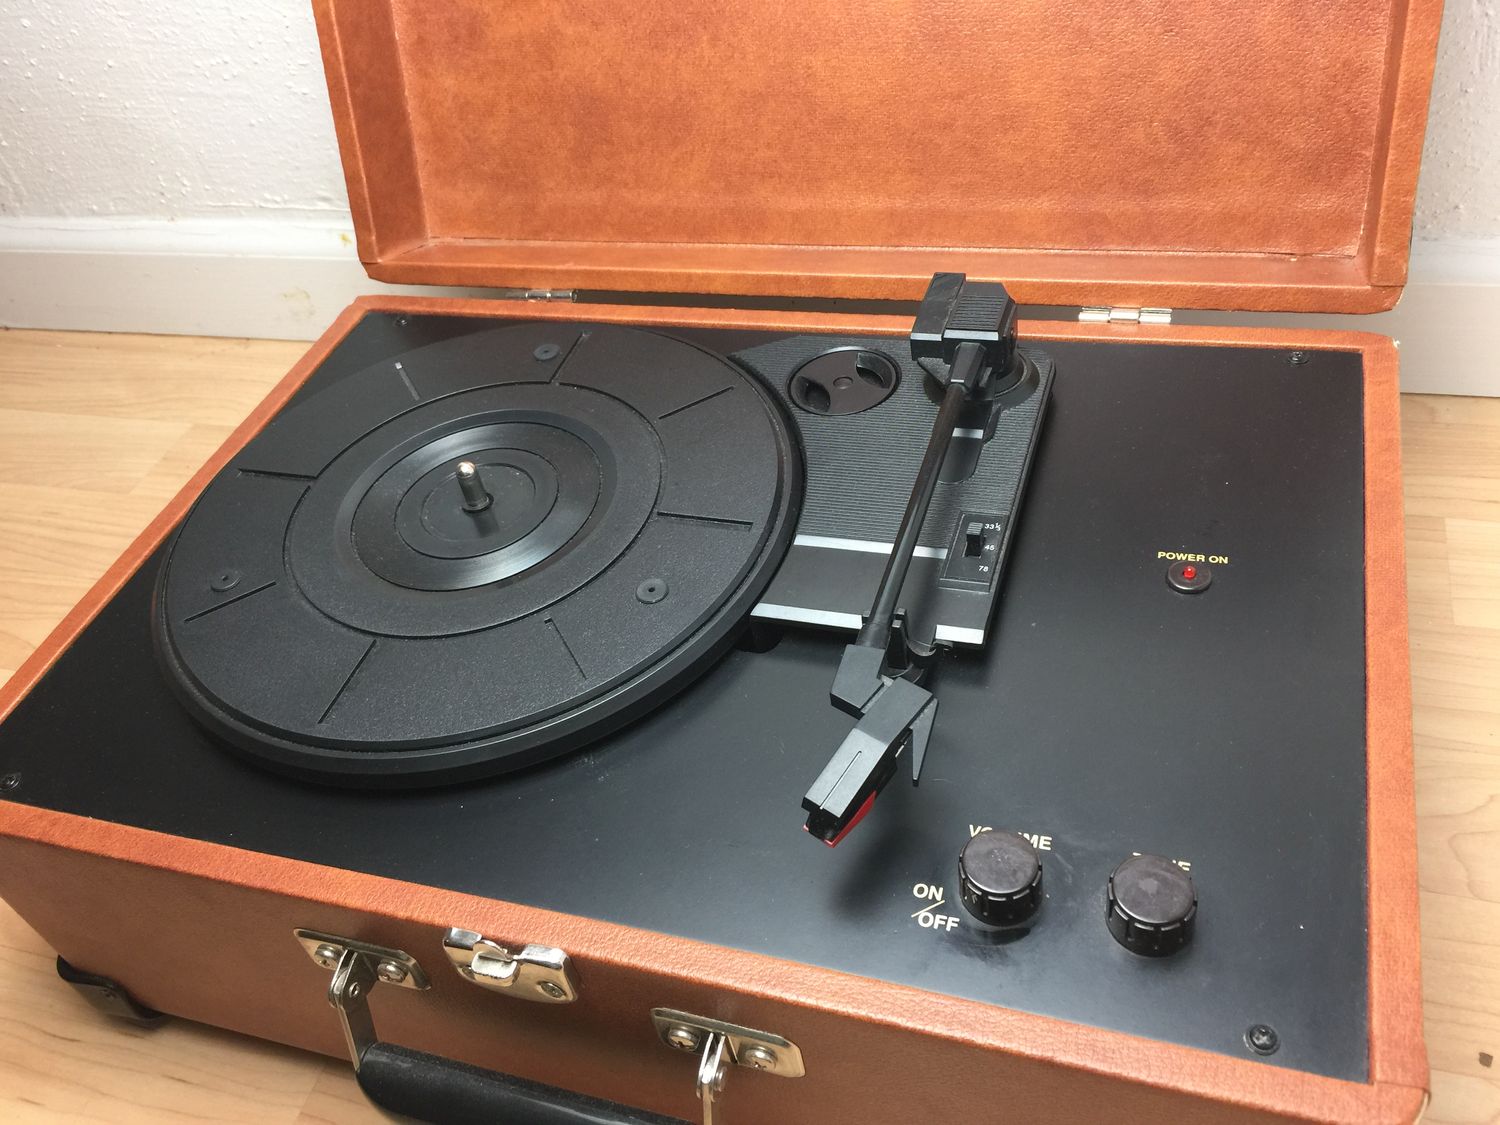
Turntable
How To Change Out A Technics Linear Turntable Stylus
Published: January 19, 2024
Learn how to easily replace the stylus on your Technics linear turntable. Follow our step-by-step guide for a seamless experience.
(Many of the links in this article redirect to a specific reviewed product. Your purchase of these products through affiliate links helps to generate commission for AudioLover.com, at no extra cost. Learn more)
Table of Contents
- Introduction
- Step 1: Gather the necessary tools and materials
- Step 2: Power off the turntable and unplug it
- Step 3: Locate the cartridge and stylus
- Step 4: Remove the existing stylus
- Step 5: Inspect the cartridge and clean if necessary
- Step 6: Install the new stylus
- Step 7: Test the new stylus
- Step 8: Power on the turntable and enjoy your music
- Conclusion
Introduction
Welcome to the world of turntables, where the warm, rich sounds of vinyl records reign supreme. If you’re a vinyl enthusiast, you know that every component of your turntable plays a significant role in delivering the best audio experience. One crucial element is the stylus, which is responsible for reading the grooves on the record and translating them into sound.
Over time, the stylus can become worn or damaged, resulting in a decline in sound quality. When this happens, it’s essential to replace the stylus to ensure optimal performance and to protect your valuable record collection.
In this article, we will guide you through the process of changing out a Technics linear turntable stylus. Technics turntables have long been renowned for their excellent build quality and outstanding sound, making them a popular choice among vinyl enthusiasts. Whether you’re a seasoned vinyl collector or a newcomer to the world of turntables, this guide will provide you with the necessary steps and instructions to successfully replace your stylus.
Before we dive into the process, it’s important to note that turntable stylus replacement can be delicate work. Exercise caution and take your time to ensure that each step is performed accurately. Additionally, make sure to consult the user manual or check the manufacturer’s guidelines specific to your turntable model, as some steps may vary.
Now, let’s gather the necessary tools and materials before we embark on this journey to revive your turntable’s sound!
Step 1: Gather the necessary tools and materials
Before you begin the stylus replacement process, it’s crucial to gather the required tools and materials. Having them on hand will help ensure a smooth and efficient process. Here’s what you’ll need:
- A replacement stylus: Make sure to choose a stylus that is compatible with your Technics linear turntable model. Check the user manual or consult the manufacturer’s website for the recommended stylus.
- Tweezers or stylus removal tool: These tools will help you safely remove the old stylus from the cartridge.
- Microfiber cloth or brush: You’ll need this to clean the cartridge and stylus before installing the new one.
- Isopropyl alcohol: This will be used to clean the cartridge and remove any dirt or debris.
- Clean workspace: Find a clean and well-lit area to work in, preferably with a soft surface to prevent any damage to the turntable or stylus.
Once you have gathered all the necessary tools and materials, you’ll be ready to proceed to the next step. It’s a good idea to double-check everything before you begin to ensure a hassle-free experience.
Now that you’re well-prepared with the essential tools and materials let’s move on to Step 2: Power off the turntable and unplug it.
Step 2: Power off the turntable and unplug it
Before you start working on your turntable, it’s crucial to ensure that it’s powered off and unplugged. This important safety step will prevent any accidental damage or injury.
To power off the turntable, locate the power switch usually located on the front or side of the unit. Flip the switch to the “off” position to shut down the turntable. Once the turntable is powered off, unplug it from the power outlet. This simple step will eliminate any risk of electric shock or damage to the delicate components of the turntable.
By following this essential safety procedure, you’re ready to proceed with the stylus replacement process with peace of mind. Remember, safety should always be a top priority when working with electronic devices.
Now that the turntable is powered off and unplugged, it’s time to move on to the next step: locating the cartridge and stylus.
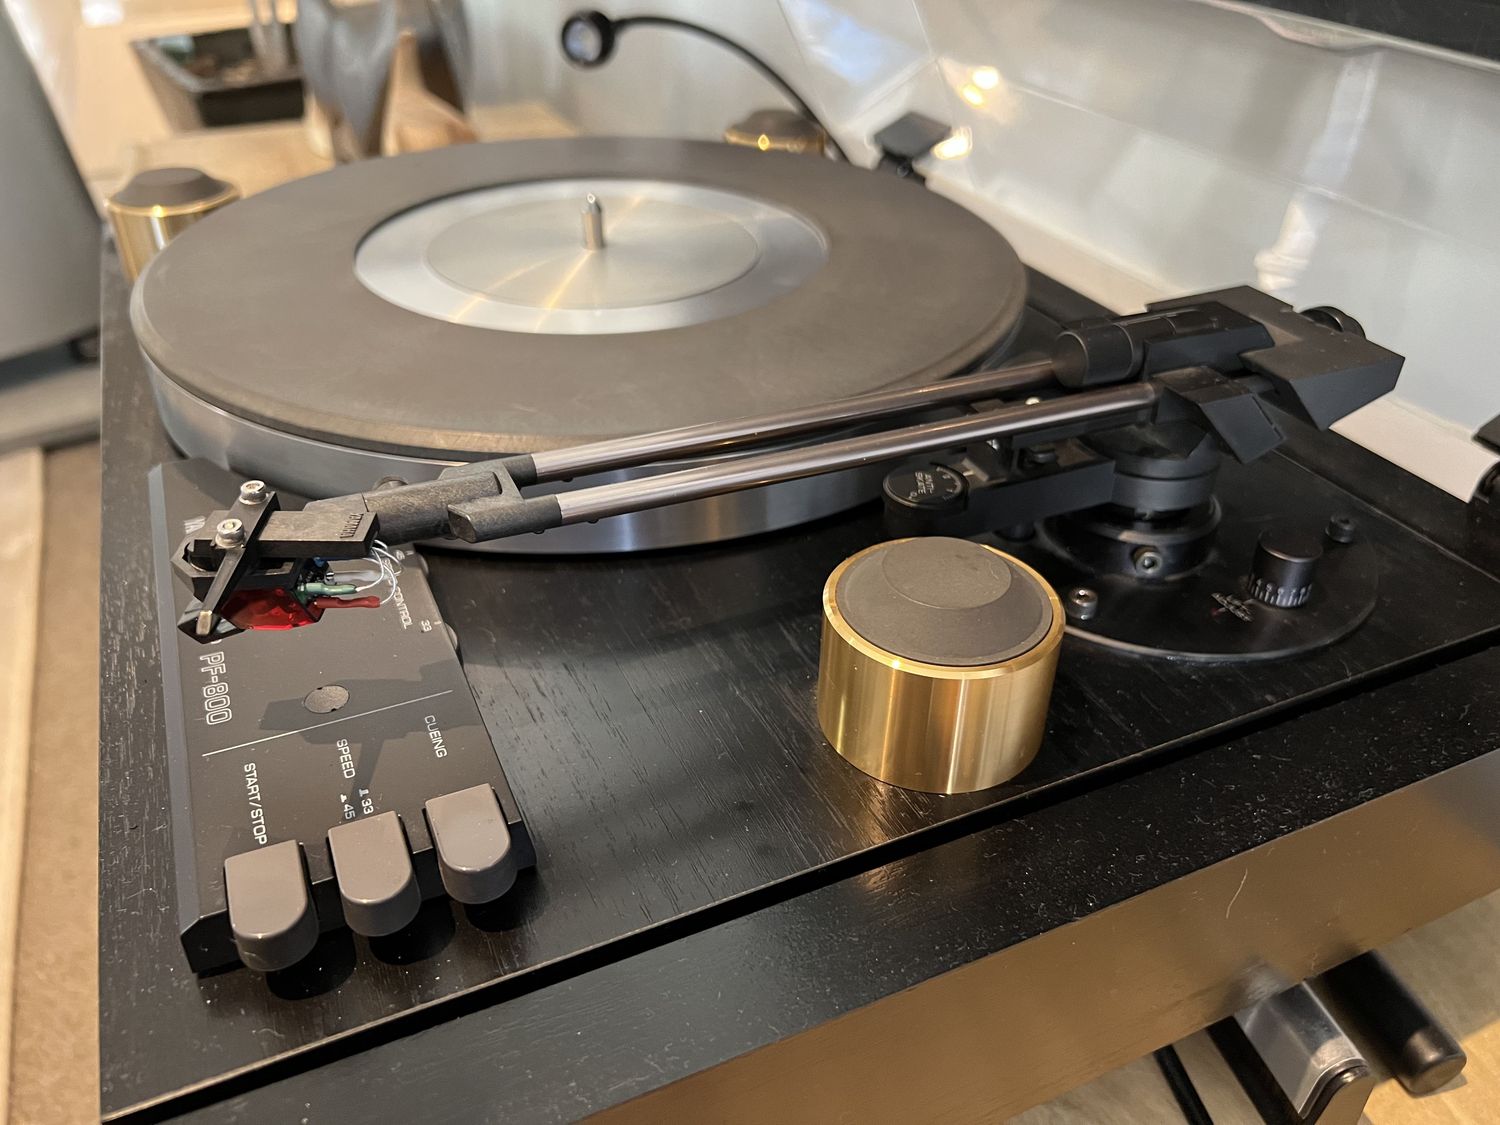
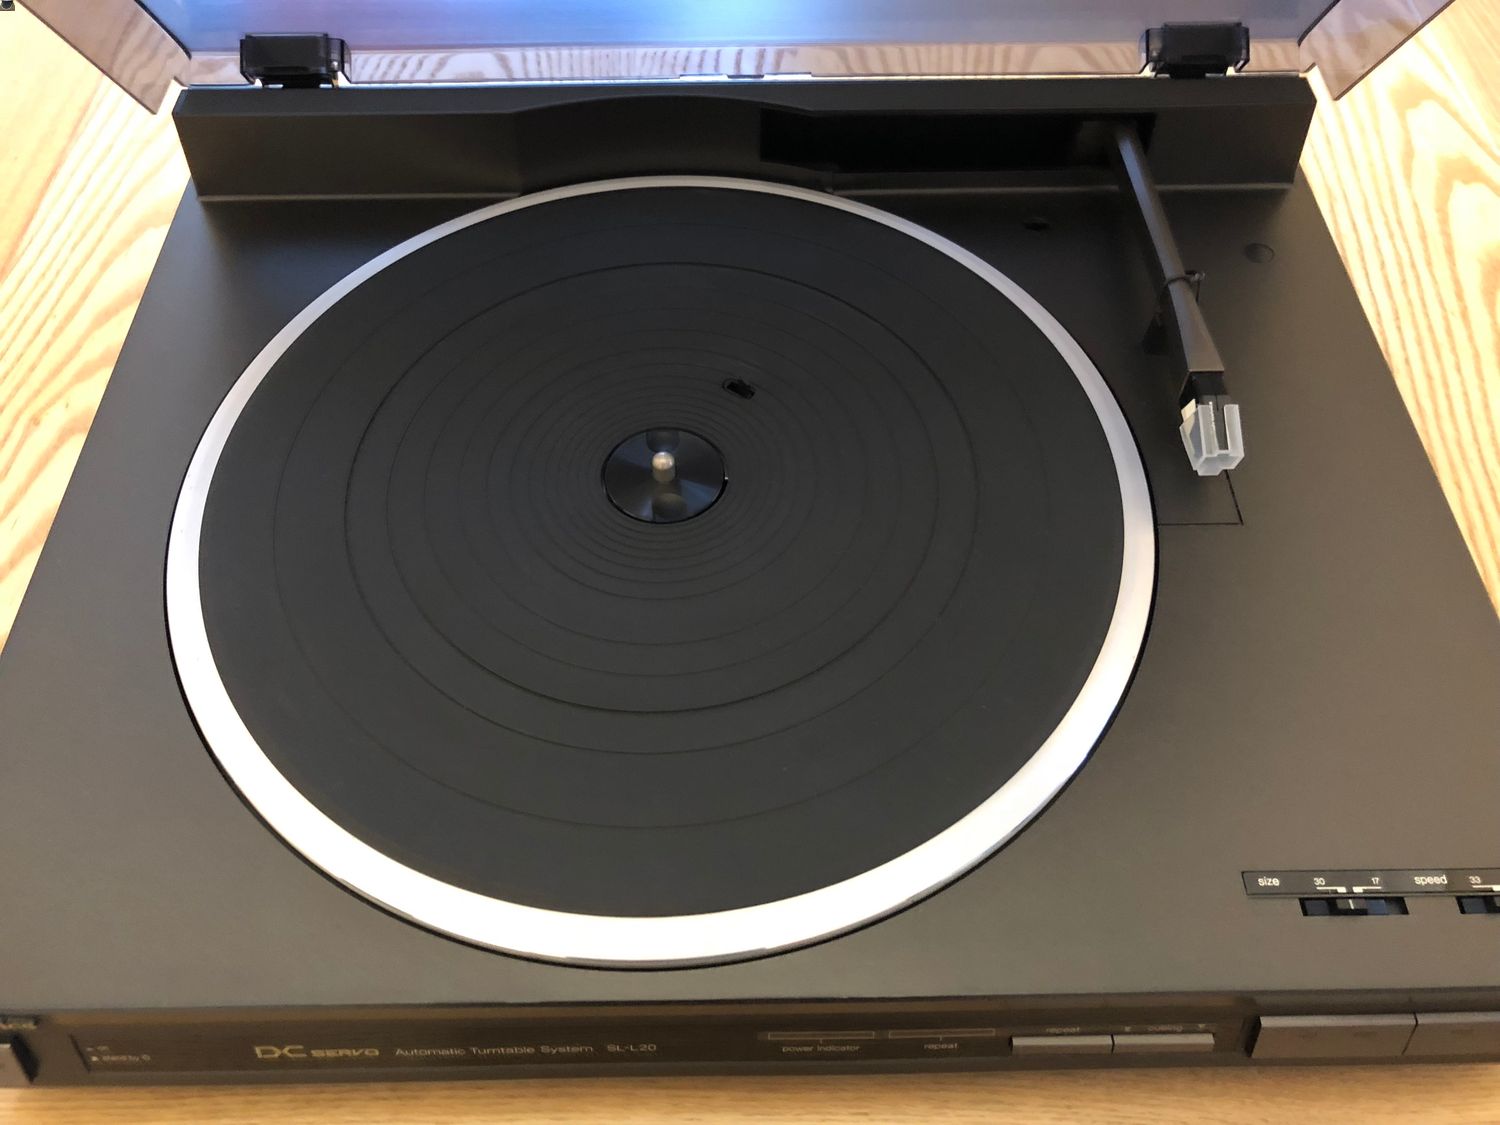
Step 3: Locate the cartridge and stylus
In order to replace the stylus on your Technics linear turntable, you need to locate the cartridge and stylus assembly. The cartridge is the housing that holds the stylus, and it’s usually located at the end of the tonearm. The stylus is the small, needle-like component that comes into direct contact with the grooves on the vinyl record.
To locate the cartridge, gently lift the tonearm and look for a small, rectangular or cylindrical-shaped device at the end of it. This is where the stylus is housed. The exact location and design may vary slightly depending on your specific turntable model, so consult your user manual or manufacturer’s guidelines if you’re unsure.
Take a moment to familiarize yourself with the cartridge and stylus assembly. Observe how the stylus is attached to the cartridge and take note of any clips, screws, or other mechanisms that hold it in place. Being familiar with the setup will make it easier when it comes time to remove the old stylus and install the new one.
Now that you’ve located the cartridge and stylus, you’re ready to proceed to Step 4: Remove the existing stylus.
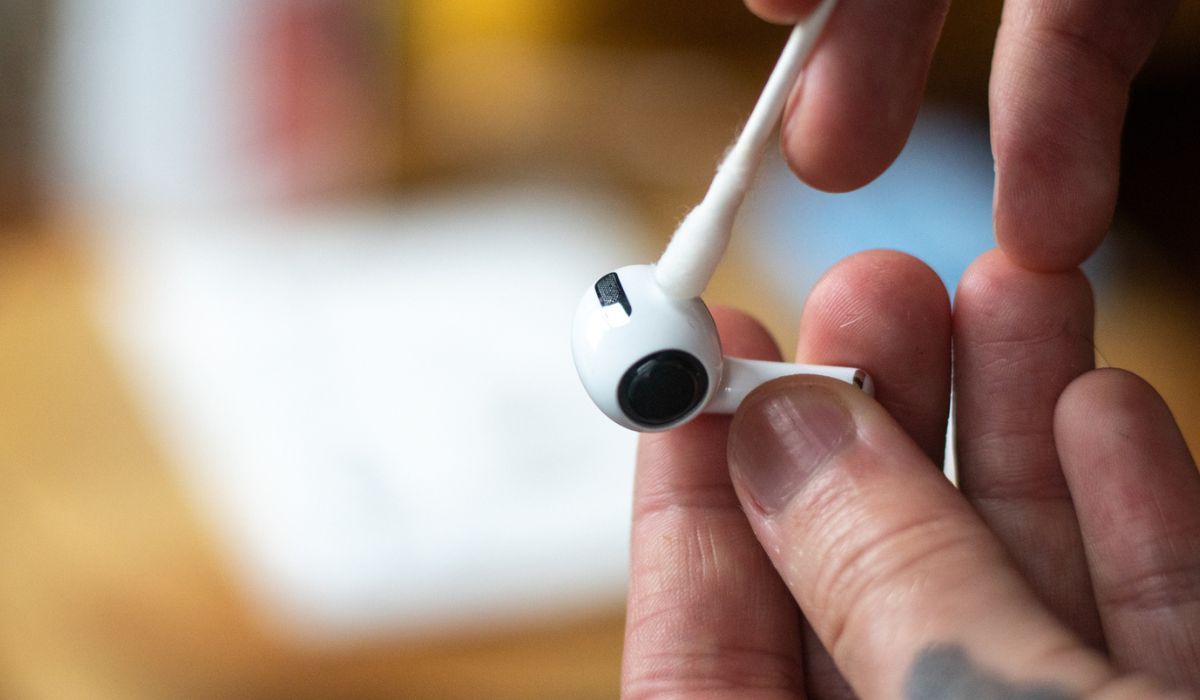
Step 4: Remove the existing stylus
Now that you have located the cartridge and stylus on your Technics linear turntable, it’s time to remove the old stylus. Follow these steps carefully to avoid any damage to the cartridge or tonearm:
- Take hold of the stylus firmly but gently. If your turntable is equipped with a stylus removal tool, use it to carefully detach the stylus from the cartridge. Alternatively, you can use a pair of tweezers to carefully grasp the stylus and pull it straight out of the cartridge.
- Be cautious and avoid any sideways or upward force while removing the stylus. Pulling it straight out will minimize the risk of damaging the delicate components.
- Once the old stylus is removed, place it on a clean and soft surface to avoid any debris or dirt from sticking to it.
Inspect the removed stylus for any signs of wear, damage, or deformation. It’s essential to identify any issues as these could have affected the sound quality of your records. If the stylus is visibly damaged or worn, it’s a clear indication that it was time for a replacement.
Now that the old stylus is safely removed, it’s time to move on to Step 5: Inspect the cartridge and clean if necessary.
Step 5: Inspect the cartridge and clean if necessary
After removing the old stylus from your Technics linear turntable, it’s important to inspect the cartridge for any visible dirt, debris, or damage. This step is crucial as it ensures optimal performance and longevity of the new stylus.
Take a close look at the cartridge and check for any accumulation of dust, dirt, or residue. If you notice any buildup or debris, it’s necessary to clean the cartridge before installing the new stylus. Here’s how you can do it:
- Using a microfiber cloth or a soft-bristled brush, gently wipe or brush away any loose particles from the cartridge. Be careful to avoid applying excessive pressure or rubbing too vigorously.
- If there are any stubborn dirt or residue, you can moisten the cloth or brush with a small amount of isopropyl alcohol. Ensure that the cloth or brush is only slightly damp and not dripping wet.
- Gently clean the cartridge using the damp cloth or brush, being careful not to get any liquid into the internal components of the cartridge. Make sure to wipe off any excess moisture after cleaning.
By cleaning the cartridge, you remove any potential obstacles that may affect the performance of the new stylus. A clean cartridge ensures that the stylus can track the record grooves accurately and deliver the best sound quality.
Once the cartridge is thoroughly inspected and cleaned (if necessary), you’re ready to move on to the exciting step of installing the new stylus in Step 6.
Step 6: Install the new stylus
With the cartridge inspected and cleaned, it’s time to install the new stylus on your Technics linear turntable. Follow these steps to ensure a proper installation:
- Take the new stylus and carefully align it with the cartridge. Look for any guides or markings on the cartridge that indicate the correct orientation.
- Gently and straightly push the new stylus into the cartridge until you feel it click into place. Be careful not to exert excessive force or angle the stylus as you insert it.
- Once the stylus is securely in place, give it a gentle wiggle to ensure that it is properly seated and won’t come loose during playback.
It’s important to note that not all stylus replacements require alignment. Some styli come pre-aligned or are designed to fit precisely in a fixed position. In such cases, you can skip the alignment step and proceed to the final step.
If your turntable model requires alignment, it’s recommended to consult your user manual or reach out to the manufacturer for specific instructions on how to align the stylus properly. Following the correct alignment procedure ensures optimal tracking and sound quality.
Now that you have successfully installed the new stylus, it’s time to move on to the next step: testing the new stylus to ensure it’s working correctly.
Step 7: Test the new stylus
After installing the new stylus on your Technics linear turntable, it’s crucial to test it to ensure it’s working correctly and producing high-quality sound. Here’s how you can test the new stylus:
- Power on the turntable and select a vinyl record that you’re familiar with.
- Carefully lower the tonearm with the new stylus onto the record, ensuring that it’s positioned at the beginning of a track.
- Listen attentively as the record begins to play. Pay close attention to the sound quality, clarity, and any distortions or skips.
- Monitor the tonearm movement as it tracks across the record. Ensure that the stylus stays in the groove without skipping or jumping.
- Listen to a few different tracks on the record to test the stylus under various conditions and musical genres. This will help you evaluate its performance across different types of recordings.
During the testing phase, be extra cautious and avoid any sudden movements or mishandling of the turntable and tonearm. Treat the new stylus with care to prevent any accidental damage or premature wear.
If you notice any issues with the sound quality, skipping, or distortion during the test, double-check that the stylus is correctly installed and aligned. It’s also worth examining the cartridge and stylus for any visible issues or misalignments.
If the new stylus passes the test and you’re satisfied with the sound quality, you can proceed to the final step: powering on the turntable and enjoying your favorite music.
Step 8: Power on the turntable and enjoy your music
Congratulations! You have successfully replaced the stylus on your Technics linear turntable. Now it’s time to power on the turntable and immerse yourself in the world of vinyl records and beautiful analogue audio.
To power on the turntable, locate the power switch and flip it to the “on” position. Give the turntable a moment to start up, and then select a record from your collection.
Gently lower the tonearm with the new stylus onto the selected record, and let the music fill the room. Take a moment to appreciate the enhanced sound quality and the vibrant, warm tones that vinyl records are known for.
As you indulge in your favorite music, keep in mind a few tips to optimize your turntable’s performance:
- Handle vinyl records with care, ensuring they are clean and free from dust or debris.
- Regularly clean your turntable’s stylus to maintain its performance and extend its lifespan.
- Store your records in a cool, dry place, away from direct sunlight and extreme temperatures.
- Consider investing in a record brush or anti-static mat to further improve sound quality and prevent surface noise.
With your new stylus in place, you can now enjoy hours of immersive listening pleasure. So sit back, relax, and let the captivating sound of vinyl transport you to another dimension.
Remember to periodically check and replace the stylus as needed to ensure optimal performance. And don’t hesitate to reach out to a professional if you ever encounter any issues or need further assistance with your turntable.
Now, turn up the volume and let the music spin!
Conclusion
Changing out the stylus on your Technics linear turntable is a rewarding and essential task for any vinyl enthusiast. By following the steps outlined in this guide, you can ensure that your turntable continues to deliver the best audio experience with optimal sound quality.
We started by gathering the necessary tools and materials, emphasizing the importance of safety throughout the process. We then located the cartridge and stylus, carefully removing the old stylus before inspecting and cleaning the cartridge.
After that, we installed the new stylus, ensuring it was properly aligned and securely in place. We tested the stylus, listening for sound quality and monitoring its tracking capabilities. Finally, we powered on the turntable and began enjoying our favorite music on vinyl.
Remember, maintaining your turntable and stylus is crucial for preserving the lifespan of your records and ensuring excellent sound reproduction. Regular cleaning, proper handling, and periodic stylus replacements are essential practices for a vinyl enthusiast.
Now that you have successfully replaced the stylus on your Technics linear turntable, embrace the pleasure of vinyl and explore the vast world of music that awaits you. Immerse yourself in the captivating sound and nostalgic experience that only vinyl records can provide.
Whether you’re a longtime vinyl lover or just beginning your journey, the process of changing out a turntable stylus is one that will deepen your appreciation for the vinyl medium. So go ahead, power on your turntable, and let the music take you on a journey through time and sound.
Keep the music spinning and the joy of vinyl alive!