Home>Production & Technology>MIDI>How To Send MIDI Out Of Ableton
MIDI
How To Send MIDI Out Of Ableton
Modified: February 22, 2024
Learn how to send MIDI out of Ableton and control external hardware or software instruments. Discover the essential steps for routing MIDI signals effectively.
(Many of the links in this article redirect to a specific reviewed product. Your purchase of these products through affiliate links helps to generate commission for AudioLover.com, at no extra cost. Learn more)
Table of Contents
Introduction
Sending MIDI out of Ableton Live opens up a world of creative possibilities for music producers and performers. MIDI, which stands for Musical Instrument Digital Interface, is a versatile protocol that allows electronic musical instruments, computers, and other devices to communicate with each other. By understanding how to send MIDI out of Ableton Live, you can harness the power of this technology to control external hardware, trigger sound modules, and synchronize multiple instruments.
In this comprehensive guide, we will delve into the intricacies of configuring Ableton Live to send MIDI signals to external devices. Whether you're a seasoned producer or a newcomer to the world of MIDI, this article will equip you with the knowledge and skills needed to seamlessly integrate Ableton Live with external MIDI gear.
By following the step-by-step instructions and tips provided in this guide, you will gain a deeper understanding of MIDI routing within Ableton Live and learn how to troubleshoot common issues that may arise. From setting up MIDI preferences to configuring external devices and utilizing MIDI tracks, this article will walk you through the process of sending MIDI out of Ableton Live with confidence.
Without further ado, let's embark on this MIDI exploration and unlock the full potential of Ableton Live as a powerful tool for controlling and manipulating external MIDI devices. Whether you're looking to incorporate hardware synthesizers, drum machines, or other MIDI-capable gear into your music production workflow, the knowledge gained from this guide will empower you to harness the full expressive range of MIDI and elevate your music to new heights.
Setting Up MIDI Preferences in Ableton Live
Configuring the MIDI preferences in Ableton Live is the initial step towards enabling seamless communication between the software and external MIDI devices. This process is essential for ensuring that Ableton Live recognizes and effectively interfaces with MIDI hardware, allowing for the transmission of MIDI data in both directions. Whether you're connecting a MIDI keyboard, a drum machine, or a hardware synthesizer, setting up the MIDI preferences correctly is crucial for a smooth and efficient workflow.
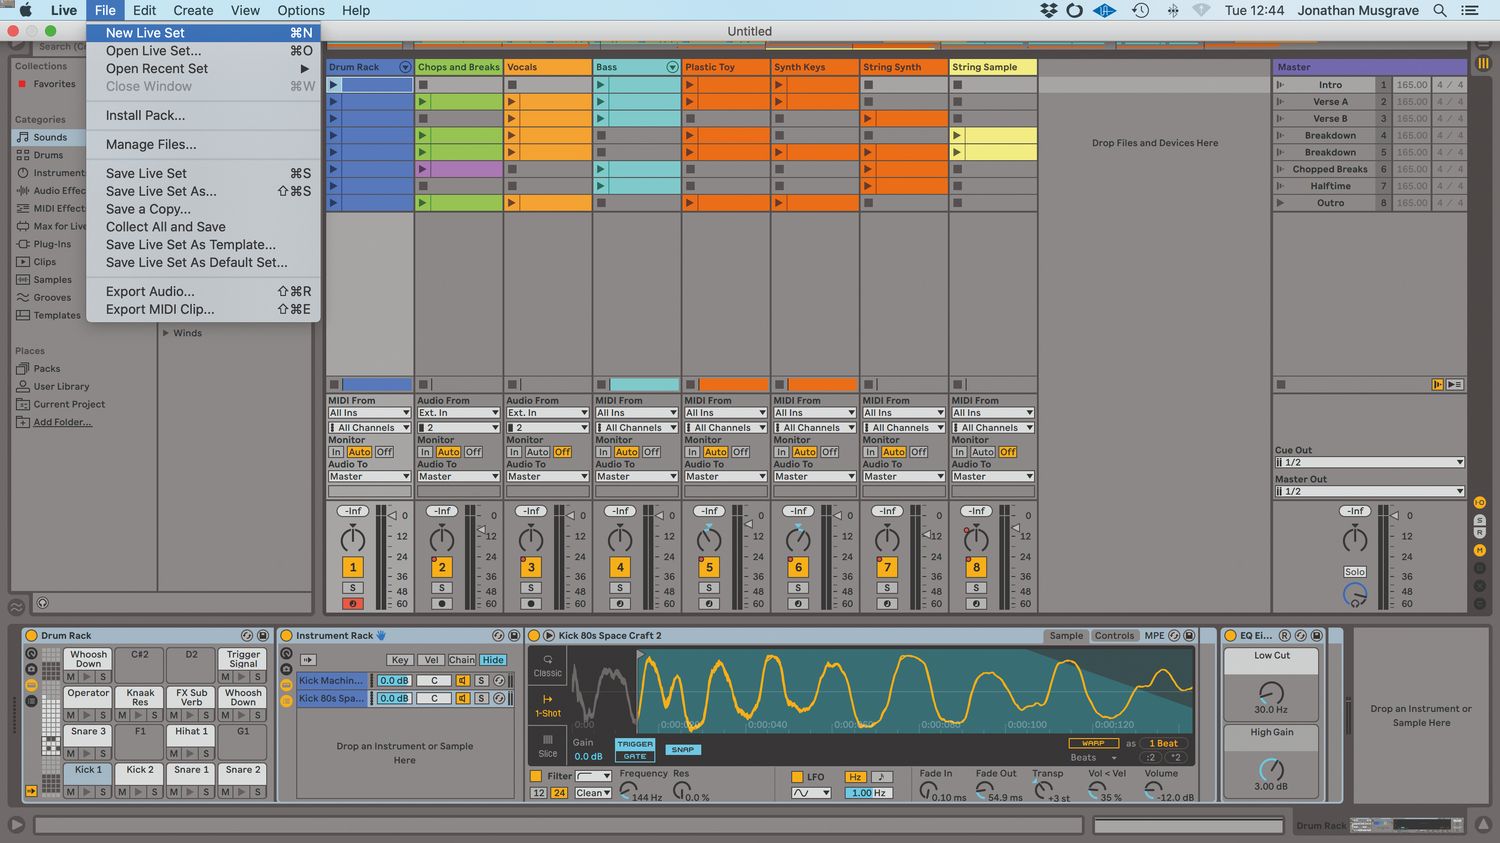
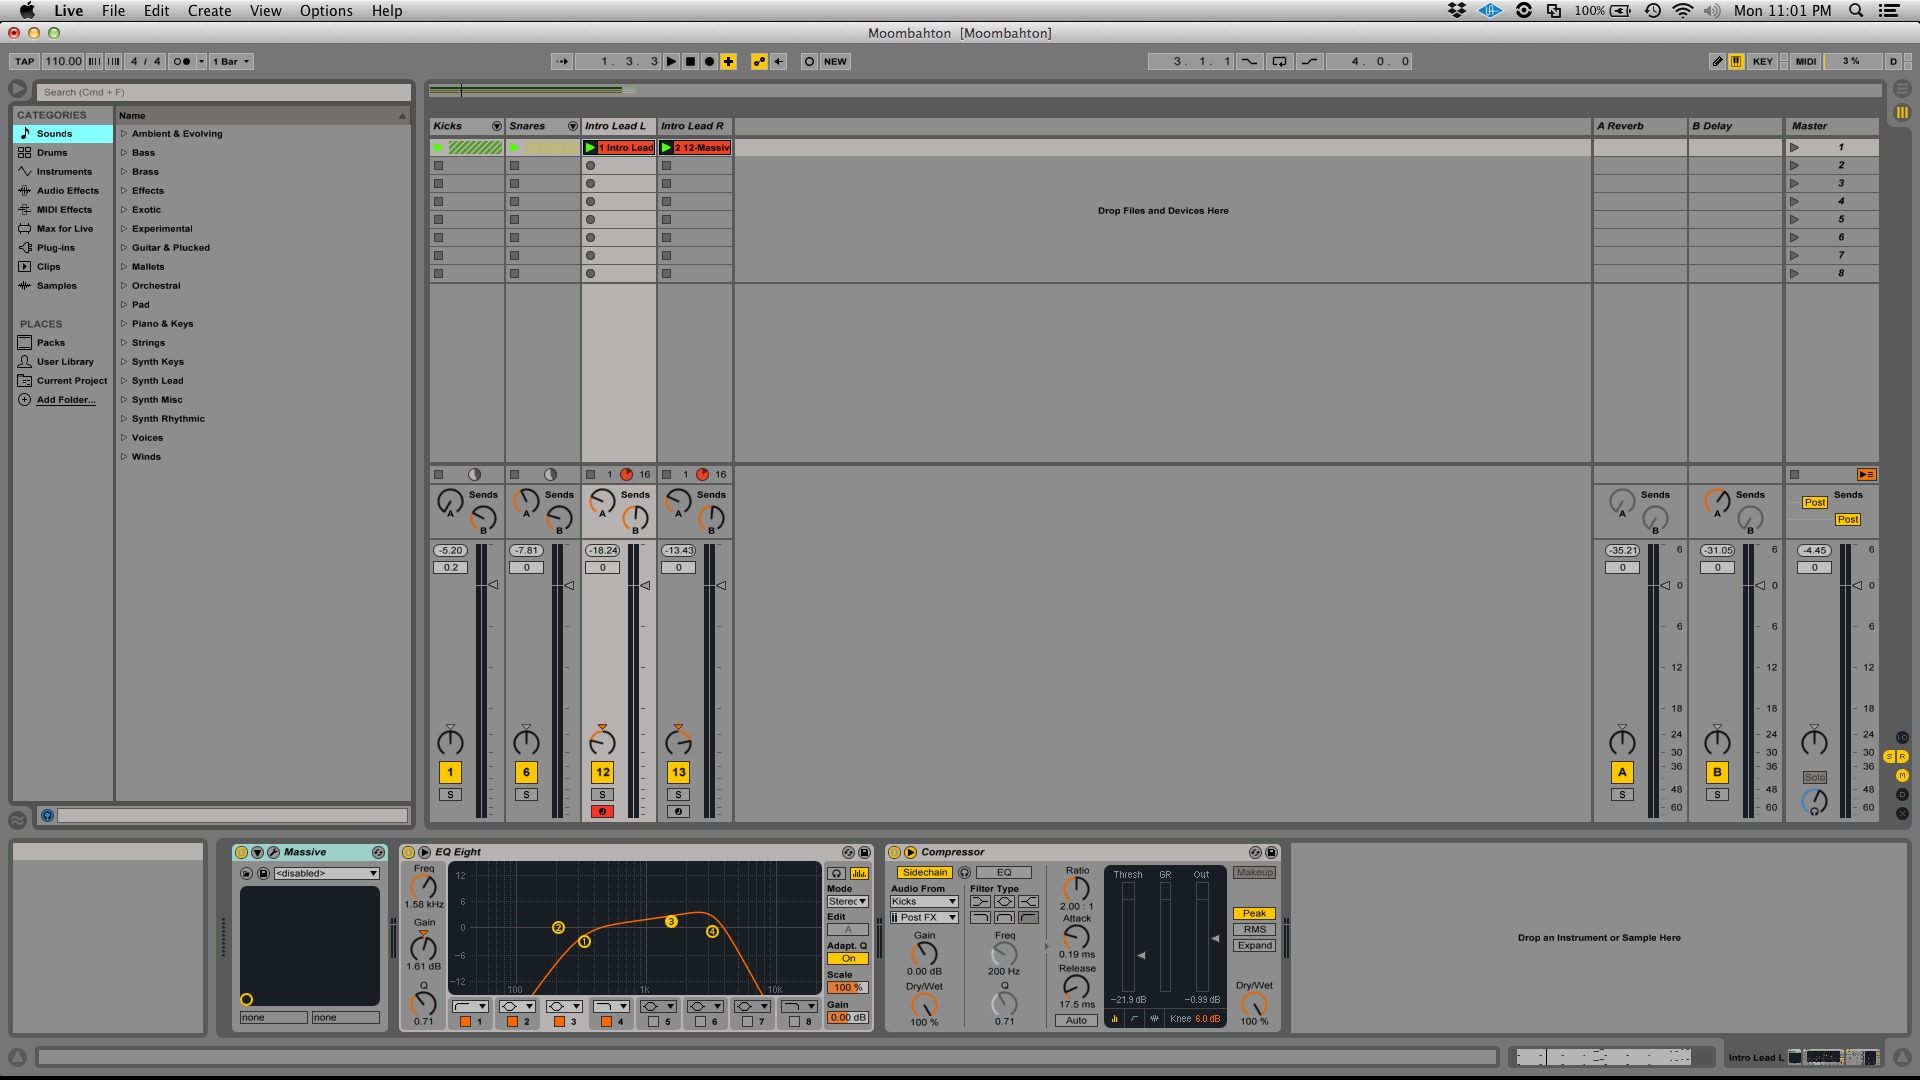
To begin, launch Ableton Live and navigate to the "Preferences" window. This can be accessed by clicking on "Live" in the top left corner of the screen and selecting "Preferences" from the dropdown menu. Once in the Preferences window, locate and click on the "Link/MIDI" tab.
Within the "MIDI Ports" section, you will find a list of available input and output ports for MIDI devices. To enable communication with an external MIDI device, ensure that the corresponding input and output ports are appropriately configured. If you're using a USB MIDI device, it should appear in the list of available ports. Simply activate the "Track" and "Remote" options for the respective input and output ports associated with your MIDI device.
Additionally, it's essential to verify that the "MIDI Sync" settings are correctly configured to synchronize Ableton Live with external MIDI hardware. Under the "MIDI Sync" section in the Preferences window, ensure that the "Sync" and "Remote" options are activated for the MIDI output port connected to the external device. This allows Ableton Live to send MIDI clock and transport control signals to the external device, facilitating synchronization between the software and hardware.
Furthermore, if you're utilizing a MIDI controller to manipulate parameters within Ableton Live, such as knobs, faders, or buttons, it's imperative to set up the MIDI input preferences accordingly. By enabling the "Track" and "Remote" options for the MIDI input port associated with your controller, you can establish bidirectional communication, allowing the controller to send MIDI data to Ableton Live and receive feedback from the software.
By meticulously configuring the MIDI preferences in Ableton Live, you pave the way for a seamless and efficient integration of external MIDI devices with the software. This foundational step sets the stage for leveraging the full potential of MIDI in your music production process, empowering you to harness the expressive capabilities of external hardware within the versatile environment of Ableton Live.
Configuring External MIDI Devices
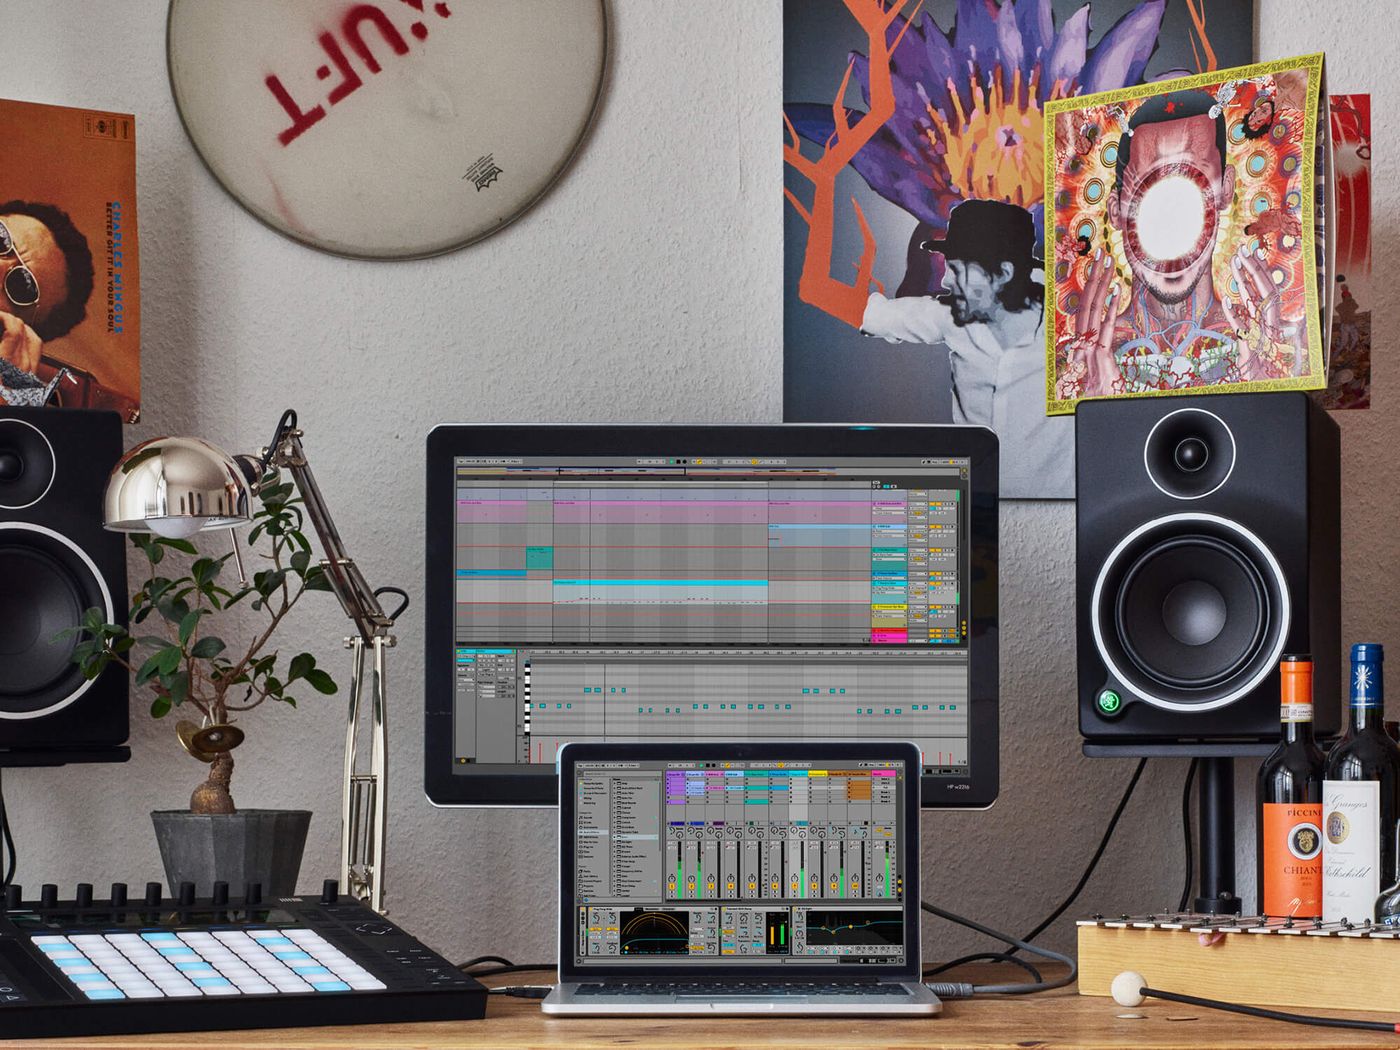
Configuring external MIDI devices within Ableton Live is a pivotal aspect of establishing a cohesive and efficient MIDI workflow. By seamlessly integrating external MIDI hardware, such as synthesizers, drum machines, and MIDI controllers, you can expand the sonic palette of your music production environment and unlock a myriad of creative possibilities. The process of configuring external MIDI devices involves establishing bidirectional communication between Ableton Live and the external hardware, enabling the software to send and receive MIDI data effectively.
Step 1: Connecting External MIDI Hardware
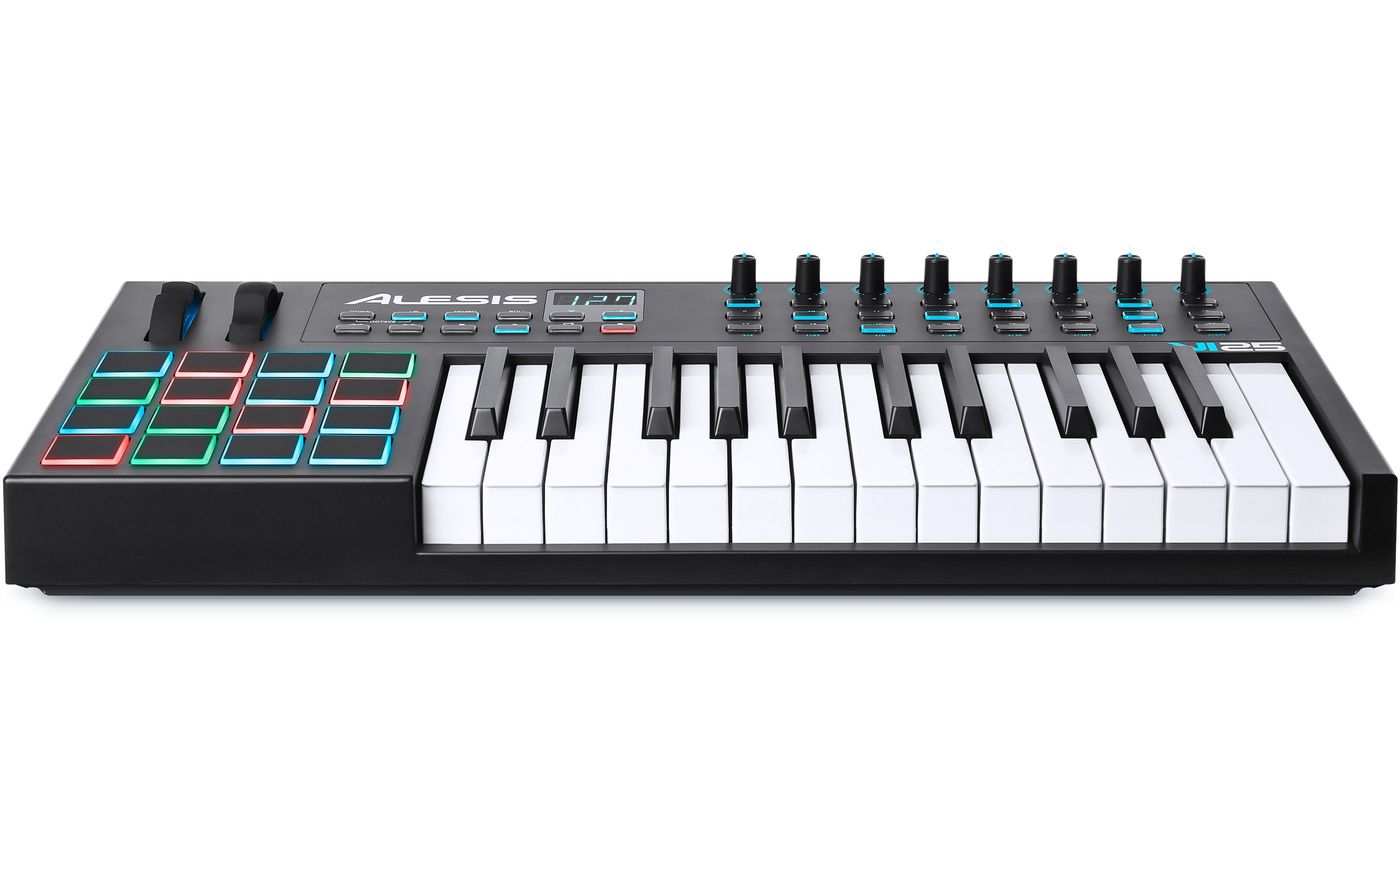
The first step in configuring external MIDI devices is to physically connect the MIDI hardware to your computer. Whether you're using a USB MIDI controller, a hardware synthesizer with MIDI ports, or a drum machine, ensure that the device is connected to an available USB port or MIDI interface on your computer. This direct physical connection forms the foundation for establishing communication between Ableton Live and the external MIDI device.
Step 2: Recognizing External MIDI Devices
Once the external MIDI hardware is connected, navigate to the "MIDI Ports" section within the Ableton Live Preferences window. Here, you will find a list of available input and output ports for MIDI devices. Verify that the connected external MIDI device is recognized and listed within the input and output port options. If the device is not automatically detected, ensure that the appropriate drivers are installed and that the device is powered on and connected properly.
Step 3: Configuring MIDI Input and Output
After confirming the recognition of the external MIDI device, proceed to configure the MIDI input and output settings within Ableton Live. Activate the "Track" and "Remote" options for the input and output ports associated with the external MIDI device. This enables Ableton Live to send MIDI data to the device for control and triggering purposes, as well as receive MIDI data from the device for recording and manipulation within the software.
Step 4: MIDI Mapping and Control Surface Integration
For MIDI controllers and other hardware with assignable controls, such as knobs, faders, and buttons, it's essential to map these parameters within Ableton Live for seamless integration and control. Utilize the MIDI mapping functionality within Ableton Live to assign specific parameters to the controls on your MIDI device, allowing for intuitive manipulation and real-time interaction with the software.
By meticulously configuring external MIDI devices within Ableton Live, you establish a robust foundation for integrating hardware instruments and controllers into your music production workflow. This seamless integration empowers you to harness the expressive capabilities of external MIDI devices, expand your sonic palette, and elevate the creative potential of your music production endeavors.
Using MIDI Tracks to Send MIDI Out
In Ableton Live, MIDI tracks serve as the conduits through which MIDI data is routed and transmitted to external MIDI devices, enabling seamless communication between the software and hardware instruments. By harnessing the capabilities of MIDI tracks, music producers and performers can effectively send MIDI out to control external synthesizers, drum machines, and other MIDI-capable gear. This pivotal functionality empowers users to integrate hardware instruments into their productions, manipulate external sound modules, and synchronize multiple devices within the Ableton Live environment.
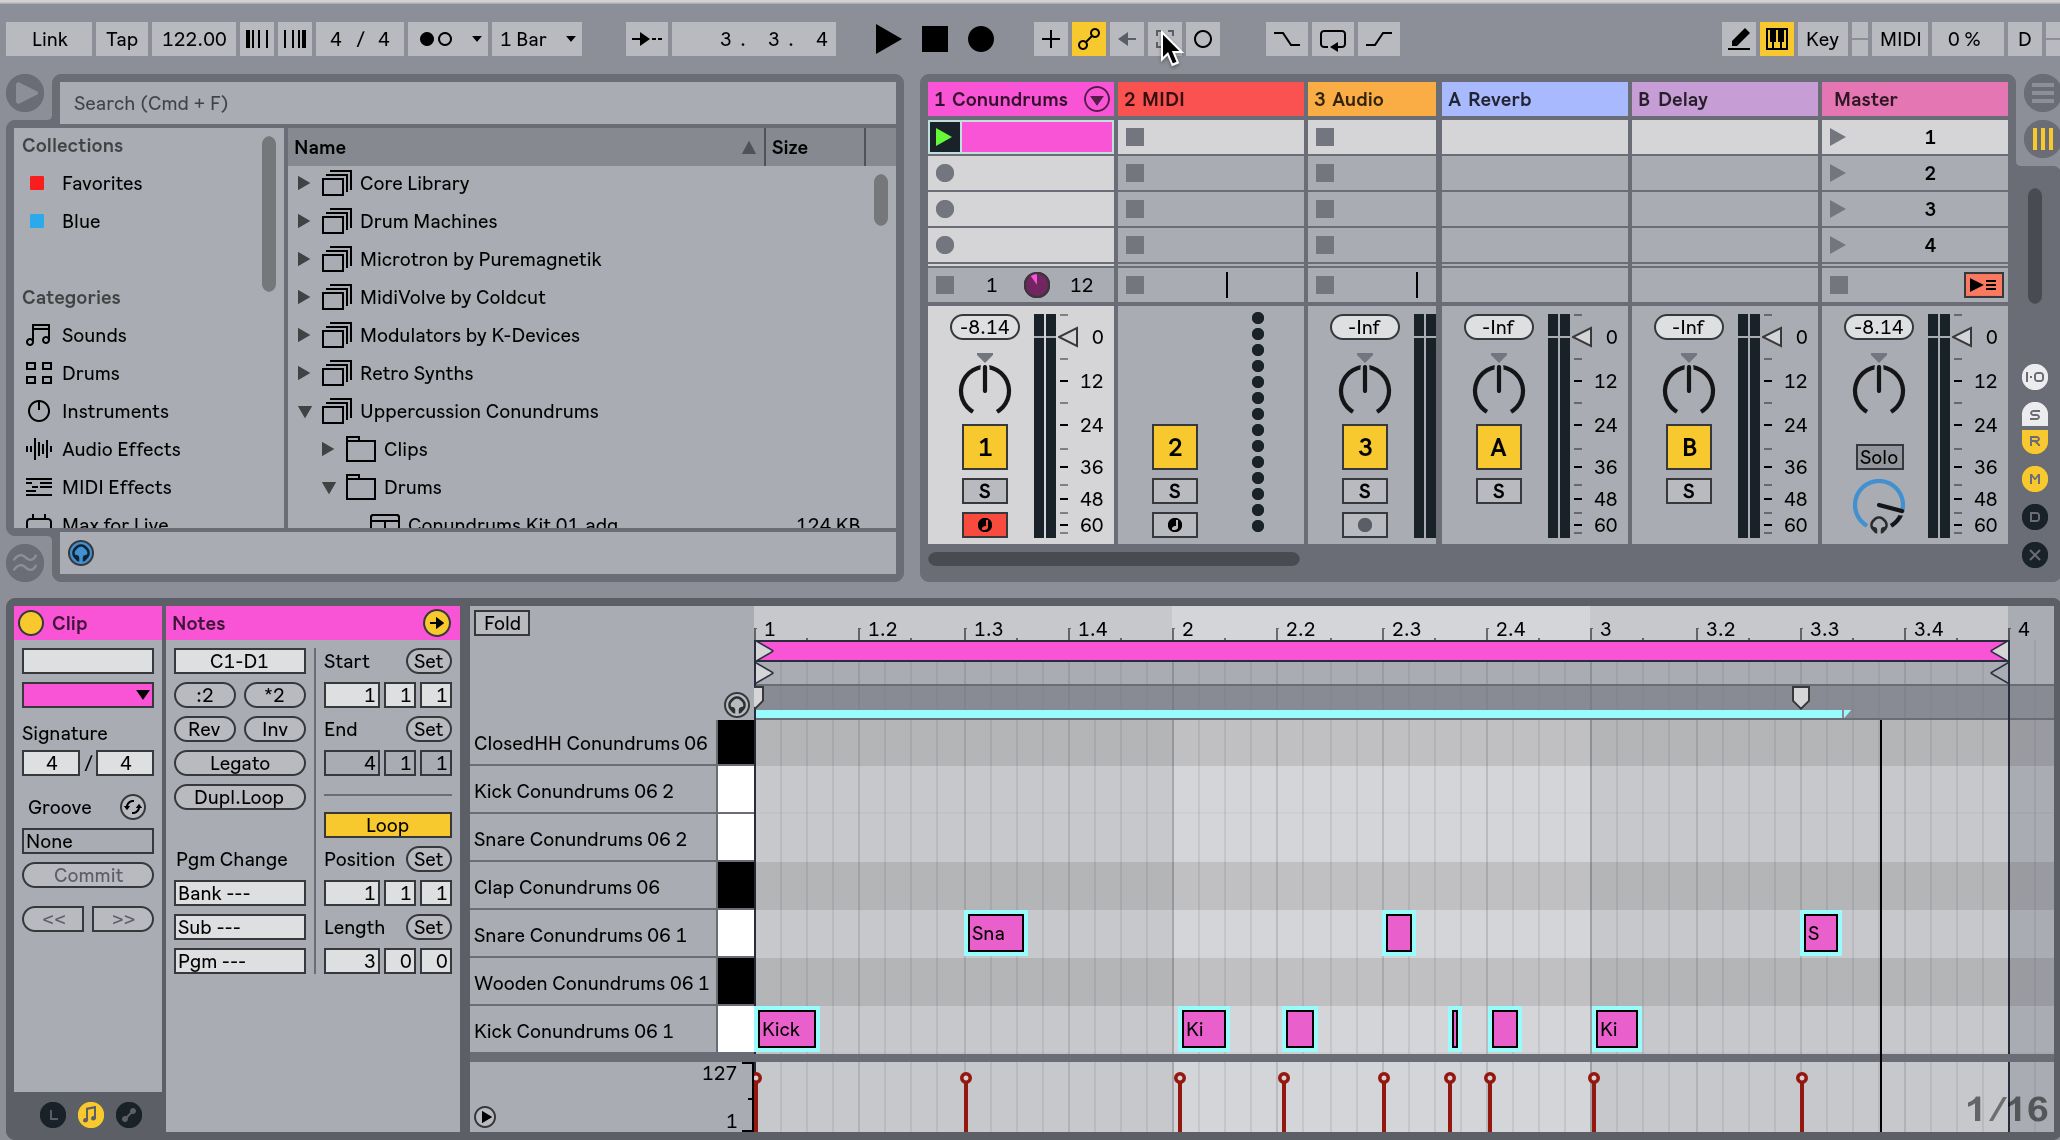
Step 1: Creating a MIDI Track
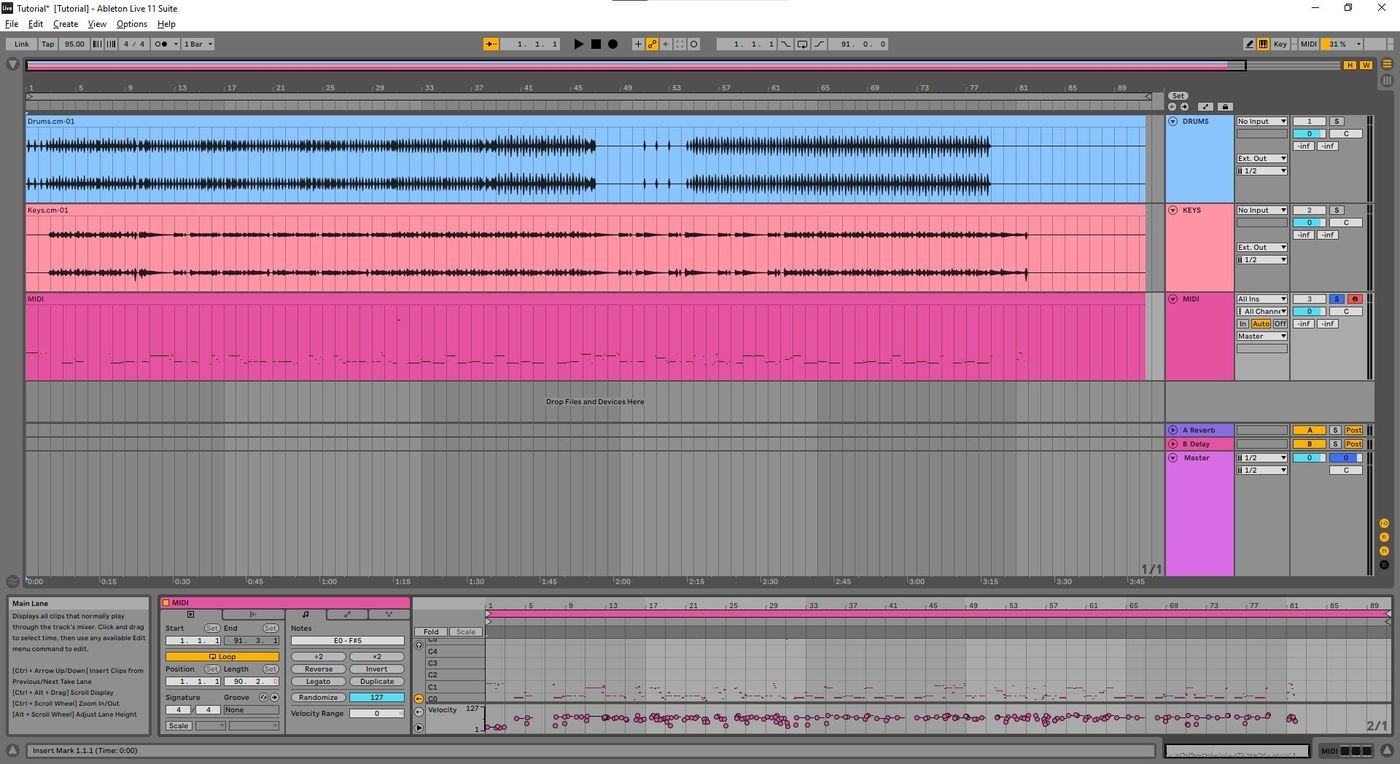
To initiate the process of sending MIDI out, begin by creating a new MIDI track within Ableton Live. This can be accomplished by navigating to the "Create" menu and selecting "MIDI Track". Alternatively, you can use the keyboard shortcut `Ctrl + Shift + T` (Windows) or `Command + Shift + T` (Mac) to create a new MIDI track swiftly. Once the MIDI track is created, it serves as the platform for transmitting MIDI data to external devices.
Step 2: Configuring MIDI Output
After creating the MIDI track, it's essential to configure the MIDI output routing to direct MIDI data to the external device. Within the newly created MIDI track, locate the "MIDI To" section in the track's output routing options. Click on the dropdown menu to select the MIDI output port corresponding to the external device to which you intend to send MIDI data. This establishes the connection between the MIDI track and the external hardware, facilitating the transmission of MIDI messages.
Step 3: MIDI Clip Creation and Editing
With the MIDI track and output routing configured, you can proceed to create and edit MIDI clips to send musical data to the external device. By double-clicking within the MIDI track's clip view, you can create a new MIDI clip and input musical notes, controller data, and automation information. This MIDI clip serves as the container for the MIDI data that will be sent out to the connected external device, allowing for precise and expressive control over the hardware instrument.
Step 4: Playback and MIDI Transmission
Upon creating and editing the MIDI clip, initiate playback within Ableton Live to transmit the MIDI data to the external device. As the MIDI clip plays, the musical information contained within the clip is sent out through the configured MIDI output port, triggering sounds, manipulating parameters, and controlling the external hardware instrument in real time. This seamless transmission of MIDI data empowers users to leverage the expressive capabilities of external devices within the Ableton Live environment.
Step 5: Real-Time Interaction and Performance
Beyond playback, utilizing MIDI tracks to send MIDI out enables real-time interaction and performance with external MIDI devices. By manipulating MIDI clips, adjusting MIDI parameters, and triggering sequences within Ableton Live, users can dynamically control and shape the behavior of external hardware instruments, fostering a fluid and expressive connection between the software and hardware realms.
By leveraging MIDI tracks to send MIDI out, music producers and performers can seamlessly integrate external MIDI devices into their creative workflow, harness the expressive potential of hardware instruments, and elevate the sonic richness of their productions. This fundamental functionality within Ableton Live empowers users to explore new avenues of musical expression, synchronization, and control, bridging the gap between software and hardware with precision and creativity.
Troubleshooting MIDI Output Issues
Encountering MIDI output issues within Ableton Live can be a frustrating roadblock in the creative process. When MIDI signals fail to transmit effectively to external devices, it can disrupt the seamless integration of hardware instruments and impede the realization of musical ideas. However, by employing systematic troubleshooting techniques, you can identify and resolve MIDI output issues, ensuring a smooth and reliable connection between Ableton Live and external MIDI hardware.
Step 1: Verify MIDI Preferences
Begin by revisiting the MIDI preferences within Ableton Live to ensure that the input and output ports are correctly configured. Check that the appropriate MIDI output port is selected for the MIDI track through which you intend to send MIDI data to the external device. Additionally, confirm that the MIDI output port is enabled for both "Sync" and "Remote" functions within the MIDI preferences, facilitating seamless communication with the external hardware.
Step 2: Physical Connections
Double-check the physical connections between your computer and the external MIDI device. Ensure that the MIDI cables or USB connections are secure and properly inserted. If you're using a USB MIDI device, try connecting it to a different USB port on your computer to rule out potential port-related issues.
Step 3: MIDI Channel and Routing
Verify the MIDI channel settings within both Ableton Live and the external MIDI device. Ensure that the MIDI channel on the sending track matches the MIDI channel expected by the receiving external device. Additionally, confirm that the MIDI routing within Ableton Live is directing MIDI data to the correct output port associated with the external device.
Step 4: Device Compatibility and Drivers
Check for any compatibility issues between Ableton Live and the external MIDI device. Visit the manufacturer's website to ensure that the device is compatible with your version of Ableton Live and that you have the latest drivers installed. Updating the device's firmware or drivers can often resolve compatibility-related MIDI output issues.
Step 5: MIDI Thru and Echo
If your MIDI device features MIDI Thru or Echo functionality, ensure that it is configured appropriately. Activating MIDI Thru or Echo on the external device allows MIDI data received from Ableton Live to be passed through to other connected devices or modules, potentially resolving routing or communication issues.
By systematically addressing these potential sources of MIDI output issues, you can effectively troubleshoot and resolve connectivity issues between Ableton Live and external MIDI hardware. By ensuring the seamless transmission of MIDI data, you can unlock the full potential of integrating external hardware instruments and controllers into your music production workflow, fostering a harmonious synergy between software and hardware realms.