Home>Production & Technology>Audio Interface>How To Use A USB Audio Interface With Audacity
Audio Interface
How To Use A USB Audio Interface With Audacity
Modified: February 19, 2024
Learn how to utilize a USB audio interface with Audacity software for optimal recording and editing. Enhance your audio production with this essential tool.
(Many of the links in this article redirect to a specific reviewed product. Your purchase of these products through affiliate links helps to generate commission for AudioLover.com, at no extra cost. Learn more)
Table of Contents
- Introduction
- What is a USB Audio Interface?
- Why use a USB Audio Interface with Audacity?
- Getting Started with your USB Audio Interface
- Connecting the USB Audio Interface
- Setting up Audacity
- Configuring Audacity for the USB Audio Interface
- Recording with the USB Audio Interface
- Adjusting Input Levels in Audacity
- Monitoring your Audio
- Troubleshooting Tips
- Conclusion
Introduction
Welcome to the world of USB audio interfaces and the powerful audio editing software, Audacity! If you’re a music producer, podcaster, or audio enthusiast, you’re probably looking for a way to capture high-quality audio and manipulate it with ease. That’s where a USB audio interface comes in. In this article, we will explore what a USB audio interface is, why it’s beneficial to use one with Audacity, and how to get started using them together.
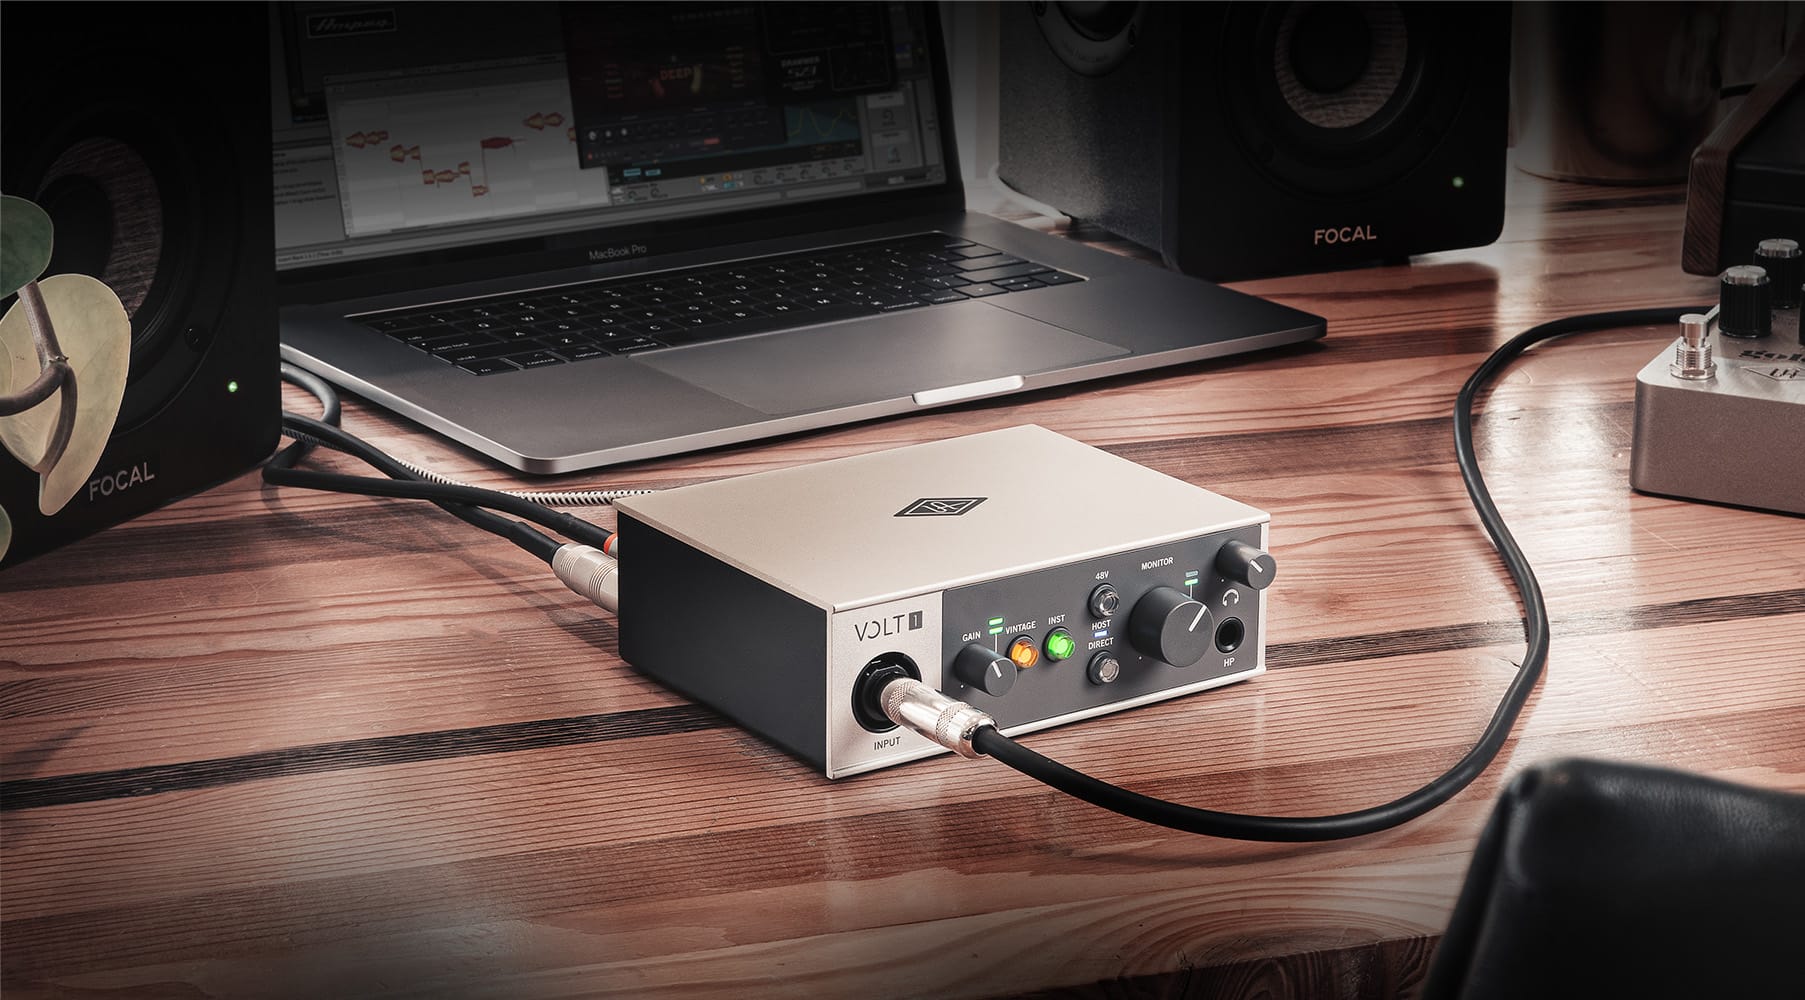
A USB audio interface is a device that connects to your computer via the USB port and allows you to record and play back audio with professional-grade quality. It serves as an external sound card, providing you with multiple inputs and outputs for connecting microphones, instruments, and speakers. USB audio interfaces are a crucial tool for those who want to take their audio recording and editing capabilities to the next level.
So why should you consider using a USB audio interface with Audacity? While Audacity is a fantastic and powerful audio editing software on its own, it has its limitations when it comes to capturing high-quality audio directly from external sources. By utilizing a USB audio interface, you can bypass these limitations and capture professional-grade audio with ease.
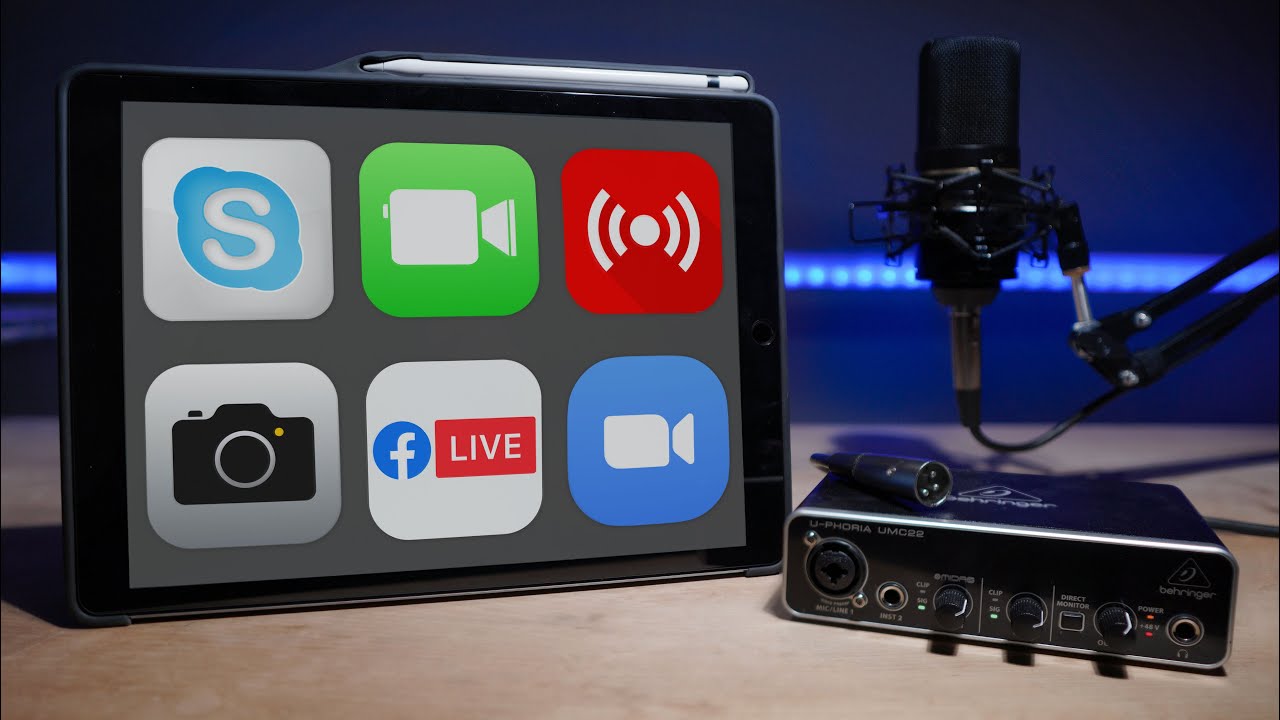
Whether you’re a musician recording your latest hit single, a voice-over artist creating engaging podcasts, or a YouTuber looking to improve the audio quality of your videos, a USB audio interface can greatly enhance your recording and editing experience. So let’s dive into how you can get started using a USB audio interface with Audacity.
What is a USB Audio Interface?
A USB audio interface is a hardware device that connects to your computer via a USB port and allows you to record and play back audio with professional-grade quality. It acts as an external sound card, providing you with multiple inputs and outputs for connecting microphones, instruments, and speakers.
The main purpose of a USB audio interface is to improve the audio quality of your recordings by capturing sound at a higher resolution and sample rate than your computer’s built-in sound card. This is especially beneficial for musicians, podcasters, and content creators who require pristine audio for their projects.
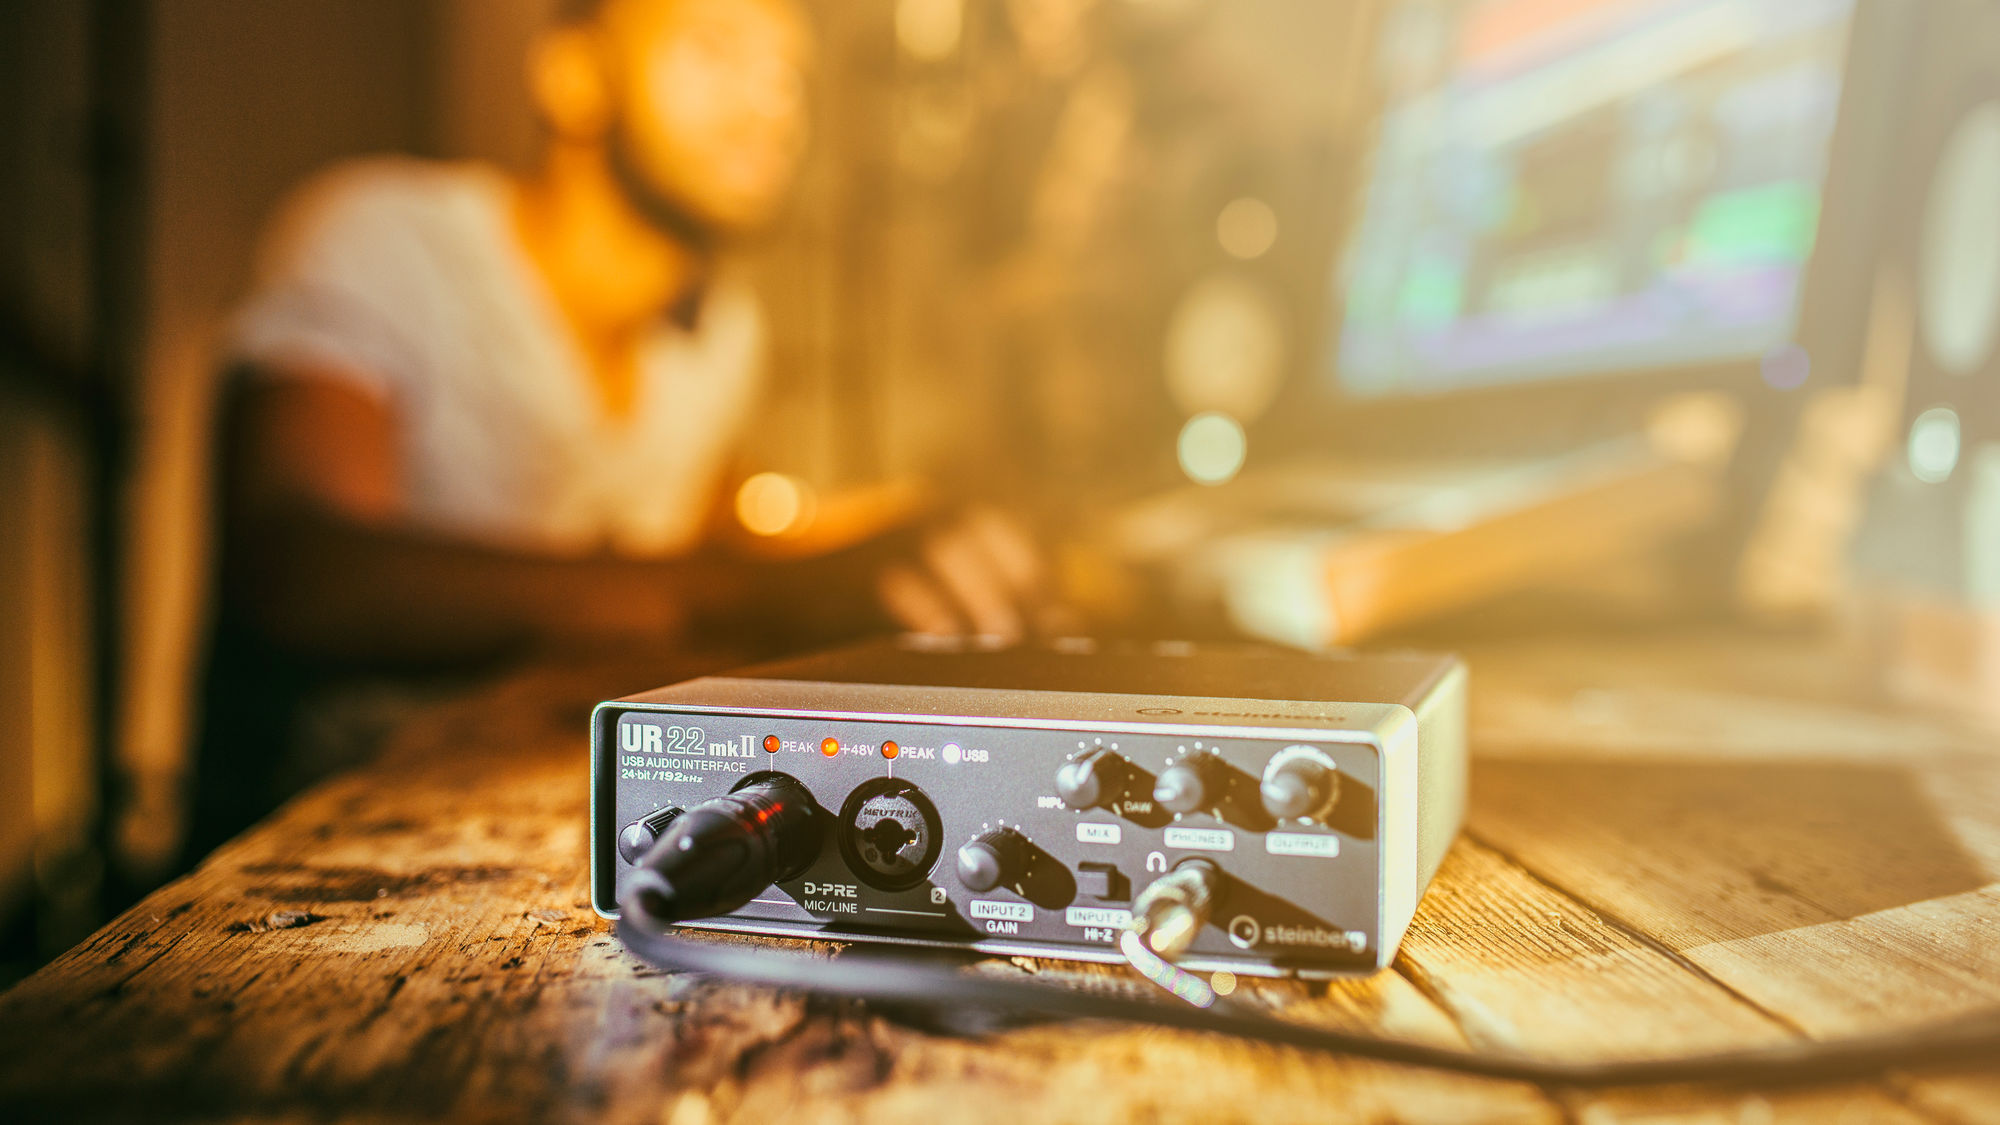
USB audio interfaces come in various shapes and sizes, ranging from compact and portable models with a few inputs and outputs to larger interfaces with multiple inputs, outputs, and advanced features. They typically include XLR or TRS inputs for connecting microphones or instruments, headphone outputs for monitoring purposes, and line outputs for connecting to speakers or amplifiers.
Additionally, many USB audio interfaces offer features like preamp gain control, phantom power for condenser microphones, MIDI inputs and outputs for connecting external MIDI instruments, and direct monitoring options for real-time monitoring without latency.
USB audio interfaces are compatible with both Mac and Windows operating systems and can be used with various audio software, including Audacity. They provide a significant upgrade in audio quality and connectivity options, making them an essential tool for audio professionals and enthusiasts.
Overall, a USB audio interface is a valuable piece of equipment that allows you to capture, record, and playback high-quality audio with ease. It improves the sound quality of your recordings, provides flexibility in connecting different audio sources, and enhances your overall audio editing experience.
Why use a USB Audio Interface with Audacity?
Audacity is a powerful and popular open-source audio editing software that offers a wide range of features for recording, editing, and mixing audio. However, when it comes to capturing audio directly from external sources, Audacity can benefit greatly from the use of a USB audio interface. Here are a few reasons why:
- Improved Audio Quality: The primary advantage of using a USB audio interface with Audacity is the significant improvement in audio quality. While Audacity can work with the built-in sound card of your computer, it may not provide the same level of audio fidelity and low noise performance as a dedicated audio interface. With a USB audio interface, you can capture your audio with higher resolution and sample rates, resulting in clearer sound and more detailed recordings.
- Multiple Input and Output Options: Another key benefit of using a USB audio interface is the expanded input and output options. Most interface models provide multiple inputs, allowing you to connect microphones, instruments, and other audio sources simultaneously. This flexibility enables you to record multiple tracks or capture a stereo recording directly into Audacity. Additionally, USB audio interfaces offer multiple output options, making it easier to connect different types of speakers or headphones for monitoring purposes.
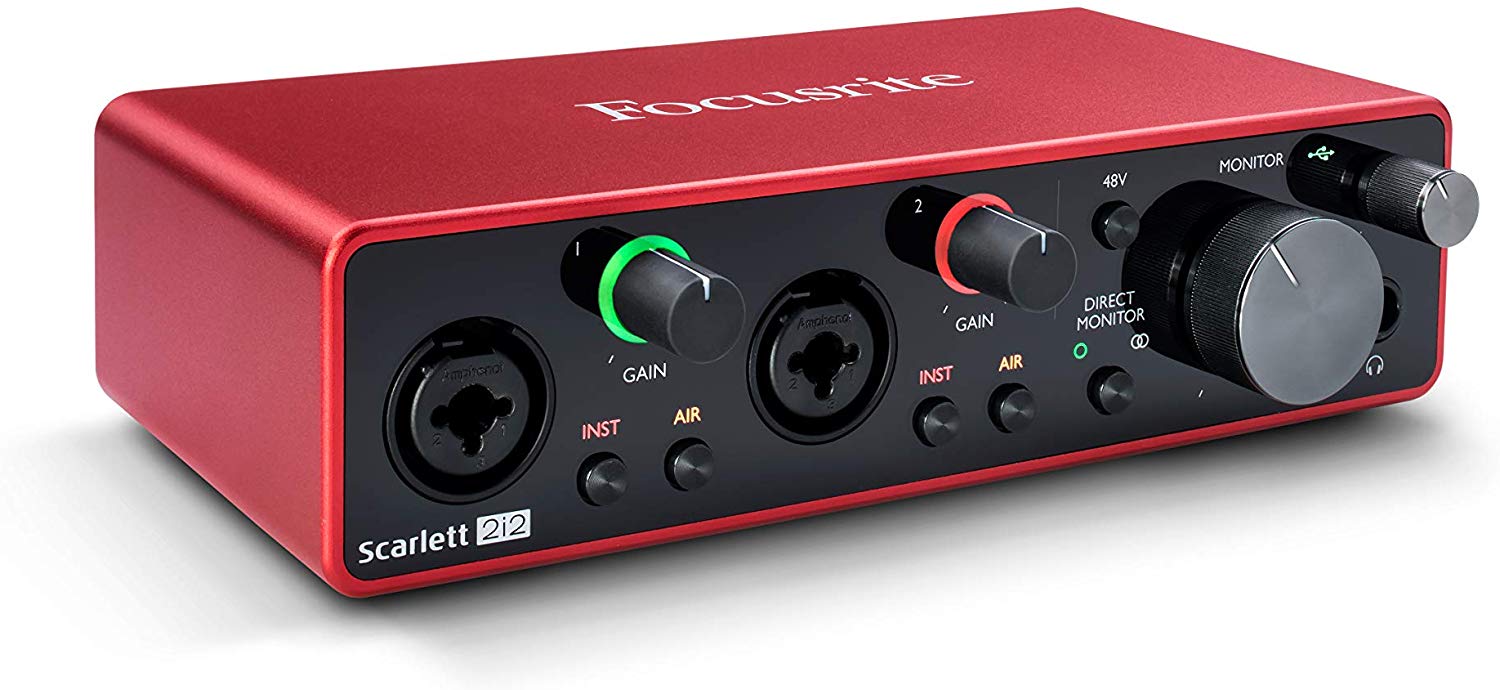
- Preamp Control and Phantom Power: USB audio interfaces often include built-in microphone preamps that allow you to control the gain and optimize the input level for your recordings. This feature is particularly useful when working with dynamic or condenser microphones that require additional gain. Furthermore, many interfaces provide phantom power, enabling you to use condenser microphones that require it to function properly.
- Low Latency Monitoring: USB audio interfaces offer direct monitoring capabilities, allowing you to listen to your input signals in real-time without any noticeable delay or latency. This feature is essential when recording vocals or instruments, as it allows you to accurately monitor your performance and make adjustments as needed during the recording process.
- Expanded Control and Flexibility: Using a USB audio interface provides you with a dedicated control surface for adjusting input levels, headphone mixes, and other audio settings. Many interfaces come with software control panels that allow you to fine-tune various parameters and optimize your recording setup. This added control and flexibility make it easier to achieve the desired sound and streamline your workflow within Audacity.
In summary, incorporating a USB audio interface with Audacity offers several advantages, including improved audio quality, expanded input and output options, preamp control, low latency monitoring, and enhanced control and flexibility. These benefits contribute to a better recording and editing experience, allowing you to achieve professional-grade results with your audio projects.
Getting Started with your USB Audio Interface
Now that you understand the benefits of using a USB audio interface with Audacity, let’s dive into how you can get started with your new device. Follow these steps to set up and start using your USB audio interface:
- Choose the Right Interface: Select a USB audio interface that suits your specific needs. Consider factors such as the number of inputs and outputs required, the audio quality you desire, and any additional features you may need, such as MIDI connectivity or built-in effects.
- Install any Necessary Drivers: Some USB audio interfaces require driver installation before use. Check the manufacturer’s website for the latest drivers and follow the instructions provided to install them on your computer. This step ensures that your interface will be recognized and function properly with Audacity.
- Connect the Interface to your Computer: Using a USB cable, connect the USB audio interface to an available USB port on your computer. Ensure that the cable is securely plugged in on both ends.
- Power On the Interface: Some USB audio interfaces are powered directly from the USB connection, while others require an external power source. Follow the manufacturer’s instructions to power on your interface and ensure it is receiving power.
- Adjust Input and Output Levels: On the USB audio interface, locate the input gain knobs or sliders and set them to an appropriate level for your audio source. Start with lower levels and gradually increase if needed to avoid clipping and distortion. Adjust the headphone or monitor output level to a comfortable listening level.
- Launch Audacity: Open Audacity on your computer and ensure that it recognizes your USB audio interface. You may need to select the interface as your audio device in the Audacity preferences or settings menu. Consult the Audacity documentation or the manufacturer’s instructions for guidance.
- Select Input and Output Ports in Audacity: In Audacity, go to the input and output device preferences and select your USB audio interface as the default device. This ensures that Audacity will receive and record audio from the interface and play it back through the correct output channels.
- Start Recording: With your USB audio interface set up and Audacity configured, you’re ready to start recording. Choose the appropriate track in Audacity for recording and click the record button. Monitor the input levels on the interface and adjust as needed during the recording process.
- Save and Export your Recording: Once you’re satisfied with the recording, save your project file in Audacity’s native format. Then, export your recording to a preferred audio format (such as WAV or MP3) for sharing or further editing.
Remember, every USB audio interface and Audacity configuration may vary slightly, so consult the user manuals and documentation to ensure you are following the specific instructions for your setup. With a bit of practice and experimentation, you’ll be able to harness the power of your USB audio interface and Audacity to create professional-quality recordings.
Connecting the USB Audio Interface
Now that you have your USB audio interface set up, it’s time to connect it to your computer and other audio equipment. Follow these steps to ensure a proper connection:
- Connect the USB Cable: Using the USB cable provided with your audio interface, connect one end to the interface and the other end to an available USB port on your computer. Ensure that the connection is secure.
- Power On the Interface: If your USB audio interface has a dedicated power switch, turn it on. Some models are bus-powered and will turn on automatically when connected to your computer. Make sure the interface is receiving power and any indicator lights are illuminated.
- Connect Microphones and Instruments: If you plan to record vocals or instruments, connect them to the appropriate inputs on your USB audio interface. For microphones, use XLR cables to connect them to the XLR inputs. For instruments, use standard 1/4-inch TRS cables to connect them to the instrument inputs. Ensure that the cables are securely plugged in.
- Connect Headphones or Monitors: If you want to monitor your audio while recording or editing, connect headphones or speakers to the appropriate output on your USB audio interface. For headphones, use the dedicated headphone output. For speakers, use the line outputs and connect them to your powered speakers or amplifier.
- Phantom Power for Condenser Microphones: If you are using condenser microphones that require phantom power, make sure to activate phantom power on your audio interface. Look for the phantom power switch or button on the interface and enable it before connecting your condenser microphone. Be cautious when enabling phantom power as it can cause damage to dynamic microphones or other equipment that does not require it.
- MIDI Connections: If your USB audio interface has MIDI inputs and outputs, you can connect MIDI devices such as keyboards or controllers to control virtual instruments in your recording software. Use standard MIDI cables to connect the MIDI devices to the interface’s MIDI inputs and outputs.
Once you have made all the necessary connections, double-check that everything is securely plugged in and powered on. It is a good practice to turn on your USB audio interface before launching your recording software to ensure proper detection.
Keep in mind that the specific connections and options may vary depending on your USB audio interface model. Consult the user manual or documentation provided by the manufacturer for the exact instructions and recommendations for your particular device.
With your USB audio interface properly connected, you are now ready to move on to the next step – setting up Audacity to work with your interface.
Setting up Audacity
Now that you have your USB audio interface connected to your computer, let’s proceed with setting up Audacity to work seamlessly with your interface. Here are the steps to get started:
- Launch Audacity: Open Audacity on your computer by double-clicking on the application icon.
- Access Preferences: Go to the “Edit” menu and select “Preferences” (Windows) or “Audacity” and choose “Preferences” (Mac).
- Select Audio I/O: In the “Preferences” window, locate and click on the “Devices” or “Audio I/O” tab.
- Select your USB Audio Interface: Look for the “Recording Device” or “Playback Device” dropdown menus and select your USB audio interface from the list. This will ensure that Audacity recognizes your interface as the primary input/output device.
- Select Recording Channels: Depending on your recording setup, you may need to specify the number of channels to record. If you are recording a mono source (such as a single microphone), select “1 (Mono)” in the “Recording Channels” dropdown menu. If you are recording stereo or multiple sources, choose the appropriate number of channels (e.g., “2 (Stereo)” or “4 (Quad)”).
- Adjust Sample Rate and Bit Depth: Set the sample rate and bit depth according to your preferences or the specifications provided by your USB audio interface. Generally, a sample rate of 44100 Hz (CD Quality) and a bit depth of 16-bit are sufficient for most recording projects.
- Enable Software Playthrough (Optional): If you wish to hear the recorded audio in real-time while monitoring, you can enable the “Software Playthrough” or “Monitoring” option. This allows you to hear your audio input through your computer’s speakers or connected headphones.
- Apply Changes: Once you have made the necessary adjustments, click on the “OK” or “Apply” button to save your settings and close the Preferences window.
With Audacity set up to work with your USB audio interface, you are now ready to start recording and editing audio with improved sound quality and enhanced control.
Keep in mind that the specific steps and options may vary slightly depending on the version of Audacity you are using. If you encounter any difficulties during the setup process, consult the Audacity documentation or the manufacturer’s website for further guidance.
Now that Audacity is configured, let’s move on to the next section – configuring Audacity for your USB audio interface.
Configuring Audacity for the USB Audio Interface
With Audacity launched and your USB audio interface connected, it’s time to configure Audacity to recognize and utilize your interface effectively. Follow these steps to ensure proper configuration:
- Access the Device Toolbar: In Audacity, go to the “View” menu and select “Toolbars.” Ensure that “Device Toolbar” is checked to have it visible on the Audacity interface.
- Select the USB Audio Interface: On the Device Toolbar, locate the input and output device dropdown menus. Click on each dropdown menu and select your USB audio interface from the list. This will assign your interface as the input and output source in Audacity.
- Set the Recording Channels and Format: In the Device Toolbar, click on the “Recording Channels” dropdown menu and select the appropriate number of channels based on your recording setup. Additionally, click on the “Project Rate” dropdown menu to specify the sample rate for your project.
- Adjust Input and Output Levels: To ensure optimal recording levels, use the input gain knobs or sliders on your USB audio interface to adjust the input levels. Monitor the input level meters in Audacity, and aim to keep the levels within the optimal range to avoid clipping or distortion. Adjust the output level on your interface or in Audacity to set a comfortable listening level for monitoring.
- Set the Recording Source: In Audacity, click on the dropdown menu next to the microphone icon on the track toolbar. Select the appropriate input source from your USB audio interface for each track you want to record. This allows you to record audio from different sources if your interface has multiple inputs.
- Enable Recording Monitoring: If you want to monitor your input audio in real-time while recording, click on the “Monitoring” button on the track toolbar. This will allow you to hear yourself or your input source through your computer’s speakers or connected headphones. Toggle the button on or off as per your preference.
- Set the Recording Format: In the Format dropdown menu located in the bottom-left corner of Audacity’s interface, choose the desired audio format for your recordings. You can choose WAV, FLAC, MP3, or other supported formats. Consider the intended use and compatibility of your recordings when selecting the format.
Once you have completed the configuration steps, Audacity should be ready to record and playback audio through your USB audio interface. Take some time to experiment with different settings to find the optimal configuration for your specific needs and preferences.
Keep in mind that the configuration options and menus may vary slightly depending on the version of Audacity you are using. If you encounter any difficulties or need further assistance, refer to the Audacity documentation or seek support from the manufacturer of your USB audio interface.
Now that Audacity is properly configured, you can proceed with recording audio using your USB audio interface. Let’s explore the process of recording with the USB audio interface in the next section.
Recording with the USB Audio Interface
Now that your USB audio interface and Audacity are properly configured, let’s dive into the process of recording audio using your interface. Follow these steps to start recording with confidence:
- Create a New Project: If you haven’t done so already, create a new project in Audacity by going to the “File” menu and selecting “New”. This will open a new project window for your recording.
- Select the Track for Recording: In Audacity, make sure the desired track is selected for recording. You can create multiple tracks for different sources or use a single track for mono or stereo recording.
- Arm the Track for Recording: In the track panel, click on the red record button to arm the track for recording. This prepares the track to capture audio input from your USB audio interface.
- Set the Input Level: Before you start recording, check the input level meters in Audacity or on your USB audio interface. Adjust the input gain knobs or sliders on your interface to ensure optimal recording levels. Aim to keep the levels within the recommended range to avoid clipping or distortion.
- Start Recording: Once you have set the input levels and are ready to start recording, click on the record button in Audacity’s transport toolbar. Audacity will begin capturing audio from your USB audio interface on the selected track.
- Monitor the Recording: While recording, keep an eye on the input level meters in Audacity to ensure a healthy signal level. You can also listen to the input audio in real-time through your computer speakers or connected headphones if monitoring is enabled.
- Pause or Stop Recording: To pause the recording, click on the pause button in the transport toolbar. To stop the recording, click on the stop button. You can always resume recording from the paused position if needed.
- Review and Edit the Recording: After you have finished recording, review the captured audio in Audacity’s track view. You can edit, trim, or apply effects to the recorded audio as needed. Audacity provides an array of editing tools and effects to enhance your recordings.
- Save and Export your Recording: Once you are satisfied with the recorded and edited audio, save your project in Audacity’s native format (.aup). To share or distribute the recording, export it to a preferred audio format (such as WAV or MP3) by going to the “File” menu and selecting “Export”. Follow the prompts to choose the desired format and destination for your exported file.
Remember to save your project regularly as you work to avoid any potential loss of data. Additionally, make sure to follow proper file management practices to keep your recordings organized and easily accessible.
Now that you have successfully recorded audio using your USB audio interface and Audacity, you are well on your way to creating professional-quality recordings for your music, podcasts, voice-overs, and more. Experiment with different recording techniques and explore the capabilities of Audacity to further enhance your audio projects.
Adjusting Input Levels in Audacity
Adjusting the input levels in Audacity is crucial to ensure optimal audio recording quality. By properly setting the input levels, you can avoid clipping, distortion, and noise in your recordings. Follow these steps to adjust the input levels in Audacity:
- Select the Track and Access the Track Control Panel: In Audacity, select the track you want to adjust the input levels for. Locate the track control panel, which is the panel that displays the waveform of the audio on the selected track.
- Access the Input Level Slider: In the track control panel, find the input level slider. It is typically represented by a horizontal line with a slider handle. This is the control that allows you to adjust the input levels.
- Listen to the Audio and Observe the Input Level Meters: Before making any adjustments, play back some audio or make some noise into the microphone. Look at the input level meters in Audacity to see how the audio signal is being captured. Observe the meters to gauge the strength of the input signal.
- Adjust the Input Level Slider: While monitoring the input level meters, carefully adjust the input level slider. Slide it up or down until the input signal hits a desirable level. Aim to get a healthy signal level that reaches close to the maximum without clipping or distorting. It’s essential to find a balance where the signal is strong but does not exceed the maximum level.
- Recheck and Fine-tune the Input Level: After making initial adjustments, listen to the audio and observe the input level meters again. If the signal is still too low or too high, fine-tune the input level slider accordingly. Make small adjustments until you achieve a good balance between the signal strength and avoiding distortion.
- Monitor the Input Level During Recording: While recording, keep an eye on the input level meters to ensure that the audio signal remains within an acceptable range. If you notice any clipping or distortion, reduce the input level slightly to prevent further issues.
- Save and Monitor Input Level Settings: If you’re working on a project with multiple recording sessions, it’s a good practice to save and note down your input level settings. This will help you maintain consistency in your recordings for future sessions.
Remember that the ideal input level settings may differ depending on the specific audio source, microphone, and recording environment. Experimenting with different input level settings and monitoring the results will help you find the optimal configuration for your recordings.
By properly adjusting the input levels in Audacity, you can capture high-quality audio with clarity and avoid unwanted distortion. Take the time to fine-tune your input levels, and you’ll be rewarded with professional-grade recordings.
Monitoring your Audio
Monitoring your audio is an essential part of the recording process, allowing you to listen to the audio as it is being captured and make necessary adjustments in real-time. By monitoring your audio, you can ensure that the recording quality is optimal and make any necessary corrections on the spot. Follow these steps to set up and monitor your audio in Audacity:
- Enable Monitoring: In the track control panel of Audacity, locate the monitoring button. This button is typically represented by a small speaker icon. Click on the monitoring button to enable audio monitoring.
- Choose the Monitoring Method: Audacity offers several monitoring methods, including software playthrough and hardware monitoring. Software playthrough allows you to listen to the input audio through your computer speakers or connected headphones. Hardware monitoring, on the other hand, allows you to listen to the input audio directly through the headphone output of your USB audio interface. Choose the monitoring method that suits your preference and setup.
- Adjust the Monitoring Level: Once monitoring is enabled, adjust the monitoring level to a comfortable listening level. You should be able to hear your audio clearly without it being too soft or overly loud. Use the output level control on your audio interface or the volume control in Audacity to fine-tune the monitoring level.
- Monitor for Clipping or Distortion: While recording or playing back audio, keep an eye on the input and output level meters in Audacity. If the input meters reach the red zone or the output meters consistently peak at maximum, it indicates clipping or distortion. In such cases, reduce the input level or decrease the monitoring volume to prevent further issues.
- Listen for Artifacts or Noise: During monitoring, listen attentively to the audio for any unwanted artifacts, noise, or interference. If you hear any issues, investigate and address them promptly. This may involve adjusting the microphone position, reducing noise sources in the recording environment, or making changes to the audio settings on your USB audio interface.
- Utilize Headphone Mixes: If your USB audio interface supports headphone mixes, take advantage of this feature. It allows you to control the balance between the input audio and playback audio. This is particularly useful for musicians who want to hear a mix of their performance and previously recorded tracks while recording new parts.
- Monitor Multiple Tracks: If you’re working with multiple tracks in Audacity, you can monitor the audio of each track individually. This enables you to adjust the input and output levels for each track separately and achieve the desired balance between them.
Monitoring your audio is crucial throughout the recording process. It helps you identify and address any issues or shortcomings in real-time, ensuring that you capture high-quality recordings. Regularly check your monitoring settings and listen attentively to the audio to maintain a consistent and accurate recording experience.
By actively monitoring your audio and making necessary adjustments, you can achieve the best possible sound quality and create professional-grade recordings for your music, podcasts, voice-overs, and other audio projects.
Troubleshooting Tips
While using a USB audio interface with Audacity can greatly enhance your recording experience, you may encounter some challenges along the way. Here are some troubleshooting tips to help you overcome common issues:
- Ensure Proper Driver Installation: If your USB audio interface requires driver installation, make sure you have installed the latest drivers provided by the manufacturer. Outdated or incompatible drivers can lead to connectivity and functionality issues.
- Check USB Connections: Ensure that the USB cable connecting your audio interface to your computer is securely plugged in. Try using a different USB port on your computer if you’re experiencing connectivity problems.
- Restart Audacity and your Computer: If you encounter any unexpected behavior or glitches, try restarting Audacity and your computer. This can often resolve temporary software conflicts or memory issues.
- Update Audacity: Make sure you are using the latest version of Audacity. Updates often include bug fixes and stability improvements that can help resolve issues you may be experiencing.
- Check Input and Output Settings: Verify that you have configured Audacity to use the correct input and output devices and channels. Incorrect settings can result in no audio capture or playback.
- Adjust Buffer Size: If you experience audio latency or dropouts during recording or playback, try adjusting the buffer size settings in Audacity. Increasing the buffer size can help reduce latency but may increase processing time.
- Check Phantom Power and Gain Settings: If you are using condenser microphones that require phantom power, make sure that phantom power is enabled on your USB audio interface. Also, check the gain settings to ensure optimal recording levels and avoid distortion.
- Test with Different Cables and Microphones: If you’re experiencing audio issues or poor quality, try using different cables and microphones to rule out any potential hardware problems. Faulty cables or incompatible microphones could be the culprit.
- Consult User Manuals and Support: If you’re still encountering issues, consult the user manuals and documentation provided by the manufacturers of your USB audio interface and Audacity. They often provide troubleshooting guides and support resources to help resolve specific problems.
- Seek Community Support: Reach out to online forums, communities, or user groups dedicated to Audacity or your specific USB audio interface. Fellow users may have encountered and resolved similar problems and can offer valuable advice and guidance.
Remember, troubleshooting can be a trial-and-error process, and different solutions may work for different situations. Be patient, methodical, and persistent in your troubleshooting efforts, and don’t hesitate to seek assistance when needed.
By following these troubleshooting tips, you can address common issues and ensure smooth and trouble-free recording sessions with your USB audio interface and Audacity.
Conclusion
Using a USB audio interface with Audacity opens up a world of possibilities for capturing and manipulating high-quality audio. The combination of a USB audio interface and the powerful features of Audacity allows you to achieve professional-grade recordings and take your audio projects to new heights.
In this article, we explored the fundamentals of USB audio interfaces, their benefits when used with Audacity, and how to get started with them. We discussed the importance of selecting the right interface, connecting it to your computer, and configuring Audacity to work seamlessly with your interface.
We also covered key steps like adjusting input levels, monitoring your audio, troubleshooting common issues, and offered tips to overcome challenges you may encounter during the recording process.
By using a USB audio interface with Audacity, you can elevate the quality of your music recordings, podcasts, voice-overs, and other audio projects. The improved audio fidelity, expanded recording options, and enhanced control provided by these tools contribute to a more professional and polished end result.
Remember to experiment, practice, and explore the various features and capabilities of your USB audio interface and Audacity. This will allow you to discover new ways to express your creativity and achieve the desired sound for your projects.
Whether you’re a musician, podcaster, content creator, or simply someone passionate about audio, integrating a USB audio interface with Audacity can make a significant difference in the quality of your recordings. So don’t hesitate to take the leap and unlock the full potential of your audio production journey.