Home>Devices & Equipment>Turntable>How To Remove A Turntable From A Bsr Record Player
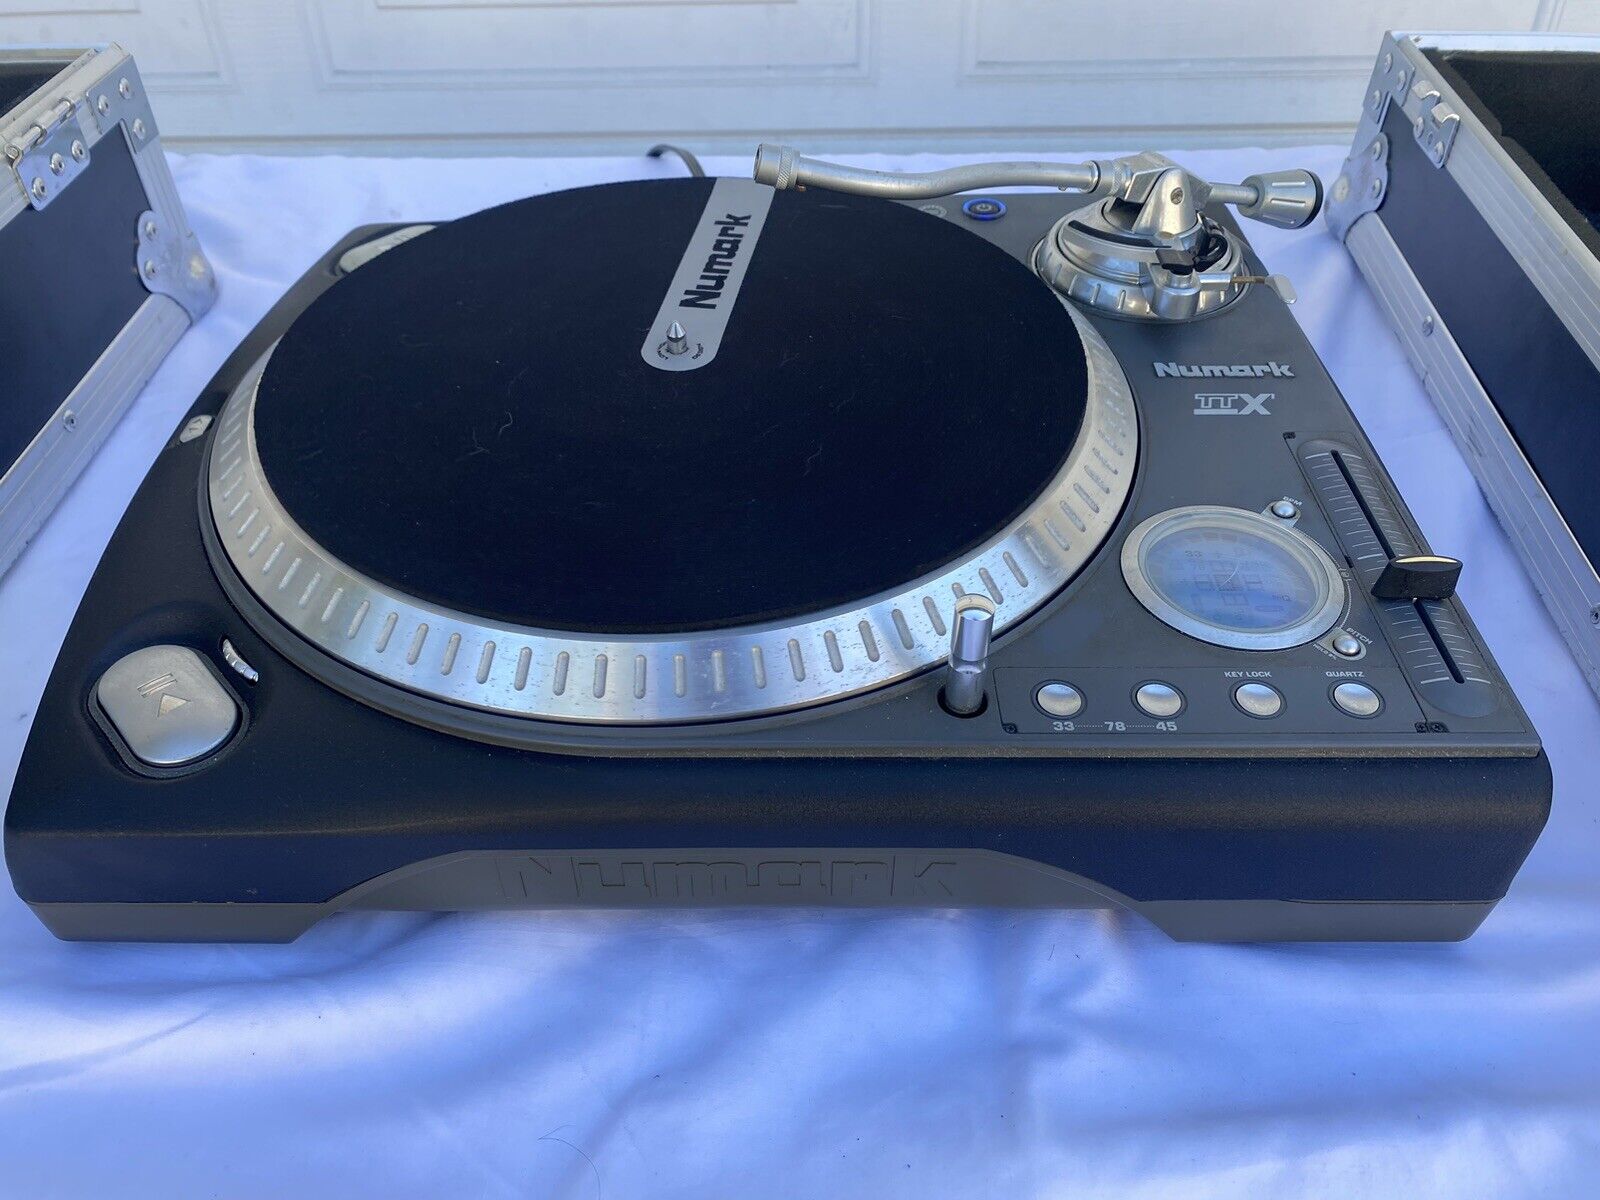
Turntable
How To Remove A Turntable From A Bsr Record Player
Published: January 19, 2024
Learn how to remove a turntable from a BSR record player with ease. Follow our step-by-step guide and safely detach the turntable for maintenance or replacement.
(Many of the links in this article redirect to a specific reviewed product. Your purchase of these products through affiliate links helps to generate commission for AudioLover.com, at no extra cost. Learn more)
Table of Contents
- How To Remove A Turntable From A BSR Record Player
- Introduction
- Tools and Materials Needed
- Step 1: Prepare Your Work Area
- Step 2: Disconnect the Power
- Step 3: Remove the Platter
- Step 4: Unscrew the Tonearm Rest
- Step 5: Disconnect the Cartridge Wires
- Step 6: Remove the Cartridge
- Step 7: Detach the Tonearm
- Step 8: Reassembling the Record Player
- Conclusion
How To Remove A Turntable From A BSR Record Player
Removing a turntable from a BSR record player may seem like a daunting task, but with the right tools and a little bit of patience, it can be a straightforward process. By following a few simple steps, you’ll be able to safely remove the turntable from your BSR record player and either replace it or perform any necessary maintenance.
Before getting started, it’s important to note that BSR (British Sound Reproducers) record players come in a variety of models, so the specific steps may vary slightly depending on the model you have. However, the general process for removing the turntable remains the same. Make sure to consult your record player’s manual or do some research specific to your model just to be sure.
Here’s a step-by-step guide to help you remove the turntable from your BSR record player:
- Prepare Your Work Area: Start by finding a clean, flat surface to work on. Clear off any clutter and make sure you have enough space to comfortably work on your record player.
- Disconnect the Power: Before attempting any repairs or maintenance on your record player, it’s crucial to unplug it from the power source to avoid any electrocution or damage. Double-check that the power cord is completely unplugged from the wall socket.
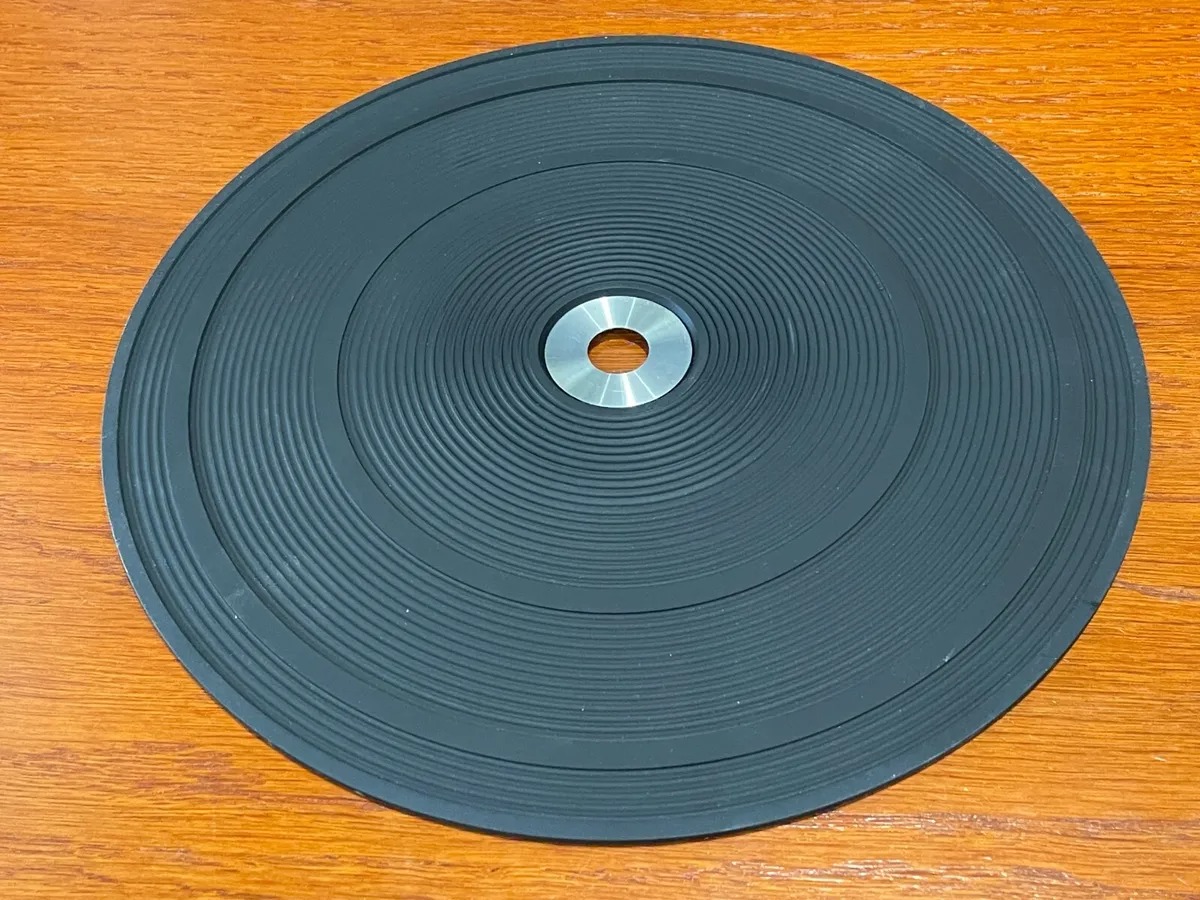
- Remove the Platter: The platter is the circular component that the vinyl record sits on. Most BSR record players have a removable platter that can be easily lifted off. Locate the access point or screws that hold the platter in place, and carefully remove them.
- Unscrew the Tonearm Rest: The tonearm rest is the mechanism that holds the tonearm in place when not in use. Look for screws or clips on the record player deck that secure the tonearm rest and remove them. Once the screws or clips are removed, gently lift and set aside the tonearm rest.
- Disconnect the Cartridge Wires: The cartridge wires connect the cartridge, which holds the needle, to the tonearm. Locate where the wires connect and gently detach them. It’s important to be gentle to avoid any damage to the wires or connectors.
- Remove the Cartridge: With the wires disconnected, you can proceed to remove the cartridge itself. Depending on your BSR record player model, the cartridge may be held in place by screws or clips. Carefully remove any screws or release any clips to detach the cartridge.
- Detach the Tonearm: The tonearm is the long arm that holds the cartridge and allows it to move across the record. Look for a locking mechanism or screws that hold the tonearm in place and release them. Gently lift the tonearm off its mount and set it aside.
- Reassembling the Record Player: Once you’ve completed the necessary repairs or maintenance, you can reassemble the record player by following the above steps in reverse order. Make sure to securely attach the tonearm, cartridge, and other components back in their respective places.
By following these steps, you’ll be able to successfully remove the turntable from your BSR record player. Remember to take your time and be gentle during the process to avoid any damage to your record player or its components. If you’re unsure about certain steps or encounter any difficulties, it’s always a good idea to consult a professional or refer to the record player’s manual for further guidance.
Removing a turntable from a BSR record player may seem challenging at first, but with the right knowledge and tools, it can be a manageable task that allows you to perform necessary repairs or upgrades to enhance your listening experience.
Introduction
BSR (British Sound Reproducers) record players have been a popular choice among vinyl enthusiasts for decades. However, like any piece of audio equipment, they may require maintenance or upgrades from time to time. Removing the turntable from a BSR record player is a necessary step when performing various repairs or replacing components such as the cartridge or tonearm.
While the process may seem intimidating for those who are unfamiliar with the inner workings of a record player, it can be relatively simple with the right tools and a step-by-step approach. By following the instructions provided in this guide, you’ll be able to safely remove the turntable from your BSR record player and complete the necessary maintenance or upgrades.
It’s important to note that BSR record players come in various models, so it’s always a good idea to consult the specific manual for your model or do some research before proceeding. This will ensure that you have the correct knowledge to successfully remove the turntable without causing any damage to the record player.
In this article, we’ll explore a comprehensive step-by-step guide on how to remove the turntable from a BSR record player. We’ll cover the tools and materials you’ll need, as well as the precautions you should take to ensure a smooth and safe removal process. By the end of this guide, you’ll have the necessary expertise to confidently disassemble your record player and perform any necessary maintenance or upgrades.
Whether you’re looking to replace a faulty cartridge, upgrade to a higher-quality tonearm, or simply clean the inner components of your BSR record player, understanding how to remove the turntable is essential. So, let’s dive into the process and get started on unlocking the full potential of your record player!
Tools and Materials Needed
Before you begin the process of removing the turntable from your BSR record player, it’s important to gather the necessary tools and materials. Having the right equipment on hand will ensure a smoother and more efficient disassembly process. Here are the essential tools and materials you’ll need:
- Screwdriver: A screwdriver is a must-have tool for removing screws and clips that hold various components in place. Make sure to have both flathead and Phillips head screwdrivers on hand, as different parts may require different types of screws.
- Tweezers: Tweezers come in handy for delicate tasks, such as disconnecting wires or handling small parts. They provide precision and control, making it easier to manipulate and remove components from the record player.
- Needle-nose pliers: Needle-nose pliers are useful for gripping and handling small parts that may be difficult to remove by hand. They provide a firm grip and allow you to navigate cramped spaces within the record player’s interior.
- Cotton swabs: Cotton swabs are necessary for cleaning various components, such as the cartridge connectors and tonearm. They help remove dirt, dust, and debris, ensuring optimal performance and longevity of your record player.
- Isopropyl alcohol: Isopropyl alcohol is a versatile cleaning agent that effectively removes grime and residue from surfaces. Use it with the cotton swabs to clean areas that require a more thorough cleaning, such as the cartridge connectors or tonearm.
- Microfiber cloth: A microfiber cloth is a non-abrasive cloth that is gentle on delicate surfaces. It’s ideal for wiping down the exterior of the record player and removing any fingerprints or smudges that may have accumulated over time.
- Container or tray: Having a container or tray to hold screws, clips, and small parts while you work will prevent them from getting lost or misplaced. This will make it easier to reassemble the record player once the turntable has been removed.
- Record player manual: While not a physical tool, having the record player manual on hand is invaluable. It provides specific instructions and diagrams that are tailored to your BSR model, ensuring that you follow the correct steps for disassembling and reassembling your record player.
With these tools and materials at your disposal, you’ll be well-equipped to safely and effectively remove the turntable from your BSR record player. Remember to work in a well-lit and organized workspace, and take your time to ensure thoroughness and precision during the disassembly process.
Step 1: Prepare Your Work Area
Before you begin removing the turntable from your BSR record player, it’s crucial to prepare your work area properly. A clean and organized workspace will ensure a smooth and efficient disassembly process, minimizing the risk of damaging any components or losing small parts. Follow this step to set up your work area:
- Find a clean, flat surface: Look for a sturdy and spacious surface to work on, such as a table or a desk. Make sure it’s clean and free from any debris or clutter that could interfere with the disassembly process.
- Gather all the necessary tools and materials: Before starting, gather all the tools and materials listed in the previous section. Having everything within reach will save you time and prevent unnecessary interruptions during the process.
- Organize your tools and parts: Use a container or tray to hold screws, clips, small parts, and tools. This will prevent them from rolling off the table or getting mixed up, making it easier to keep track of everything as you work.
- Keep the record player manual nearby: Have the record player manual within reach, either in physical or digital form. This will serve as a valuable reference throughout the disassembly process, ensuring that you follow the specific instructions for your BSR model.
- Ensure proper lighting: Adequate lighting is essential when working on intricate tasks. Make sure you have enough light to clearly see the components, connectors, and any markings or labels on the record player.
By taking the time to properly set up your work area, you’ll create an environment that is conducive to a successful turntable removal process. A clean and organized workspace will help you stay focused, minimize the risk of misplacing or losing components, and ensure a thorough and efficient disassembly of your BSR record player.
Step 2: Disconnect the Power
Before you begin the process of removing the turntable from your BSR record player, it is essential to ensure your safety by disconnecting the power. This step is crucial to prevent any electrical accidents or damage to the record player. Follow these steps to disconnect the power:
- Turn off the record player: If the record player is currently on, turn it off using the power switch or button. Ensure that the turntable is completely stopped and not spinning.
- Unplug the power cord: Locate the power cord connected to the back of the record player or the power outlet. Gently unplug the power cord from the outlet. For added safety, you may want to wrap the exposed end of the power cord with electrical tape until you have finished the disassembly process.
It is essential to disconnect the power before proceeding with the turntable removal to avoid electrical shocks and potential damage to the record player’s internal components. By following these steps, you can ensure a safe working environment and minimize the risk of accidents while working on your BSR record player.
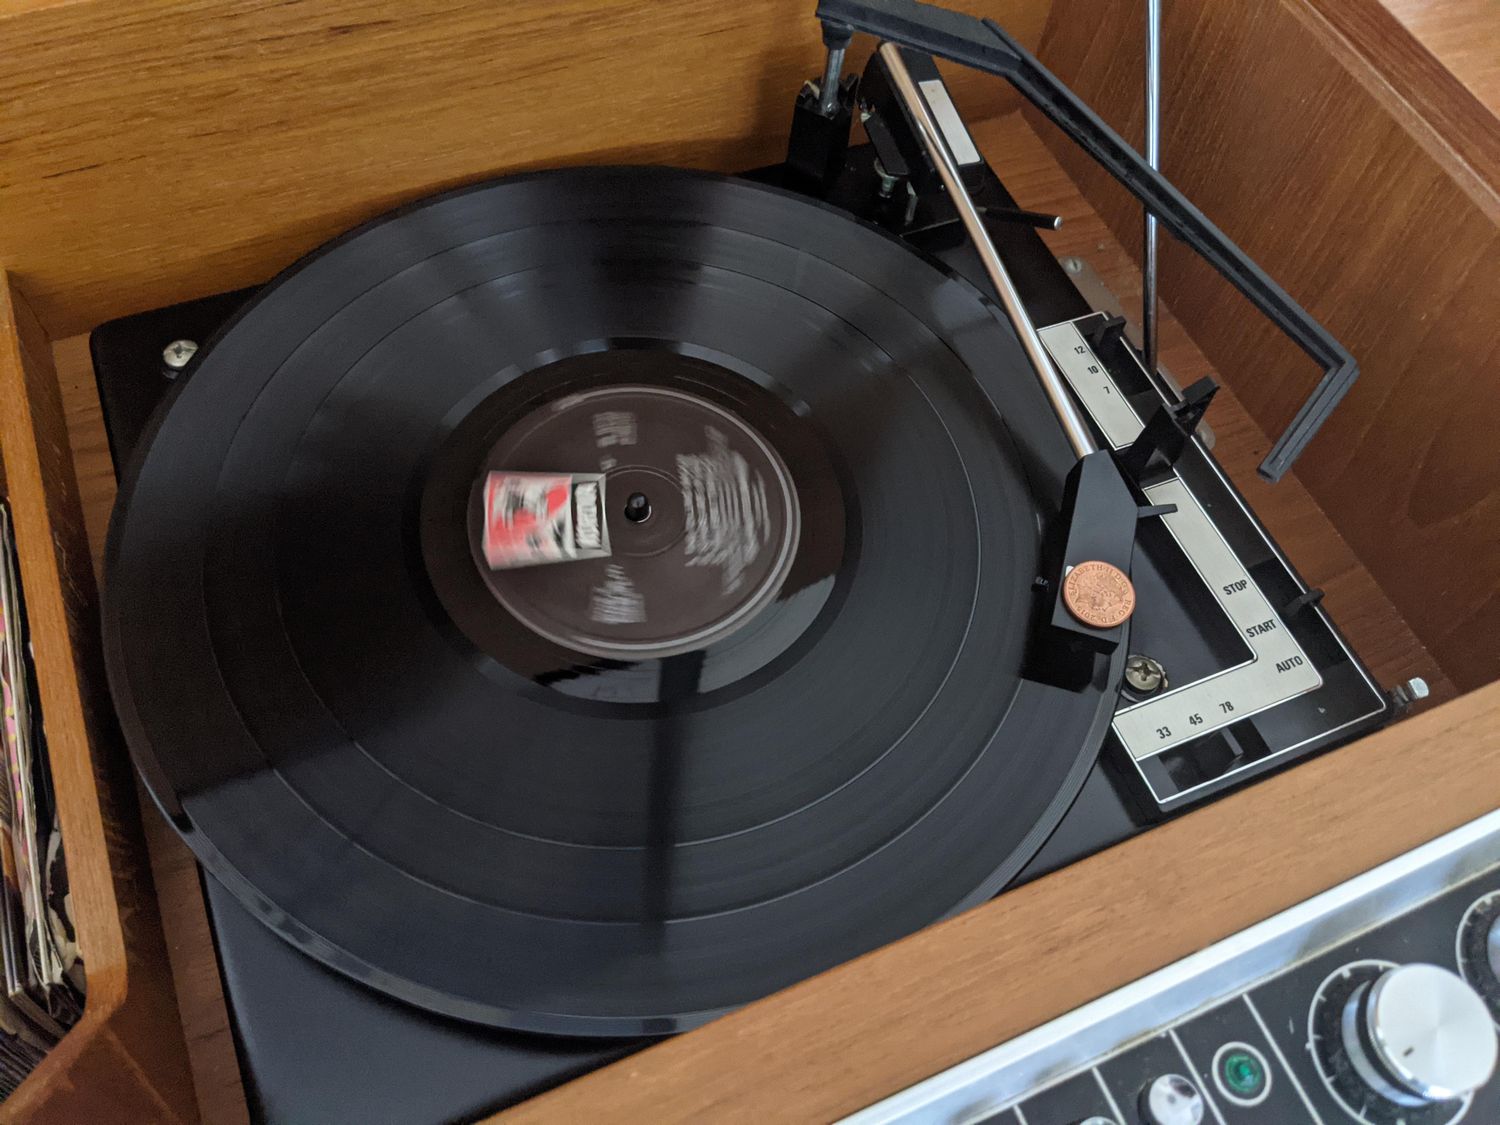
Step 3: Remove the Platter
The next step in removing the turntable from a BSR record player is to remove the platter. The platter is the circular component that the vinyl record sits on. Removing the platter will provide access to the inner mechanisms of the turntable. Follow these steps to remove the platter:
- Locate the access point or screws: Look for an access point or screws that hold the platter in place. The location of these access points or screws may vary depending on the model of your BSR record player. Consult the record player manual or do some research specific to your model if you are unsure.
- Remove the access point or unscrew the screws: If your record player has an access point, gently lift or remove it to access the platter. If there are screws, carefully unscrew them using the appropriate screwdriver. Be mindful not to drop or lose any screws during this process.
- Lift off the platter: Once the access point is removed or the screws are loose, gently lift the platter straight up. It may require a bit of force, but be careful not to apply too much pressure as you don’t want to damage any fragile components.
- Set the platter aside: Place the platter on a clean and safe surface, away from any potential hazards or contaminants. It is a good practice to place the platter on a soft cloth or towel to avoid scratching or damaging its surface.
Removing the platter grants access to the internal components of the turntable, allowing you to perform maintenance, repairs, or upgrades as needed. Once you have removed the platter, you can proceed to the next steps in the turntable removal process.
Step 4: Unscrew the Tonearm Rest
After removing the platter, the next step in removing the turntable from a BSR record player is to unscrew the tonearm rest. The tonearm rest is the mechanism that holds the tonearm in place when it’s not in use. By removing the tonearm rest, you’ll gain access to the cartridge and other components connected to the tonearm. Follow these steps to unscrew the tonearm rest:
- Locate the screws or clips: Look for screws or clips that secure the tonearm rest on your BSR record player. The number and placement of these screws or clips may vary depending on the model of your record player. Check the record player manual or do some research specific to your model if you need assistance in locating the screws or clips.
- Unscrew the screws or release the clips: Using the appropriate screwdriver or tool, carefully unscrew the screws or release the clips that hold the tonearm rest. It’s important to be gentle and cautious to avoid damaging the screws or clips or stripping them. Set the screws or clips aside in a safe place.
- Gently lift and set aside the tonearm rest: Once the screws or clips are removed, gently lift the tonearm rest from its position and set it aside. Place it on a clean surface where it won’t be damaged or misplaced.
Removing the tonearm rest allows you to further disassemble and access the tonearm and cartridge. It is an important step in the turntable removal process, as it paves the way for future maintenance, repairs, or upgrades. Take your time and be careful when unscrewing the tonearm rest, ensuring that you don’t damage any surrounding components or lose any small parts.
Step 5: Disconnect the Cartridge Wires
Once the tonearm rest is removed, the next step in removing the turntable from a BSR record player is to disconnect the cartridge wires. The cartridge wires connect the cartridge, which holds the needle, to the tonearm. By disconnecting these wires, you’ll be able to fully remove the cartridge and access other components. Follow these steps to disconnect the cartridge wires:
- Locate the cartridge wires: Look for the wires that connect the cartridge to the tonearm. They are typically attached to the back or bottom of the cartridge and may be color-coded (red and white) or have connectors (such as pins or plugs).
- Gently detach the wires: Take your time and handle the wires with care. Using your fingers or a pair of tweezers, gently detach the wires from the cartridge connectors. Be cautious not to pull on the wires themselves, as they can be fragile. Instead, grip the connector and gently wiggle it while pulling it away from the cartridge.
- Label or take note of the wire positions: To ensure easy reassembly later on, it’s a good practice to label or take note of which wire corresponds to which connector. You can use small adhesive labels or simply draw a diagram to mark the wire colors or positions. This will make reconnecting the wires correctly a breeze.
By disconnecting the cartridge wires, you create the necessary space to remove the cartridge itself and gain access to other components for maintenance, repair, or replacement. Take care to handle the wires gently and keep track of their positions to simplify the reassembly process in the future.
Step 6: Remove the Cartridge
After disconnecting the cartridge wires, the next step in removing the turntable from a BSR record player is to remove the cartridge itself. The cartridge holds the needle or stylus and is a crucial component for playing your vinyl records. Follow these steps to remove the cartridge:
- Inspect the cartridge: Before removing the cartridge, take a moment to examine its placement and how it is secured. Different BSR record player models may have varying mechanisms for securing the cartridge. Refer to the record player manual or do some research specific to your model to understand the attachment method.
- Release any securing clips or screws: Depending on your BSR record player model, the cartridge may be held in place by small securing clips or screws. Carefully release any clips or unscrew any screws that are keeping the cartridge fixed in its position.
- Gently lift and remove the cartridge: Once the securing clips or screws are released, grasp the cartridge firmly by its sides and gently lift it straight up. Pay attention to any attached wires and make sure they aren’t snagged or tangled as you lift the cartridge.
- Set aside the removed cartridge: Place the removed cartridge on a clean and safe surface. It’s best to set it aside in a container or on a soft cloth to prevent any damage or loss of small parts.
By removing the cartridge, you have now gained complete access to the tonearm and other components within the record player. This allows for thorough maintenance, repair, or potential cartridge replacement. Take your time and ensure that you handle the cartridge with care to avoid any damage or misalignment.
Step 7: Detach the Tonearm
After removing the cartridge, the next step in removing the turntable from a BSR record player is to detach the tonearm. The tonearm is the long arm that holds the cartridge and allows it to move across the record. By detaching the tonearm, you’ll have better access to other components and can perform maintenance or replacement as needed. Follow these steps to detach the tonearm:
- Inspect the tonearm attachment: Take a moment to examine how the tonearm is attached to the record player. Look for any visible screws, locking mechanisms, or connectors that hold the tonearm in place. Refer to the record player manual or do some research specific to your model for better understanding.
- Release any locking mechanisms or screws: Depending on your BSR record player model, the tonearm may be secured with locking mechanisms or screws. Carefully release any locking mechanisms or unscrew any screws that keep the tonearm in place, ensuring not to drop or lose any small parts.
- Gently lift and detach the tonearm: Once any locking mechanisms or screws are released, gently lift the tonearm straight up, ensuring not to twist or apply too much force. Detach the tonearm from its mount and set it aside in a safe location.
By detaching the tonearm, you have now fully removed the turntable from your BSR record player. This allows for more thorough maintenance, repair, or potential upgrades to the tonearm or other related components. Be sure to handle the tonearm with care as it is a delicate and sensitive part of the record player.
Step 8: Reassembling the Record Player
After performing the necessary maintenance, repairs, or upgrades, it’s time to reassemble your BSR record player. Proper reassembly is crucial to ensure the smooth operation and optimal performance of the turntable. Follow these steps to reassemble your record player:
- Attach the tonearm: Carefully align the tonearm with its mount on the record player. Make sure any connectors, screws, or locking mechanisms are properly aligned for a secure fit. Gently lower the tonearm into place and ensure that it is snugly and securely attached.
- Connect the cartridge wires: Take note of the labels or diagram you created earlier to reconnect the cartridge wires correctly. Align the connectors and gently push them back into their respective ports. Ensure that the wires are firmly connected, but be careful not to apply excessive force that could damage the connectors.
- Secure the tonearm rest: If you removed the tonearm rest, reattach it to the record player. Align the tonearm rest with its designated position and secure it using the screws or clips that were previously removed. Ensure that the tonearm rest is stable and securely fastened.
- Replace the platter: Position the platter back onto the record player, aligning it with the spindle. Press down gently to ensure that the platter is seated properly. If there were any access points or screws, reinsert or tighten them to secure the platter in place.
- Double-check all connections: Before powering on the record player, double-check all connections to ensure that everything is properly reassembled. Make sure the cartridge wires are securely connected, and all other components are correctly aligned and fastened.
- Plug in the power cord: Finally, plug the power cord back into the record player and connect it to a power outlet. Ensure that the record player is positioned in a stable and suitable location.
Once you’ve completed these steps, your BSR record player should be reassembled and ready for use. Take a moment to verify all connections and test the turntable to ensure it is functioning correctly. If you encounter any issues or notice any irregularities, consult the record player manual or seek professional assistance for further troubleshooting.
Remember that proper reassembling is essential for the longevity and performance of your record player. Take your time and be meticulous in ensuring that all components are securely in place. With careful reassembly, your BSR record player will continue to provide you with years of enjoyable vinyl listening experiences.
Conclusion
Removing a turntable from a BSR record player may initially seem like a daunting task, but with the right tools, knowledge, and patience, it can be a manageable process. Whether you’re performing maintenance, repairs, or upgrades, understanding how to remove the turntable is essential to access and work on various components within the record player.
In this guide, we’ve provided you with a step-by-step approach to safely remove the turntable from your BSR record player. We started by preparing your work area, disconnecting the power, and then proceeding to remove the platter, unscrew the tonearm rest, disconnect the cartridge wires, remove the cartridge itself, detach the tonearm, and finally, reassemble the record player.
Throughout the process, it’s crucial to refer to your record player’s manual or perform additional research on your specific BSR model to ensure that you’re following the correct instructions. By doing so, you can avoid any errors or complications that may arise due to model-specific variations.
Remember to take your time and handle each step carefully. The delicate components of your record player require gentle treatment to prevent damage. It’s also essential to create a clean and organized workspace, gather the necessary tools and materials, and follow safety precautions such as disconnecting the power before starting the disassembly process.
Once you’ve successfully removed the turntable and performed any necessary maintenance or upgrades, reassembling your BSR record player is the final step. Carefully aligning the tonearm, reconnecting the cartridge wires, securing the tonearm rest, replacing the platter, and double-checking all connections will ensure the smooth operation of your record player.
By following the steps outlined in this guide and exercising caution throughout the process, you can confidently remove and reinstall the turntable of your BSR record player, allowing you to perform maintenance, repairs, or upgrades to enhance your vinyl listening experience.
Remember that if you’re ever unsure about any step or encounter difficulties, it’s always beneficial to consult a professional or refer to the record player manual for further assistance. With proper care and maintenance, your BSR record player will continue to bring joy and high-quality sound to your music playback for years to come.